When I first saw the Spooktacular 6″ x 6″ Designer Series Paper, I just knew I had to have it! It was one of the first things from my wish list that I ordered. Of course, it took me a little while to actually find the time to create with it—but it was definitely worth the wait!
I knew I wanted to create some kind of fun Halloween gift box using those adorable monster faces. As I started playing around with the paper and experimenting with different ideas, I actually came up with this gift bag completely by accident.
And I absolutely fell in love with it! 👻🎃
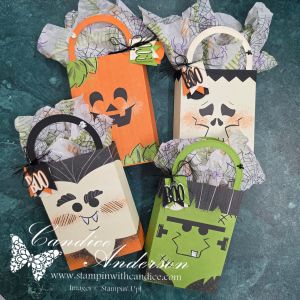
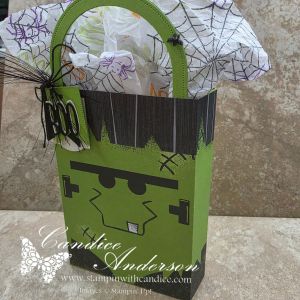
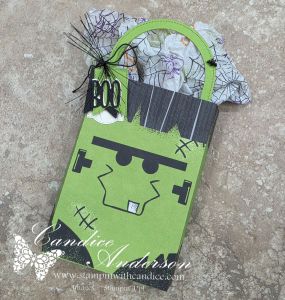
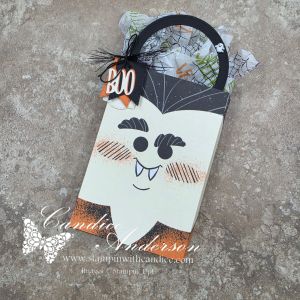
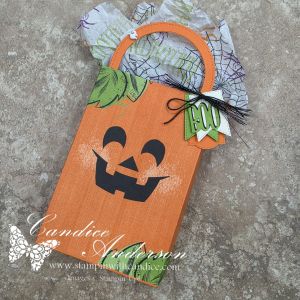
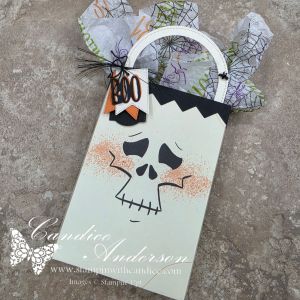
I love how the angled sides let you see even more of that cute Designer Series Paper, while the coordinating handle, layered BOO tag, wispy ribbon, and stamped tissue paper add all those little finishing touches. And because each sheet features a different monster, you can create a whole collection of bags, each with its own personality!
You love it too, right?
And if you don’t already have the Spooktacular Designer Series Paper, I have a feeling it’s going to be on your wish list after seeing these!
Ready to Make Your Own?
I’ve made it easy for you with my Spooktacular Gift Bag Tutorial.
For just $7, you’ll receive a 5-page downloadable PDF tutorial complete with:
- Step-by-step instructions and photos
- Cutting and scoring measurements
- Complete supply list
- Helpful tips for assembling and embellishing your bag
- A video tutorial so you can follow along with me from start to finish
Need Supplies?
Want to create the bags but you’re missing some of the supplies? I’ve made that easy too!
Use my Stampin’ Up! project link to see the products I used and add only the items you need directly to your shopping cart.
I Can’t Wait to See Yours!
One of my favorite things about sharing my projects is seeing how they inspire your creativity. Change the colors, embellishments, tags, or treats and make these little bags your own!
When you create your Spooktacular Gift Bag, be sure to tag me when you share it. I always love seeing what my projects have inspired you to create.
No matter where your creative journey takes you, I’m so glad you’re here. Let’s learn, create, connect, and grow together—one project at a time. 🦋