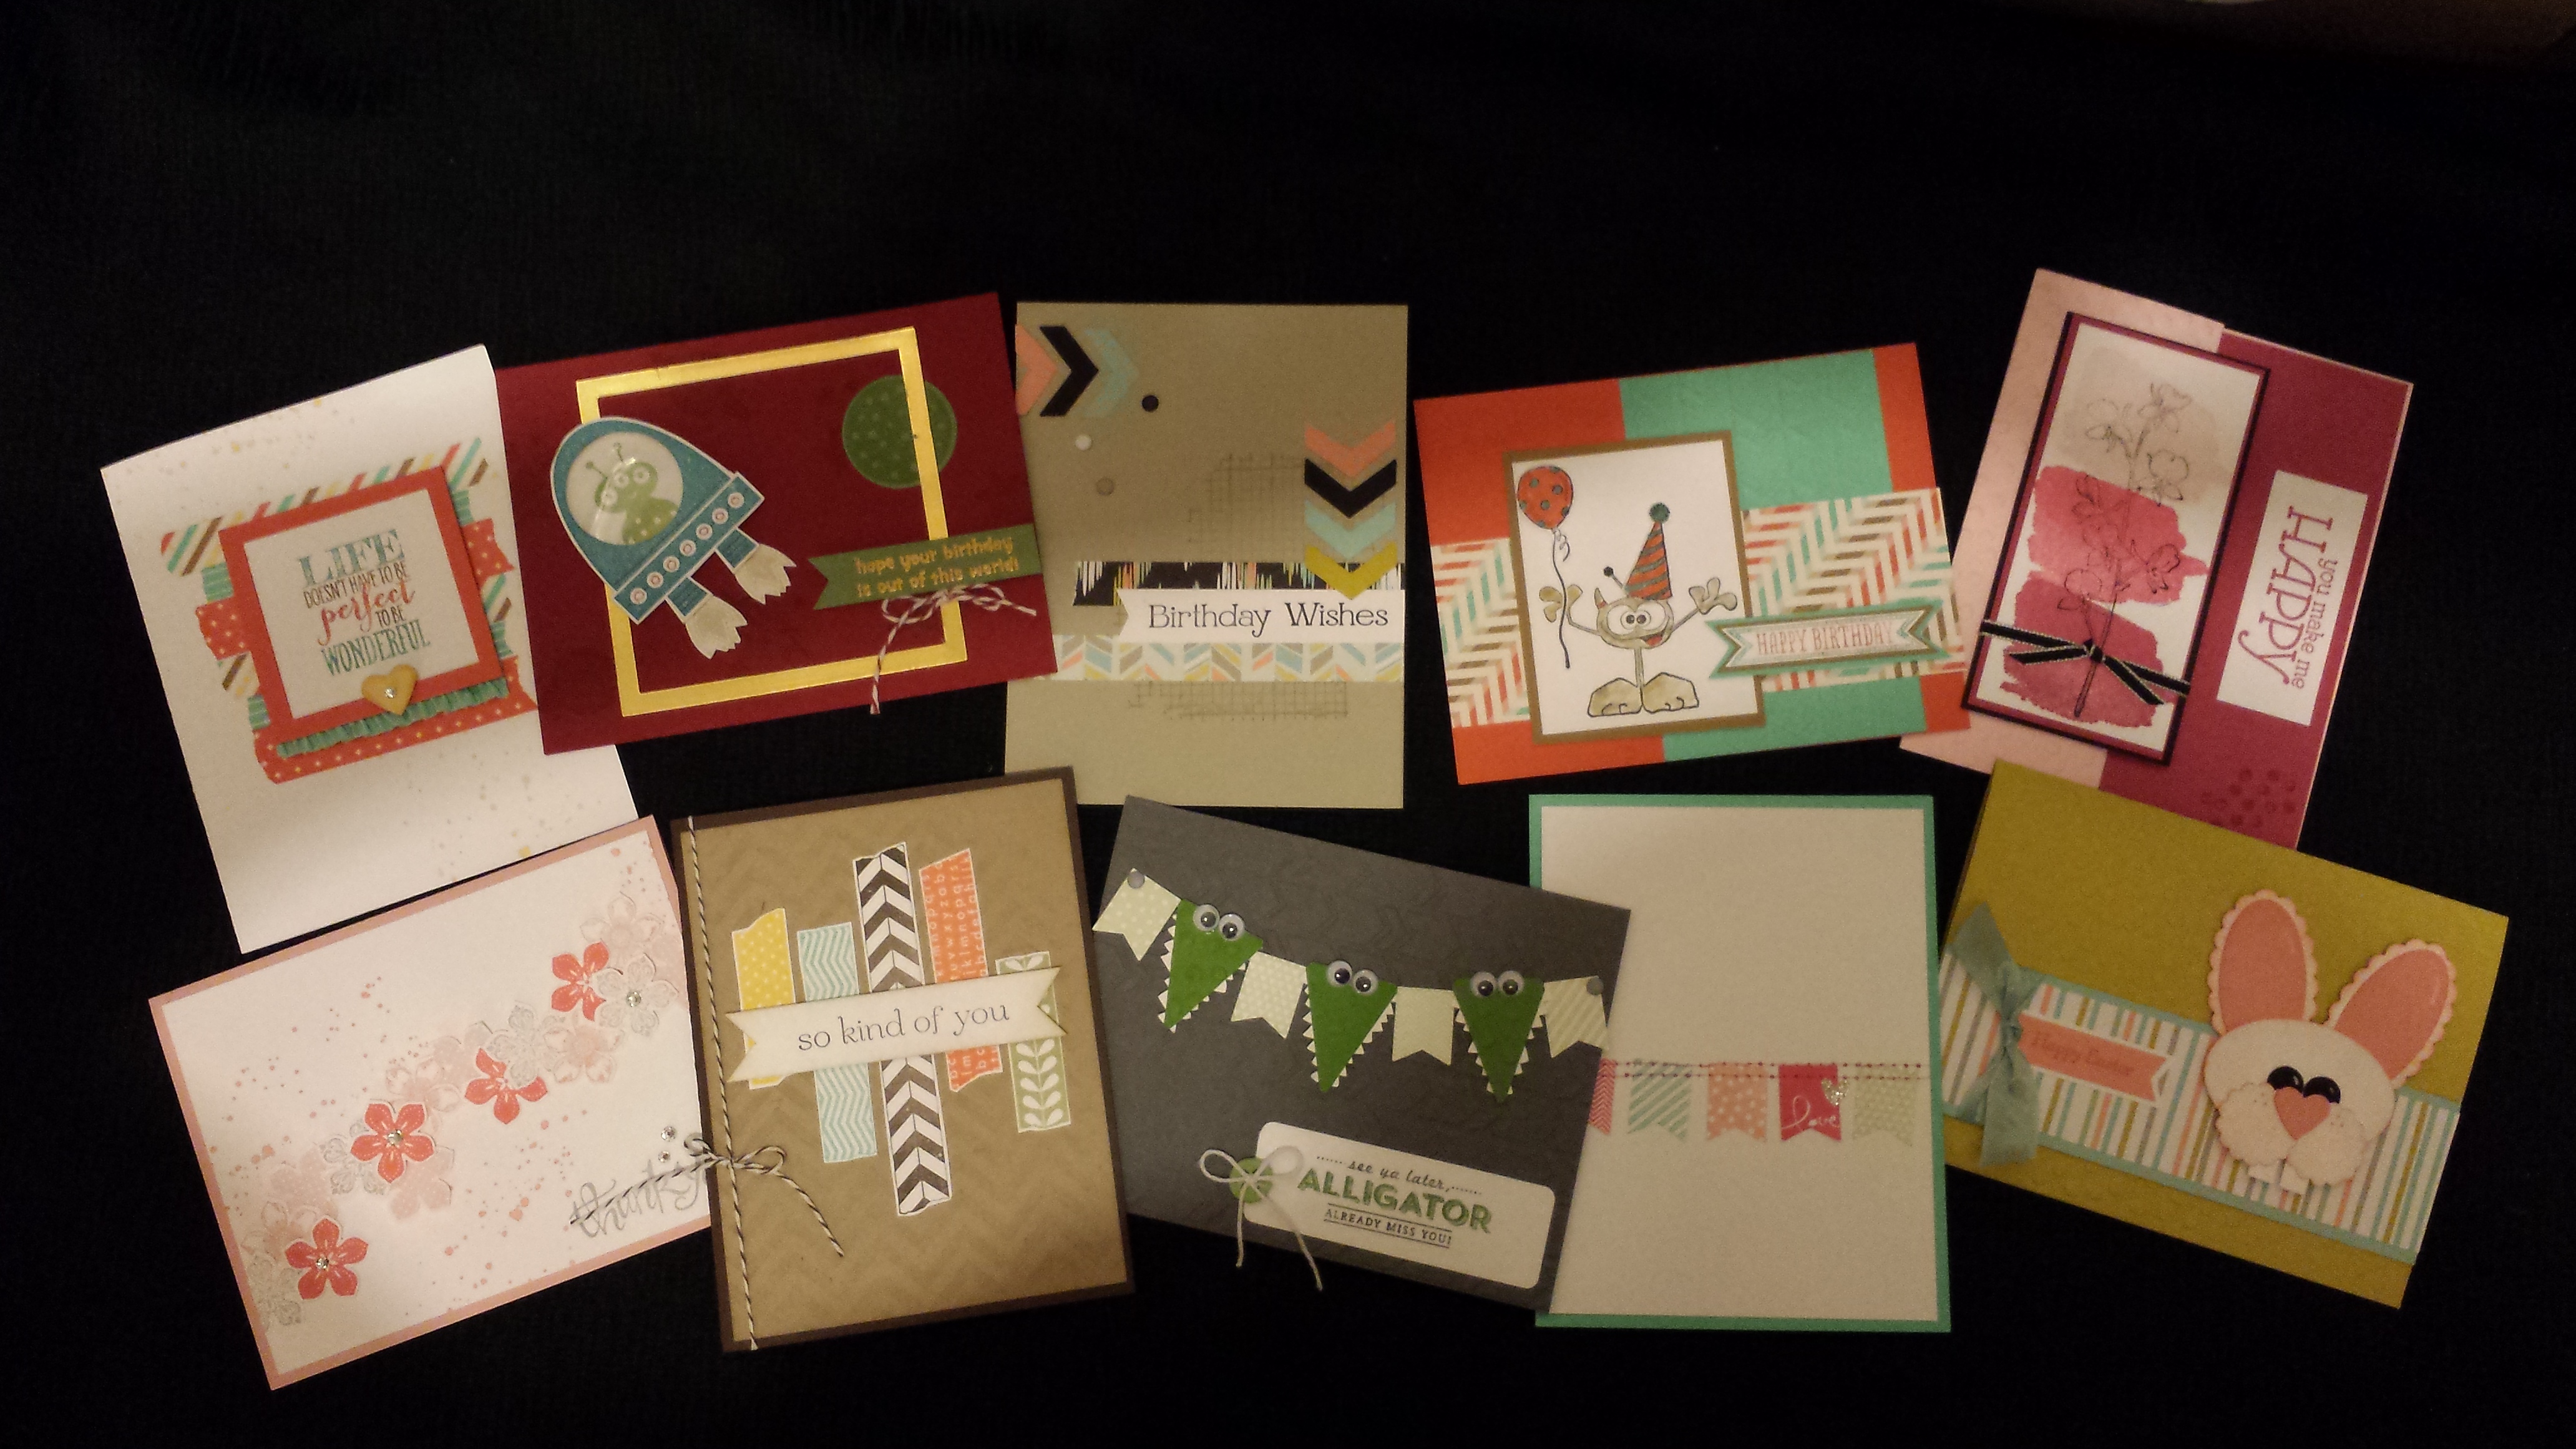
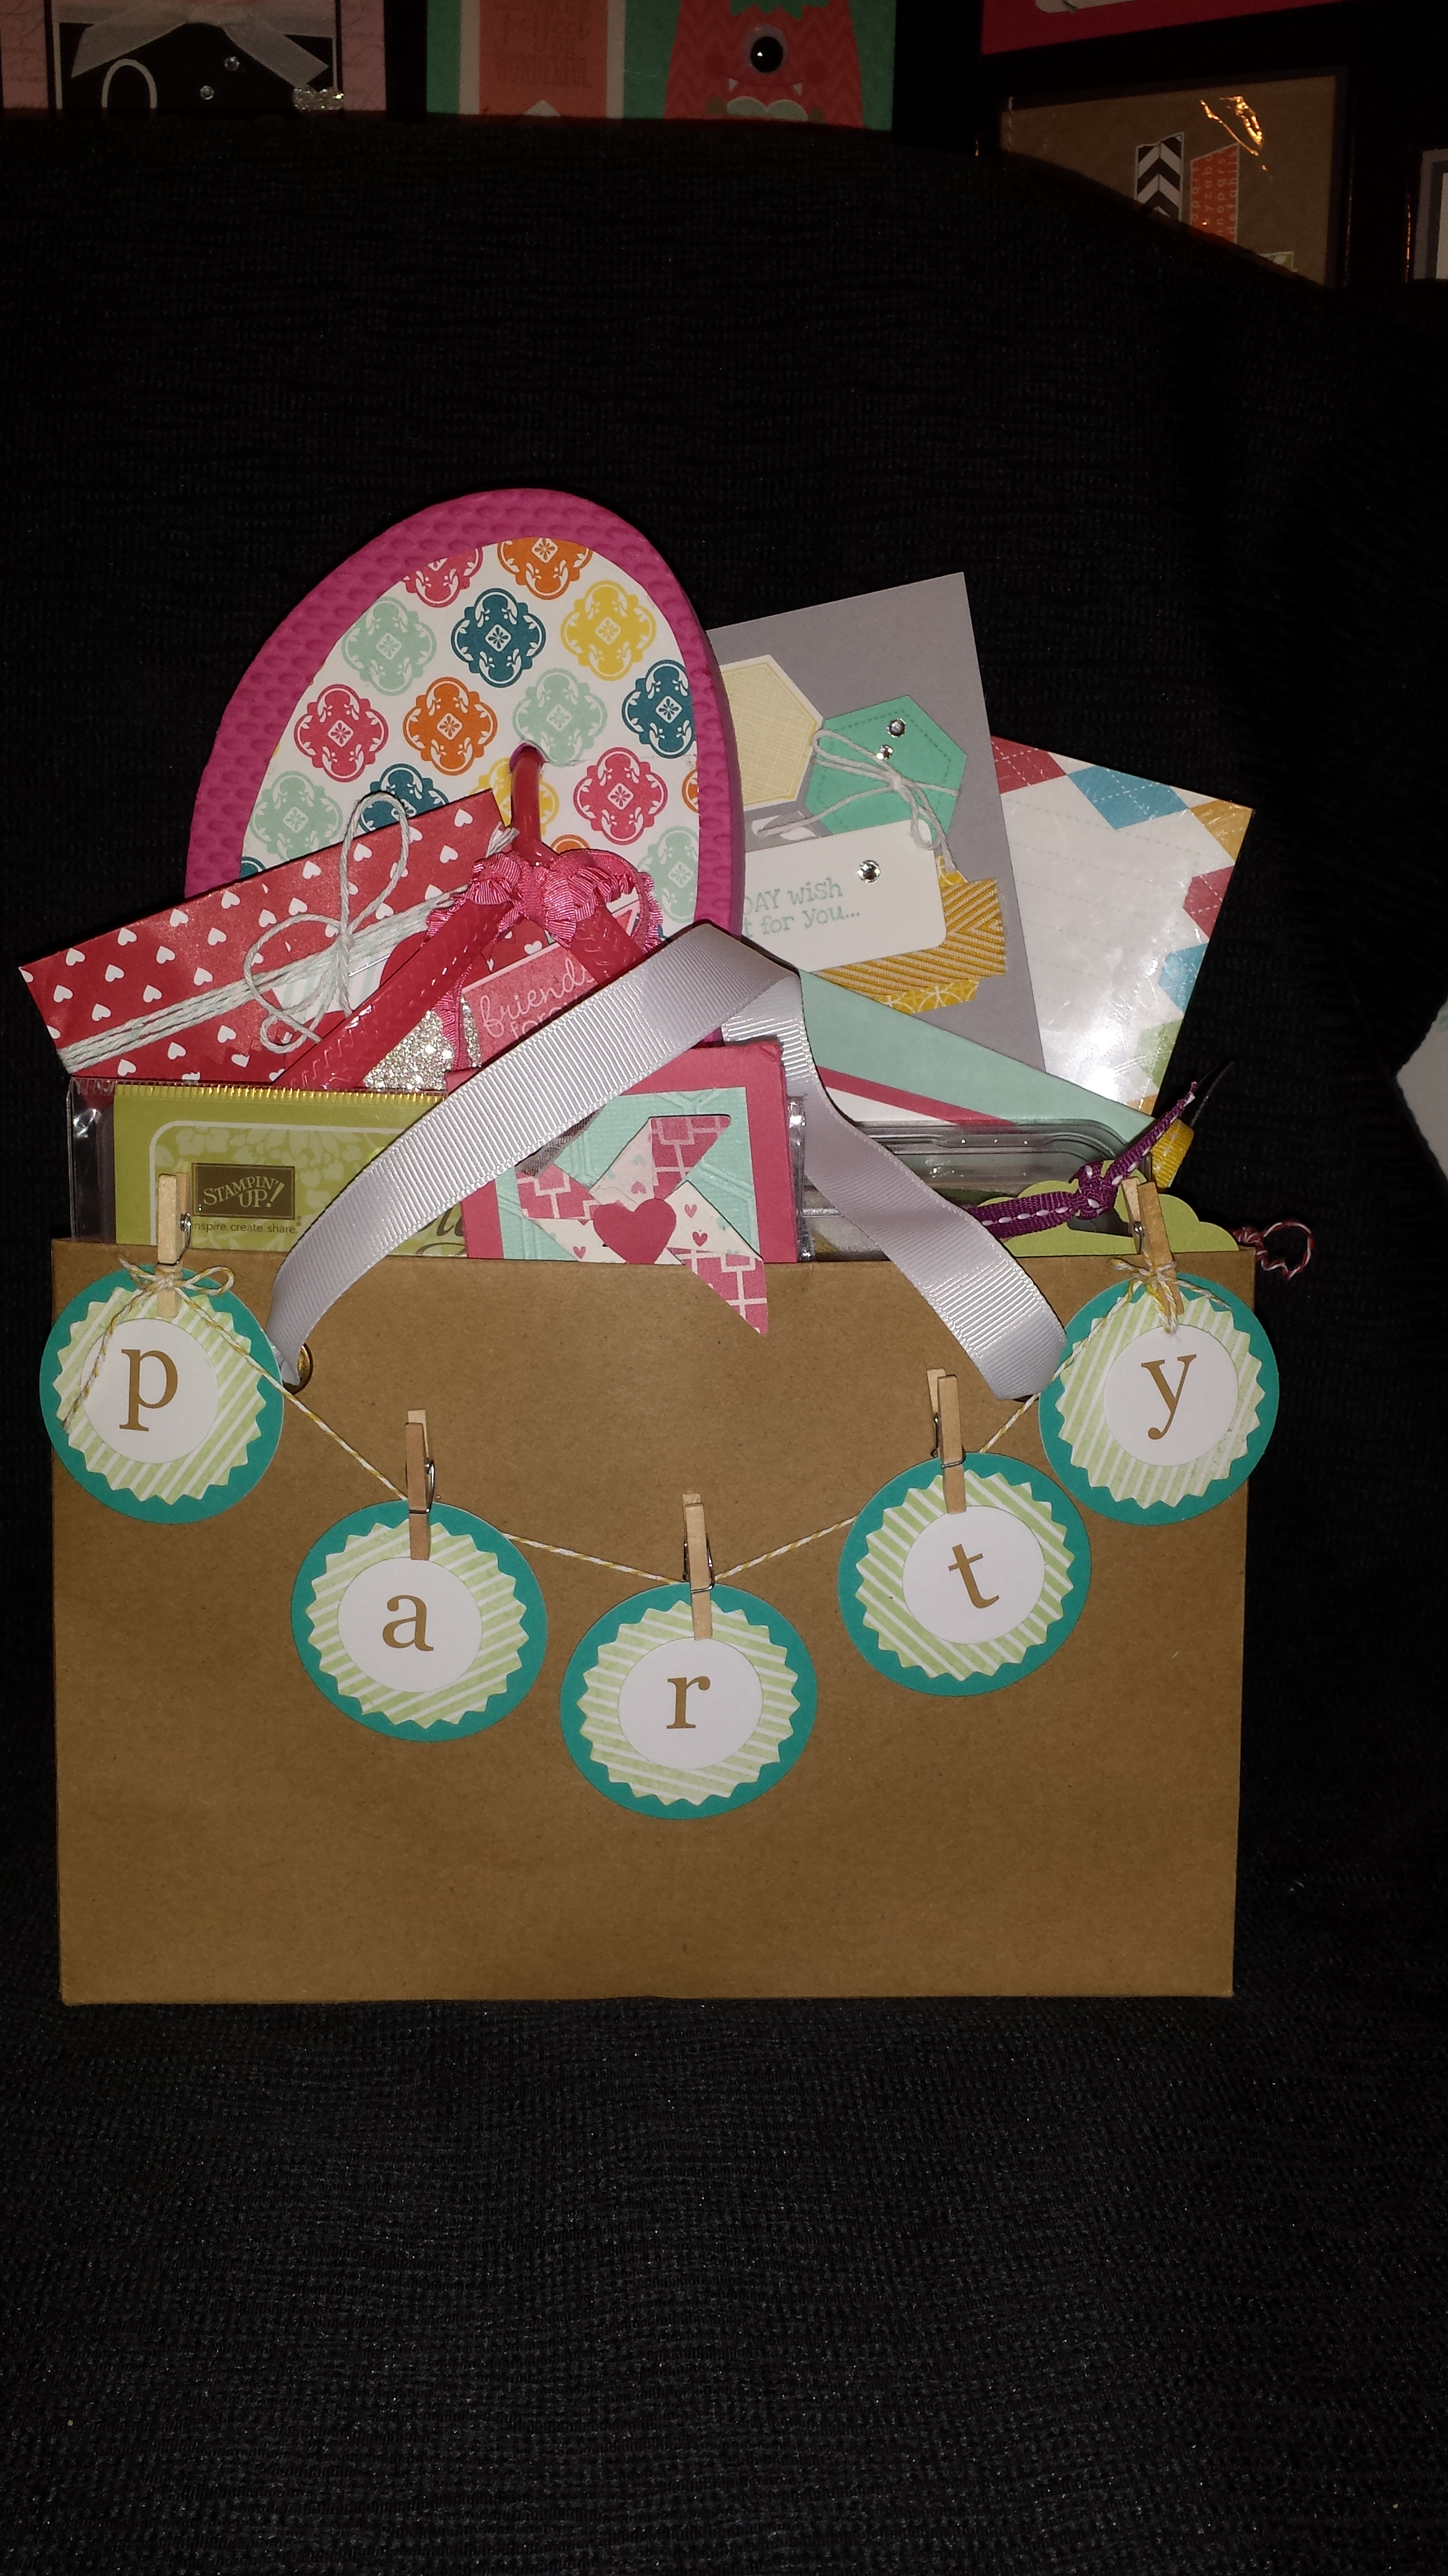
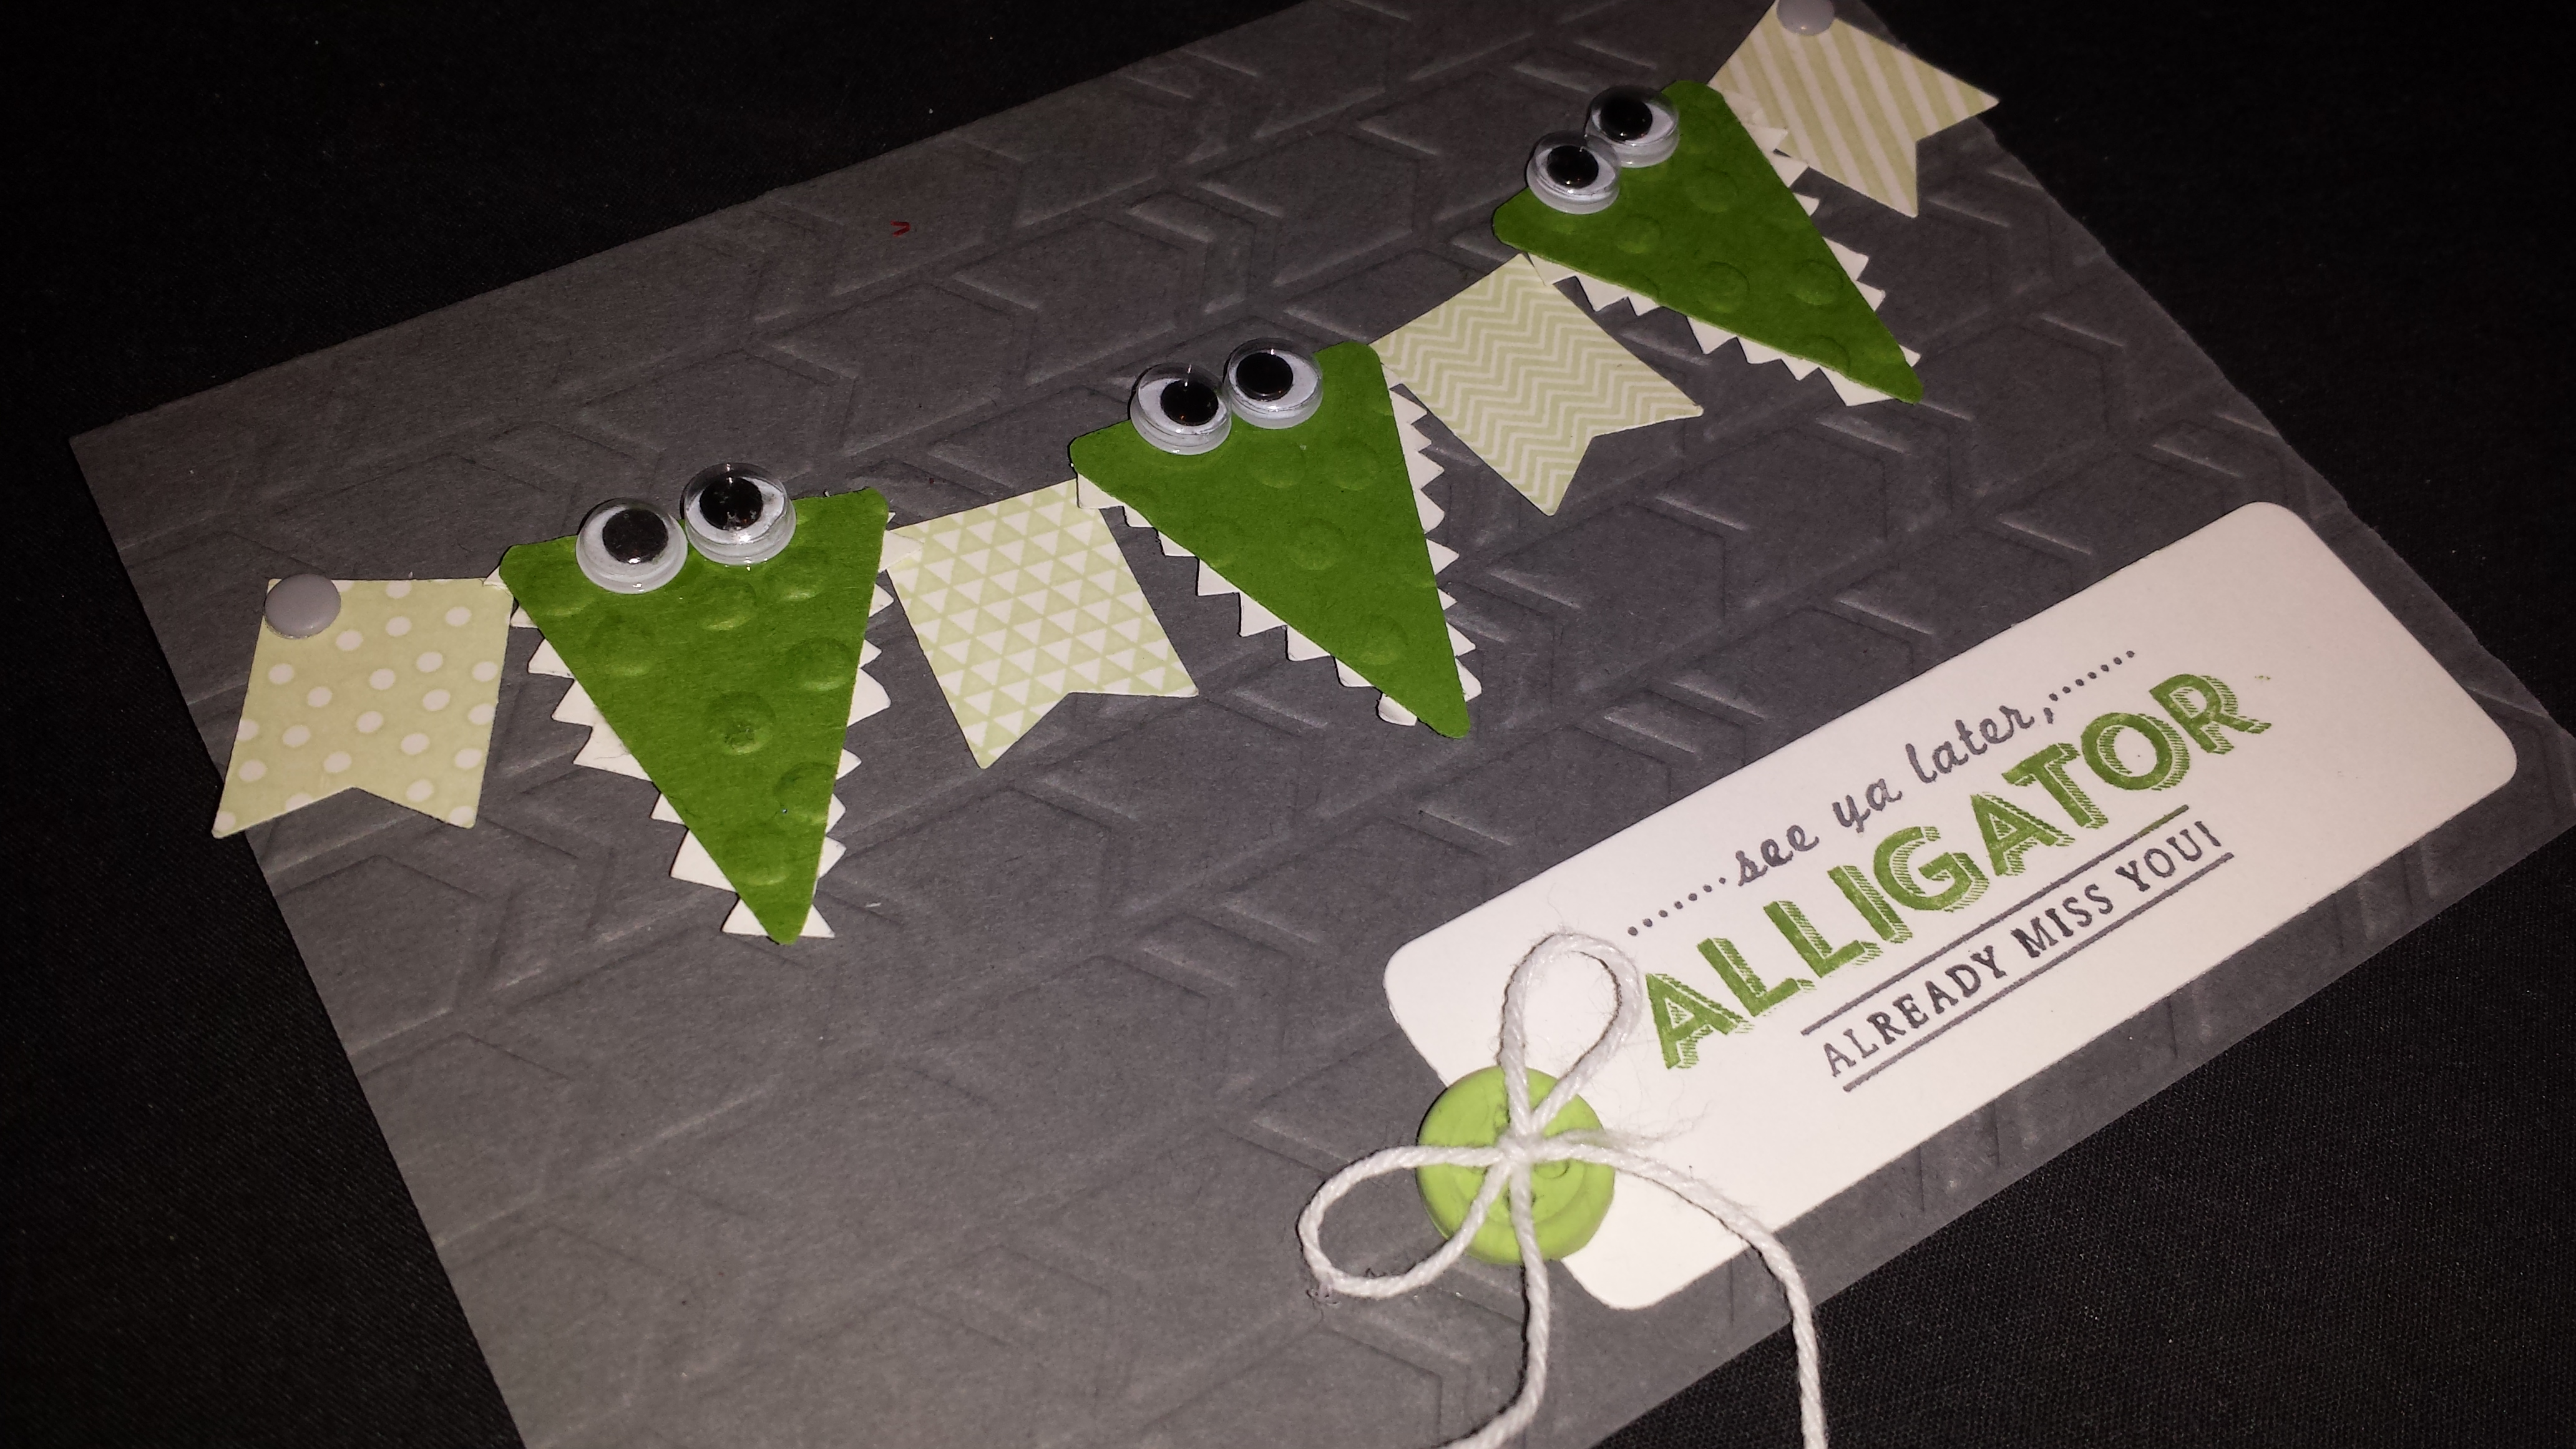
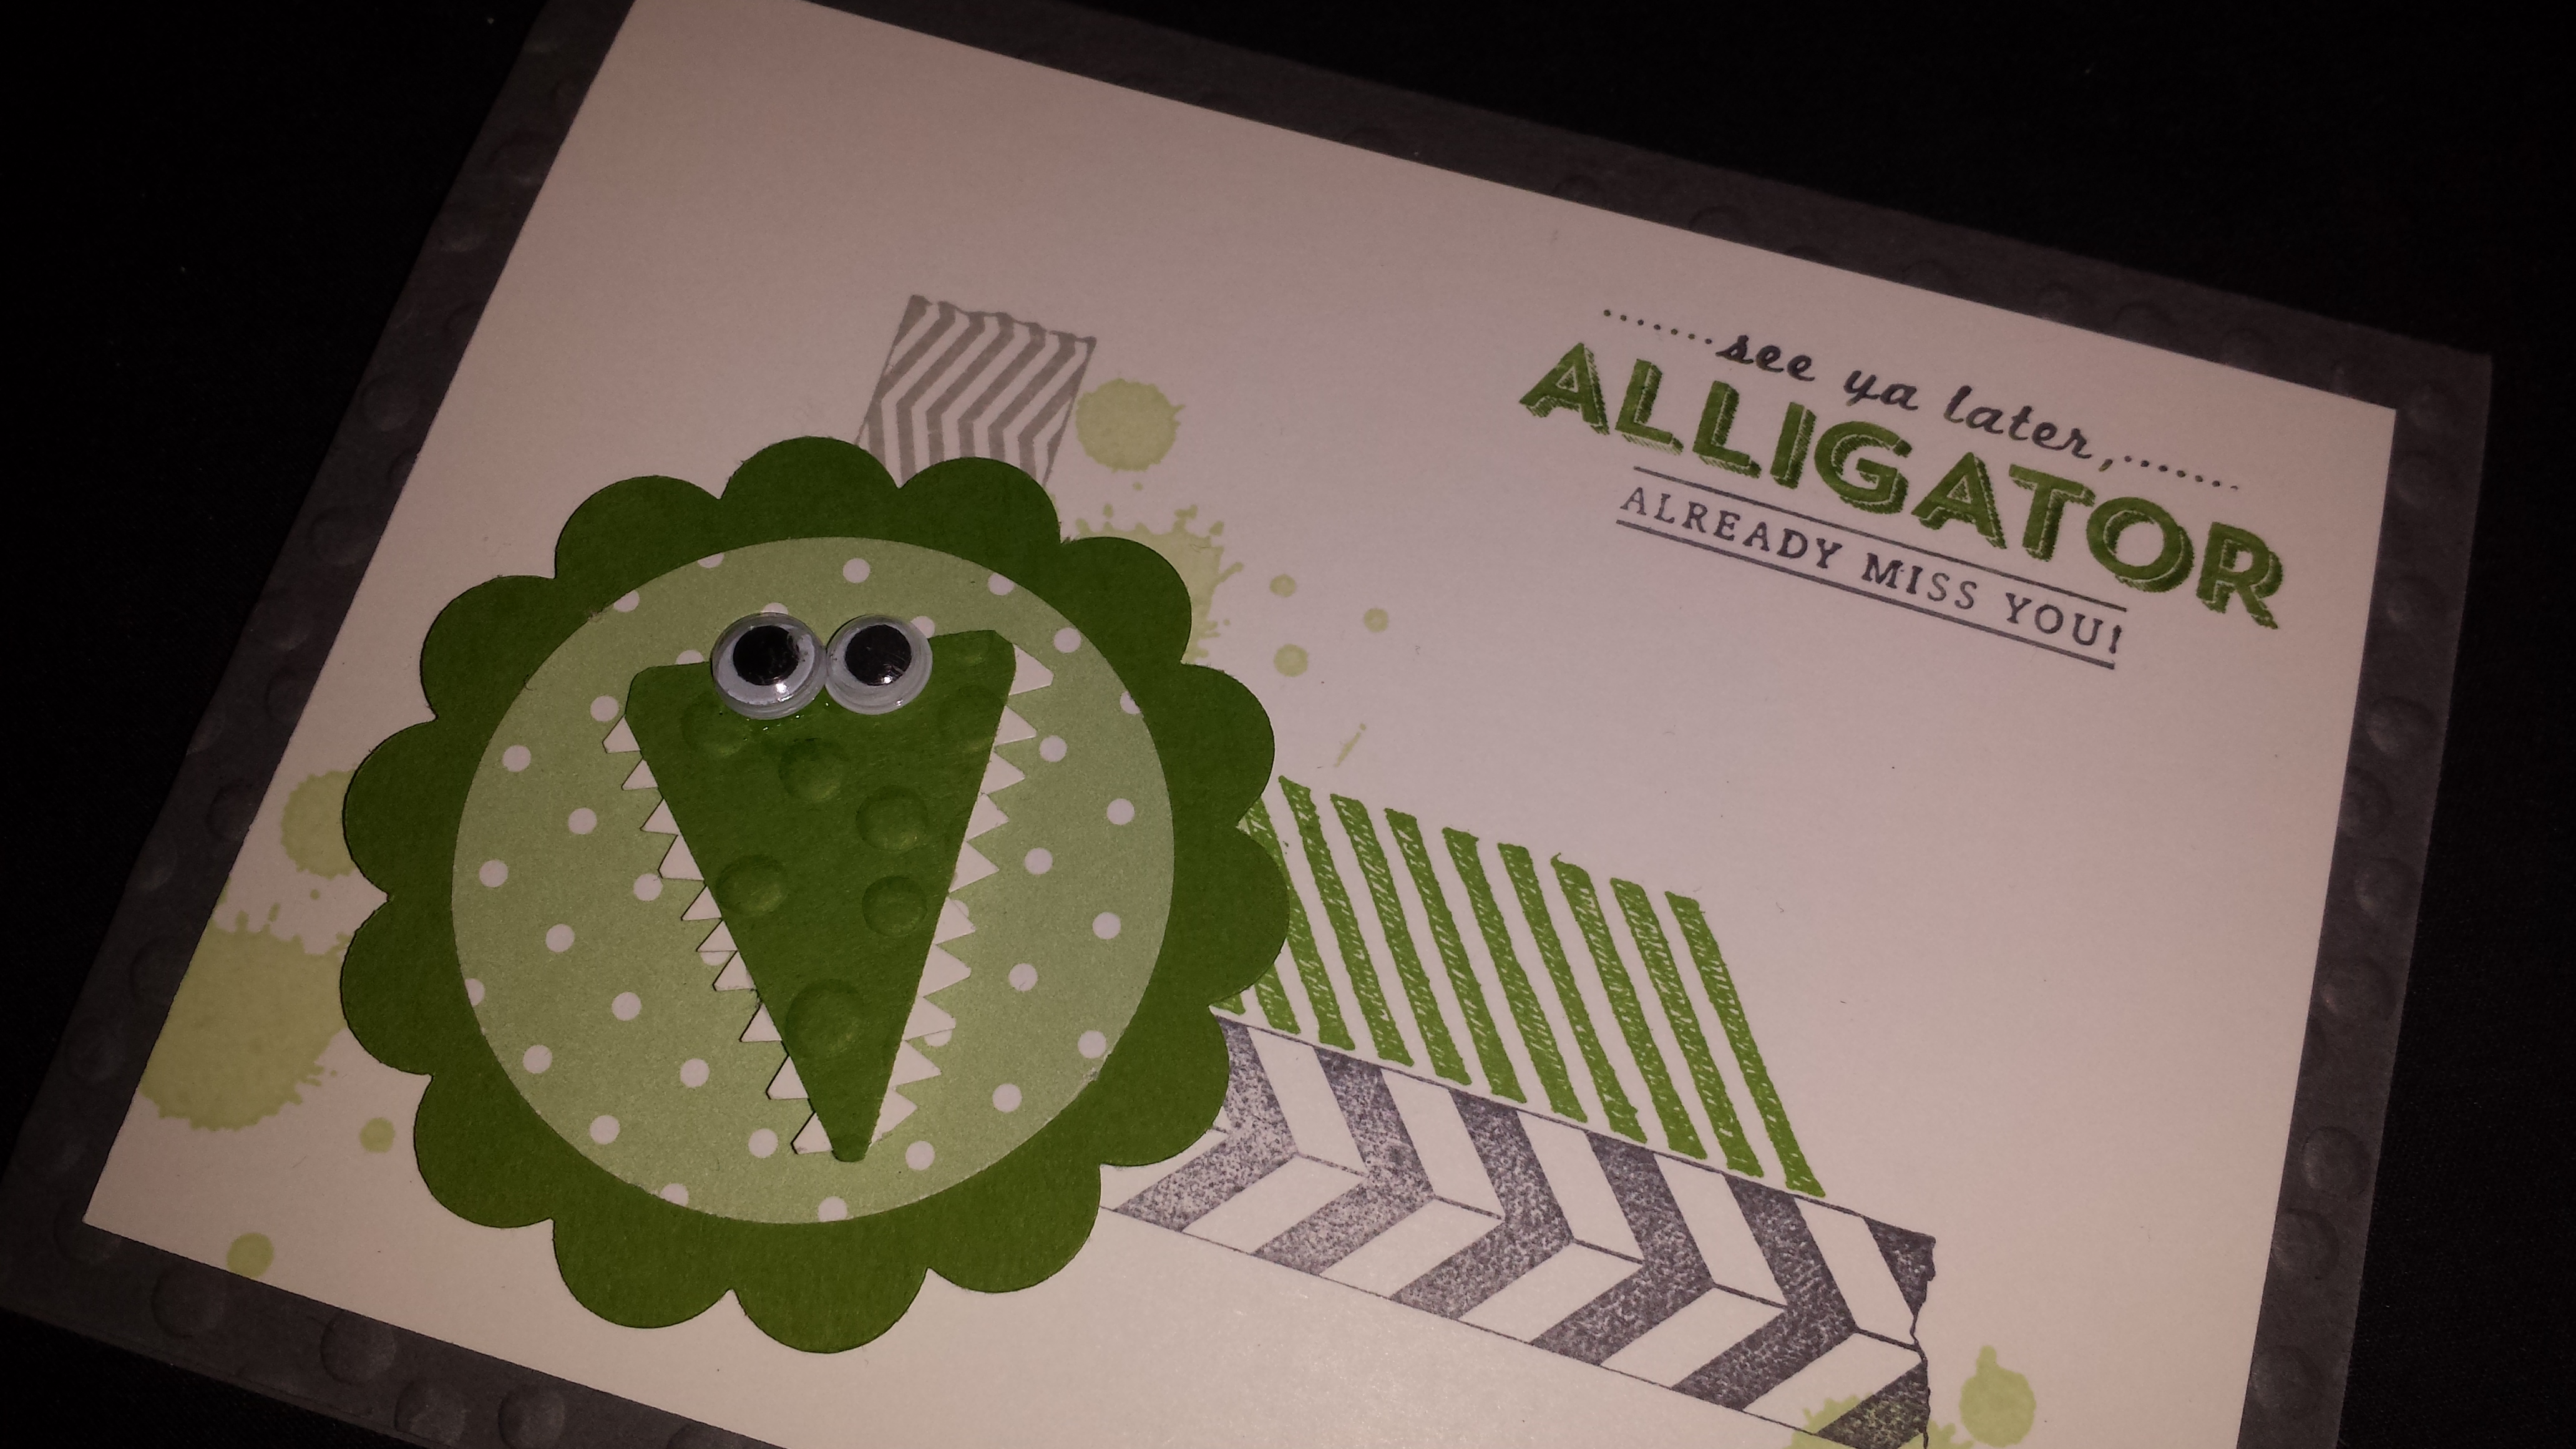
January 2014 Paper Pumpkin kit

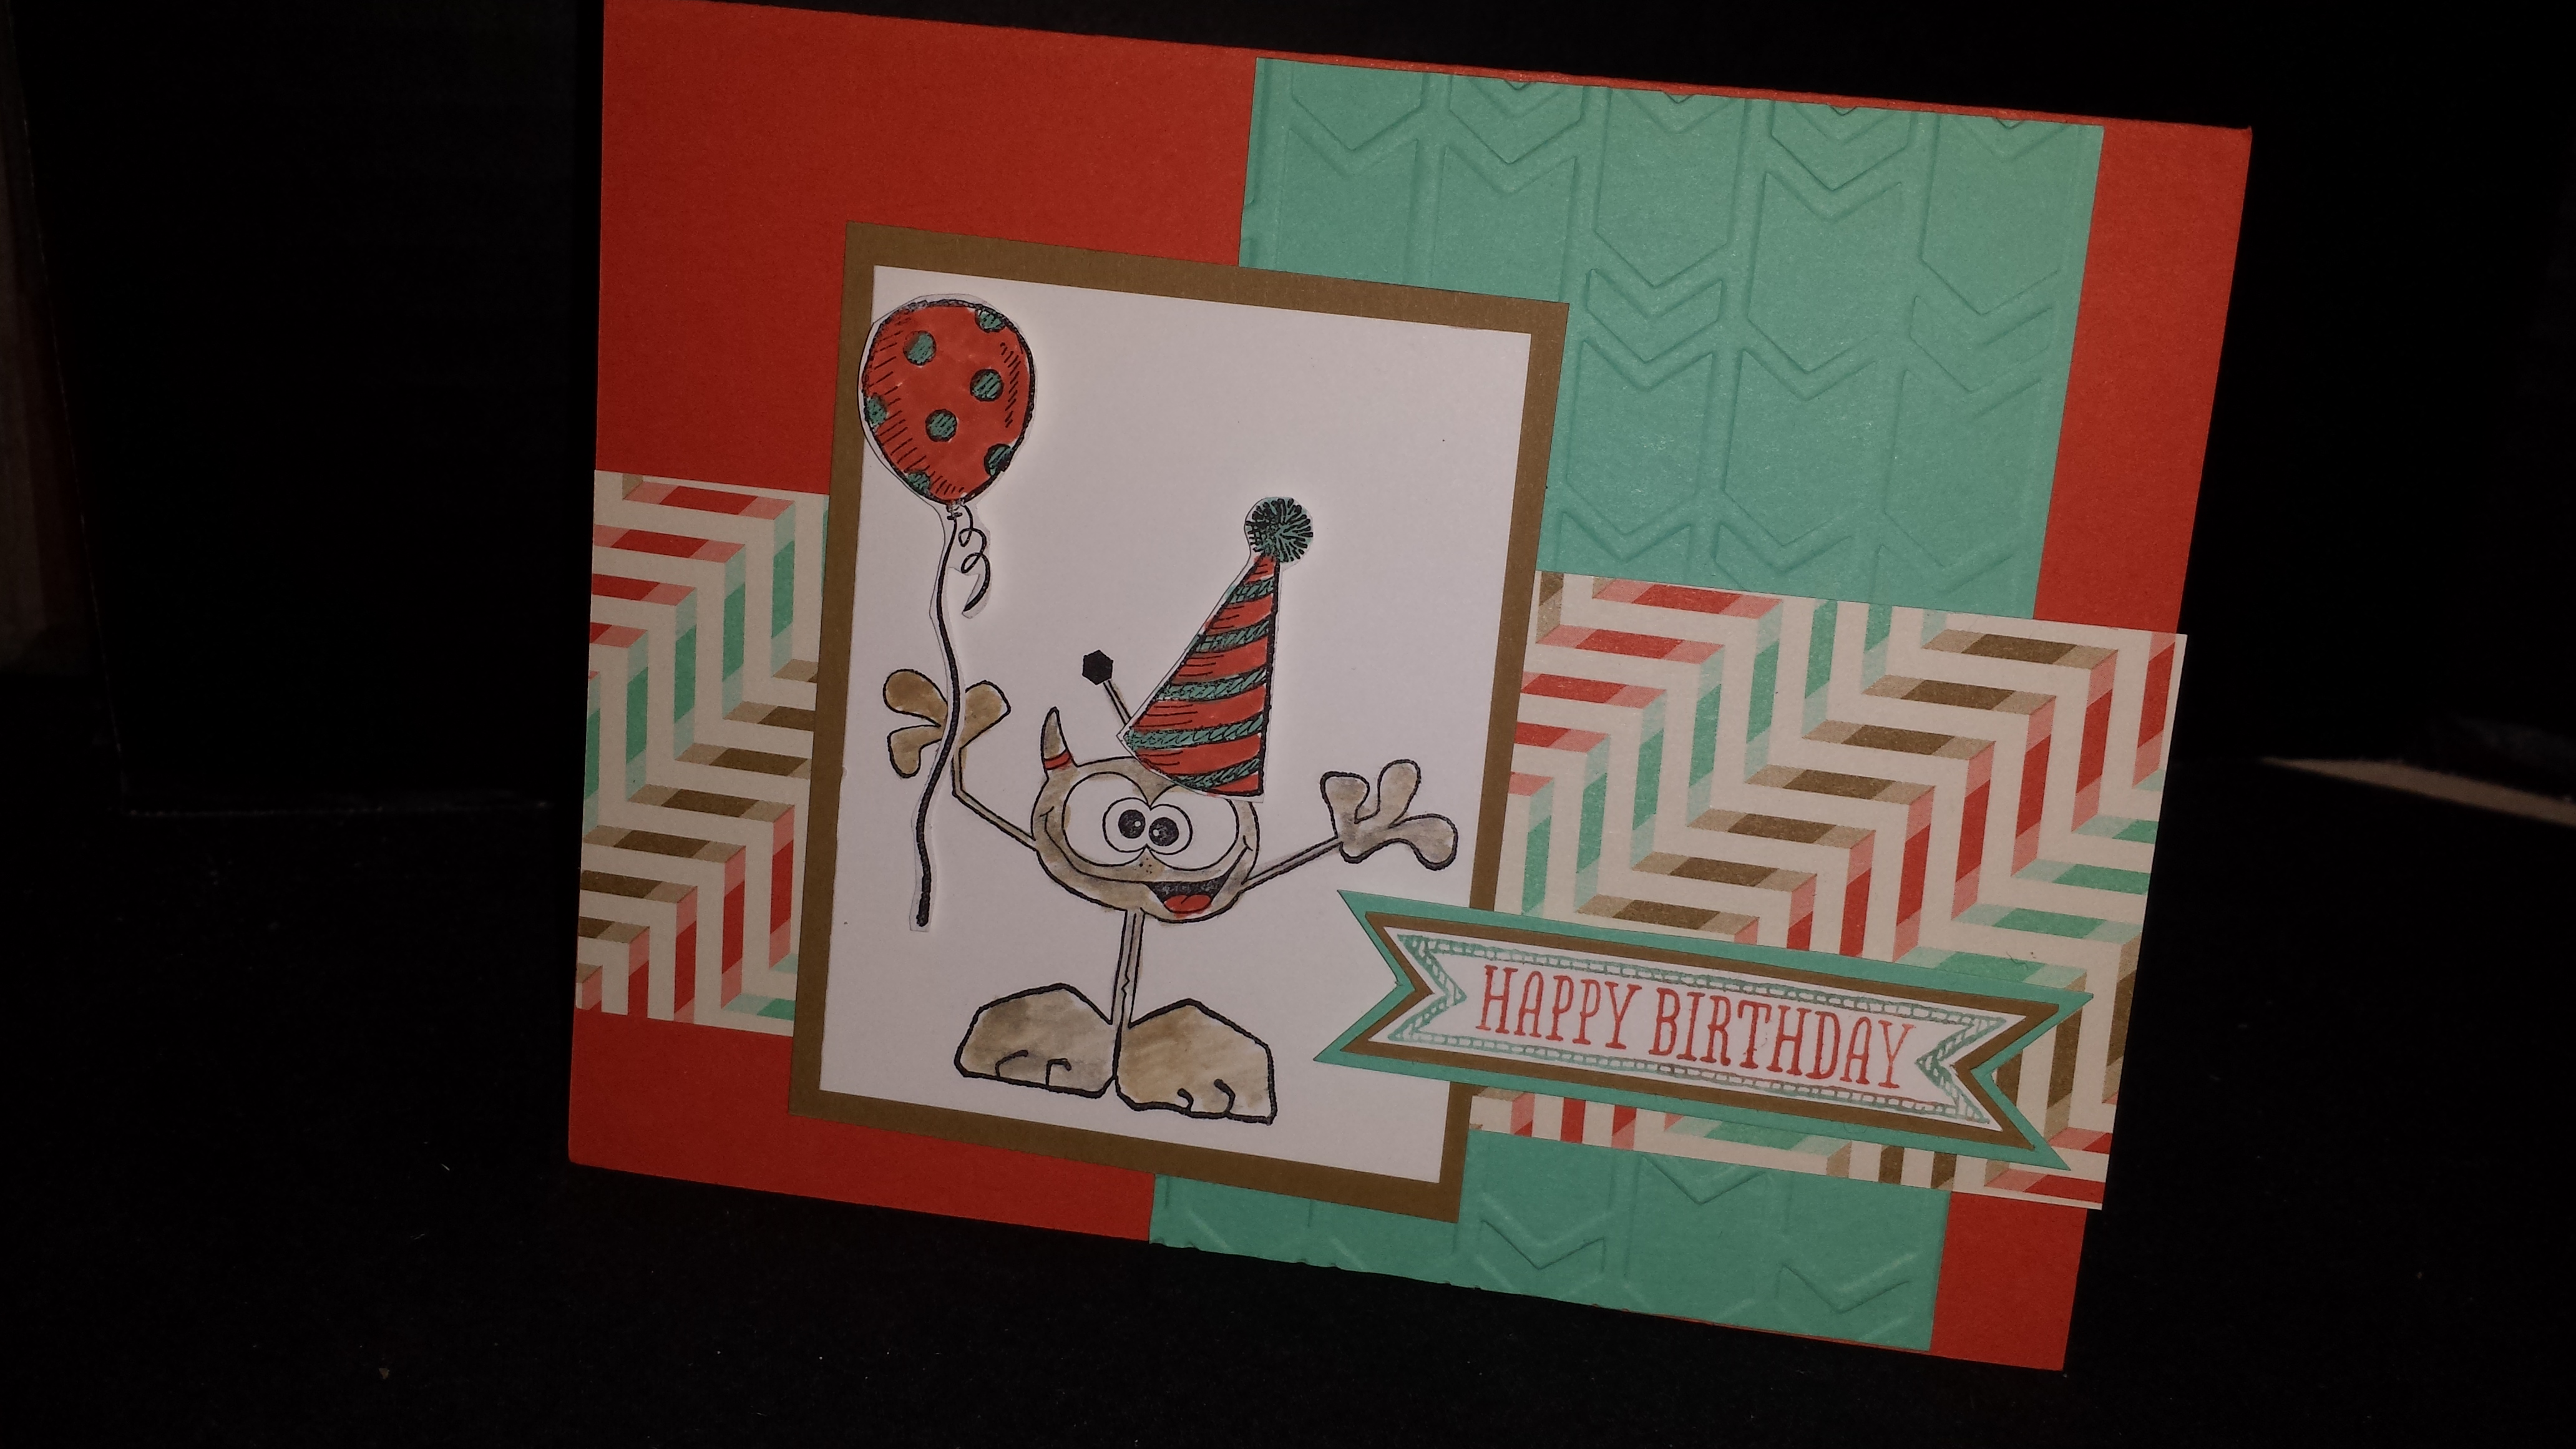
I finally had a few minutes to sit down and play with my January Paper Pumpkin kit.  Can I just say I totally love it.  I had so much fun creating these cards.  I loved that they used non-traditional colors for love cards.

So here’s the ideas that came with the cards.

January 2014 Paper Pumpkin Sample

I think they are really cute, but I wanted to see what else I could come up with.  Of course I have access to lots of great Stampin’ Up! products that would work well with the kit as well.

January 2014 Paper Pumpkin

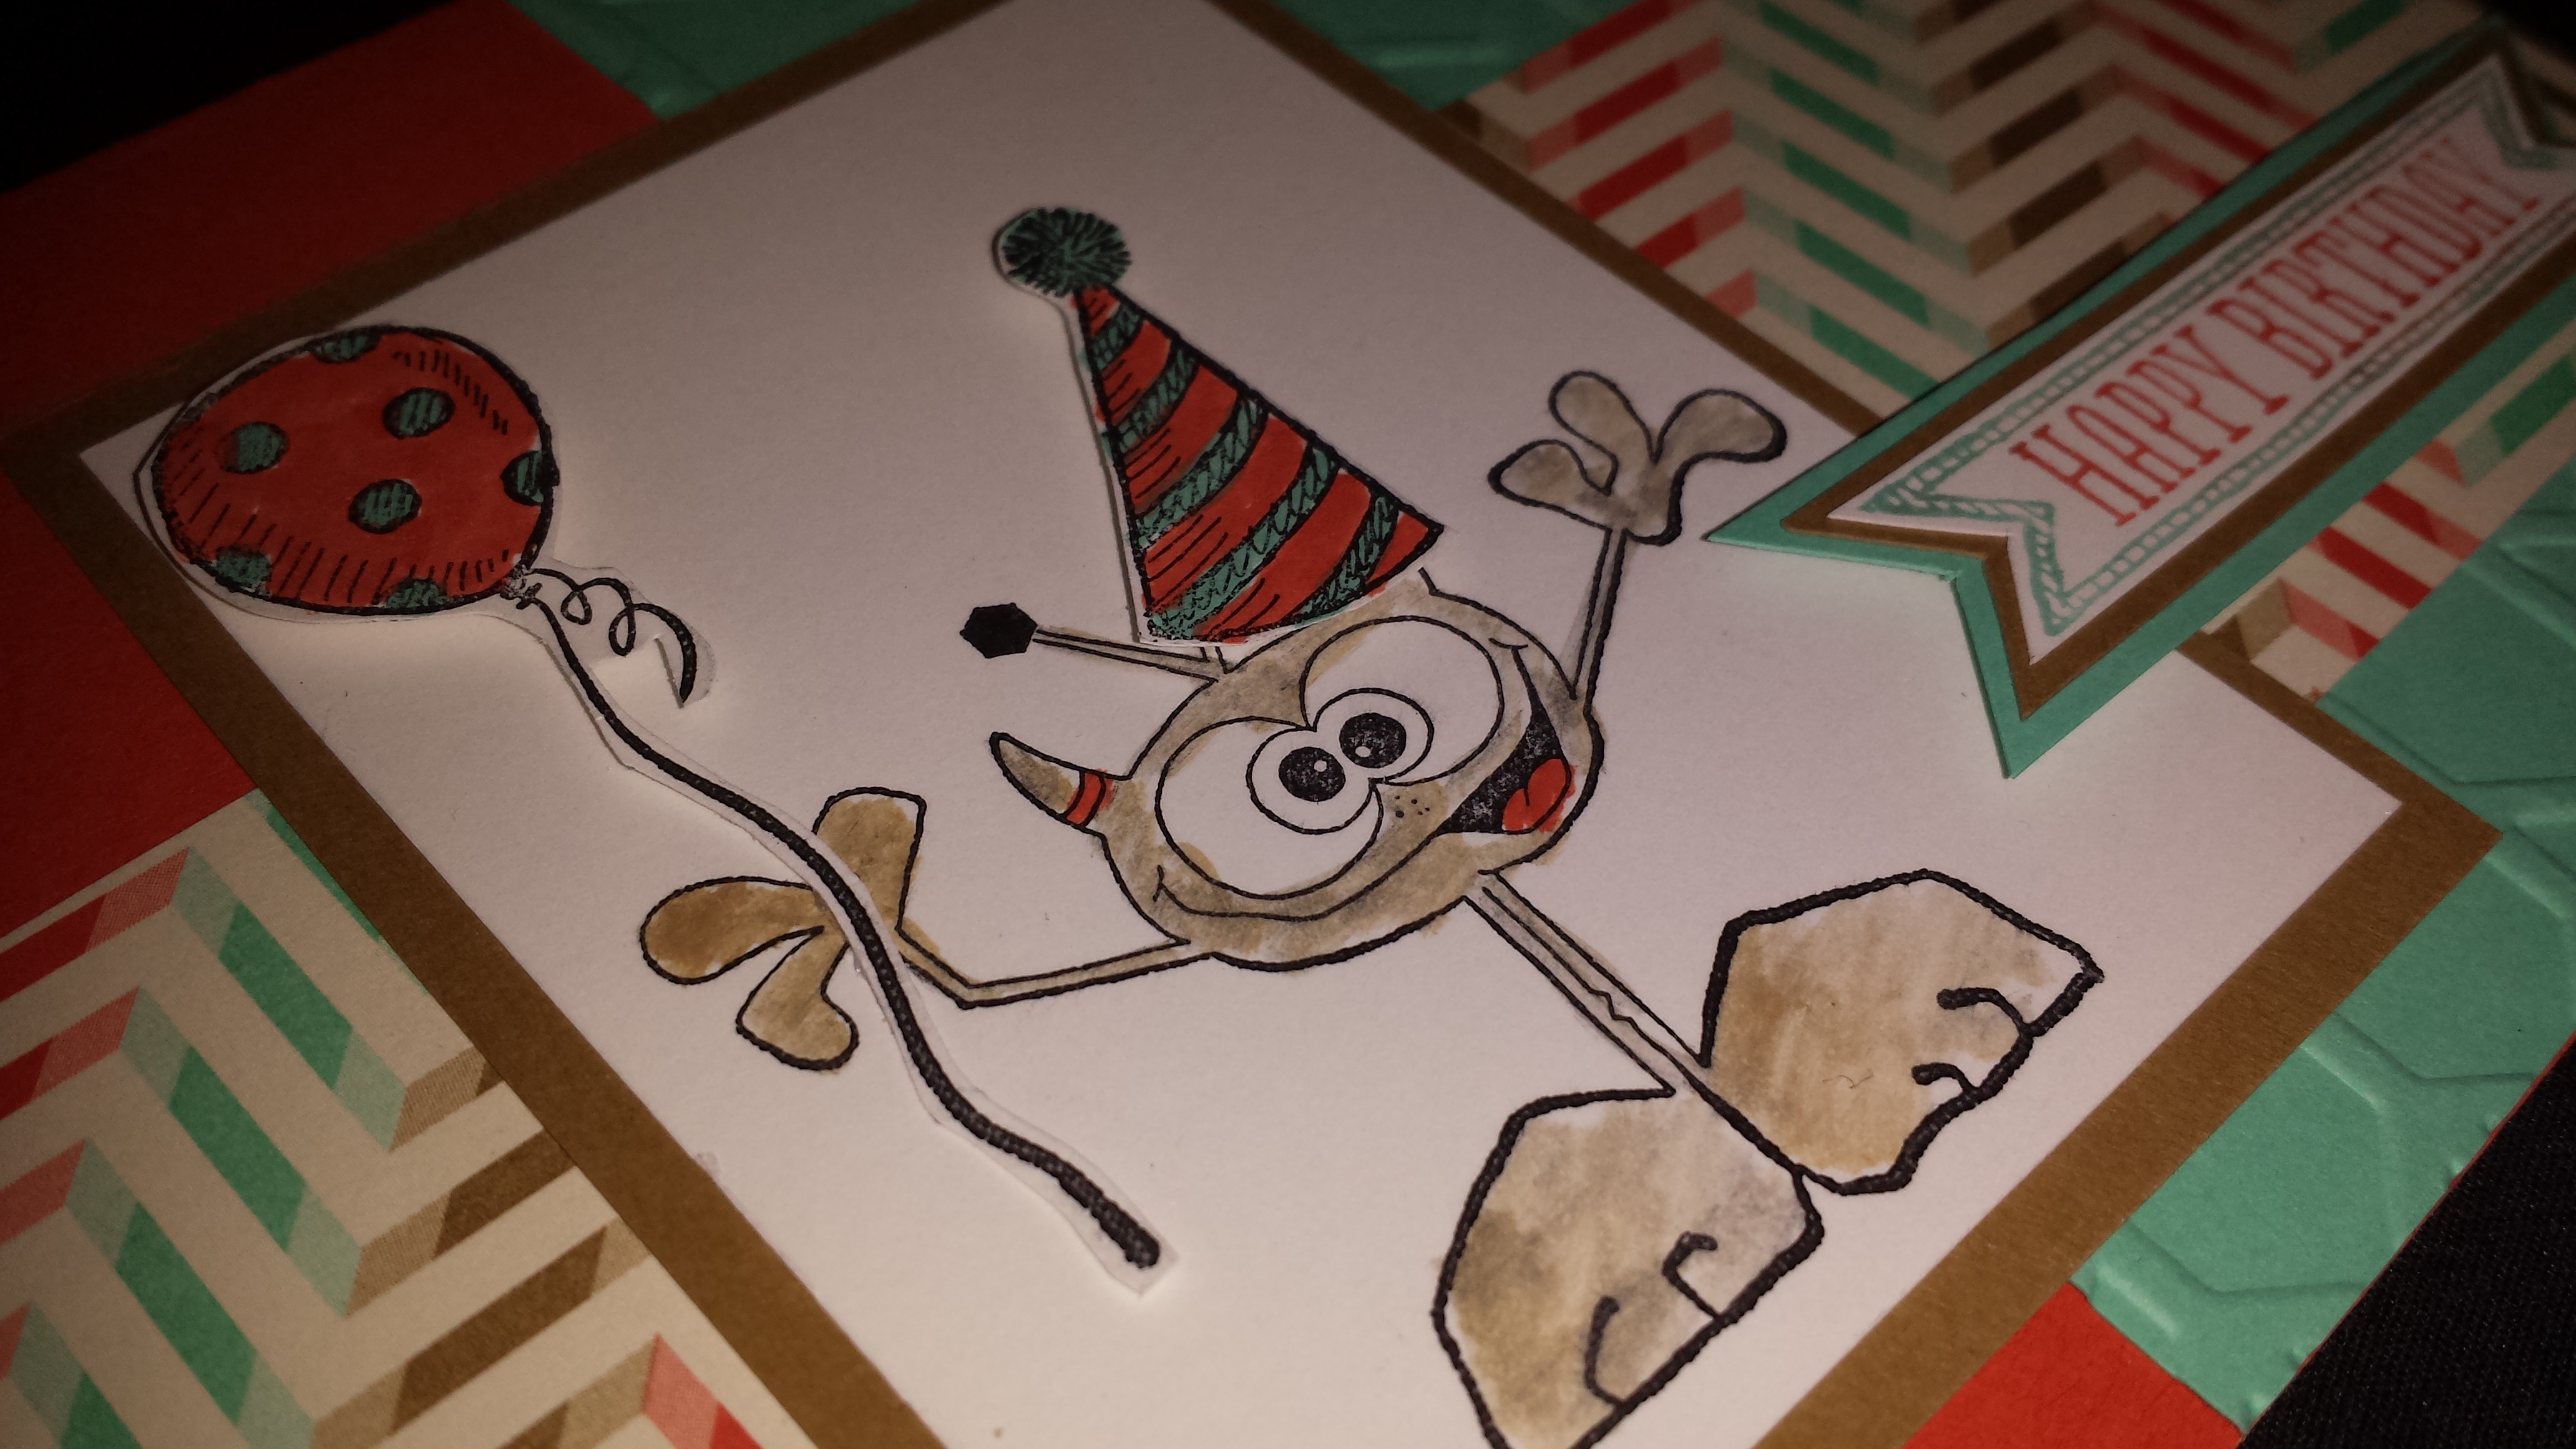
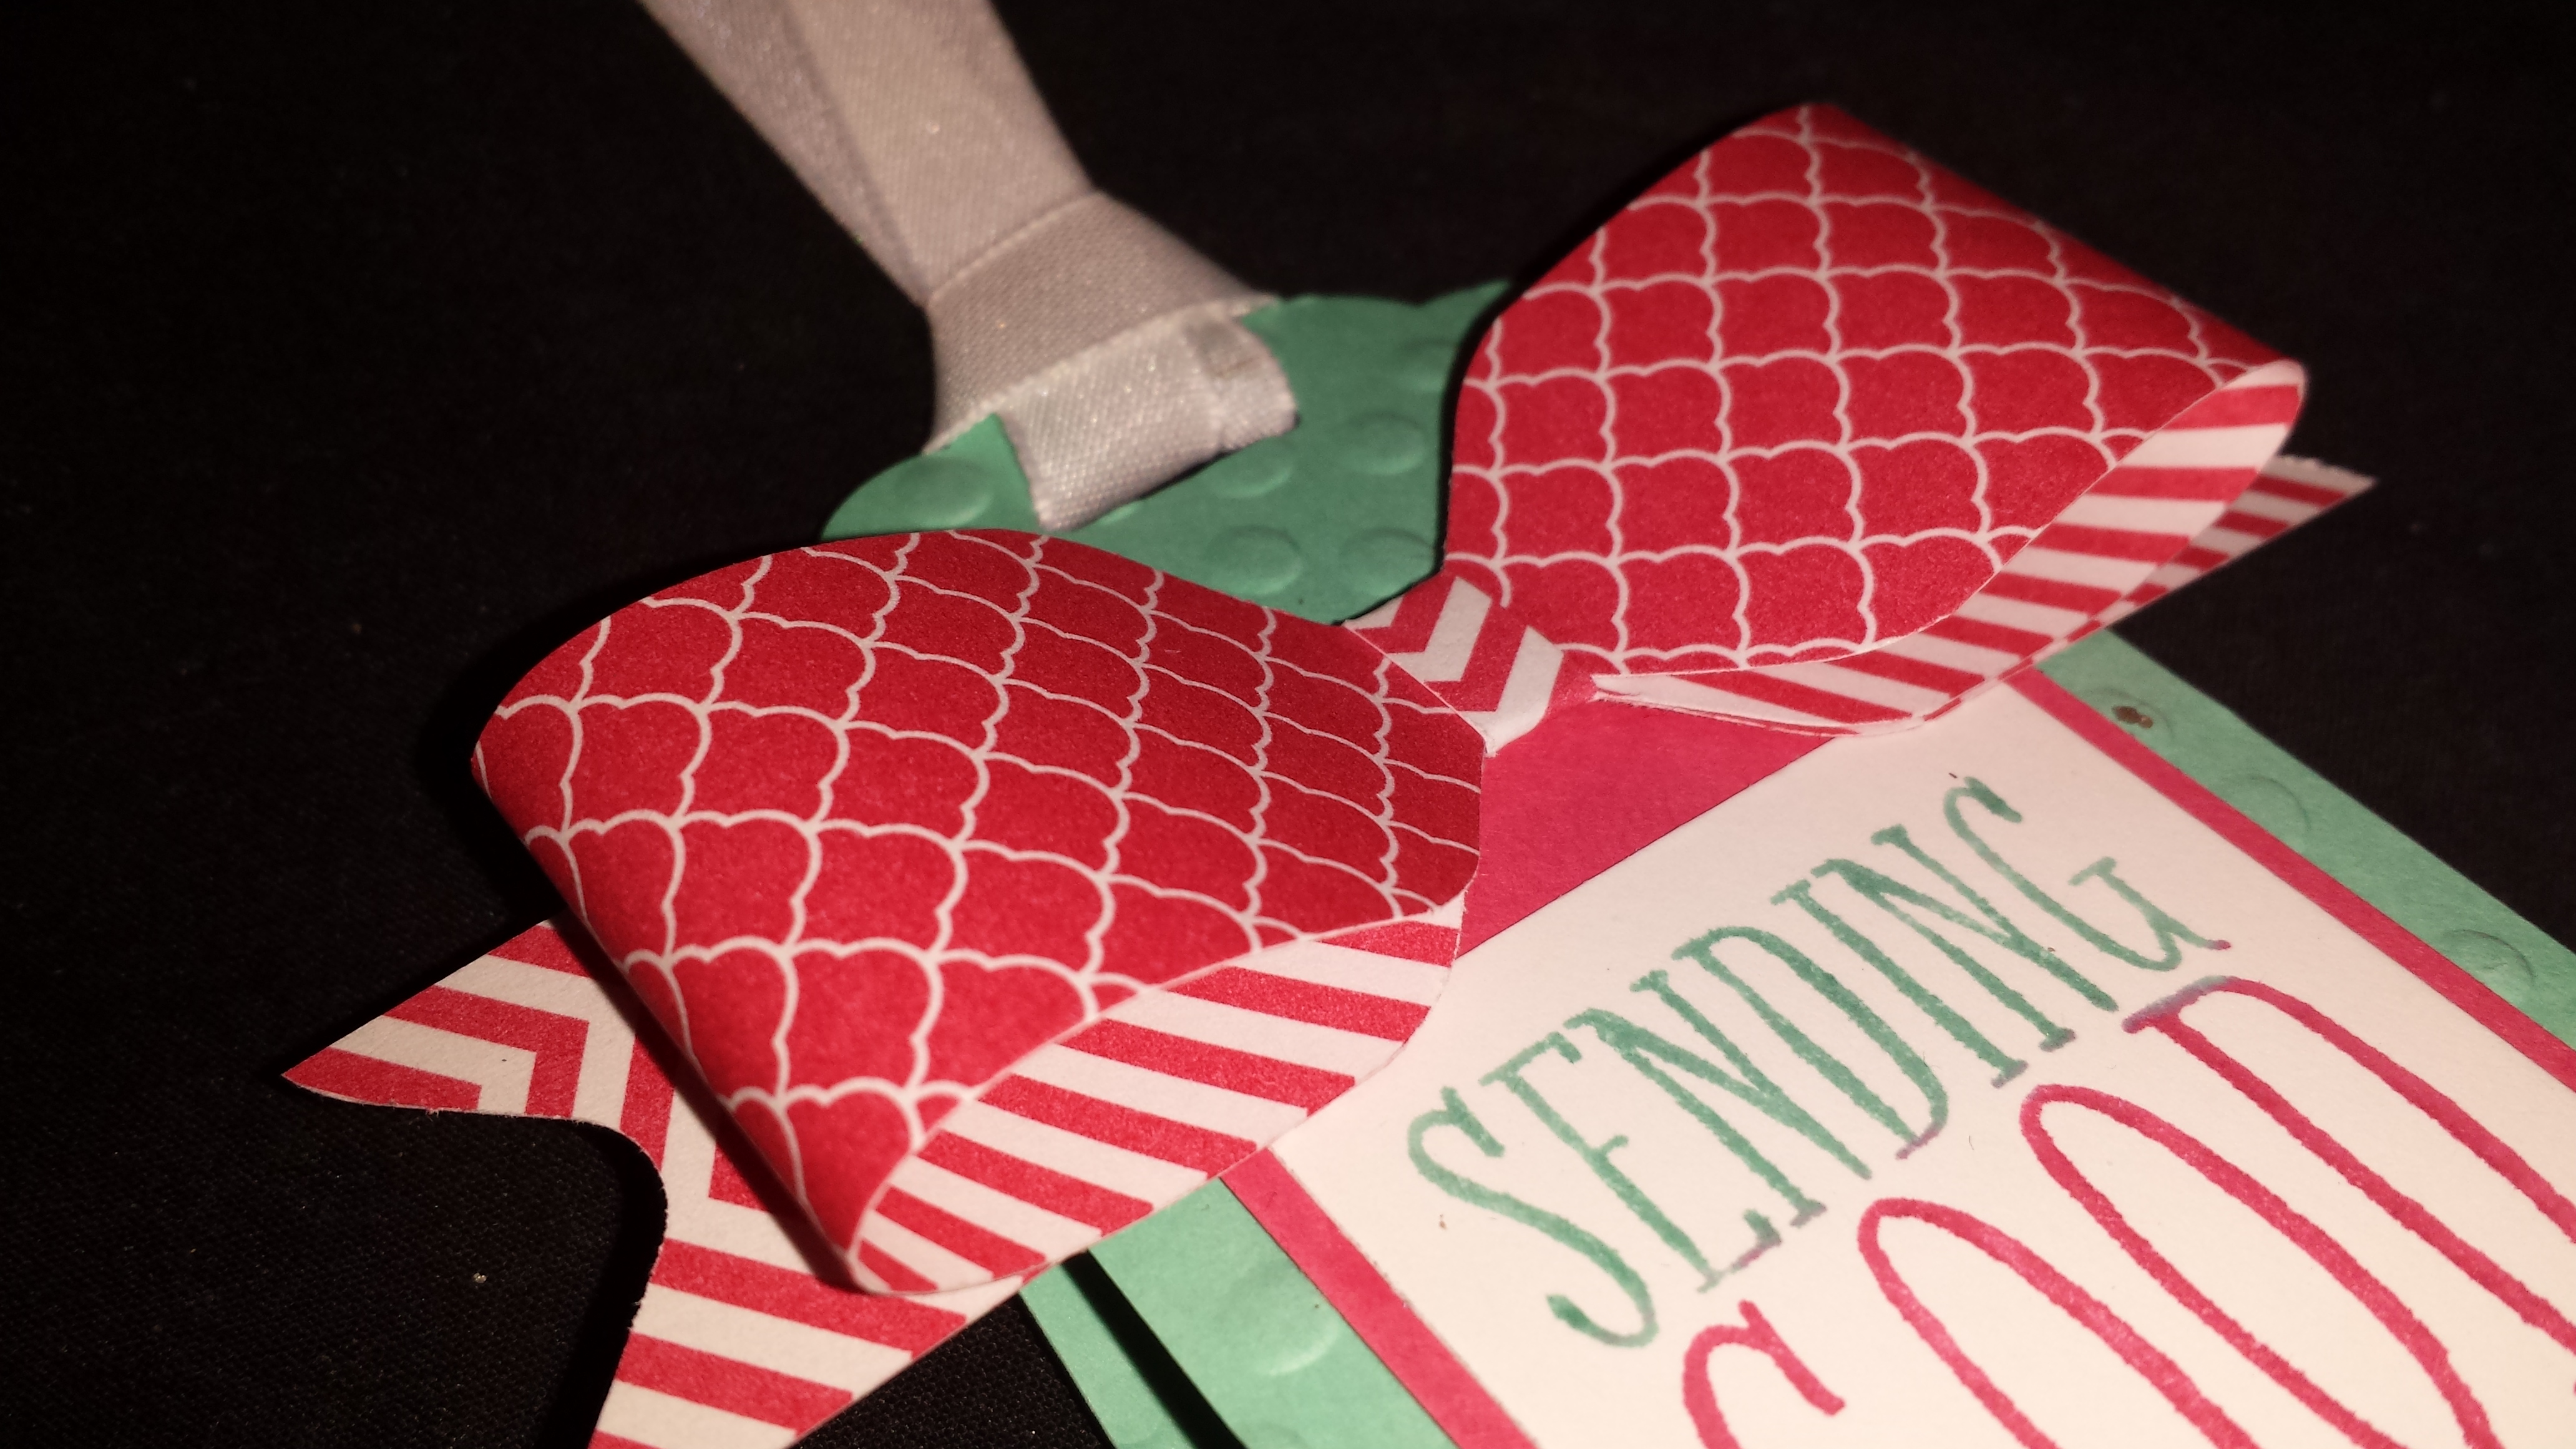
Here’s a close up on two of my favorites.  I love using the embossing folders from the occasions catalog.

January 2014 Paper Pumpkin Close Up

I also came up with a card of my own.  Using one of the templates I used earlier this month.  I embossed the paper instead of using designer paper.  I love how the arrows just work so nicely on each side.  To add the fun boarder around the heart I just used the ribbon boarder punch and cut it in half.  Then I cut each hole so it would bend easy so I could just glue it on the back and bend as I went.

Paper Pumpkin Love

Last is this fun Valentine box.  I saw something similar on Pinterest and wanted to try my own version.  I thought that the stamps from the Paper Pumpkin kit would look so cute on this.  The box was easy to make I just used a 4 1/4″ x 5 3/8″ piece of paper.  I used the simply scored and scored a 1/2″ on all for sides.  Then I cut the score line on both sides on top and bottom so I could fold it up and make a box.

Monster Love

Remember today is the last day to sign up and get the bonus markers.  Plus it’s the last day to sign up to get the kit this month.  Remember you first kit will contain the products to make these fun cards, but after that each month will be a surprise.

Paper Pumpkin Welcome Kit Cards

Be sure to sign up for Paper Pumpkin by February 10th and you’ll receive the 2012-2014 in-color markers for free.  Then you can create the same fun cards in even more great colors.  Click here to Join Now!   Plus you’ll get cute new projects straight to your door step each month. You can cancel at anytime so give it a try.

Tag SignatureOrder online 24/7
Contact me to order or book your party today!
435-245-5321 Home
435-232-2655 Cell (Text)
andersoncandice@hotmail.com

Let is Snow Card

20140206_081143

This is what I woke up to this morning.  Almost a foot of snow and still snowing.  Just in case you are wondering here in Northern Utah the kids still went to school.  I’ve heard it takes 2 feet to get a snow day.

20140206_081136

Yes clearing off the card to get to work was lots of fun.  Thankfully I get to stay home in my nice warm house since it’s my day off.  Hopefully I don’t have to go rescue my husband.  He took the car over the mountain so we shall see.

20140206_081207

You can see a little better how much snow there is on the untouched swing set.

So in light of all the snow I thought that my Let is Snow card would be the perfect throw back Thursday.  This is another card that I created for Artisan a couple years ago, but apparently never shared.

Let it Snow Card - Front

So this is the front of the card.  This card is very unique and different.  Personally I love it.  So The card base is just a regular card.  I can’t remember if it opened or not, but I think it did so you could write a message inside.  The blue background is a fun technique.  I used the white glossy paper that I wish we still sold.  I took a baby wipe and put three dots of reinker in different colors going across the wipe then I wiped it on the glossy cardstock to give it kind of a rainbow look.  Once that was dry I inked my snowflake with versamark and stamped my snowflakes then embossed them with clear embossing powder.  I then used a dark blue reinker and a sponge to sponge over the top so the snowflakes were the only think to show the lighter colors.  The embossing powder resists the ink so you can see the colors underneath.

Let it Snow card- Layers

This card has some fun layers to it.  I folded a white paper.  I believe that it’s a 4 1/4 tall by 11 scored at 2 3/4 on each side and 5 1/2.  Then folded accordion style.  I attached a piece of sticky strip along the side where it was being attached and covered it with the Silver Glass Glitter.  This isn’t the best picture, but it gives you an idea of how the card folds up.

Let it Snow card- opening

So this the the card as it’s opening up. Of course the front is a darling picture of my son playing in the snow.  I used a mini clip to hold it shut when you aren’t opening it.

Let it Snow Card- Partial open

As it starts to unfold you can start to see the magic int he card.  I used the Snow Much Fun set that is now retired to create a fun winter seen.

Let is Snow card- Opened

Here’s the finished card all opened.  My favorite part is the snowflakes that are attached to some bakers twine.  The snow men are stamped and embossed with black embossing powder before they are colored.  It’s kind of hard to see but I also used  some of the Dazzling Details on the snow ball and sides of the snowmen to make them sparkle.  The snow is stamped in white and embossed with white embossing powder to make it pop.

Hopefully I’ve inspired you to think outside of the box a bit.  Here’s one more piece of inspiration.  This is a wall hang I made using the same technique that I used on the background of my card.

Let it Snow wall hang

I used the scallop square die and the alphabet die to cut out the background and the letters.  Both were cut with chipboard and covered in white cardstock.  I hang this one up every year.  I still love it.

Tag SignatureOrder online 24/7
Contact me to order or book your party today!
435-245-5321 Home
435-232-2655 Cell (Text)
andersoncandice@hotmail.com

Fun Bitty Butterfly Card


I saw this cute layout on Pinterest using hearts I think and thought it would be fun to try with the tiny butterfly punch.  Are you wondering how I got the patterned images on the butterflies?  I bet you are thinking that they are designer series paper.  Well you would be wrong.  I actually used some of the darling background stamps that came with one of my paper pumpkin kits.  Yes just another great reason to have Paper Pumpkin coming to your house each month.  Make sure you sign up before the 10th so you can get the free markers with your kit and get started having fun projects come to your home each month.  You’ll notice that I used the Decorative Dots embossing folder from Sale-a-brations again because I’m totally in love with it.  It’s a must have in my opinion.

Butterfly card

Be sure to sign up for Paper Pumpkin by February 10th and you’ll receive the 2012-2014 in-color markers for free.  Then you can create the same fun cards in even more great colors.  Click here to Join Now!   Plus you’ll get cute new projects straight to your door step each month. You can cancel at anytime so give it a try.

Tag SignatureOrder online 24/7
Contact me to order or book your party today!
435-245-5321 Home
435-232-2655 Cell (Text)
andersoncandice@hotmail.com

Products used:

Colors:
Crisp Cantaloupe, Calypso Coral, Whisper White, Basic Black, Blushing Bride

Stamps:
Lots of Thanks
Wood- #129687 $22.95
Clear- #129690 $16.95

Paper Pumpkin
Dots & Chevron

Punches:
Bitty Butterfly #129406 $15.95

Others:
White Baker’s Twine #124262 $2.95
Decorative Dots #133520 SAB Free


Today Calls for Something pink card revised


As promised here is the card that I made from my friend Ashley’s idea.  Do you see the small subtle differences?

Calls for Pink Card Revised

First.  I used Strawberry Slush instead of Melon Mambo.  That’s because Coastal Cabana and Strawberry Slush are both 2013-2015 in-colors so that meant I only had to buy 1 designer series paper stack which is good if you are on a tight budget.  Next I used the silver 1/8″ taffeta since the Melon Mambo was a bit darker.  Last I left off the button since it’s retired and used baker’s twine from the tag it kits. (That’s only because I ran out of white though.)  Hope you like my little twist.

Tag SignatureOrder online 24/7
Contact me to order or book your party today!
435-245-5321 Home
435-232-2655 Cell (Text)
andersoncandice@hotmail.com

Products used:

Colors:
CoastalCabana, Strawberry Slush, Whisper White, Basic Gray

Stamps:
Remembering Your Birthday
Wood- #131347 $23.95
Clear- #131350 $17.95

Punches:
Cupcake Builder #121807 $16.95
Dotted Scallop Ribbon Boarder #119275 $15.95
2-3/8″ Scallop Circle #118874 $16.95

Others:
Silver Glimmer Paper #124005 $4.95
2013-2015 In-Color Designer Series Paper Stacks #130136 $21.95
Tag a bag accessory kit #130153 $7.95 Baker’s Twine
Envelope Punch Board #133774 $19.95
Silver 1/8″ Ribbon # #132137 $4.95


Signature Stamps in MDS

Last year my grandmother passed away and I had the opportunity to create a book for our family to remember her. My Digital Studio made this so easy. I had all our friends and family send me pictures of Grandma. Once I had those I was ready to go. I started with the template Sweet Details which comes with MDS. I made a few changes to add in additional photo boxes to fit in all those great pictures everyone sent and added words that worked well with the pictures. I also left plenty of room for signatures.

Grandma's book Front
Once I had the book ready to go I printed at a local printers and placed it in smooth sheet protectors. We took the book to the funeral and had everyone sign on the sheet protectors with a sharpie marker and write a special memory about my Grandma.

Grandma's Book Signature on page protector
After the funeral I took the book home and flipped the pages over so that all I had was the signature with a white background. I scanned these into the computer then used Photoshop to delete out the white background and turn the image into a SVG file.  SVG file is the same type of file that MDS uses to create stamps in the program. I saved all of my signatures in MDS under stamps and I was ready to go.

Grandma's book Signature on white
I added each signature to the pages. This was really nice because I was able to change the colors to make them match, re-size if needed and even move to a different page to spread things out. I also moved embellishments and pictures if necessary to make all the signatures look good with the pages and pictures.
Grandma's Book MDS screen shot
After I had everything in I was able to print the book through Stampin’ Up! to have a nice finished book. We actually printed like 15 books so that each family could have book of their own and have all the great pictures plus memories. I love it because everyone was able to have this special book instead of just one person.

Grandma's Book Finished Signatures
I think this idea is perfect for family reunions, special birthdays, weddings, graduations really just about any special occasion that many people would love to have the memory. I plan on making one for my son that is graduating this year and have friends and family write special messages. I think this would also be great if your child is part of a team like band, cheer, dance or any group they spend a lot of time with. You can create a book with pictures from the events and messages from all the participants then add it all together so everyone can have a special memory book.

.

I know this is a little advanced but I wanted to share it anyway because it just really gets me excited. If you would be interested in my creating a book like this for your event please let me know. I’d be happy to help you, or if you would like to make one of your own I’d be happy to help you with the steps as well. Hopefully you’ll find lots of great uses for this idea. I even think it would be fun to have your kids write a message each year that you could add to the family year book and have their handwriting preserved from year to year and see how it changes. If you have any questions please let me know.

Tag SignatureOrder online 24/7
Contact me to order or book your party today!
435-245-5321 Home
435-232-2655 Cell (Text)
andersoncandice@hotmail.com

Products used:

MDS Products:
My Digital Studio
Disk #130647 $19.95
Download #130646 $19.95
Free Trial #130910 $0

Downloads:
Sweet Details Photobook template- #125742 $17.95


Cute card with Paper Pumpkin stamps

My friend Cortney made this card and I just love it.  Can you guess how many stamps are from Paper Pumpkin kits?

Paper Pumpkin combo card

Well if you guessed 4 then you would be correct.  “Hey” comes from the first kit that you get when you sign up.  Remember to sign up by the 10th so you can get your free set of markers.  The dots on the background also come from the set.  The “Seriously” is also from another set.  Last but not least the stripes behind the “I freakin’ love you!” are also from a paper pumpkin.  This was one of the fun cards we made last month at the Stampin’ Buffet.  Now while you can’t get these Paper Pumpkin’s anymore, you’ll want to sign up right away so you don’t miss any future stamps.  Remember you can cancel Paper Pumpkin at any time so go ahead and give it a try.  I think you will love it.  Using stamps and dies that are retired are just another fun reason to come to Stampin’ Buffet.  Be sure to check it out as well.

Click here to Join Now! 

Tag SignatureOrder online 24/7
Contact me to order or book your party today!
435-245-5321 Home
435-232-2655 Cell (Text)
andersoncandice@hotmail.com

Products used:

Colors:
Cherry Cobbler, Basic Gray, Smoky Slate, Whisper White

Stamps:
Yippee-Skippee!
Wood- #131341 $18.95
Clear- #131344 $14.95

Big Shot:
Magnetic Platform #130658 $39.95
Stylish Stripes Embossing Folder- Retired
Hearts a Flutter Framelits Die #132173 $24.95

Others:
Cherry Cobbler Baker’s Twine #123125 $2.95
Epic Day This and That Washi Tape #131269 $4.95
Silver Glimmer Paper #124005 $4.95