DIY Spooktacular Gift Bag Tutorial for Unique Halloween Treats

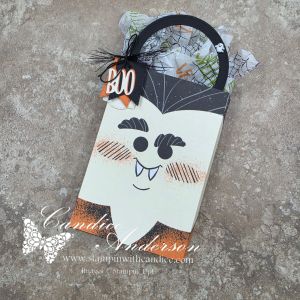
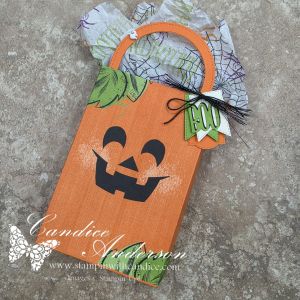
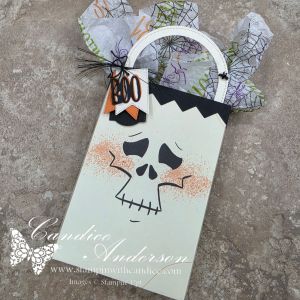
When I first saw the Spooktacular 6″ x 6″ Designer Series Paper, I just knew I had to have it! It was one of the first things from my wish list that I ordered. Of course, it took me a little while to actually find the time to create with it—but it was definitely worth the wait!

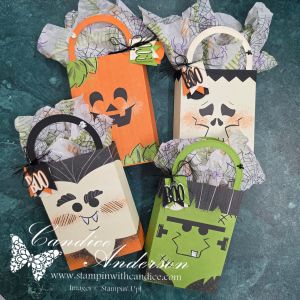
I knew I wanted to create some kind of fun Halloween gift box using those adorable monster faces. As I started playing around with the paper and experimenting with different ideas, I actually came up with this gift bag completely by accident.

And I absolutely fell in love with it! 👻🎃

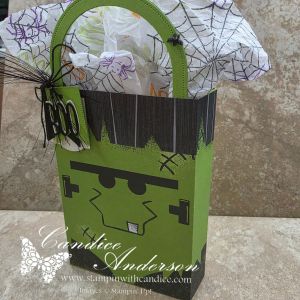
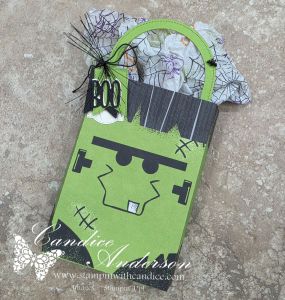
I love how the angled sides let you see even more of that cute Designer Series Paper, while the coordinating handle, layered BOO tag, wispy ribbon, and stamped tissue paper add all those little finishing touches. And because each sheet features a different monster, you can create a whole collection of bags, each with its own personality!

You love it too, right?

And if you don’t already have the Spooktacular Designer Series Paper, I have a feeling it’s going to be on your wish list after seeing these!


Ready to Make Your Own?

I’ve made it easy for you with my Spooktacular Gift Bag Tutorial.

For just $7, you’ll receive a 5-page downloadable PDF tutorial complete with:

  • Step-by-step instructions and photos
  • Cutting and scoring measurements
  • Complete supply list
  • Helpful tips for assembling and embellishing your bag
  • A video tutorial so you can follow along with me from start to finish

Need Supplies?

Want to create the bags but you’re missing some of the supplies? I’ve made that easy too!

Use my Stampin’ Up! project link to see the products I used and add only the items you need directly to your shopping cart.

I Can’t Wait to See Yours!

One of my favorite things about sharing my projects is seeing how they inspire your creativity. Change the colors, embellishments, tags, or treats and make these little bags your own!

When you create your Spooktacular Gift Bag, be sure to tag me when you share it. I always love seeing what my projects have inspired you to create.


No matter where your creative journey takes you, I’m so glad you’re here. Let’s learn, create, connect, and grow together—one project at a time. 🦋

A beautifully crafted Christmas card featuring a window scene that displays a peaceful nativity setting on one side, while the inside is adorned with cozy holiday elements like hanging stockings and warm colors.

💕 Let’s Stay Connected

📺 YouTube 📘 Facebook 📸 Instagram 📌 Pinterest

July Paper Pumpkin Meets a Sketch Challenge

For this week’s Global Design Project Sketch Challenge #GDP558, I was inspired by my July Paper Pumpkin kit. This month’s kit featured easy-to-create easel cards, and I absolutely fell in love with the flowers, sentiments, and coordinating add-on dies. They were the perfect combination for bringing this week’s sketch to life.

I decided to stick with the same beautiful color palette from the kit: Hydrangea Hue, Timid Tiger, Melon Mambo, Darling Duckling, and Old Olive. I love how bright and cheerful these colors are together. While the Paper Pumpkin cards used softer tones, I created a similar look by stamping some of my images at full strength and others stamped off for a lighter shade.

Creating the Floral Panels

The sketch featured four rectangles separated by narrow spaces, so I reached for the Rounded Rectangle Punch to create my four panels.

I started with Basic White cardstock, stamping the leaves in Old Olive around the corners before adding flowers in Melon Mambo and Timid Tiger (stamped off). My goal was to create a floral frame around each rectangle while leaving the centers clean and open.

Next came my favorite part—adding dimension!

Using the coordinating add-on dies, I cut flowers from Hydrangea Hue, Timid Tiger, and Darling Duckling, along with leaves in Old Olive. Instead of leaving the leaves attached to their stems, I snipped them apart and tucked them throughout the design anywhere I wanted a little extra greenery.

Several of the flowers were popped up with Stampin’ Dimensionals for added depth. I even allowed some of the flowers to extend past the edges of each panel before trimming them flush once everything was adhered. This helps create the illusion that the floral arrangement continues beyond the edges.

The finished panels were attached to a 3¼” × 5″ piece of Basic White cardstock using additional Dimensionals.

Adding the Sentiment

For the greeting, I stamped “hooray” in Melon Mambo on Basic White cardstock and carefully fussy cut it. The “it’s your day!” sentiment was stamped in Timid Tiger and cut using the Triple Banner Punch.

To pull everything together, I wrapped Crisp Cantaloupe Ribbon around the center of the card and tied it with White Baker’s Twine.

One thing I love about Stampin’ Up! products is how well many of the colors coordinate, even when they aren’t exact matches. The Crisp Cantaloupe ribbon paired beautifully with the softer stamped-off Timid Tiger images and tied the entire card together.

Creating the Easel Card Base

The card base is Hydrangea Hue cardstock, cut to 11″ × 4¼” and scored at 5½” and 2⅛” to create the easel fold.

I wanted to recreate the subtle plaid background from the Paper Pumpkin cards, so instead of embossing with the Forever Plaid 3D Embossing Folder, I tried a different technique.

I inked the embossing folder, laid my cardstock onto the inked surface, and rolled over it with my Stampin’ Brayer. This transferred the plaid pattern without adding texture, which kept the fold nice and smooth while still giving me the look I wanted.

To finish the front, I adhered only the bottom portion of the white panel to the lower section of the card base so the easel mechanism could function properly.

Finishing the Inside

For the inside, I added a 3¾” × 5″ piece of Basic White cardstock.

I stamped the grid image three times in Timid Tiger, then stamped the “hugs & wishes” sentiment in the same color and punched it out with the Triple Banner Punch.

I attached the banner with Stampin’ Dimensionals, allowing it to act as the stopper that holds the easel card upright—just like the original Paper Pumpkin design.


Final Thoughts

This was such a fun card to create, and I know I’ll be reaching for these stamps and coordinating dies again soon. It’s always exciting to take inspiration from one project and transform it into something completely new.

Check out this sneak peek of what’s to come!


No matter where your creative journey takes you, I’m so glad you’re here. Let’s learn, create, connect, and grow together—one project at a time. 🦋

A beautifully crafted Christmas card featuring a window scene that displays a peaceful nativity setting on one side, while the inside is adorned with cozy holiday elements like hanging stockings and warm colors.

💕 Let’s Stay Connected

📺 YouTube 📘 Facebook 📸 Instagram 📌 Pinterest

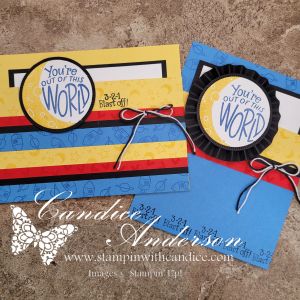
Easy Pocket Fun Fold Card – Simply Out of This World 🌙✨

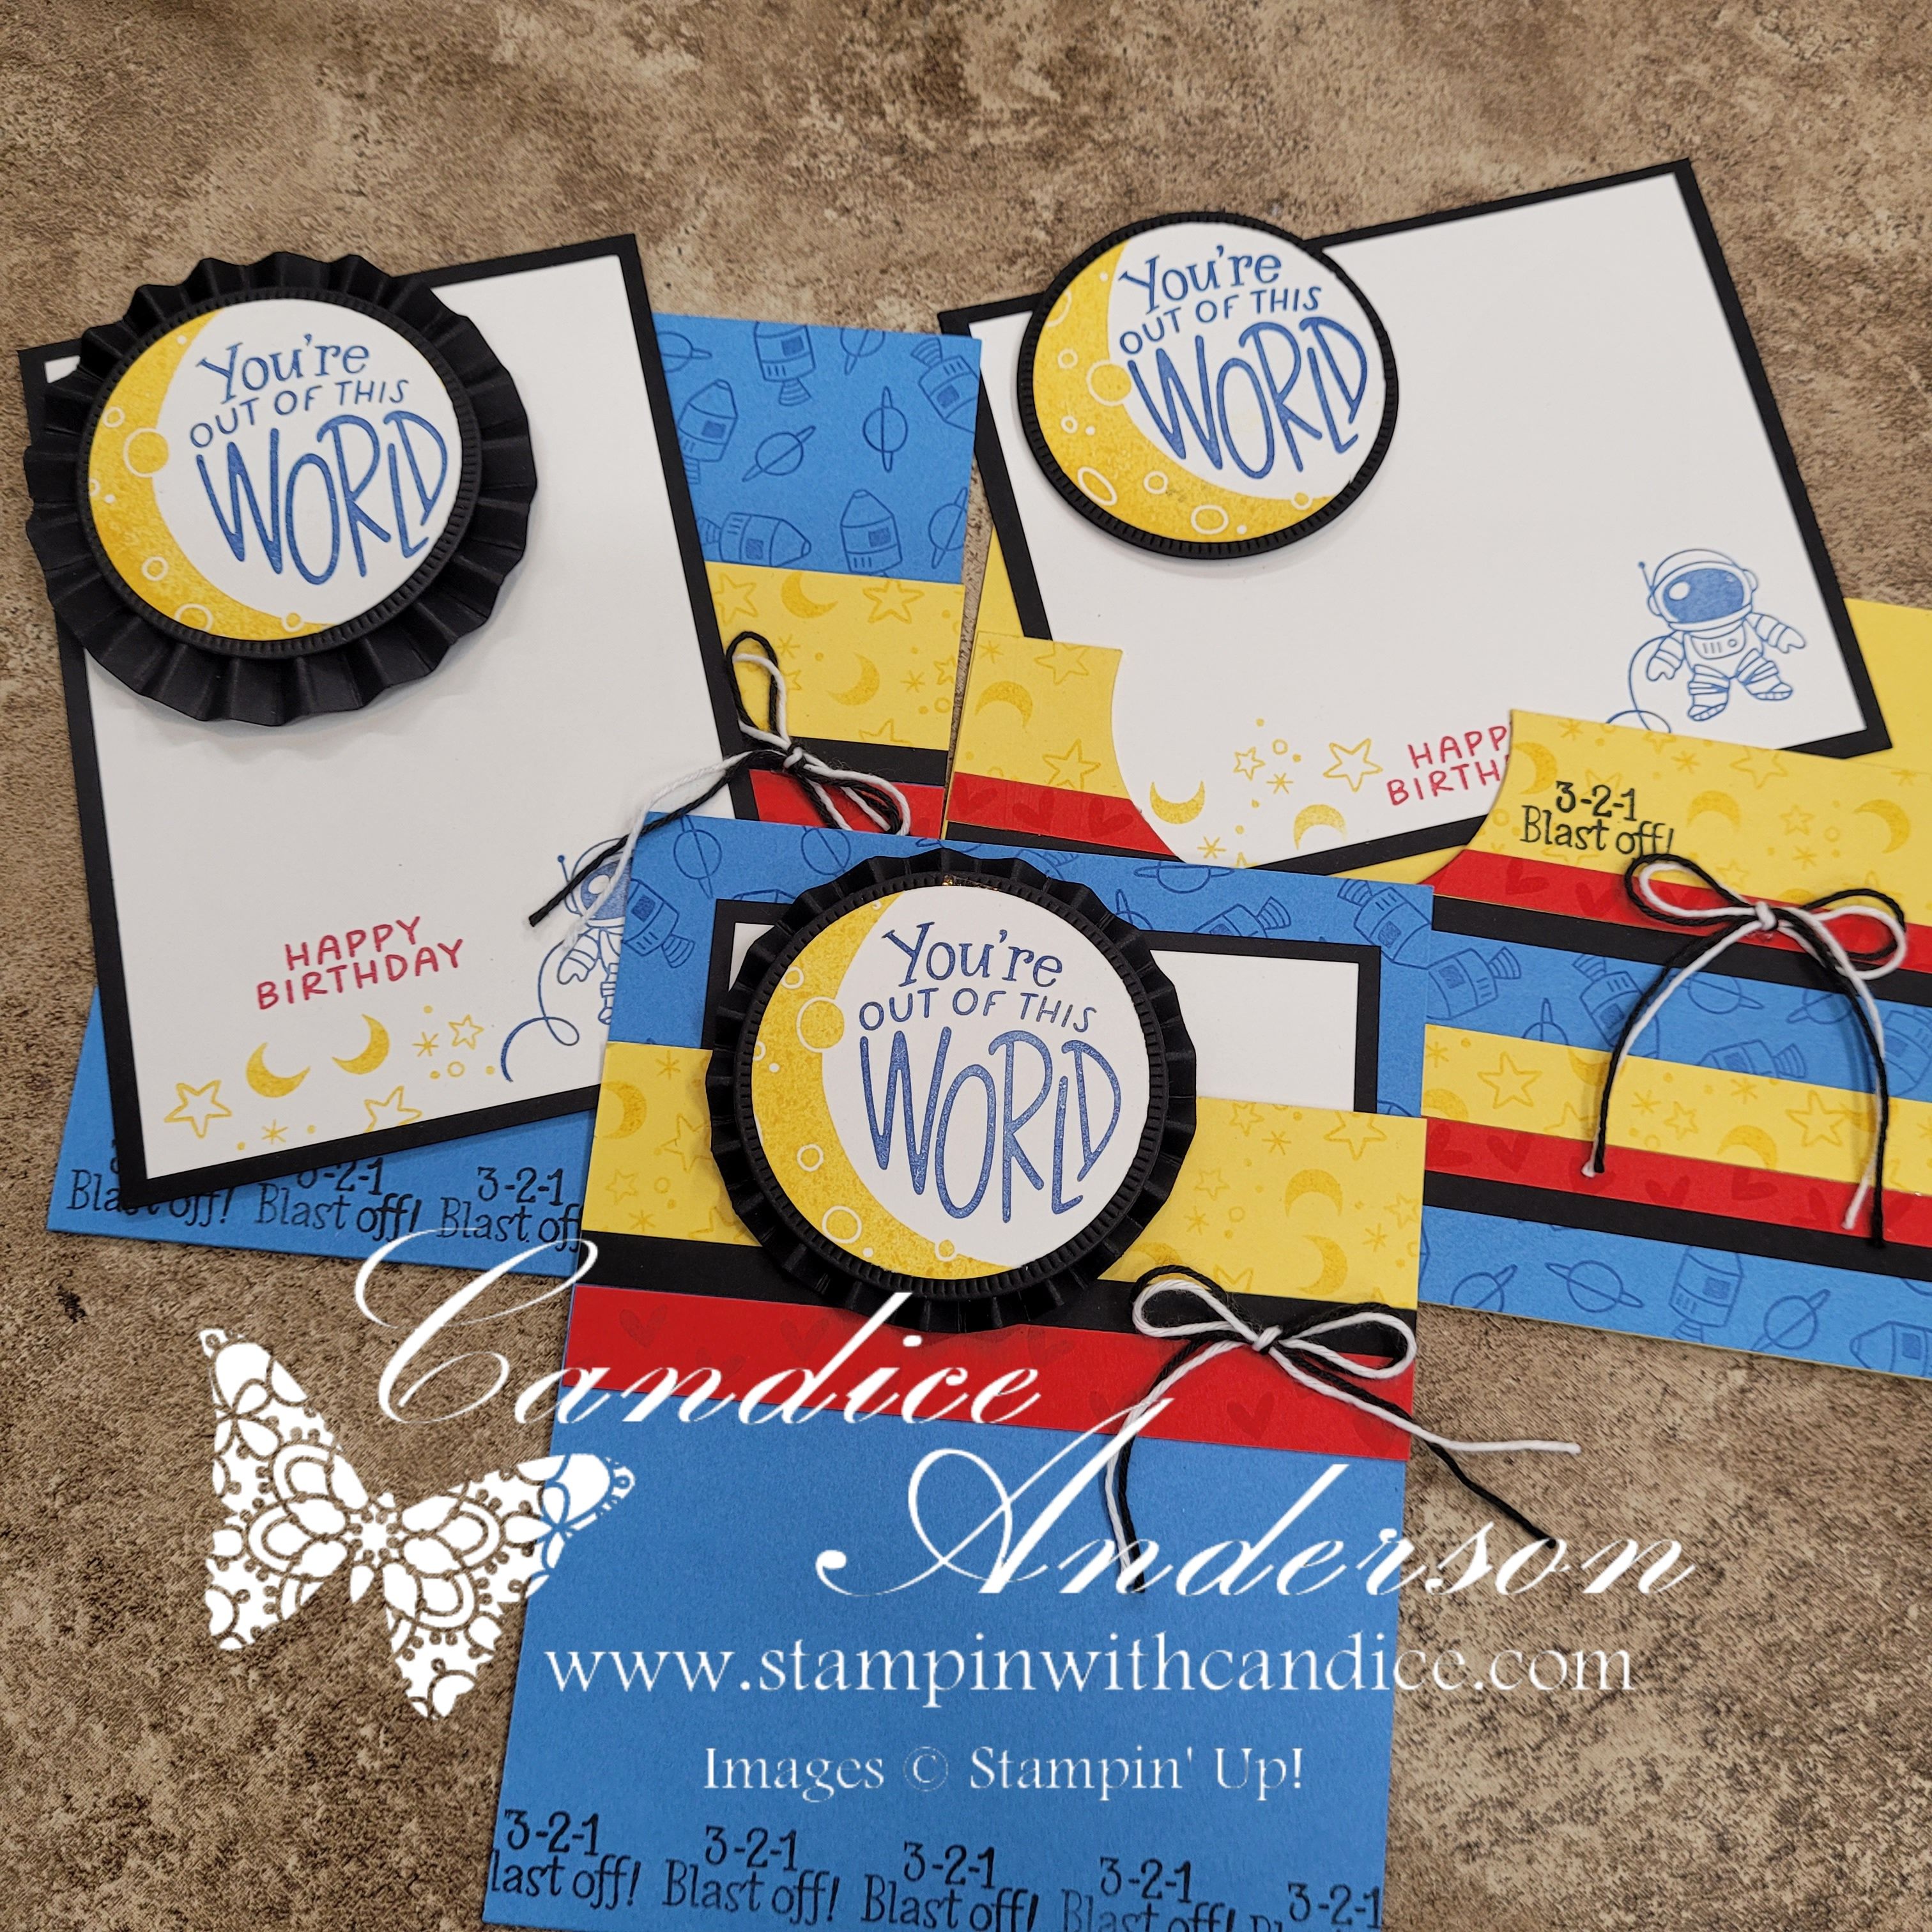
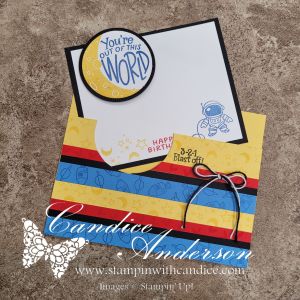
Last night on my live I shared this easy pocket fun fold card inspired by Sunny Day Stamping, and I promised you all the details! This card is so simple to create but still gives you that extra wow when the recipient pulls out the hidden insert.

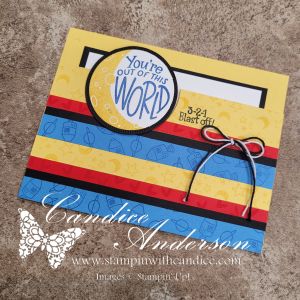
Three handmade birthday cards featuring a space theme. Each card has a yellow and blue color scheme with text that says 'You're Out of This World.' One card includes an astronaut illustration, while another features the phrase '3-2-1 Blast off!' Various design elements like stars and moons are incorporated.

For my cards I used the brand new Moon and Back Stamp Set (#167531) coming in March — and it is absolutely adorable. 🌙 It pairs perfectly with this interactive design.


How to Create the Pocket Fun Fold

This design is very versatile. You can create it horizontal or vertical — I did one of each!

  1. Choose your direction (horizontal or vertical).
  2. Decide how much you want your pull-out insert to peek over the top. You can either fold it down or cut it off.
    • I cut off 1″ on my horizontal card.
    • I cut off 1-1/2″ on my vertical card.
  3. Use adhesive to seal the sides (I used Tear & Tape) or simply wrap a ribbon or belly band around the card.
  4. Pick a circle shape for your focal point.

Now here’s the fun part 👇

Before you fully close your pocket, punch or die cut a matching circle on the card base directly behind where your focal circle will sit. This allows your focal image to actually attach to the pull-out insert instead of the card front.

When attaching your focal circle to the pull-out piece, use Stampin’ Dimensionals so it sits slightly raised above the paper. This not only adds dimension and extra WOW, but it also makes the insert easier to slide in and out — and easier for the recipient to grab ahold of.

Such a simple trick — but it makes a big difference in both the design and functionality and t it creates that magical interactive element when the card is opened!


Adding Even More WOW

On my vertical card, I stepped it up by adding a handmade rosette behind the circle focal point. It adds dimension and really makes the design pop. This is quick any easy to do using the simply scored tool. I walk you through it in the video.

This fun fold truly is out of this world — and perfect for birthdays, kids’ cards, encouragement, and more.

Be sure to watch the replay for full step-by-step instructions and to see exactly how it all comes together!


Supplies Used

Stamps & Dies

  • Moon and Back Stamp Set (#167531 – coming in March!)
  • Spotlight on Nature Dies (#163580)
  • Stylish Shapes Dies (#159183)

Tools & Accessories

  • 2″ Circle Punch (#133782)
  • Simply Scored (#122334)
  • Tear & Tape Adhesive (#154031)
  • Stampin’ Dimensionals (#14430)
  • Black & White Baker’s Twine (#155475)

Cardstock

  • Daffodil Delight
  • Basic Black
  • Poppy Parade
  • Azure Afternoon

Ink

  • Real Red
  • Crushed Curry
  • Blueberry Bushel
  • Memento Black

If you give this pocket fun fold a try, I would love to see what you create! Be sure to tag me or share it in the comments. 💕

And remember to follow along so you never miss another Make It With Me Monday!


A beautifully crafted Christmas card featuring a window scene that displays a peaceful nativity setting on one side, while the inside is adorned with cozy holiday elements like hanging stockings and warm colors.

Please feel free to contact me if you have any questions.

Contact me today to place your order!
435-232-2655 Cell ( Call or Text)
andersoncandice@hotmail.com


💕 Let’s Stay Connected

📺 YouTube
📘 Facebook
📸 Instagram
📌 Pinterest

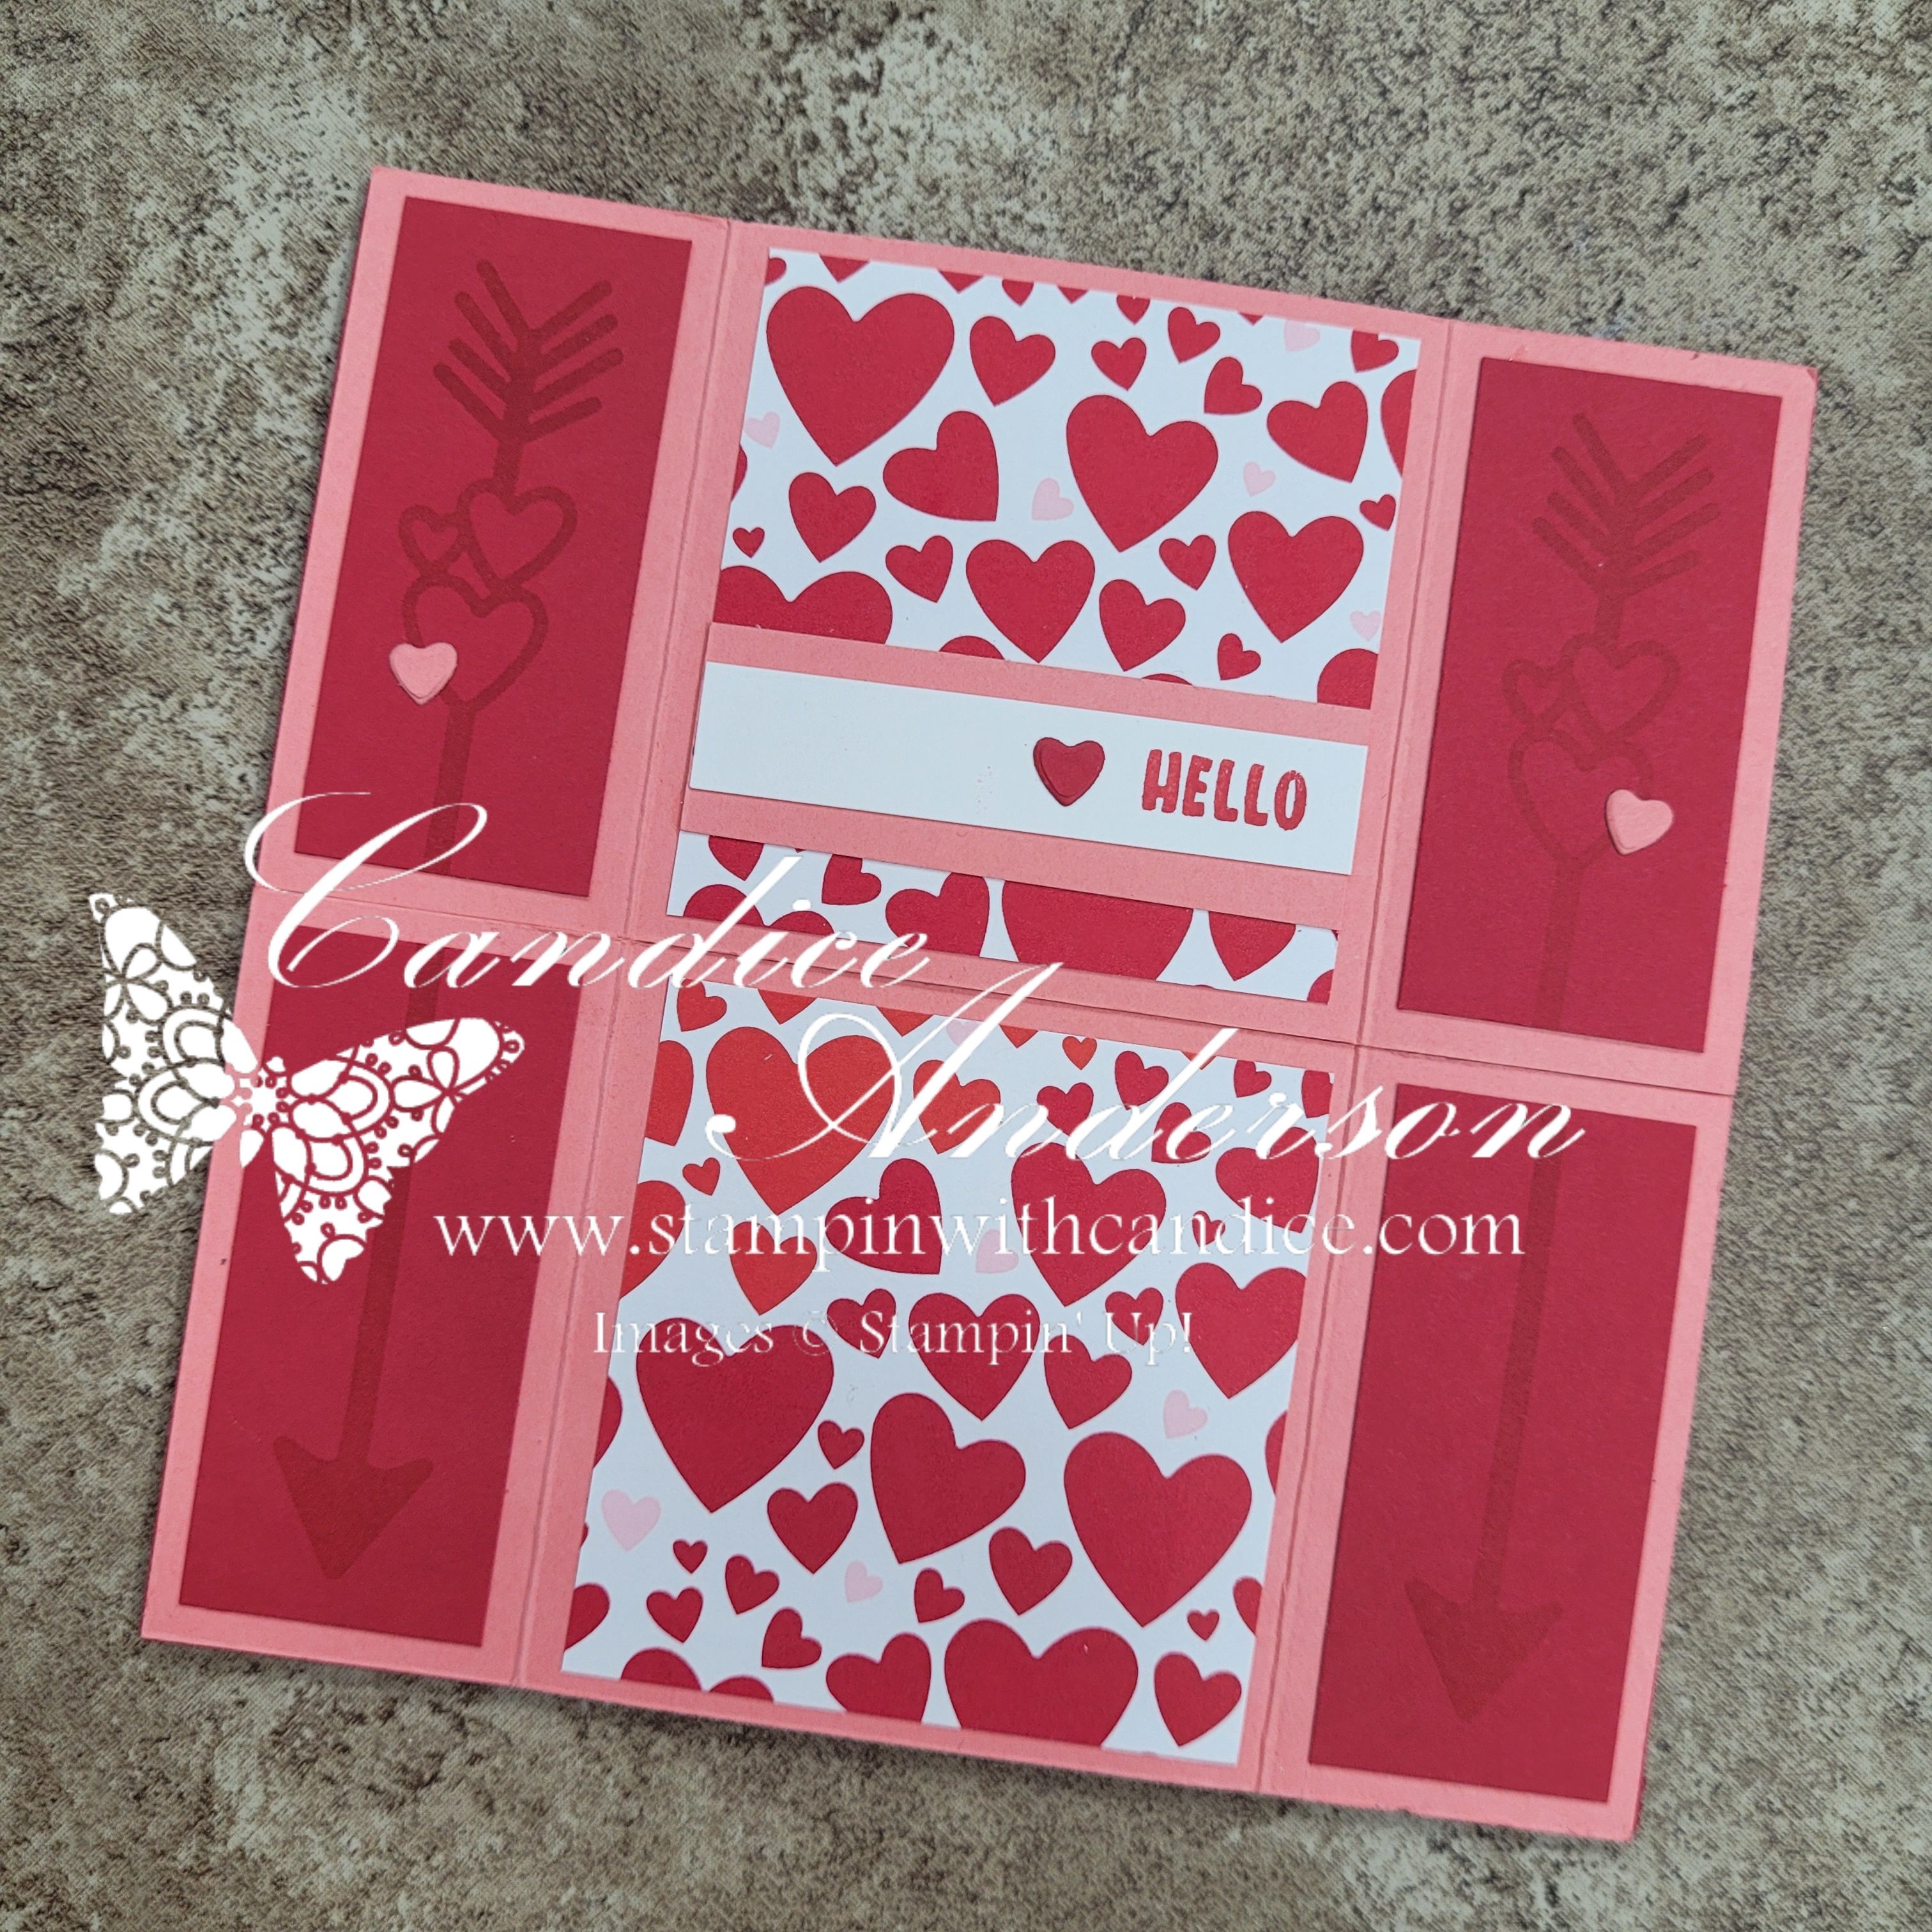
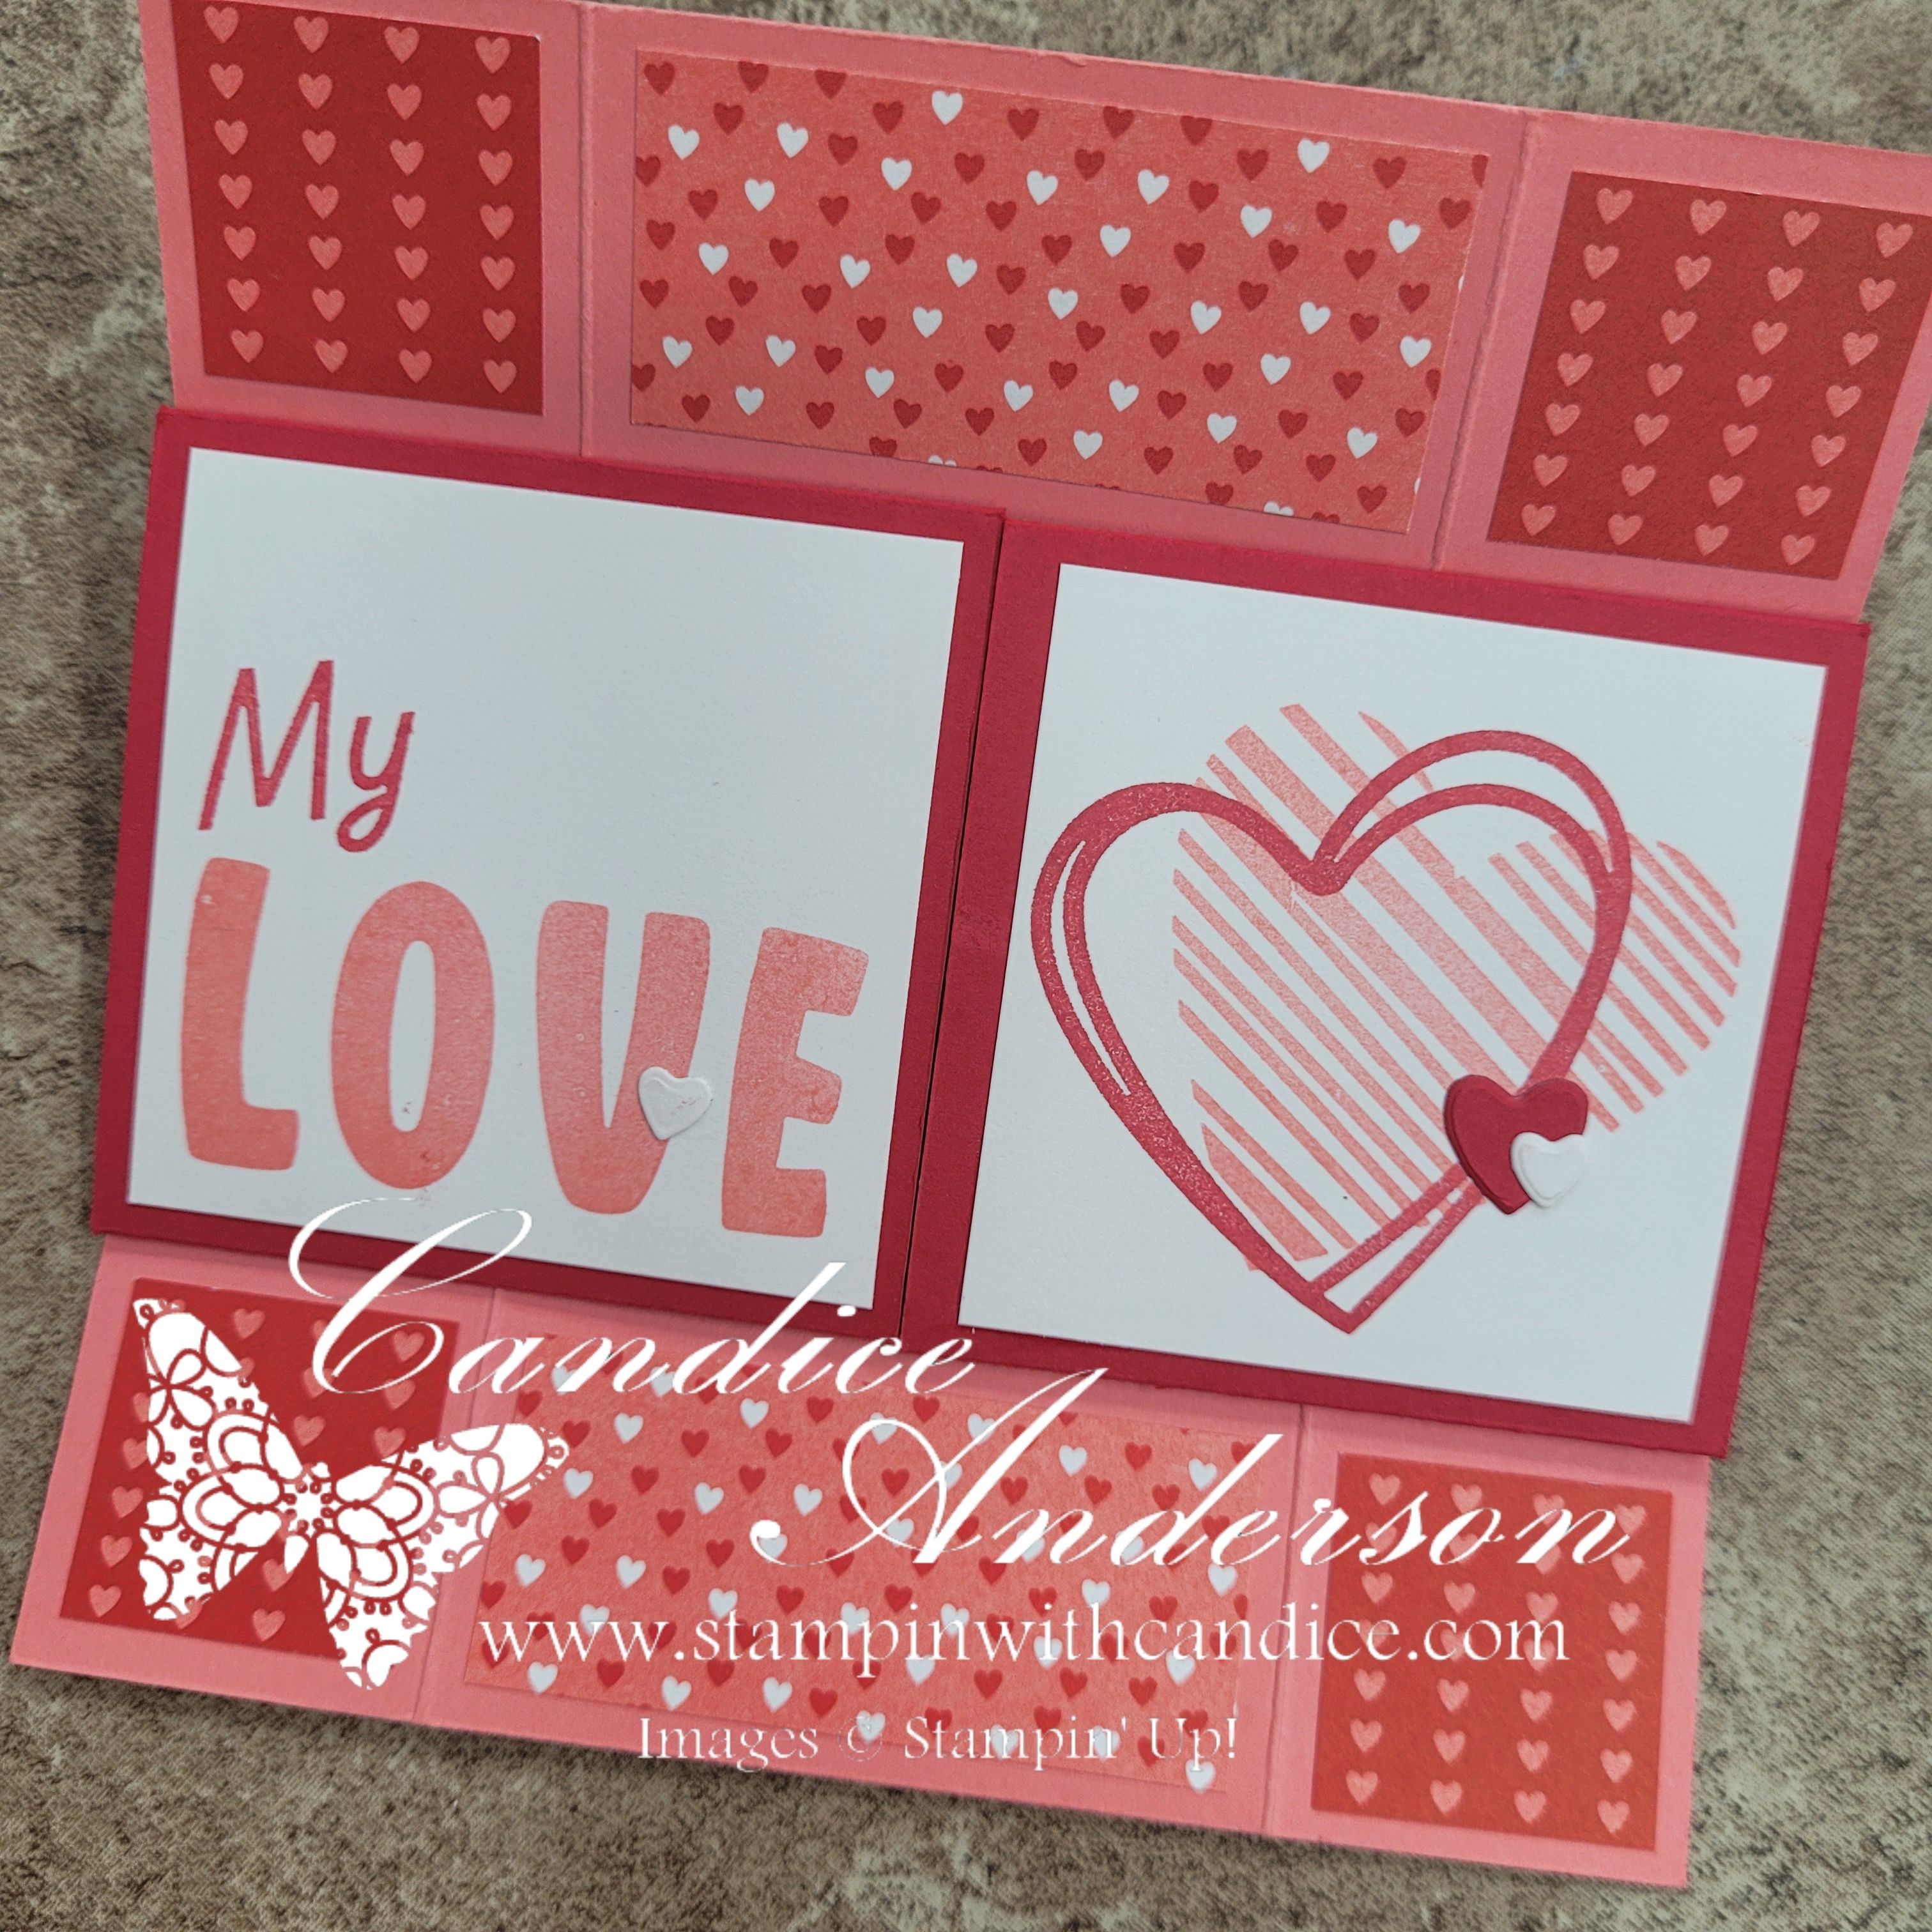
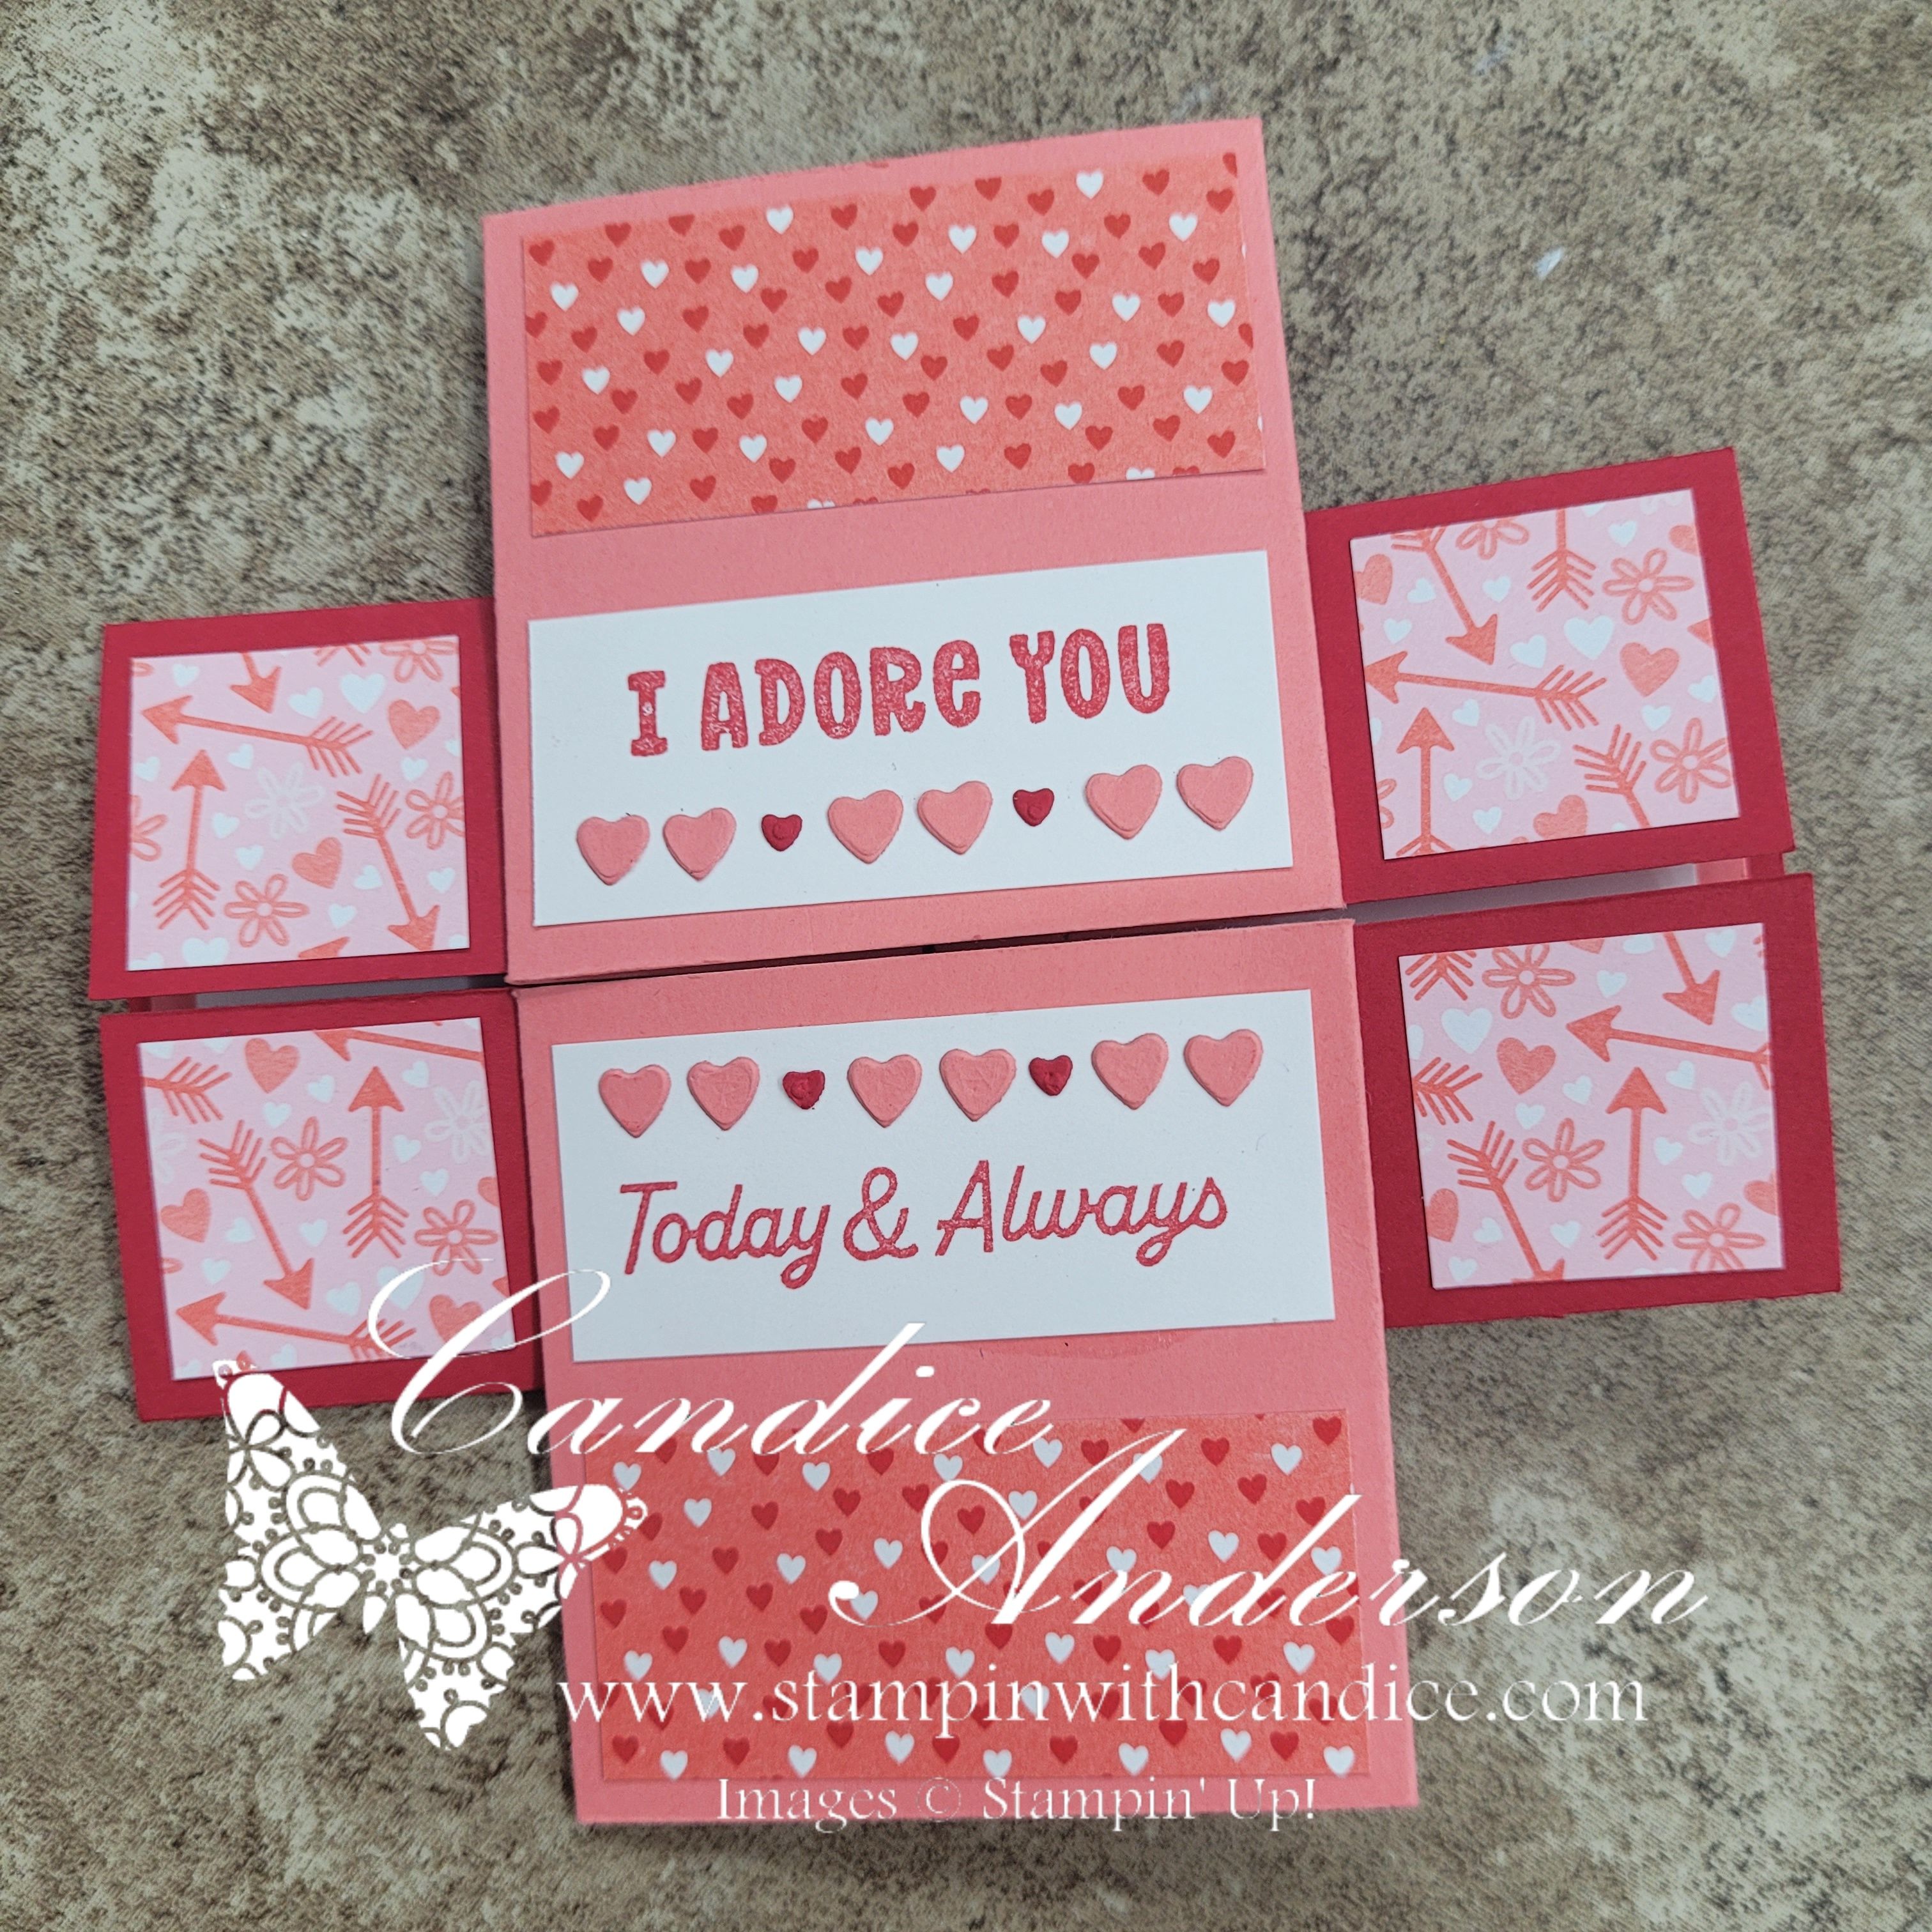
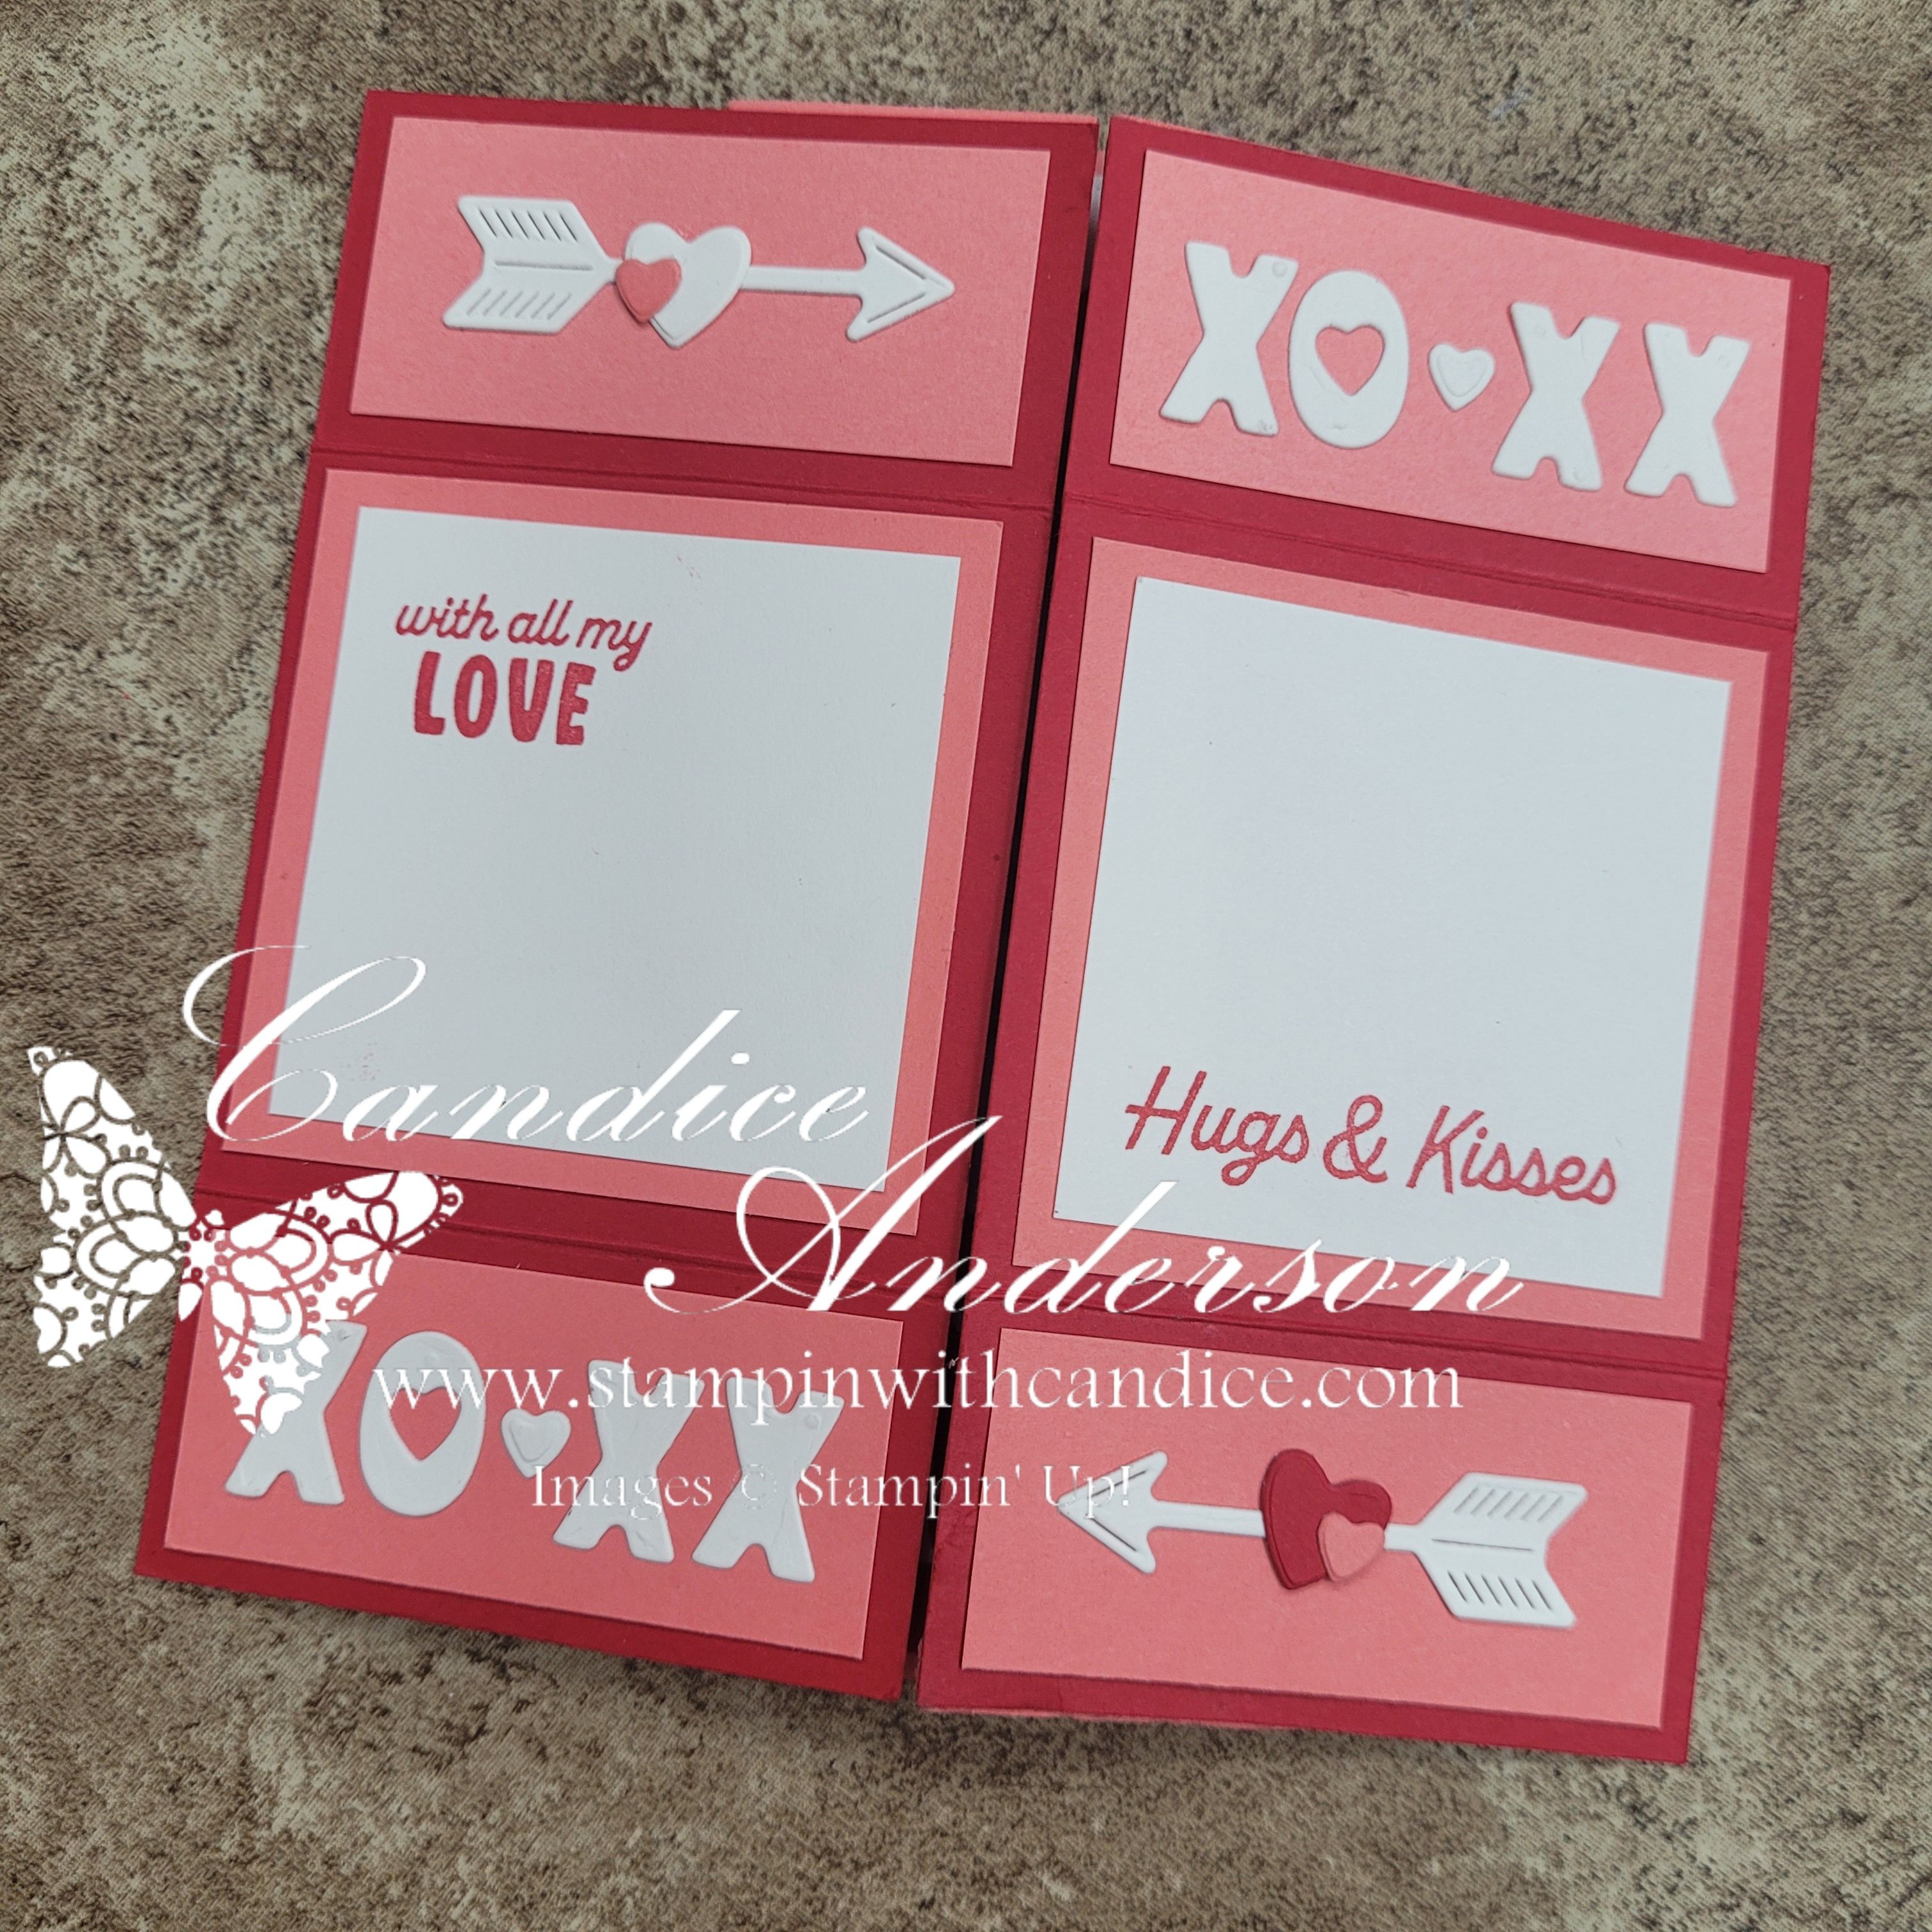
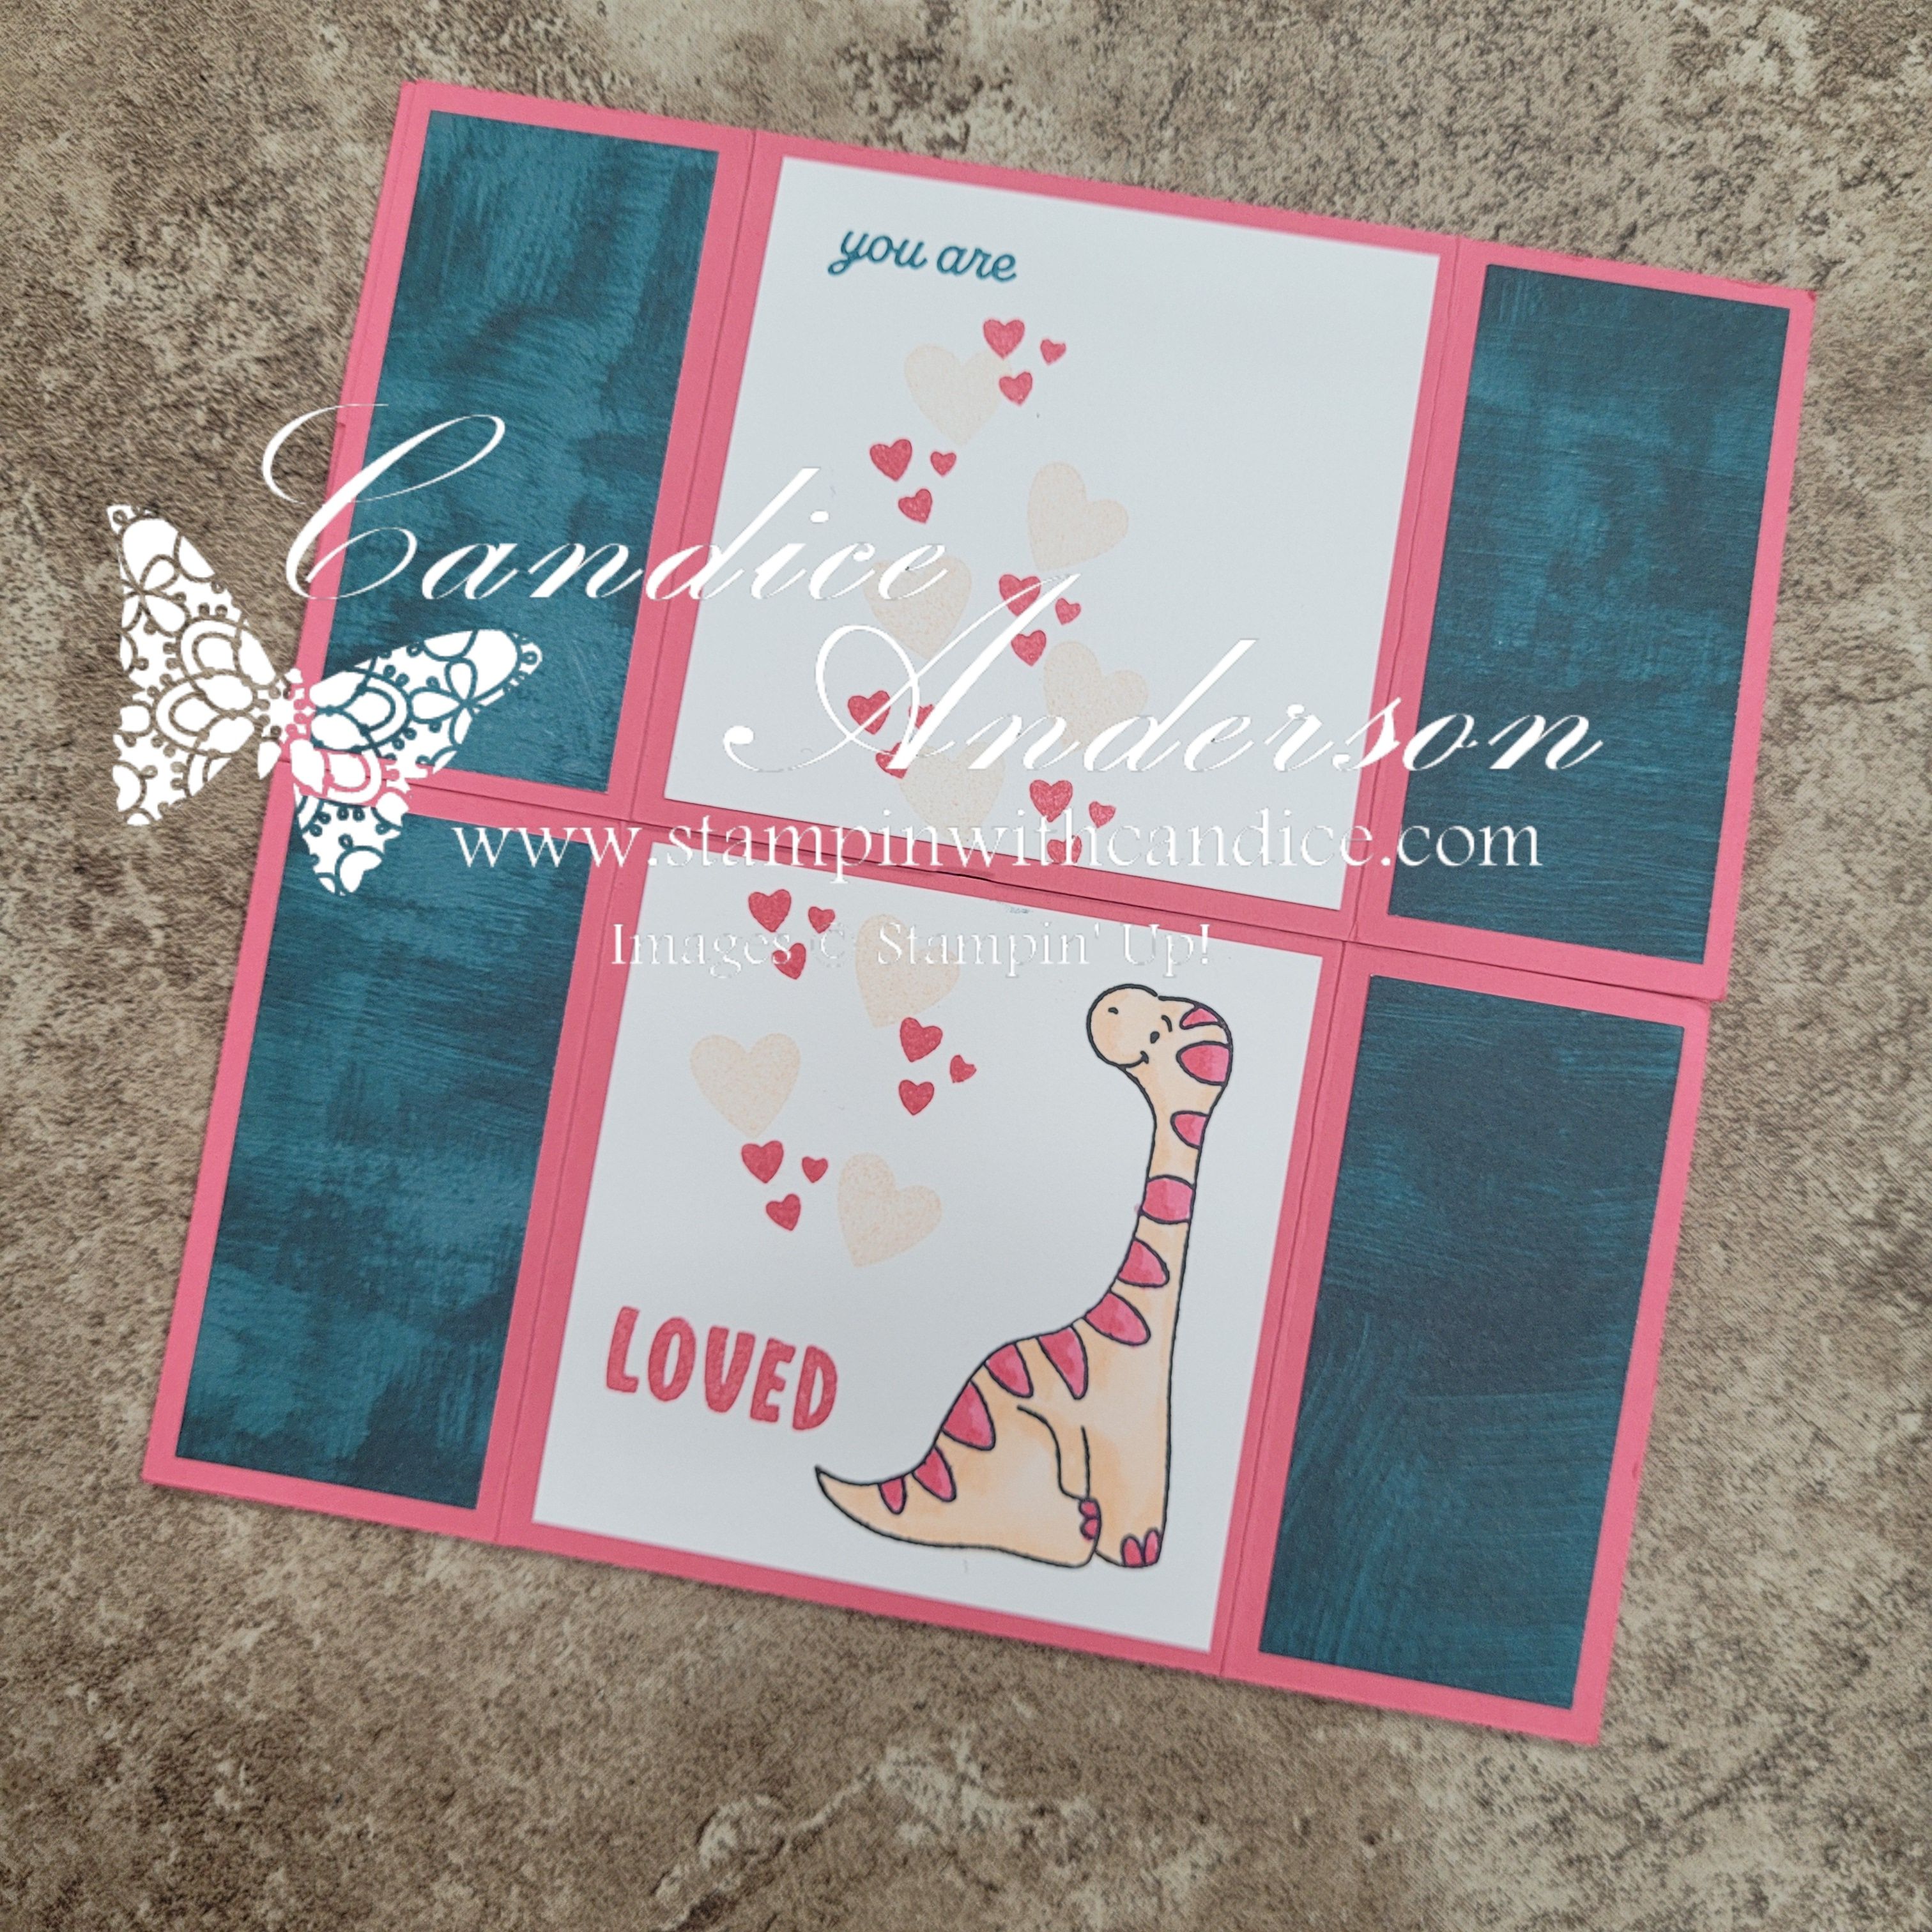
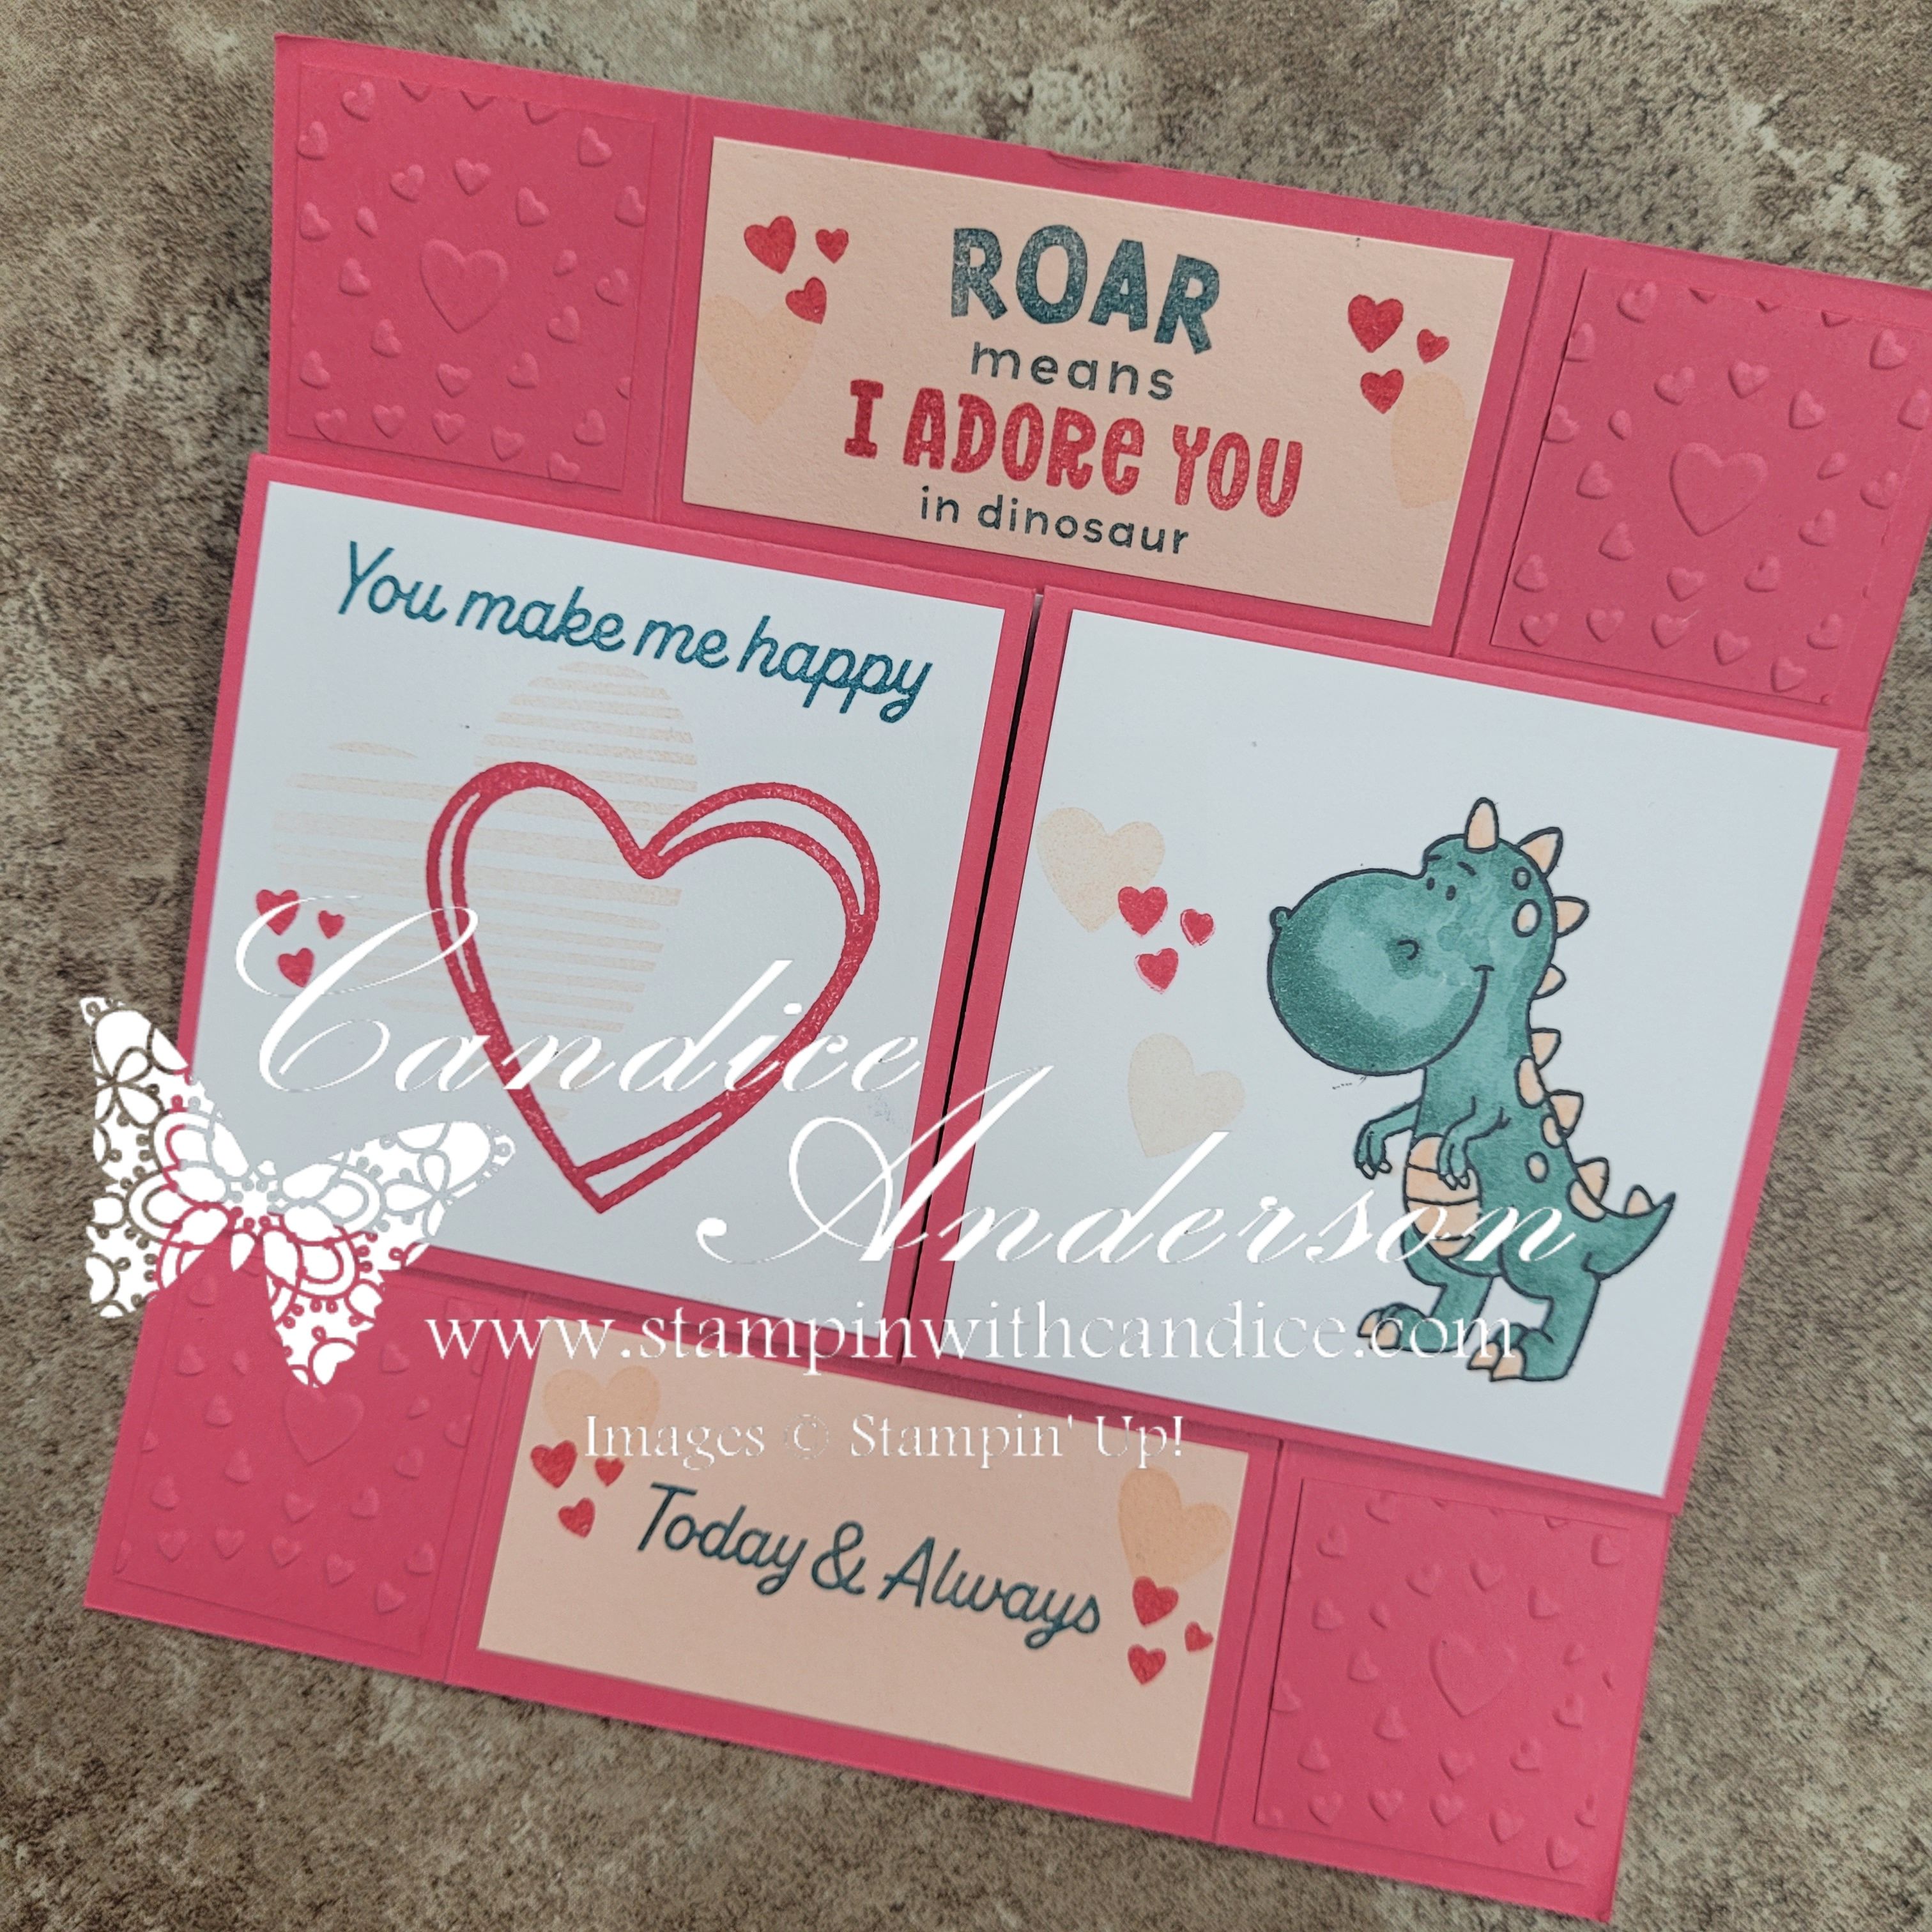
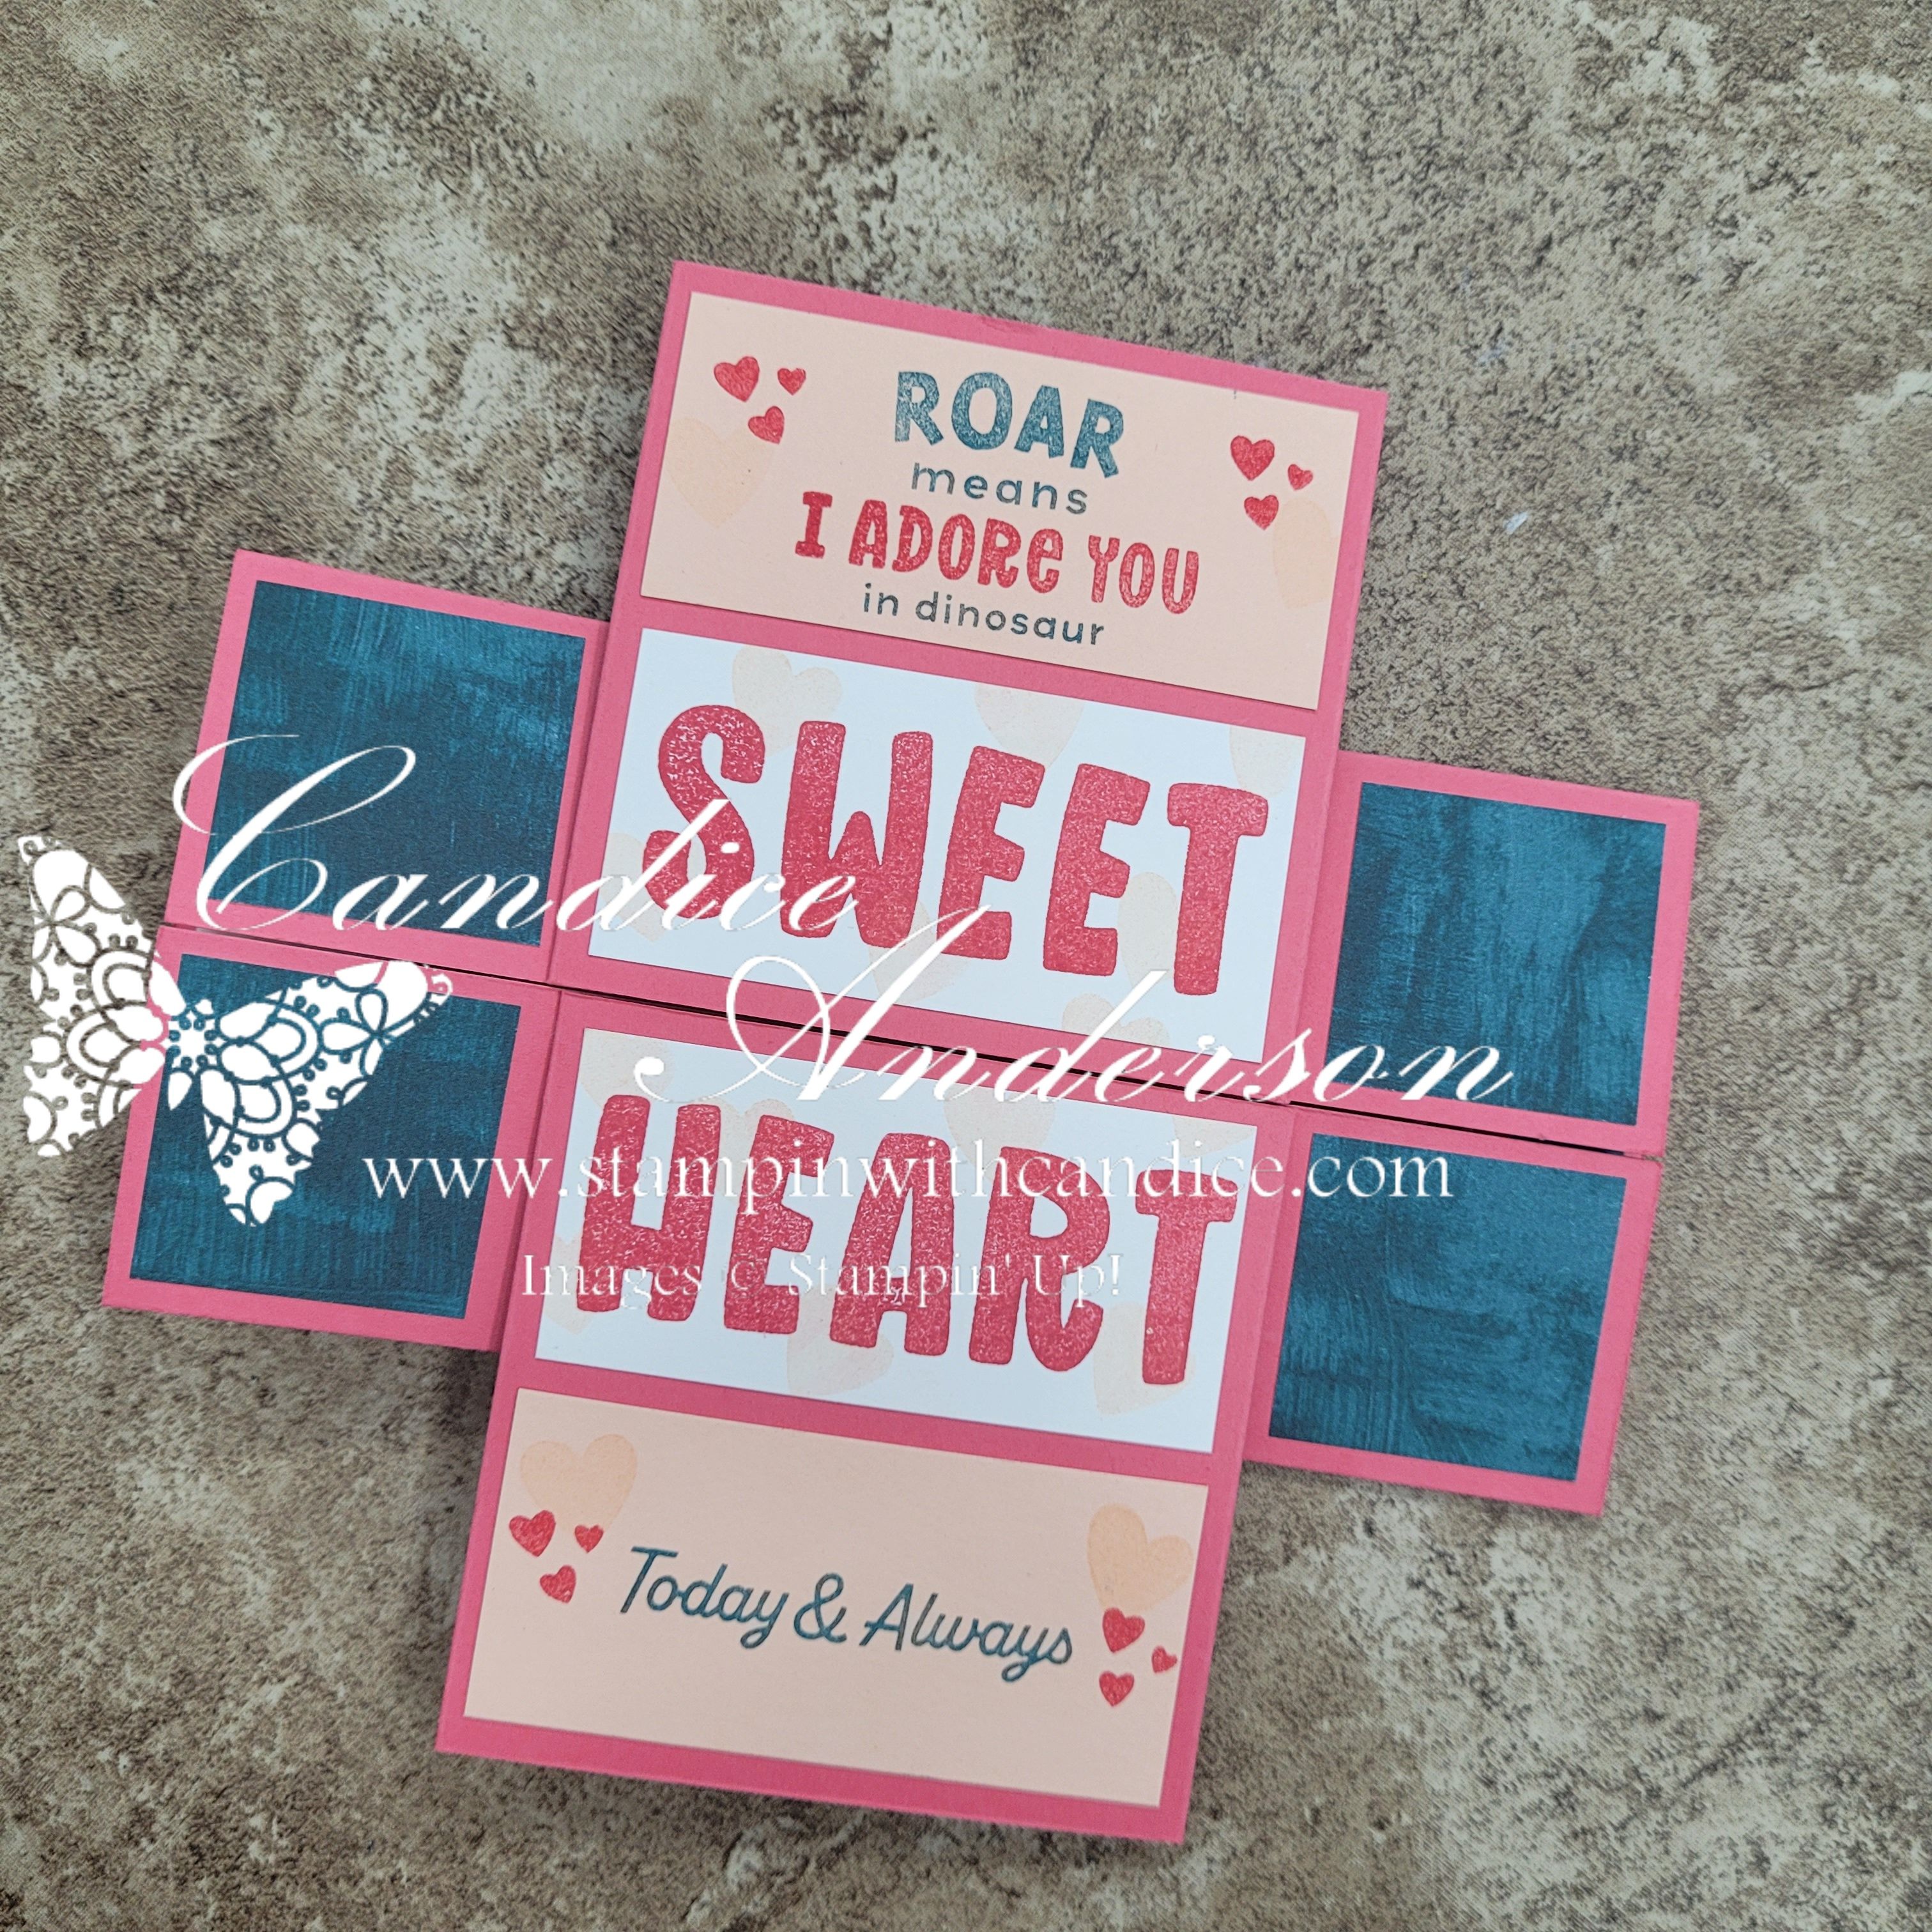
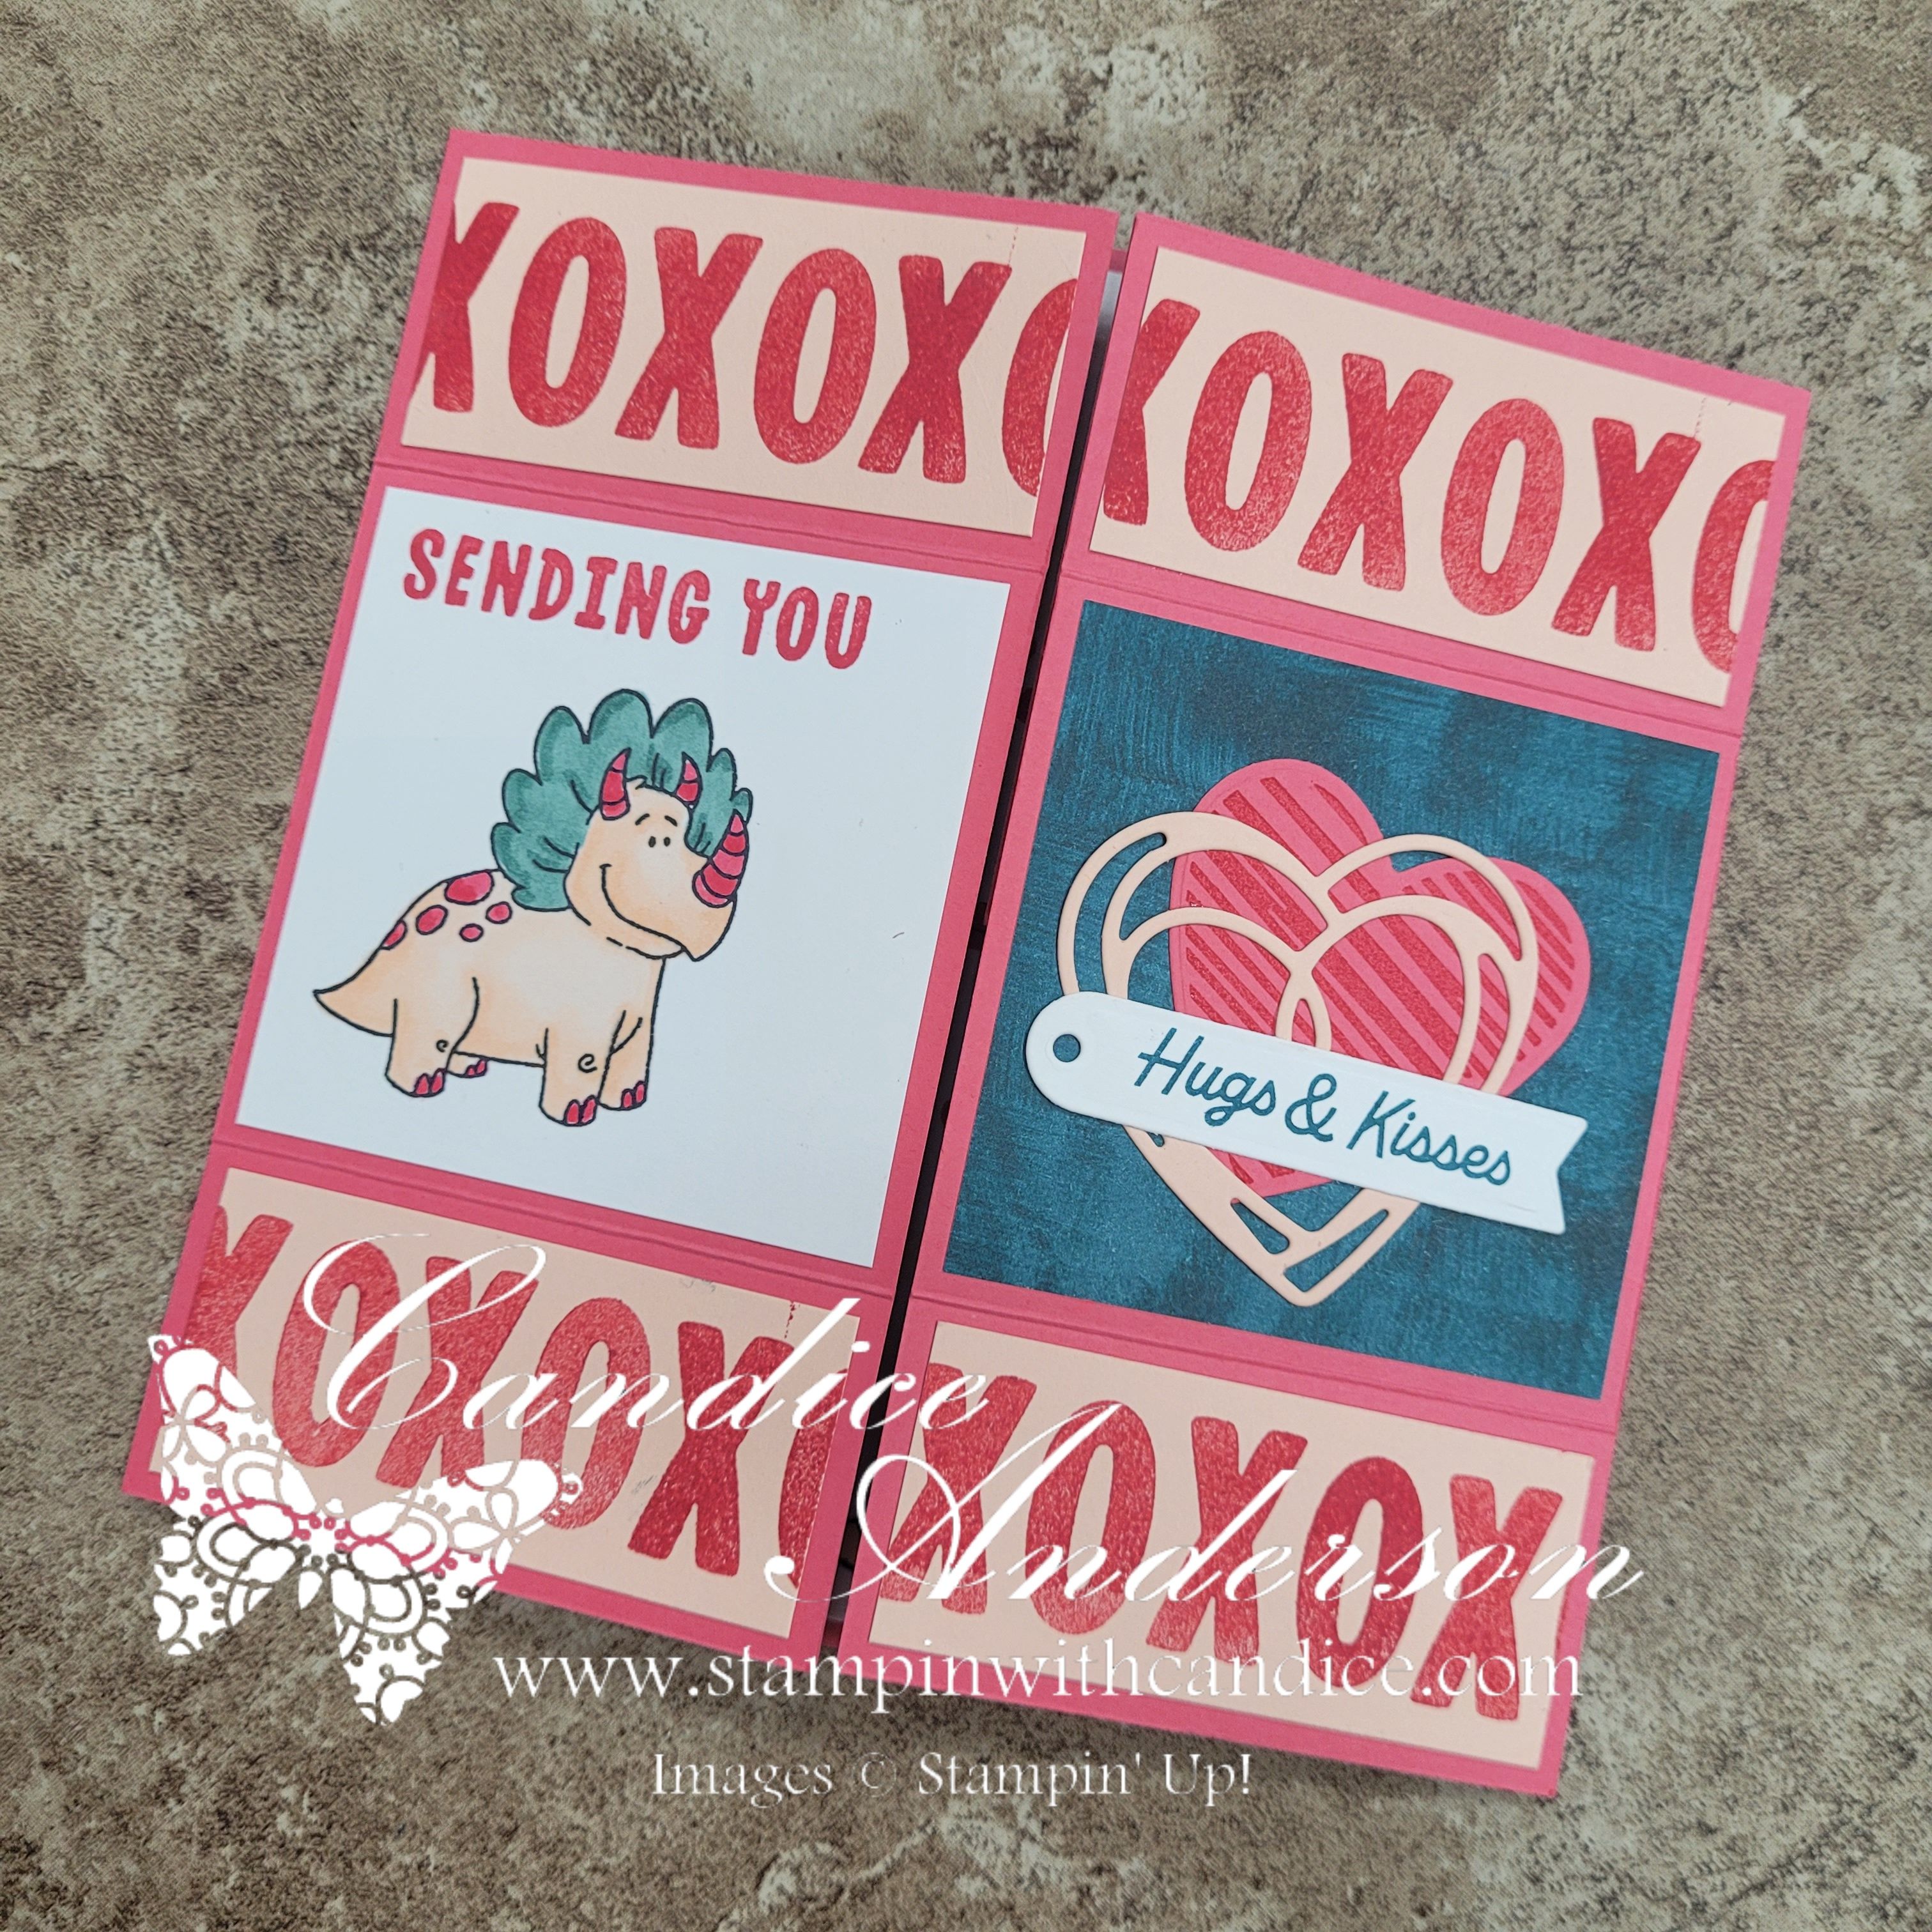
A Fidget Spinner for Crafters: The Never-Ending Card

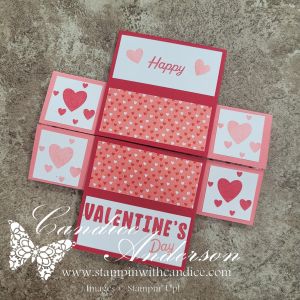
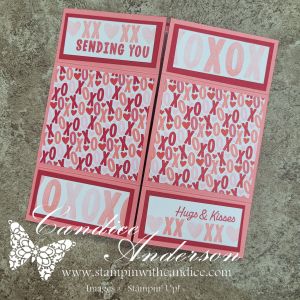
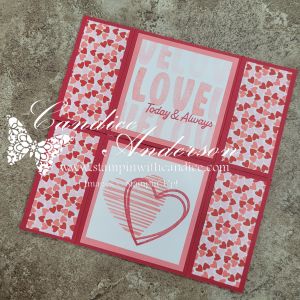
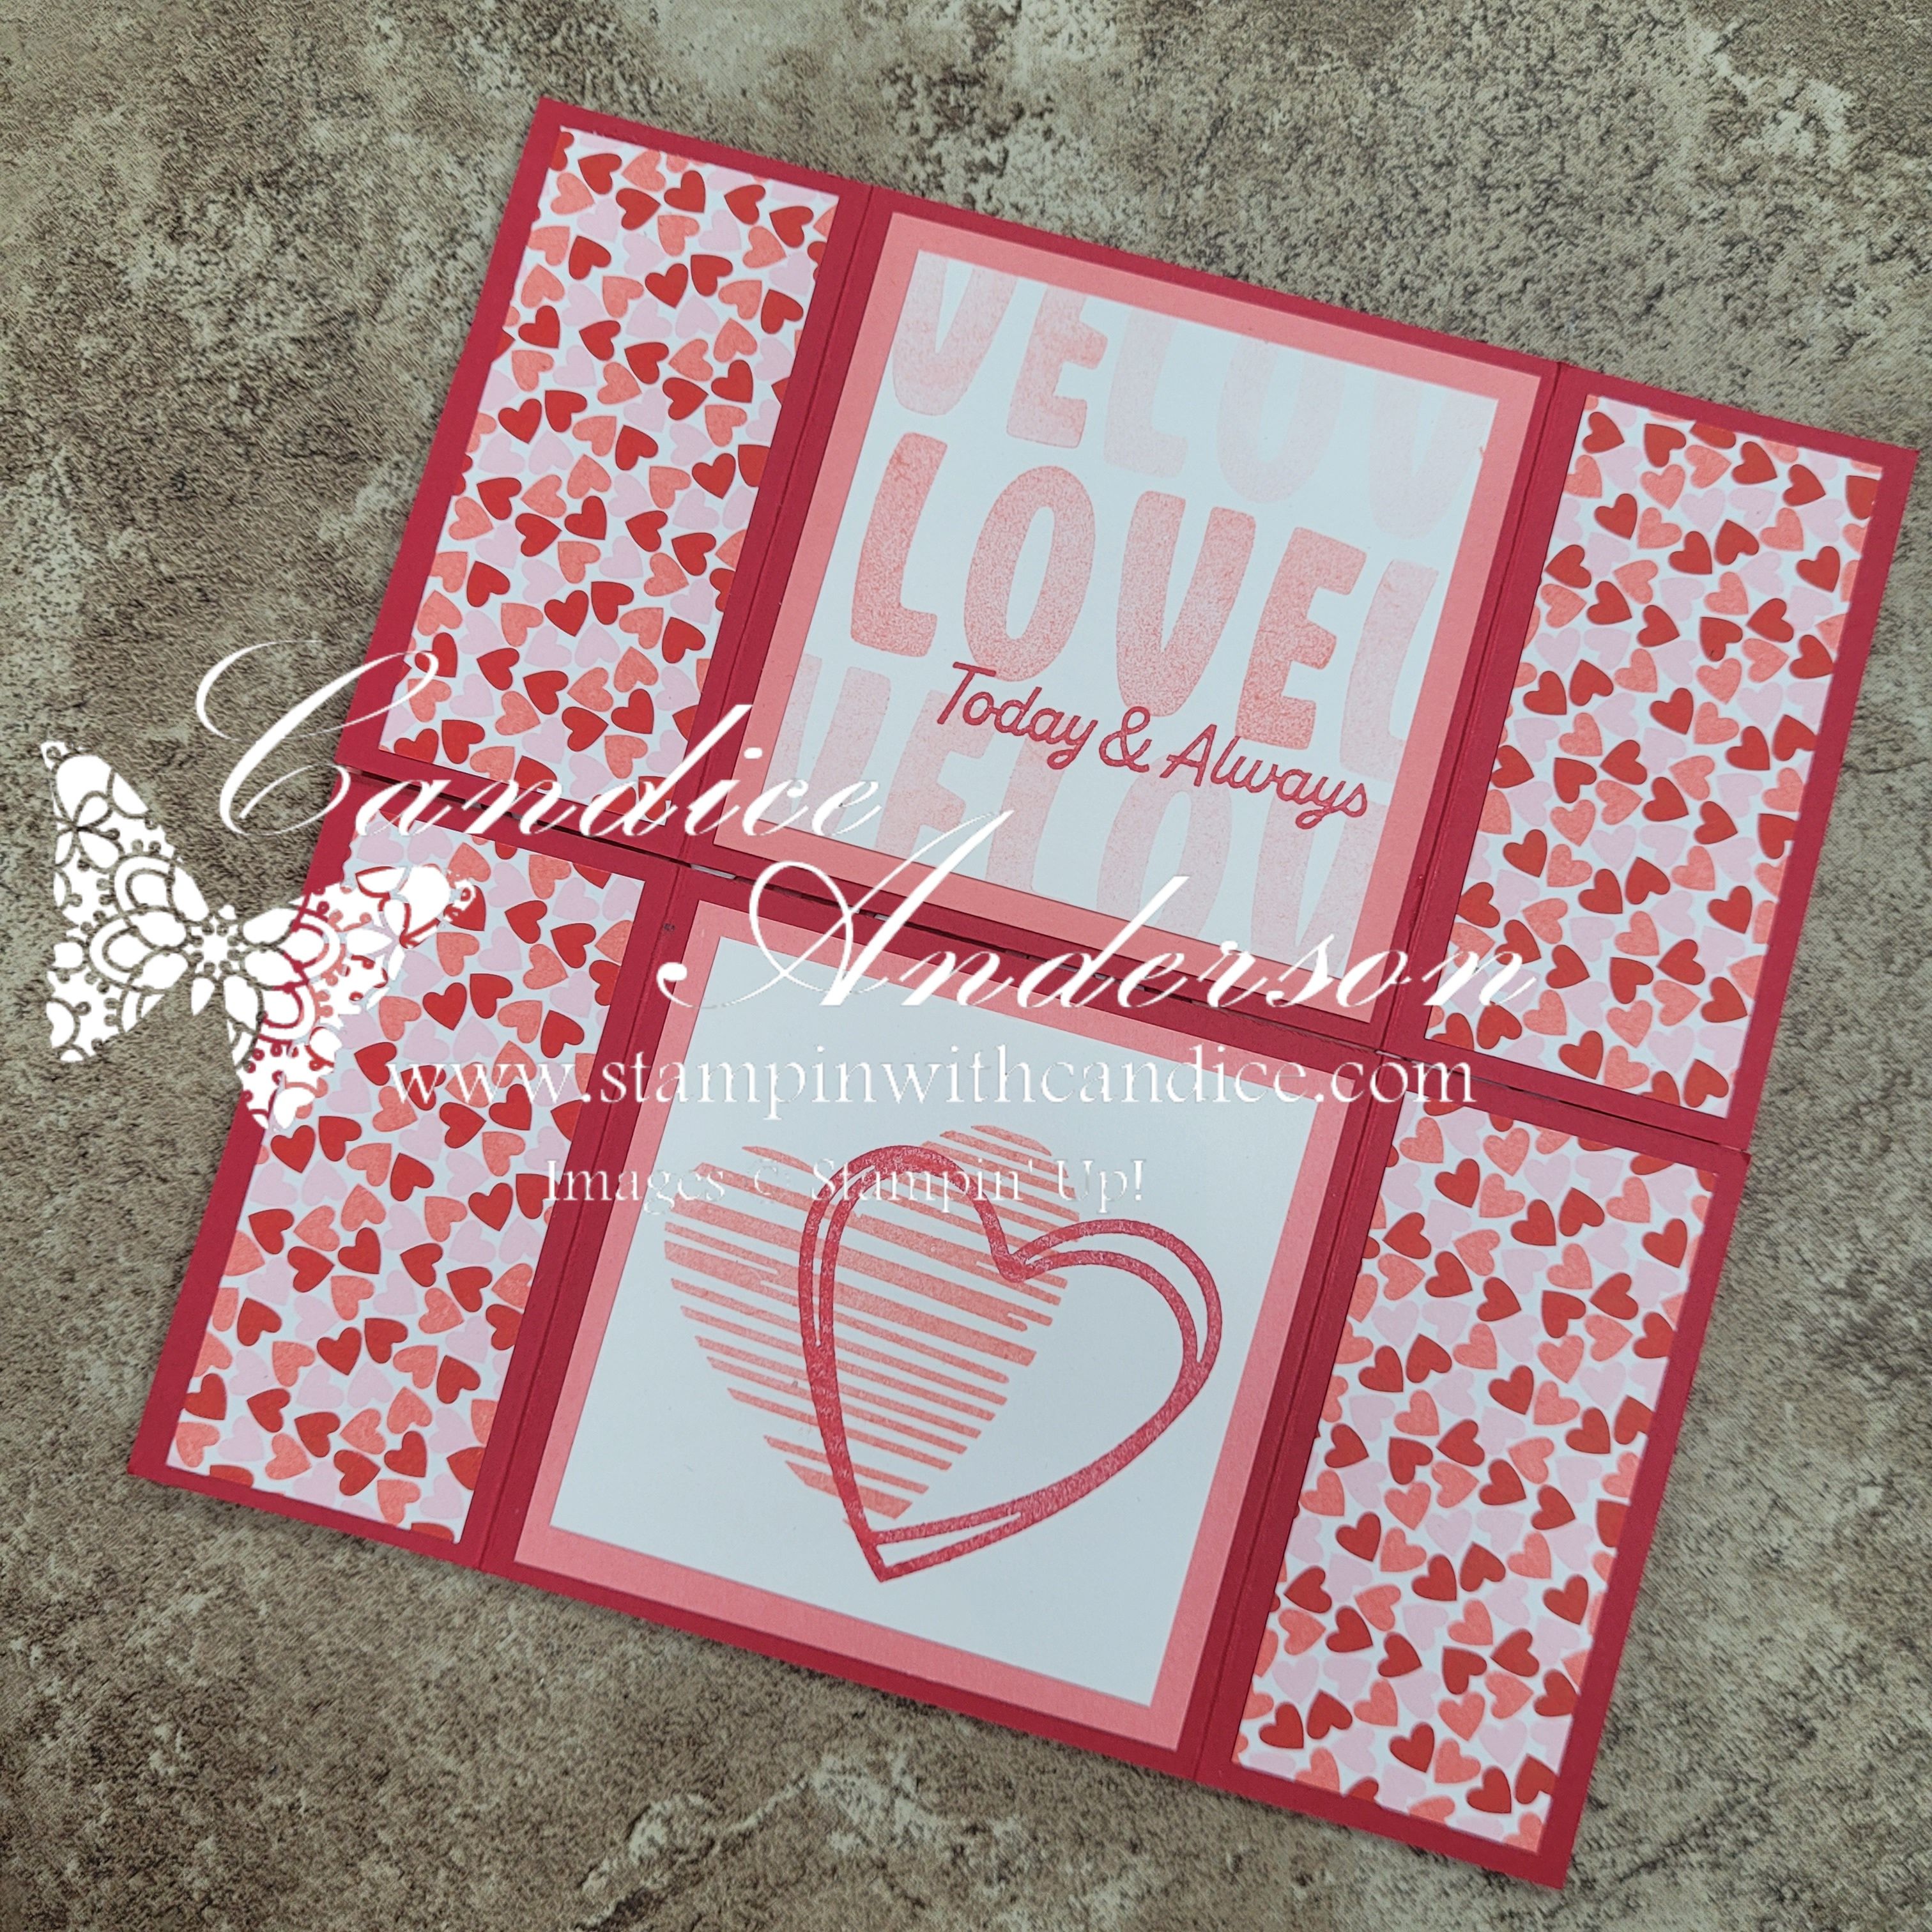
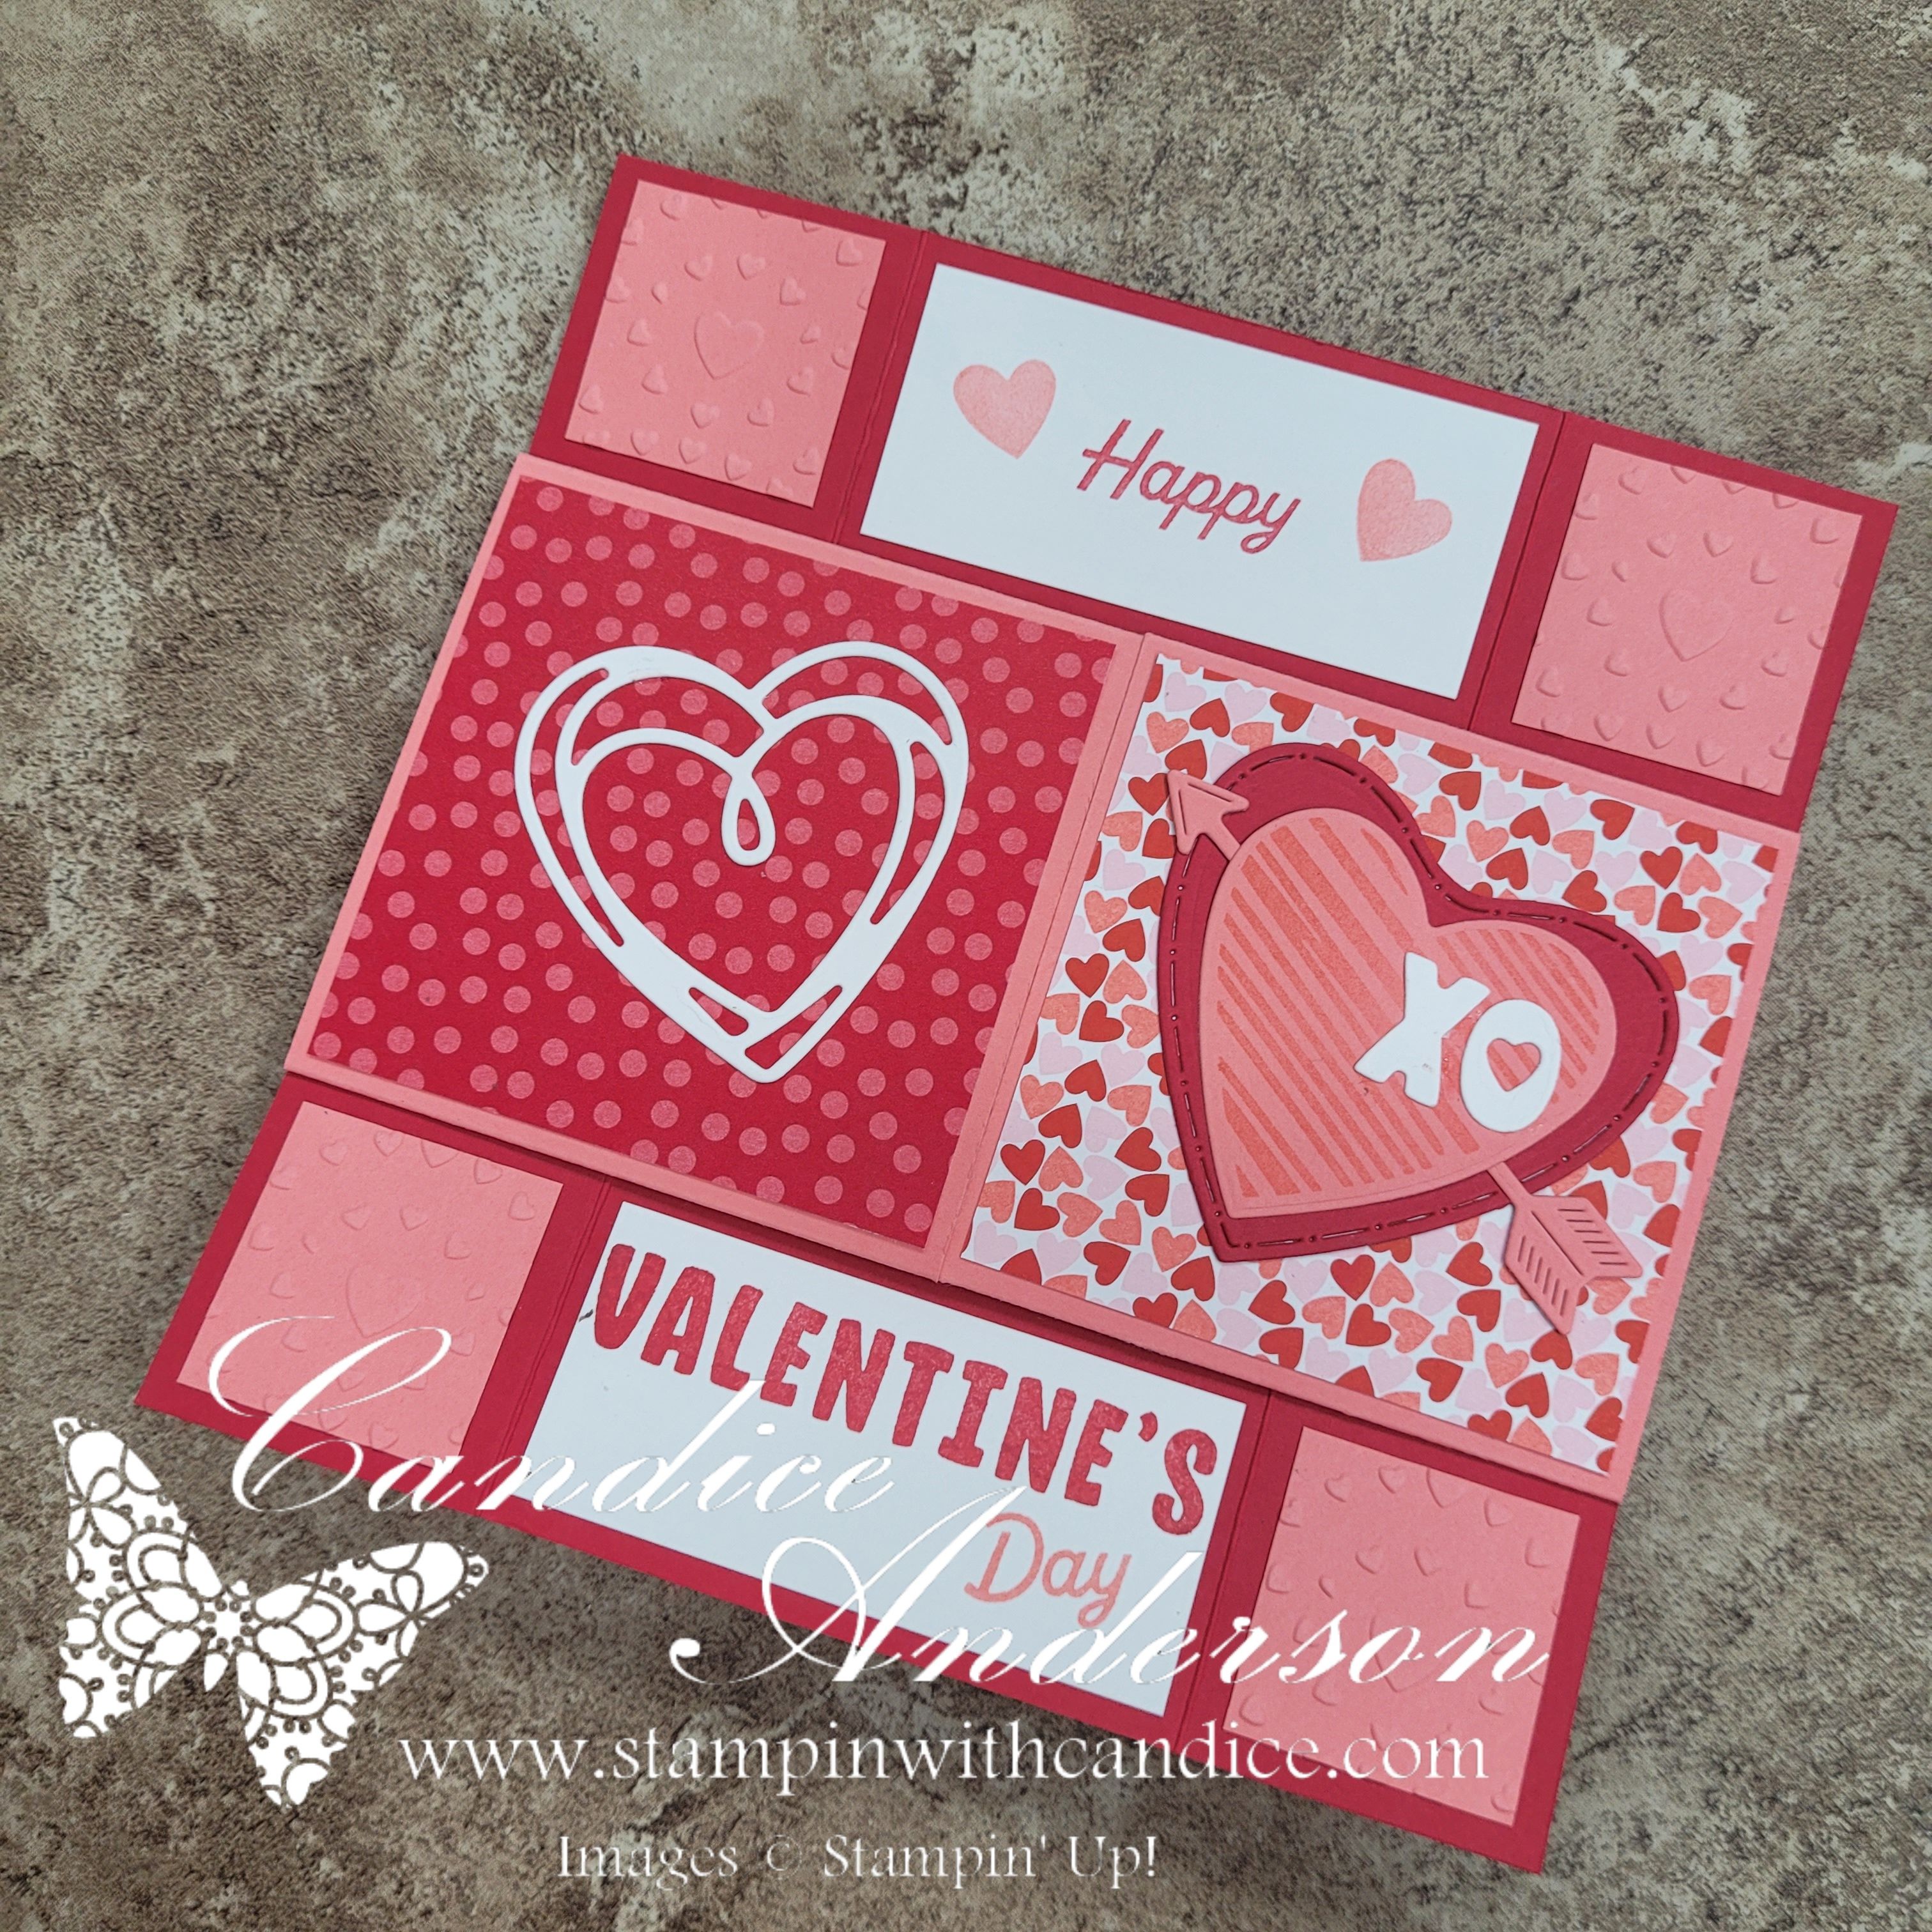
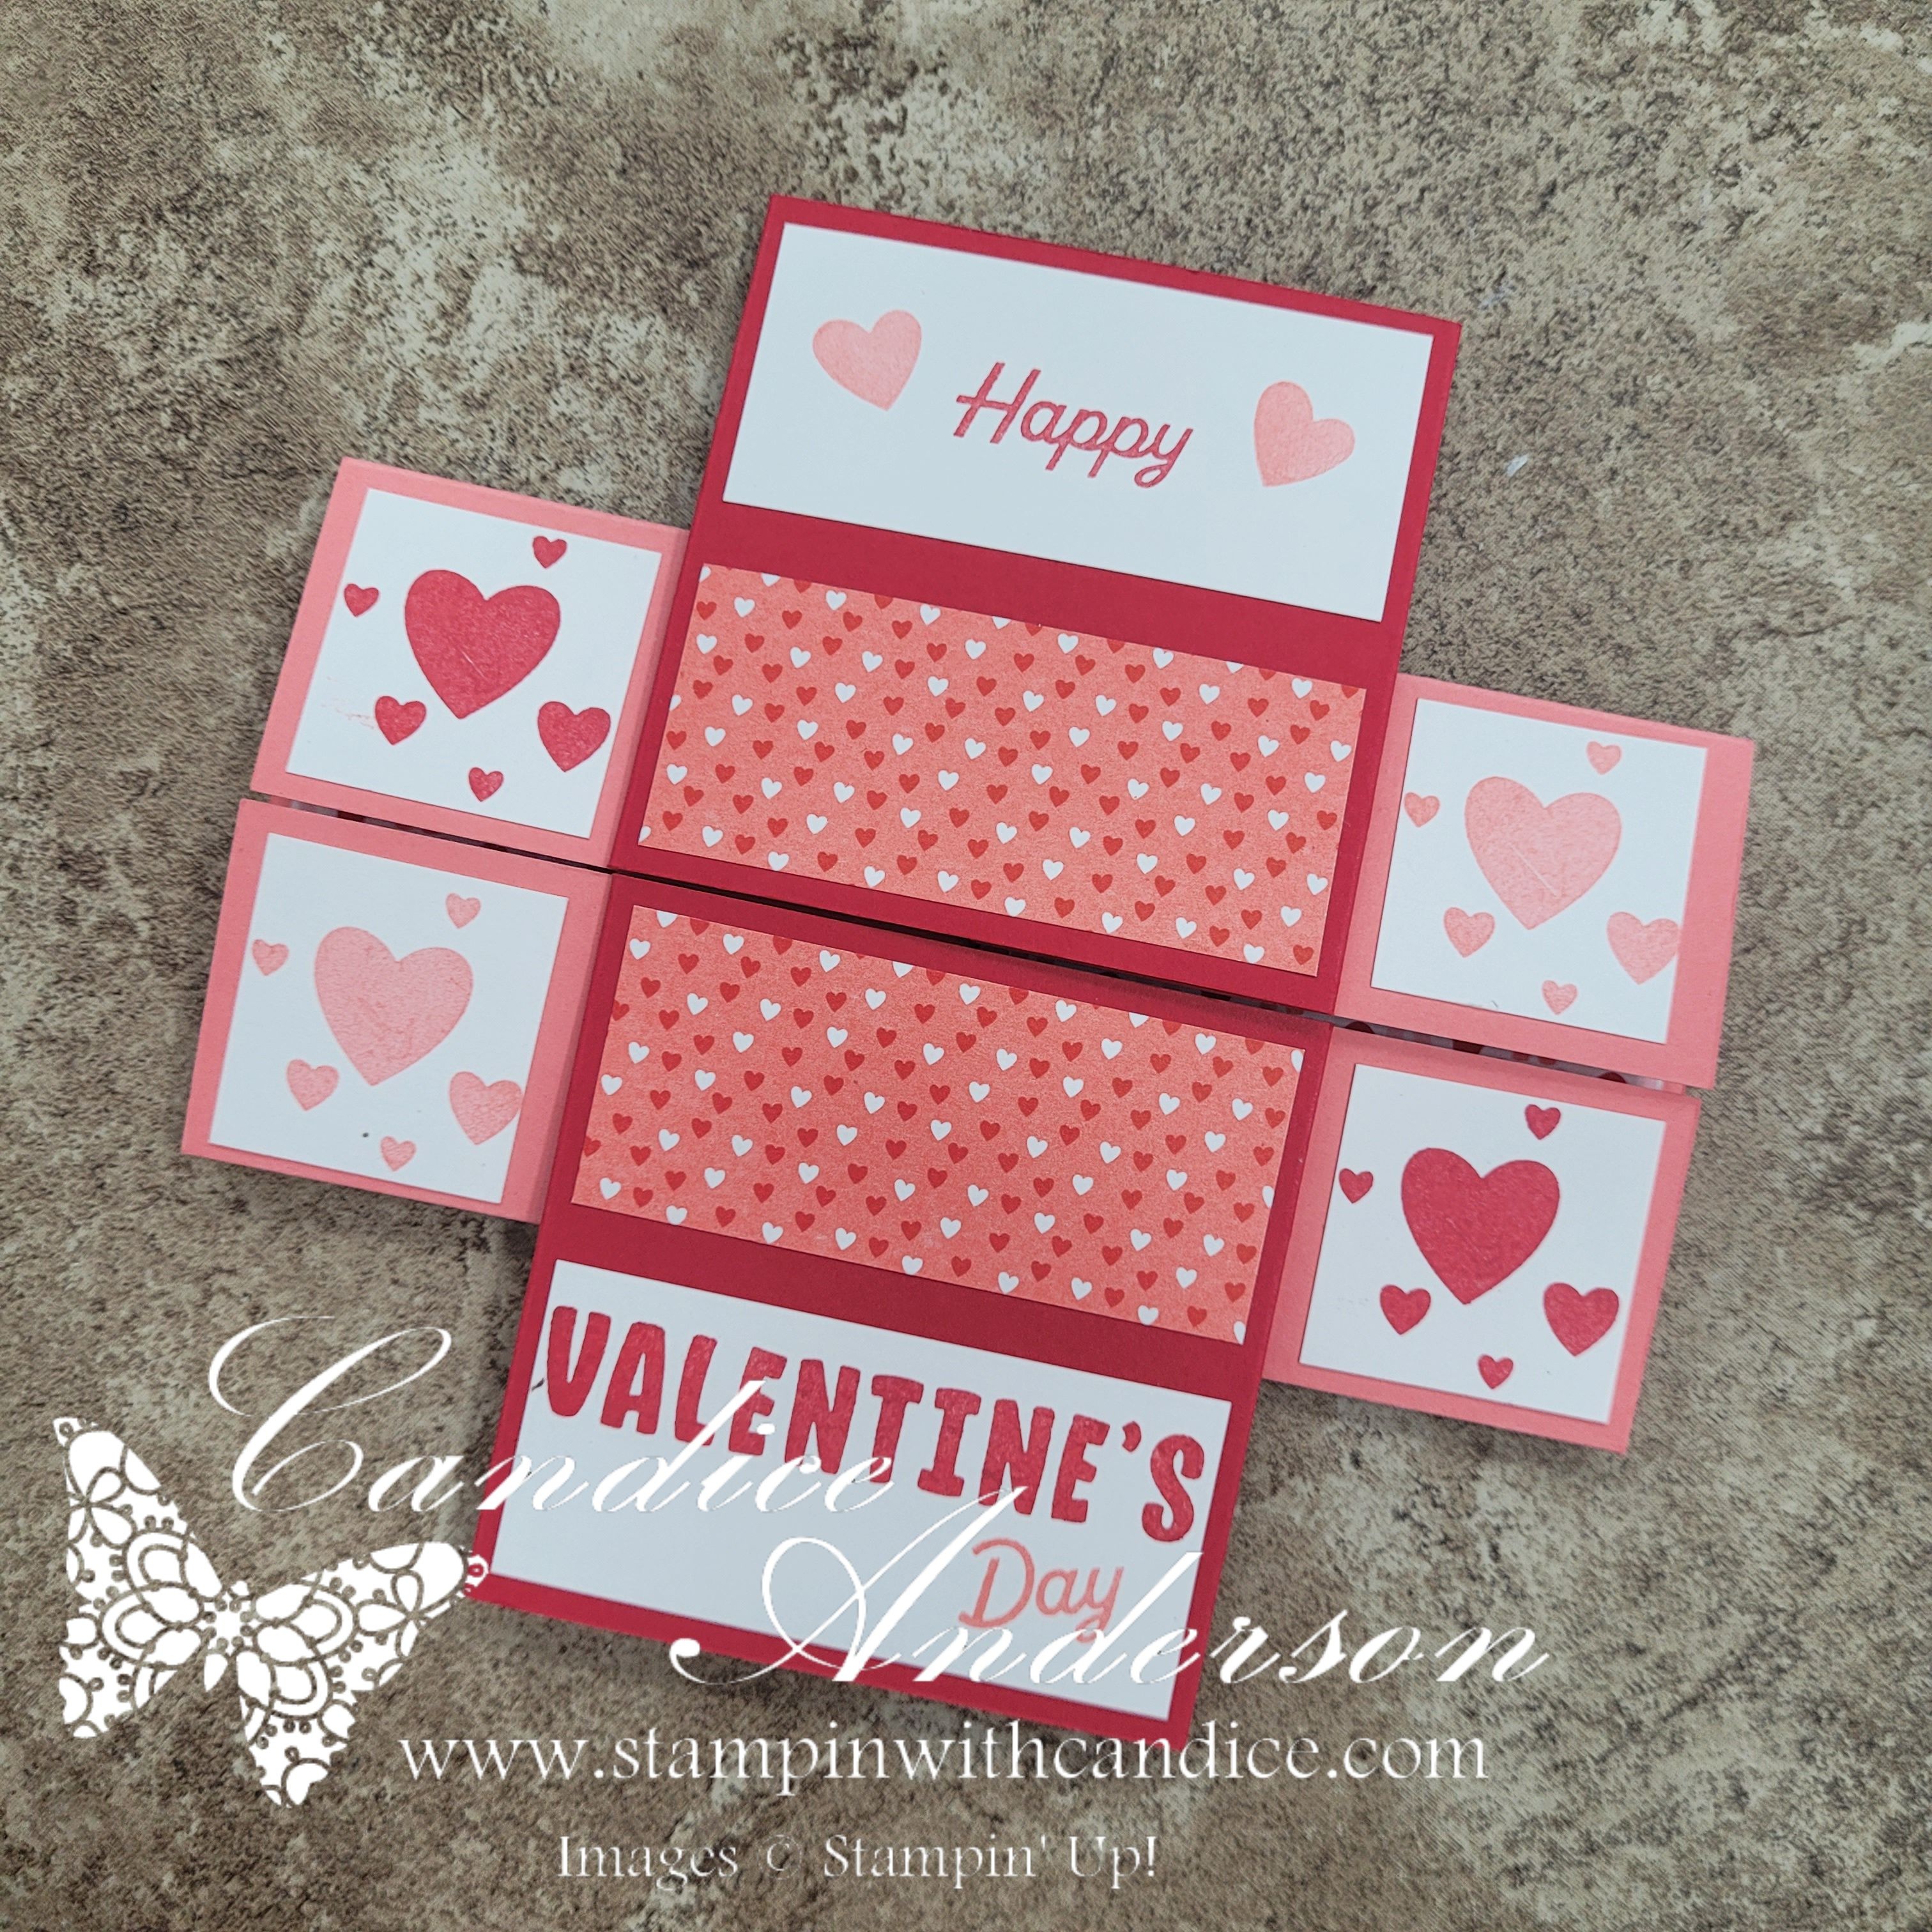
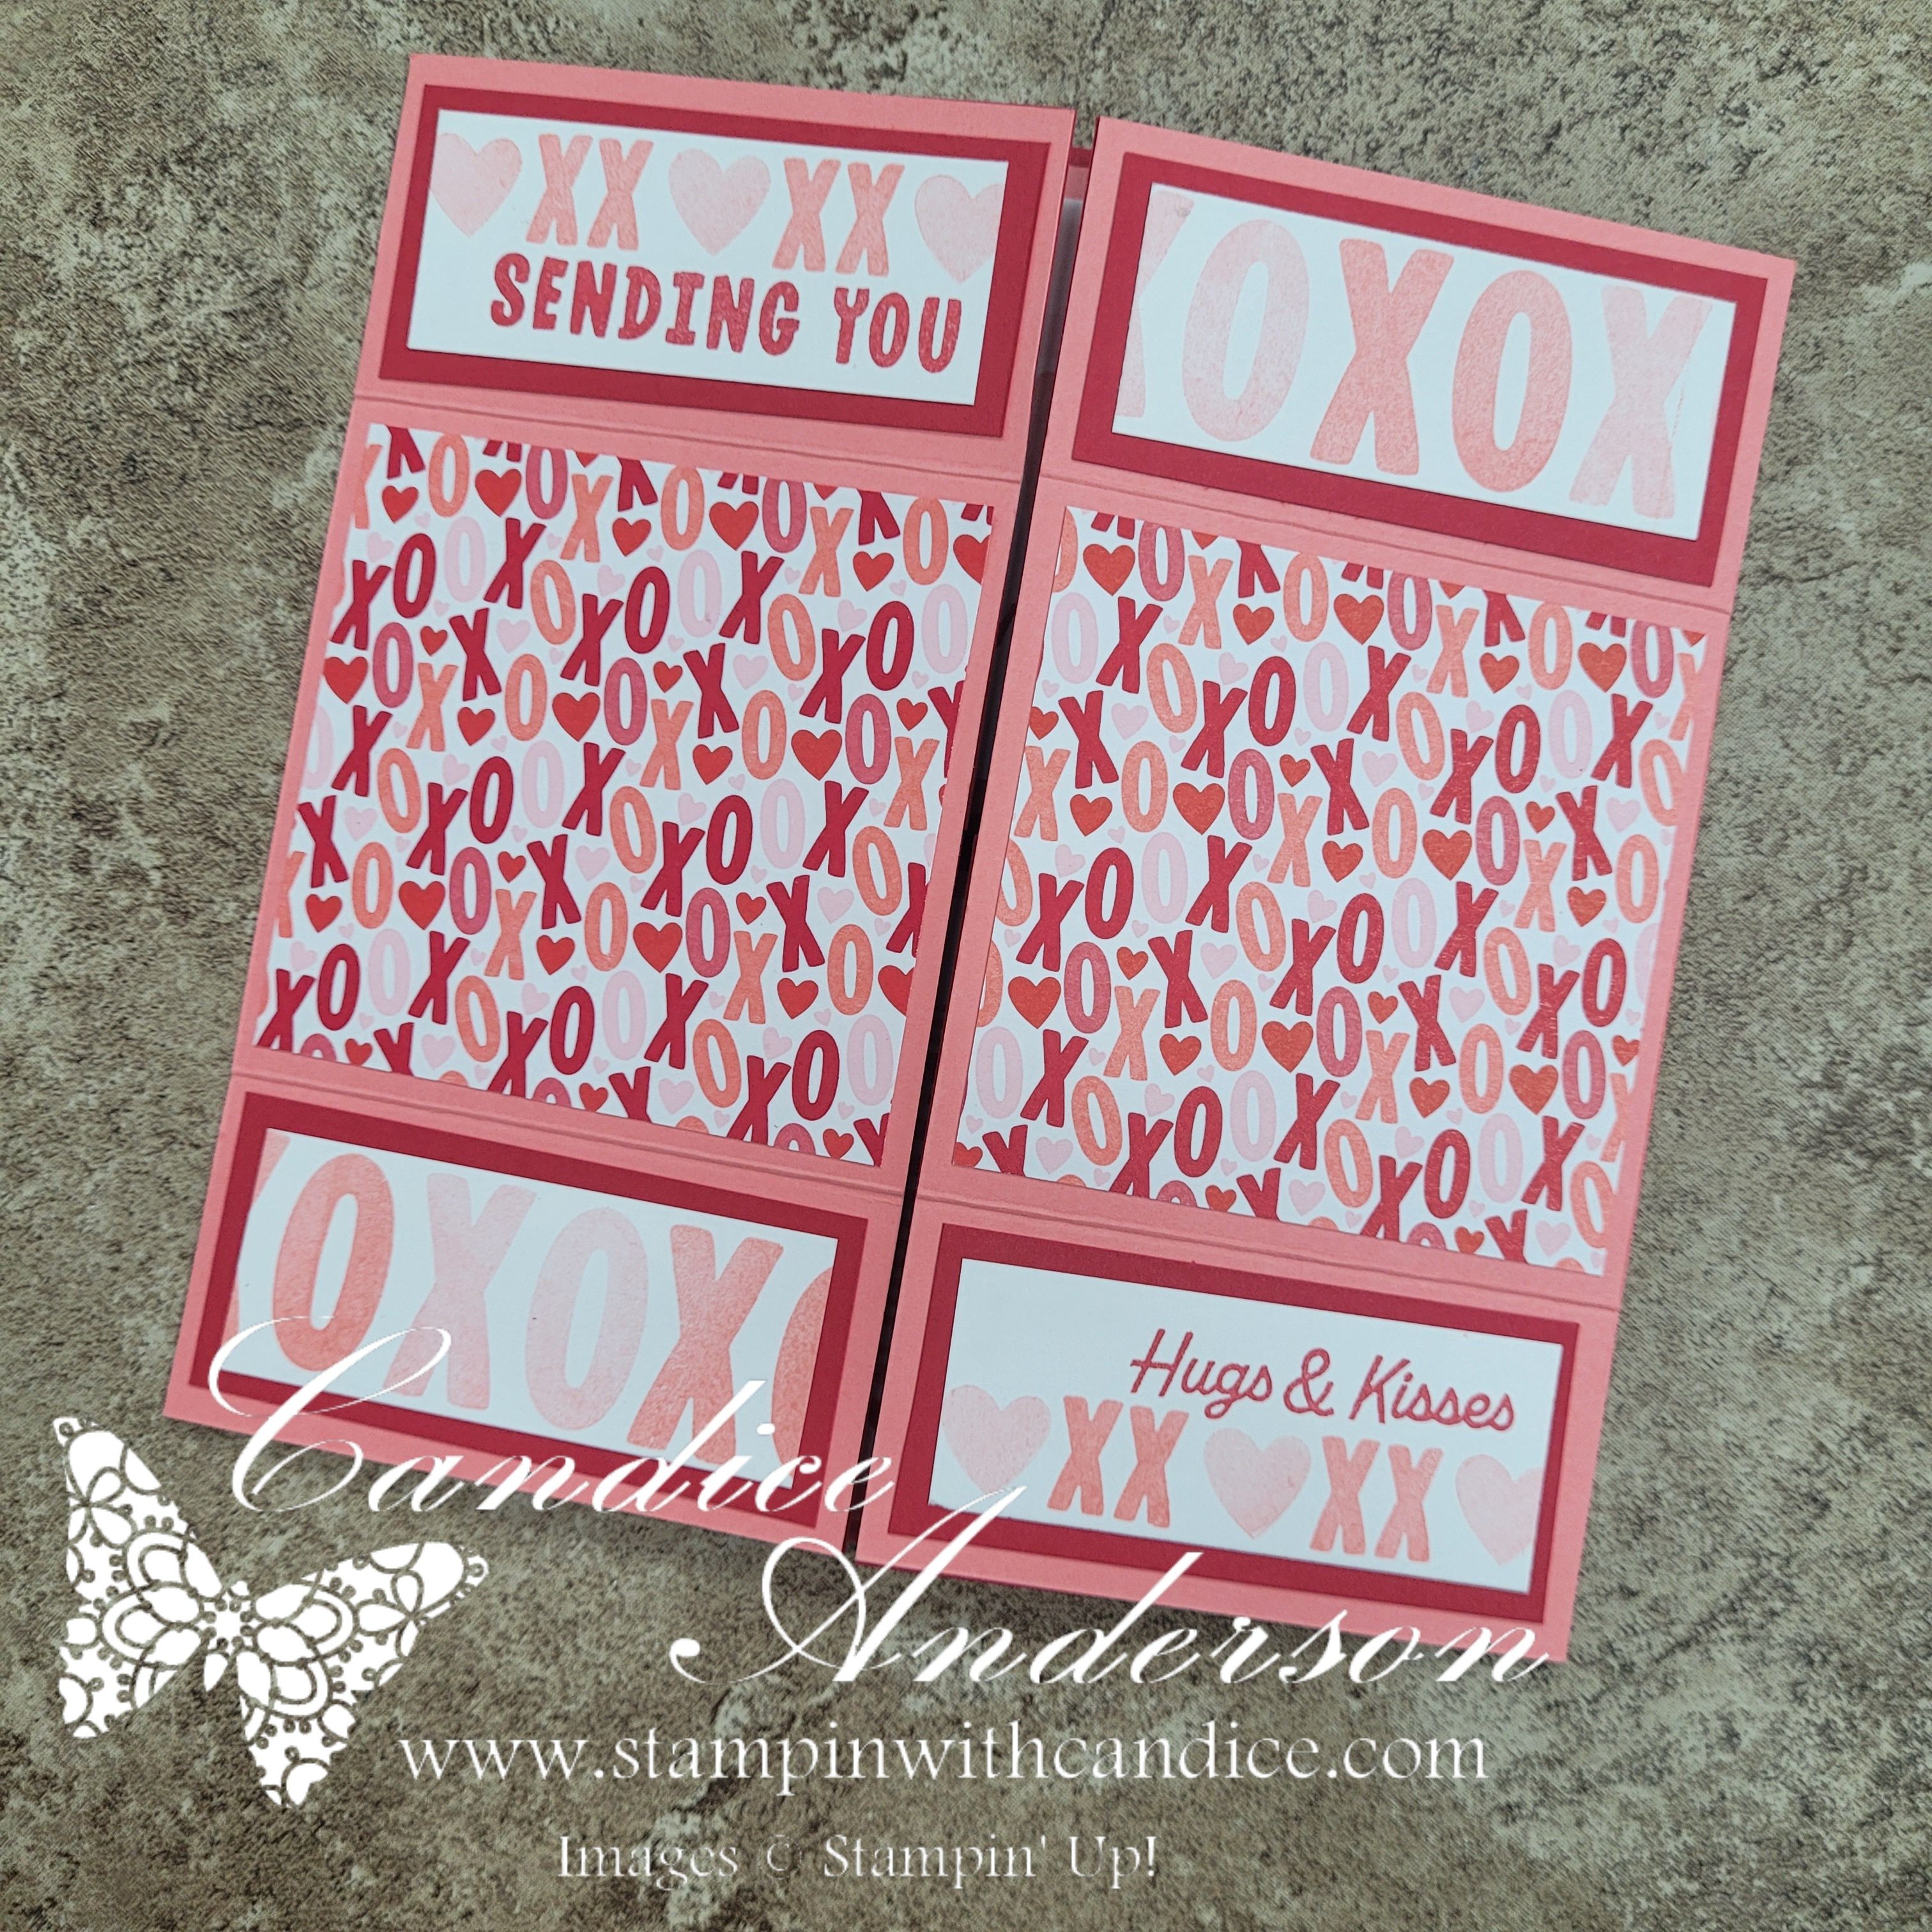
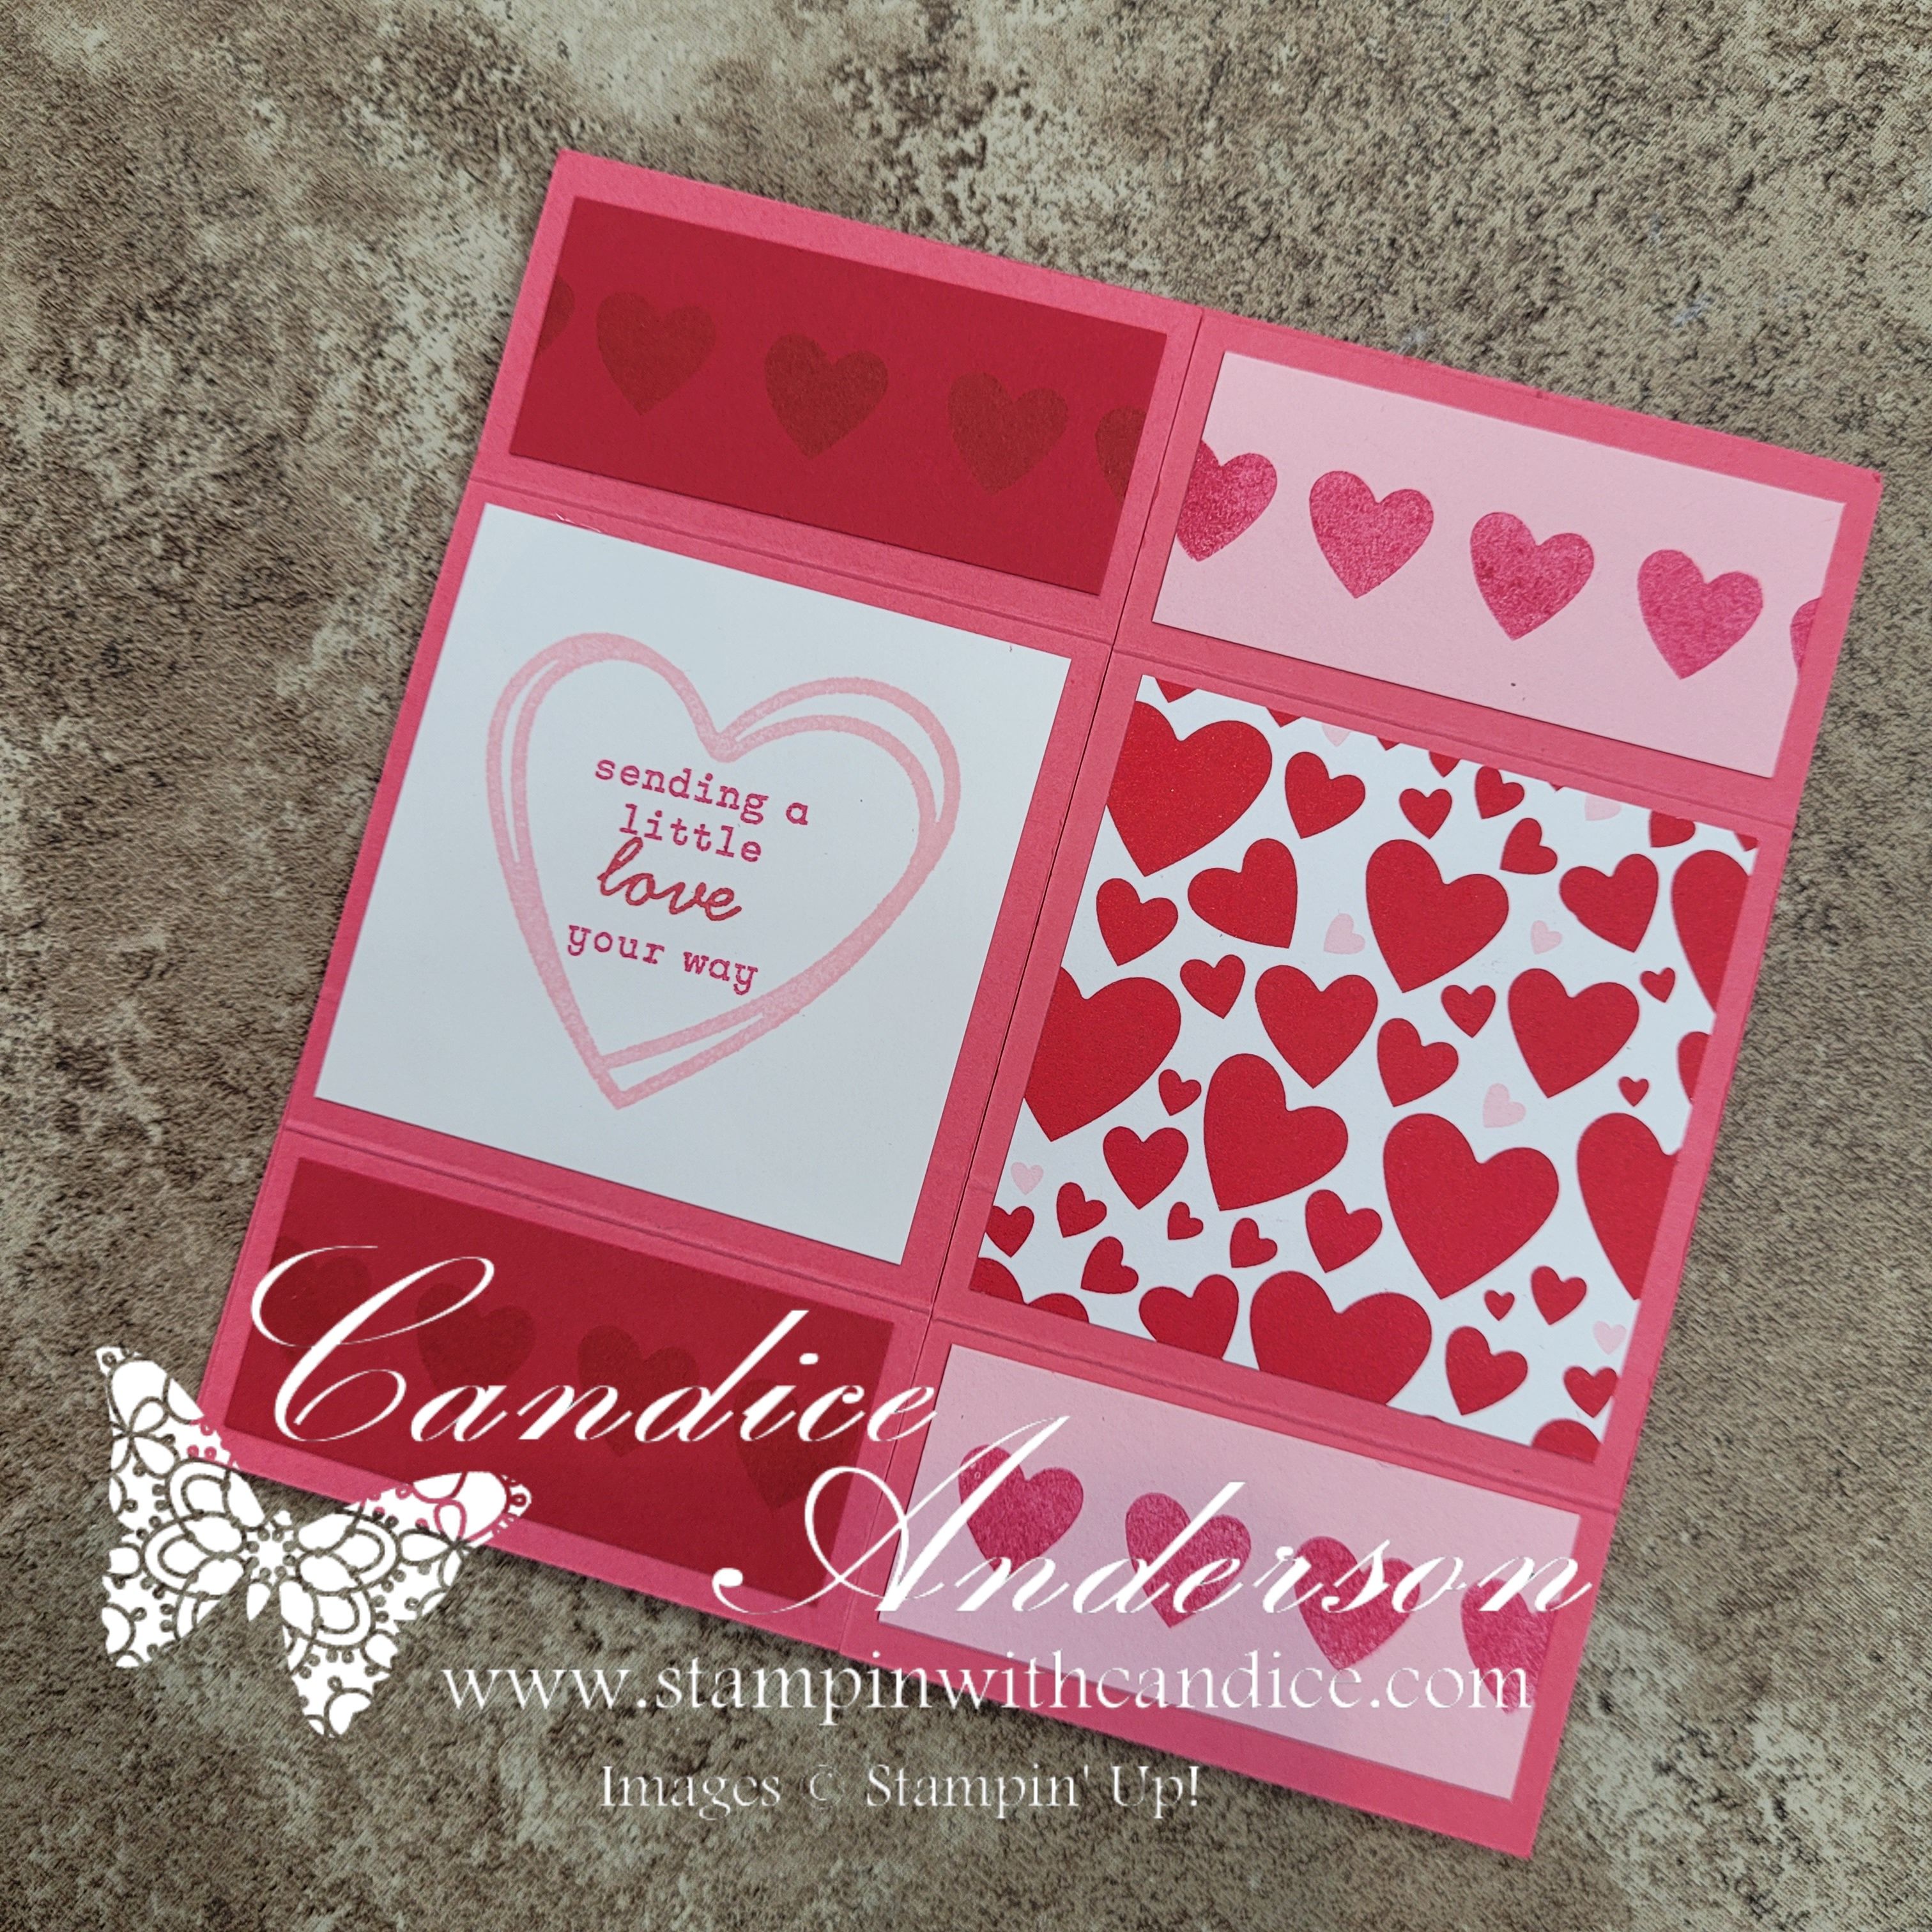
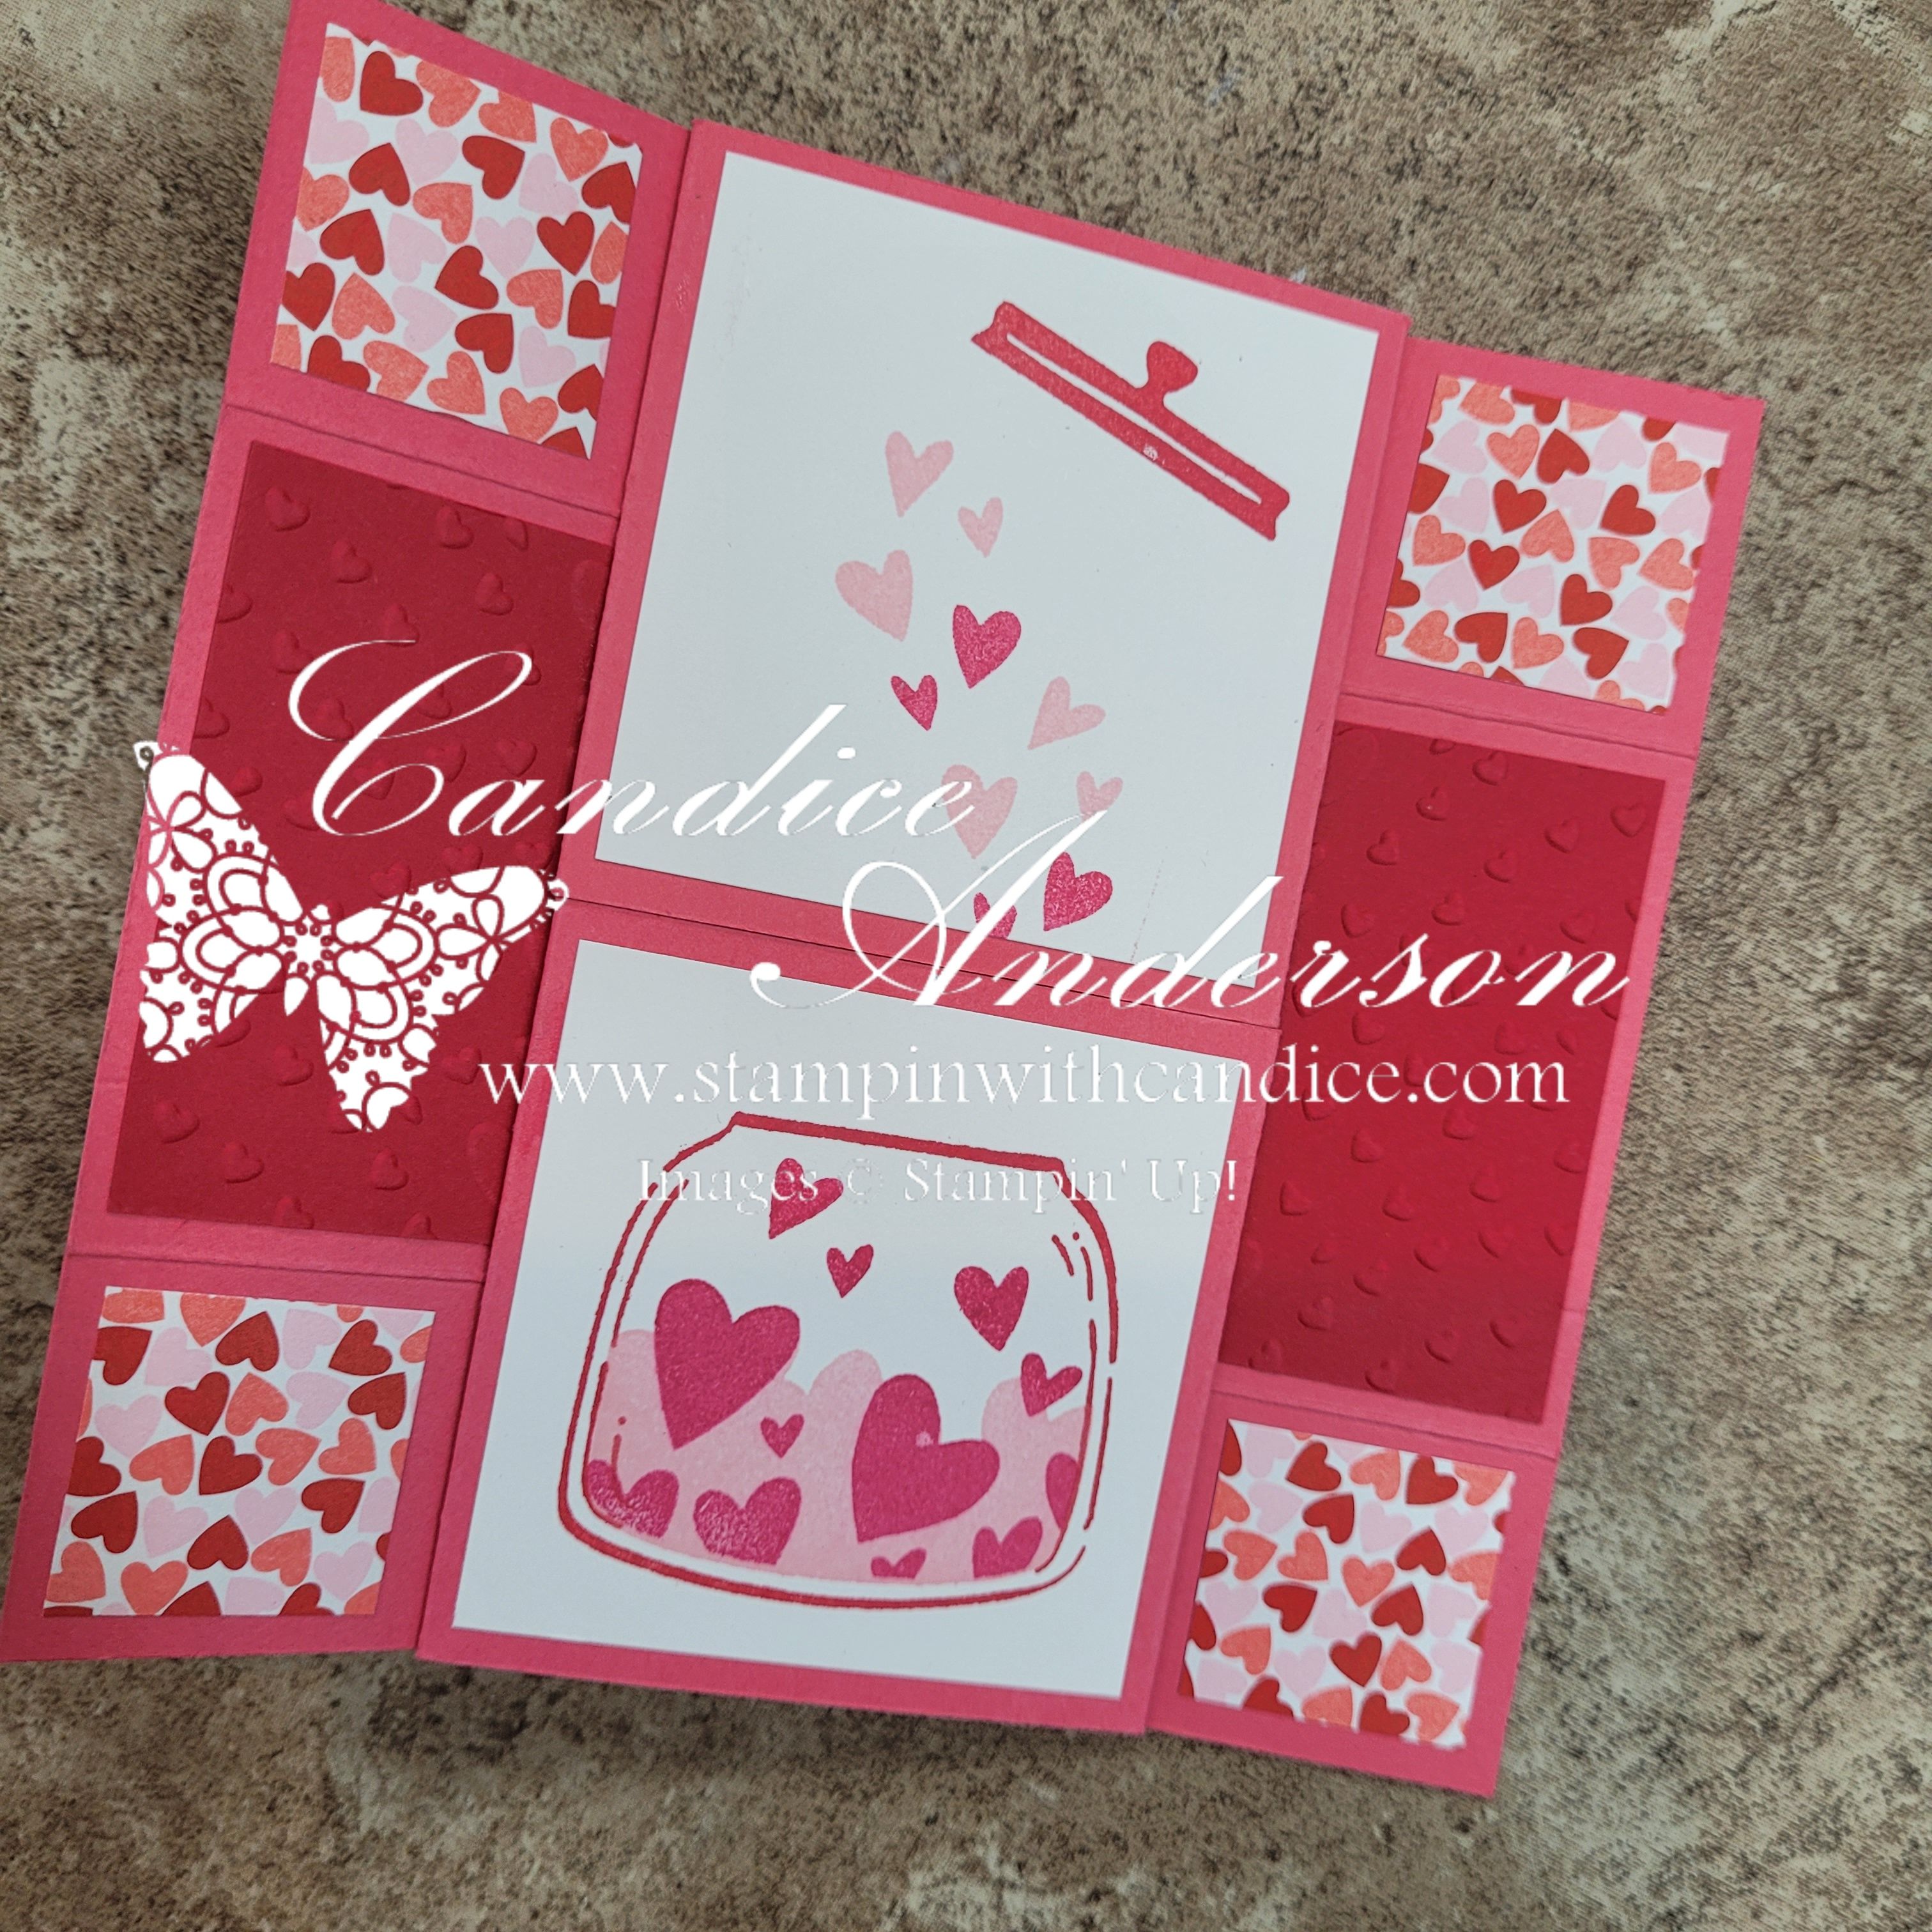
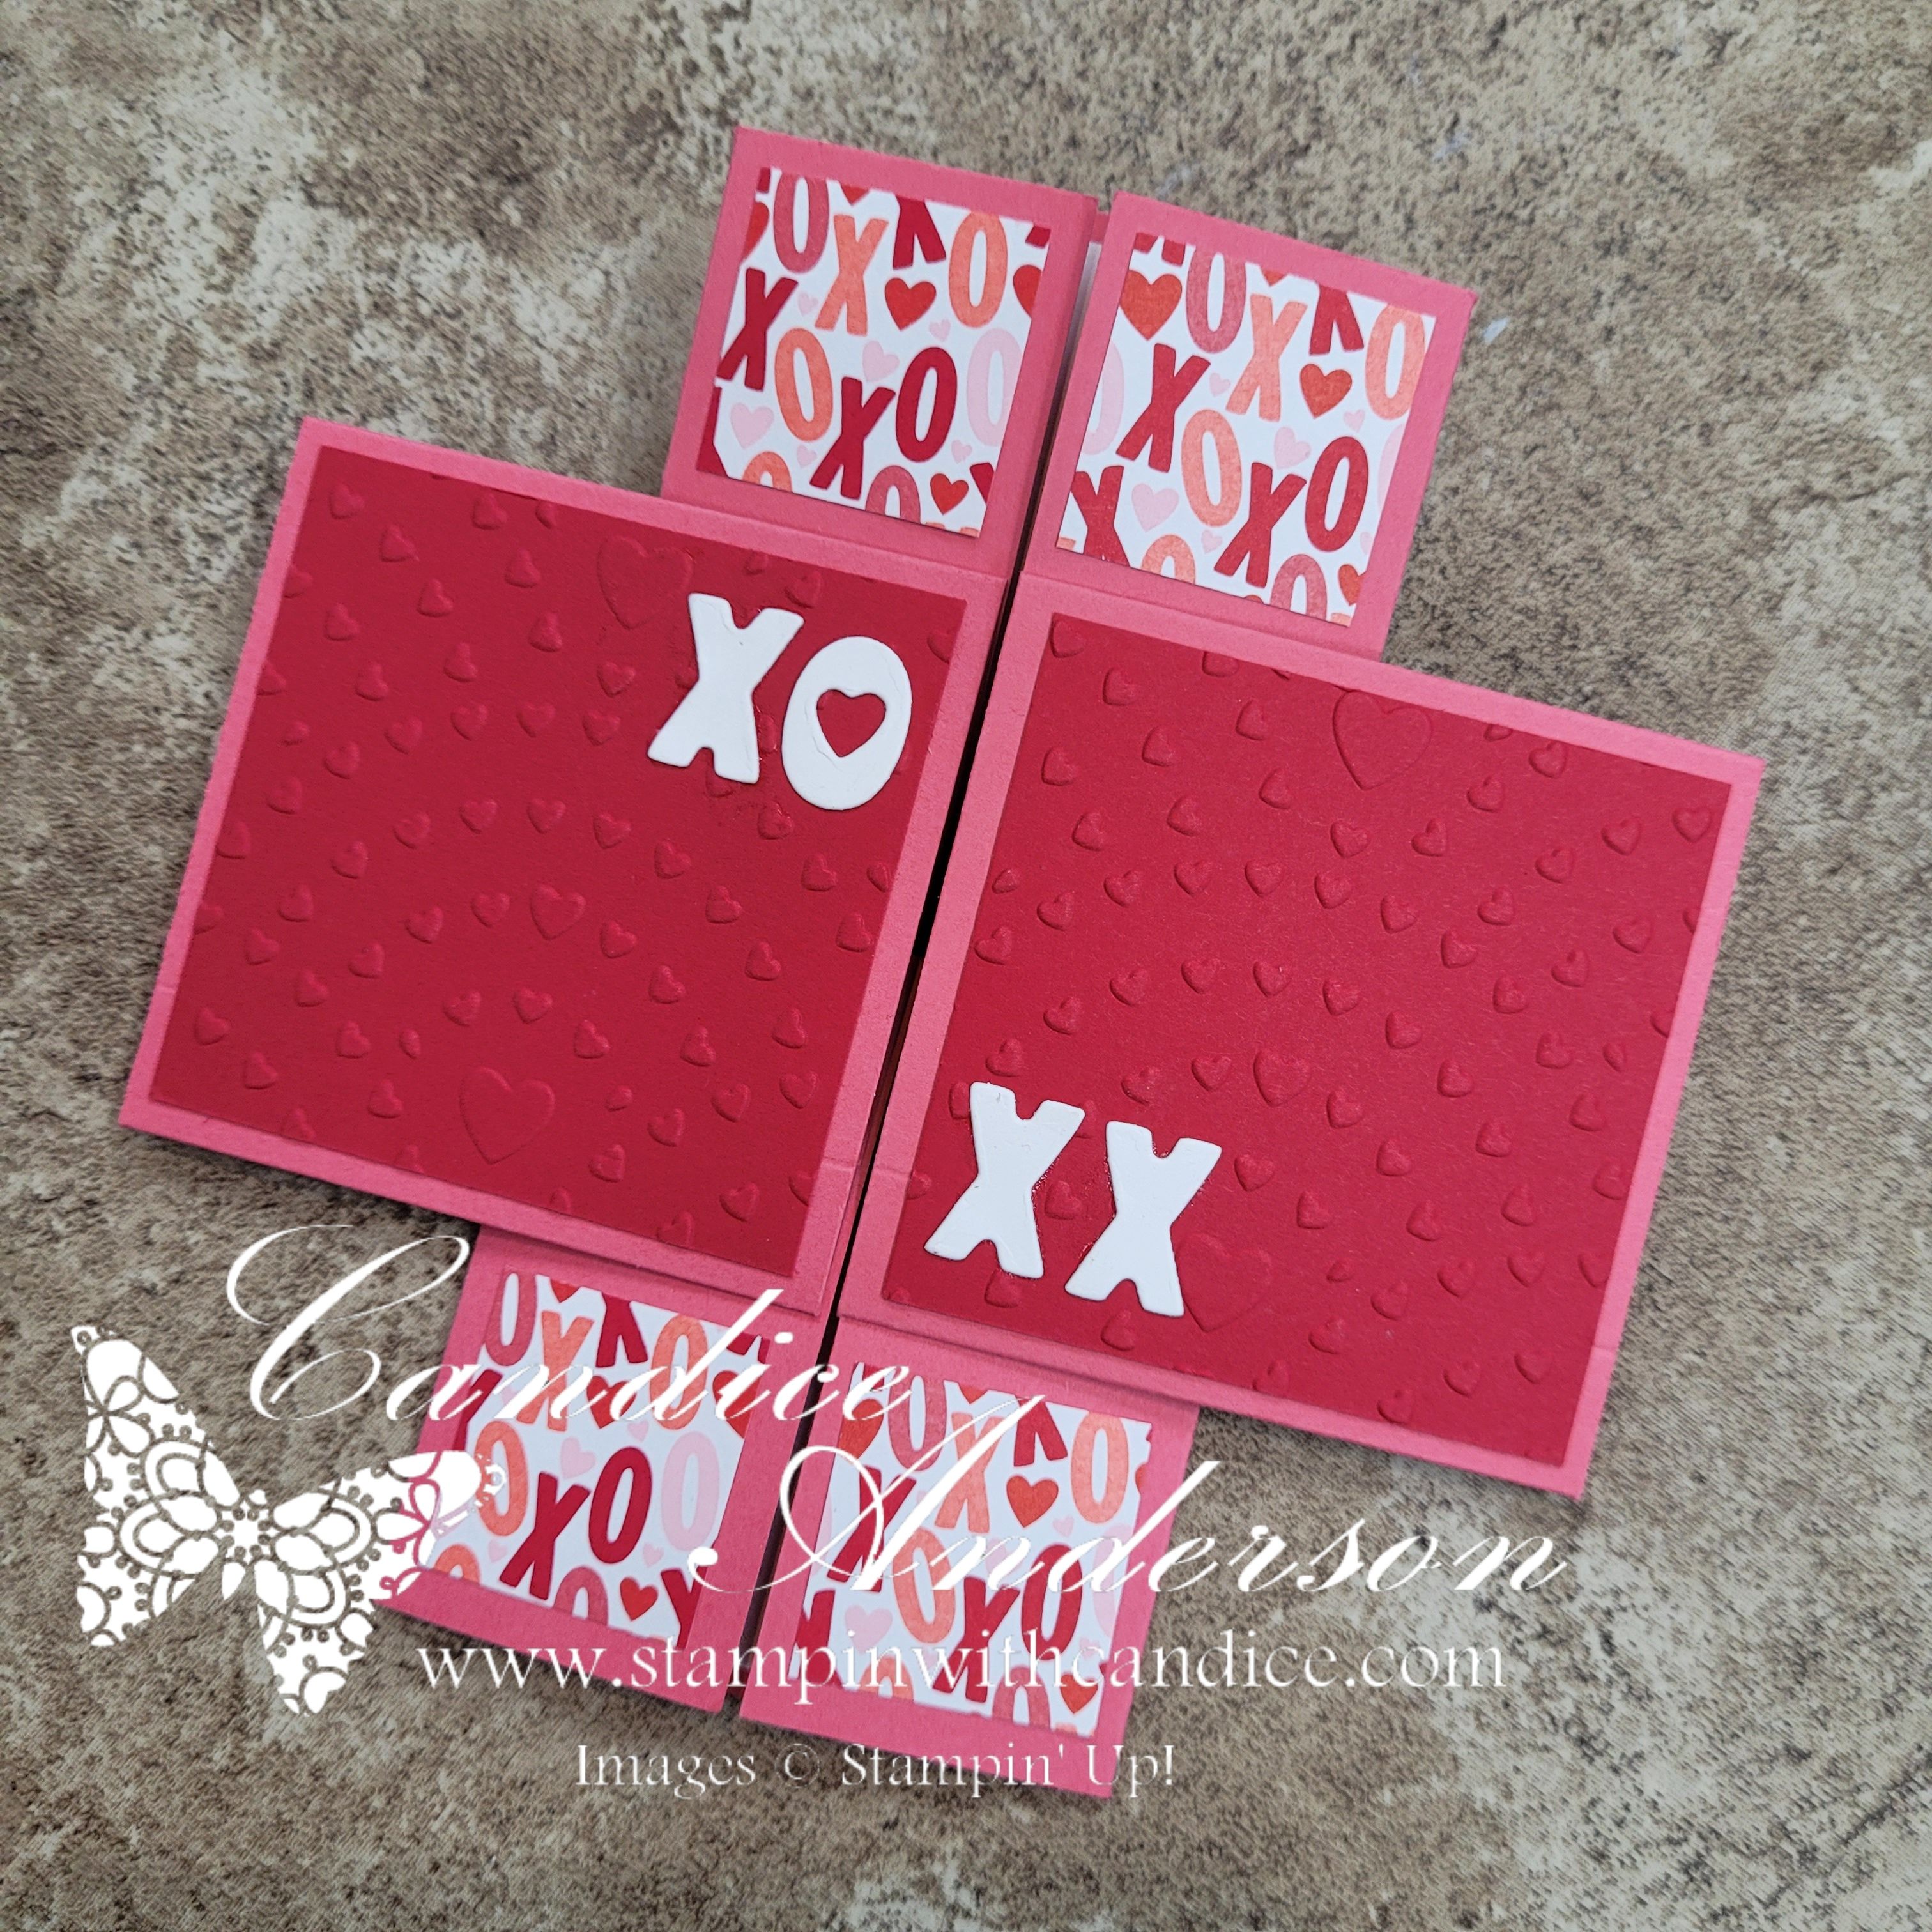
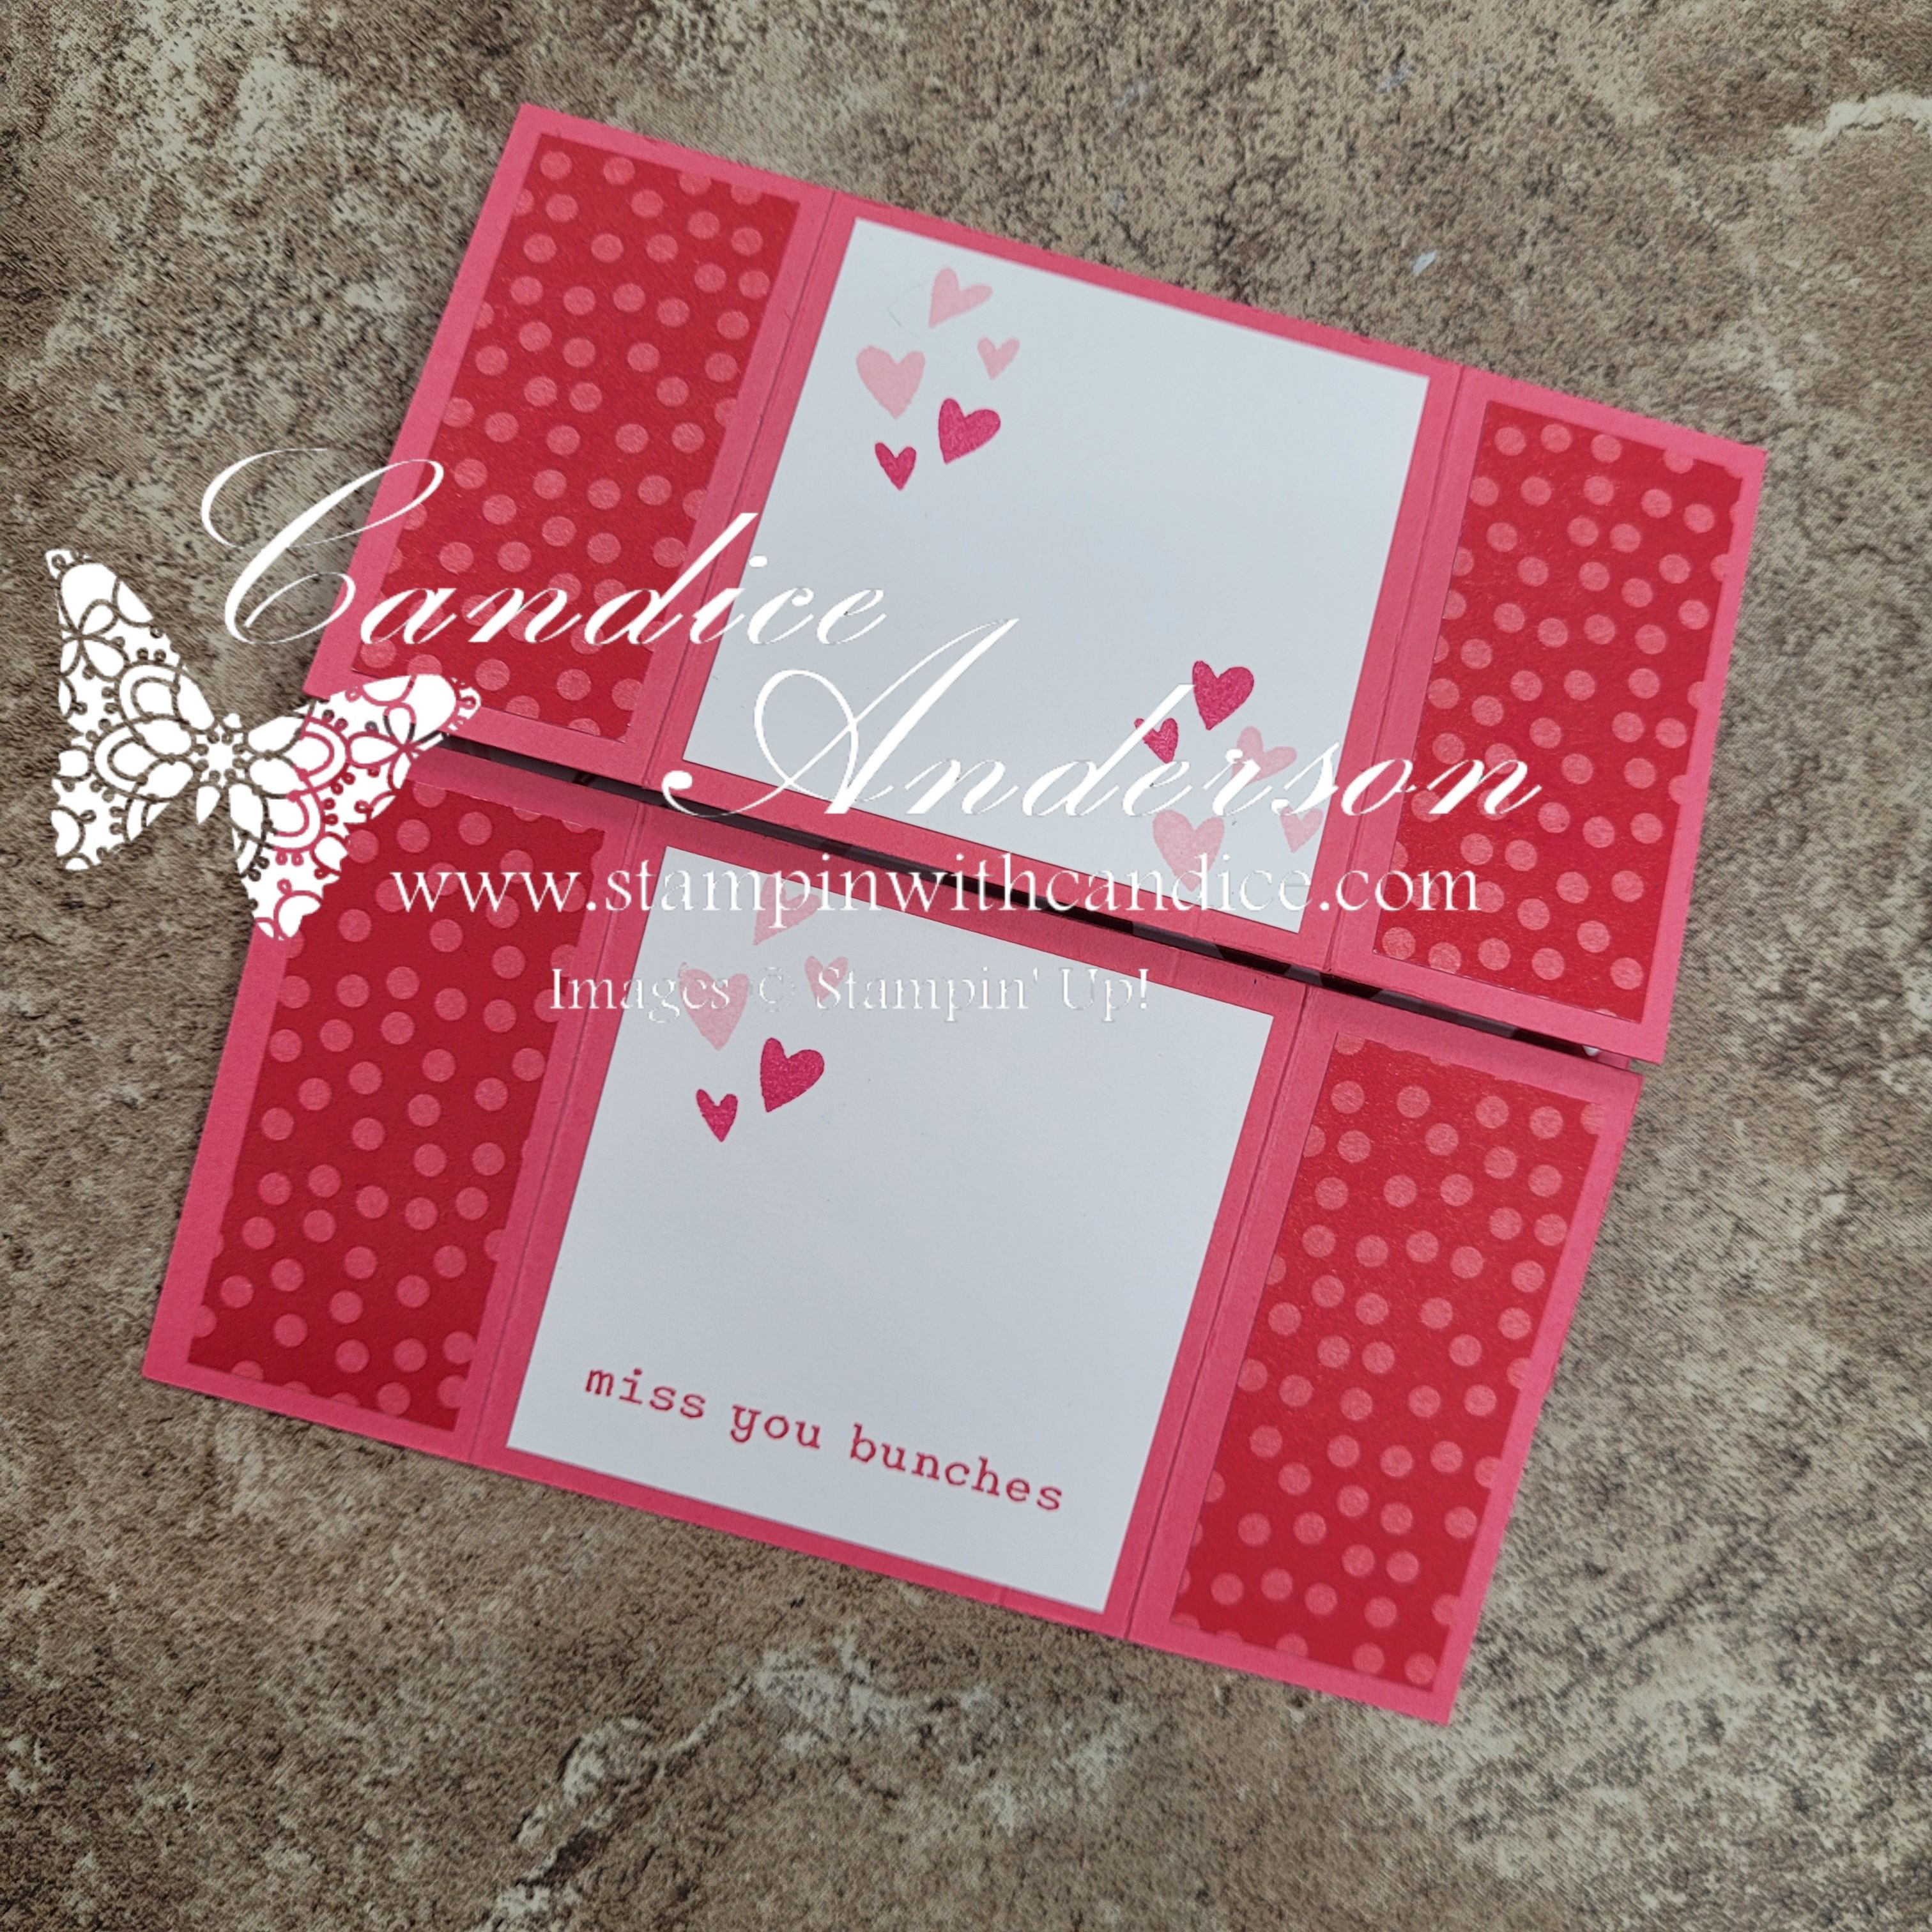
Monday I shared a Never-Ending (Infinity) Card, and let me tell you… this is one of those projects I had seen before but was always a little intimidated to try. Turns out? It’s way easier than it looks—especially thanks to a fantastic tutorial I found by Karey Titus.

For my cards, I featured the Endless Love Stamps & Dies #167062 along with the Made with Love DSP #167054, and I wanted to share a few helpful tips I picked up while making them.

Tips for Making a Never-Ending Card

• Cardstock colors:
You can use two different colors of cardstock or stick with the same color. If you’re worried about keeping track of direction and orientation, I highly recommend using the same color—it makes things much less confusing.

• Practice the folds first:
Before decorating, assemble your base pieces and practice turning the card. This really helps you understand how the card moves and makes it easier to decide what should go on each panel. Keep in mind that if it’s not folding and laying out the way you want try flipping the card as it can change the direction of the fold and cuts.

• Sizing is flexible:
I made two different sizes—a 6″ × 6″ card and then used the leftover 5″ × 5″ pieces to create a smaller version. You can truly make this card in any size, as long as you start with a square.

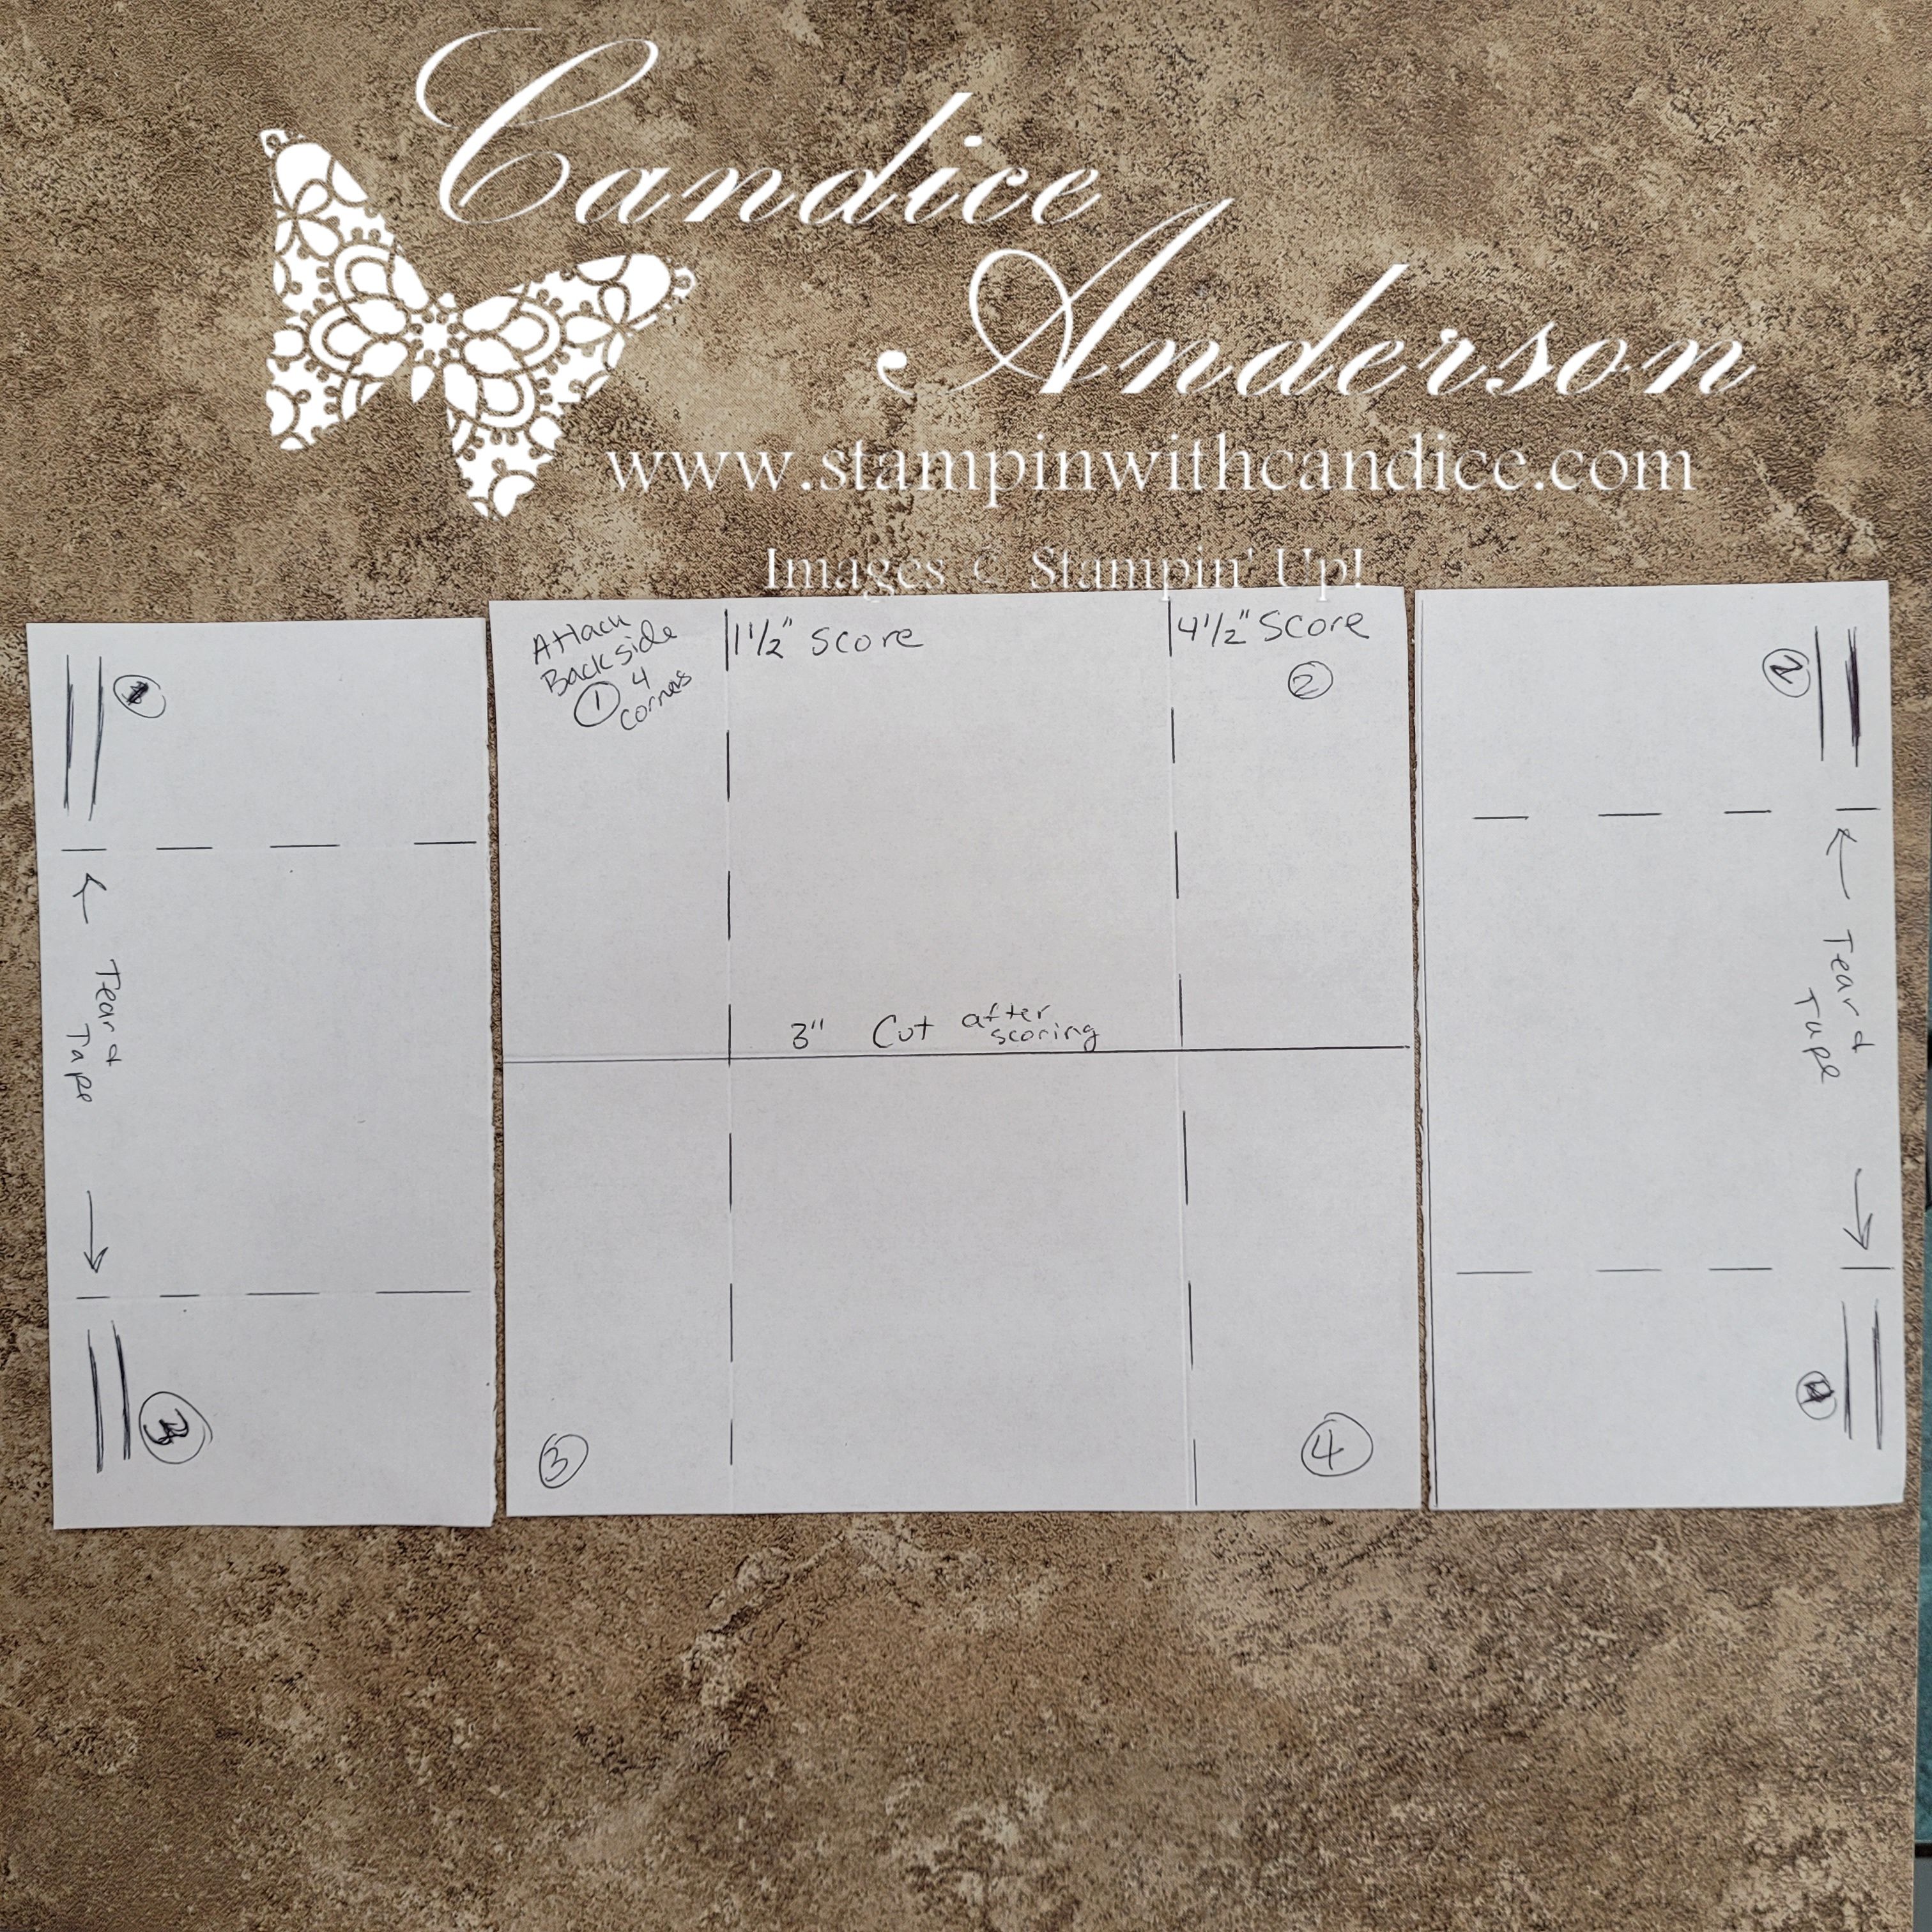
• Scoring measurements:
You’ll score at ¼ of the measurement from each side.

  • For a 6″ × 6″ card, score at 1-1/2″ and 4-1/2″
  • For a 5″ × 5″ card, score at 1-1/4″ and 3-1/4″

This creates an inside panel that’s half the size of the full card (3″ for the 6″ × 6″ and 2-1/2″ for the 5″ × 5″ .)

A layout design with measurement lines and notes on white paper, detailing scoring and cutting instructions for a crafting project.

• Cutting & assembly:
You’ll need two sheets, both scored and then cut in half in opposite directions.
The trickiest part is placing the adhesive correctly so the card can turn smoothly.

I used Tear & Tape #154031 because it’s strong and easy to work with. Place it on the outside corners (top and bottom) of one sheet. Then take the second sheet, turn it 90 degrees, and attach it to those corners.

If you’re more of a visual learner, be sure to watch the video to see how it’s done—it makes the assembly so much easier to follow.

Decorating the Card

Now for the fun part—decorating!
Most of my panels were cut ¼” smaller than the base pieces. Be mindful of the direction each panel will turn. I laid everything out as I went so I could decide where each piece made the most sense.

I had so much fun making these that I decided to try a few more designs, including the smaller version I mentioned in my video. I stuck with the heart theme and added in:

  • Love Story Stamp Set #167065
  • Darling Dinos Stamp Set #164730 (Last Chance)
  • Sweet Jar Stamp Set #165501 (Last Chance)

These cards are so fun, easy, and interactive—and honestly, they’re a little like a fidget spinner for crafters. You just can’t help but keep flipping them! I hope I’ve inspired you to give a never-ending card a try! I’d love to see what you create—be sure to tag me or give me a shout-out when you share your project or drop it in the comments.


A beautifully crafted Christmas card featuring a window scene that displays a peaceful nativity setting on one side, while the inside is adorned with cozy holiday elements like hanging stockings and warm colors.

Please feel free to contact me if you have any questions.

Contact me today to place your order!
435-232-2655 Cell ( Call or Text)
andersoncandice@hotmail.com


💕 Let’s Stay Connected

📺 YouTube
📘 Facebook
📸 Instagram
📌 Pinterest

Cut, Shake & Share: Valentine Treat Ideas with Heart Gusseted Treat Bags

Last week on my live, I shared several fun ideas using the Heart Gusseted Treat Bags (#167073). I posted about the project I created during the live, but then realized I never shared the other projects—so today I’m fixing that!

A variety of decorated gift bags with heart designs, featuring messages like 'Hugs & Kisses' and 'I Adore You'. The bags are embellished with red and pink colors, and some contain chocolates and other small gifts.

These four additional projects all feature cutting a window into the treat bags using the Endless Love Dies (#167061), then using the die-cut heart from the bag on a coordinating project. It’s such a fun way to stretch your supplies and get multiple projects from one idea.

Helpful Tips Before You Cut

A handmade greeting card featuring three red heart cutouts with a transparent background, displaying colorful sequins inside, and the text 'Hugs & Kisses' on a pink ribbon.

Be sure to watch the video where I share tips on how to avoid cutting through the sides of the bag. For this technique, you’ll want to use the Mini Cutting Plates (#151004) and place one inside the bag, so you’re only cutting through a single layer.

If you’d like your bag to stand up like mine, score the bottom of the bag at 1/2″, then fold that section to the inside to create a flat base.


Project One – Large Heart Window Shaker

For my first project, I used the large heart die to cut a window in the bag. I then cut a smaller heart from Real Red cardstock and embossed it with the Hearts of Love 3D Embossing Folder (#167071).

To create the shaker:

  • I used a 3″ x 3″ Flip Flap (#166514)
  • Filled it with the Loose Valentines Assortment (#167074)
  • Attached it to the back of the embossed red heart
  • Then adhered everything to the inside of the bag behind the window

I finished the bag with additional die cuts and Real Red Baker’s Twine (#164051).

For the coordinating project, I used the heart cut from the treat bag along with extra die cuts and twine then attached them to an Iridescent Treat Bag (#166204)—quick, easy, and adorable.


Project Two – Filigree Hearts & Shimmery Window

For the second project, I cut the smaller hearts and layered them with the filigree heart dies.

To create a shimmery window:

  • I cut open an Iridescent Treat Bag (#166204)
  • Adhered it to the inside of the gusseted treat bag

For the greeting, I used the Three Banner Punch (#167050) for a quick and easy sentiment. The final touch was Bubble Bath 1/8″ Faux Linen Ribbon (#167075)—the perfect delicate accent.

Coordinating Candy Bar Treat

To coordinate, I layered one of the hearts cut from the treat bag onto additional die cuts. I embossed Bubble Bath cardstock, wrapped it around a candy bar, and added:

  • A strip of Real Red cardstock stamped with XO in black
  • A big, beautiful bow made from the Bubble Bath Faux Linen Ribbon

Quick, easy, and super cute!


Any of these projects would make a perfect Valentine treat for someone special, and they’re a great way to get even more value from your Heart Gusseted Treat Bags.

💖 Remember: You can purchase all of the products used for these projects on my website. I appreciate your support.


A beautifully crafted Christmas card featuring a window scene that displays a peaceful nativity setting on one side, while the inside is adorned with cozy holiday elements like hanging stockings and warm colors.

Please feel free to contact me if you have any questions.

Contact me today to place your order!
435-232-2655 Cell ( Call or Text)
andersoncandice@hotmail.com


💕 Let’s Stay Connected

📺 YouTube
📘 Facebook
📸 Instagram
📌 Pinterest

From Treat Bag to Box: My Favorite Heart Gusseted Treat Bag Project

Monday night on my live, I shared multiple projects using the Heart Gusseted Treat Bags (#167073), and I had so much fun playing with these bags and seeing just how many ideas I could come up with. 💕

My live video featured my favorite project.. This little box is relatively simple to make, and I love how versatile it is—plus, one bag makes TWO boxes, which is always a win!

Box Instructions

Start with one Heart Gusseted Treat Bag:

  1. Cut off the top folded portion of the bag.
    • Measure 9-1/4″ up from the bottom and cut.
  2. Trim the bottom so the bag measures 9″ total.
  3. Cut the bag in half at 4-1/2″.
  4. Score the bottom at 3/4″.
    • Be sure to flip the piece so you get a good score on both sides.
  5. Cut the corners on the bottom of each piece up to the 3/4″ score line.
    • You should now have two red sections and two white sections.

Box Base (for Support)

  • Cut a piece of chipboard to 4″ x 1-1/4″
    • I used chipboard from my Paper Pumpkin kits.
  • Cover with Real Red cardstock, also 4″ x 1-1/4″.
  • Adhere to the bottom of the inside of the box for extra stability.

Decorating Details

A close-up view of a decorative Valentine's Day card featuring layered hearts in shades of pink and red, with a ribbon that reads 'Hugs & Kisses'. The background includes a lace-like doily pattern.

Decorate your box as desired! For my sample, I used:

  • Lovely Doilies #167104
  • Endless Love Stamp Set #167055
  • Endless Love Dies #167061
  • Bubble Bath Ribbon #167075
  • Real Red Baker’s Twine #164051

Colors: Real Red, White, & Bubble Bath

Perfect Fit: This box fits our Note Cards (#159232) perfectly, making it ideal for a sweet Valentine note or gift enclosure.

The simple card design tucked inside the box was inspired by Heidi Collins, keeping the look clean, classic, and easy to recreate.

Bonus: This project is the perfect fit for this week’s Global Design Project challenge – Hearts #GDP531! 💖

Be sure to check out my video to see just how easy this project is to create, along with the other fun ideas I shared. I’ll be posting more details on the remaining projects later this week, so be sure to tune back in! 💕


A beautifully crafted Christmas card featuring a window scene that displays a peaceful nativity setting on one side, while the inside is adorned with cozy holiday elements like hanging stockings and warm colors.

Please feel free to contact me if you have any questions.

Contact me today to place your order!
435-232-2655 Cell ( Call or Text)
andersoncandice@hotmail.com


💕 Let’s Stay Connected

📺 YouTube
📘 Facebook
📸 Instagram
📌 Pinterest