Craft Unique Shaped Cards for Any Occasion

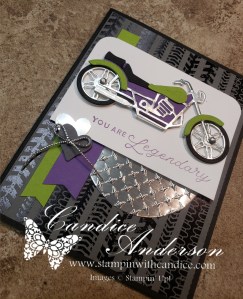
On my live this week, I shared how easy it is to create fun shaped cards using your larger dies. These cards are quick to make, full of personality, and a great way to add a little extra wow to your projects.

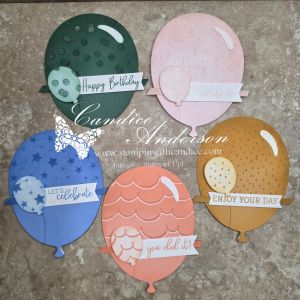
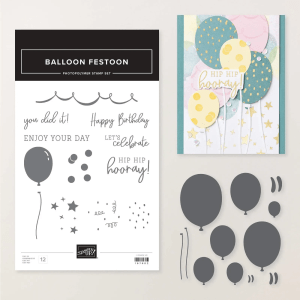
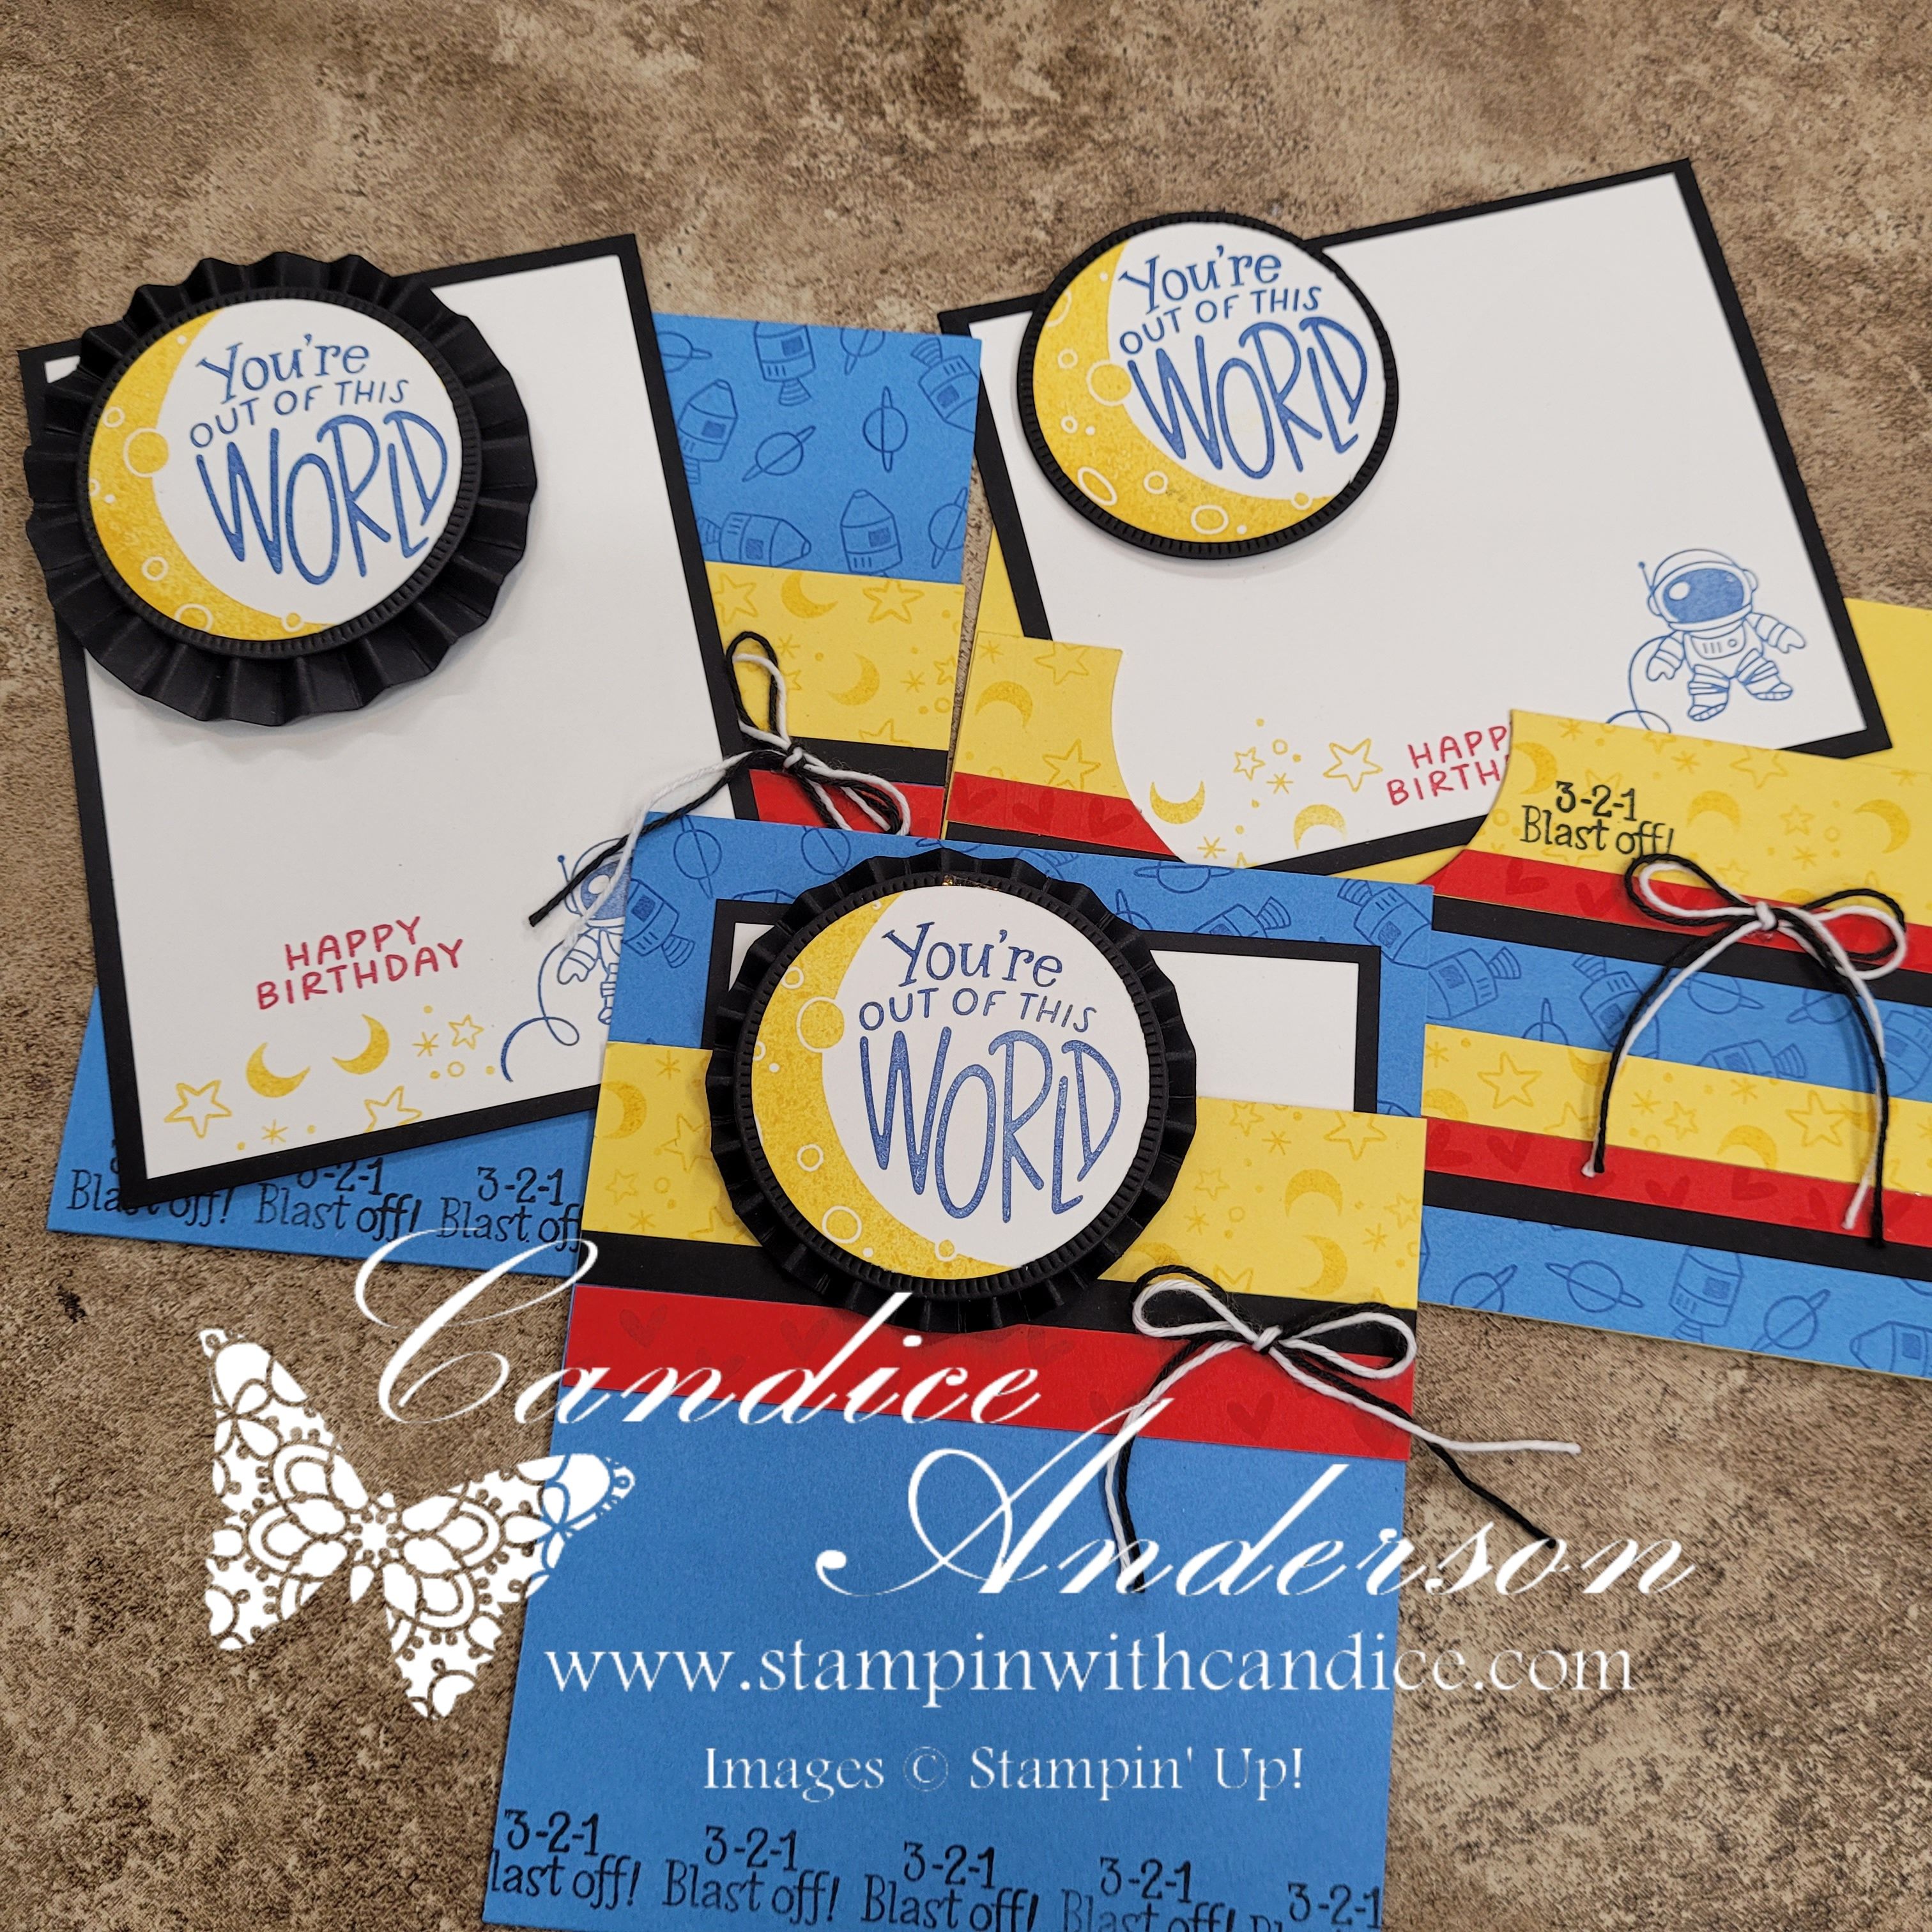
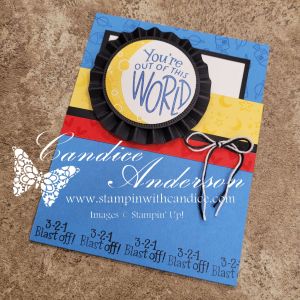
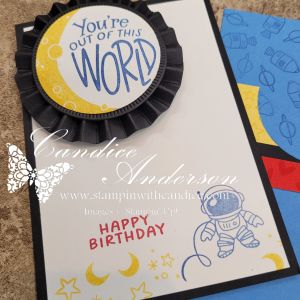
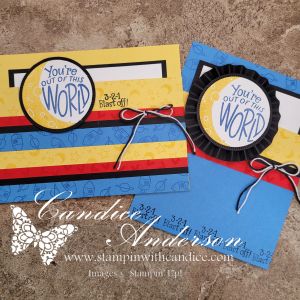
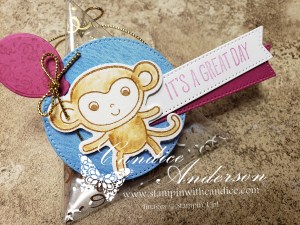
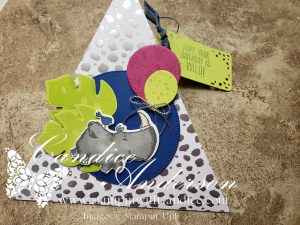
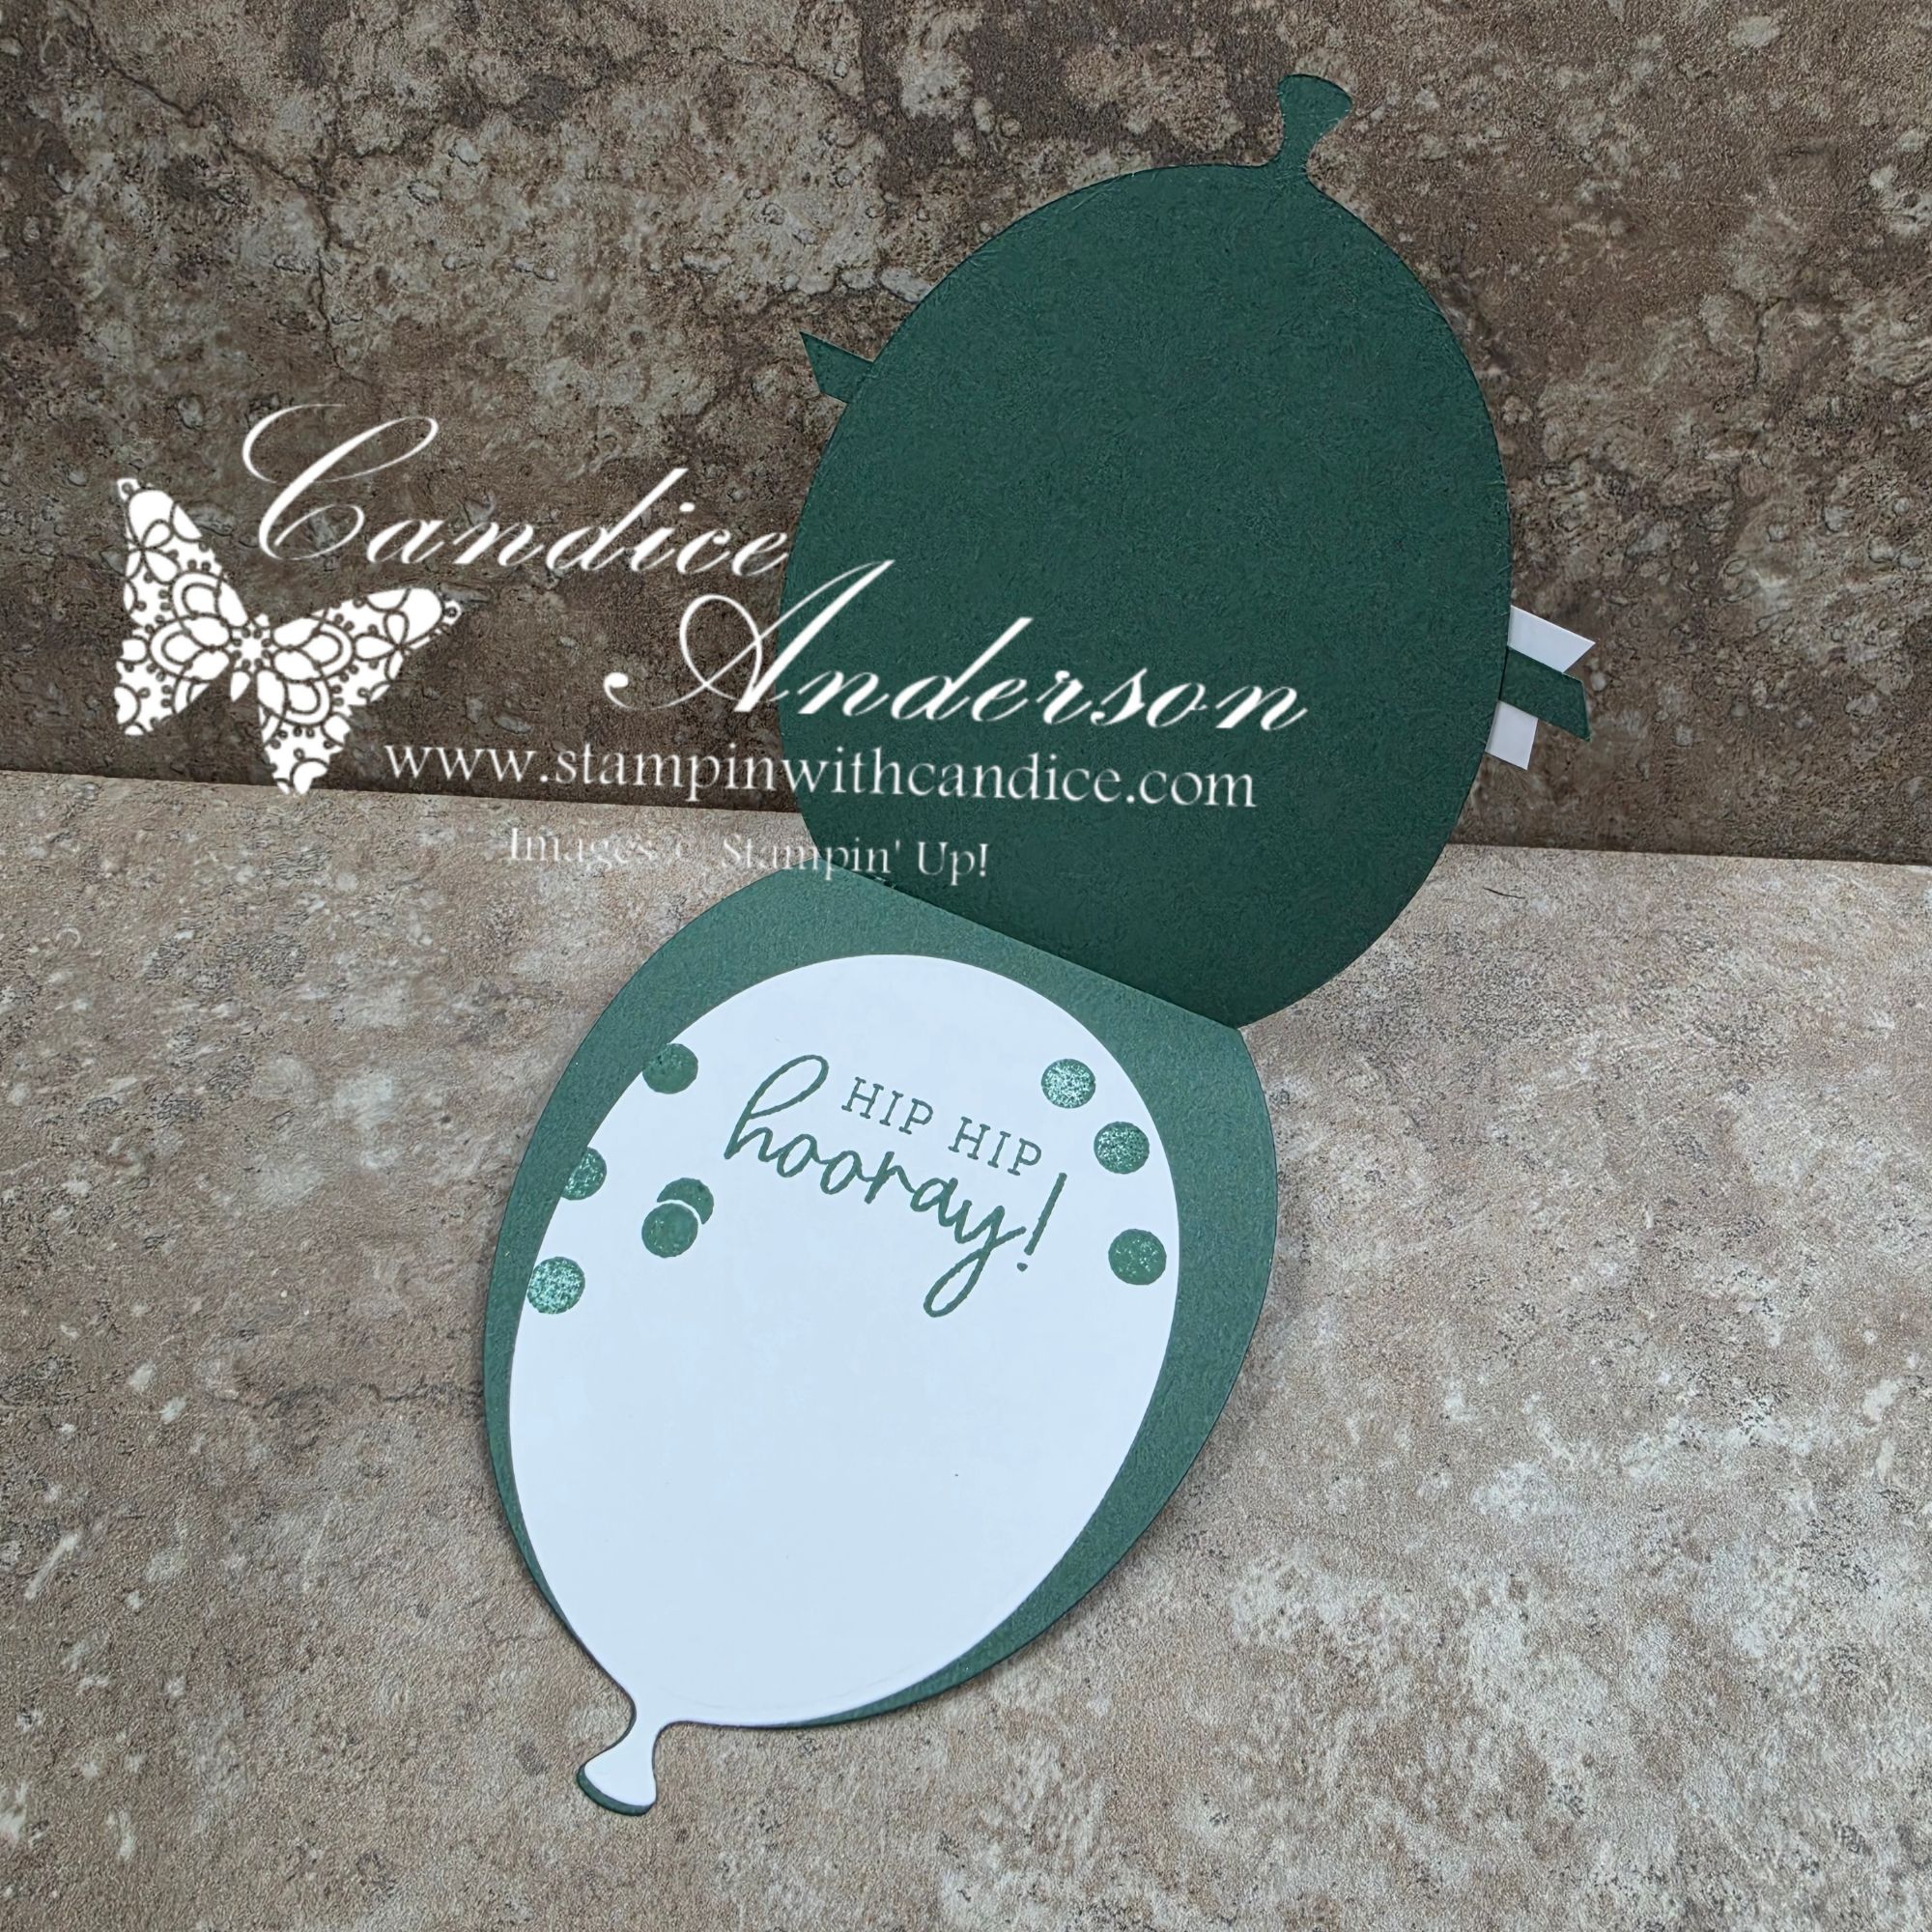
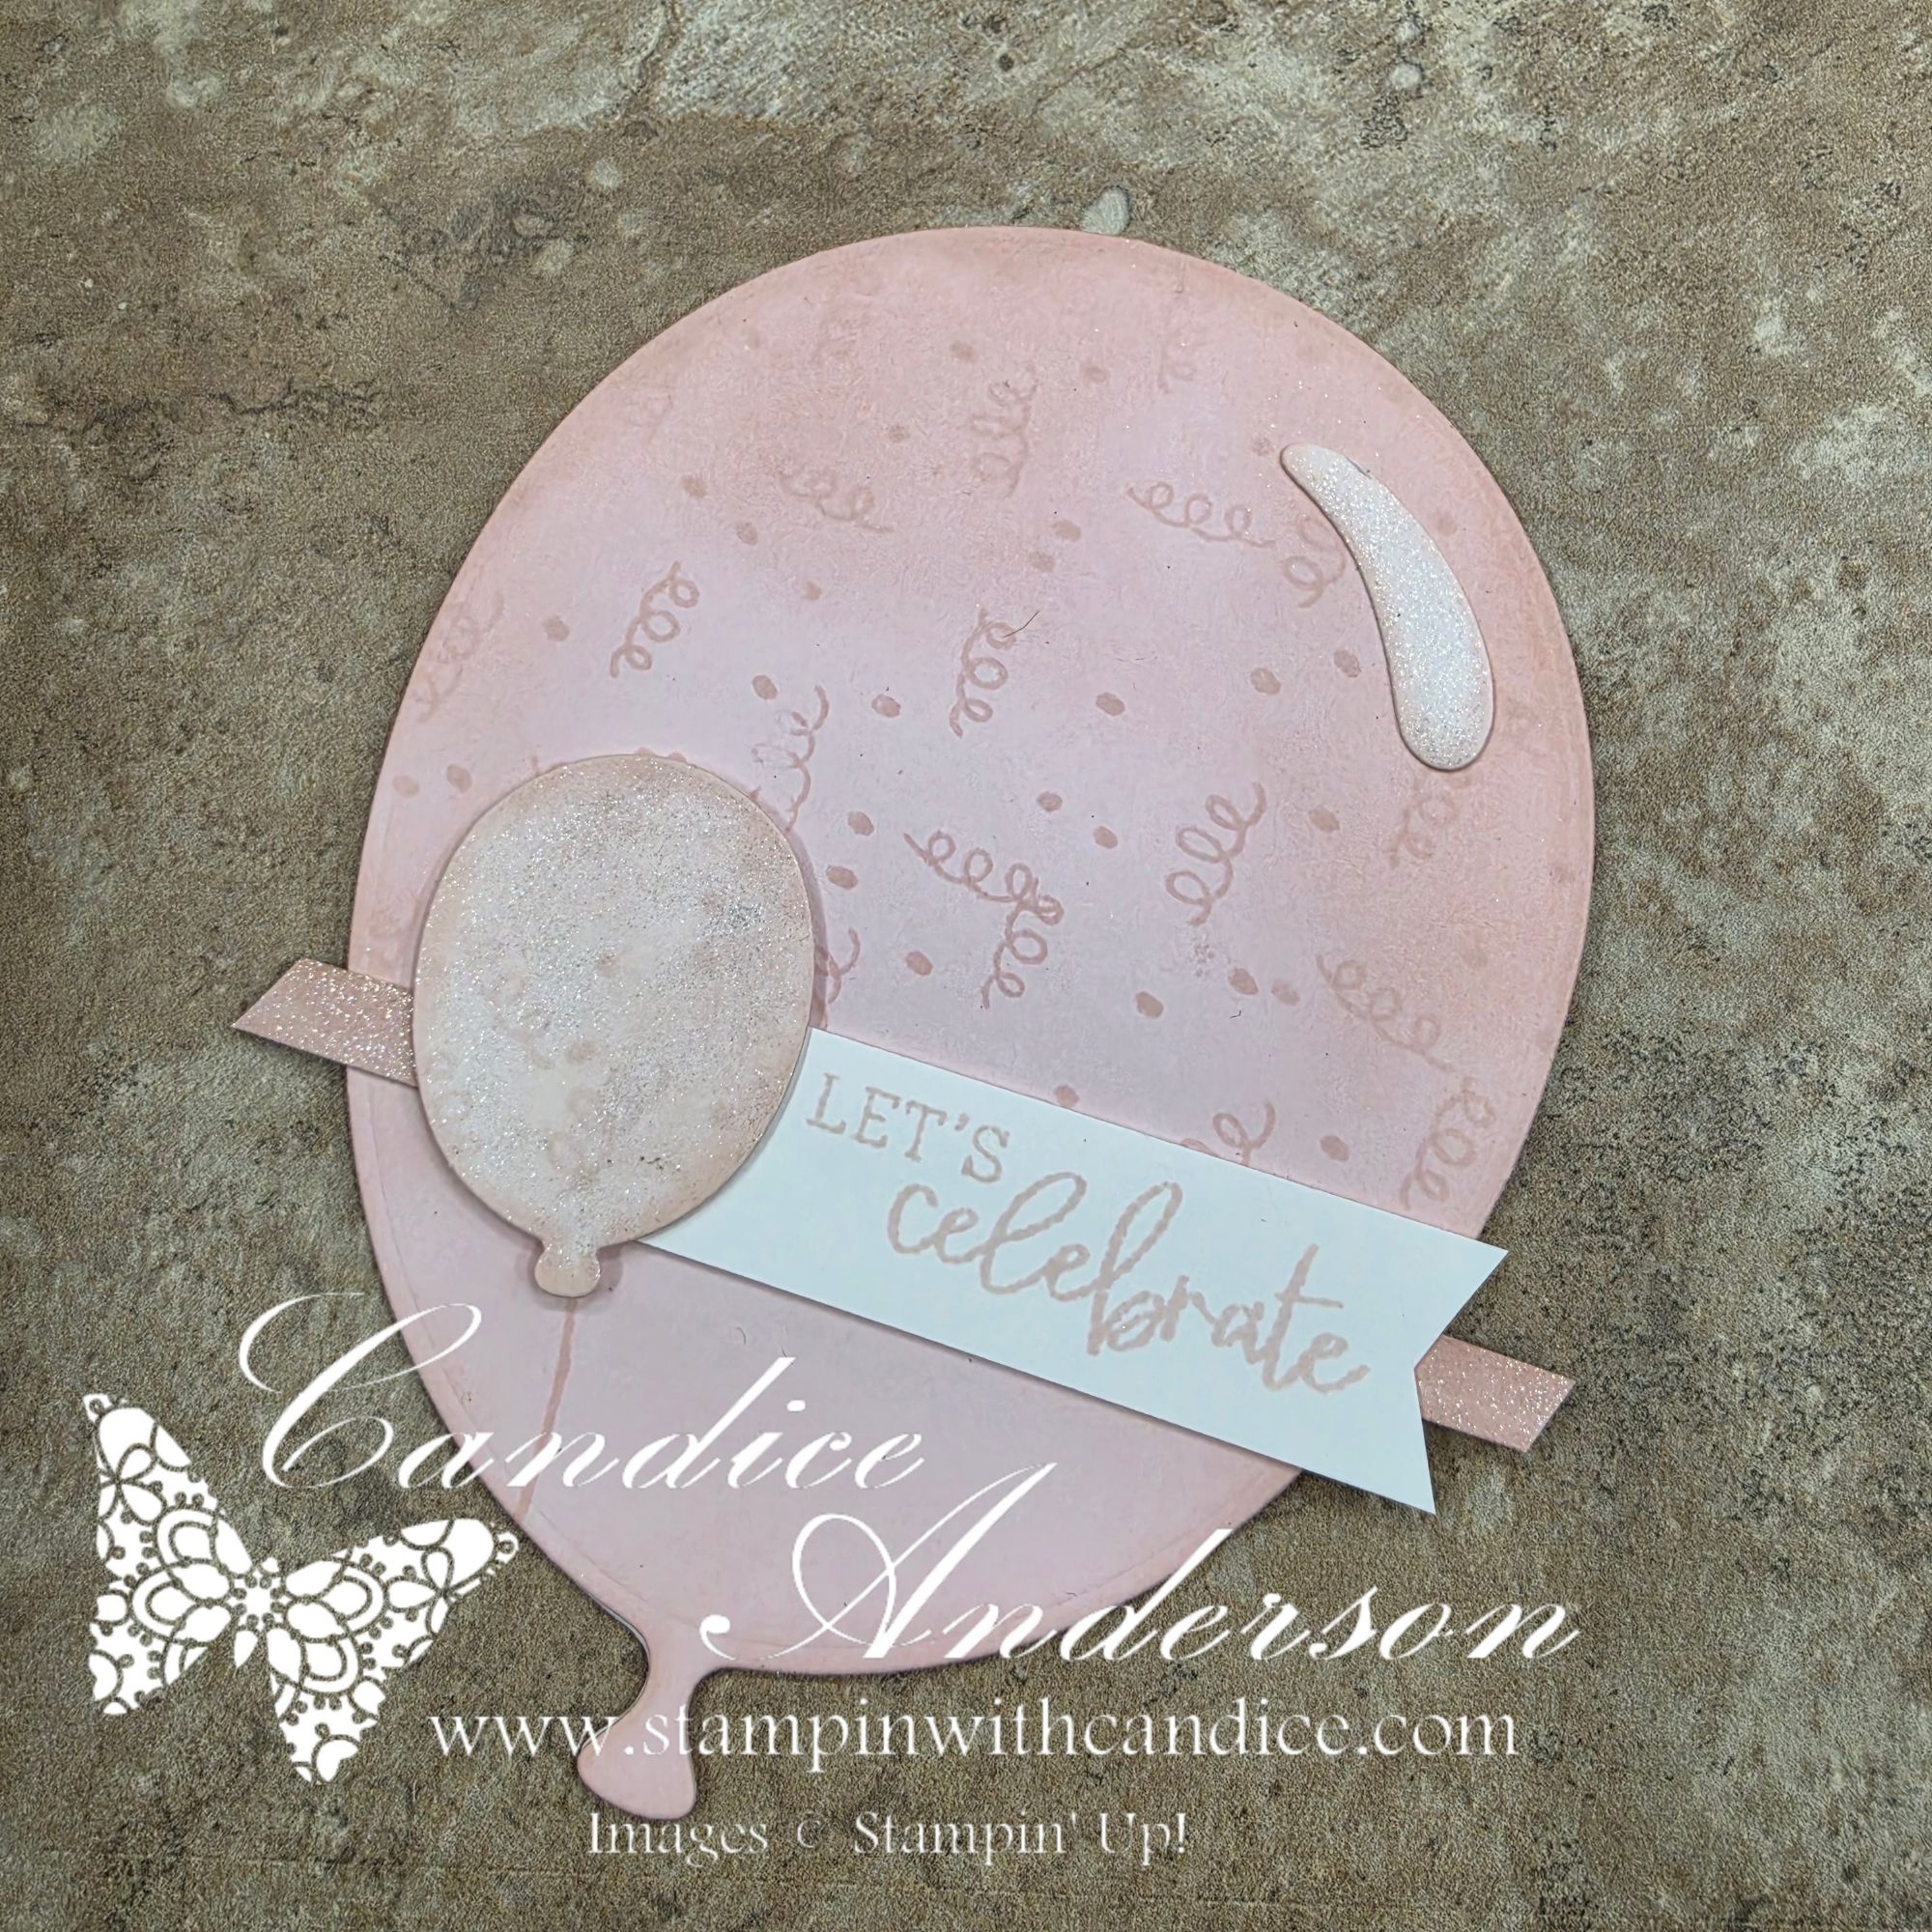
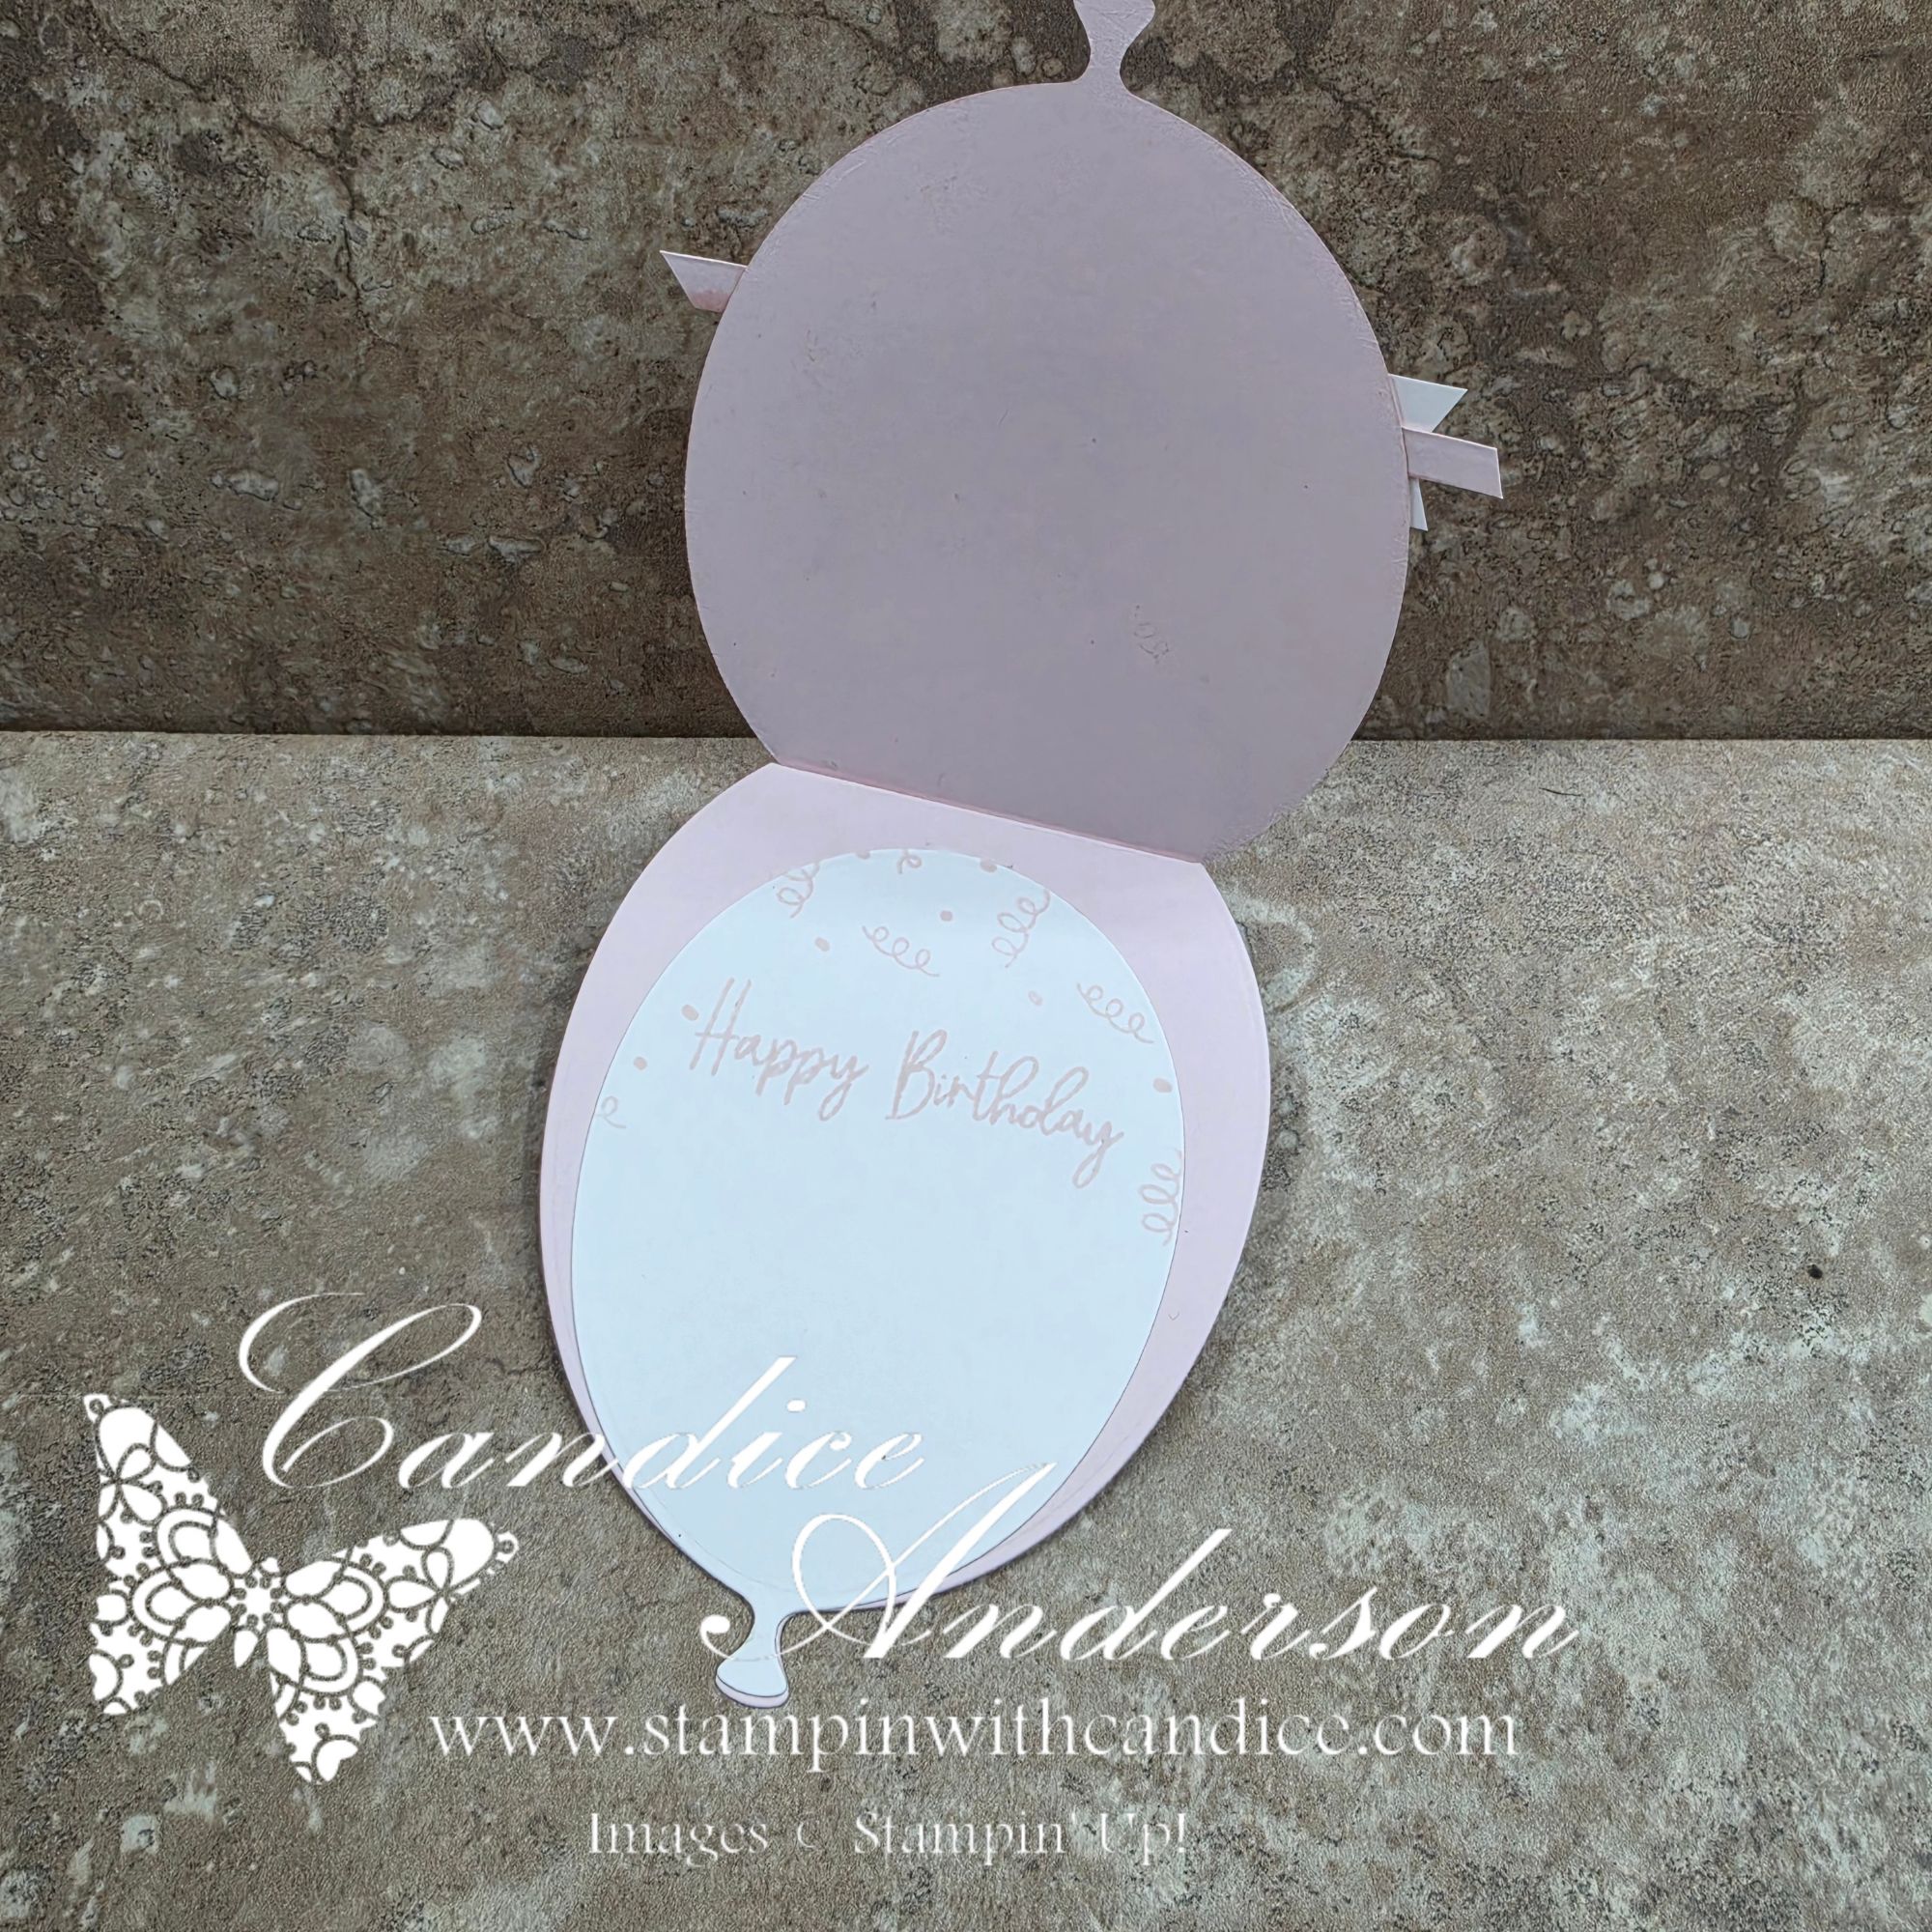
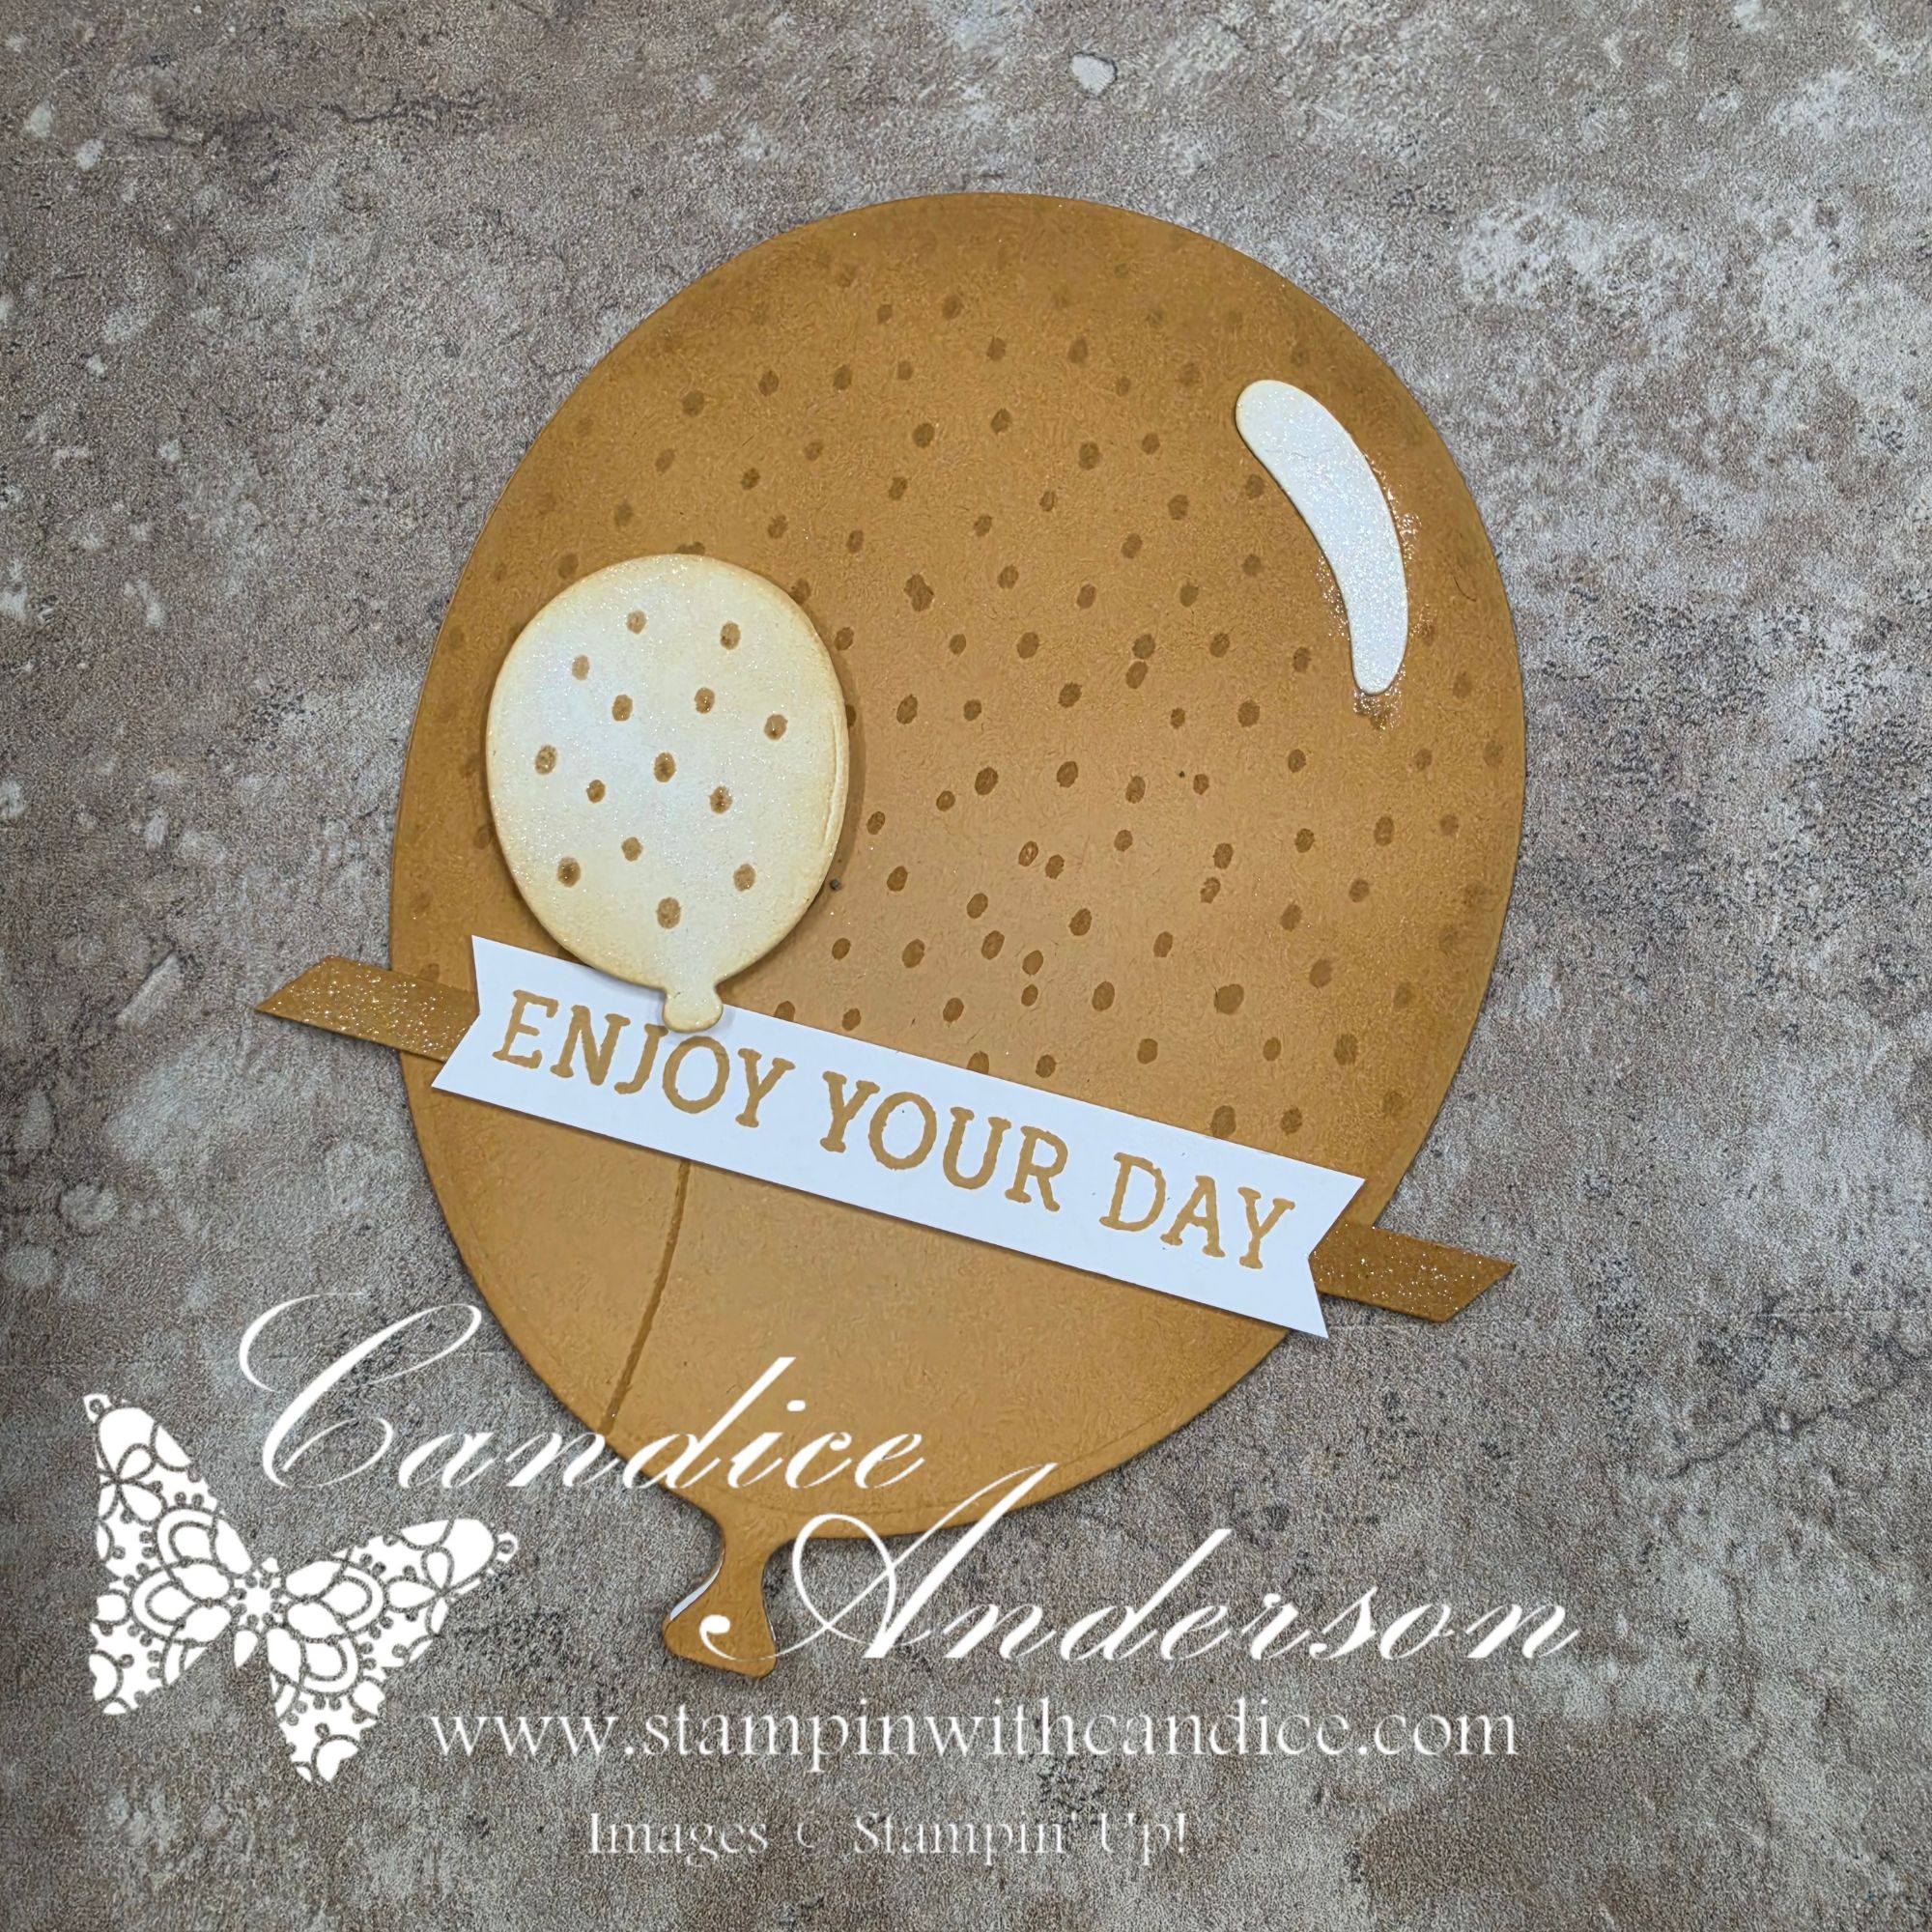
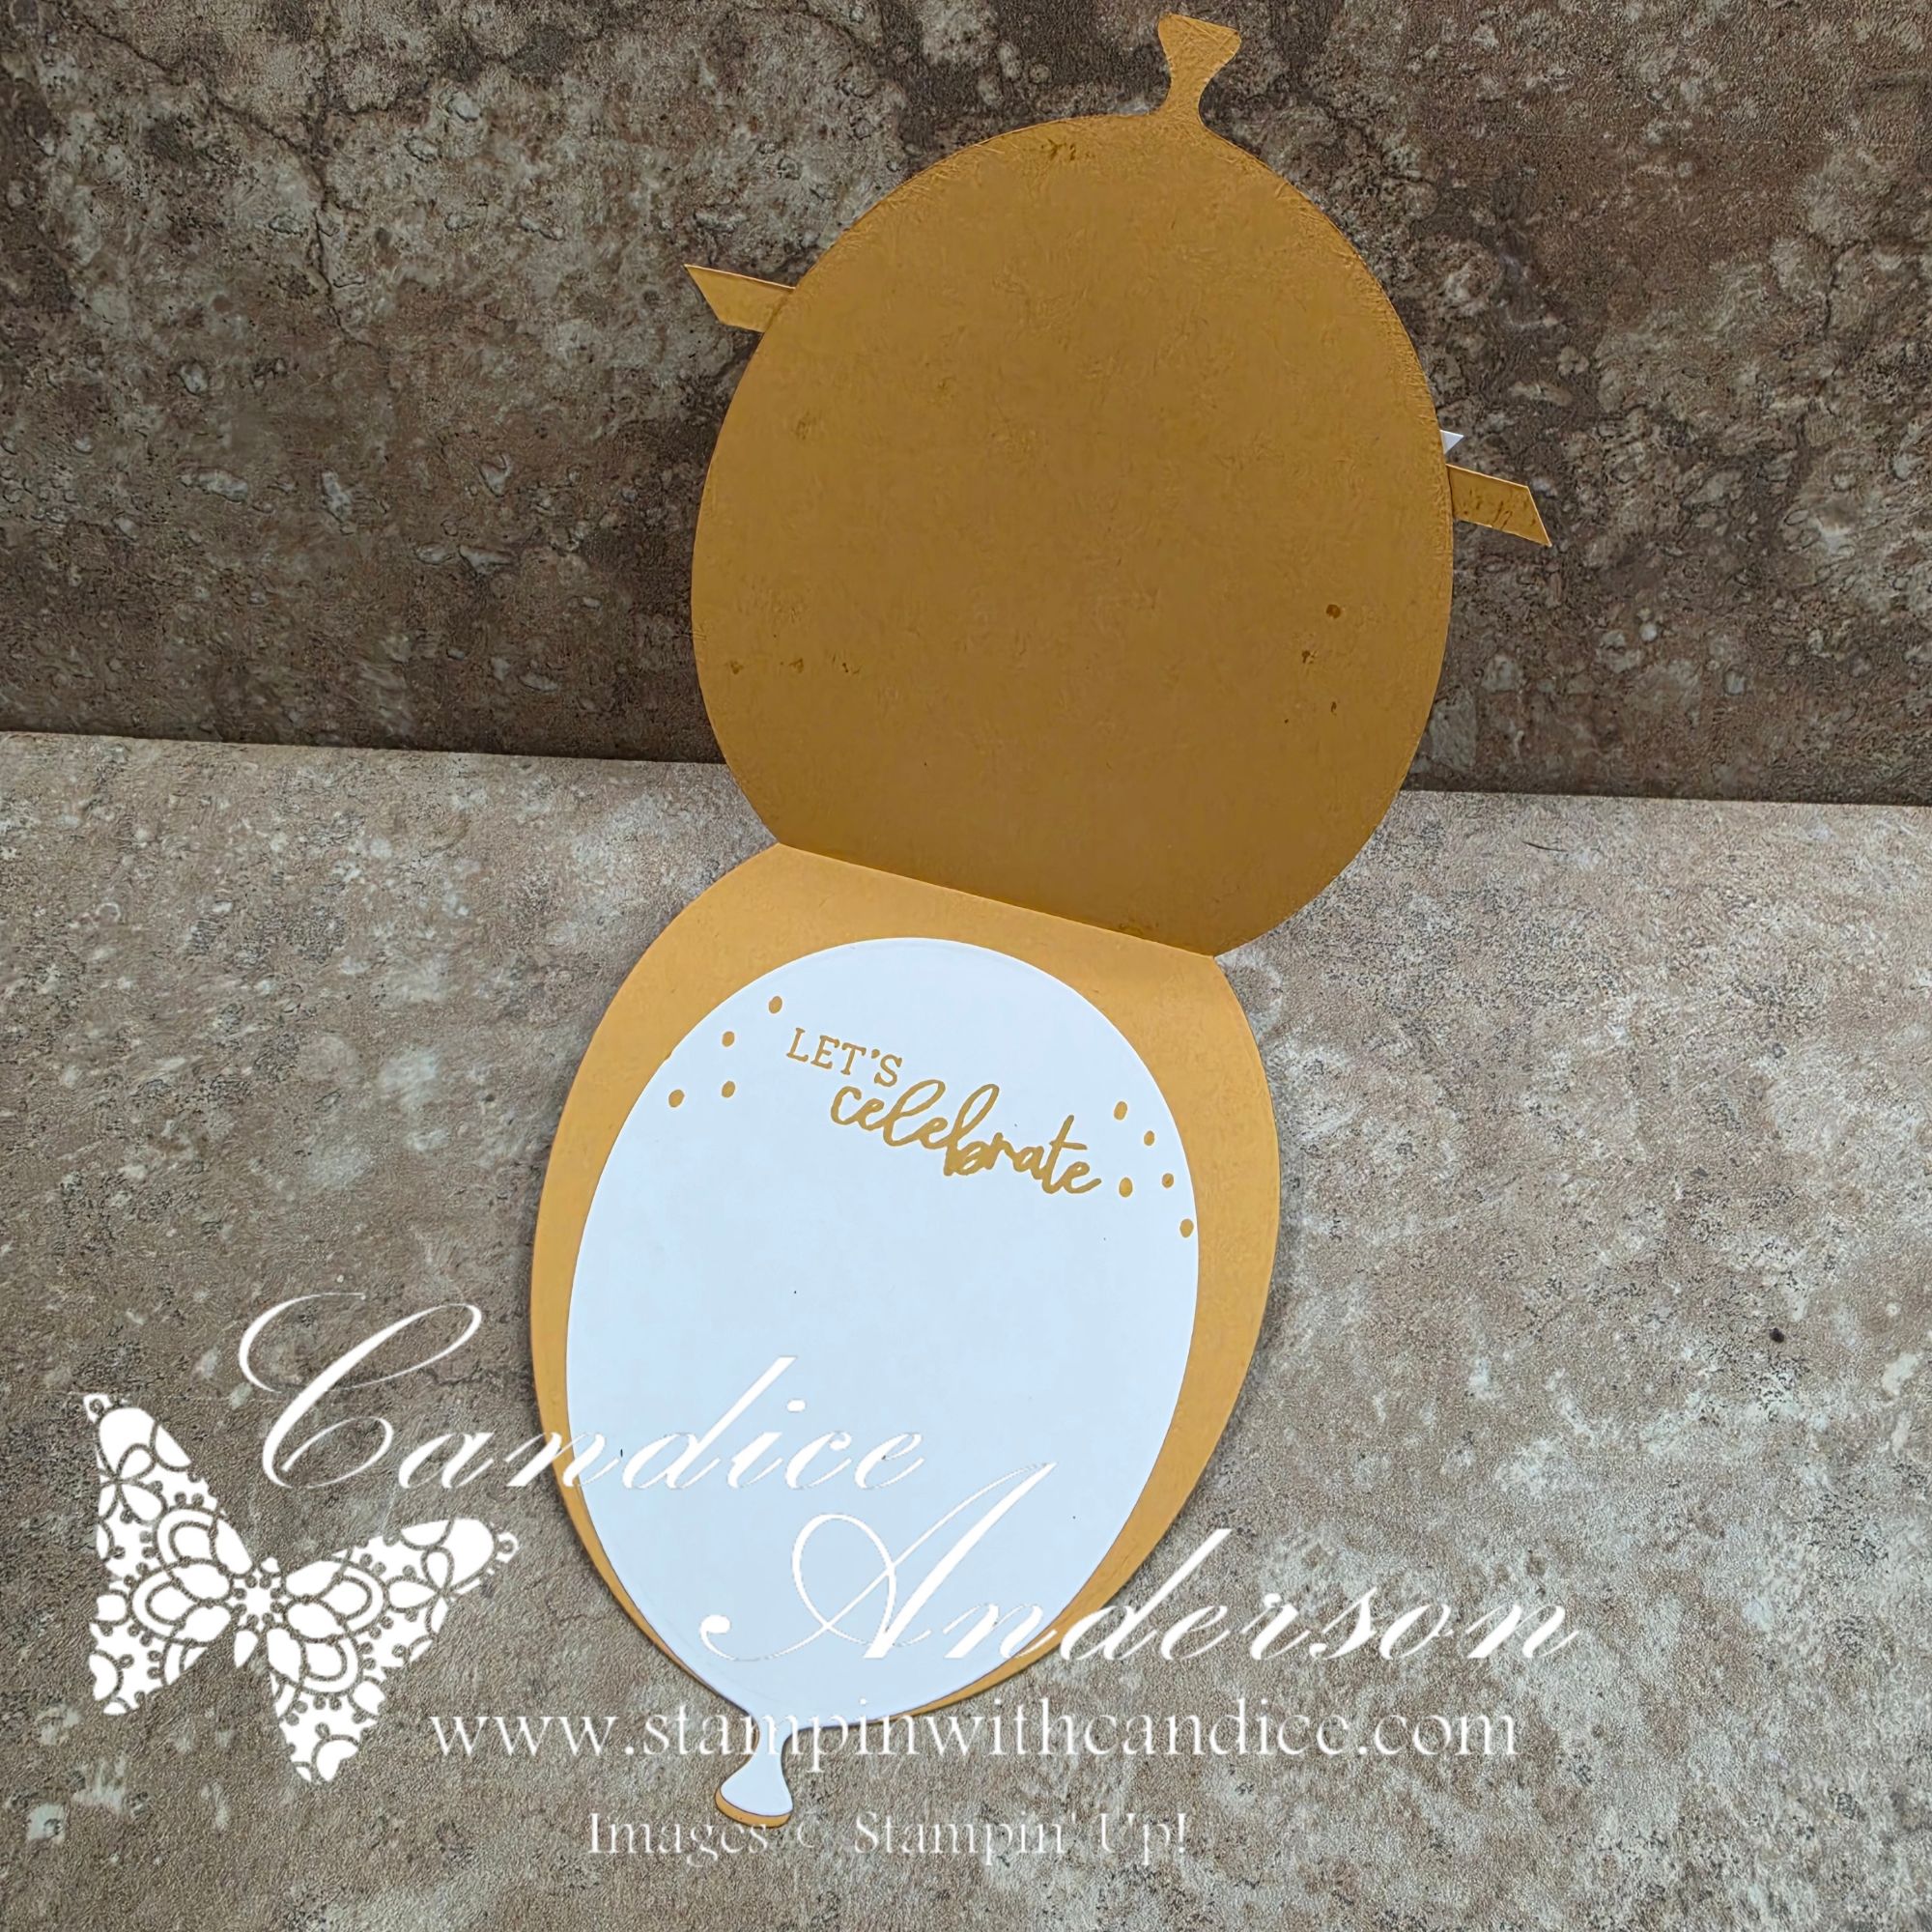
For today’s cards, I featured the Balloon Festoon Bundle #167606, which includes these fabulous oversized balloon dies. I was inspired by my friend Amelia, who demonstrated a simple technique for turning almost any large die shape into a card base. And bonus depending on which one you choose they can still fit in a standard size envelope.

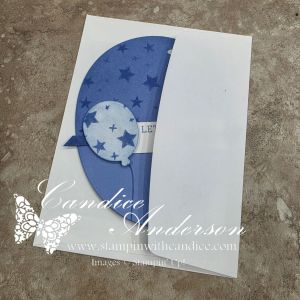
The process is surprisingly easy. Simply cut two of your chosen shapes. On one of the die-cut pieces, score about ½” along the top or side, depending on the shape and how you want the card to open. Fold along the score line and adhere that folded tab to the back of the second die cut. Just like that, you have a shaped card that opens and closes!

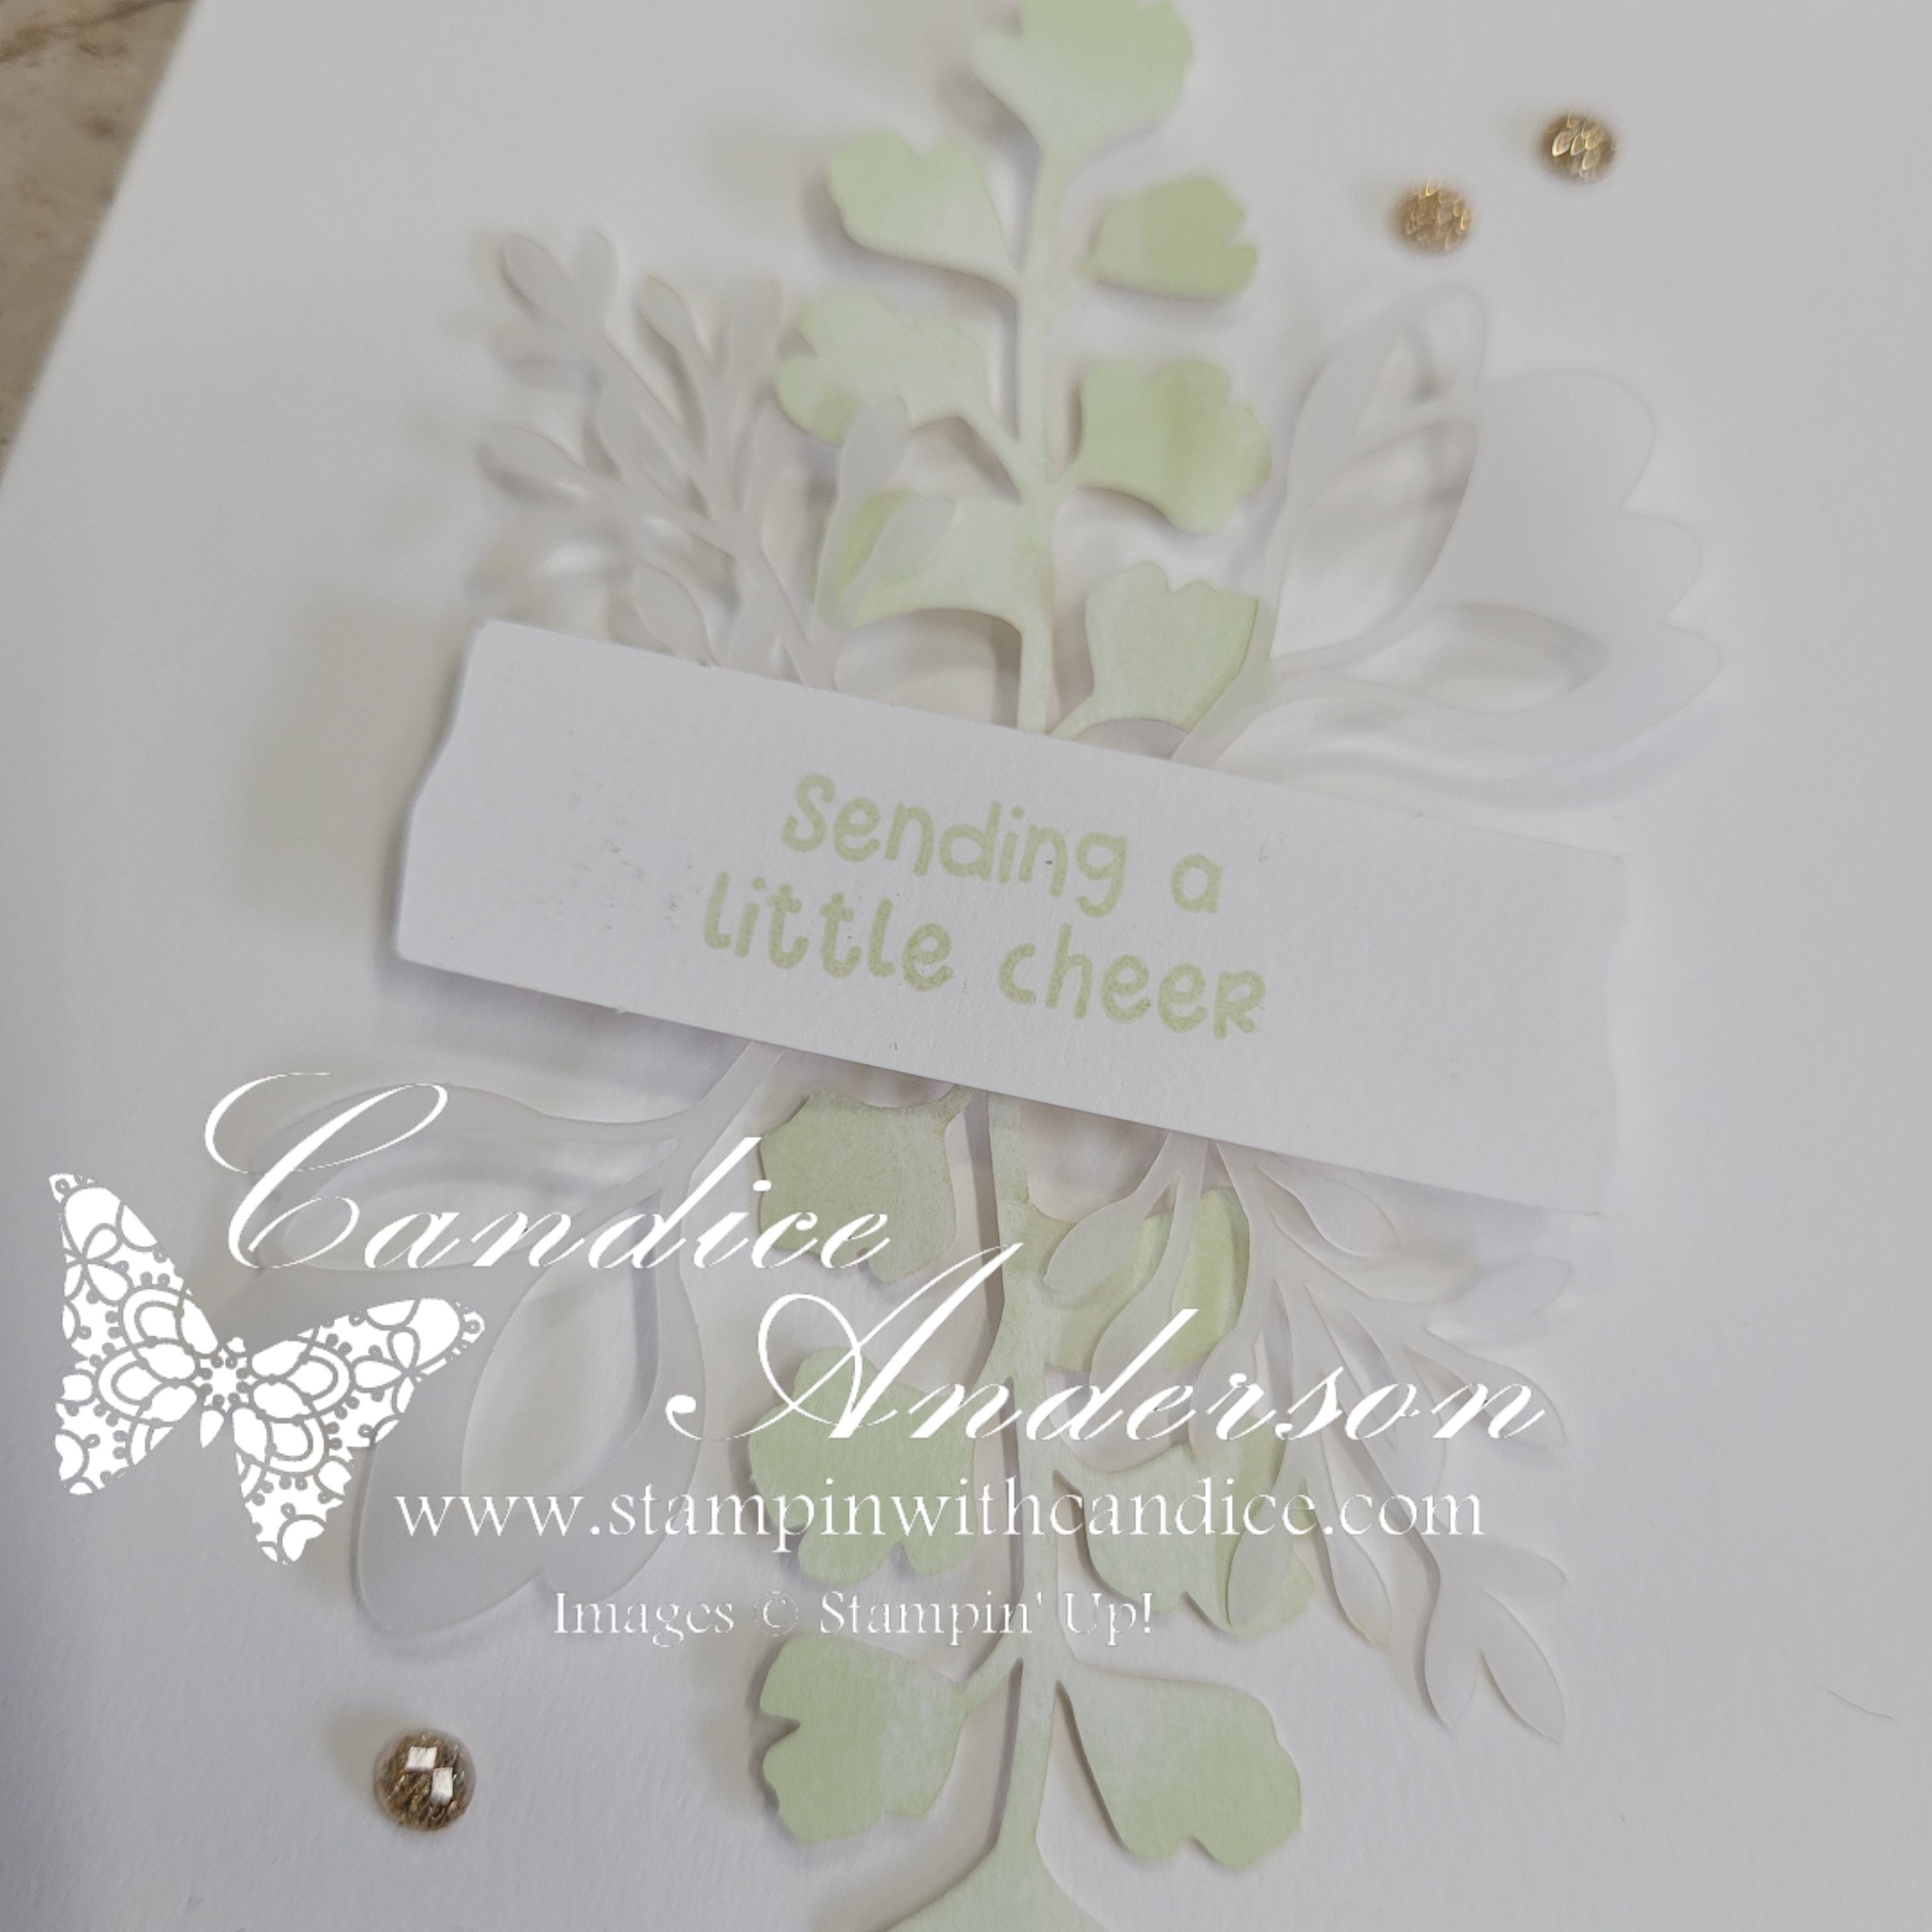
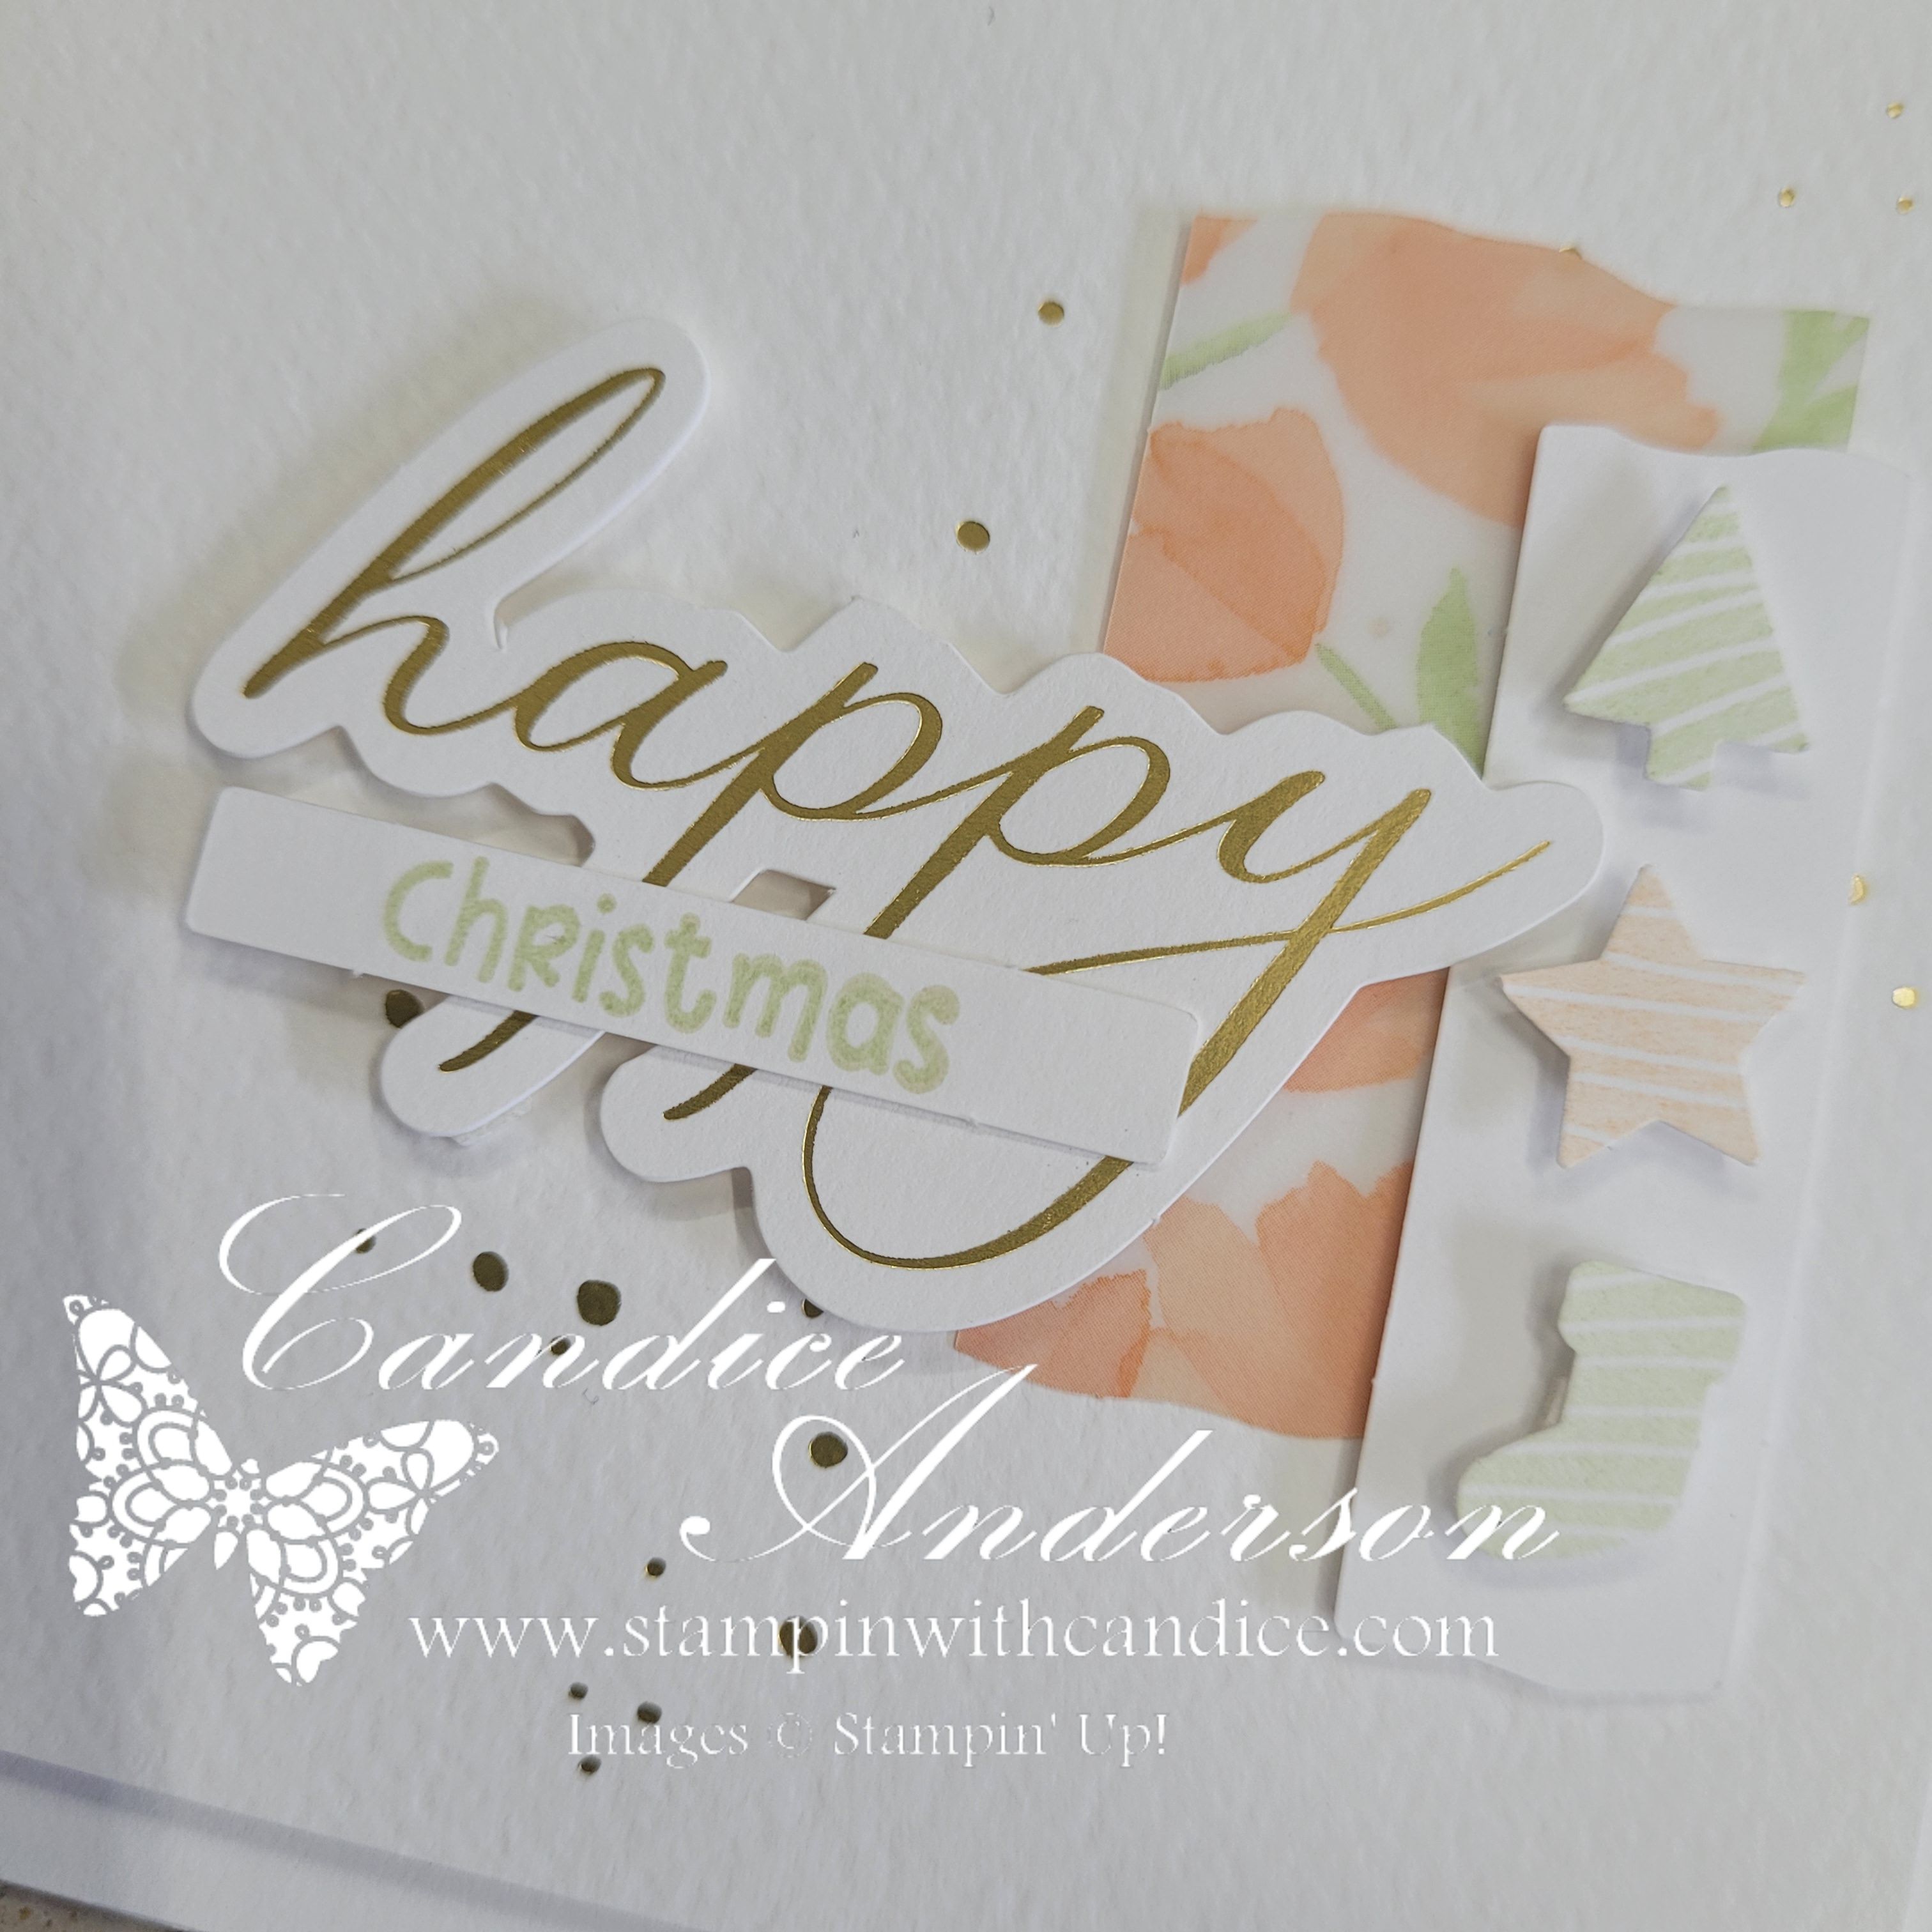
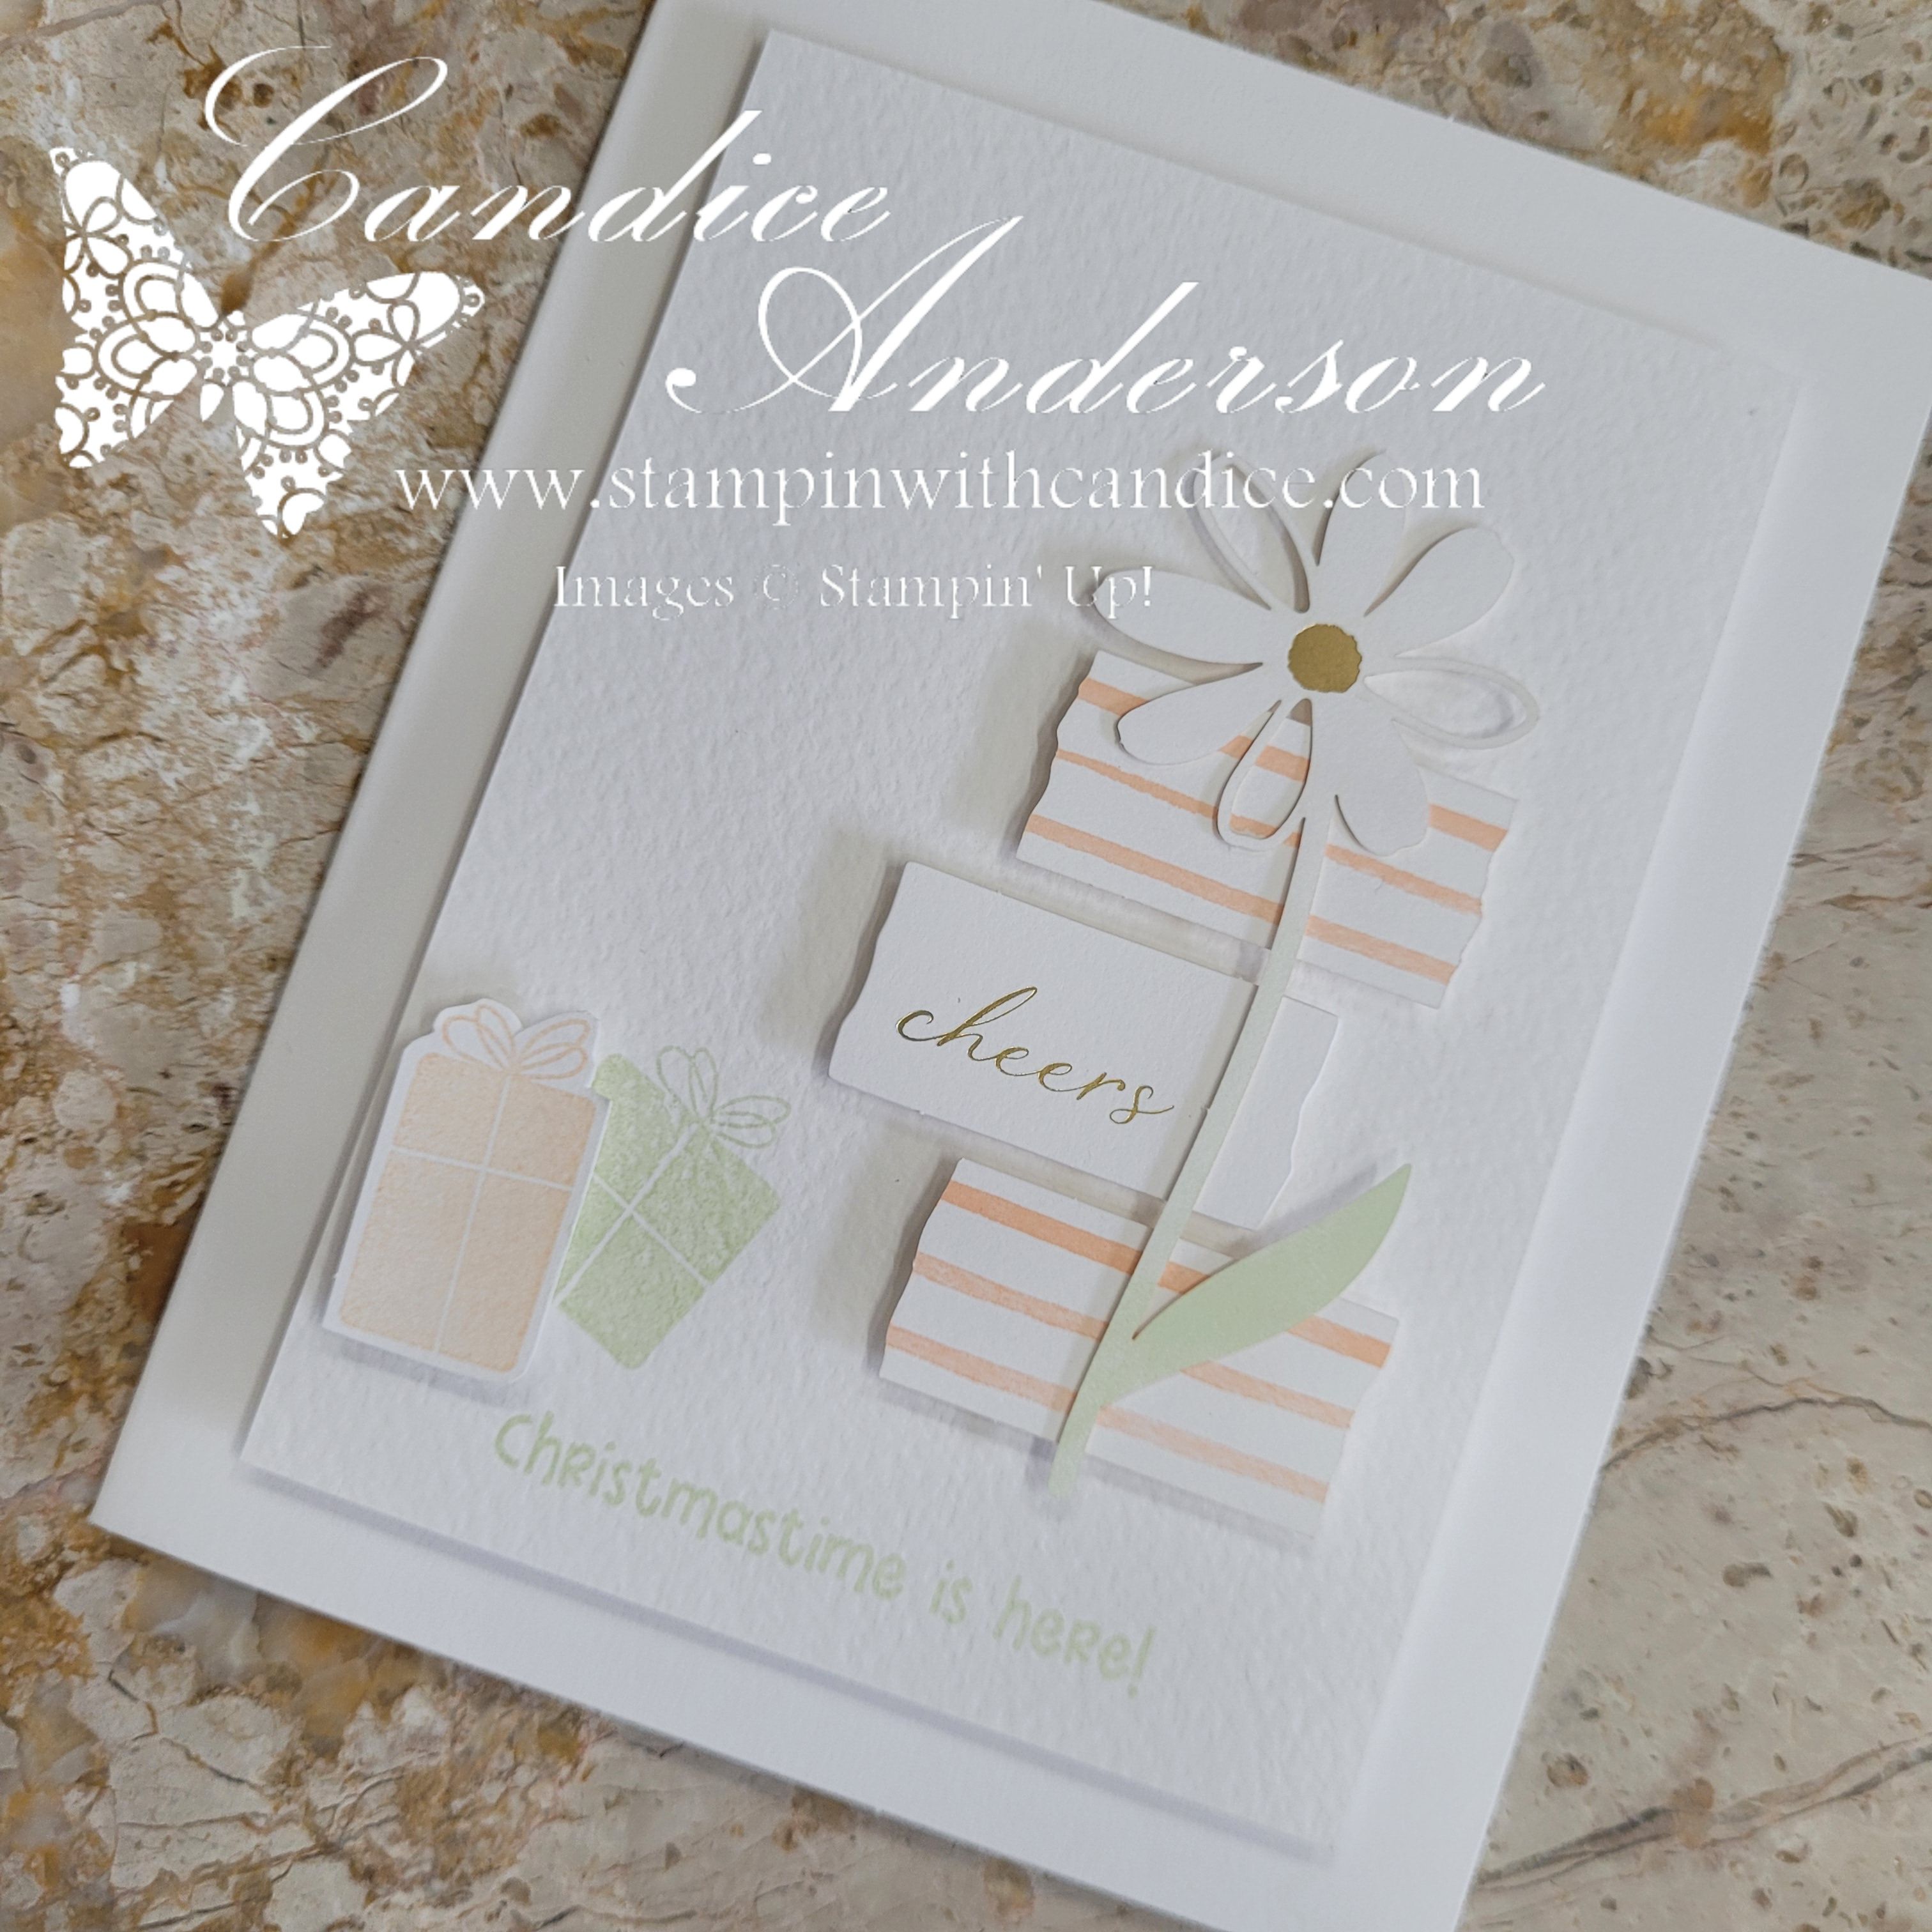
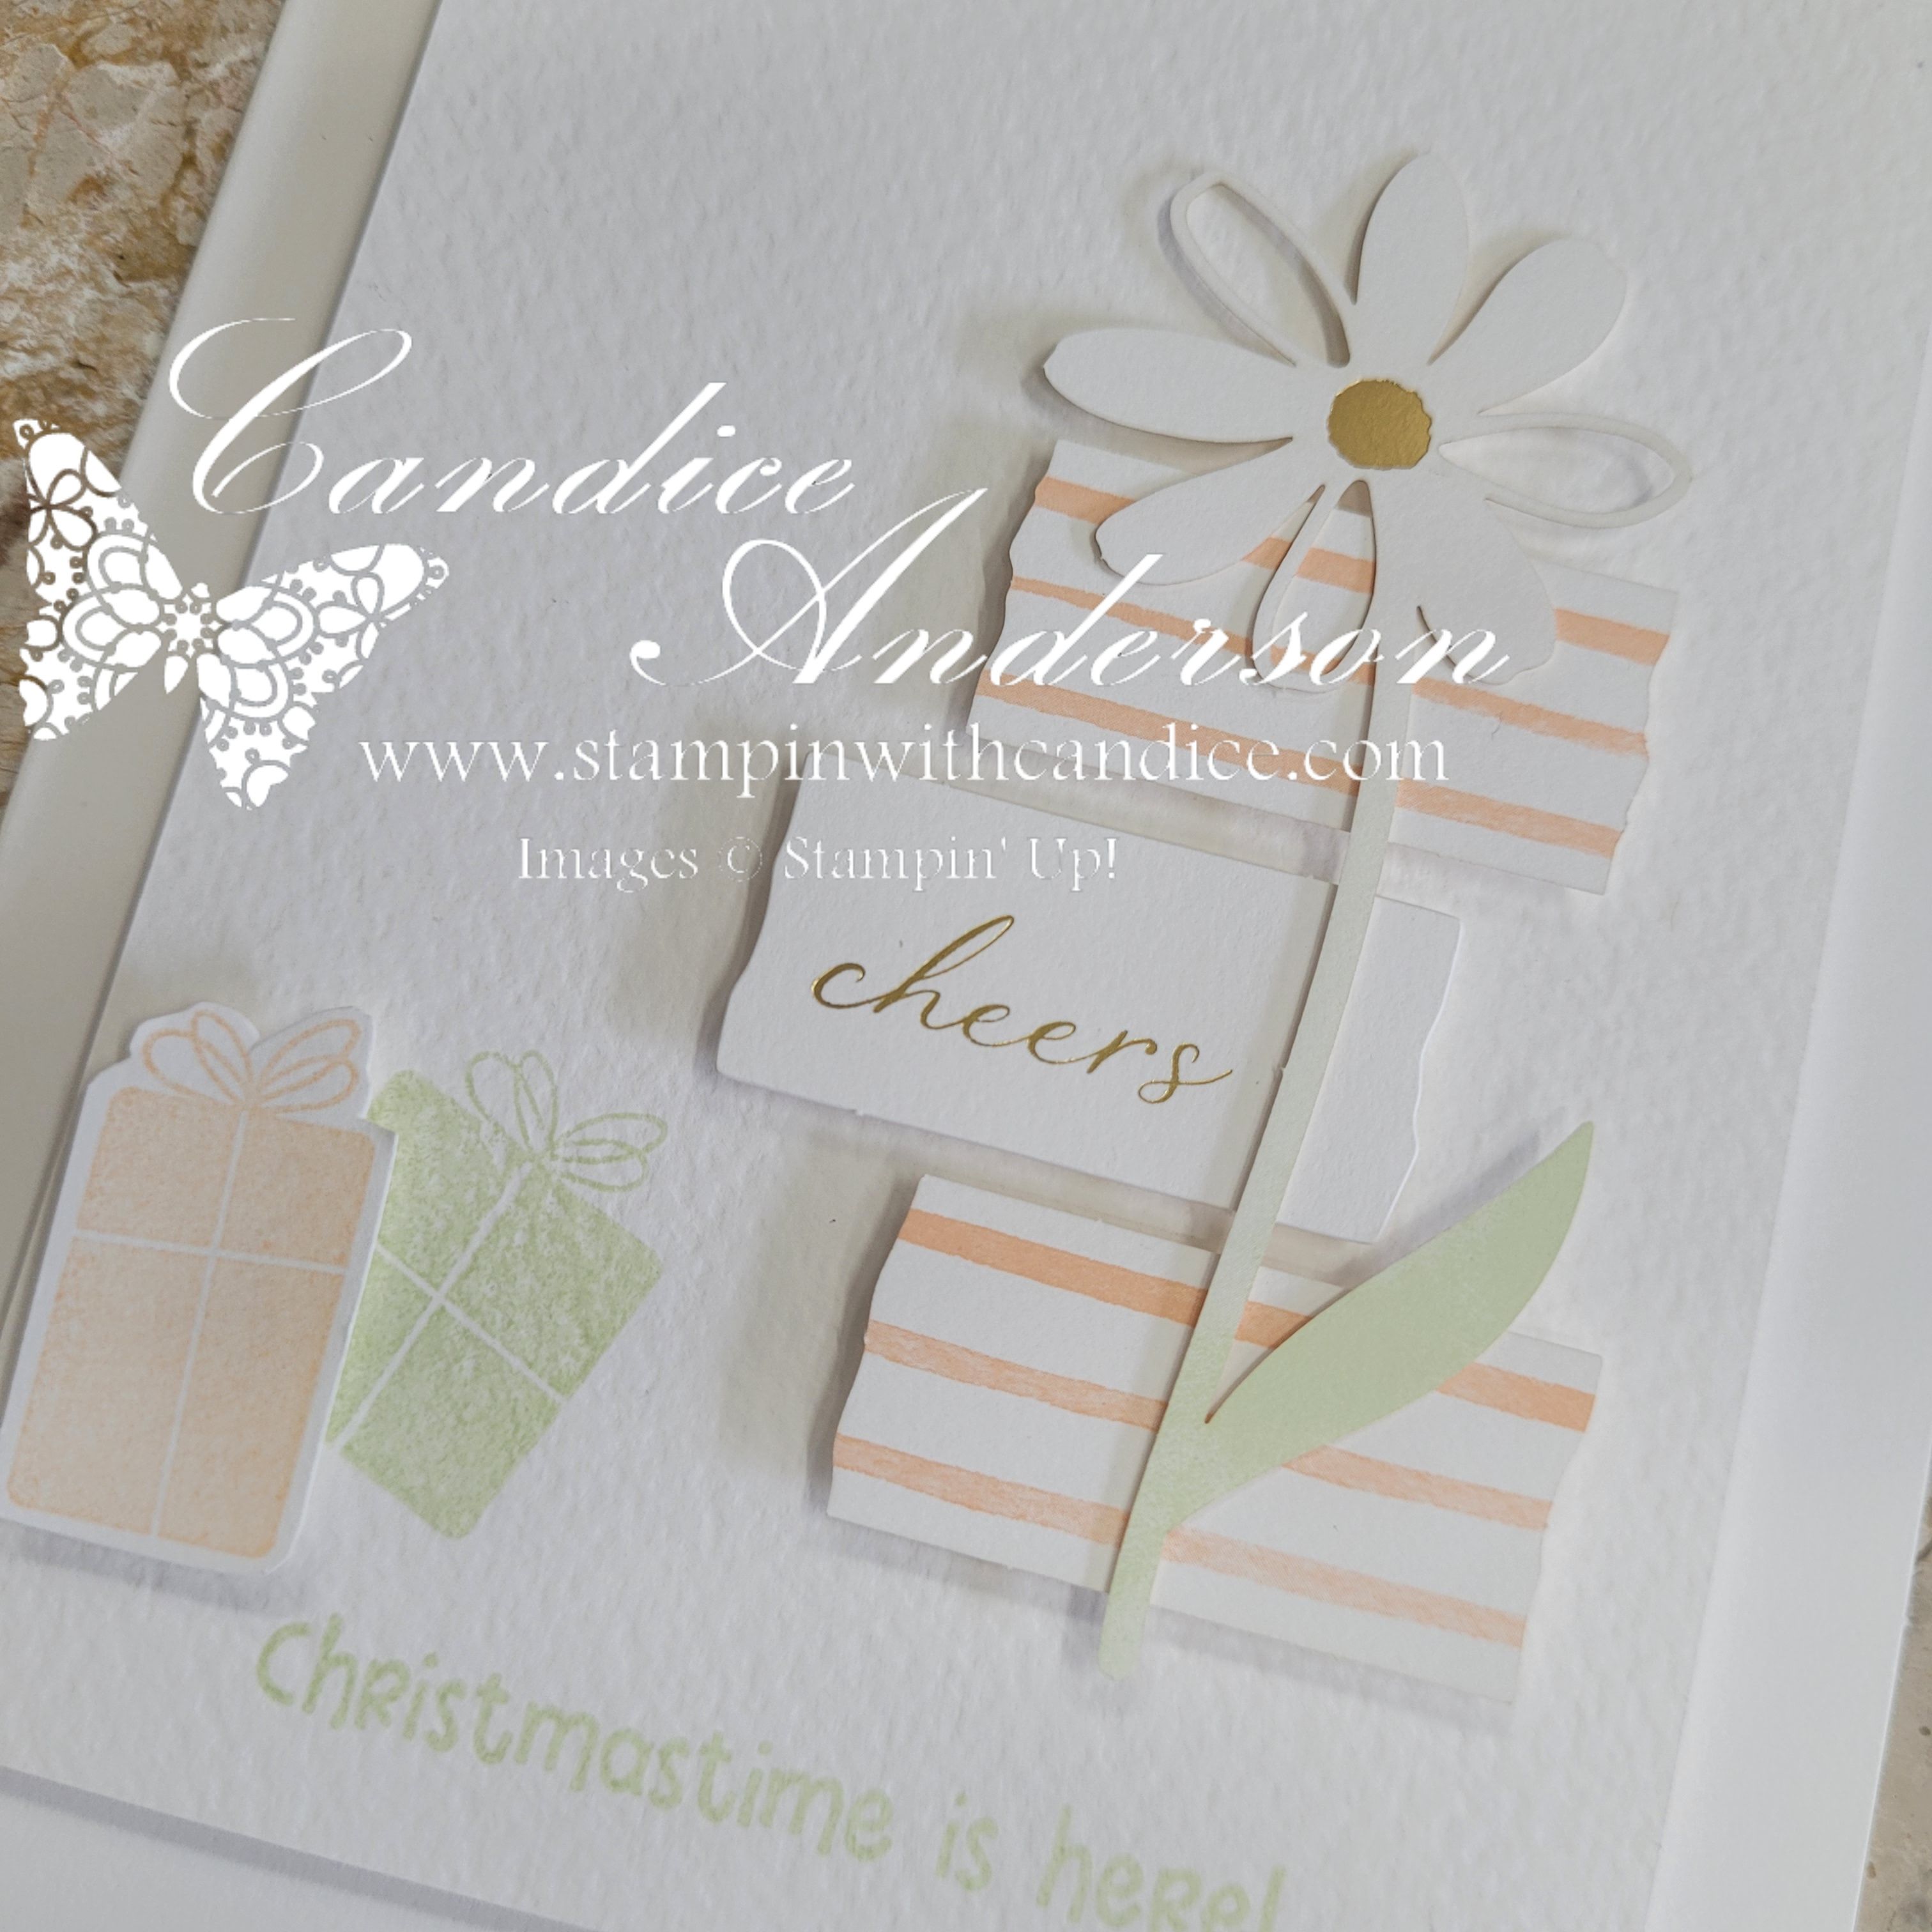
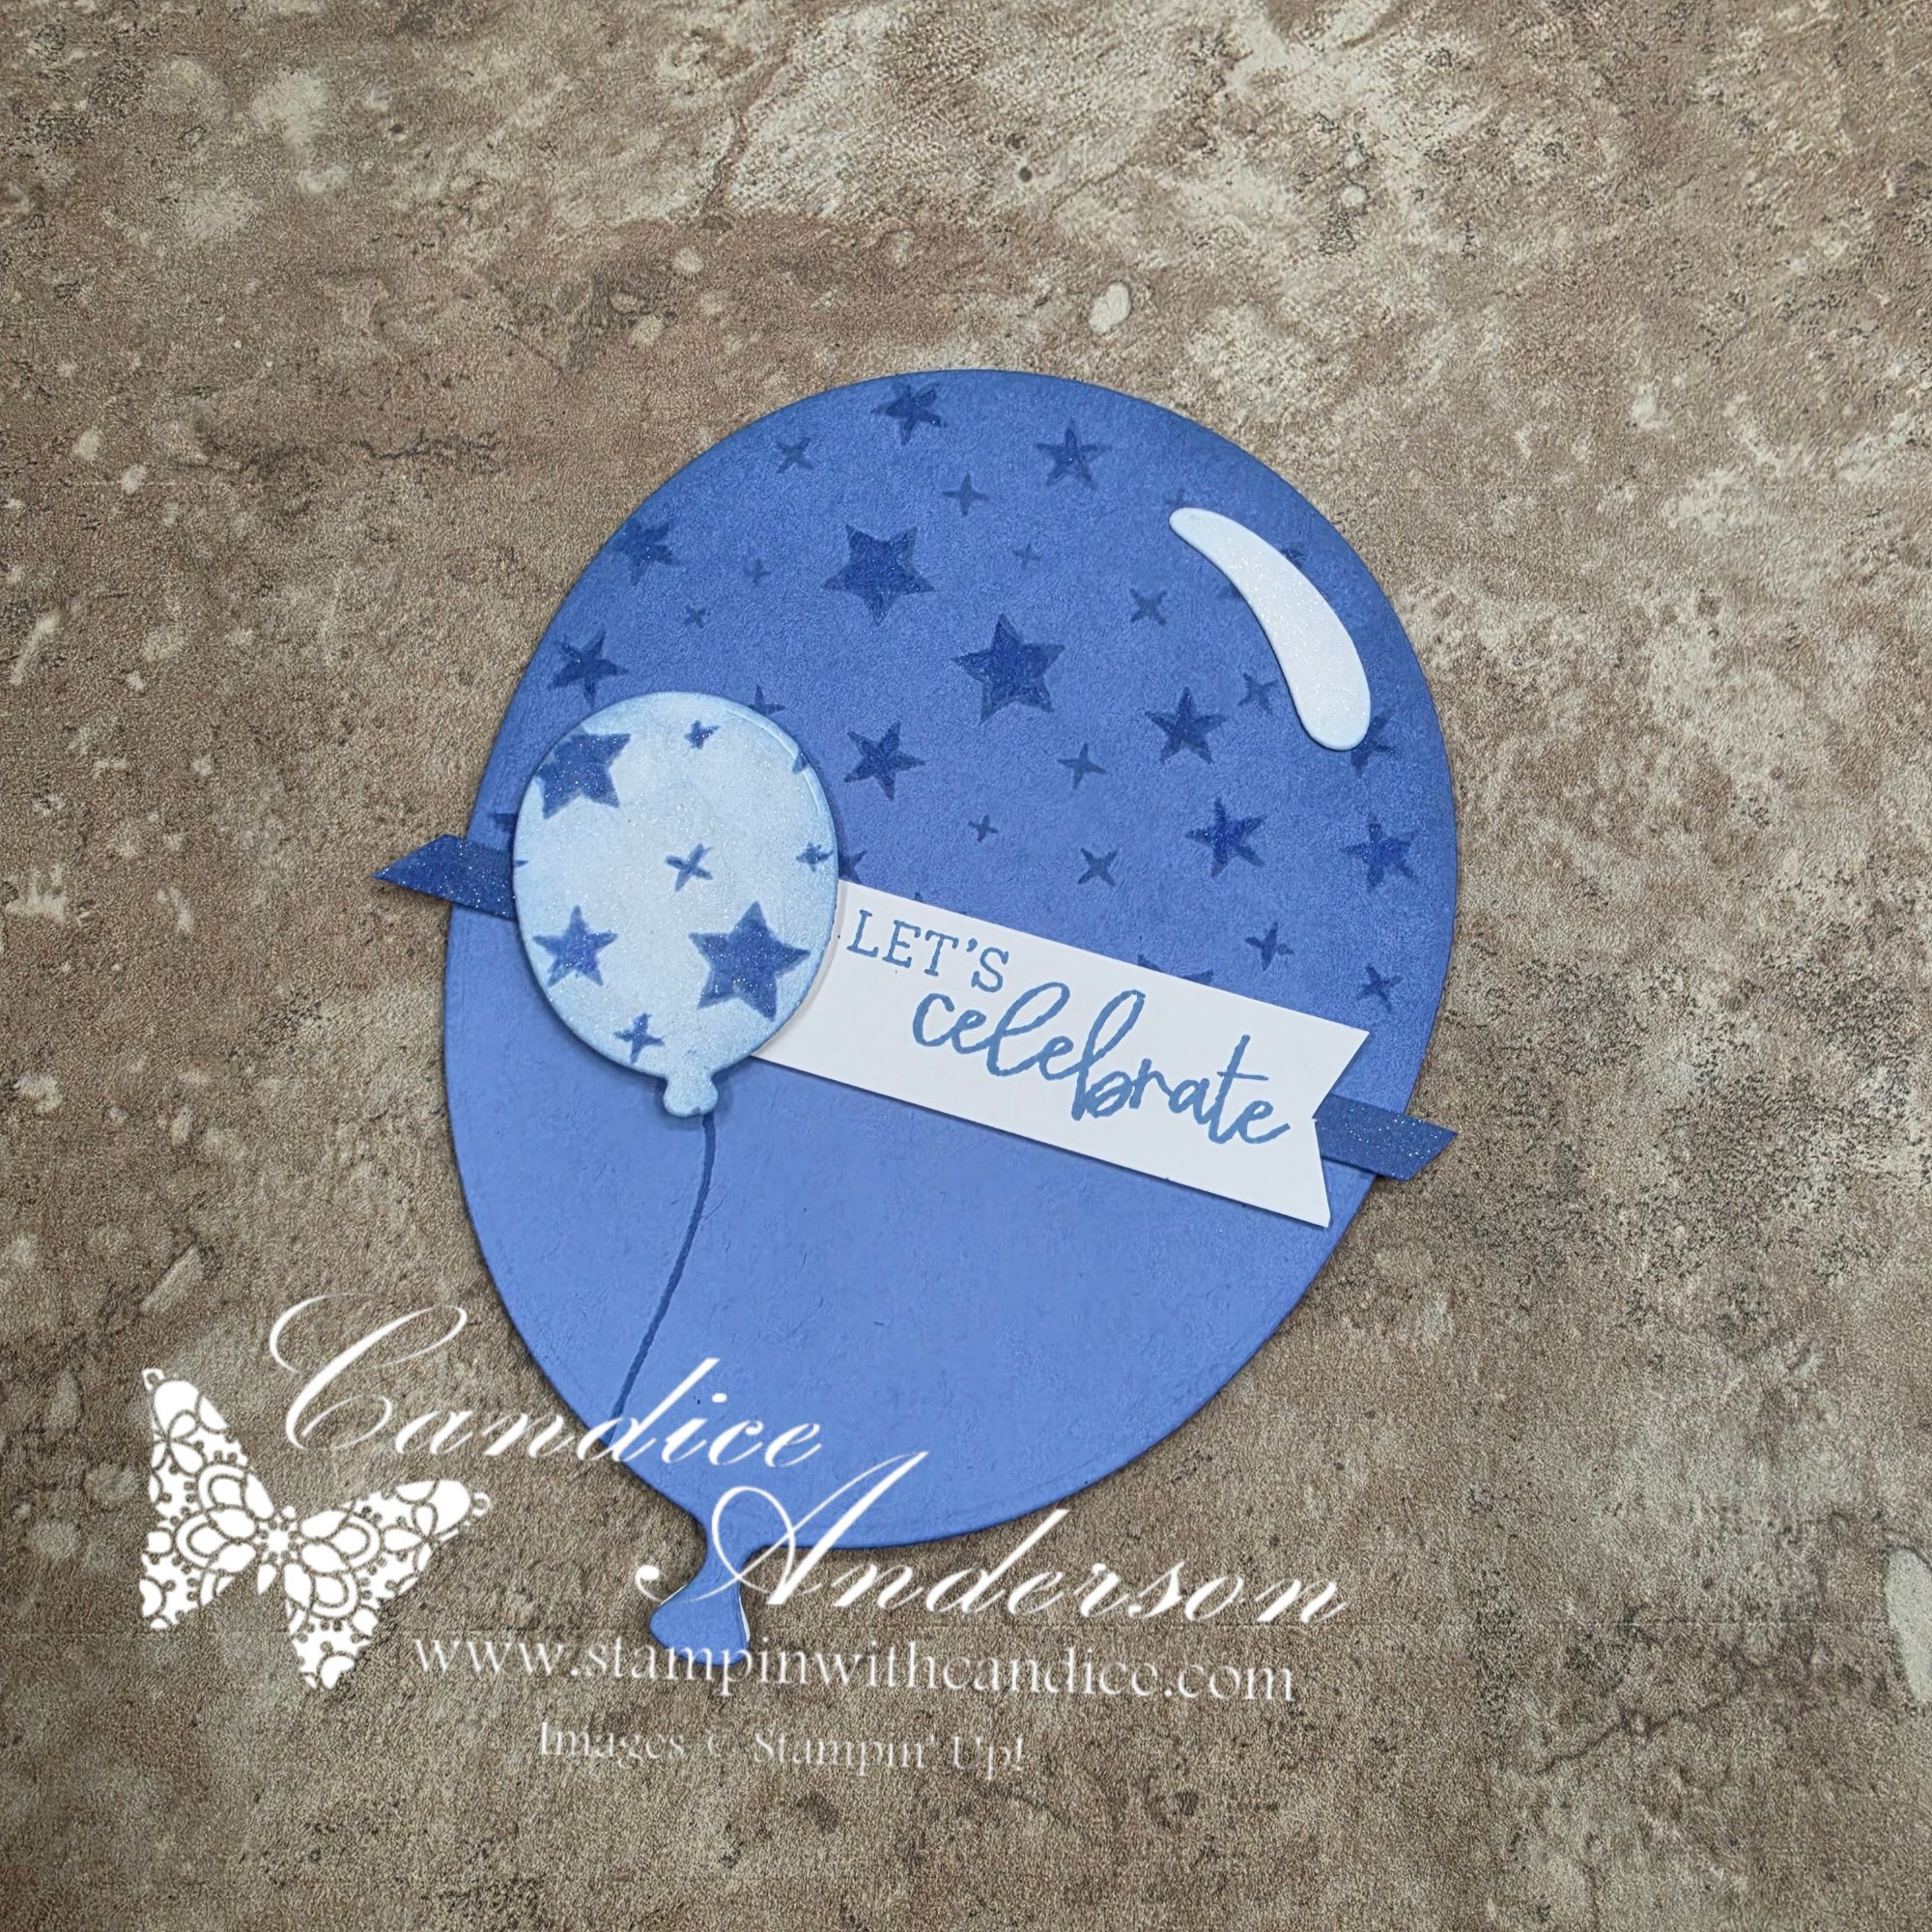
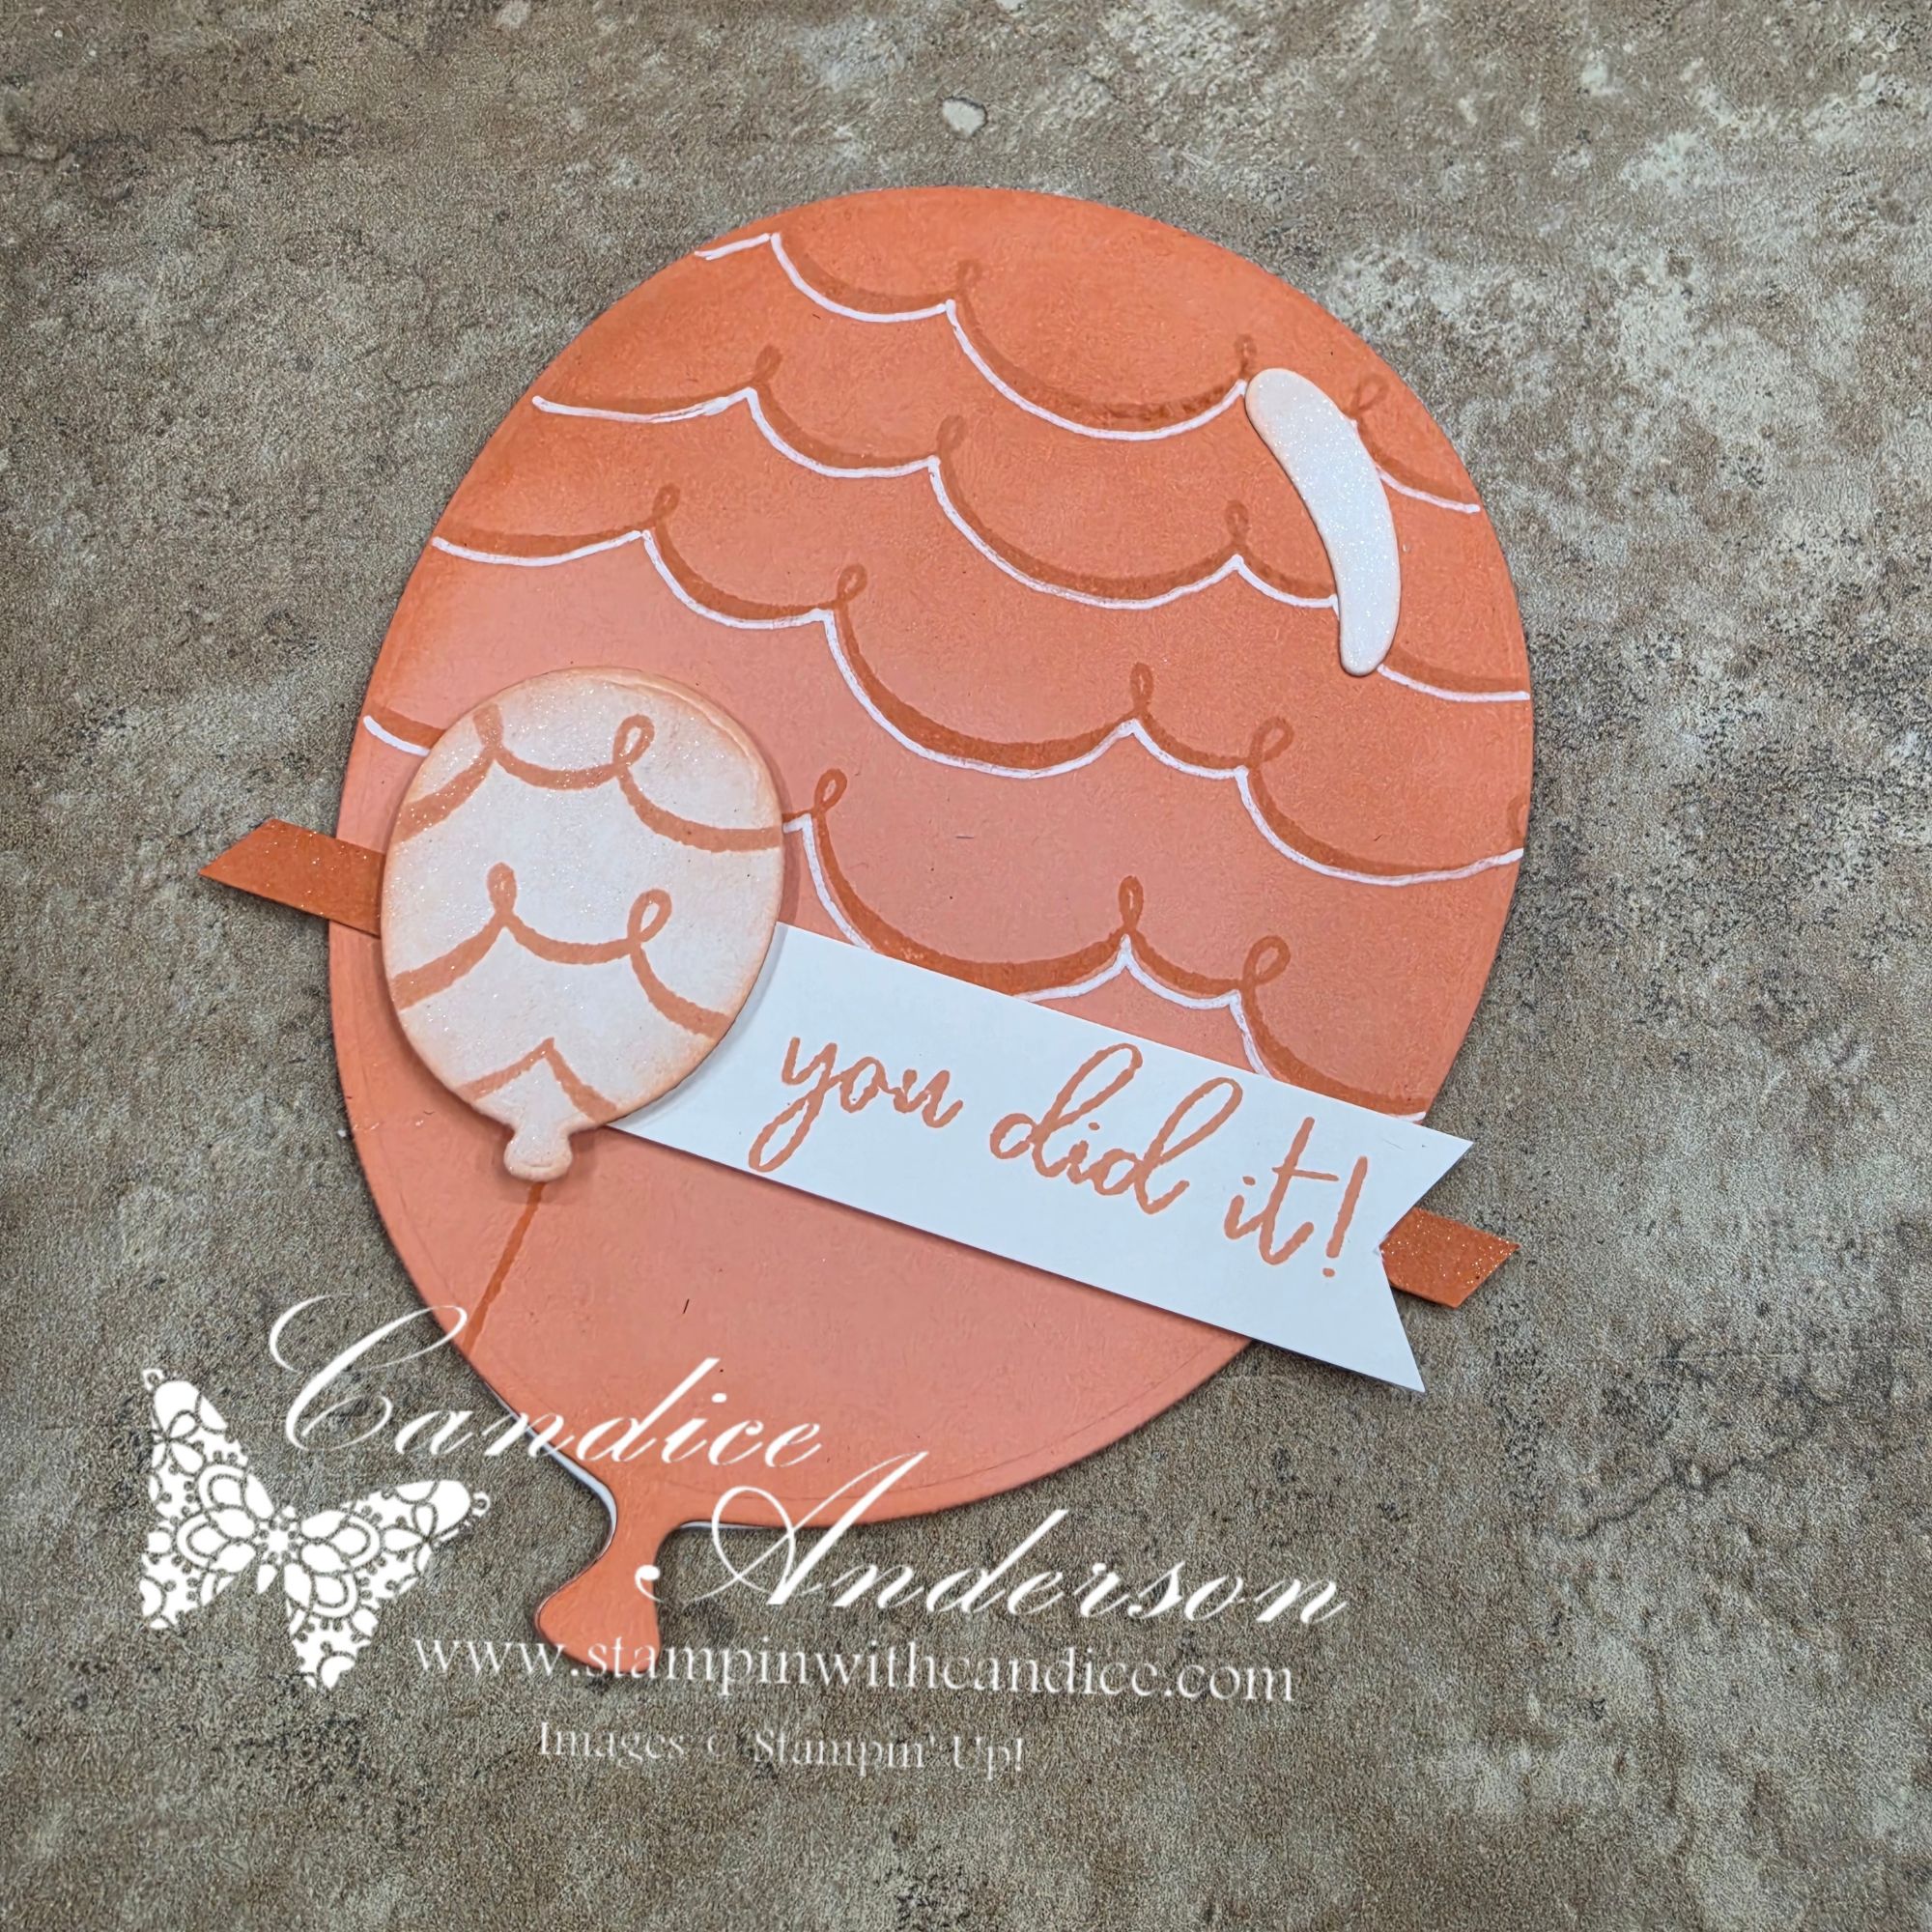
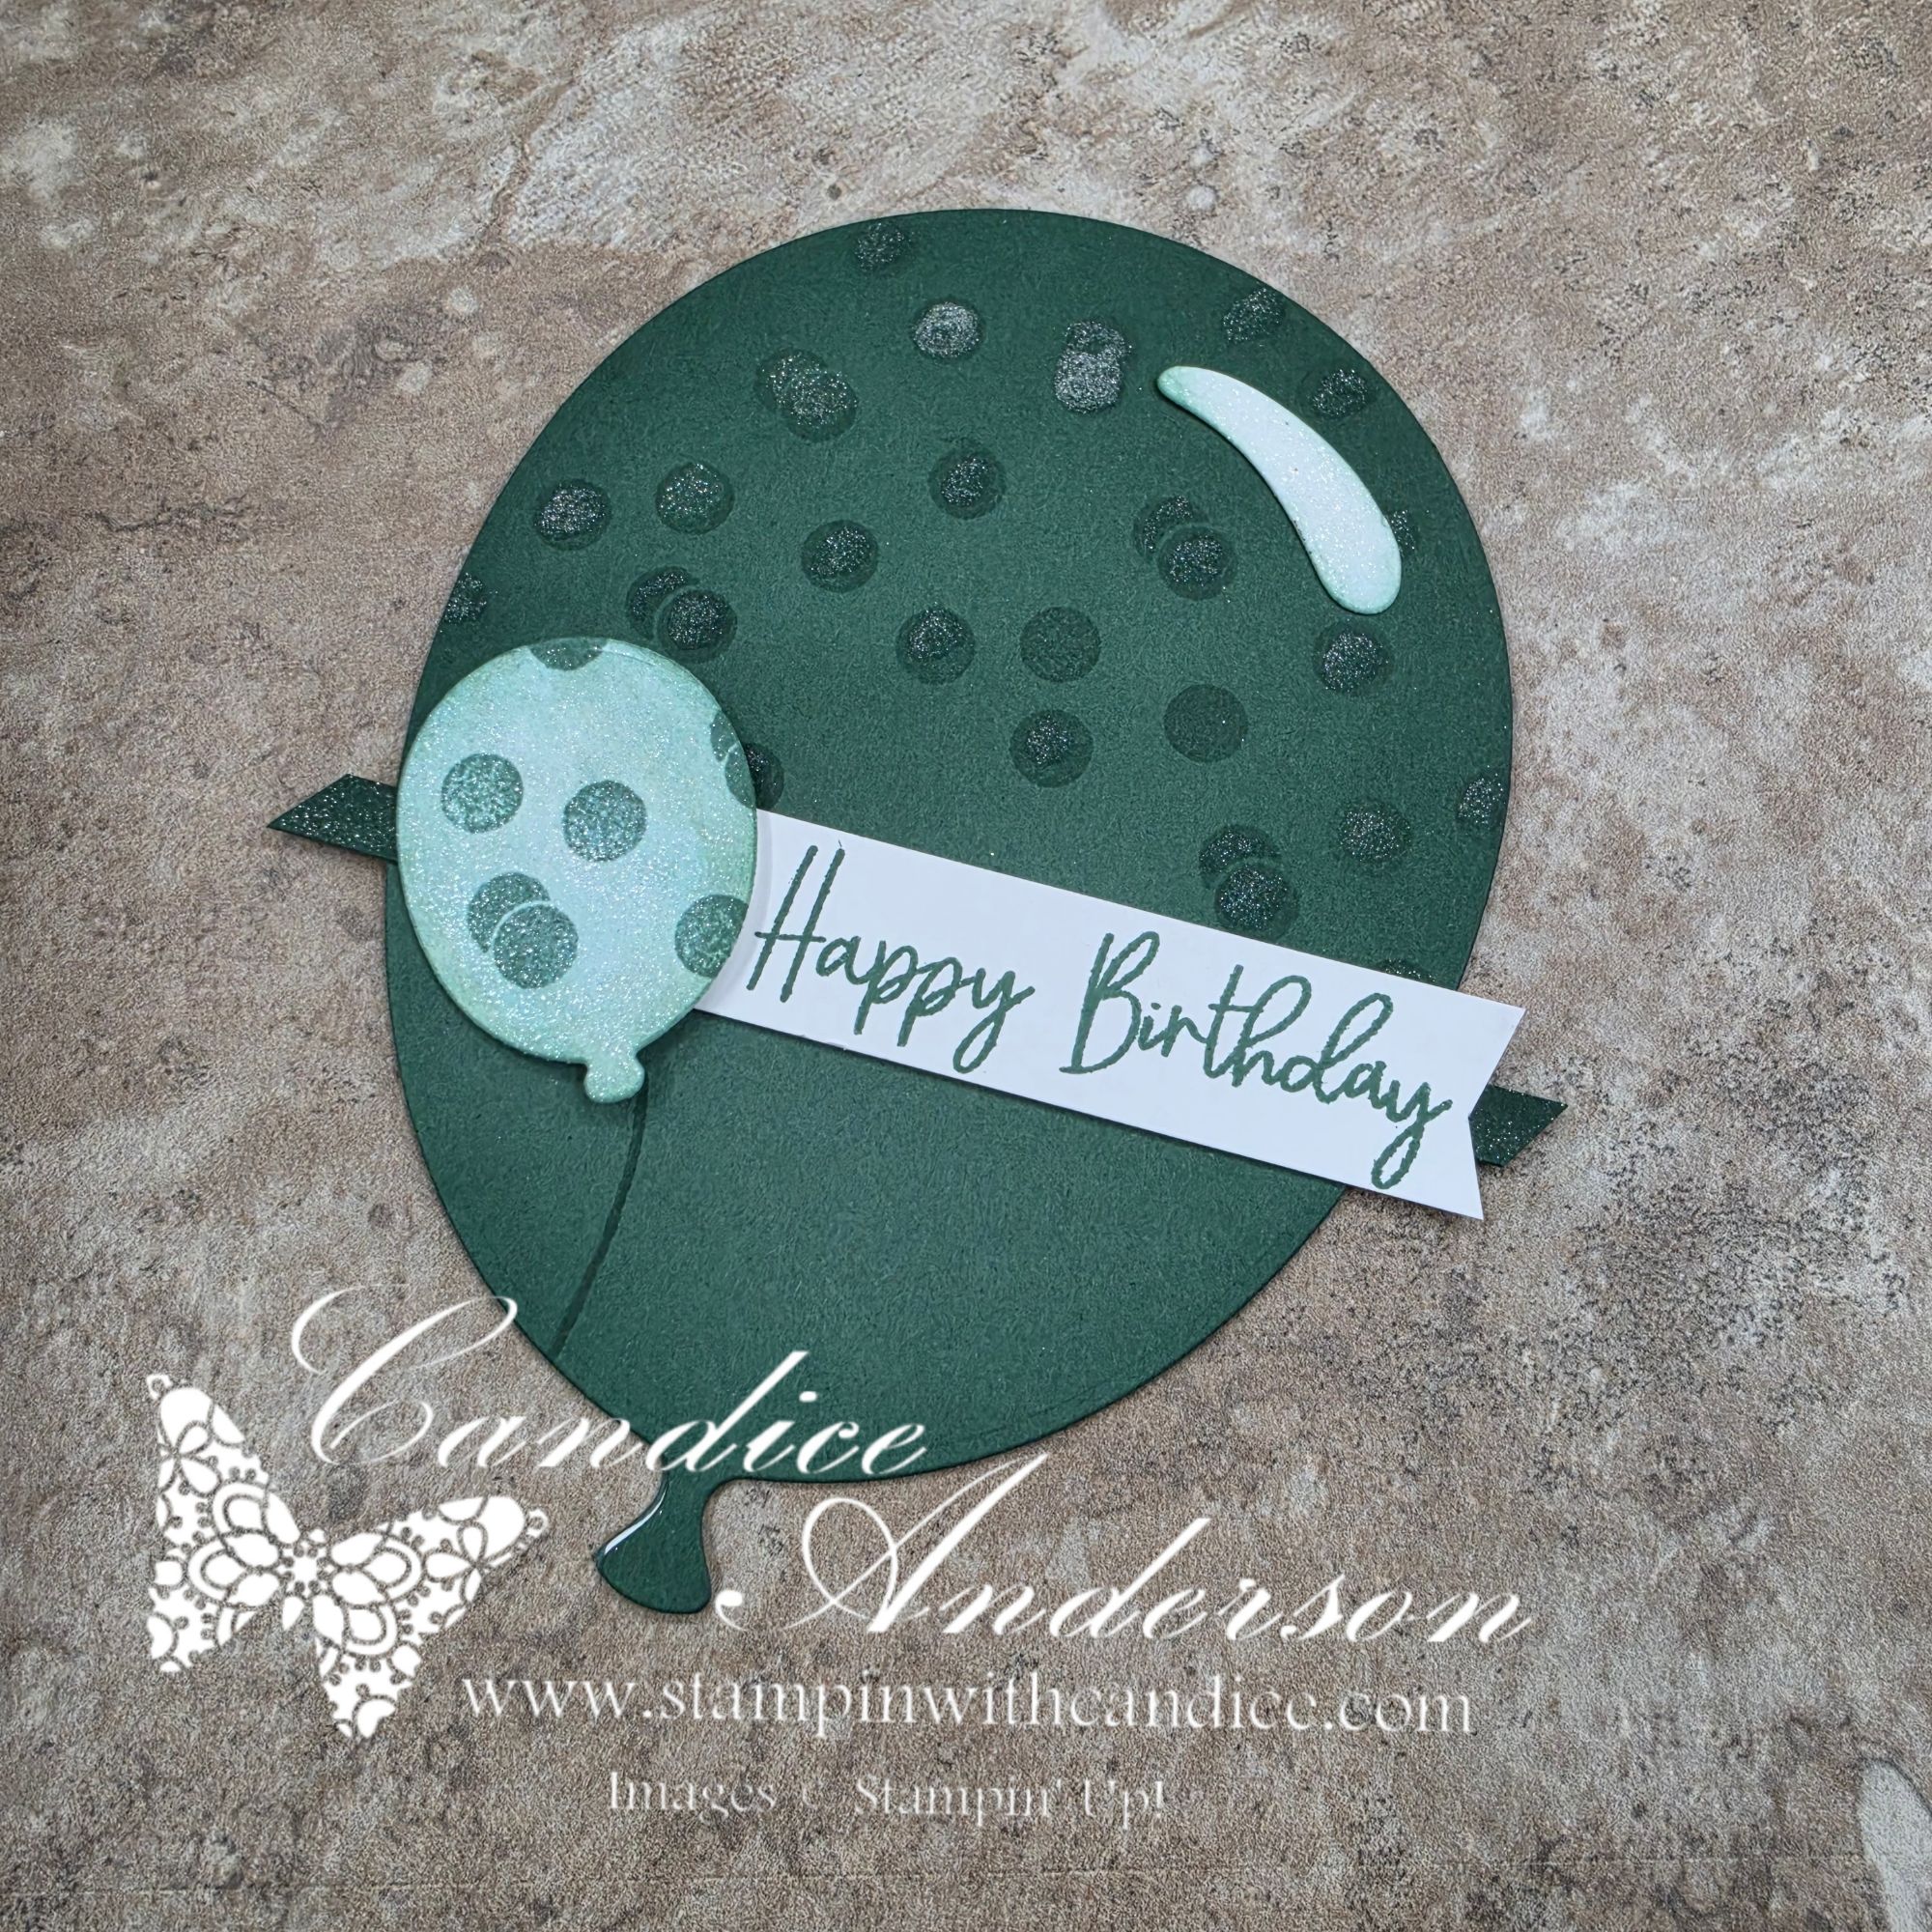
I decided to keep my designs simple by using a single color of cardstock and coordinating ink along with Basic White. By combining stamping and blending brushes, I was able to create several different shades and tones of the same color, adding depth and interest without needing lots of supplies. I chose to feature some of the new In Colors, but this technique works beautifully with any color palette. Check out all the fun combinations you can make.

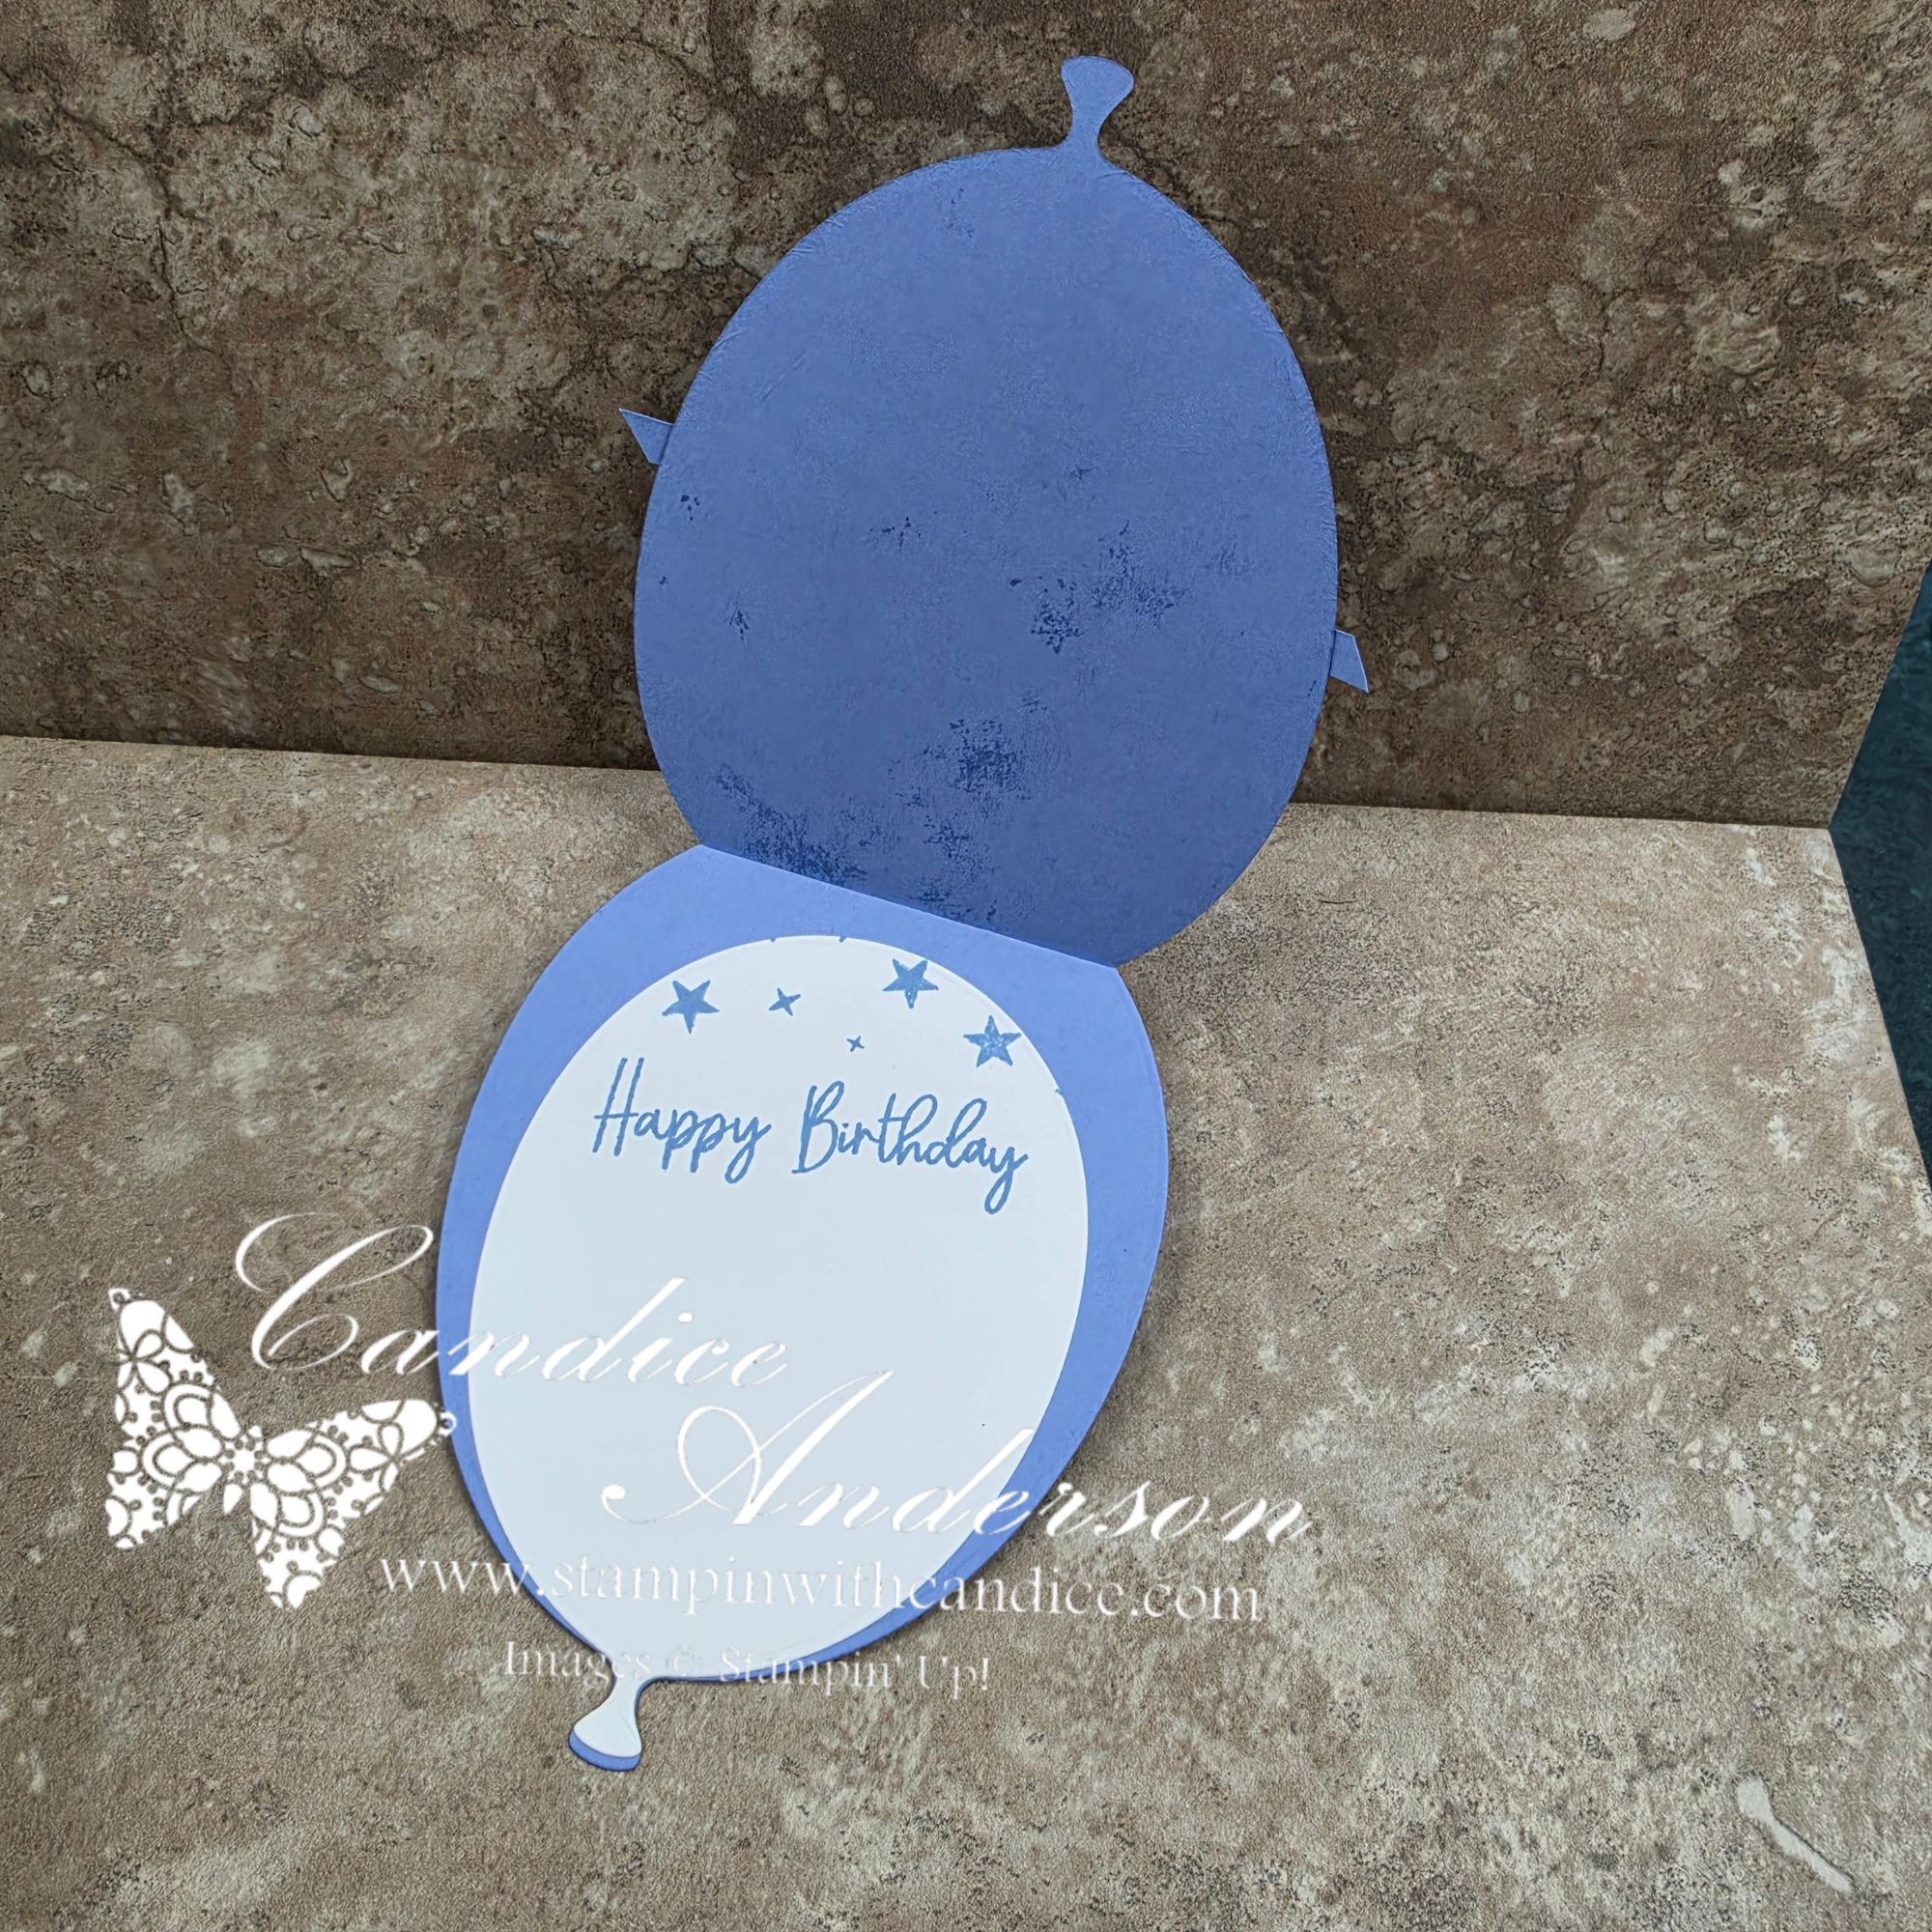
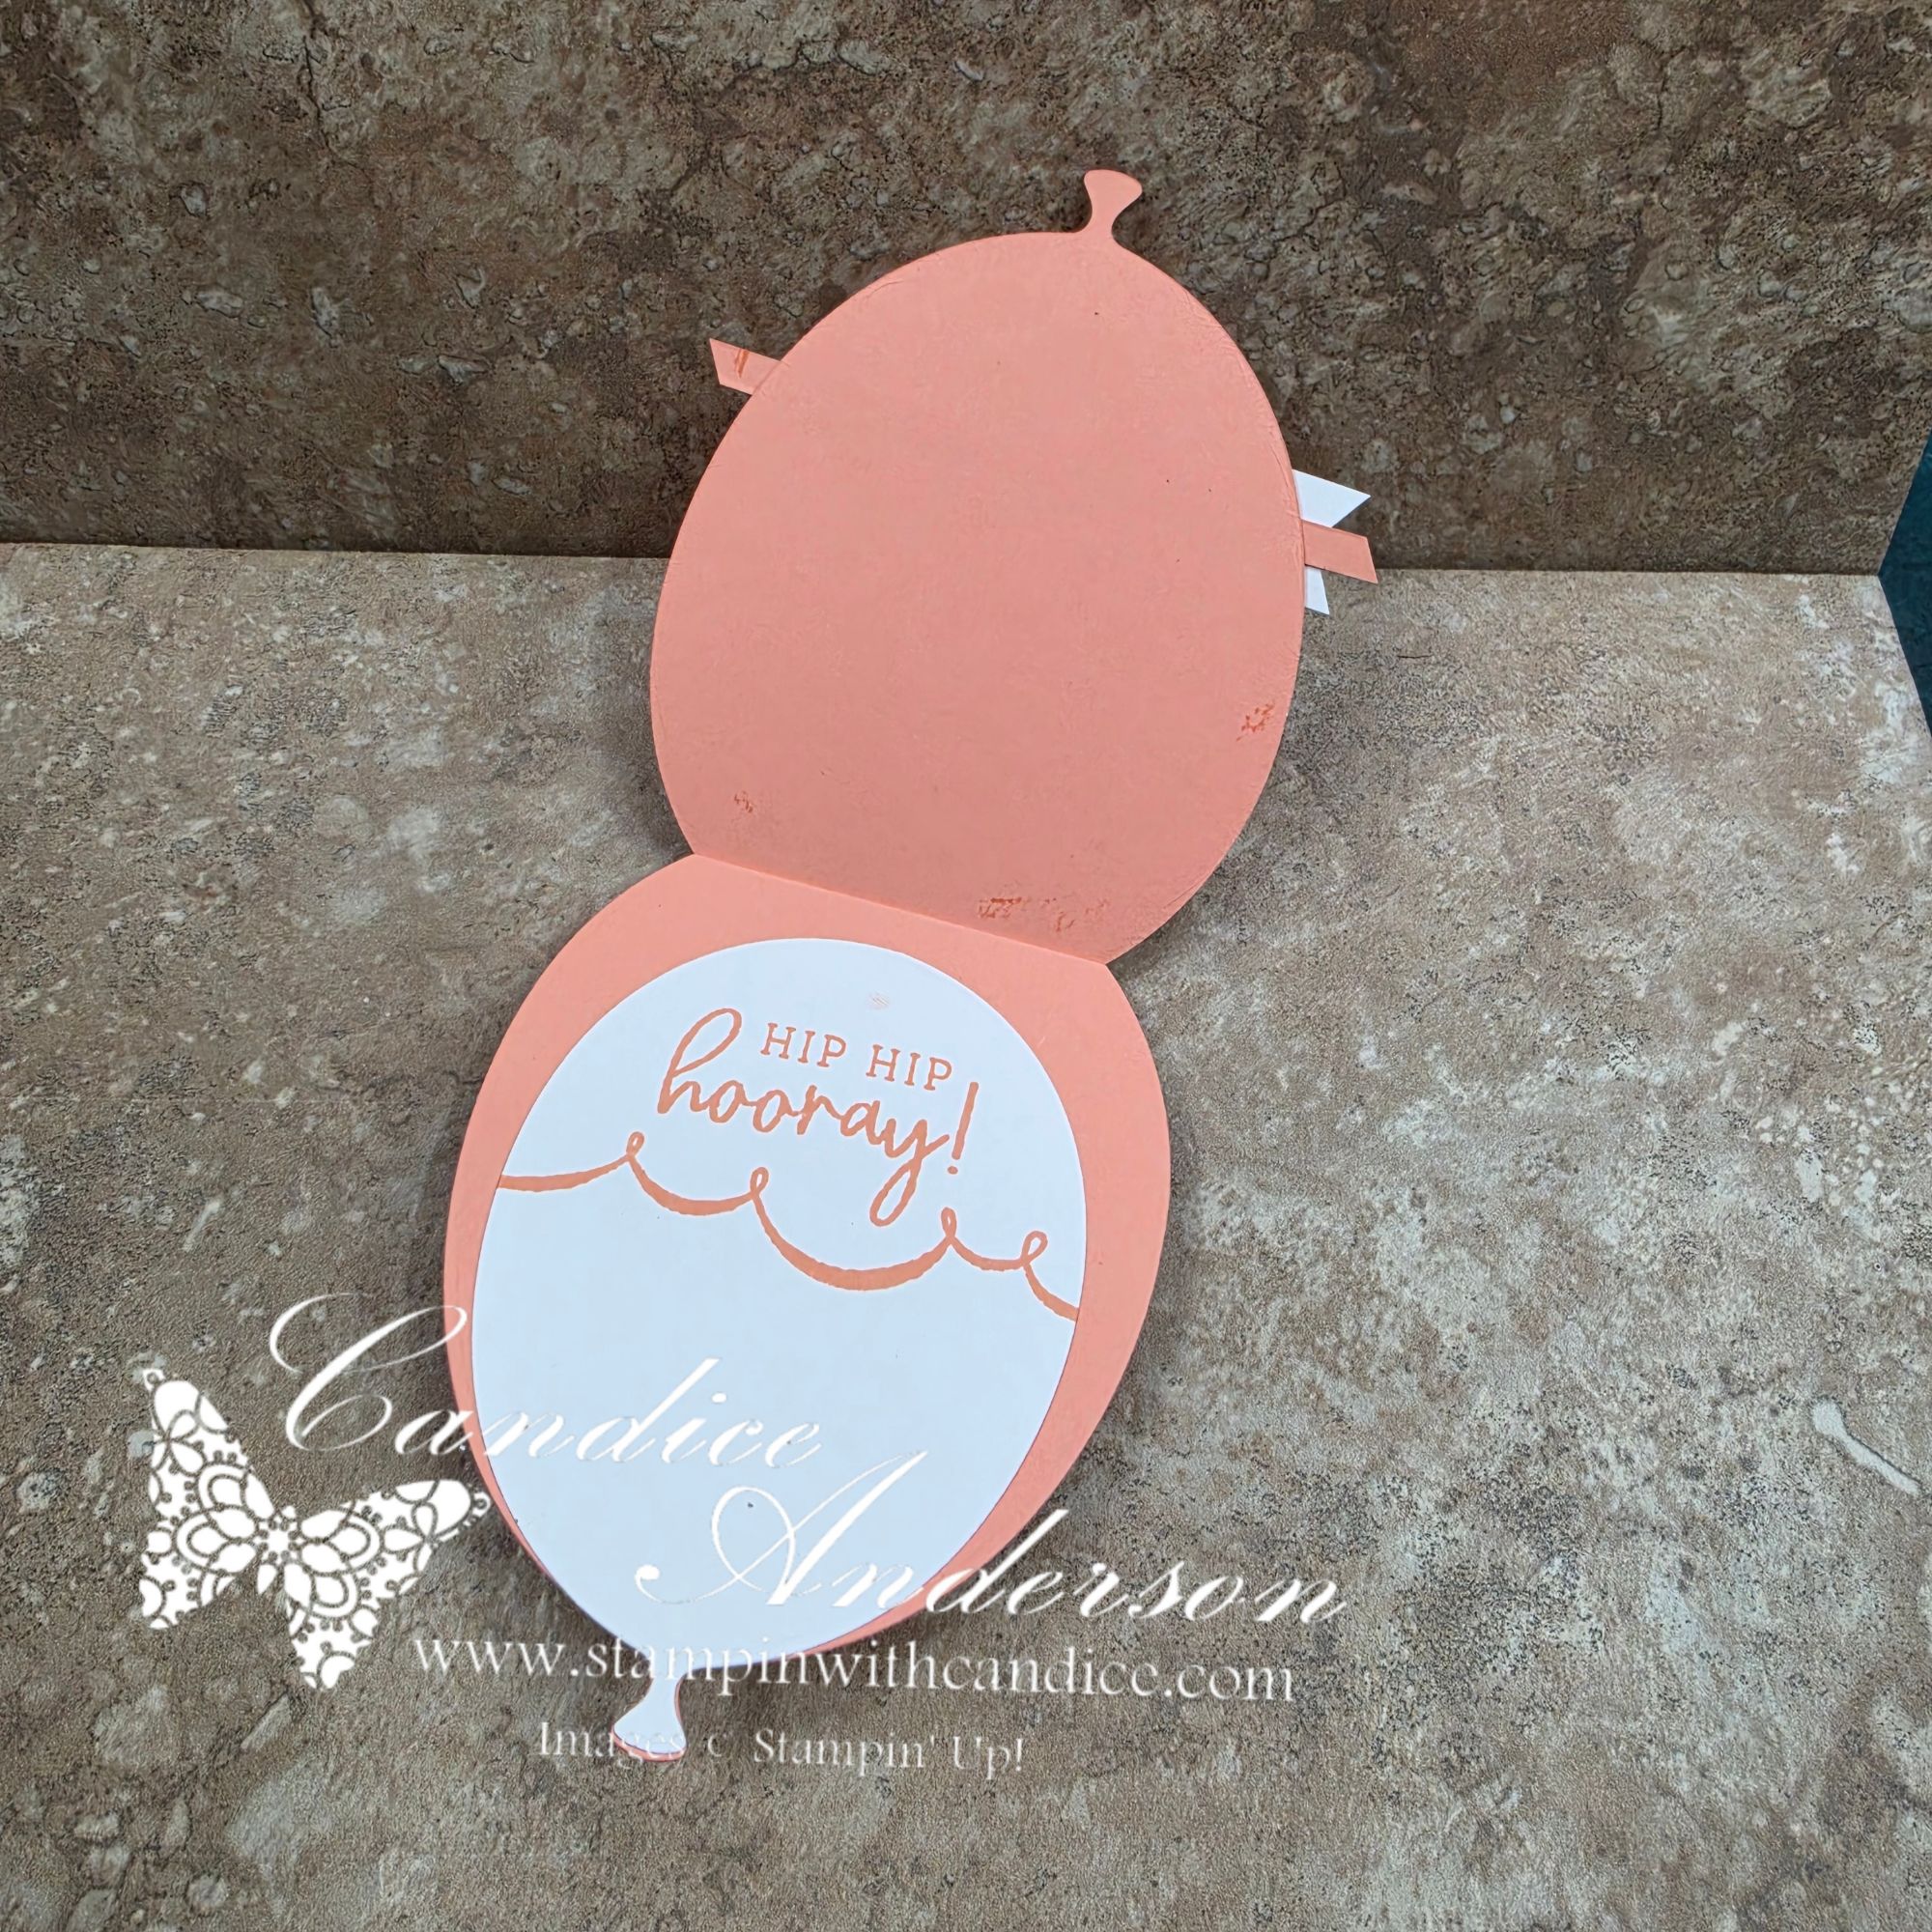
These shaped cards are perfect for birthdays, celebrations, congratulations, and so many other occasions. Depending on the size of the die you use, many will even fit inside a standard-sized envelope, making them easy to mail.

To finish them off, I added a touch of sparkle with Wink of Stella or if you are using the in-colors try out our new shimmer brushes.

Fast, easy, and so much fun—this is definitely a technique you’ll want to try with your favorite large dies. As an added bonus, you’ll discover that many of your dies can do double duty, creating both focal elements and unique card bases.

I hope you’ll give shaped cards a try! If you missed the live, be sure to catch the replay and see just how simple these cards are to create.


Ready to get started?

Click the Shop Now button to order any supplies you need. Then click on the Balloon Festoon Card Tutorial below to access the PDF tutorial, video instructions, cutting guide, and helpful tips and tricks.

Before you know it, you’ll be creating your own fun shaped cards for birthdays, celebrations, and special occasions. Happy crafting, and I can’t wait to see what you create!

Colorful advertisement banner featuring the text 'SHOP NOW' and 'Online Store' with decorative elements like flowers, butterflies, scissors, and craft supplies.

Balloon Festoon Card Tutorial

Bonus – Add a little extra with the new white gel pen.


Feel free to contact me with any questions: andersoncandice@hotmail.com

Thank you for being part of the Stampin’ With Candice community! 💜
Happy Stampin’!

A beautifully crafted Christmas card featuring a window scene that displays a peaceful nativity setting on one side, while the inside is adorned with cozy holiday elements like hanging stockings and warm colors.

💕 Let’s Stay Connected

📺 YouTube 📘 Facebook 📸 Instagram 📌 Pinterest

Easy Pocket Fun Fold Card – Simply Out of This World 🌙✨

Last night on my live I shared this easy pocket fun fold card inspired by Sunny Day Stamping, and I promised you all the details! This card is so simple to create but still gives you that extra wow when the recipient pulls out the hidden insert.

Three handmade birthday cards featuring a space theme. Each card has a yellow and blue color scheme with text that says 'You're Out of This World.' One card includes an astronaut illustration, while another features the phrase '3-2-1 Blast off!' Various design elements like stars and moons are incorporated.

For my cards I used the brand new Moon and Back Stamp Set (#167531) coming in March — and it is absolutely adorable. 🌙 It pairs perfectly with this interactive design.


How to Create the Pocket Fun Fold

This design is very versatile. You can create it horizontal or vertical — I did one of each!

  1. Choose your direction (horizontal or vertical).
  2. Decide how much you want your pull-out insert to peek over the top. You can either fold it down or cut it off.
    • I cut off 1″ on my horizontal card.
    • I cut off 1-1/2″ on my vertical card.
  3. Use adhesive to seal the sides (I used Tear & Tape) or simply wrap a ribbon or belly band around the card.
  4. Pick a circle shape for your focal point.

Now here’s the fun part 👇

Before you fully close your pocket, punch or die cut a matching circle on the card base directly behind where your focal circle will sit. This allows your focal image to actually attach to the pull-out insert instead of the card front.

When attaching your focal circle to the pull-out piece, use Stampin’ Dimensionals so it sits slightly raised above the paper. This not only adds dimension and extra WOW, but it also makes the insert easier to slide in and out — and easier for the recipient to grab ahold of.

Such a simple trick — but it makes a big difference in both the design and functionality and t it creates that magical interactive element when the card is opened!


Adding Even More WOW

On my vertical card, I stepped it up by adding a handmade rosette behind the circle focal point. It adds dimension and really makes the design pop. This is quick any easy to do using the simply scored tool. I walk you through it in the video.

This fun fold truly is out of this world — and perfect for birthdays, kids’ cards, encouragement, and more.

Be sure to watch the replay for full step-by-step instructions and to see exactly how it all comes together!


Supplies Used

Stamps & Dies

  • Moon and Back Stamp Set (#167531 – coming in March!)
  • Spotlight on Nature Dies (#163580)
  • Stylish Shapes Dies (#159183)

Tools & Accessories

  • 2″ Circle Punch (#133782)
  • Simply Scored (#122334)
  • Tear & Tape Adhesive (#154031)
  • Stampin’ Dimensionals (#14430)
  • Black & White Baker’s Twine (#155475)

Cardstock

  • Daffodil Delight
  • Basic Black
  • Poppy Parade
  • Azure Afternoon

Ink

  • Real Red
  • Crushed Curry
  • Blueberry Bushel
  • Memento Black

If you give this pocket fun fold a try, I would love to see what you create! Be sure to tag me or share it in the comments. 💕

And remember to follow along so you never miss another Make It With Me Monday!


A beautifully crafted Christmas card featuring a window scene that displays a peaceful nativity setting on one side, while the inside is adorned with cozy holiday elements like hanging stockings and warm colors.

Please feel free to contact me if you have any questions.

Contact me today to place your order!
435-232-2655 Cell ( Call or Text)
andersoncandice@hotmail.com


💕 Let’s Stay Connected

📺 YouTube
📘 Facebook
📸 Instagram
📌 Pinterest

🌿❄️ Global Design Project #GDP525 — Two Cards, Two Seasons, One Gorgeous Color Combo!

This week’s Global Design Project color challenge (#GDP525) features the stunning trio of Cloud Cover, Lost Lagoon, and Highland Heather. WOW—these colors are absolutely beautiful together! At first glance, they totally gave me winter vibes… but once I started creating, I realized they could go in so many different directions.

And of course, once I made one card, I just couldn’t stop at one.
So today I’m sharing two cards with the same layout—one floral and one snowman!
Same sketch, two completely different feels. I love when that happens!


🌸 Card 1: Soft & Dreamy Floral Design

Inspired by a lovely card I saw earlier today by StampinFancyFriday.

I started with the challenge colors and decided to step away from the obvious winter theme. Instead, I leaned into how soft and fresh these colors feel together and created a floral card. The muted tones mixed with a pop of Highland Heather gave it such a gentle, uplifting vibe.

What I love about this card:

  • How versatile the colors become outside of winter
  • The soft gradients between Lost Lagoon and Cloud Cover
  • The simple layout that really lets the colors shine
A handmade floral greeting card featuring three purple flowers with green leaves, layered on a soft blue background and bordered by a light purple frame. The card includes a white rectangular label with the text 'dear friend' on it.

Supplies Used:

  • Spotlight on Nature (163579)
  • Exposed Brick Embossing Folder (161600)
  • Misty Moonlight and White Ribbon (165276)
  • Frosted Iridescent Dots (165766)

⛄ Card 2: Snowman Winter Birthday Card

Okay… once the floral card was done, I just couldn’t resist!
I pulled out one of my favorite retired snowman sets because these colors are perfect for a frosty, wintery design.

I kept the exact same layout, but this time swapped the Christmas sentiment — making it a winter birthday card. The color combo brought the snowman to life in such a sweet, chilly way.

What makes this version fun:

  • Perfect use of a beloved retired stamp set
  • Great twist on a winter birthday card
  • Proof that one layout can create multiple completely unique cards
A winter birthday card featuring a cheerful snowman wearing a purple hat and scarf, holding a small bird. The card uses soft pastel colors and includes the sentiment 'hope your Birthday is snow much fun!' against a textured background with snowflakes.

✨ Same Layout, Two Moods

One of my favorite parts of cardmaking is seeing just how far a single layout can stretch! With just a few creative shifts, you can take a card from springtime softness to winter whimsy—all using the same sketch and color combo.

I’d love to know:
👉 Which version do you like better—the floral or the snowman?
👉 Have you tried the #GDP525 challenge yet?

Graphic for the Global Design Project #GDP525 featuring three hearts representing the colors Highland Heather, Cloud Cover, and Lost Lagoon.

Be sure to check out the challenge and share your creations, too!

Thanks so much for stopping by and creating with me today.
Happy stamping! 💜💙🤍


A beautifully crafted Christmas card featuring a window scene that displays a peaceful nativity setting on one side, while the inside is adorned with cozy holiday elements like hanging stockings and warm colors.

Please feel free to contact me if you have any questions.

Contact me today to place your order!
435-232-2655 Cell ( Call or Text)
andersoncandice@hotmail.com


💕 Let’s Stay Connected

📺 YouTube
📘 Facebook
📸 Instagram
📌 Pinterest

#StampinWithCandice #StamperCandi #GDP525 #StampinUp #CardMaking #ColorChallenge #HandmadeCards #SnowmanCard #FloralCard

🍪✨ Day 16 – Peace on Earth Meets Cookie Exchange

Day 16 definitely stretched my creativity! Peace on Earth and Cookie Exchange aren’t themes you’d normally see together… but one of our amazing Stampin’ Up! kits made pulling them together surprisingly simple.

Day 16 definitely stretched my creativity! Peace on Earth and Cookie Exchange aren’t themes you’d normally see together… but one of our amazing Stampin’ Up! kits made pulling them together surprisingly simple.

I decided to take the Loveliest Wishes Kit (#166284)—a beautiful, soft-colored non-holiday kit—and challenge myself to transform it into Christmas cards. The kit includes enough supplies to make three each of three different designs, so I started by creating the cards exactly as intended. They’re simple, easy, and so much fun to put together!

I love the soft color palette in this kit, so next I grabbed the A Little Cheer Stamp Set (#166121) and the coordinating dies (#166123) and began the holiday transformation. My personal challenge was to use only the paper that came in the kit, so I:

  • Stamped on the extra paper pieces
  • Used greetings in other languages and stamped on the back
  • Punched images from the kit’s pre-printed elements

Because the coordinating kit colors are Soft Sea Foam and Petal Pink, converting these beautiful cards into sweet Christmas designs was simple and natural. The leaf designs were perfect for the Peace on Earth theme, and the “Happy Christmas” card with the punched images gave me instant cookie vibes for the Cookie Exchange challenge.


🍬 Round Two – Jar of Joy Remix

I still had one more set of card bases left, so I grabbed the Jar of Joy Stamp Set (#166176) and coordinating punch (#165506). This time, I added a pop of Calypso Coral to brighten things up.

Fun fact:
👉 I used every single stamp in the Jar of Joy set across the three cards!
Just a note – I did use and extra piece of white paper to stamp and punch the jars; however, you could use the extra white piece that is used to pop on the images on the ornament Jar card and instead place the images directly on the card base.

I had so much fun stamping the greetings in multiple colors—just clean the stamp in between and keep going! This round, I was able to blend the Peace on Earth leaves with the cookie-inspired images to create a card that feels both peaceful and sweet.


💡 Final Thoughts

Our kits are already fun, simple, and beautifully designed just the way they are—but with a little creative magic and imagination, they can become so much more.

I would LOVE to see what you create with your kits!
Come share your creativity and inspire us in my group:
👉 Join my Facebook group:
https://www.facebook.com/groups/753759767970609


👉 You can shop current Stampin’ Up! supplies and tools here:
Shop with Me Here

A beautifully crafted Christmas card featuring a window scene that displays a peaceful nativity setting on one side, while the inside is adorned with cozy holiday elements like hanging stockings and warm colors.

Please feel free to contact me if you have any questions.

Contact me today to place your order!
435-232-2655 Cell ( Call or Text)
andersoncandice@hotmail.com


💕 Let’s Stay Connected

📺 YouTube
📘 Facebook
📸 Instagram
📌 Pinterest

#StampinWithCandice #StamperCandi #CreativeSkills #StampinUp #ACardADayInNovember2025 #30DayChristmasCardMakingChallenge #ChristmasCards #LoveliestWishes #ALittleCheer #JarOfJoy #HandmadeCards #CraftKits #KitAlternatives #PeaceOnEarth #CookieExchange #CreativeStamping #StampinKits #HolidayCrafting

Quick and Easy Treat Holders

Can you believe the month is already over? That means tomorrow May 1st is the last day to order retiring products. This is my last post featuring retiring products. I’ve also received my pre-order items so I thought I would share a variety of quick and easy treat holders that feature retiring product, new product and online exclusives.

I created these cute gift holders around Valentine’s for my open house. I also wanted to create a project that I could send to people that weren’t able to attend in person. Since it’s hard to send them stamps I decided to go with a project that was made with dies and punches. You’ll notice that both are similar; however, the punched one I punched the images directly from the designer series paper.

  • 160390 – Country Floral Lane Suite Collection (R) (M)
  • 160383 – Country BouQuet Bundle (R) (M)
  • 160377 – Country Bouquet Stamp Set (C) (M)
  • 160382 – Country Bouquet Punch (C) (M)
  • 160386 – Real Red & Burlap Ribbon Combo Pack (C) (M)
  • 160387 – Pastel Adhesive- Backed Sequins (C) (M)
  • 160388 – Country Gingham 6×6 DSP (R) (M)
  • 160375 – Country Floral Lane 12×12 DSP (R) (M)
  • 158885 – Best Label Punch (C)
  • 104199 – Linen Thread (C)
  • 152698 – Love you More Than Dies (R)
  • Colors – Sweet Sorbet (C), Mint Macaron (R), Balmy Blue (C), Garden Green (C), Blushing Bride (R), Real Red (C), Basic White (C)

(R) Retiring, (C) Carrying Over, (M) Found in the Mini Catalog

Here’s a quick picture of the measurements so you can make your own treat holder.

First I need to give a quick shout out to Craft with Jayne as she shared the triangle treat holder and I just had to give it a try. These two projects feature the retiring country gingham DSP that I love along with the Flowers of Friendship stamp set and dies.

  • 155358 – Flowers of Friendship Stamp Set (R)
  • 155373 – Flowers & Leaves Punch (R)
  • 160388 – Country Gingham 6×6 DSP (R) (M)
  • 159183 – Stylish Shapes Dies (C)
  • 152525 – Lovely You Stamp Set (R)
  • 154289 – Opal Rounds (R)
  • 155475 – Baker’s Twine Essentials Pack (C)
  • 159200 – Sweet Sorbet 1/8″ Metallic Woven Ribbon (C)
  • 158133 – Soft Succulent 1/2″ Satin Shimmer Ribbon (R)
  • 154893 – Petal Pink Stampin’ Blends Combo Pack (C)
  • 155521 – Soft Succulent Stampin’ Blends Combo Pack (C)
  • Colors – Petal Pink (C), Soft Succulent (R), Sweet Sorbet (C), Basic White (C), Basic Black (C)

(R) Retiring, (C) Carrying Over

Here are the measurements to create these easy gift holders. Remember that you are scoring not cutting to make this project. The measurement listed here are for the smaller treat box. If you watch my video below you can see the difference is size between the larger Rhino box and smaller Monkey box.

Now for a little bit of fun. I wanted to make a quick video so I could show you how easy these are to make, but I wanted to make it using new product so I had a little bit of fun with my pre-order. I will admit I did use one retiring product on these projects and that is the DSP for the Rhino project since I thought it worked so well with image. The Rhino’s are part of the online exclusive Rhino Ready Stamp Set and the large leaves are as well. The rest you will find in the new catalog and will be available to purchase on May 2, 2023.

Check out my video to see how fast and easy these projects are to make.


Please feel free to contact me if you have any questions.

Order online
Click on the shop now button.
Contact me today to place your order
or book your party!
435-232-2655 Cell ( Call or Text)
andersoncandice@hotmail.com Please feel free to contact me if you have any questions.

Goodbye Designer Series Paper

We have so many great Designer Series Papers (DSP) and I wanted to feature a few projects using some of these papers that will be going away. While many of the stamp sets that I am featuring will be carrying over unfortunately the DSP will not be. Sometimes they carry over, but with a major color change like we are having we will be getting all new DSP.

I had a lot of fun with these cards. My husband and I actually met when I asked him for a ride on his motorcycle almost 30 years ago. His favorite colors are purple and green so when I finally had a chance to play with this set I had him help me with the coloring. You’ll notice that the motorcycles vary a bit from each other as I played with different combinations. I’m featuring the Ready to Ride DSP which is part of the Suite Collection along with the Silver Foil that has been embossed.

  • 160754 – Legendary Ride Stamp Set (C) (M)
  • 160762 – Legendary Ride Dies (C) (M)
  • 160763 – Legendary Ride Bundle (R) (M)
  • 160768 – Ready to Ride Suite Collection (R) (M)
  • 160766 – Metal Plate 3DEmbossing Folder (C) (M)
  • 160767 – Adhesive-Backed Studs (R) (M)
  • 160752 – Ready to Ride DSP (R) (M)
  • 160382 – Country Bouquet Punch (C) (M)
  • 156457 – Silver Foil 12 x 12 Specialty Paper (R)
  • 155766 – Simply Elegant Trim (C)
  • Colors – Gorgeous Grape (C), Parakeet Party (C), Basic White (C), Basic Black (C), Basic Gray (C)

(R) Retiring, (C) Carrying Over, (M) Found in the Mini Catalog

Here’s one more card using this suite. I will list the additional products used along with the colors. One of the things I love about his card is how well the large watercolor world stamp set works so well with the motorcycle.

  • 160708 – Watercolor World Stamp Set (C) (M)
  • Colors – Pumpkin Pie (C), Basic Grey (C), Sahara Sand (R), Basic Black (C)

I am in love with this quick and easy layout. I’ve actually made multiple cards using this layout. I was going off a similar layout and cut the paper the wrong size however once I did I decided I liked this size even better. This card works perfect with our DSP. Simply cut your DSP into 4 x 8. You can get four cards out of one piece of DSP and still have a 4×4 square left for other projects. To finish you will score it at 2″ and 4″. Attached the 4×4 section to a 4 1/4″ by 4 1/4″ background and decorate how you want. The main image is designed to be centered and only attach to half the card when folded back like a Z-Fold card. This hides the image below which is in a similar shape.

  • 155092 – Butterfly Brilliance Stamp Set (R)
  • 155766 – Simply Elegant Trim (C)
  • 159245 – Pretty Prints DSP (R)
  • 155523 – Brilliant Wings Dies (R)
  • 159183 – Stylish Shapes Dies (C)
  • 155536 – Inspired Thoughts Stamp Set (R)
  • 154289 – Opal Rounds (R)
  • Colors – Blackberry Bliss (C), Rich Razzleberry (R), Basic White (C), Shaded Spruce (C)

(R) Retiring, (C) Carrying Over

Here’s another sample using the same design. This one features the darling Rhino Ready online exclusive stamp set. This time I used circles rather than squares and the hostess designer series paper.

  • 160959 – Rhino Ready Stamp Set (O)
    • Rhino Ready Dies – Currently Unavailable -Online Exclusive
  • 159161 – Design a Daydream DSP (R)
  • 151770 – Layering Circles Dies (R)
  • 159183 – Stylish Shapes Dies (C)
  • 155475 – Baker’s Twine Essentials Pack (C)
  • 133456 – Memento Ink (C)
  • 154904 – Smoky Slate Stampin’ Blends (C)
  • 154893 – Petal Pink Stampin’ Blends (C)
  • Colors – Blackberry Bliss (C), Daffodil Delight (C), Old Olive (C), Basic White (C)

(R) Retiring, (C) Carrying Over, (M) Found in the Mini Catalog, (O) Online Exclusives


Please feel free to contact me if you have any questions.

Order online
Click on the shop now button.
Contact me today to place your order
or book your party!
435-232-2655 Cell ( Call or Text)
andersoncandice@hotmail.com Please feel free to contact me if you have any questions.