Club October 2009

If you missed club this month you missed a very fun and cool project.  This month I showed my club members how to use the new Shimmer Paints in the Mini Catalog.  These are so awesome and so much fun.  I showed them two fun ways to use this awesome paint.  The first is applying the paint to your stamps using a sponge dauber and then stamping as usual.  It gives a really fun look to your project.  The next way is by spraying it on.  To do this you need to fill a 2 oz spray bottle (I got mine in the travel section) with rubbing alcohol and then adding about 12 drops of shimmer paint.  I bought one bottle for each of the three colors.  They actually go a long way so they could last quite a while.  To apply all you do is shake it good and then spray it on.  The alcohol helps it to try pretty fast.

Goblins Card- Club Oct '09So here is the first card that we made.  We spritzed the whole card base first and we stamped on the black section behind the words.  The idea was inspired by a card that I got from our swap at Brandi’s meeting it was made by Kathrine and it was actually the winning swap.

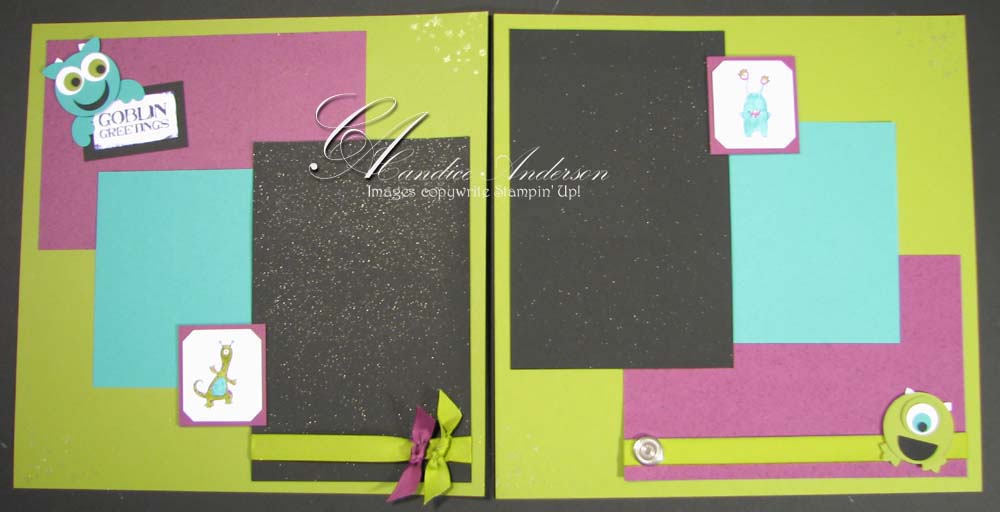
10-09 Goblins PageHere are the matching pages that my scrapbookers were able to make.  The black part is spritzed on both pages.  The cards and the pages used the Champagne Mist Shimmer Paint.

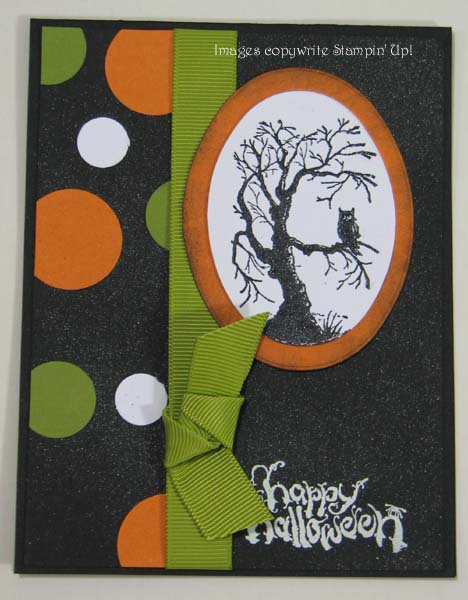
Halloween SparkleOur second card was a card that my friend Ashley made for the swap.  I just loved this card and had to use it.  We used the White Shimmer Paint for this one.  I just love the sparkle it adds to the card.

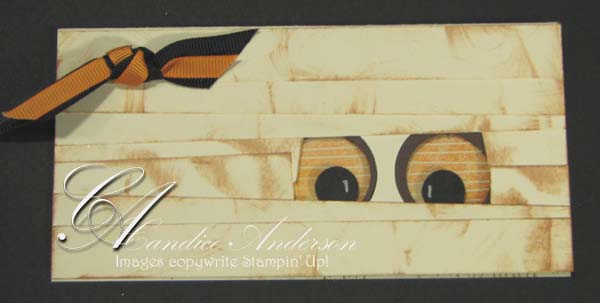
Mummy EyesWe also made a bonus project.  This card was my card swap for Brandi’s meeting.  I used the window sheets to create the eyes.

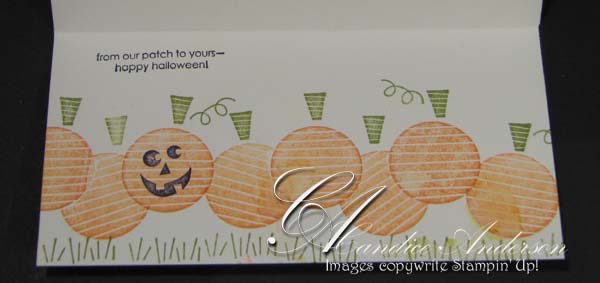
10-09- Mummy Eyes OpenHere is what the card looks like on the inside.  It uses the fun pumpkin patch set from the mini catalog.

I have a new club that starts in January.  If you join right now you can come to the rest of this year with no obligation.  Our next club in November 11th.  Just drop me a line and let me know you are planning to come so I can cut out projects for you. 

When you come you will be entered into a drawing for the chance to win the hostess benefits.  Here’s just a few of the ways that you can earn tickets to win:

1 ticket- Come to Club- Nov 11th & Dec 9th ( 1 ticket per month)

3 tickets- Bring a friend to club

1 ticket- For every $20.00 you spend

10 tickets- for joining next year’s club

5 tickets- when your friend join’s club

You can find out more information about club by clicking here.  Also be sure to check out my alternative club member ship.  I can hardly wait to see you there.

Signature

Turkey Trotter

Turkey 2009Shop from you seat not on your feet.  Join my Turkey Trotters and get a head start on Christmas this year plus earn lots of great rewards.  Click here for more details.

Class Crazy

I have so many class ideas and not enough time to do them so I thought I would do a poll and see what classes you (my wonderful customers) would be most interested in.  I really need your help with this so please participate.  To make it a little more fun I’ve decided to add an incentive.  I just love our new Mini Catalog so I’m going to give you your choice of Stamp Set from the Mini Catalog for 1/2 price.

Here’s what you need to do.  Vote on your favorite Classes.  You can choose as many as you would like.  You can also add in one that you’d like to see.  Then vote on the best days for classes.  Once you have voted go to the comments section and add your name and e-mail address. 

I will keep this poll open until the end of September.  I will also keep it at the top of my blog so remember to scroll down for new posts.  I will draw a winner the first week of October.  You will be notified by e-mail as well as posted on my site.  Good luck and thanks for your help. 

You can see more information about each class underneath the poll.

Here is a description of what types of this will be included in the classes.  Actual projects and costs will be determined after I choose the classes.  I’ve included pictures if I had one.

Halloween Haunts-  Come and make some fun Halloween Decorations and treat holders.  These treat holders are great for those special kids (or people) in your life.

6x6-recipie-bookCooking Up Some Fun-  In the past this has been one of my most popular classes.  This is my 6×6 cookbook class.  You make 20 fun pages filled with recipes.

Christmas BookCrazy for Christmas-  This class is designed to help you with all those fun Holiday Gifts.  Save some money this year by making a hand crafted gift from the heart.  I will have lots of gifts ranging in prices.


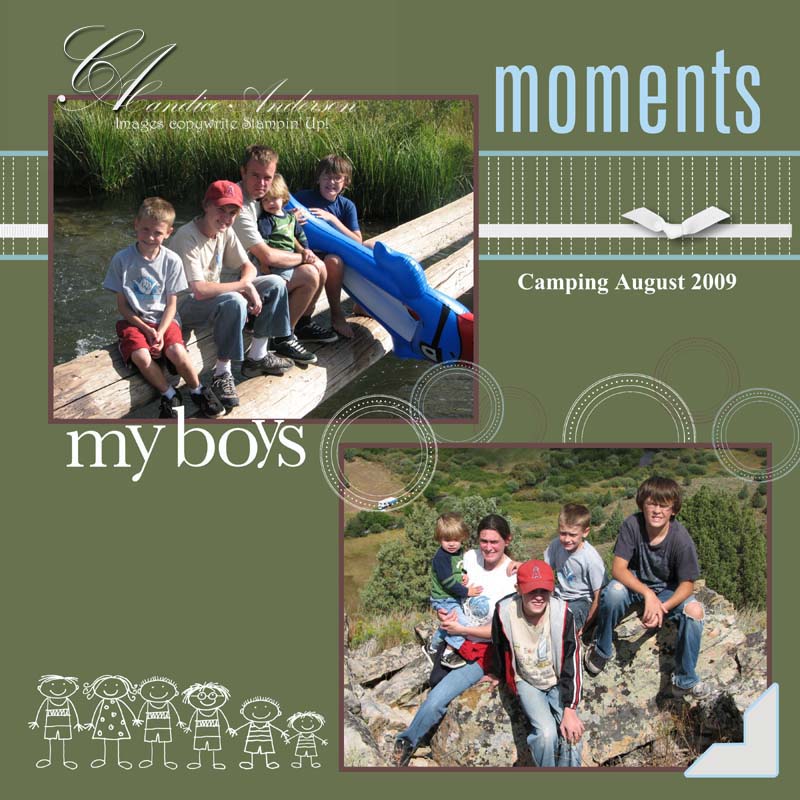
My Boys Camping Pg 2009 Digital Diva’s-  Come and learn all the great things you can do with our new “My Digital Studio.”  This program will be available October 1st.  There’s so much it can go.  I’ve been taking certification class so I can give you al those fun tips.  This is a great class to learn all the fun you can have with this great program.  


Christmas OrnamentsChristmas Card Marathon- Get a head start on your Christmas Cards.  I will have several designs for you to choose from.  You pick the cards and I’ll cut everything.  Then all you need to do is come and make them.  You’ll be ready to go before you know it.


Fall into Fall-  Get your home ready for fall with this fun class full of fall decorations and great ideas for Thanksgiving fun.

countdownSpice up the Holidays-  All of us love Holiday Decor and what’s more fun then when you create your own.  This class will focus on fun projects for your home for the holidays.  They also make great gifts.


Bear Best Bears-  Come and check out our new build a bear products.  We have great stamp sets as well as new die cuts.  Come and make some fun  projects using these great products.

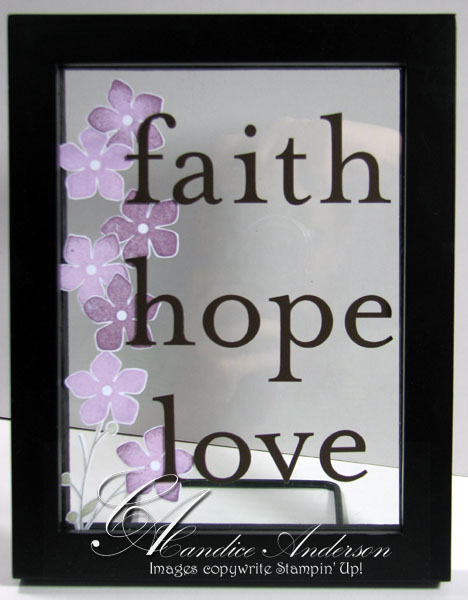
Faith Hope Love FrameSeason of Change-  I love this frame and the words.  The frame is a floating frame so the images can be easily changed.  You will stamp backgrounds for several seasons.


Year in a glance- Come and make fun scrapbook pages for your year.  You will make 12 double page layouts (one for each month.)  This is a fun way to celebrate your year.

Girls Getaway- Do you need a weekend off with the girls where you can just scrap and have fun.  That’s what his is all about.  Take some time out and relax while having fun crafting.

Calendar Countdown-  I just love our 6×6 desktop calendars.  This project is what got me started as a Stampin’ Up! demonstrator.  They are so fun to have on your desk.  They also make great gifts for those you love.

Blank-  Fill in your own idea of what you think would be a great class.  Please be sure to send me an e-mail or leave me more information in the comment section.

Thanks again and good luck.

Signature

Technique Tuesday 3-17-09

I have often been asked how I get my knots so nice.  I will have to confess when I first started I turned to my up-line all the time for help.  Now after a thousand swaps or so I can finally tie a good knot.  I thought that maybe if I showed you step by step it would help. 

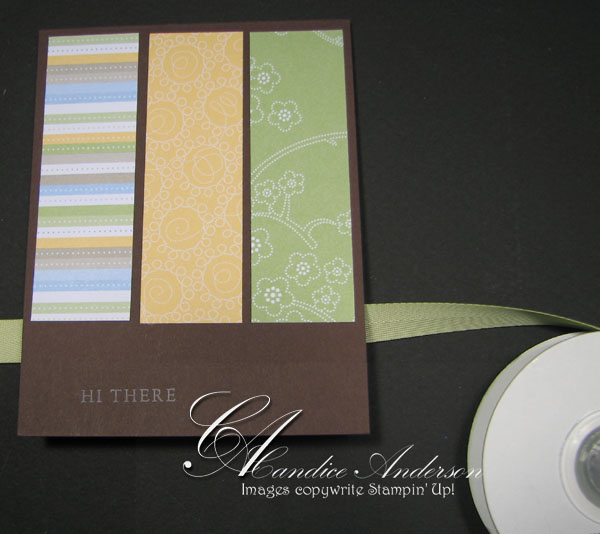
ribbon-step-1I think the biggest thing that helps me is I usually tie the knot when it is still connected to the roll of ribbon.  This makes it easy to always tie it correctly because I only have one end of the ribbon to work with. 

Step 1- So first I place my ribbon under the idem I am going to tie the knot on.

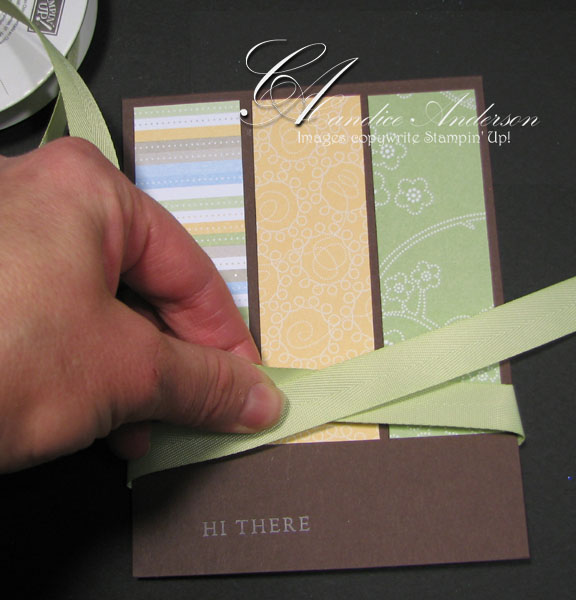
ribbon-step-2Step 2- Next I cross the two pieces of ribbon. As you can see the roll of ribbon is now on the left side and the end I am tying with is crossed over to the right.


ribbon-step-3Step 3- Next you want to fold the lose end over the top and under the end attached to the roll.


ribbon-step-4Step 4- Now fold down the end attached to the roll.  Now both ends of the ribbon should be facing down.  The loose end is on the right side and the attached end is on the left side.


ribbon-step-5Step 5-  Fold the lose end up across the attached end.


ribbon-step-6Step 6- Tuck the lose end under the attached end.


ribbon-step-7Step 7- Your finished knot.  I believe this is called a square not, but I’m not sure.  You think I would know since I have 4 boys and they are in scouts.  I have found that when I tie a knot like this the ends both go down.  If I want them to go up I just tie it upside down.  On of the keys to a perfect knot is to keep the ribbon nice and flat through each step.   

ribbon-finishedHere is the finished project.  I hope that this helps you in tying the perfect knot.  Remember that it also takes practice so just keep on tying.

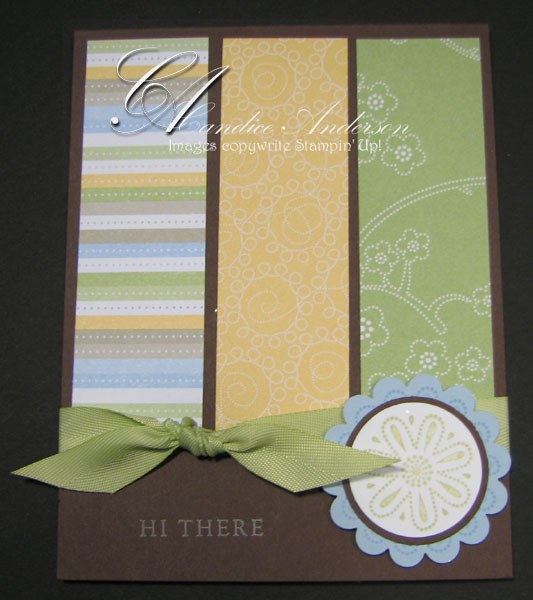
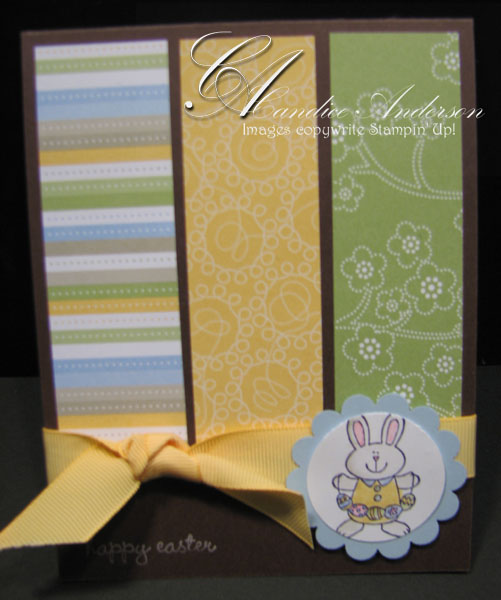
sab-bunny-cardHere is another sample of the same card with a different picture and saying.  I got this card idea from Becky Roberts blog.  You can check it out here www.inkingidaho.blogspot.com.

Products Used:
114674 Delicate Dots DSP- SAB
113788 Polka Dot Punches- SAB
114618 Ribbon Bundle- SAB
109043 Scallop Circle Punch $15.95
104401 1-3/8″ Circle Punch $15.95
104403 1-1/4″ Circle Punch $15.95
114968 Fundamental Phrases $37.95 (Card 1)
*113822 Eight Great Greetings $27.95 (Card 2)
114974 A Good Egg $23.95 (Card 2)

Colors- Chocolate Chip, So Saffron, Certainly Celery, Whisper White, Basic Black, Pretty in Pink, Bashful Blue, Sahara Sand

* indicates it is from the Occasions Mini Catalog

Click here to start placing your on-line order.  Click on the “Shop Now” in the top right corner

Click here to see more weekly Challenge Projects

Swapping Saturday 2-14-09

Happy Valentine’s Day!

Today I thought I would share some of the other Valentine’s Day cards that I’ve made or gotten from swaps.  Hope you enjoy.  Here are just 2.  You can click here to see more.

hugs-kisses-heart-cardI really like this card.  I love how she used the hearts for balloons.  This card was created by Naomi Keeling.  You can check out more of her stuff at: www.stampwithnaomi.blogspot.com

love-bird-sparklyThis beautiful card was created by Kimberly Anderson.  I think it was for my big shot swap.  Check out all the beautiful detail.  What I love about this card is it’s all the big shot so it looks complicated but the cutting part was easy.

love-sparkly-bird-close

Here’s a close up of the bird and flowers.  I love the glitter.

Click here to start placing your on-line order.  Click on the “Shop Now” in the top right corner.

Click here to see more weekly Challenge Projects

Thrifty Thursday 2-12-09

valentines-heartToday we had to make lots of Valentine’s for my son’s classes.  So we decided to make the same fun project.  My son, Mikey had a lot of fun helping to make them.  Then we put them in bags so the candy would stay in when he gave them out.  I love making the Valentine’s because they get something fun and different. 

lots-of-valentinesIt was also nice because one of my other sons told me last minute that he need some as well.  He’s in middle school so I didn’t think he needed them.  Thankfully I had extra Candy and Paper already so it was easy to make more for him.  Once again Stampin’ Up!© saves the day.

making-valentinesProducts Used:
113439 Sizzix™ Big Shot $99.95
113467 Petal Card Die $19.95
113476 Premium Crease Pad $8.95
105089 Horizontal Slot Punch $5.95
105934 Tag Punch $15.95
108264 Small Tag $15.95
101227 1/16″ Circle Punch $8.95
109055 Very Vanilla 5/8″ Grosgrain Ribbon $7.95
104199 Linen Thread $4.50
113980 Candy Lane DSP $9.95
114978 Happy Heart Day $23.95

Colors- Close to Cocoa, Very Vanilla, Riding Hood Red, Pink Pirouette

Click here to start placing your on-line order.  Click on the “Shop Now” in the top right corner.

Click here to see more weekly Challenge Projects