Marvelous Monday 1-12-09

I know we have lots of great new Valentines sets and projects but I thought I’d pull one out from last year.  This set is on the dormant list now, but I think you will probably find it in the new catalog.  Either way I know it’s not being retired so I thought I’d show it off.  Maybe I’ll try and add some more samples using the great big shot top note die and the mini catalog sets.

heart-day-ribbon-edgeThis is another Marvelous Marker technique.  This technique is great because it allows you to get more versatile colors with just a white roll of ribbon.  It’s actually really easy all you need is your white ribbon, your stampin’ write marker and scratch piece of paper.

To color the edge of the ribbon simple drag the brush edge of the marker along the edge.  Don’t worry if you go off the edge a little bit because once you tie it you really don’t notice.  I had fun with this technique and used it as just an accent.  You can also see it on my Celebrate page for the Freewheeling Friday Post on January 2nd.

So give it a try and see what you can come up with.

Click here to see more weekly Challenge Projects

Stampin’ Sunday 1-4-09

wb-topAfter I finished making the little wish boxed designed by Kelly Gettelfinger the I showed you in my Marvelous Monday post on December 29th I realized I still had a lot of stuff left from my Simply Scrappin’ Kit.  So I decided so see what I could come up with.  I got the design for this from one of Patty’s posts.  So here is what I came up with.

I used the long ended envelopes to create my book.  First I sealled them the cut of the very edge to make a pocket.  Then I used my punch to punch a whole in each one to make it easy to pull out my cards. 

I covered both sides of each envelope with paper.  (I didn’t have enough paper left for these so I used some that I had, same thing with the pullouts.)  I used the crop-a-dile to punch the holes in the side that I tied my ribbon through.  I used the Aspen ribbon from the mini catalog. 

wb-openI think this is a great book because of all the pull outs.  It really allow you to put lots of pictures in it and it make a great gift.  I used my extra pieces from the “I wish” Simply Scrapin’ kit to decorate my book.

Click here to see all the pages.

Remember that this great kit could be on the retired accesories list. (I won’t know for sure until tomorrow.)  So order yours today to make sure you get one.  Click here to start placing your on-line order.

Click here to see more weekly Challenge Projects

Wacky Wednesday 12-31-08

christmas-bag-topperThis is the fun Christmas Topper that I made.  I made one for each of my down-line and filled the bags with goodies for their business.  I thought they were cute and really easy. 

I used the snow swirled set with the Big Shot Snowflakes.  The bag is actually a larger one than Stampin’ Up! sells because I wanted to put 8 1/2 x 11 paper in them.  The top is made with a 1/2 a sheet of 12×12 paper and scored 4″ down.  Then I cut a slit in the top for the handle so that I would just slip the topper over the bag after it was filled. 

If you ever need a quick gift idea try a topper they are so easy and so cute.

Click here to see more weekly Challenge Projects

Marvelous Monday 12-29-08

i-wish-gift-boxesThis was a great project the Kelly Gettelfinger entered into the class project contest on Stampin’ Up!.  She was actually one of the winners.  I think the boxes are so cute.  Everything is made with the I wish Simply Scrapin’ Kit.  If you are interested in the pattern please let me know and I will get it to you.  Thanks Kelly for such and awesome project.

Click here to see each box and it’s contents.

Click here to see more weekly Challenge Projects

Swapping Saturday 12-27-08

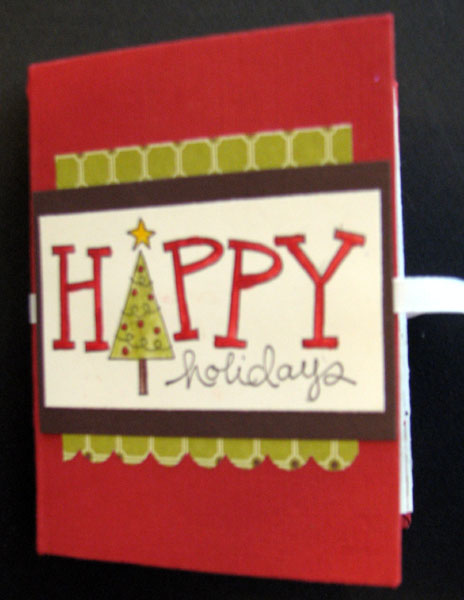
My down-line Michelle made this.  We swapped them at our Christmas Party.  holiday-book-front

I thought it was just so cute so I had to show it off.  I think she did a really great job.

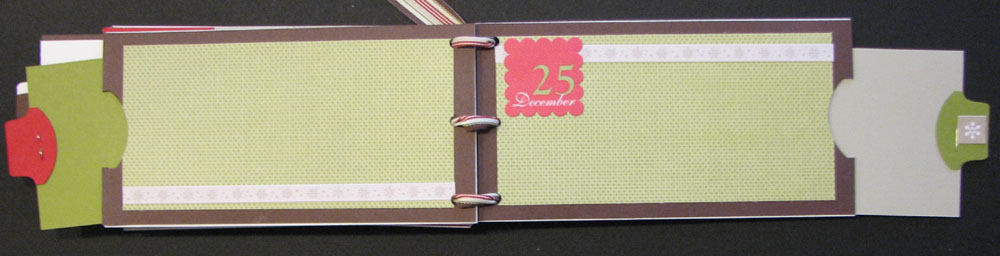
Click here to see the whole book.

Click here to see more weekly Challenge Projects

Freewheeling Friday 12-26-08

I really wanted to try the Christmas Chatter wheel.  Here’s the card I came up with.  ho-ho-ho

After I wheeled the back ground I made sure the wheel was all inked then I colored just the words ho ho ho with the chocolate chip maker.  Then I rolled it on the vanilla card-stock and punched it out with the large oval punch.  I used the tag punch behind it.   I used the blender pen and touched it to the markers to color the Santa.  I used the white water color wonder crayon for his beard and fur.  I think it turned out cute.  I like how I could highlight just one sentence from the roller to use as my saying on my card.

Click here to see more weekly Challenge Projects