End of school year fun

I hope that all of you are enjoying your summer.  For me it’s already going by so fast.  Today I thought I would share just a couple of things from the end of the school year.

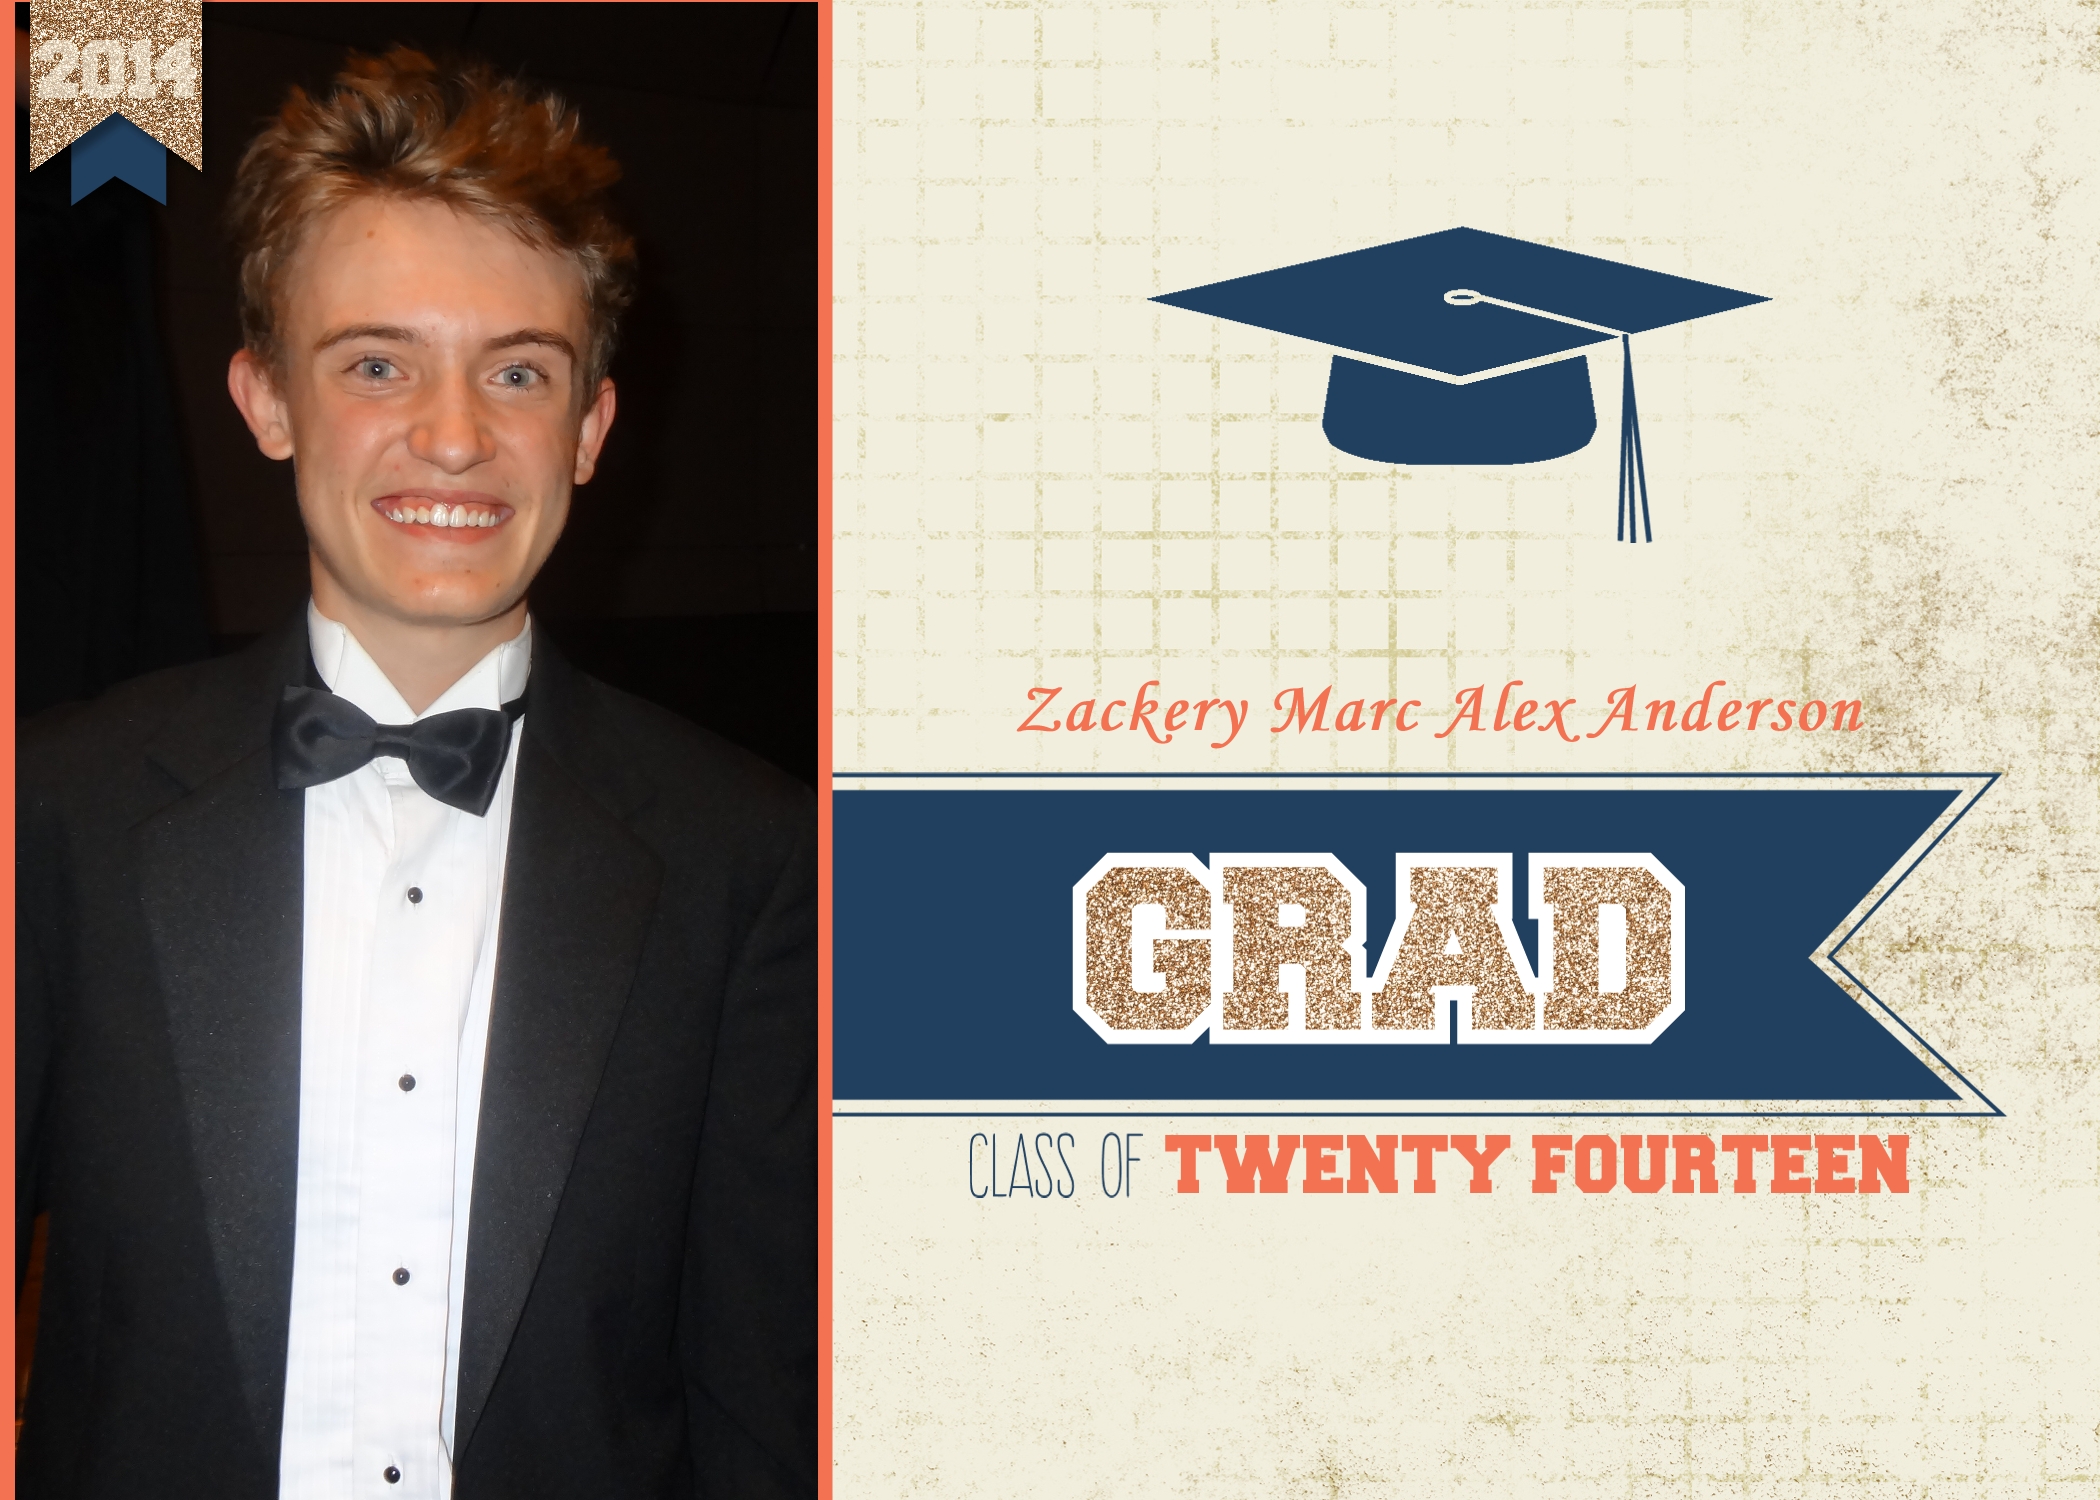
First I’m now the proud mother of a High School Graduate.  I’m so proud of my son and his accomplishment.  Thanks to Stampin’ Up! celebrating his accomplishment was easy to share with others.  This is the cute announcement I made to send out to our friends and family.   Using  “My Digital Studio”  made it super easy especially with the cute layout they had designed.  I just changed it a bit to fit my needs and pictures.  I used the Embark Graduate #133467 $12.95.  I of course changed the colors to my son’s school.  I also used it to make easy decorations for his graduation party.

Zack's Graduation Announcments-001 Zack's Graduation Announcments-002

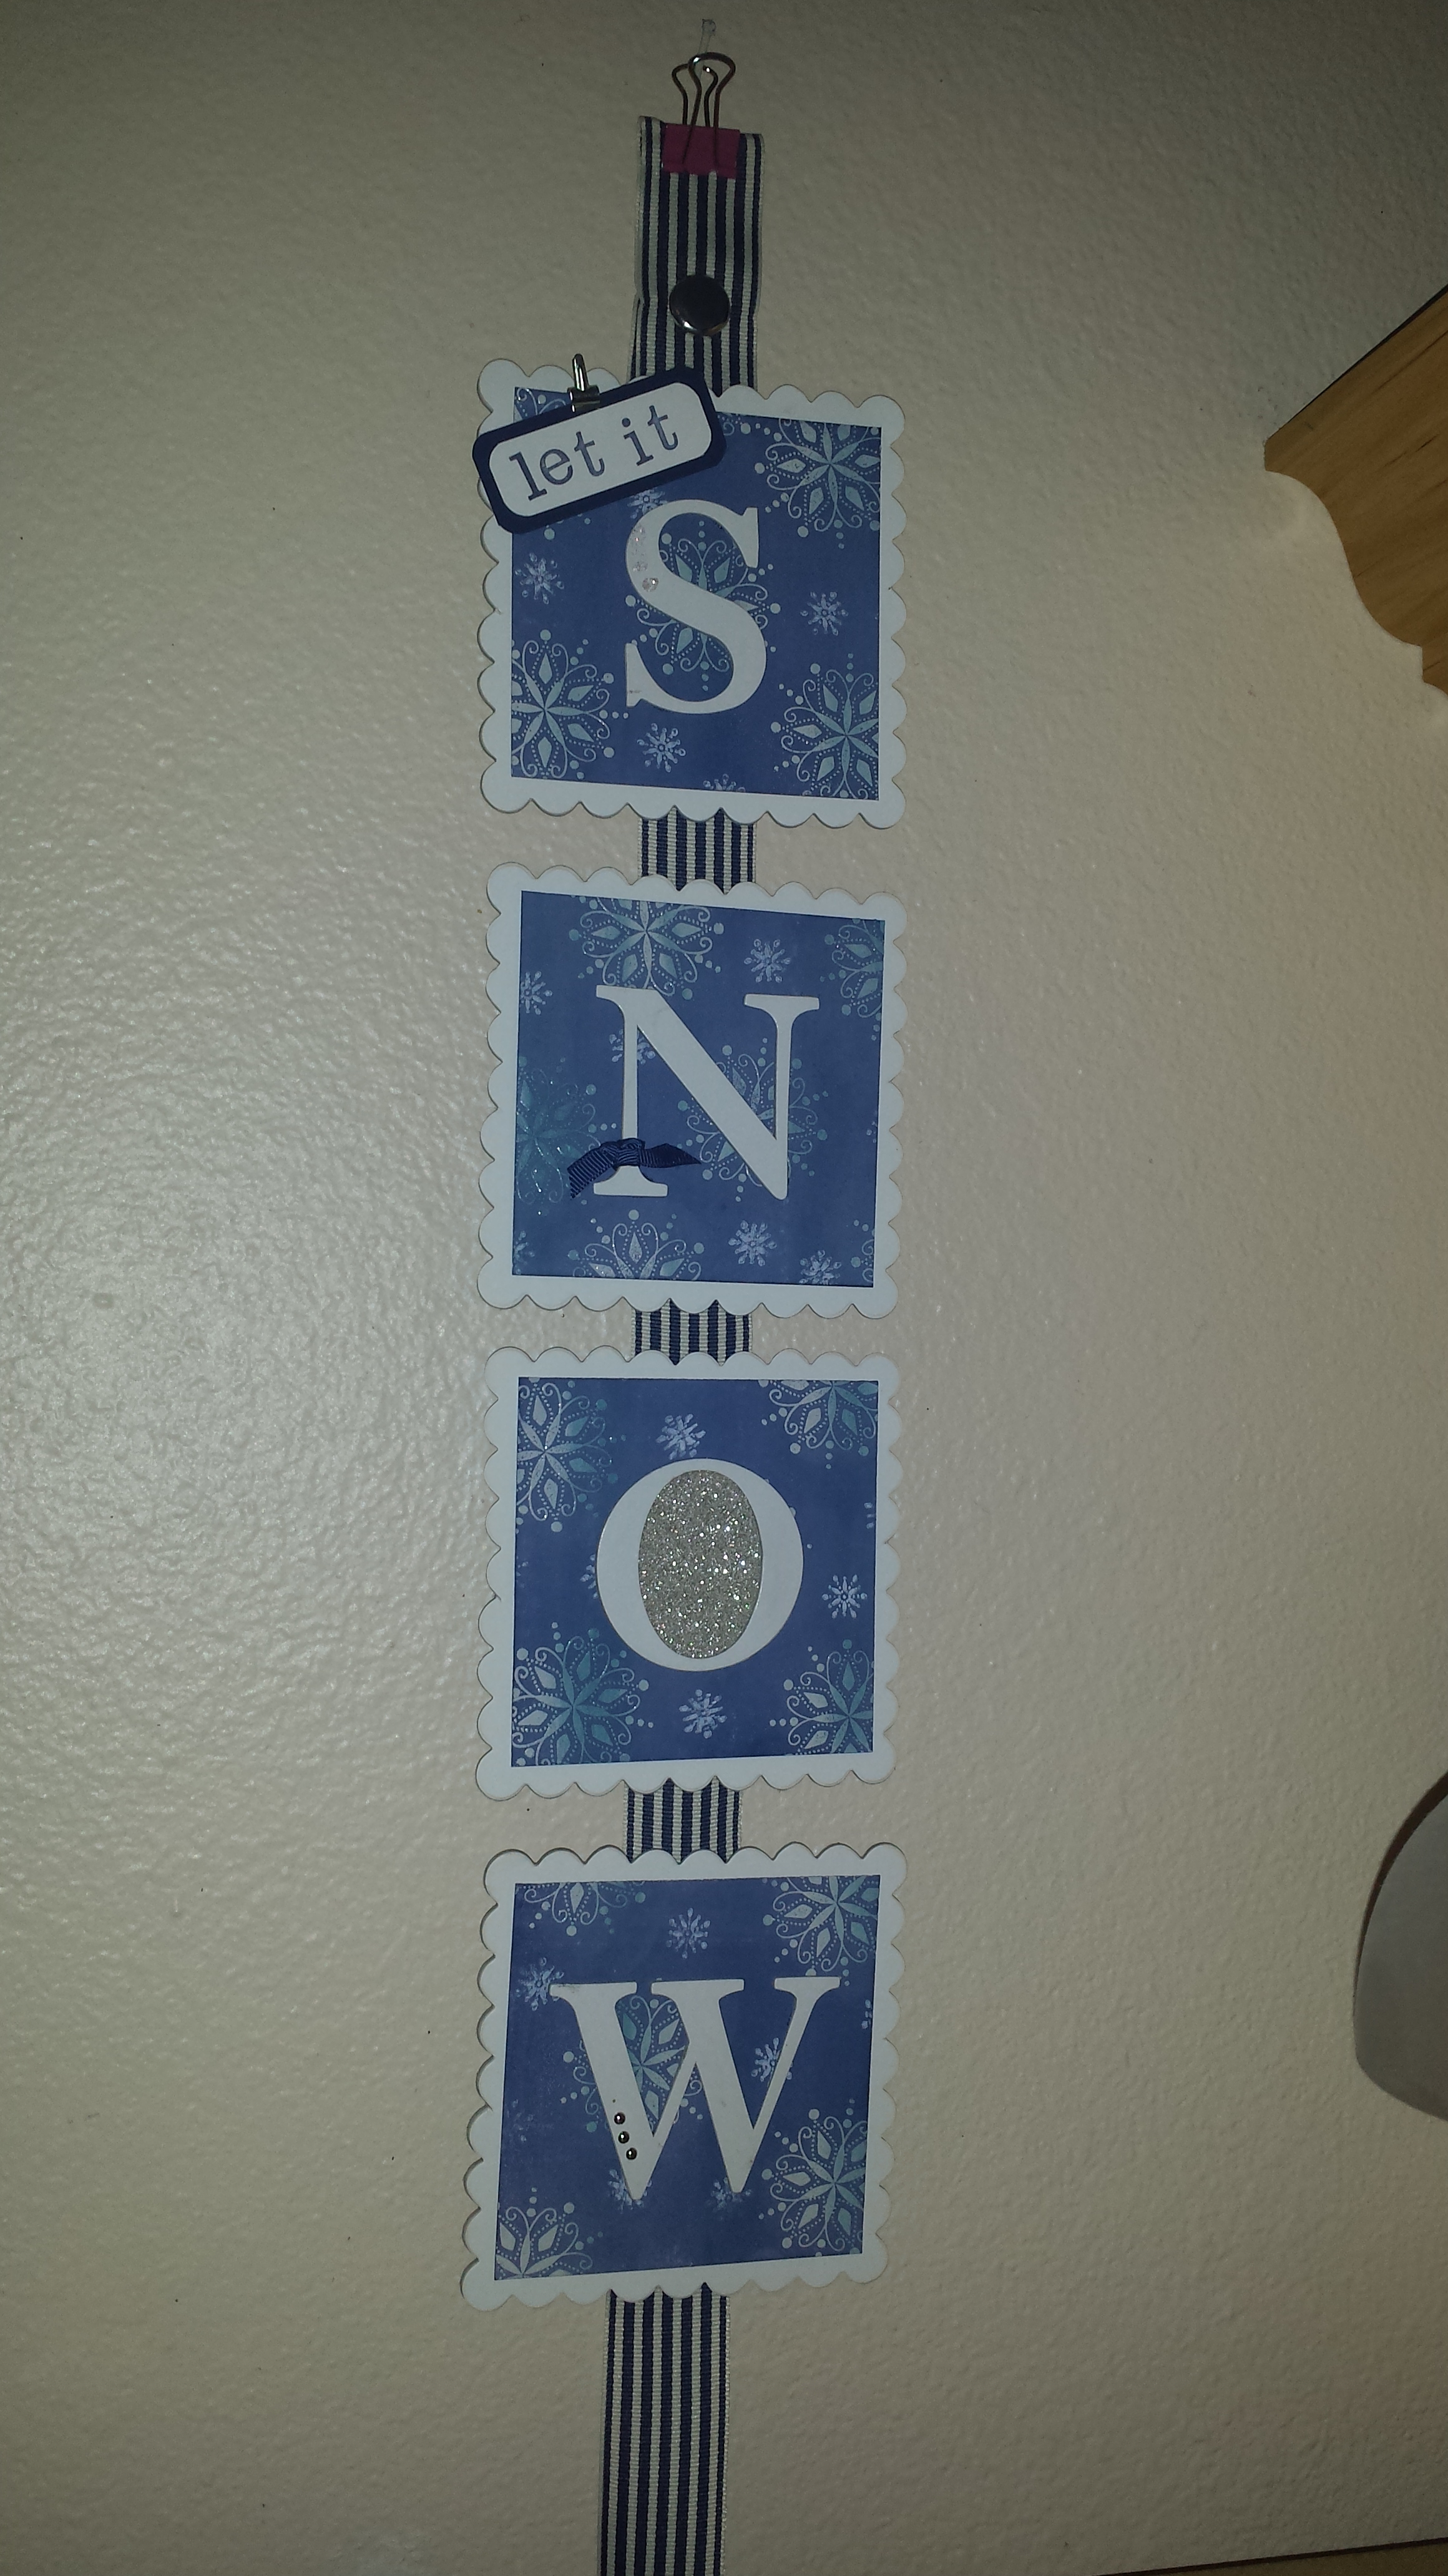
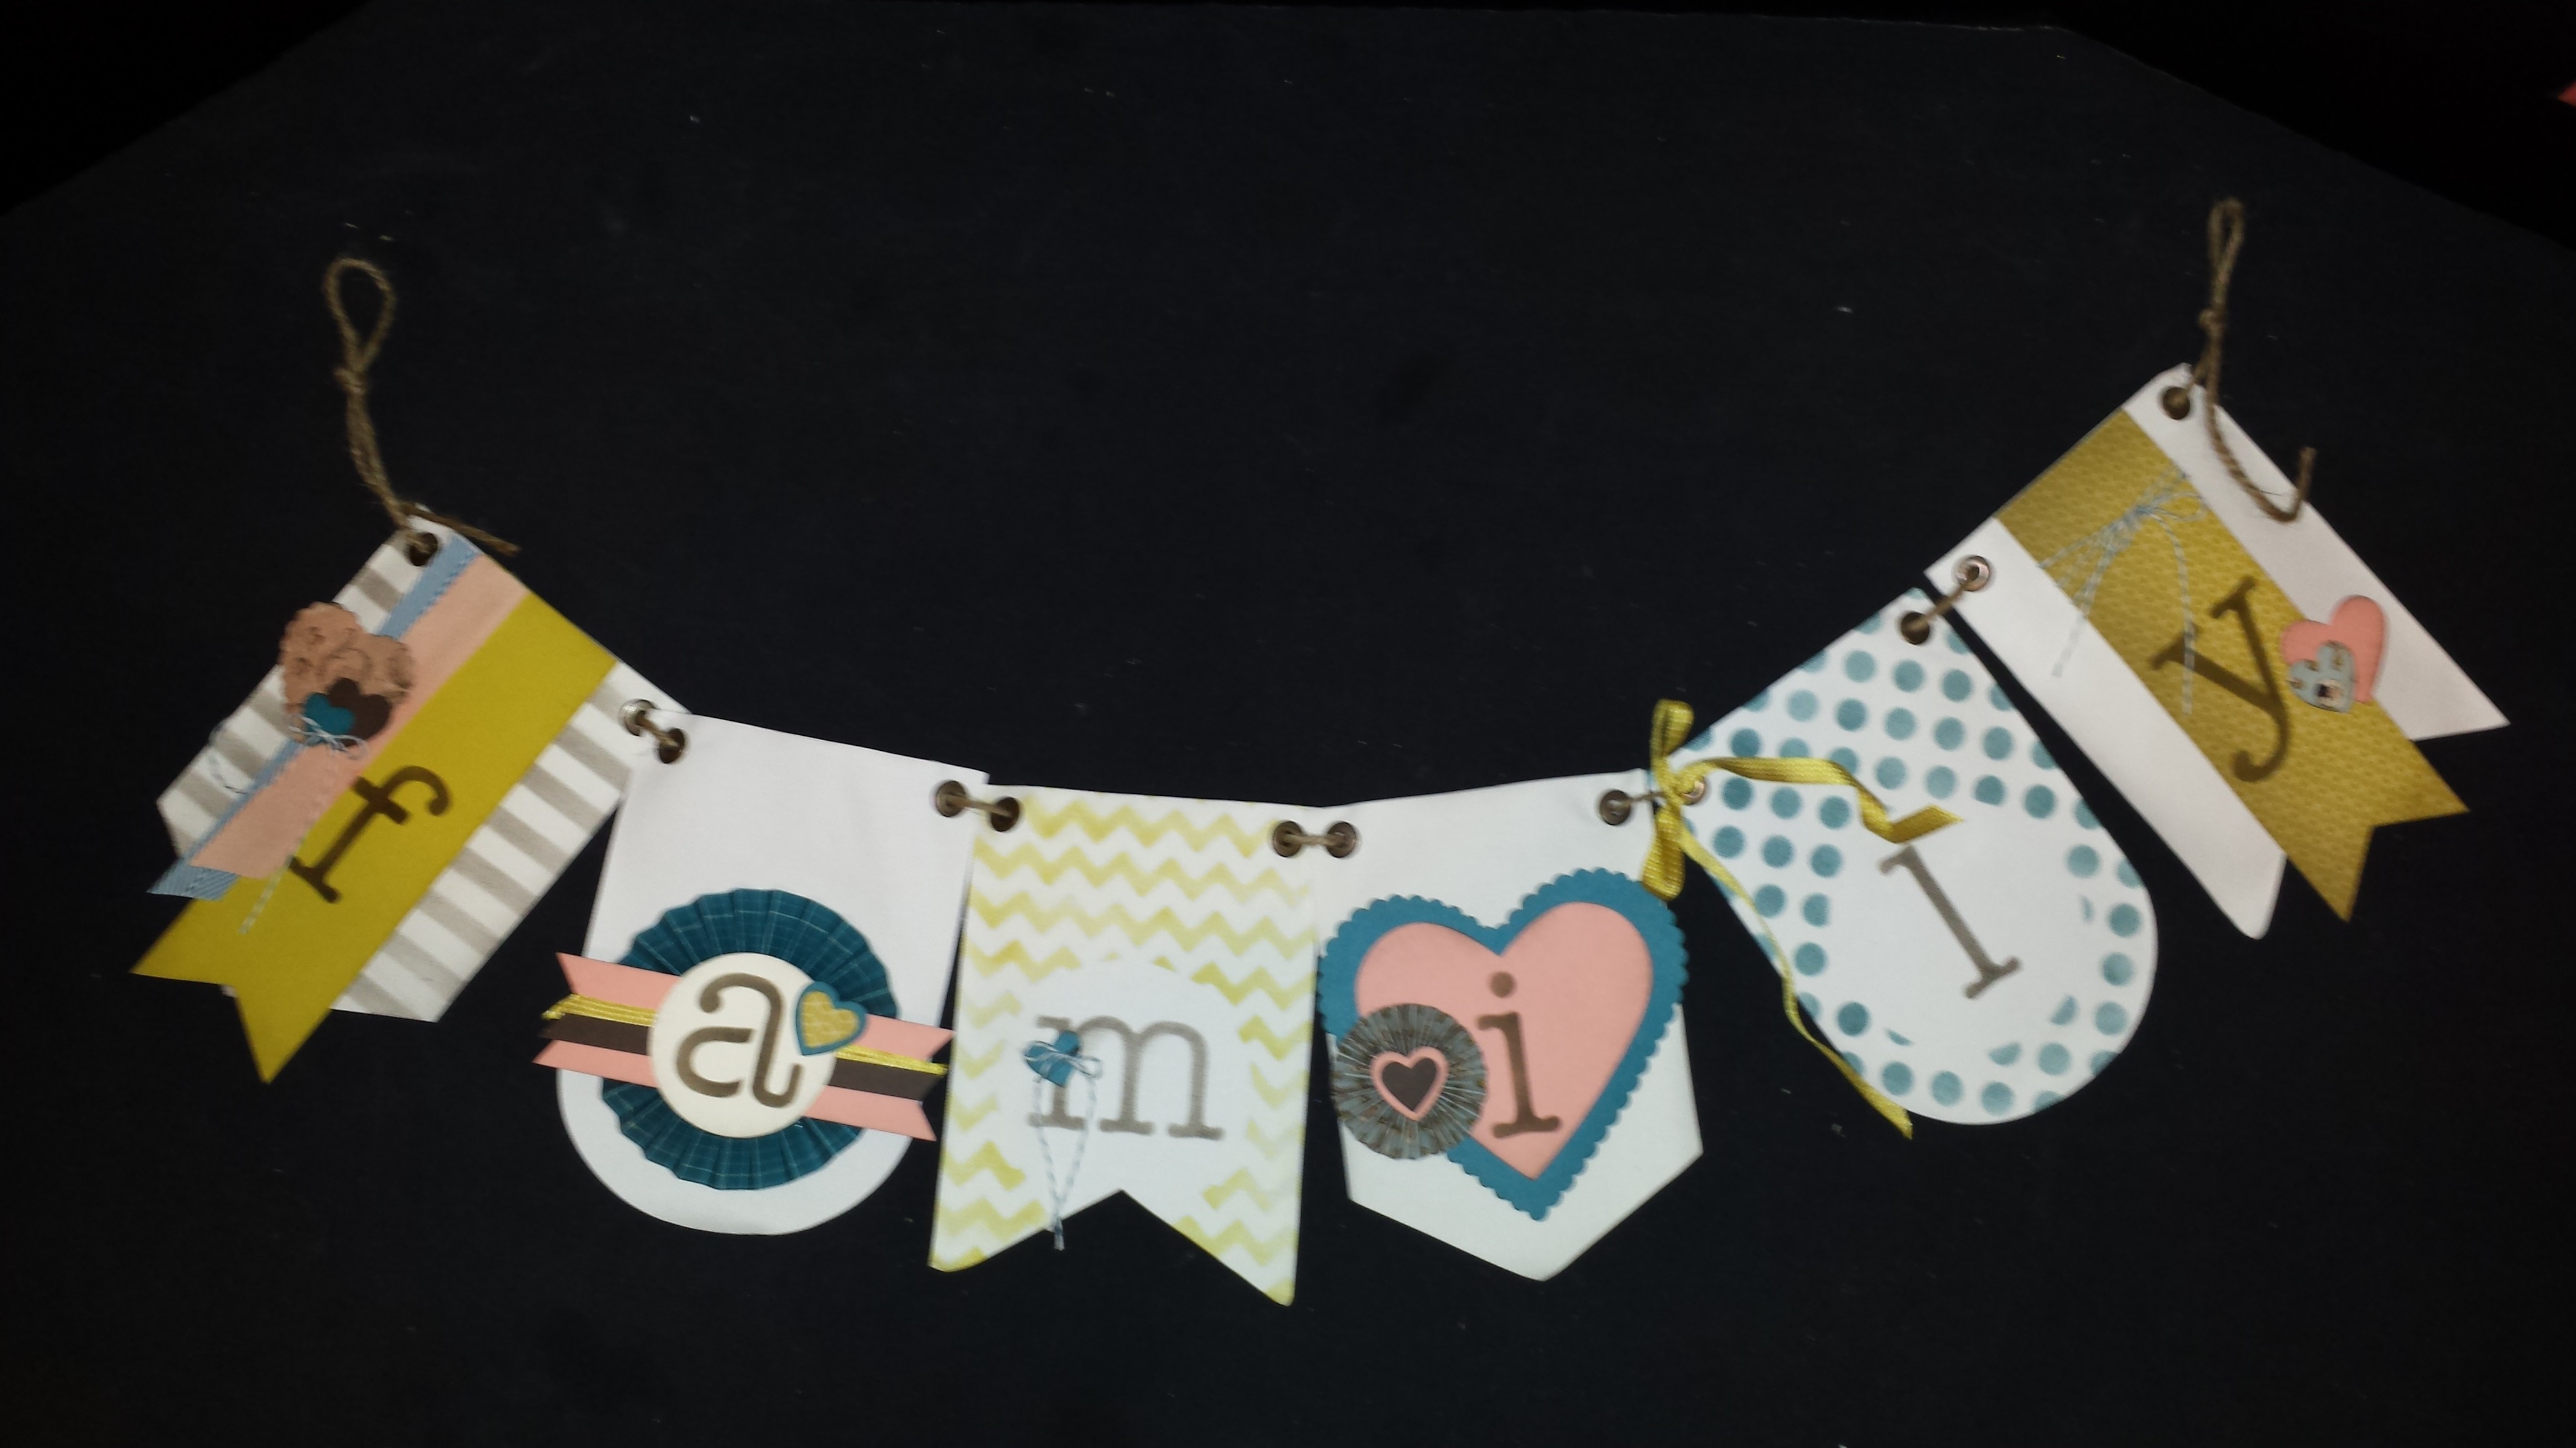
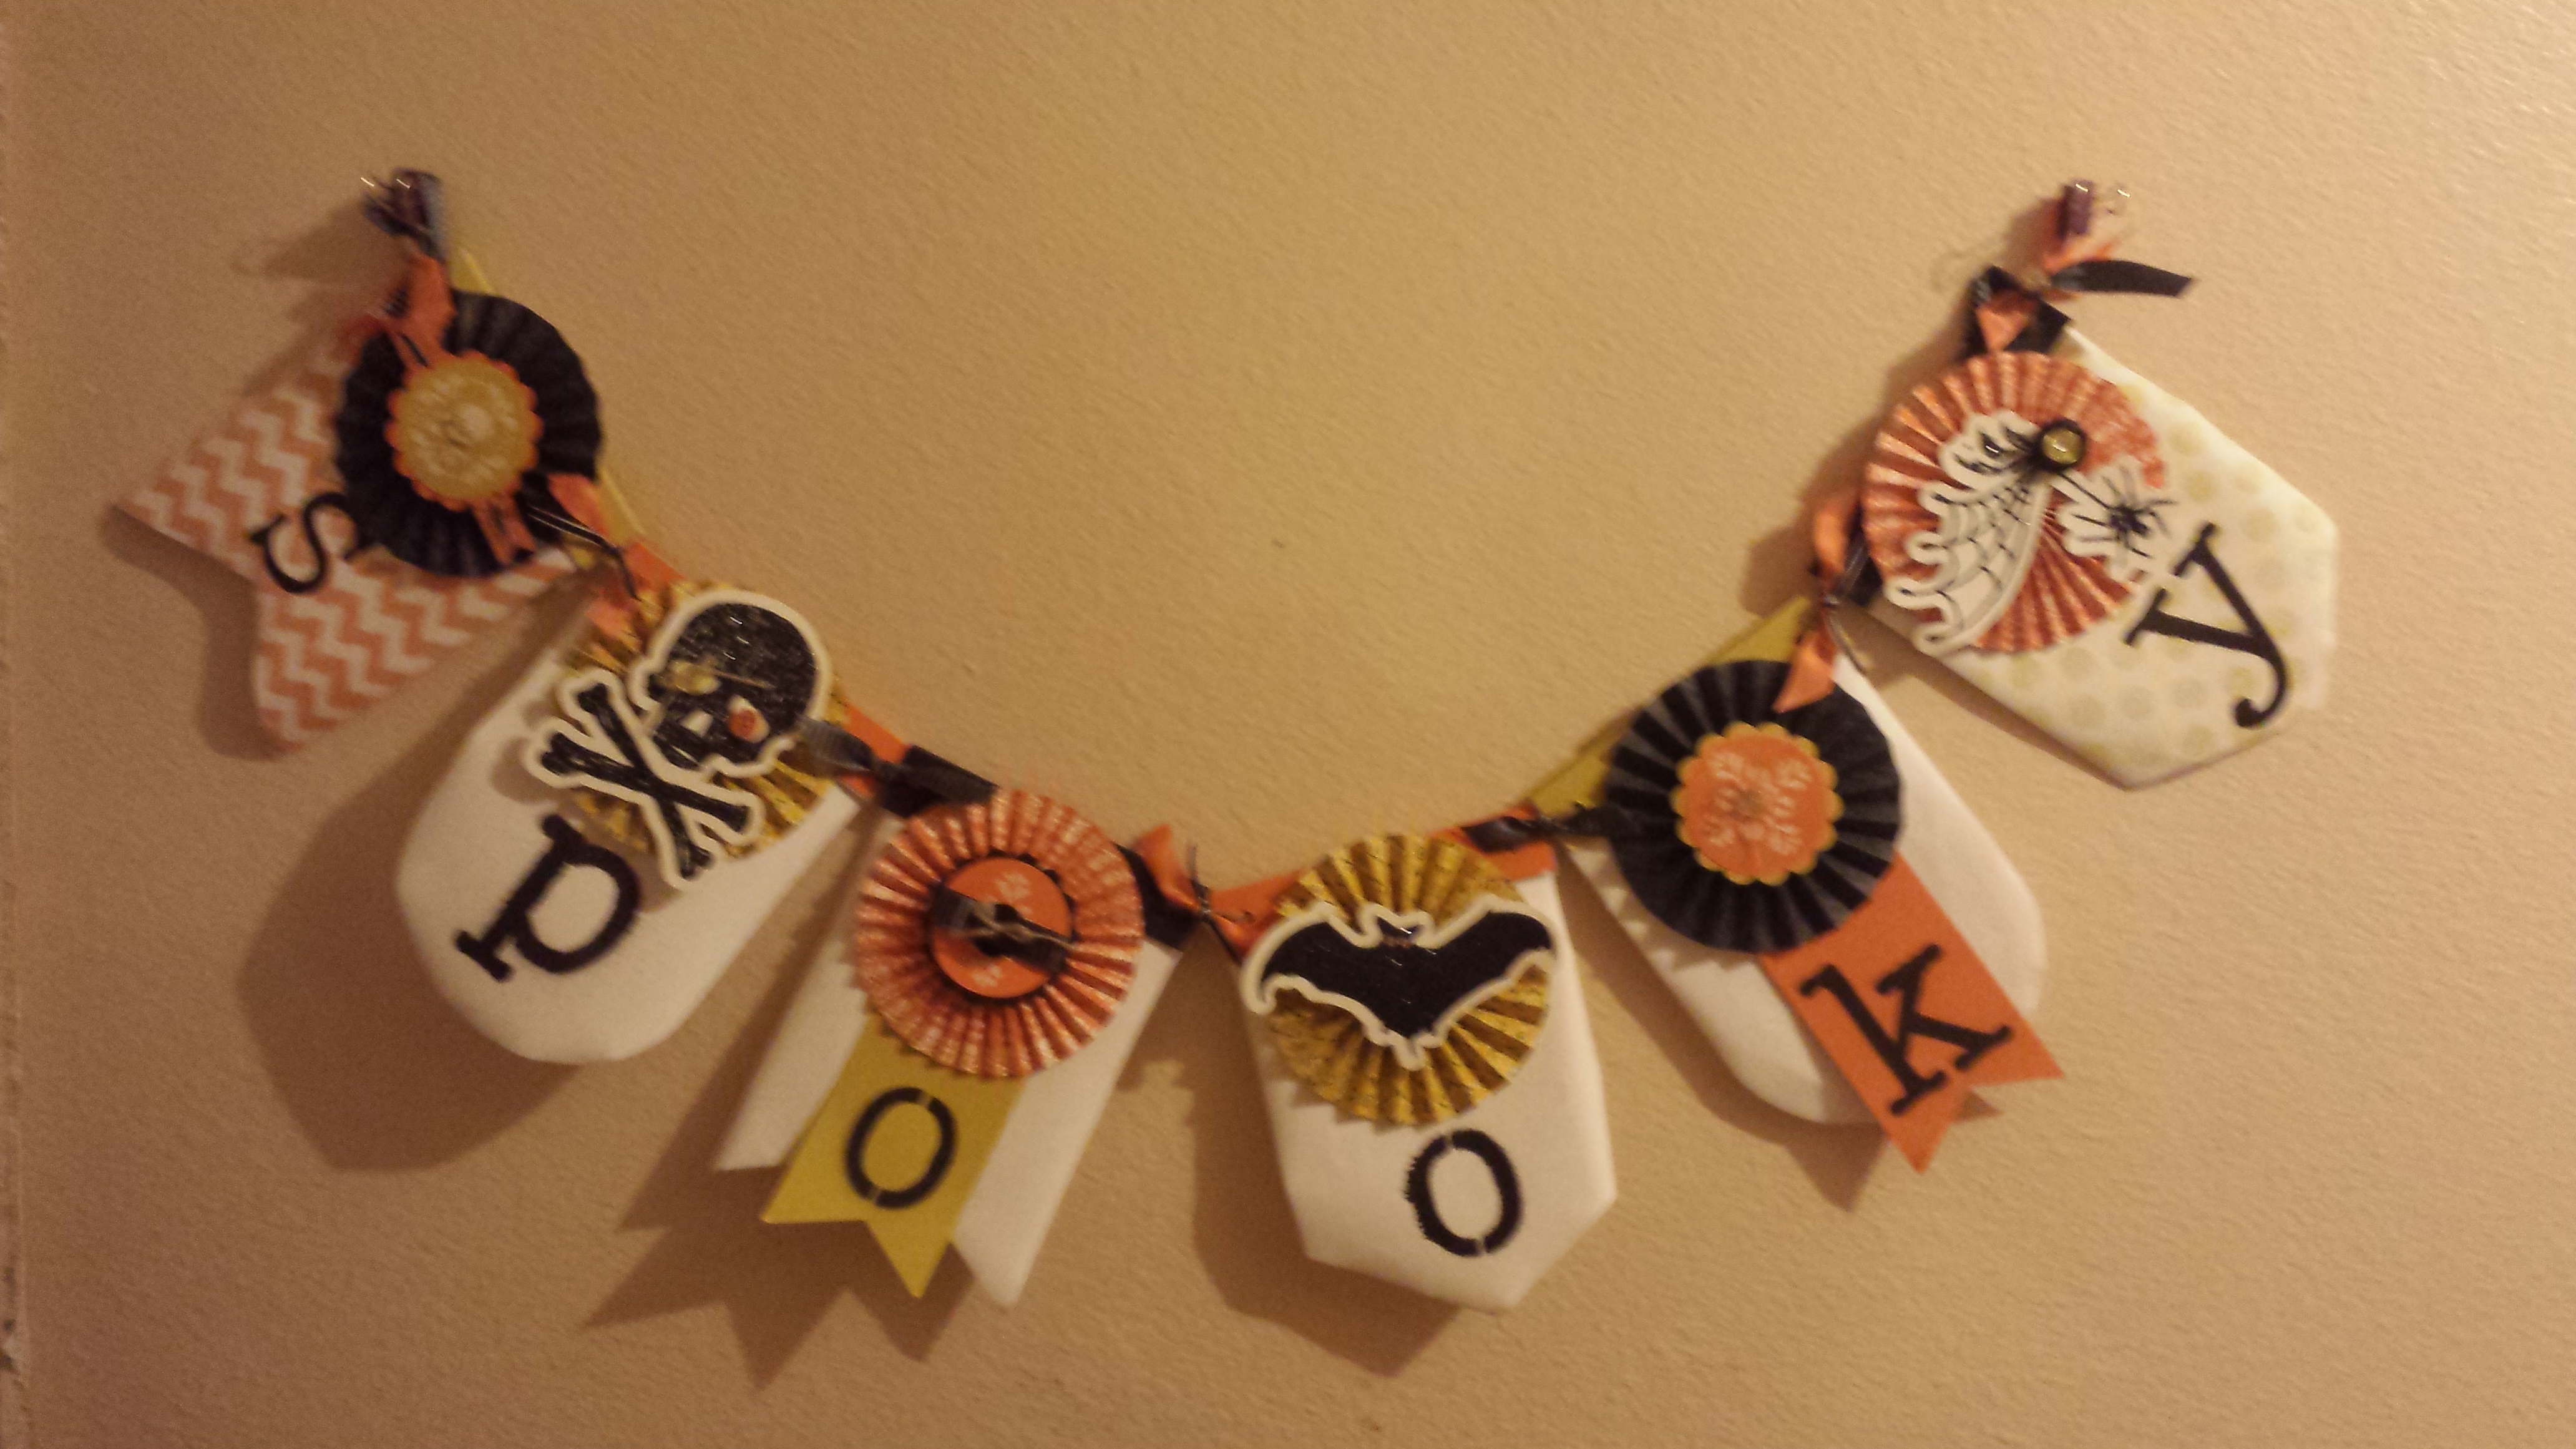
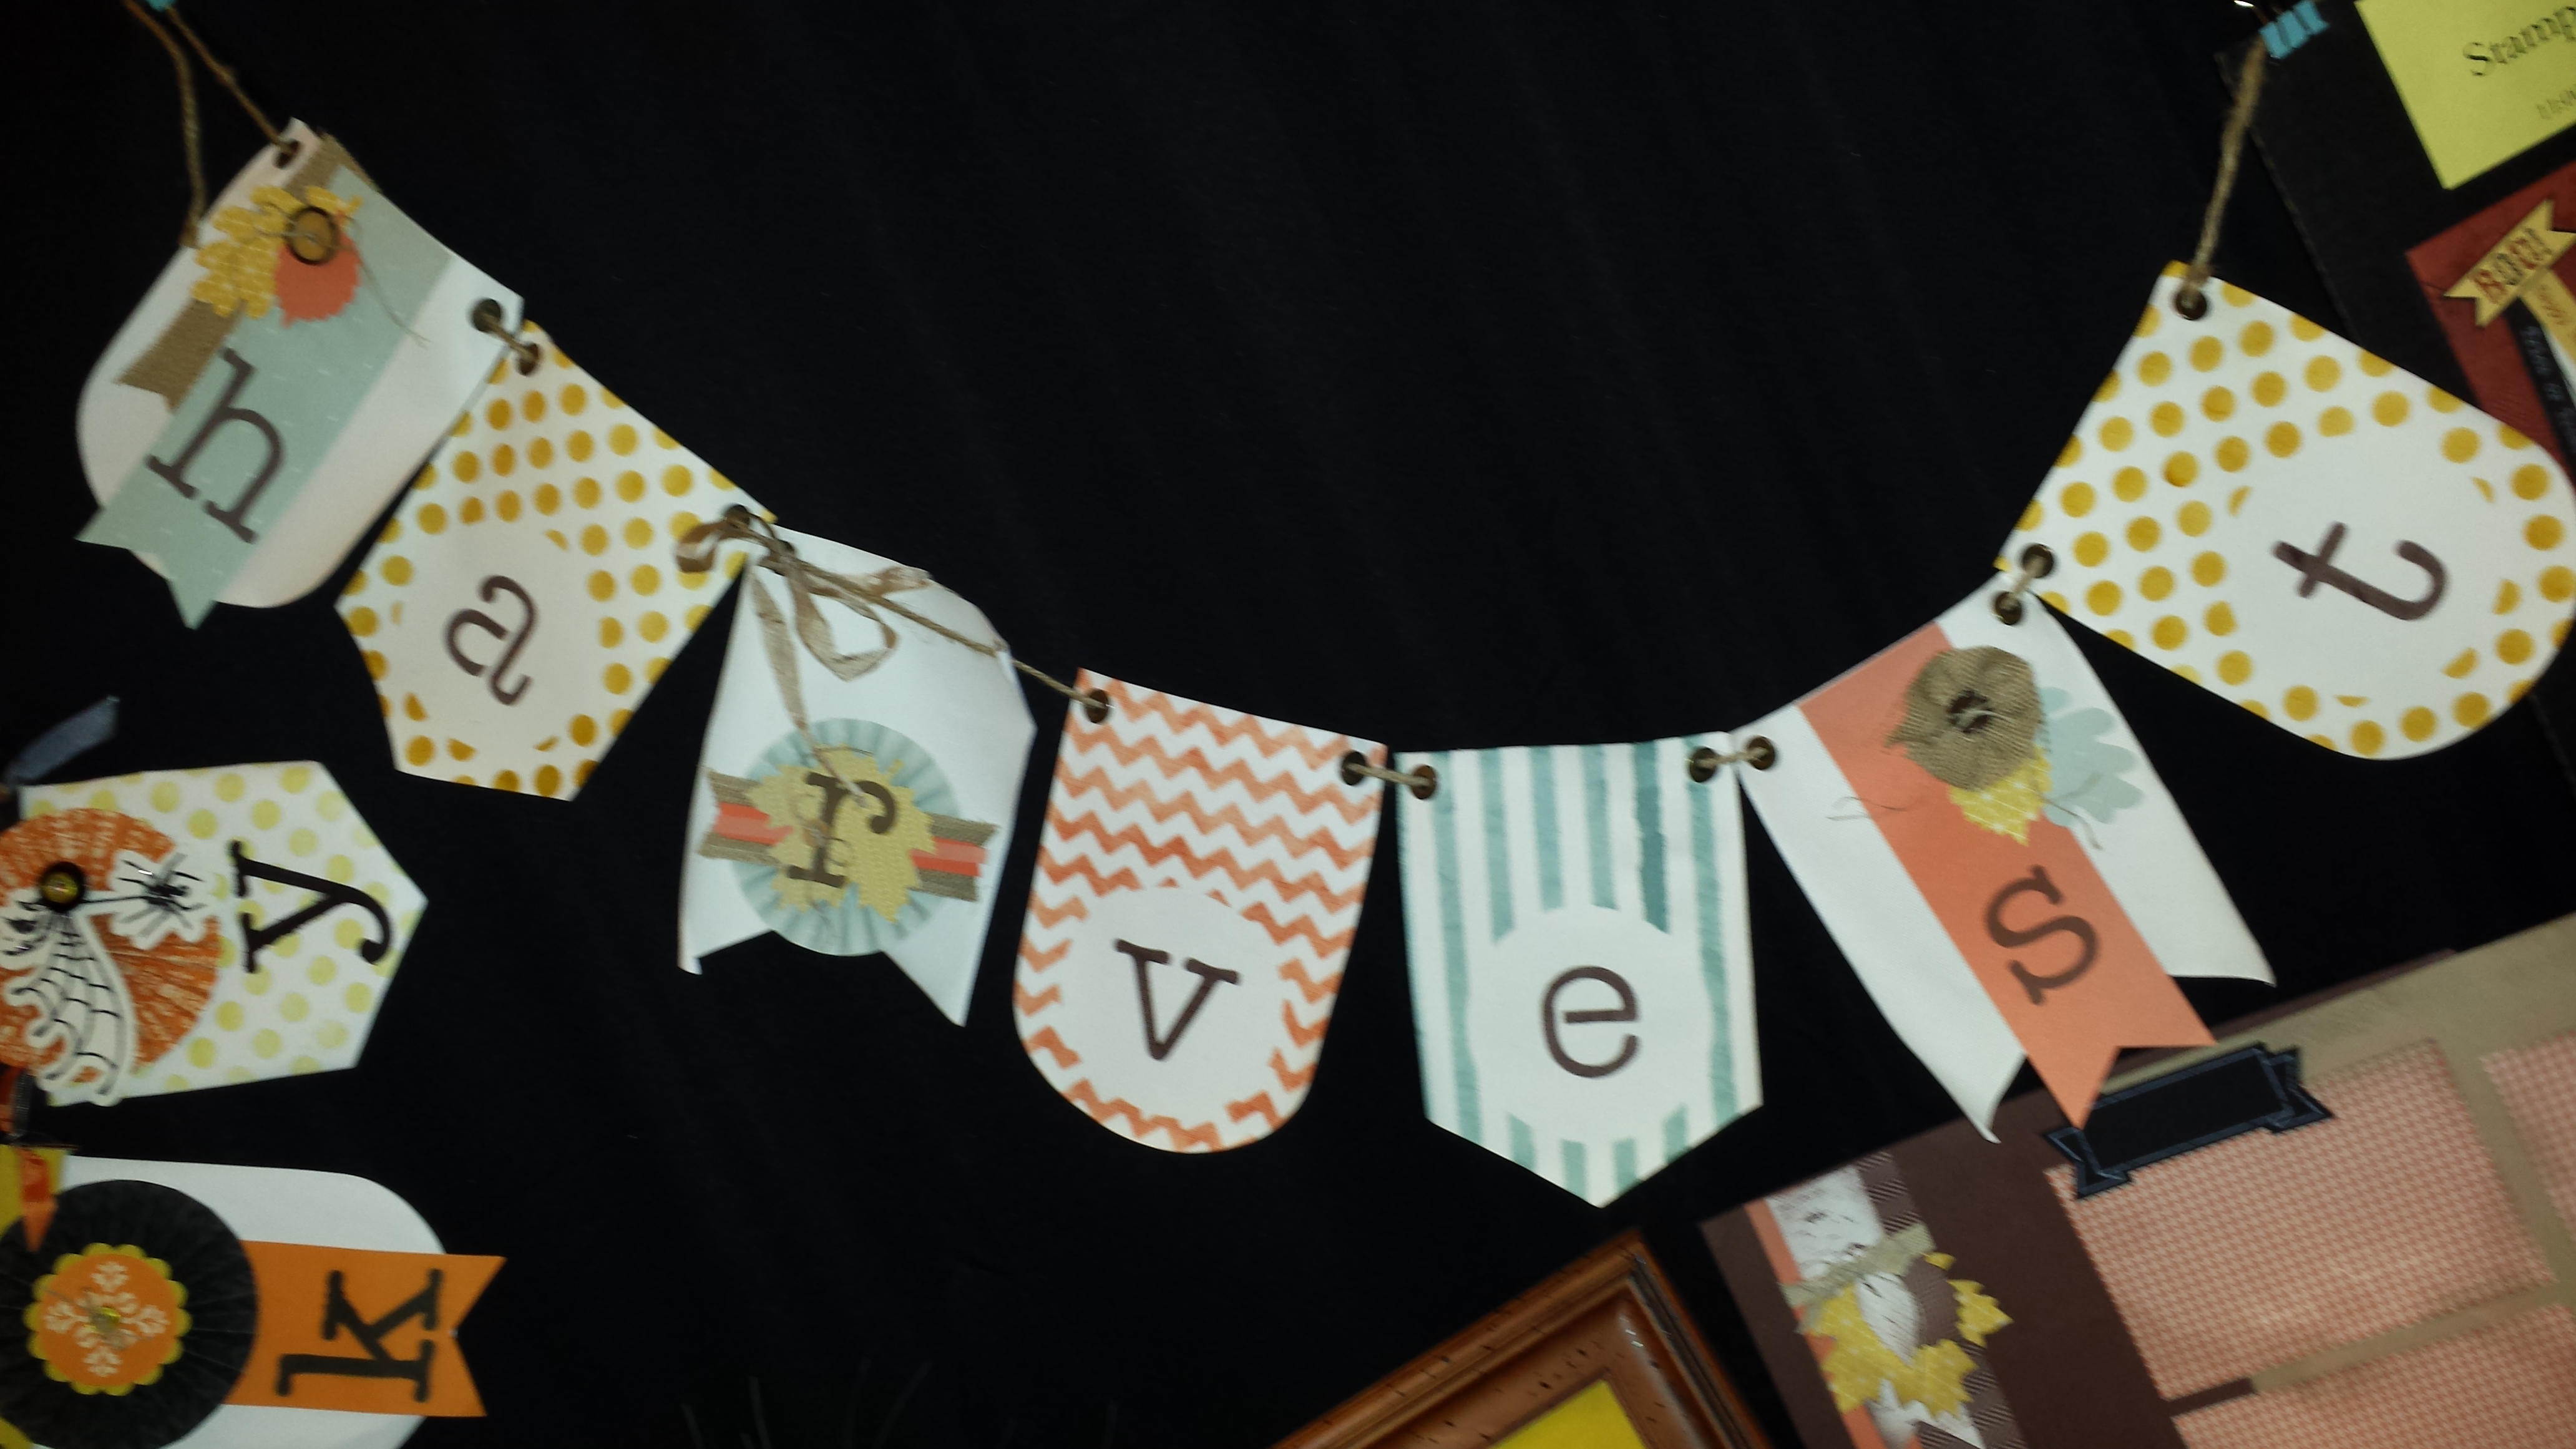
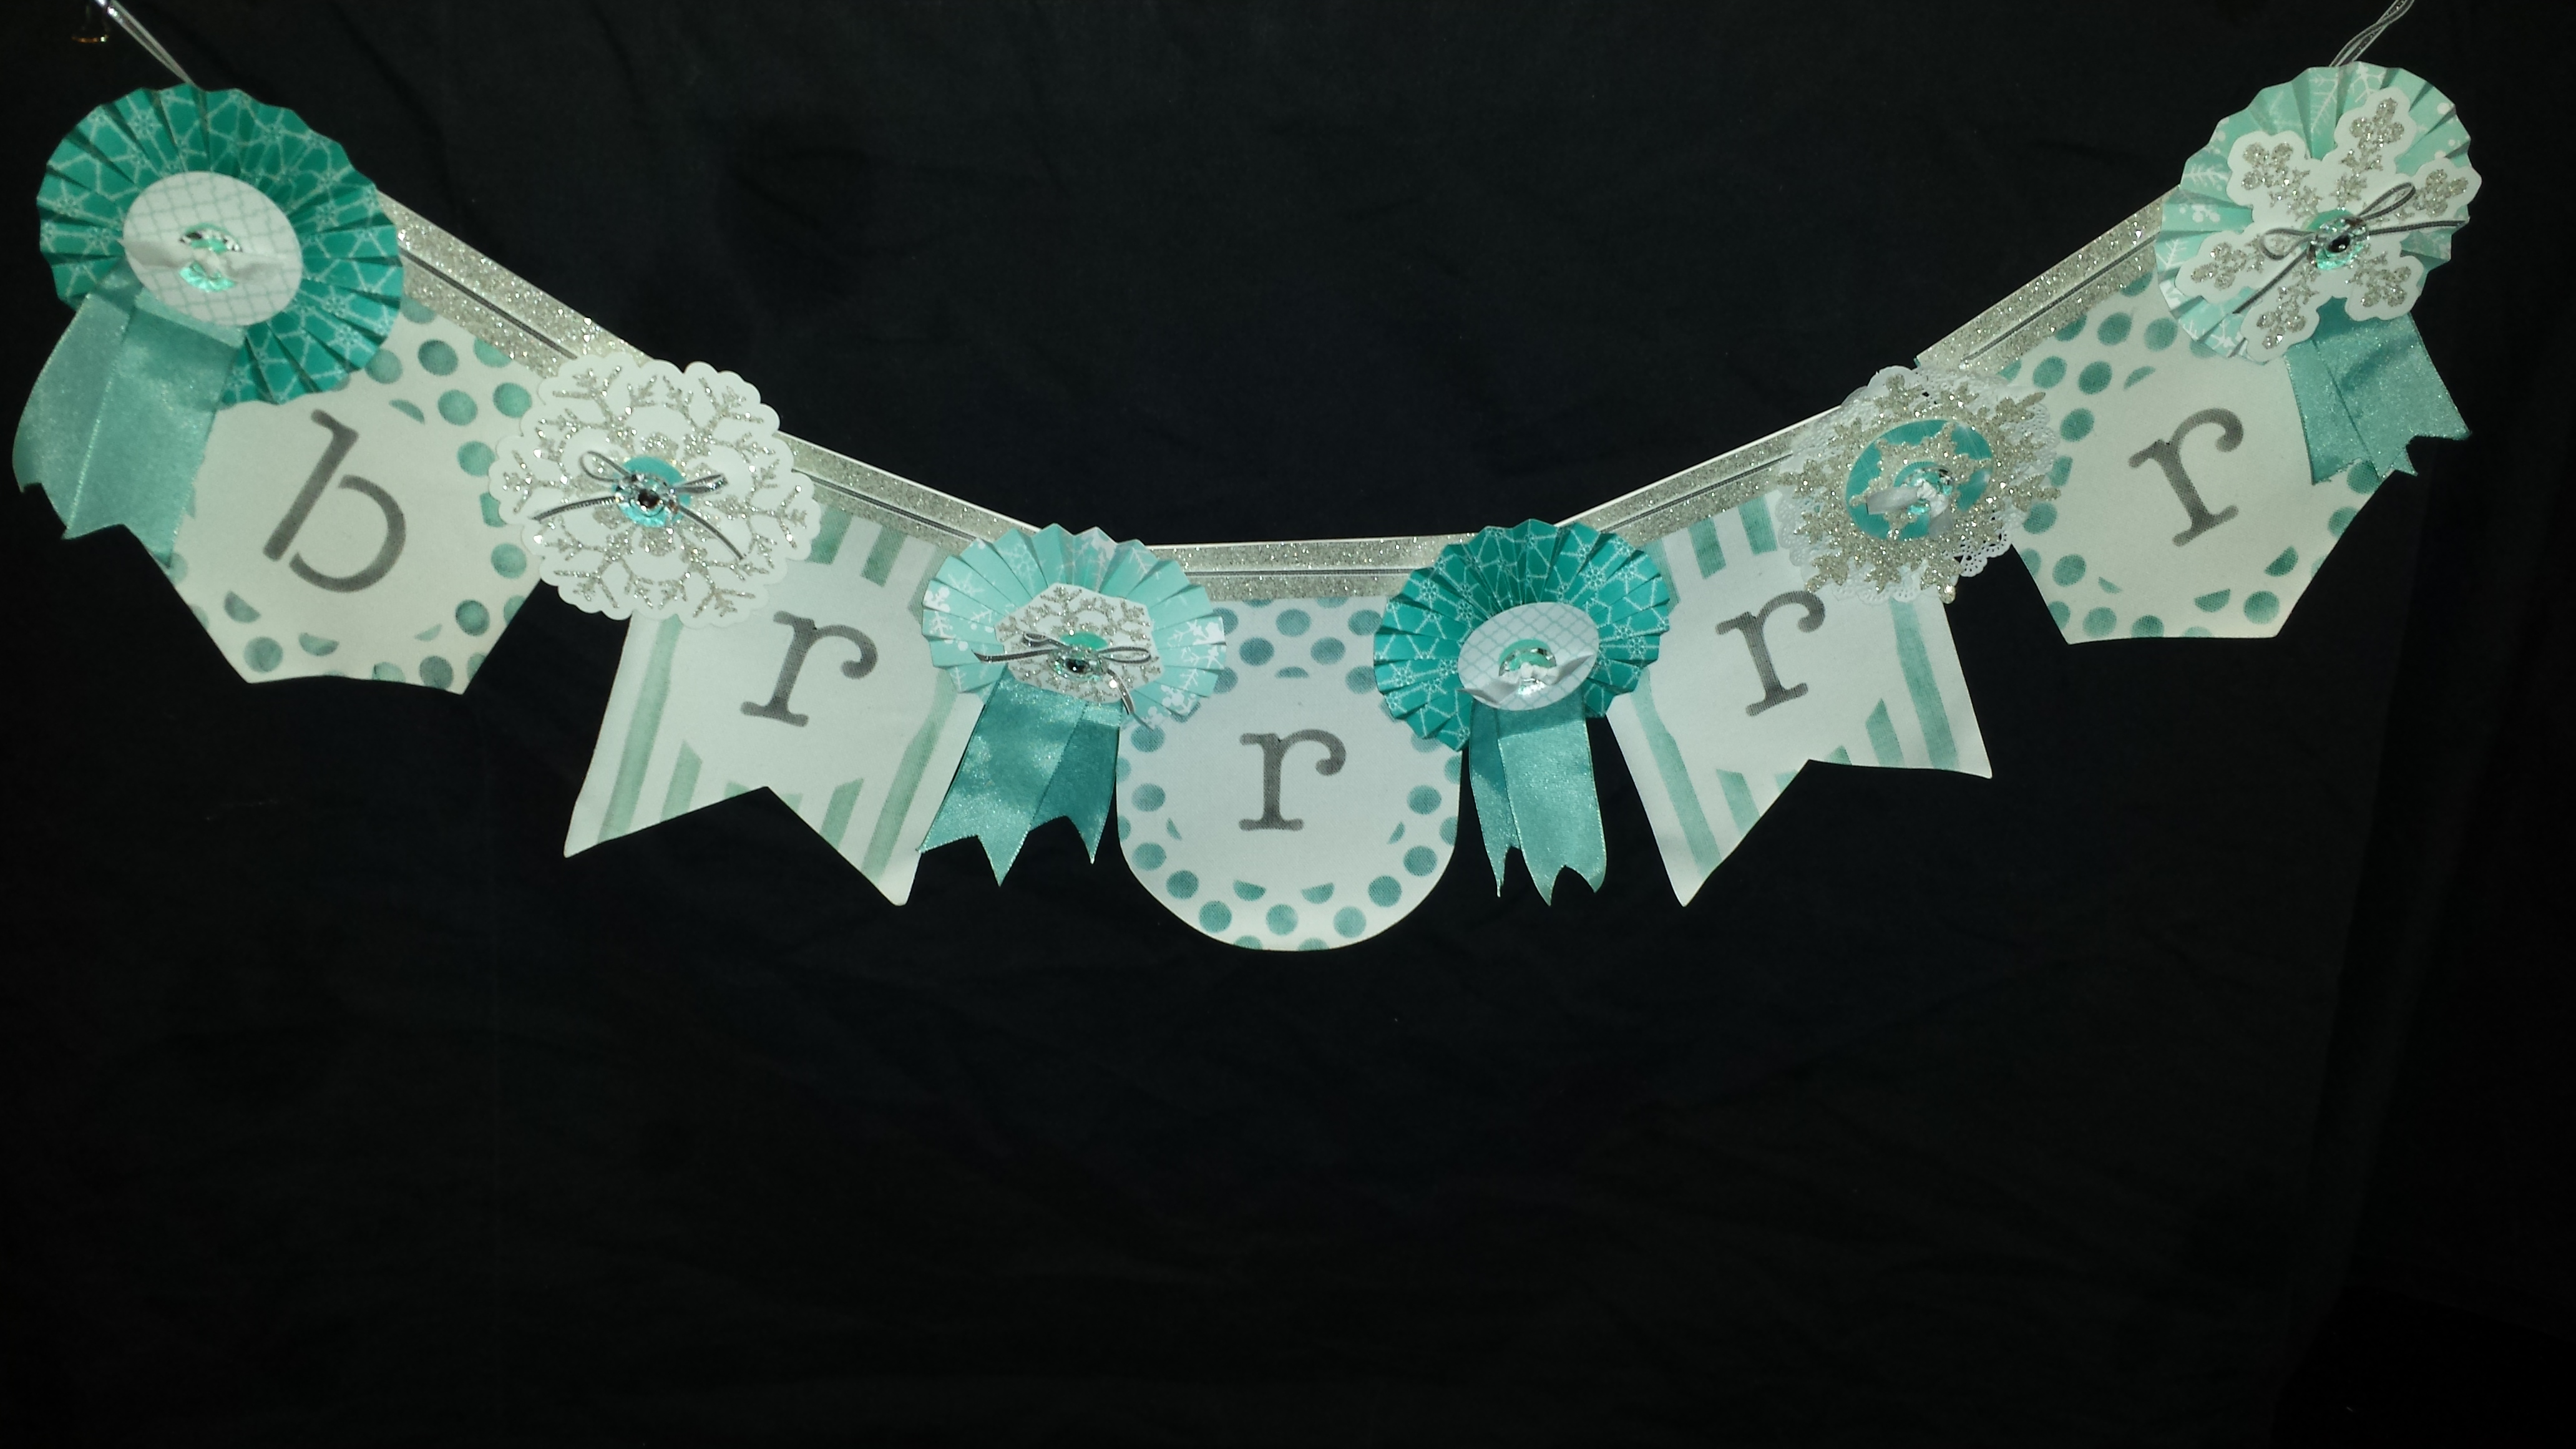
Here’s a couple of quick pictures of the fun banner along with the cards he received from family and friends.

Graduation Decorations

Graduation decorations close up

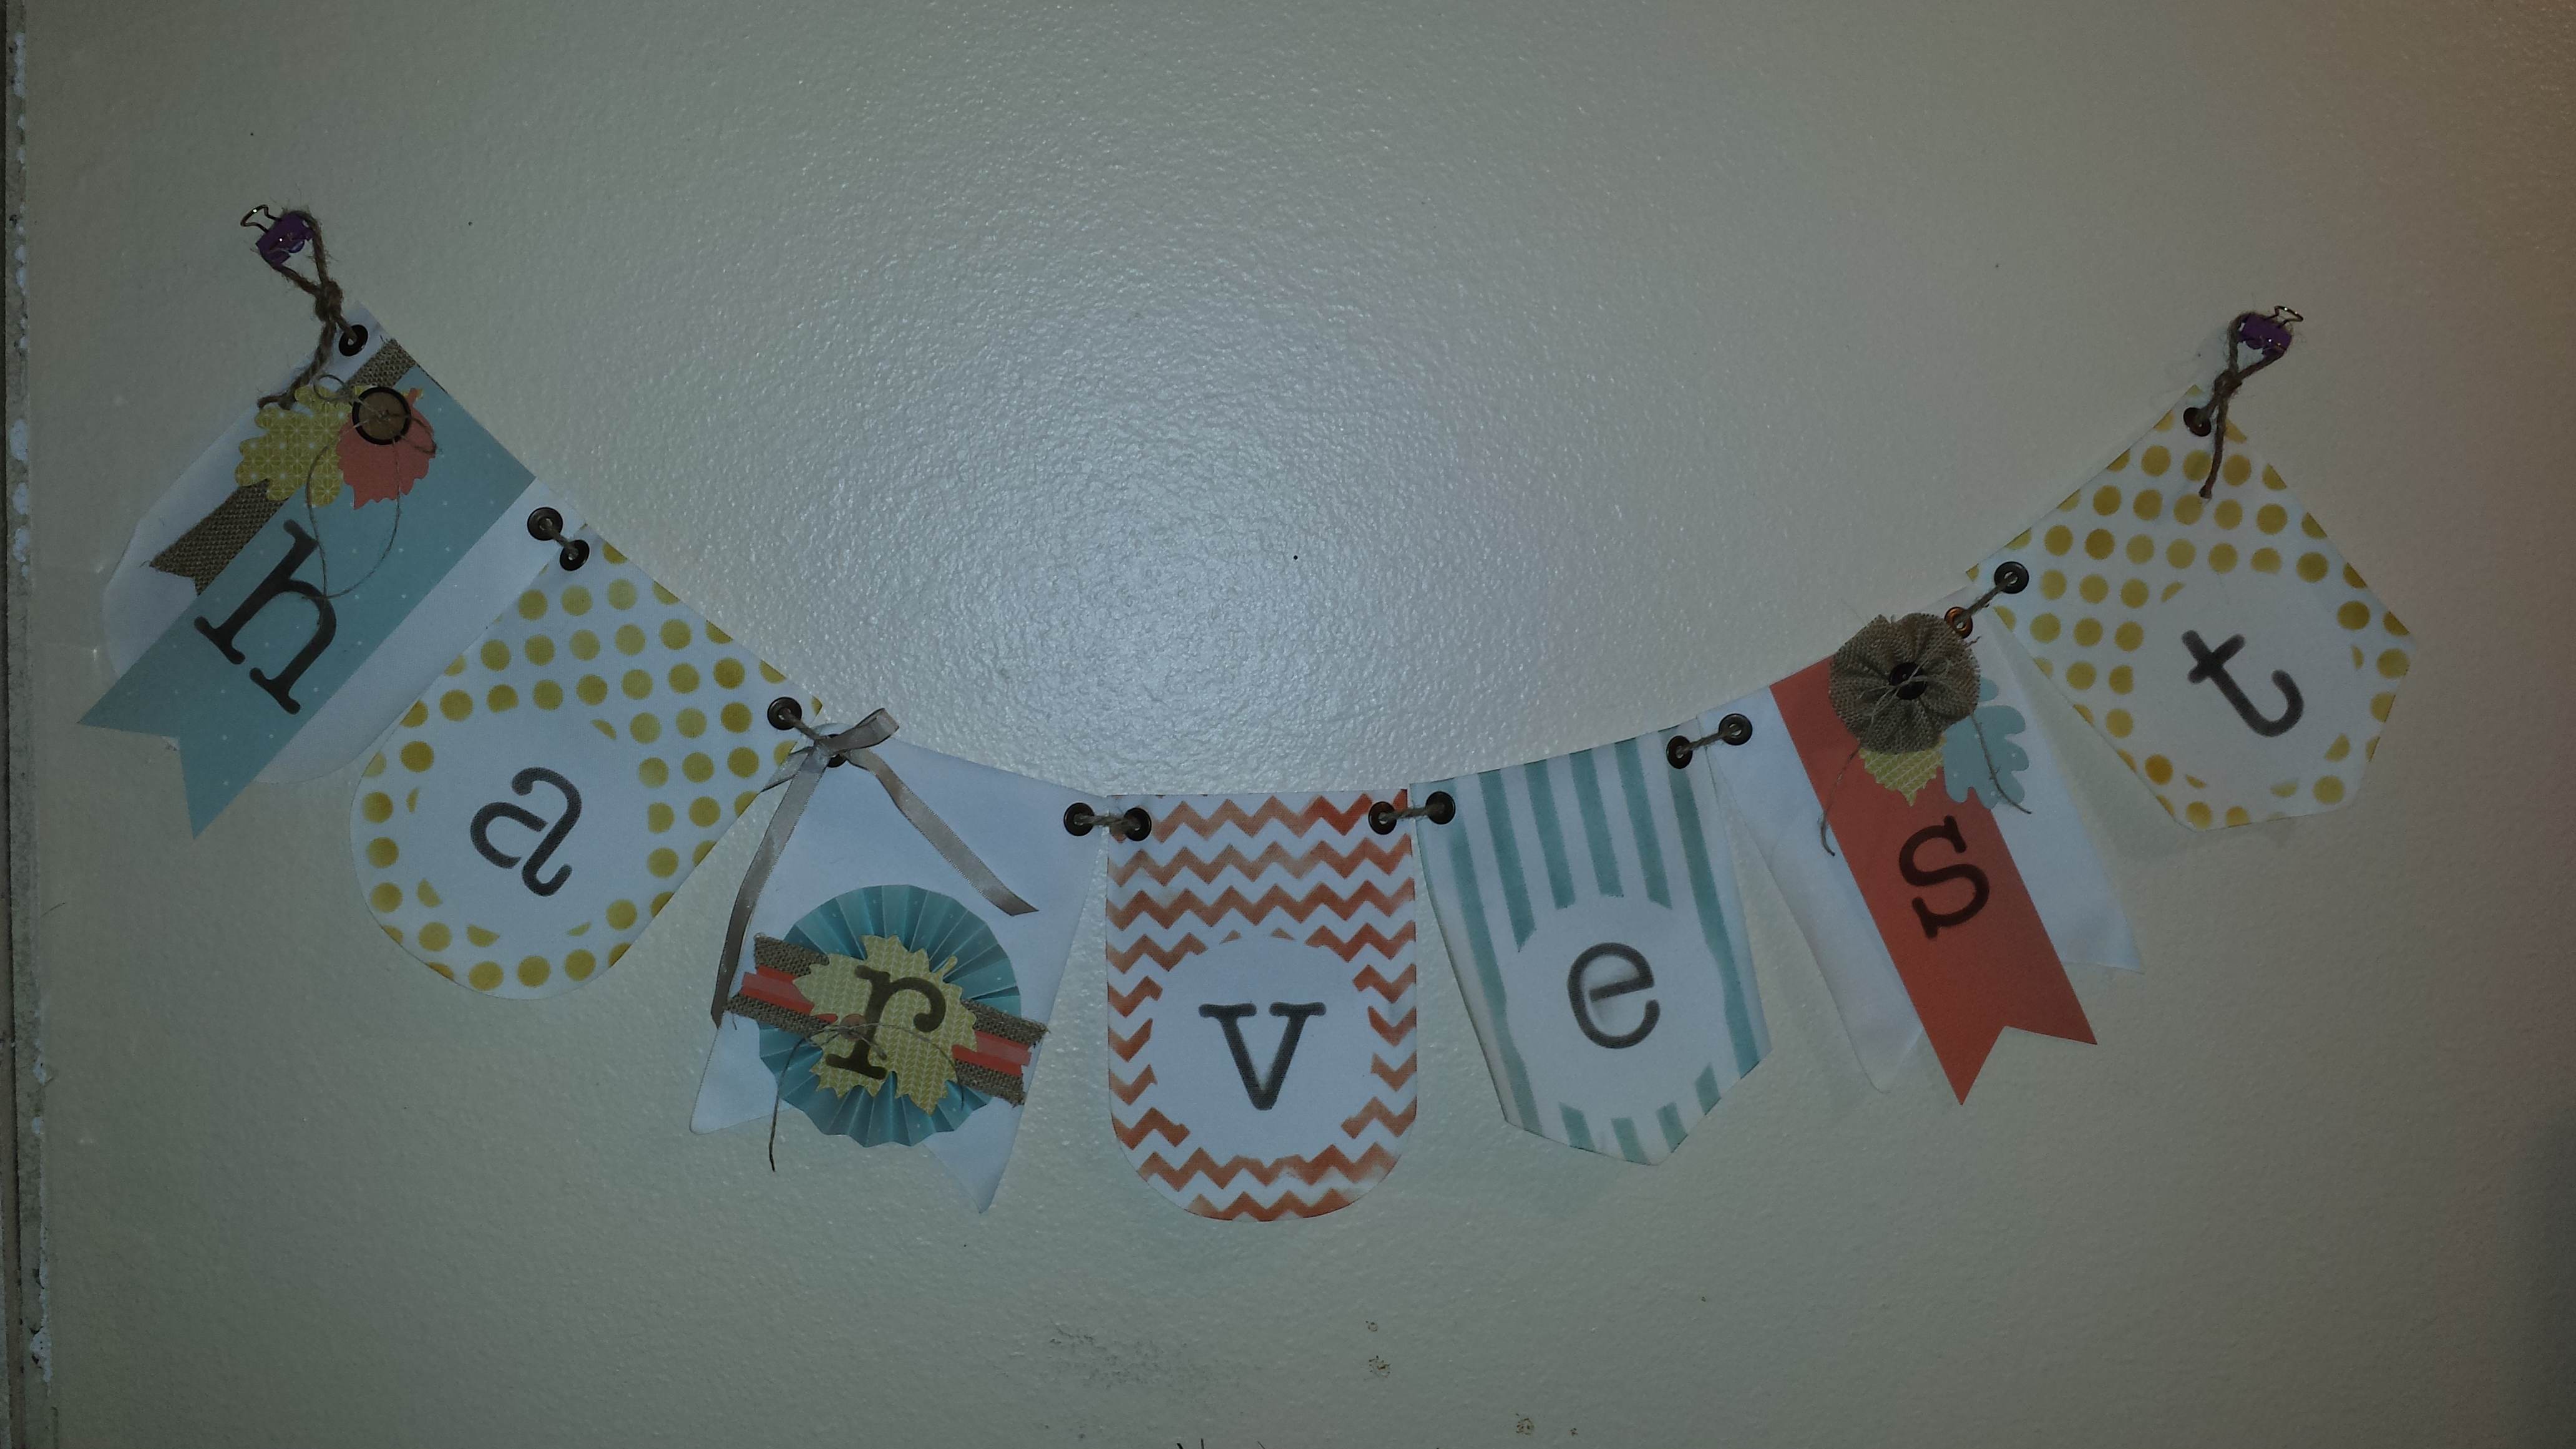
I also made this fun banner for to hang up at the party.  I supper excited to have these banners back.  I loved them in the holiday catalog and have had so much fun creating banners with them to celebrate all sorts of things.

Horray Banner

I also have to share the amazing cake my son made for him.  He may not be stamping (although he’s good at that too when he wants to) but he must get a little talent from Mom right.  He’s definitely got a knack for it that’s for sure.  I’m so glad he’s willing to help Mom out.


Zack & DJ with Cake

Graduation Cake

Here’s just a few pictures celebrating the big day.  I’m still not quite sure how he’s old enough to graduate because I’m not old enough, but we sure are proud of him.  I was luck enough to have my other son in the band so he was able to sit right down front and get pictures for me.

Zack Graduation

Me & Zack Graduation

While my older three boys are all in upper level schools with many teachers, my youngest is still in elementary so I wanted to make something special for his awesome teacher.

I thought that teachers can always use cards so I made this cute card holder and filled it with fun hand-stamped cards.

20140530_085952

I think it roughly holds about 15 cards.  Here’s a little closer look at the tag.  I seriously love this tag punch and I’m so glad it’s in the new catalog.  You’ll also noticed that I used a bran new stamp set on this fun project.  One of the great parts of being a demonstrator is being able to pre-order new products including new stamp sets, accessories and even in-colors.  Plus we get the catalog a whole month early to enjoy looking through.

20140530_085934

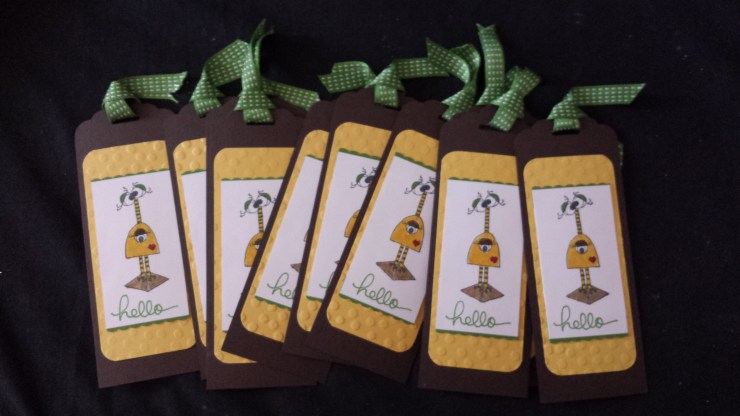
I also wanted a fun little gift for all the kids so I made them each a book-marker to help them remember to keep reading this summer.  Now I know this one used a retired stamp and I’m sad that these in-colors are gone (however I’m totally loving the new ones), but I thought he was just to cute not to use and the kids would love it.  I did use the hello from the new photoplymer set Endless Birthday Wishes.  This set has already sold out once so be sure to get yours before they are gone.

20140613_110734

Here’s my cute little one with his teacher.  We are sad that she won’t be his teacher anymore she was awesome, but I’m sure he’ll have yet another great teacher as he moves into 2nd grade.

20140530_115637


Thanks for letting me share a few proud moments with you.  I hope you all have a great summer with lots of Stampin’.  Be watching for all the fun summer events I have coming up.  Summer is also a great time to get together with your friends for a little stampin’ fun.  I’d love to help you out.  Just give me a call and we’ll set up a date.

PS.  I have new catalogs so be sure to come to one of my events and get yours.


Tag SignatureOrder online 24/7
Contact me to order or book your party today!
435-245-5321 Home
435-232-2655 Cell (Text)
andersoncandice@hotmail.com

Stampin’ Supplies:

HOORAY BANNER

Colors:
Tangelo Twist, Night of Navy, Whisper White

Stamps:
Starburst Sayings
Wood- #133182 $25.95
Clear- #133185 $18.95

Bundle with Starburst Framelits Dies & SAVE 15%

Wood- #134817 $43.25
Clear- #134818 $38.95

Big Shot:
Starburst Framelits #132967 $26.95
Chevron Embossing Folder #127749 $7.95
Stylish Stripes Embossing Folder #132174 $7.95

Punches:
1-3/8″ Circle #119860 $15.95
Scallop Edge Boarder #119882 $15.95
Chevron Boarder #132154 $21.95

Others:
Simply Scored Scoring Tool #122334 $29.95
Neutrals Candy Dots #130934 $5.95
Neutrals Designer Buttons #130031 $7.95
7/8″ Cotton Ribbon #127844 $7.95
Tangerine Tango Baker’s Twine #134578 $2.95
Build a Banner Simply Created Kit #133507 $19.95
Champagne Glimmer Paper #127885 $4.95
Gold Foil Sheets #132622 $3.95

CARD BOX

Colors:
Calypso Coral, Pool Party, Daffodil Delight

Stamps:
Work of Art
Wood- #134111 $29.95
Clear- #134114 $21.95

Lots of Thanks
Wood- #129687$22.95
Clear- #129690$16.95

Big Shot:
Decorative Dots Embossing Folder #133520 $7.95

Punches:
Scalloped Tag Topper #133324 $22.95

Others:
Simply Scored $122334 $29.95
Calypso Coral 3/4″ Chevron Ribbon #130018 $8.95
Crushed Curry Baker’s Twine #134586 $2.95

BOOKMARKER

Colors:
Early Espresso, Daffodil Delight, Gumball Green, Baked Brown Sugar, Cherry Cobbler, Basic Black

Stamps:
Many Monsters
Retired

Endless Birthday Wishes
Photopolymer- #137553 $13.95

Big Shot:
Decorative Dots Embossing Folder #133520 $7.95

Punches:
Scalloped Tad Topper #133324 $22.95
Dotted Scallop Ribbon Boarder #119275 $15.95
Project Life Corner #135346 $7.95

Others:
Gumball Green Ribbon- Retired


Let is Snow Card

20140206_081143

This is what I woke up to this morning.  Almost a foot of snow and still snowing.  Just in case you are wondering here in Northern Utah the kids still went to school.  I’ve heard it takes 2 feet to get a snow day.

20140206_081136

Yes clearing off the card to get to work was lots of fun.  Thankfully I get to stay home in my nice warm house since it’s my day off.  Hopefully I don’t have to go rescue my husband.  He took the car over the mountain so we shall see.

20140206_081207

You can see a little better how much snow there is on the untouched swing set.

So in light of all the snow I thought that my Let is Snow card would be the perfect throw back Thursday.  This is another card that I created for Artisan a couple years ago, but apparently never shared.

Let it Snow Card - Front

So this is the front of the card.  This card is very unique and different.  Personally I love it.  So The card base is just a regular card.  I can’t remember if it opened or not, but I think it did so you could write a message inside.  The blue background is a fun technique.  I used the white glossy paper that I wish we still sold.  I took a baby wipe and put three dots of reinker in different colors going across the wipe then I wiped it on the glossy cardstock to give it kind of a rainbow look.  Once that was dry I inked my snowflake with versamark and stamped my snowflakes then embossed them with clear embossing powder.  I then used a dark blue reinker and a sponge to sponge over the top so the snowflakes were the only think to show the lighter colors.  The embossing powder resists the ink so you can see the colors underneath.

Let it Snow card- Layers

This card has some fun layers to it.  I folded a white paper.  I believe that it’s a 4 1/4 tall by 11 scored at 2 3/4 on each side and 5 1/2.  Then folded accordion style.  I attached a piece of sticky strip along the side where it was being attached and covered it with the Silver Glass Glitter.  This isn’t the best picture, but it gives you an idea of how the card folds up.

Let it Snow card- opening

So this the the card as it’s opening up. Of course the front is a darling picture of my son playing in the snow.  I used a mini clip to hold it shut when you aren’t opening it.

Let it Snow Card- Partial open

As it starts to unfold you can start to see the magic int he card.  I used the Snow Much Fun set that is now retired to create a fun winter seen.

Let is Snow card- Opened

Here’s the finished card all opened.  My favorite part is the snowflakes that are attached to some bakers twine.  The snow men are stamped and embossed with black embossing powder before they are colored.  It’s kind of hard to see but I also used  some of the Dazzling Details on the snow ball and sides of the snowmen to make them sparkle.  The snow is stamped in white and embossed with white embossing powder to make it pop.

Hopefully I’ve inspired you to think outside of the box a bit.  Here’s one more piece of inspiration.  This is a wall hang I made using the same technique that I used on the background of my card.

Let it Snow wall hang

I used the scallop square die and the alphabet die to cut out the background and the letters.  Both were cut with chipboard and covered in white cardstock.  I hang this one up every year.  I still love it.

Tag SignatureOrder online 24/7
Contact me to order or book your party today!
435-245-5321 Home
435-232-2655 Cell (Text)
andersoncandice@hotmail.com

Dinosaur Punch Art

I’ve been seeing throw back Thursday on Facebook a lot and I thought it would be fun to do it on my blog.  I’m not sure that Thursday will always be a throw back, but I’ll try.  If you are like me you keep stamps, punches and even paper that you love even though you can’t by them anymore.  So I figure why not share some fun ideas to do with them.  Maybe I’ll even make some new projects using retired products.  Who knows.  So now lets get on with the project because hey that’s the fun part right?

Dino Chart

Every year Stampin’ Up! has a contest called the Artisan Design contest.  I’ve entered many years, while I’ve never won I’ve had my projects shown at Convention and I’ve enjoyed creating them.  It does however make me sad to give them away.  Some of them I’ve re-created and some I’m still planning on it.  This is one of the still planning on it projects.  Hopefully before my little boy grows out of dinosaurs.  I think this was the hardest one to give away and I wish I had it still.  It was also quite big so I actually took it to Stampin’ Up! (Good thing I live close.)

Dino Chart Top

This is the top of the chart.  I used MDS to create all the pictures for the chart.  I changed them all to Sepia so they would match and added a fun background.  I also added the age and height.  He was only 5 when I made the chart so I left spots to add more pictures over the years.  I attached twigs to the top to hang it with.  Of course the top picture is when he was born.  So cute.

Bird Dino

Here’s a better picture of the bird Dino.  All of the dino’s are made using punch art and shapes from the big shot.  Can anyone guess where I got my inspiration for my characters.  Yep “Land Before Time.”  You can also see the close up of the texture on the letters.  I cut them out of chip board and paper, then glued the textured paper to the clipboard.

Green Dino

Next is my green Dino working his way up the mountain.  The mountain is just created by tearing up paper and crumbling it up then smoothing it out.  I used the directly to paper technique to add texture.  (That’s where you just take the ink pad straight to the paper to highlight the texture and edges.)

Brown Dino

Here’s the brown Dino.  I think I actually used the leave die to make the splotches on his back.  You’ll noticed I also added some grass to the mountain by just tearing up paper and snipping the edges.

Orange Dino

This one wasn’t really in the movie, but I wanted one more to work with the spacing.  I think he turned out cute.  He also had to be orange because that’s my son’s favorite color.  The ruler was created by using the simply scored tool.  I placed a cardboard so I would know how far to score each section so they stayed even.  Then I flipped it over and used a sponge to highlight the marks and added the numbers with the calender set.


T-Rex Dino

Of course we had to have the T-Rex at the bottom chasing the little Dino’s up the chart.  I left space on the side so that I could mark the height and write the date.  My son was very disappointed that I gave away the T-Rex.  That’s his favorite Dino.  Just posting about this makes me want to re-create it.

I hope you have enjoyed my throw back Thursday.  As you can see I really do love punch art.  It’s so fun to see what you can create using our awesome punches.  Especially something they weren’t designed for.

Tag SignatureOrder online 24/7
Contact me to order or book your party today!
435-245-5321 Home
435-232-2655 Cell (Text)
andersoncandice@hotmail.com


Stampin’ Up! Banners

Today I thought I would highlight some of the cute banners I’ve made using the Build a banner Simply Created Kit in the Holiday Catalog.

You can come and make the brrrr, hohoho and family at my Crazy for Christmas Class.  However if you can’t make it and would like to make them at home I that’s an option as well.  Just purchase the Build a Banner Simply Created Kit and my add on kits.  See below each project for all the details.  Just a quick note the make at home price is for the additional things you will need only as you will need to buy the Build a Banner Simply Created Kit for your stencils which includes 18 pennants.  For additional pennants you can purchase the Banner Simply Created Kit.  Ink colors are also listed.  You can use an ink pad or re-inkers.  You will also need a hot glue gun.

Build a Banner Simply Created Kit  #133507  $19.95

Includes stencils for backgrounds and alphabets.  As well as twine.
It also comes with 18 pennants (enough for 3) banners

Banner Simply Created Kit #132699 $9.95

18 pennants and twine.

Stampin’ Sponges #101610  $3.50.

I also recommend our sponges to apply the ink.
Includes 3 sponges.  I cut them into wedges to use for different colors.

Brrrr BannerBrrrr Banner-

Uses 5 pennants.

I used the Christmas Banner Simply Created Accessory Kit #132699 $9.95

Add on for the additional embellishments I added.  $4.00

Make it at my Crazy for Christmas Class for $18.00

Ink Colors- Pad $5.95 Re-inker $2.95

Bermuda Bay – P #131171 , R #131156
Basic Gray- P #126981, R #109121

Ho Ho Ho BannerHo Ho Ho Banner-

Uses 6 pennants.

This is one I created.  If you would like the kit to create this one it’s $8.00

Make it at my crazy for Christmas class for $12.00

Ink Colors- Pad $5.95 Re-inker $2.95

Cherry Cobbler- P #126966, R #119788
Garden Green- P #126973, R #102059

20131112_203640Family Banner-

Uses 6 pennants.

This is also one I created.  If you would like the kit to create this one it’s $4.00

Make it at my crazy for Christmas class for $8.00

Ink Colors- Pad $5.95 Re-inker $2.95

Early Espresso- P #126974, R #119789
Island Indigo- P #126986, R #122932
Summer Starfruit- P #126991, R #126853

20131014_192357Spooky Banner-

Uses 6 pennants.

I know that Halloween is over, but you can still order this kit to make for next year, before they are gone.

I used the Halloween Banner Simply Created Accessory Kit #132698 $9.95

Add on for the additional embellishments I added.  $6.00

Ink Colors- Pad $5.95 Re-inker $2.95

Basic Black- P #126980, R #102512
Pumpkin Pie- P #126945, R #105229
Summer Starfruit- P #126991, R #126853

20131112_203654Harvest Banner Banner-

Uses 6 pennants.

I know you’ll want this one for next fall so be sure to order it before they retire this fun kit.
This is also one my friend Becky created.  If you would like the kit to create this one it’s $8.00

Ink Colors- Pad $5.95 Re-inker $2.95

Early Espresso- P #126974, R #119789
Tangerine Tango- P #126946, R #111841
Crushed Curry- P #131173, R #131158

If you are interested in purchasing any of these kits or coming to the class you can contact me at:

Candice Anderson

435-245-5321 Home
435-232-2655 Cell (Text)
andersoncandice@hotmail.com

You can pick them up at my house or I can ship them (shipping charge will depend on size of order.)

Spookacular October

20131014_192357

Spooktacular October

Come make a cute Spooky Banner and other cute Halloween gifts for your little ghouls.
Times:

October 24th

Click on times to RSVP
10:00 am – 1:00 pm
5:30 pm- 8:30 pm
See below for projects and prices

20131019_171117

Spooky Banner $20 —-See below about the special on the banner
Purse $2.00
Witch’s Broom Card $2.00
Halloween Squash Photo Book $3.00
Spider & Frankenstein Candy Toppers $1.00 pair

Most projects I have product on hand, but if you would like to make the Spooky Banner please let me know ASAP as I will need to order the product for this.

If you can’t make it and would still like to order the kits to stamp and make at home please let me know I would be happy to do that as well.

—–Banner Special

There are 6 Banners in my package
Each Banner is $20 when you do all 6 you will get them for the reduced price of $100.00 That’s one banner for free.

20131014_192357

20131019_171136

20131019_171219

20131019_171333

I will also be making

XO XO XO

Family

If you would like to create them at home you can get the add on kit for the letters & backgrounds for $10.  You will also need inks and sponge daubers.  I will have a special package available for these as well if you need them.


Hybrid MDS Project

I’ve enjoyed sharing MDS with so many of you during my free classes.  While I was talking to them about this wonderful program I mentioned how easy it to create Hybrid projects.  A Hybrid Project is where part of your project is created Digitaly and the other is created traditionally.  I was telling them about one of the projects the I created last year for the Stampin’ Up! Artisan design contest.  This was one of my favorite projects.  It’s a 12 x 12 scrapbook page.  One of the pictures that I used was the Birth announcement that I created in “My Digital Studio.”  I just printed it out larger to put it on the page.

Love Page


I love all the detail I was able to add to the page and how the MDS is the only color that I added to the page.  It’s hard to tell in the picture, but the whole thing sparkles and shimmers.  It’s was actually created as more of a show piece then one that would go in a scrapbook since it has so many layers.  I just re-created it (finally) so that I could hang it up in my daughters room that we just finished painting.  I put it in one of those 12 x 12 frames and it looks so cute.  Just so you know a few of the items are retired now as it was created last year.

MDS is such a great tool you can use to enhance your traditional scrapbook as well as creating all Digital projects.  I hope that you will join me from one of my future classes.  You can down-load the free MDS trial from my website or better yet just buy the program for the new low cost of just $19.95.

If you have any questions let me know.

4-April