Kits of the Month-Jaunary

Some of you many have noticed that I have the new January Card kit of the monthup.  I’ve also decided to add 2 new types of monthly projects.  I’ve added the page of the monthand the project of the month.

Just like the card kits you will get all of the consumable products you need such as paper, ribbon and some accessories.  I will be featuring one stamp set in each of the different kits.  You can always get this set on sale with the purchase of the monthly kit.

In addition I’ve added a Kit Night.  This will be the last Thursday of each month.  This is a night that you can come and use any of my products to complete your monthly kits.  If you have loved the monthly kits, but are missing several of the products and just can’t afford them  this is the best place to get them all done.  You must pre-order your kit by the 15thof each month in order to attend the kit night.  You can still order any of the kits by the 25thof each month and pick them up later or have them shipped (additional charge).

You can see more information about each kit and the current kits by clicking here.  Please contact me if you have any questions.

Here is a preview of the kits for this month.  Click on any of them to go directly to that kit.
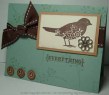
jan-09-card-2Card kit


love-tinProject kit


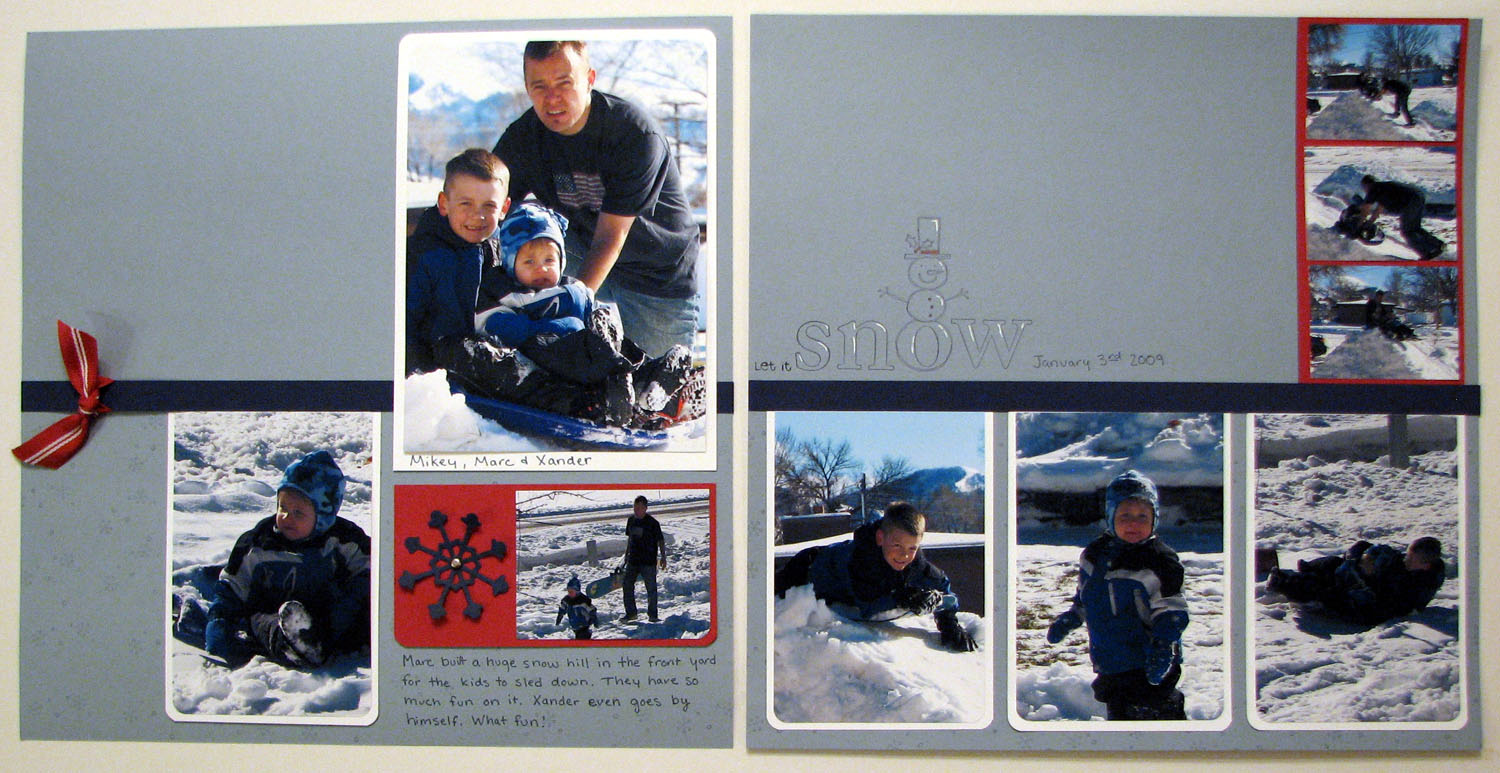
snow Page kit


I hope you will enjoy this new program and take advantage of it.  I’m not the one that designs the card kits but I will be doing the other two so if there is any set that you would love to see featured please let me know.

I just want to quickly clarify.  This is a different program than my monthly club.  There is no commitment simply pick the ones that you want to do and let me know before the cut off date.
Swapping Saturday 12-27-08

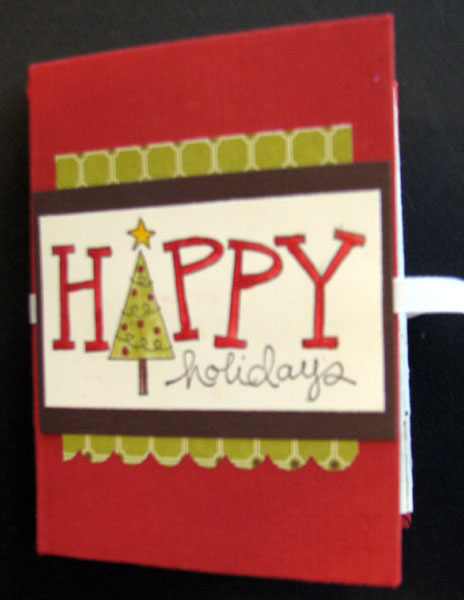
My down-line Michelle made this.  We swapped them at our Christmas Party.  holiday-book-front

I thought it was just so cute so I had to show it off.  I think she did a really great job.

Click here to see the whole book.

Click here to see more weekly Challenge Projects

Stampin’ Sunday 12-14-08

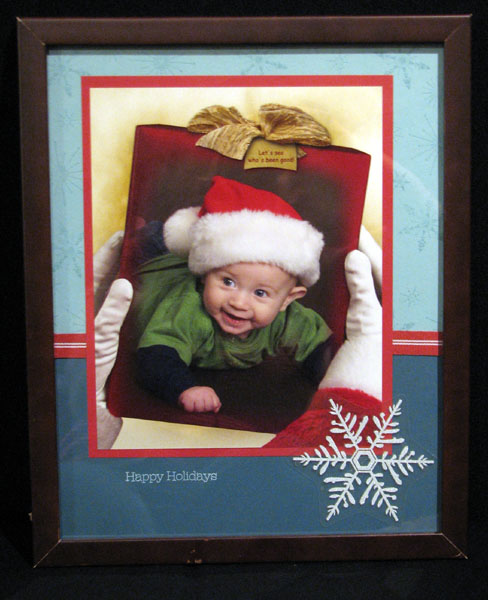
I really wanted to try using one of the great snowflakes from the mini catalog on a project.  I thought it would be fun to put it on a pictures frame.  I really loved how this turned out.  I have to admit the picture really helps too.  This is my little Xander last year.  We called him Xander Claus.xander-snowflake-frame  The picture was taken by JC Penny Photography.

Click here to see more weekly Challenge Projects

Swapping Saturday 12-13-08

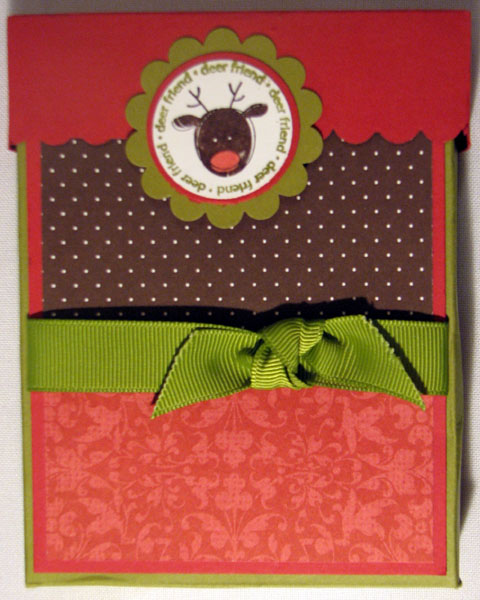
Sorry this is late.  This is a 3D swap that I got from convention.  It was created by Tammy Johnson.  I love how she used the Bella Rose Designer Series Paper to create a Christmas Project.  She also used the Deer Friends Level 2 hostess set. christmas-card-box

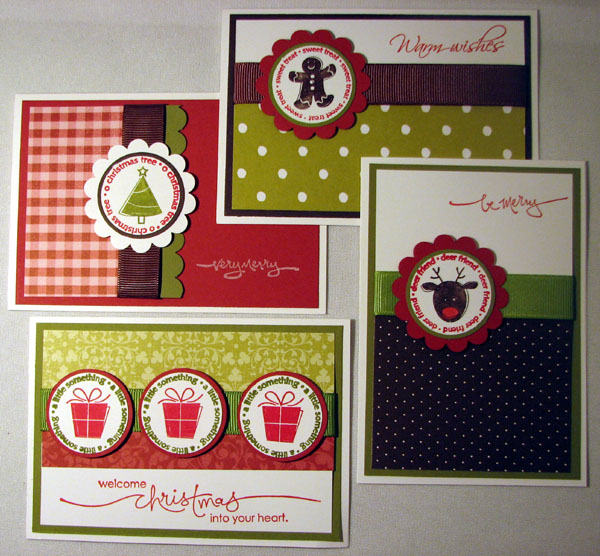
I also love that the cute box hold 4 Christmas cards with envelopes.  The cards are actually the Note Cards which are a smaller size.  They are 5 x 3 1/2.  Just perfect for giving with a gift.  I hope you enjoyed this swap and be watching for more.  Thanks Tammy for your great project.christmas-card-box-cards

Click here to see more weekly Challenge Projects

Wacky Wednesday 12-10-08

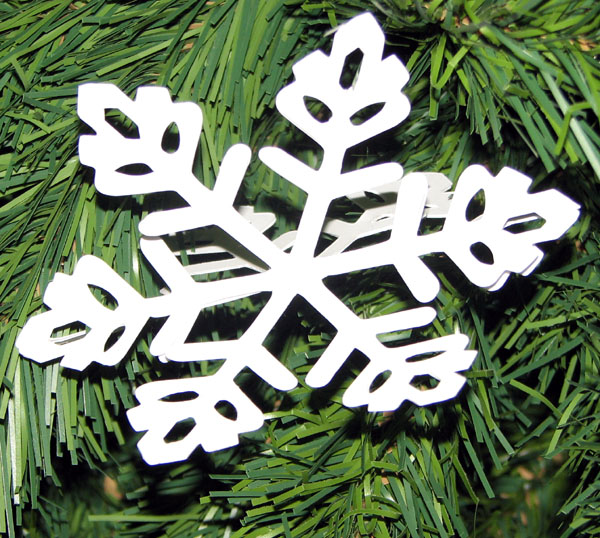
big-shot-snowflakeWacky Wednesday- Big Shot Snowflake

Today was crazy because it was club and of course things did not go according to plan, but here is my Wacky Wednesday Project.  It’s actually really simple.  I came up with it from the circles that are folded in half when you cut out your pendent dies.  You would add them to your banners when you make them.  So I decided to try it with the snowflake die. 

  1. First you need to cut out 3 of the snowflakes with your Big Shot. 
  2. Then you have to fold them in half.  This is actually the tricky part.  I start by folding both the edges in half then I fold the centers over to meet each other and press in the center.  This leaves just a little part on each side to finish folding. 
  3. Once all off your pieces are folded you need to unfold one of them and apply glue.  I use the two way glue pen. 
  4. Next I apply half off one of the snowflakes to each side.  Then apply glue to one side of the two remaining pieces and put them together. 
  5. When you are done you should have a 3 dimensional snowflake.  You can hang a piece of silver or gold cord from them to let them hang.  I put them in my Christmas Tree and they look great.  Hope you have fun with this one.  My kids love it.

Click here to see more weekly Challenge Projects

If you really want a Big Shot you can check out my
Big Shot Lay-A-Way plan.

Christmas Decorations

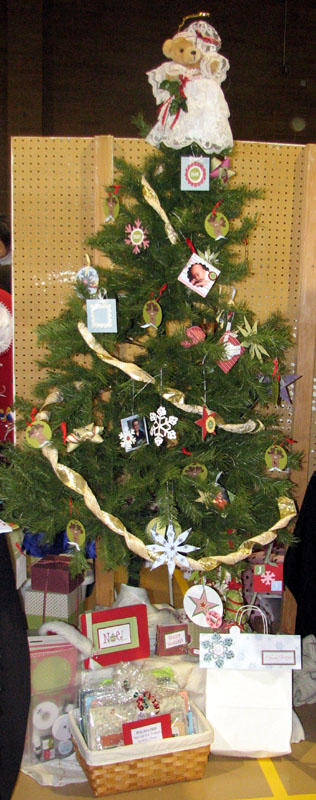
novemberfest-christmas-treeI’ve been trying to find all of my Christmas Decorations so I could start getting ready for the Holidays.  We were suppose to move during the summer so I packed everything up thinking I wouldn’t need it. Ha Ha.  Anyway, I found a few pictures from last year and I found some of the decorations. I put on my tree at my Novemberfest booth.  I just think a tree looks so cute with hand crafted ornaments.  I’ve had fun making new ornaments this year with our Country Living set and the 2 great sets in the mini catalog.  Plus there is one in the main catalog.  The kids had so much fun making ornaments last year that I think I will do it again.  I thought I would share some of the fun pictures with you so you could be inspired this year  I would love to see your creations.  Please e-mail them to me at andersoncandice@hotmail.com.  If I use yours on my website I will send you a special surprise.  Click on this link to see more pictures.