
Thank you for purchasing the Spooktacular Gift Bag Tutorial!
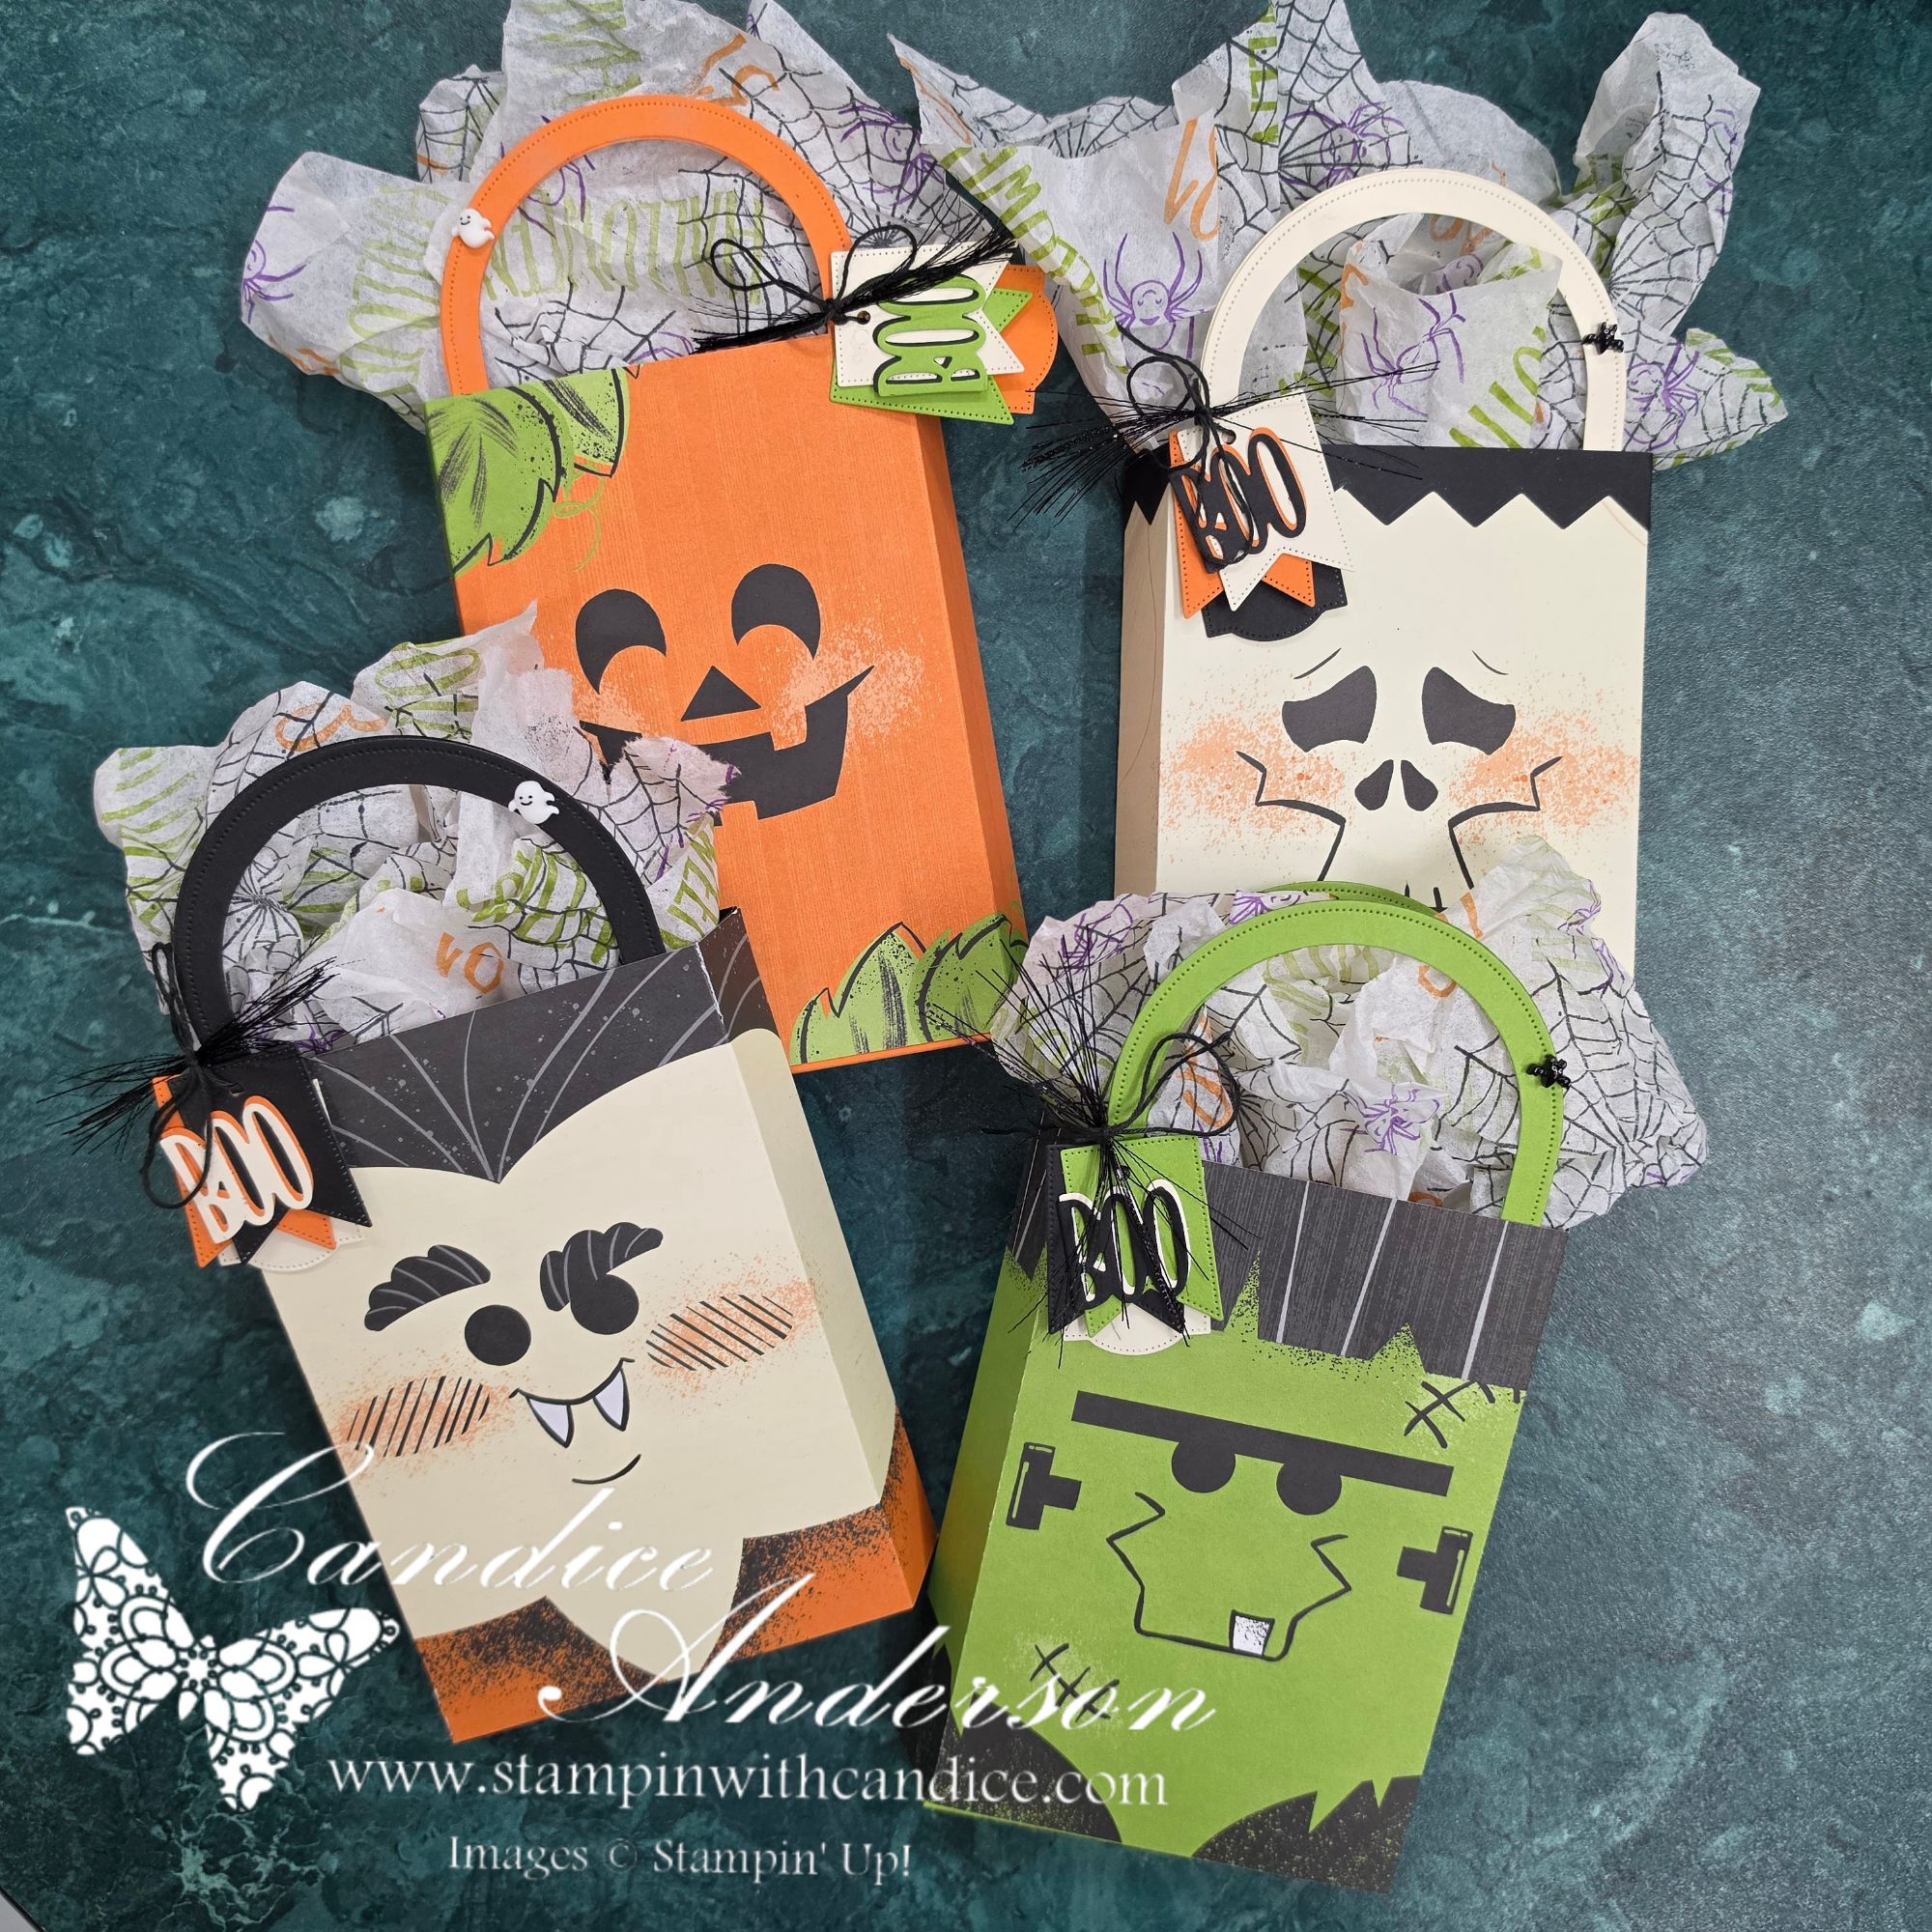
I hope you have as much fun creating these adorable gift bags as I did. The Spooktacular 6″ x 6″ Designer Series Paper makes these bags extra fun, with each monster face creating a completely different look.
On this page, you’ll find everything you need to create your gift bag, including the complete video tutorial, downloadable PDF, measurements, and step-by-step instructions.
Tip: Bookmark this page so you can easily return to your tutorial. If I add helpful tips or updates in the future, you’ll find the latest information here.
📄 Download Your Tutorial
Want a printable copy to keep in your Creative Resource Library?
The 5-page PDF tutorial includes:
- Complete supply list
- Cutting and scoring measurements
- Step-by-step instructions
- Photos to help with assembly
- Tips for creating the handles and tags
- Instructions for the ribbon embellishment and custom stamped tissue paper
- Finished project inspiration
🎥 Watch the Video Tutorial
Follow along with me as I walk you through creating the Spooktacular Gift Bag from start to finish.
🛒 Need Supplies?
Ready to create your Spooktacular Gift Bag? I’ve made it easy to find the supplies used in this project.
Use the project link below to view the products and add any items you need directly to your Stampin’ Up! shopping cart. You can choose which products you’d like to purchase, so there’s no need to add items you already have.
✂️ Spooktacular Gift Bag Instructions
Designer Series Paper
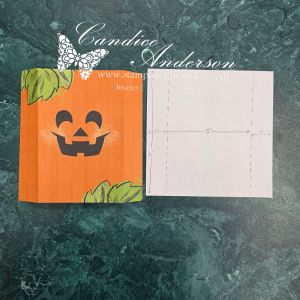
Choose one 6″ x 6″ Spooktacular Designer Series Paper design. Score 1″ from each side of the monster face, leaving a 4″ center section.
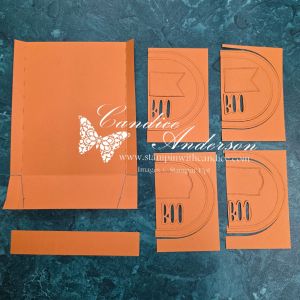
Cardstock Back
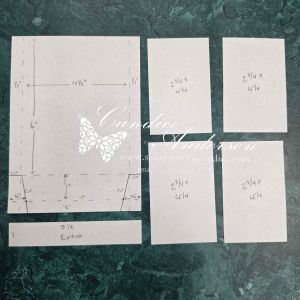
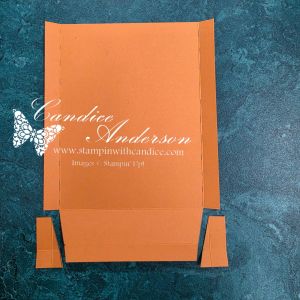
Cut cardstock to 7-1/2″ x 5-1/2″.
Score at:
- 1/2″ along both 7-1/2″ sides
- 1/2″ and 6″ along one 5-1/2″ side
Mark 3/4″ in from each side along the 1/2″ score line and cut at an angle as shown in the PDF.
Handles
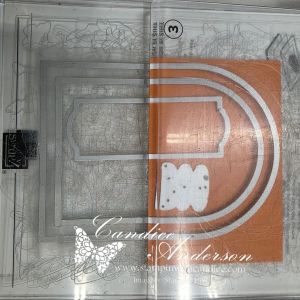
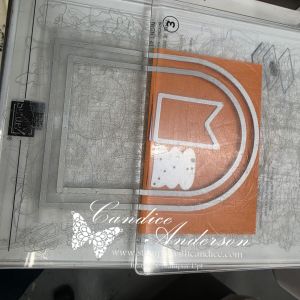
Cut four pieces of cardstock at 4-1/4″ x 2-3/4″ and use the 2nd and 4th largest Everyday Arches Dies to create four handles. Layer two arches together for each handle.
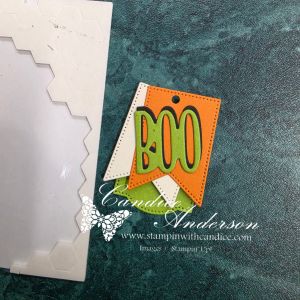
Use the center portions of the cardstock to cut your tags and layered “Boo” pieces.
🛍️ Assembly
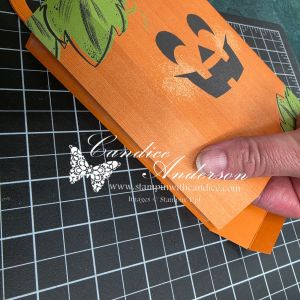
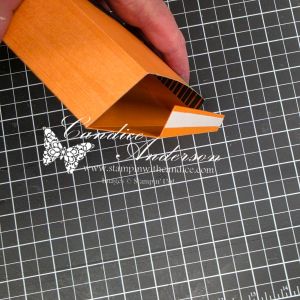
Prepare the DSP and cardstock along the score lines and add Tear & Tape to the side and bottom tabs of the cardstock.
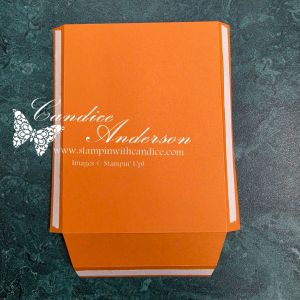
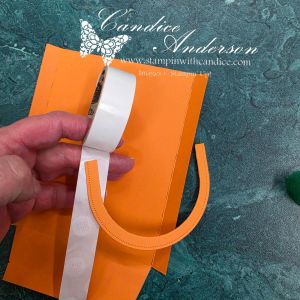
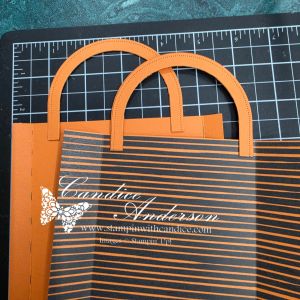
Attach the first handle to the cardstock using mini glue dots, then use it as a guide to line up the second handle. Attach the DSP to the cardstock sides and secure the bottom.
Tip: The back of the bag is intentionally 1/2″ wider than the front, creating the angled sides that show off more of the Designer Series Paper.
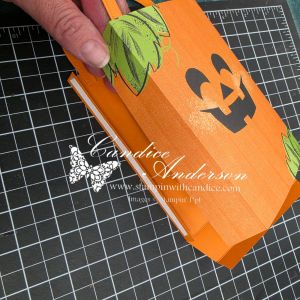
👻 Add the Finishing Touches
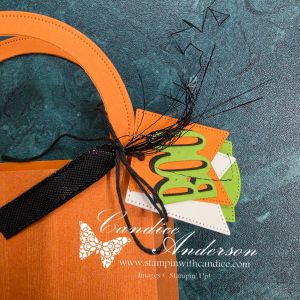
Create your layered “Boo” tag and attach it to the handle with Baker’s Twine. Add unraveled Iridescent Ribbon for the fun wispy embellishment and finish with Adhesive-Backed Bats, Ghosts & Dots.
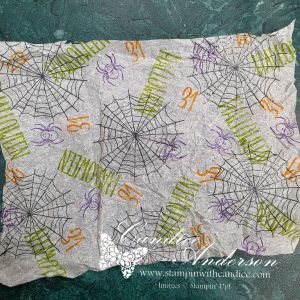
For an extra-special touch, stamp coordinating tissue paper using the Web of Fun stamps before adding your favorite Halloween treat or small gift.
For complete step-by-step photos and additional tips, refer to your downloadable PDF or follow along with the video above.
🦋 Thank You!
I hope you enjoy creating your Spooktacular Gift Bags! Try changing the cardstock, tags, and embellishments to coordinate with each of the different monster faces.
I’d love to see what you create!
If you need any of the supplies used in this project—or want to browse the newest Stampin’ Up! products—you can use the project supply list above or shop with me anytime.
Thank you again for supporting my small business and for being part of this creative community. Your encouragement and enthusiasm allow me to continue creating and sharing projects like this with you.
If you have any questions while creating your card, please don’t hesitate to contact me.
email: candice@stampinwithcandice.com
No matter where your creative journey takes you, I’m so glad you’re here. Let’s learn, create, connect, and grow together—one project at a time. 🦋

💕 Let’s Stay Connected
📺 YouTube 📘 Facebook 📸 Instagram 📌 Pinterest
Copyright Notice
The artwork, stamps, images, and product designs used in this project are © Stampin’ Up!
This tutorial, project design, written instructions, photographs, and video content are © Candice Anderson/StampinWithCandice.com.
This tutorial is for personal use only and may not be copied, reproduced, redistributed, sold, or taught as your own without the express written permission of Candice Anderson.

