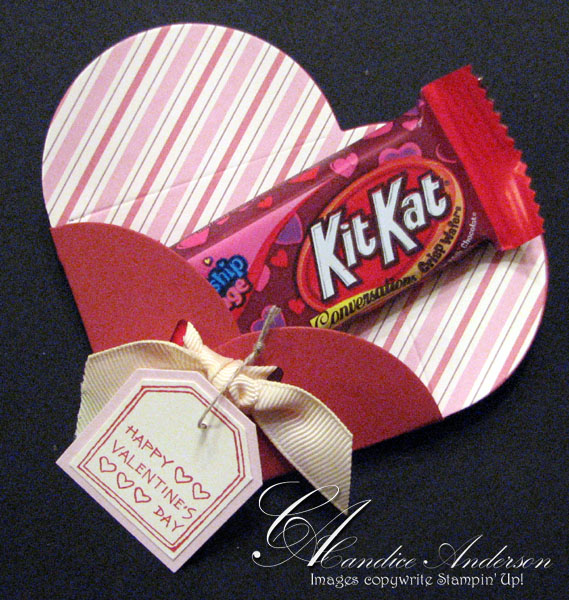
Thrifty Thursday 2-12-09

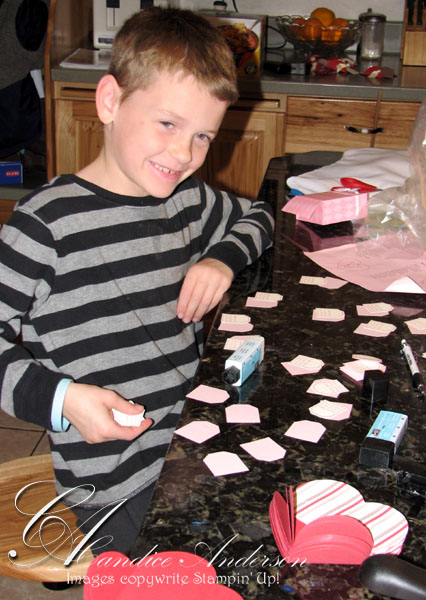
valentines-heartToday we had to make lots of Valentine’s for my son’s classes.  So we decided to make the same fun project.  My son, Mikey had a lot of fun helping to make them.  Then we put them in bags so the candy would stay in when he gave them out.  I love making the Valentine’s because they get something fun and different. 

lots-of-valentinesIt was also nice because one of my other sons told me last minute that he need some as well.  He’s in middle school so I didn’t think he needed them.  Thankfully I had extra Candy and Paper already so it was easy to make more for him.  Once again Stampin’ Up!© saves the day.
making-valentinesProducts Used:
113439 Sizzix™ Big Shot $99.95
113467 Petal Card Die $19.95
113476 Premium Crease Pad $8.95
105089 Horizontal Slot Punch $5.95
105934 Tag Punch $15.95
108264 Small Tag $15.95
101227 1/16″ Circle Punch $8.95
109055 Very Vanilla 5/8″ Grosgrain Ribbon $7.95
104199 Linen Thread $4.50
113980 Candy Lane DSP $9.95
114978 Happy Heart Day $23.95

Colors- Close to Cocoa, Very Vanilla, Riding Hood Red, Pink Pirouette

Click here to start placing your on-line order.  Click on the “Shop Now” in the top right corner.

Click here to see more weekly Challenge Projects

Wacky Wednesday 2-4-09

So I got a fun package from the UPS man today.  It was my order with some of the fun new products.  I got the new cutter bee circle cutter and some new stuff for the big shot.  Of course I just had to try it out.  My son actually gave me the perfect opportunity.  His Birthday is in the middle of summer when life is usually crazy so I told him we could have a 1/2 Birthday party instead.  We are planning for Friday night so I made him these cute cards to invite his friends.  His favorite color is blue so of course I had to use the in-color Pacific point.  Plus I had to try out my new toys.

bold-cupcake-diecut-card1I really loved putting the texture on the Bold cupcakes.  The frosting has the swirl plate and the cake has the polk-a-dot.  Then I used the directly to paper technique to get a little ink on them and really make them pop.  I loved how it turned out.  I really loved using the circle cutter.  It was so fast and easy.  I can’t wait to try it for more projects. 

I did learn that I need to cut out the items with the big shot and then run the texture on them otherwise the pressure of cutting it just smooths it back out again.  Anyway I had lots of fun and my son loved them so I hope you like it too.

What I used:
#114512 Stampin’ Up! Backgrounds 1 $11.95
#114509 Stampin’ Up! Big Bold Cupcakes $21.95
#112530 Circle Scissor Plus $29.95
#112531 Glass Mat $19.95
#111367 Chocolatee Chip 1/4″ Grosgrain Ribbon $4.95
#111532 Party Hearty $23.95

Colors- Pacific Point, Whisper White, Chocolate Chip

Remember if you love the big shot as much as I do you can always lay it a way and start making payments so you can have it for the future.  Click here for more details.

Click here to start placing your on-line order.  Click on the “Shop Now” in the top right corner.
Click here to see more weekly Challenge Projects

Swapping Saturday 1-31-09

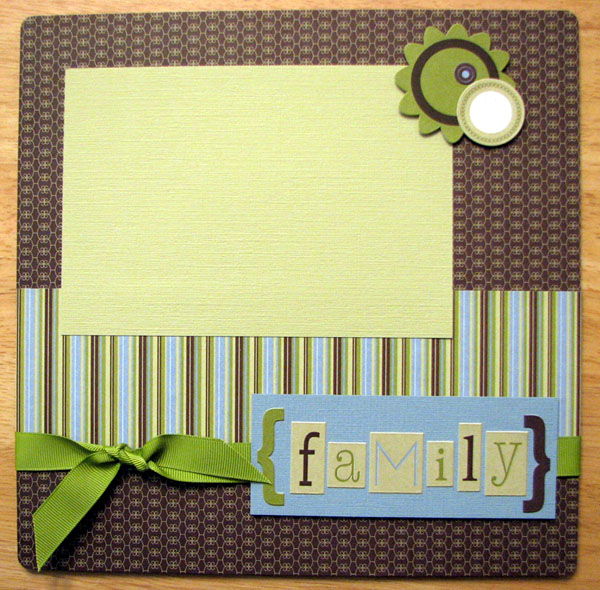
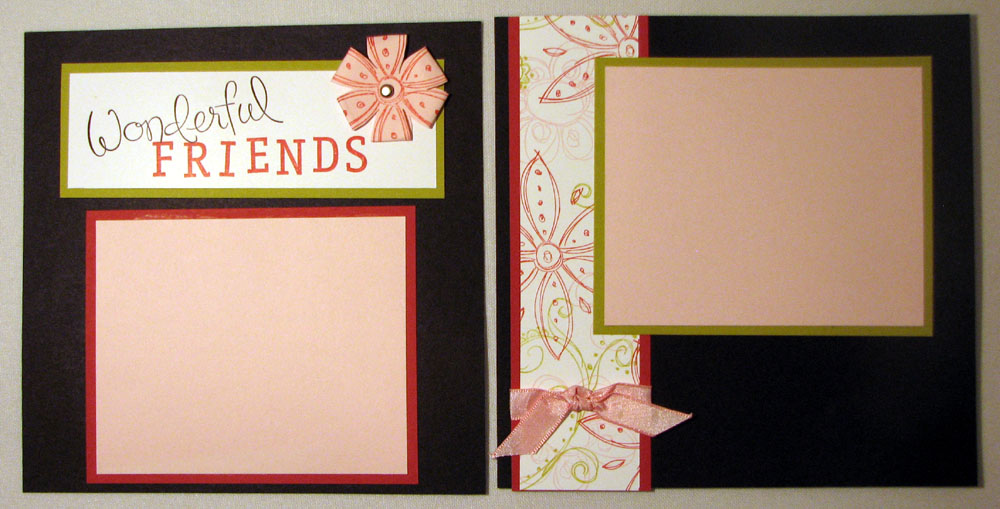
This was a 6×6 page swap that I did for convention last year.  I really loved how it turned out.  I think the same basic layout could be used on a 12 x 12 page.  I will have to give it a try.  The Flower in the corner is just the large flower cut out and then folded back and under.  I saw it somewhere and thought it looked really cool.

wonderful-friendsI used:
114954 Doodle This $33.95
115114 Wonderful Favorites $40.95
115096 Ticker Tape Alphabet $42.95
109067 Pretty in Pink Taffeta ribbon $6.95
104336 Sliver Brad $6.95
Colors- Basic Black, Riding Hood Red, Kiwi Kiss, Pink Pirouette

Click here to start placing your on-line order.

Click here to see more weekly Challenge Projects

Freewheeling Friday 1-30-09

I love to make gifts when ever I have a chance.  I also love to make the package for them.  I usually keep the supplies on hand so I can make one really fast.  I’ve used them a lot for Weddings, Showers and Baby Gifts. 

gift-boxThis is a sample of the box I made to put the gift in.  I love the wheels because it is so fast to decorate the box and they look really cute.  I used.  109688 Whimsy Jumbo Wheel $8.50 for this box.  Then I just used a piece of paper from the Simply Scrapin’ Kit that I created the gift with.  You could use any Simply Scrapin’ Kit or DSP.  The one pictured here is an old one that is retired now.

The box is so easy to make.  Just decide on your size and depth then score the sides to fit.  Cut in on the score on just one side all the way around then fold and attach with mini glue dots or sticky strip.  I always make the top box 1/16 bigger so they slide together nicely.  Then the box is just finished with a belly band that slides off  to open the gift.

family-ssk-boardThis is the gift that I made to put in the box.  It is using the same Simply Scrapin’  Kit.  I’ve just cut it to fit on one of our on board book basics Large#110713 $7.95 for 4.  I love this gift because it is so easy to create and you can change it for about any occasion.  The picture part is sized perfectly for a 4×6 photo.  Then you just put it on a plate rack holder and it’s a darling picture frame with lots of character.

Click here to see more samples.

Click here to start placing your on-line order.

Click here to see more weekly Challenge Projects.

Stampin’ Sunday 1-18-09

They have announced the Artisan Award Contest again so I’ve been thinking a lot about what I wanted to do.  This is a contest for any demonstrator who just wants to show off her stuff.  I like this contest because it’s based solely on your creativity so it’s great for anyone who got into Stampin’ Up! because they love to create and they aren’t working it as a business, but it’s also great for people like me who works the business and sometimes needs a little push to get the creative juices flowing. 

bugs-kisses-closedI have entered this contest every year since they started it.  This will be my third year.  I haven’t one yet, but I have had several of my items featured on the demonstrator website as well as at Convention.  I love seeing my things displayed and I love knowing that they liked something I did. 

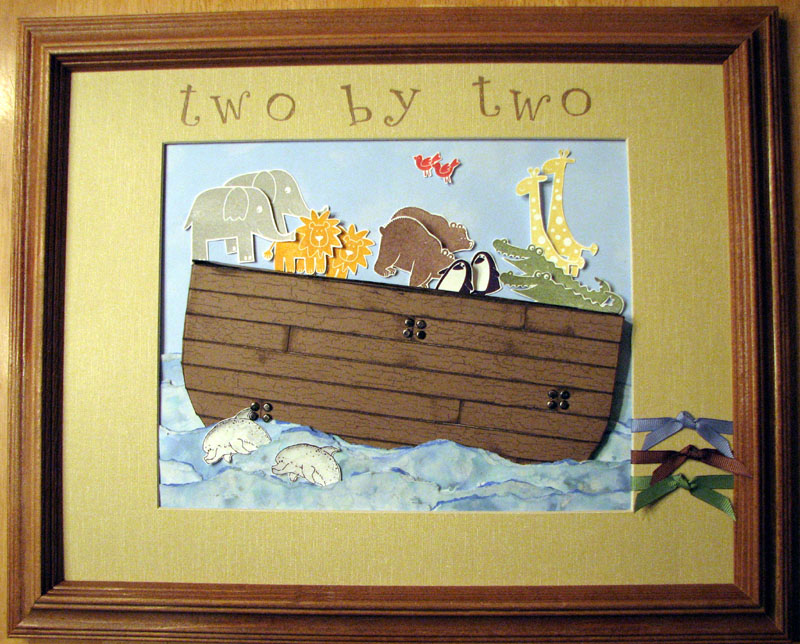
So for this Swapping Sunday I though I would share the projects I made for the last 2 years.  I can’t share this year’s with you until after the contest (because of the rules.)  But i figured I could share the old ones with you.  Although some of the product is retired now I thought they still might inspire you. 

two-by-twoI have shown just a few of the samples here but you can click here to see all of them.

Click here to see more weekly Challenge Projects

Thrifty Thursday 1-15-09

Have you ever tried one of those books where all of the accents are made with one piece of paper.  Well I wanted to give it a try.  I searched for patterns, but didn’t really find one that worked for what I was doing so I just made up my own.  If I can find it I will try and post it for you.

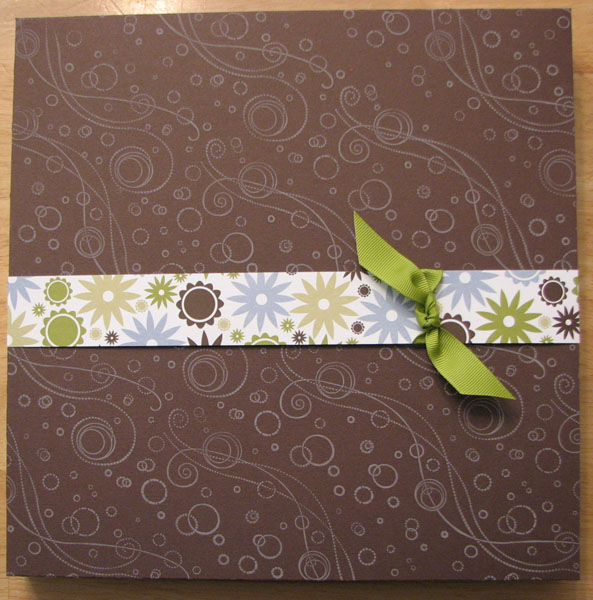
mb-frontThis is a great book to use for gift items, for kids or for something you just want a quick small scrapbook of that you can keep around the house.  I created this book for my son DJ.  It’s of his baseball team last summer.  The nice thing about it is that it’s quick and easy to make so you could make one for each kid or if they are old enough they could make their own.

First you want to decided on a theme.  I obviously used baseball here so I chose the Just Baseball set #109459 $12.95.  I also used the sporting set $109246 $17.95.

Then I picked the colors I wanted to use.  You want to choose 3 to 4 colors that you will used for the entire book.  I used Real Red, Night of Navy and Whisper White as my basic colors.  Then I added Close to Cocoa and Sahara Sand as my accent colors.  I picked my colors to match his baseball team colors and the colors of the equipment.

Next you will need 1 piece of 8 1/2 x 11 paper that you will be stamping on.  I used the Whisper White.  Then you just want to stamp your images on it randomly.  It doesn’t really matter where you stamp them because you are going to cut the paper all up.  I overlapped them a lot because I liked the look of it.

Once you have your paper stamped you will cut it up to the pattern.  Then you will need a piece of 8 1/2 x 11 paper of your accent color.  I have used the night of navy.  You would use the pattern to cut up this paper to go behind your stamped paper.

This book is a 6×6 and has 16 pages.  To save money I attached the pieces to both sides of the paper instead of using two different ones back to back.  It makes a total of 16 pages so you will need to sheets of 12 x 12 cut into 6×6 to give you 8 sheets.

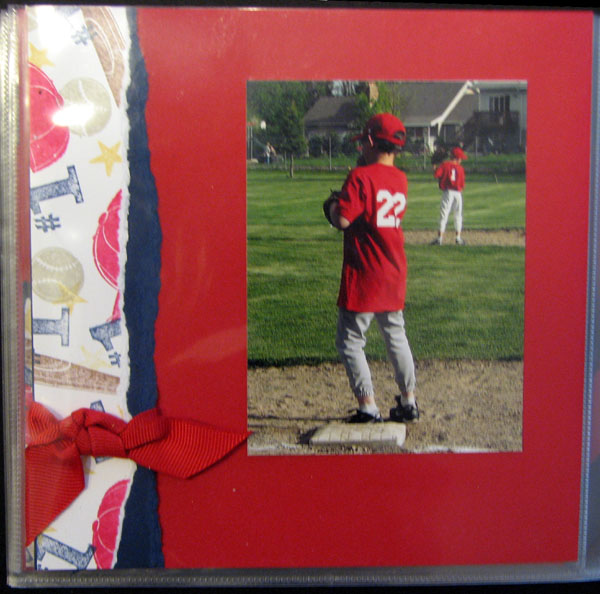
mb-pg-7Once you have everything cut you can begin to assemble the book.  Here is just a sample of one of the pages.  You can click here to see the whole book.  I really will try to find the pattern and get it posted for you as well. 

I hope you try making one of these fun books for a loved one or letting your kids try one of there own. 

Some of the other great sets you could use to to create one of these books are: any of the sport ones, any flower sets, wild about you, bugs & kisses or just try it with your favorite set.

Click here to see more weekly Challenge Projects