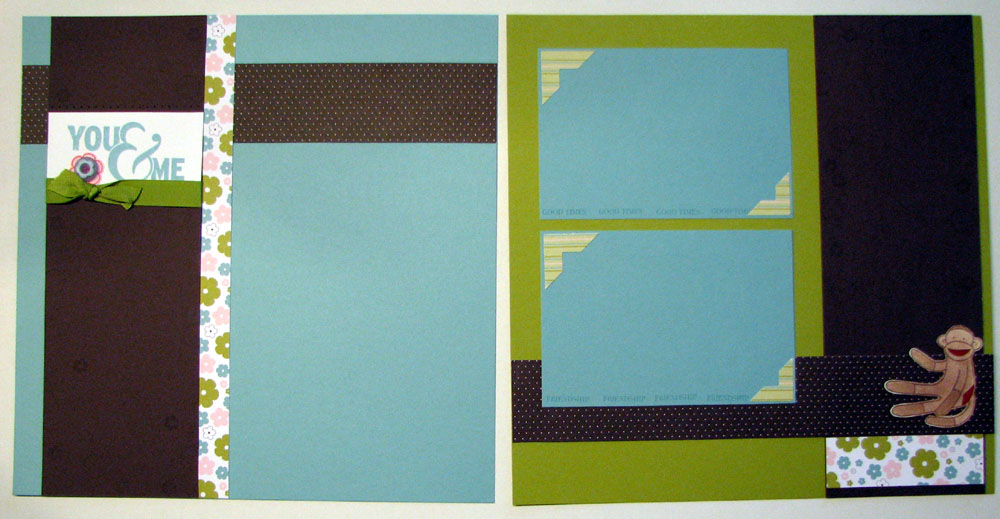
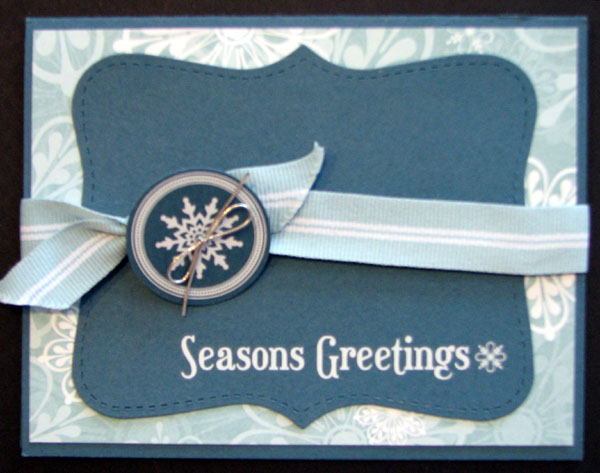
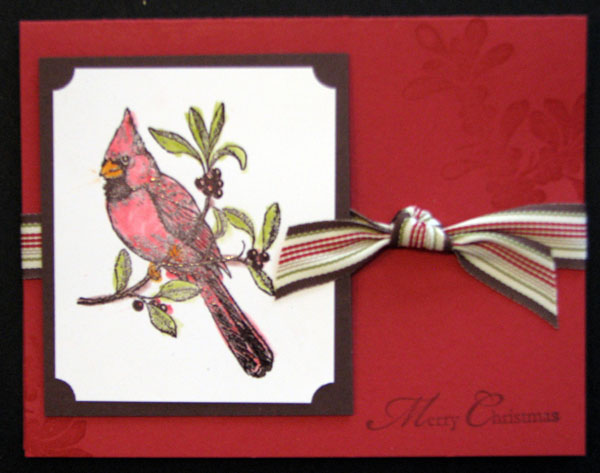
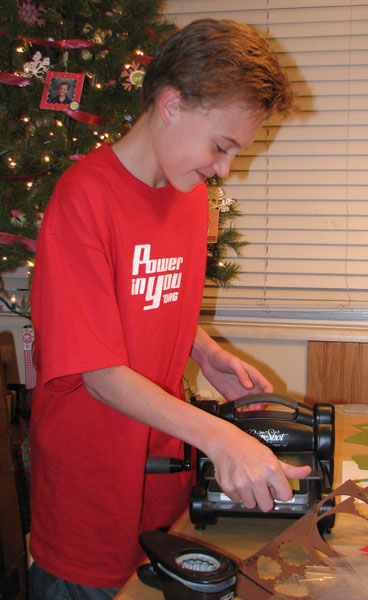
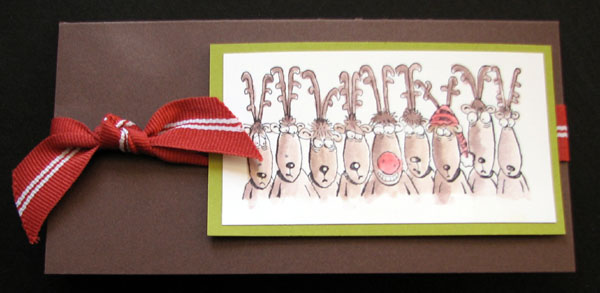
I wanted to share with you some fun holiday cards I’ve made and some that I have receive. I have just a couple here. You can click here to see all of them.
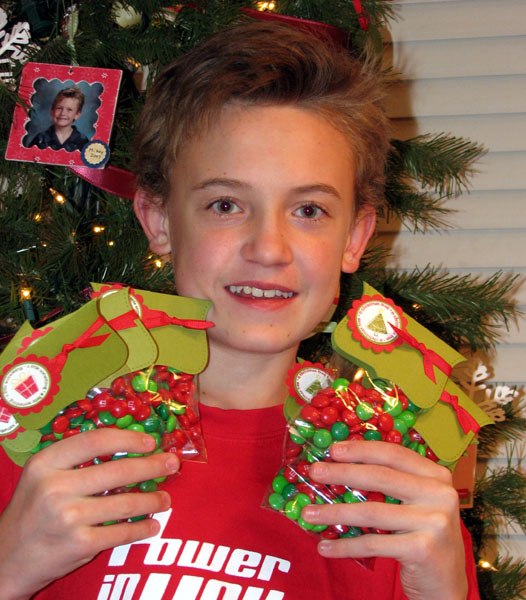
Here is a fun idea to put your Big Shot to good use. I love to let the kids make little gifts for their friends at Christmas time. This year I was so excited because I knew the Big Shot would make it so easy and very cost effective. 


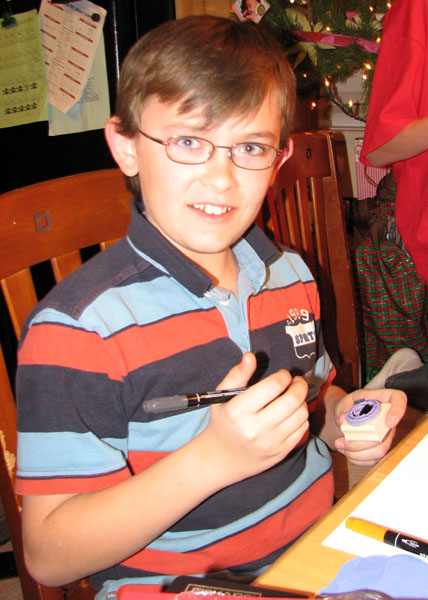
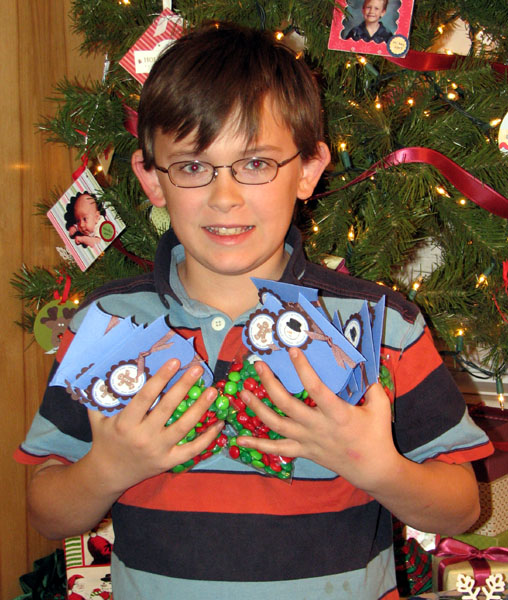
My boys had fun creating these cute Christmas gifts for their friends. Here are a few pictures.
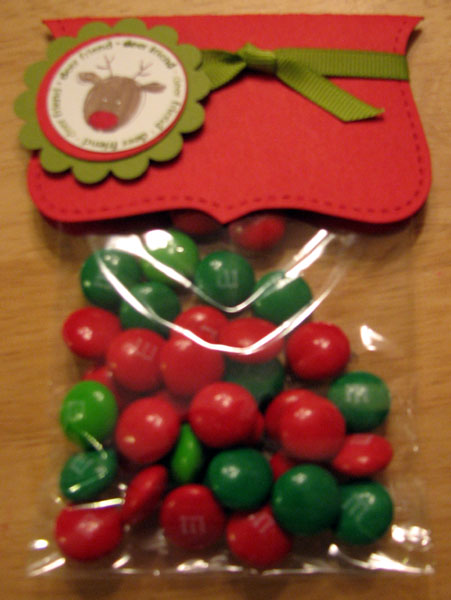
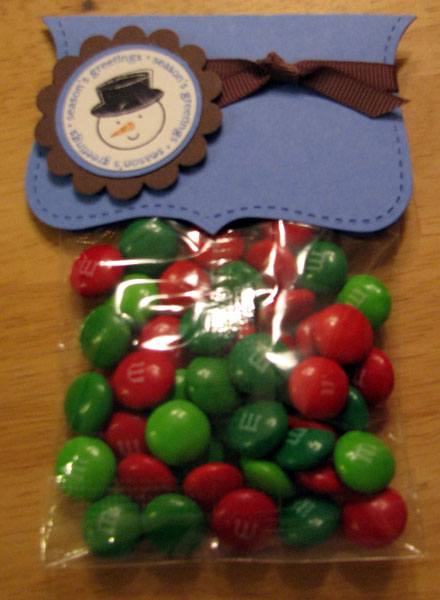
The basic idea is really easy all you need is 1/4 sheet of paper plus some scraps for the punches. Then you need the little bags and some ribbon.
We used the Stampin’ Up! Exclusive Top Note Die to cut out the toppers then scored them the short way and folded them in 1/2.
We filled the little bags with treats and stapled them to the back of the topper. Then I tied the ribbon around it. We used the scallop punch, the 1 3/8 Circle Punch and the 1 1/4 Circle Punch to create our little tags. 
The boys each choose 2 favorites from the Hostess set “Deer Friends” and colored the stamps to get the great colors. We used just one Stampin’ Dimensional on the bottoms so that you could slip the ribbon off the top and get to the treats. 
The boys had a lot of fun making them and especially loved using the big shot. It was a fun evening. Sorry it was so late getting this post up but we had to finish all of our projects.
I think we made about 50 in about 2 hours. Hope you enjoyed this and have fun making your own treat bags.
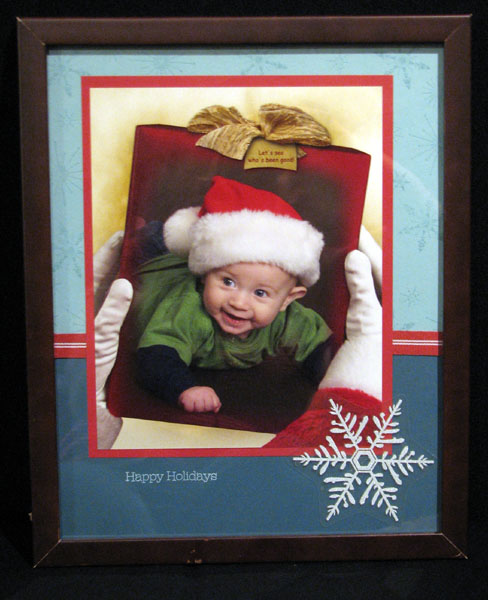
I really wanted to try using one of the great snowflakes from the mini catalog on a project. I thought it would be fun to put it on a pictures frame. I really loved how this turned out. I have to admit the picture really helps too. This is my little Xander last year. We called him Xander Claus.
The picture was taken by JC Penny Photography.
Thrifty Thursday- Holiday Lineup Cards
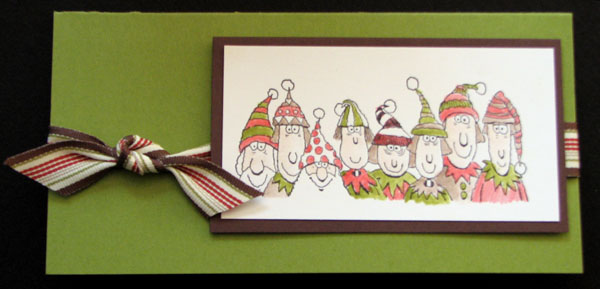
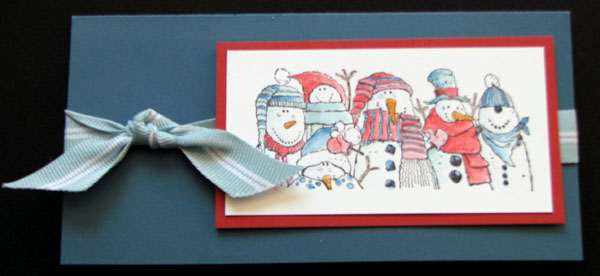
Today I have decided to show you three different cards made with the same stamp set and using the same basic layout. I love this set because all of the images are the same size so it makes it really easy to use the same layout and just change the colors.
The basic card is really simple and cost less than a dollar for the paper, ribbon and glue. I also love the 3×6 cards because they actually cost less to make than a standard 4 1/4 x 5 1/2 card. This stamp set works really well with the 3×6 design. Someone told be that this stamp set has to grown on you, but I loved if from the first minute I saw it. It’s the Holiday Lineup #111648 for $21.95.
I’ve used Chocolate Chip, Old Olive and Not Quite Navy for my base colors, which is also economical because they are all earth elements so you can by the 12×12 individually or by the family pack. Then I’ve added the fun in-colors to two of them with ribbon and background paper. The other I used the fun ribbon from the mini catalog. I’ve used StazOn Jet Black ink to stamp the image. Then I used a blender pen and the ink pads to color the images. I really like how they turned out.
My down-line actually got to make the reindeer card at our Christmas Party. I hope you liked this and be watching next week for another cost saving project.
Wacky Wednesday- Big Shot Snowflake
Today was crazy because it was club and of course things did not go according to plan, but here is my Wacky Wednesday Project. It’s actually really simple. I came up with it from the circles that are folded in half when you cut out your pendent dies. You would add them to your banners when you make them. So I decided to try it with the snowflake die.
Click here to see more weekly Challenge Projects
If you really want a Big Shot you can check out my
Big Shot Lay-A-Way plan.
This is my first post for my Weekly Challenges. Sorry it’s so late in the day.
Coloring on Stamps with Markers
This is a basic Marker Technique but I still love it. It’s using your markers to color directly on the stamps. The sample I”m showing you is actually from my 6×6 Calender. You can sign up for this at my Mega Calendar Event. You can see how I colored most of the words with Chocolate Chip and then the clover with Old Olive.
Now here’s a little trick. Have you ever tried to color on your stamps and you get a really bad smear or it seams to like bubble up like water and not stay even. I have found this is really common with new stamps. What I’ve found is that if you stamp it a few times in an ink pad then clean it off you the color will stay more evenly. I’ve also found it’s better to just stamp it into a really light pad and then clean it by just stamping several times onto scratch paper.
I love using the markers this way because you can get a variety of colors on it. It’s also great if you don’t have all the stamp pads yet. You can save a little money to start off with and get the markers which will give you access to all of our great colors.
One more little tip. If you’ve been coloring for a while then you may want to huff on your stamp (breath on it lightly) to re-moisten your ink so you get a nice stamp. This is also great to help keep it from streaking. Remember to touch lightly when you are inking so it doesn’t get to thick and create extra blotches on your paper.
I hope you have enjoyed my weekly post for today and I’ll be back tomorrow.