Thrifty Thursday 12-11-08

Thrifty Thursday- Holiday Lineup Cards

Today I have decided to show you three different cards made with the same stamp set and using the same basic layout.  I love this set because all of the images are the same size so it makes it really easy to use the same layout and just change the colors. 
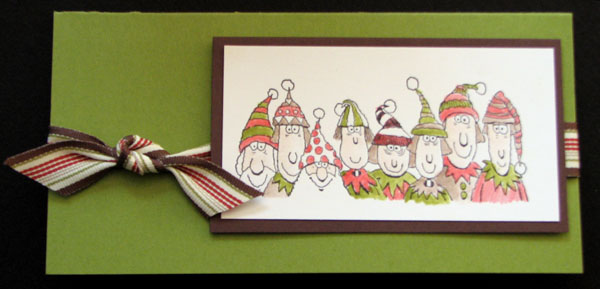
t-elves-cardThe basic card is really simple and cost less than a dollar for the paper, ribbon and glue.  I also love the 3×6 cards because they actually cost less to make than a standard 4 1/4 x 5 1/2 card.  This stamp set works really well with the 3×6 design.  Someone told be that this stamp set has to grown on you, but I loved if from the first minute I saw it.  It’s the Holiday Lineup #111648 for $21.95. 
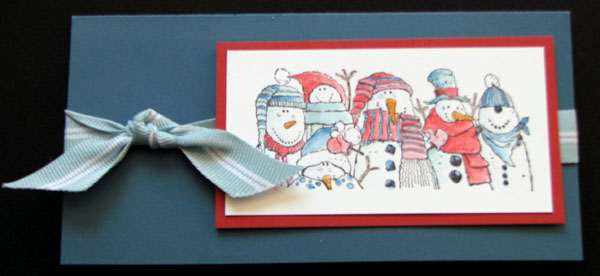
t-snowman-cardI’ve used Chocolate Chip, Old Olive and Not Quite Navy for my base colors, which is also economical because they are all earth elements so you can by the 12×12 individually or by the family pack.  Then I’ve added the fun in-colors to two of them with ribbon and background paper.  The other I used the fun ribbon from the mini catalog.  I’ve used StazOn Jet Black ink to stamp the image.  Then I used a blender pen and the ink pads to color the images.  I really like how they turned out. 
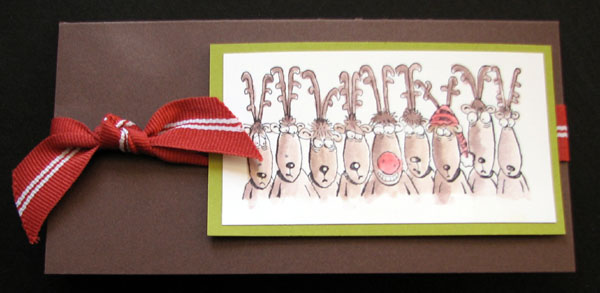
t-reindeer-cardMy down-line actually got to make the reindeer card at our Christmas Party.  I hope you liked this and be watching next week for another cost saving project.
Click here to see more weekly Challenge Projects

Wacky Wednesday 12-10-08

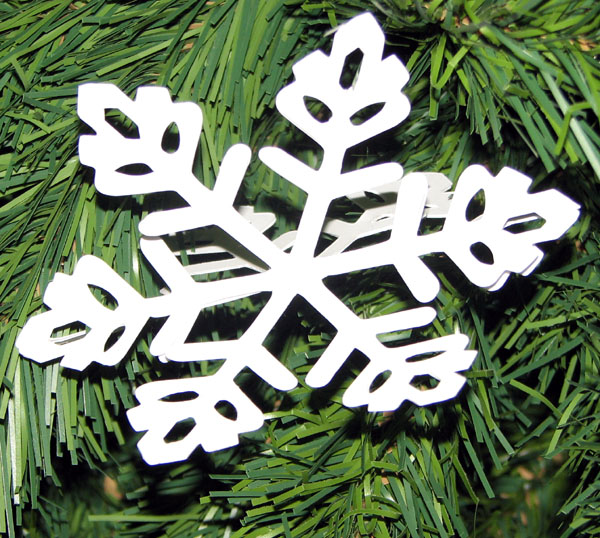
big-shot-snowflakeWacky Wednesday- Big Shot Snowflake

Today was crazy because it was club and of course things did not go according to plan, but here is my Wacky Wednesday Project.  It’s actually really simple.  I came up with it from the circles that are folded in half when you cut out your pendent dies.  You would add them to your banners when you make them.  So I decided to try it with the snowflake die. 

  1. First you need to cut out 3 of the snowflakes with your Big Shot. 
  2. Then you have to fold them in half.  This is actually the tricky part.  I start by folding both the edges in half then I fold the centers over to meet each other and press in the center.  This leaves just a little part on each side to finish folding. 
  3. Once all off your pieces are folded you need to unfold one of them and apply glue.  I use the two way glue pen. 
  4. Next I apply half off one of the snowflakes to each side.  Then apply glue to one side of the two remaining pieces and put them together. 
  5. When you are done you should have a 3 dimensional snowflake.  You can hang a piece of silver or gold cord from them to let them hang.  I put them in my Christmas Tree and they look great.  Hope you have fun with this one.  My kids love it.

Click here to see more weekly Challenge Projects

If you really want a Big Shot you can check out my
Big Shot Lay-A-Way plan.

Technique Tuesday 12-9-08

I was trying to decide what to do today for my Technique Tuesday.  I was looking at the retired stamp list and noticed one of my favorite background stamps was on it.  So I decided to show an oldie but goody technique using my favorite background stamp before it is gone for good.  Remember if you don’t already have this great stamp you can get it for 10% off right now.  I learned this technique when I first started in Stampin’ Up! about three years ago.  I think that sometimes we need a refresh on some of the classic techniques.  It’s also a great reminder of how awesome our background stamps are.

This technique is called finger walking.  First you will need to gather your supplies.  For this card I used:
tt-smc-suppliesCanvas Background Stamp
Two Cool Dudes Stamp Set
8 1/2 x 5 1/2 sheet of Bashful Blue paper folded in half for the basic card
3 x 3 1/4 sheet of Brocade Blue paper
3 x 2 3/4 sheet of Whisper White paper
Brocade Blue Classic Stamp Pad
Bashful Blue Classic Stamp Pad
5/8″ Brocade Blue Grosgrain Ribbon
Silver Cord
Stampin’ Dimenionals
Snail Adhesive 

tt-smc-inking-backgroundFirst you will need to ink your background stamp.  I’ve found the best way is to  put the background stamp flat on the table and apply your ink to the stamp.  I used the Brocade Blue because I wanted a darker look.  

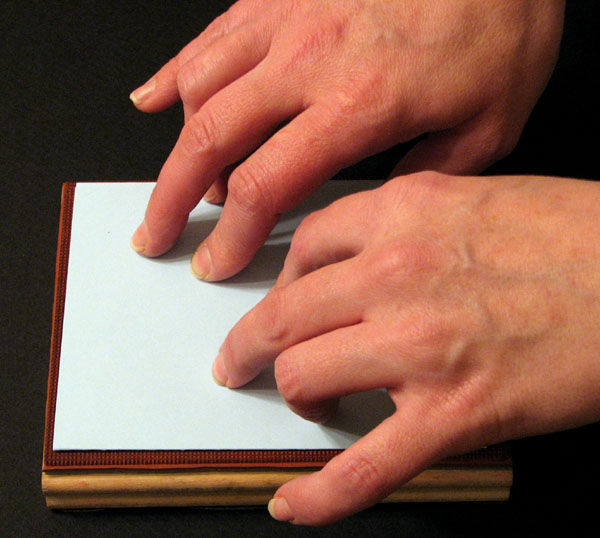
tt-smc-finger-walkingFinger Walking- Put your paper on your background stamp with the background stamp still laying down on the table.  Gentle walk your fingers up and down the paper.  The idea is to only get some of the ink on the paper instead of all of it.  This will give it a nice random pattern.   

tt-smc-stamp-ribbonStamp your saying on the bottom center in Brocade Blue.
Tie your ribbon around the card.
Tie the silver cord around the knot in the ribbon. 

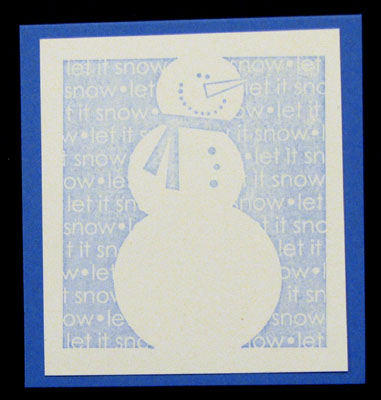
tt-smc-blue-snowman Ink your snowman with Bashful Blue and stamp it on the Whisper White cardstock.  The cardstock should be about the same size as the stamp so it make it easy to line up.  Then attach the Whisper White piece to the Brocade Blue piece using snail. 

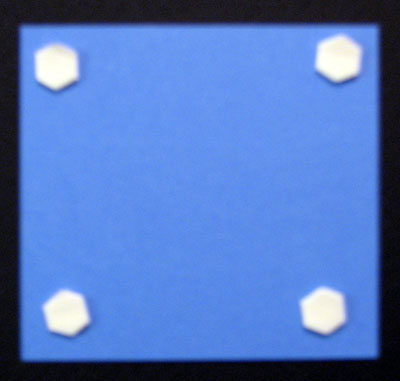
tt-smc-blue-backPlace 4 Stampin’ Dimensionals one in each corner.  I like to use the Stampin’ Dimensionals when ever I go over ribbon because it makes it much easier to keep it smooth plus I like the dimension.

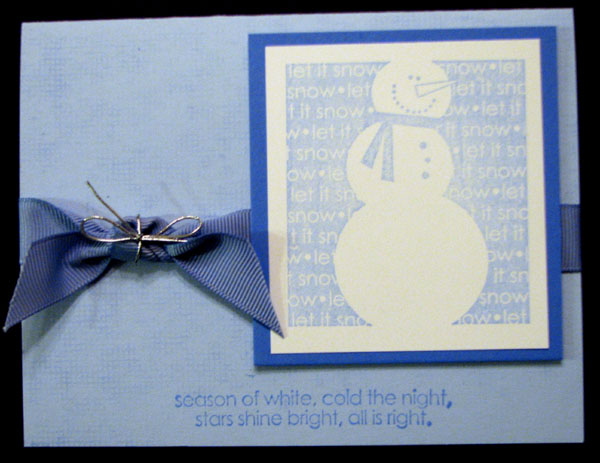
   tt-smc-finishedAttach your Snowman to your card and you are done.  Fast and simple.
Click here to see more weekly Challenge Projects

Christmas Decorations

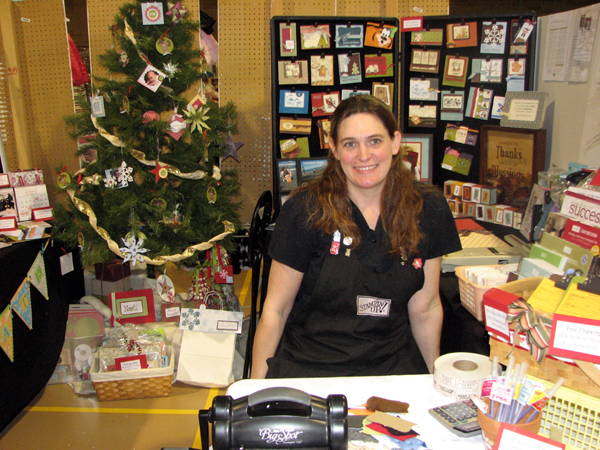
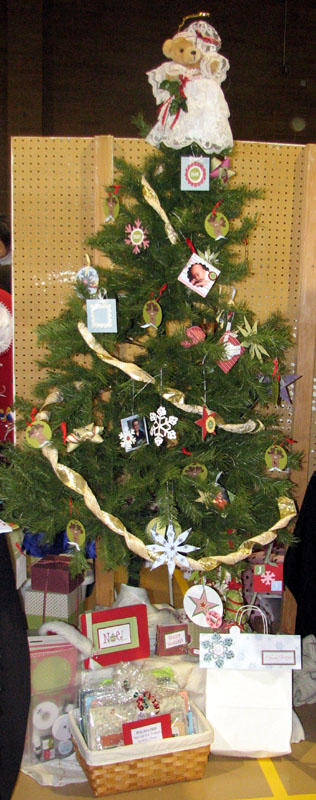
novemberfest-christmas-treeI’ve been trying to find all of my Christmas Decorations so I could start getting ready for the Holidays.  We were suppose to move during the summer so I packed everything up thinking I wouldn’t need it. Ha Ha.  Anyway, I found a few pictures from last year and I found some of the decorations. I put on my tree at my Novemberfest booth.  I just think a tree looks so cute with hand crafted ornaments.  I’ve had fun making new ornaments this year with our Country Living set and the 2 great sets in the mini catalog.  Plus there is one in the main catalog.  The kids had so much fun making ornaments last year that I think I will do it again.  I thought I would share some of the fun pictures with you so you could be inspired this year  I would love to see your creations.  Please e-mail them to me at andersoncandice@hotmail.com.  If I use yours on my website I will send you a special surprise.  Click on this link to see more pictures.

So Shelli Entry

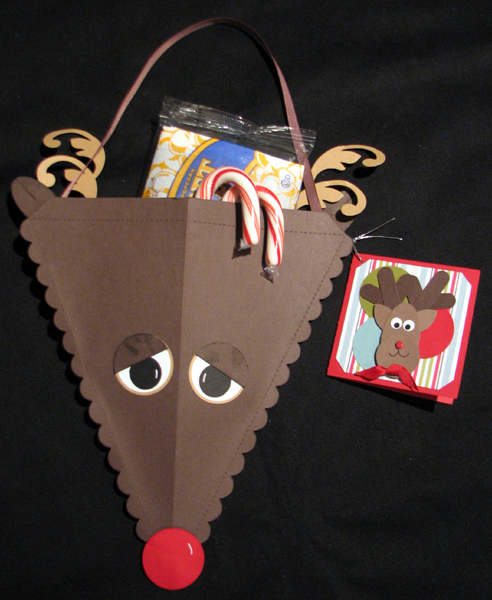
roudolphI know you may have seen this in my projects for my upcoming Holiday Extravaganza event but I wanted to enter it into the soshelli contest so I thought I would post it again.  I just think it turned out so cute.


poppin-byInside the Card

Visit me at Novemberfest

Each year we have a fun craft fair over Thanksgiving weekend.  I would love to see you there.  There is a $1.00 entry fee but mention you saw this post and I will give you a FREE card to help cover the cost.  I will have all of my Holiday Extravaganza event items there that you can see in person and get signed up.  The address is Logan Rec Center 195 S 100 W Logan UT.  I will be booth 57.  It’s open Friday November 28th from 10 am to 7 pm and Saturday November 29th form 10 am to 6 pm.  I look forward to seeing you there.

novemberfest

Thank you so much to all of you who came to visit me at Novemberfest.  I had so much fun meeting you.  Be watching for the winning numbers to be posted.