
Thank you for purchasing the Peek-a-Boo Scenic Coast Fun Fold Tutorial! I hope you enjoy creating these cards and are inspired to try this fun fold with other papers, dies, and designs.
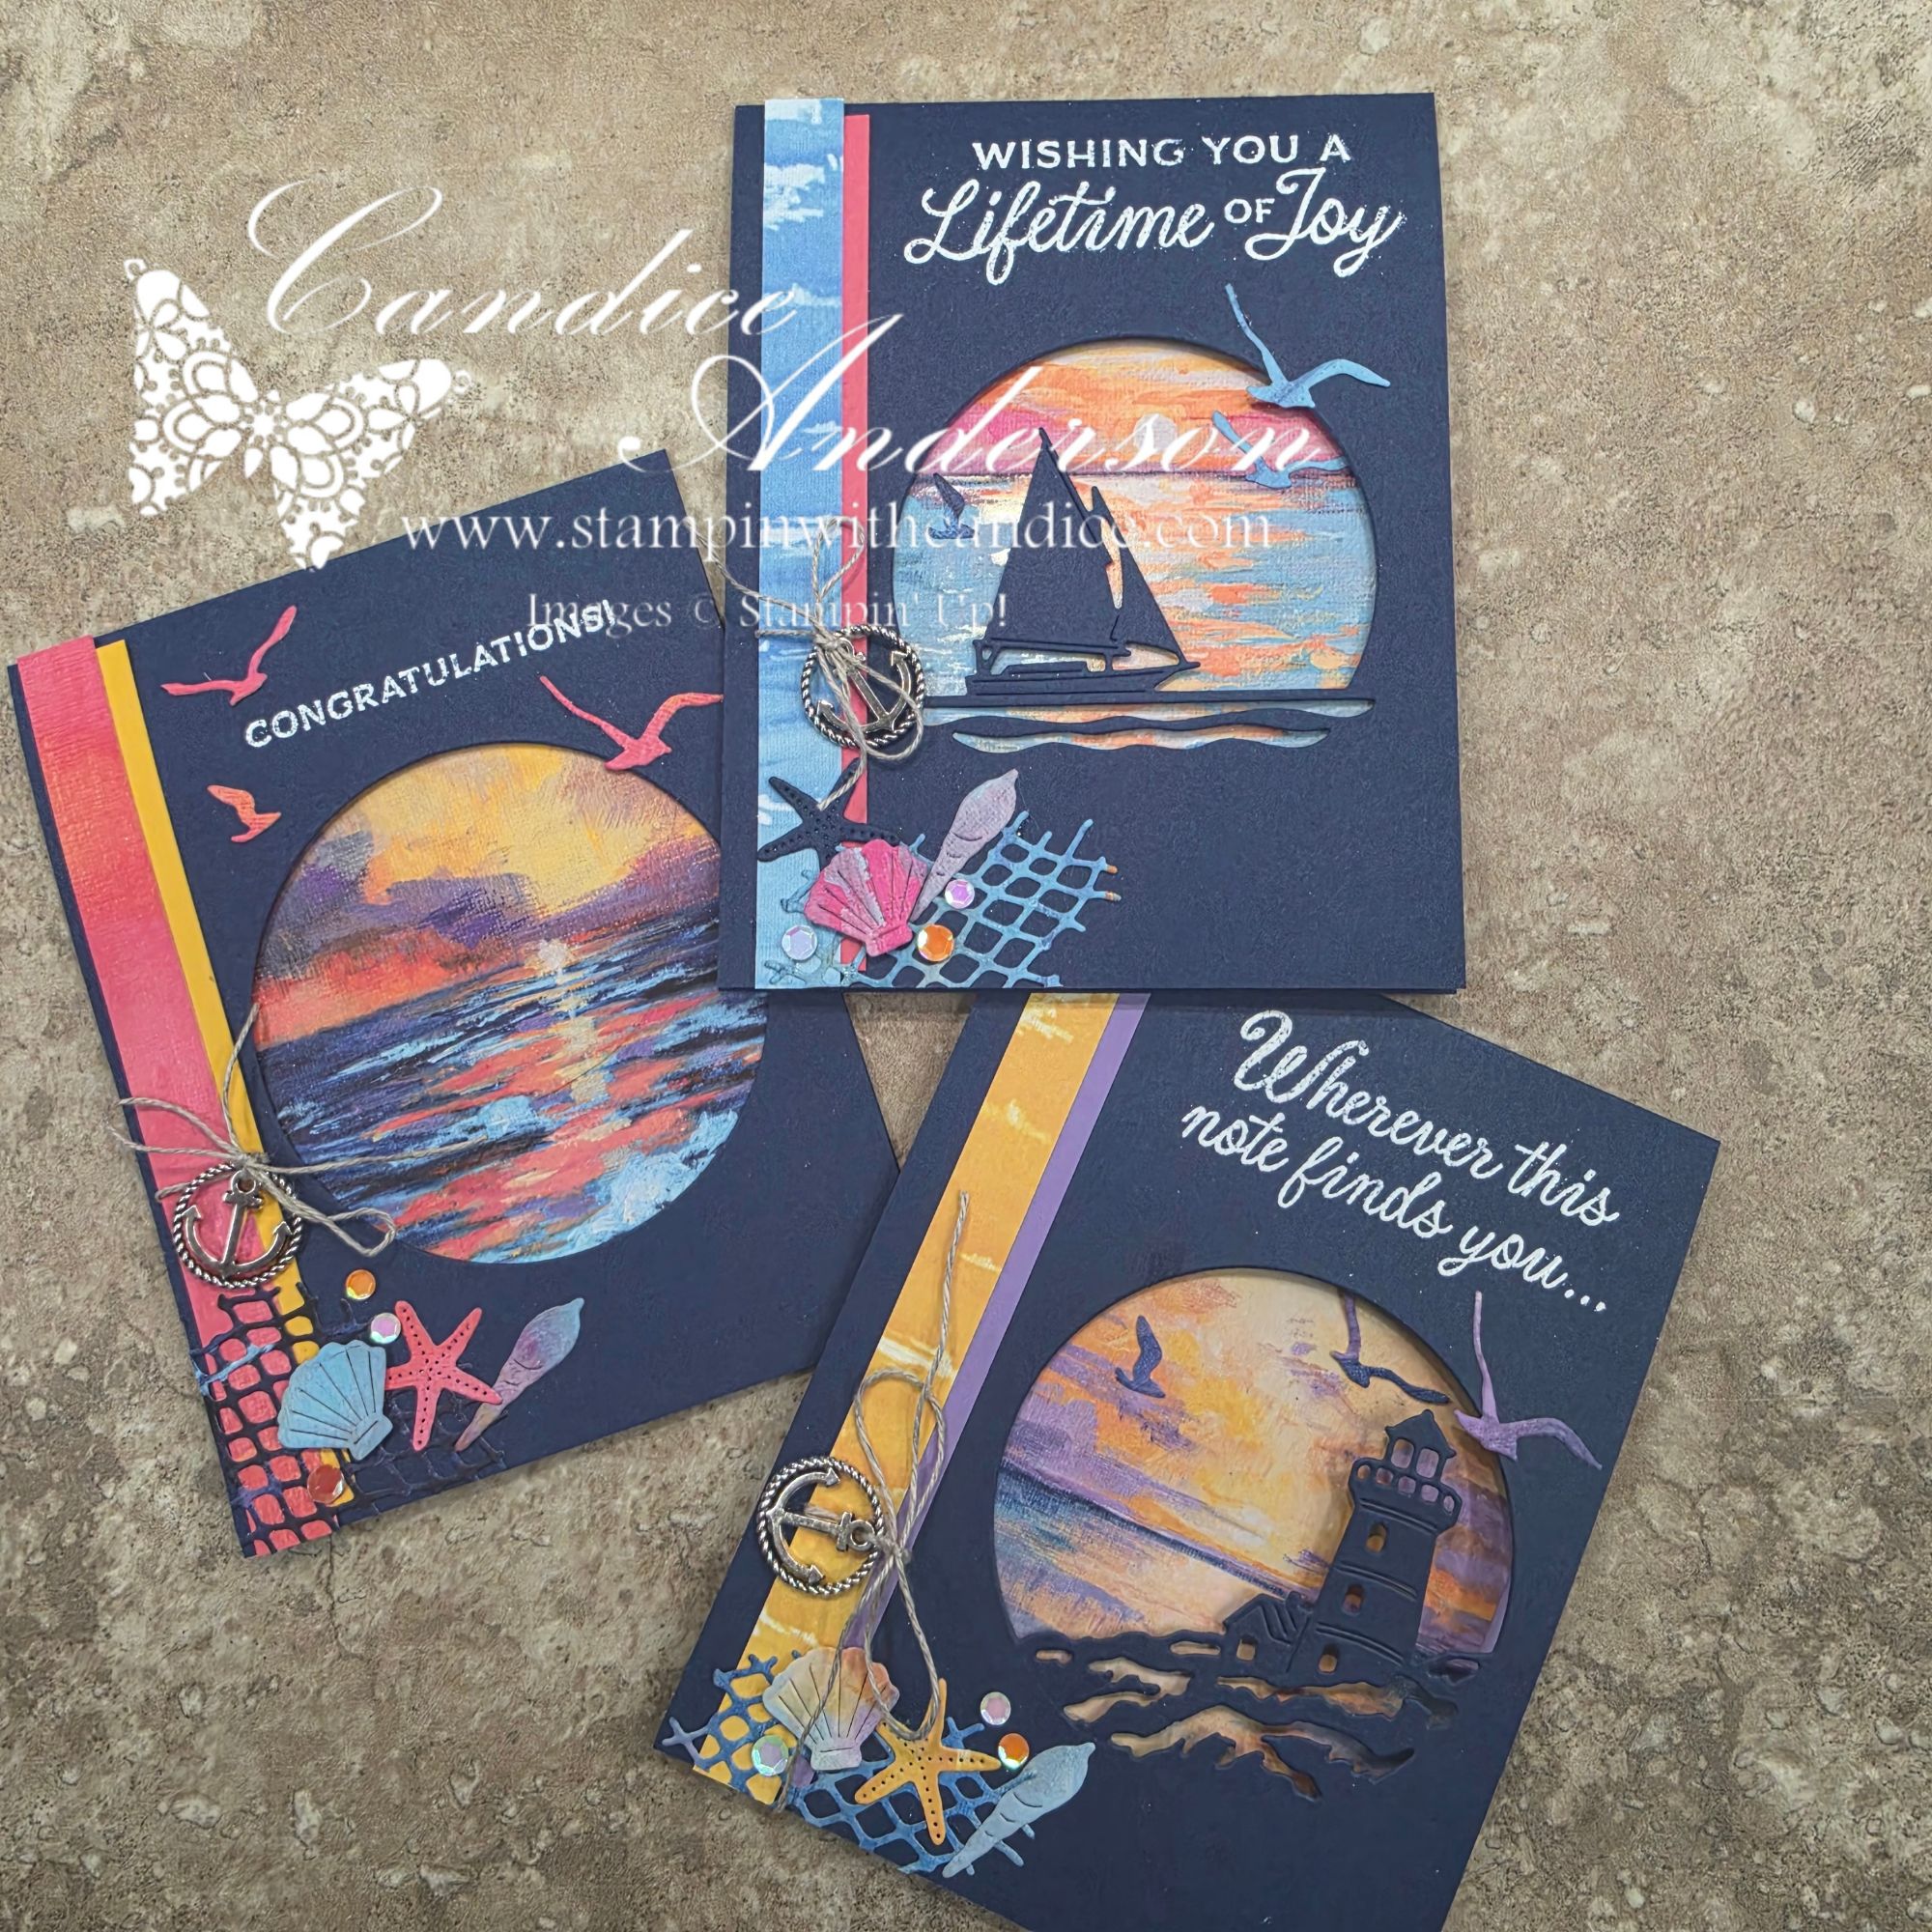
Everything you need to recreate the project is included on this page. You can follow along with the written instructions below, download and print the PDF for an easy reference at your craft table, or watch the video and create along with me.
- Step-by-step instructions with photos
- Downloadable PDF tutorial
- Video tutorial
- Complete project Supply List
Tip: Bookmark this page so you can easily return to your tutorial. If I add helpful tips or updates in the future, you’ll find the latest information here.
Supplies
Stamps & Dies
Scenic Coast Bundle
Ink
Night of Navy
Versa Mark
Paper
Basic White
Night of Navy
Strawberry Slush
Highland Heather
Crushed Curry
Scenic Coast Designer Series Paper
Adhesives
Tombow Liquid Glue
Stampin’ Dimensionals
Stampin’ Seal +
Tools
Cut & Emboss Machine
Heat Tool
White Embossing Powder
Paper Trimmer with scoring blade
Accessories
Loose Anchor Trinkets
Sunset Sparkle Sequins
Linen Thread
Measurements
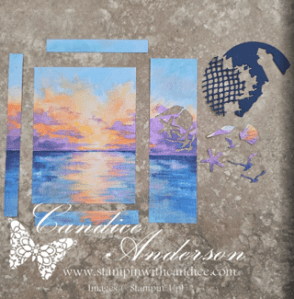
Designer Series Paper – Your choice – Choose inside color to coordinate
- Cutting directions are with the water scene facing up
- Cut left side at 1/2” (use reverse side on front of card)
- Cut center to 3-3/4” (Inside fold)
- Cut 1/2” o the top and the bottom so it is now 5”
- Use to decorate interior of card
- Cut 1/2” o the top and the bottom so it is now 5”
- The 1-3/4” Piece that is left will be used for die cutting
Night of Navy
- 4-1/4” x 11” – scored at 5-1/2” (Card Base)
Inside – Fun Fold section
- Light House – Highland Heather
- Sailboat – Strawberry Slush
- Ocean – Crushed curry
- 8” x 5-1/4” – Scored at 4” (inside card fold)
- 1/2” x 5-1/4” (front of card)
Basic White
- 3-1/4” x 5-1/2” (inside)
Instructions
1. Prepare the Card Front
The 4-1/4″ x 11″ Night of Navy piece will be your card base. Fold at the top so the card opens from the bottom.
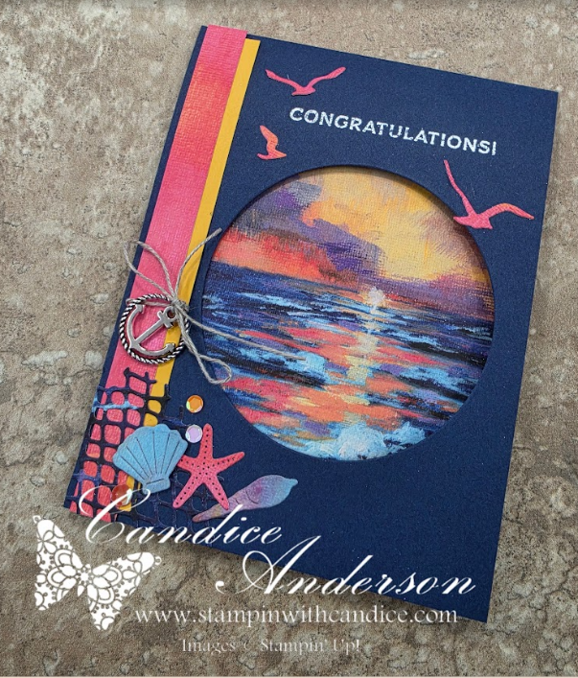
- Choose the image you would like to die cut from the card front: Lighthouse, Sailboat, or Rays.
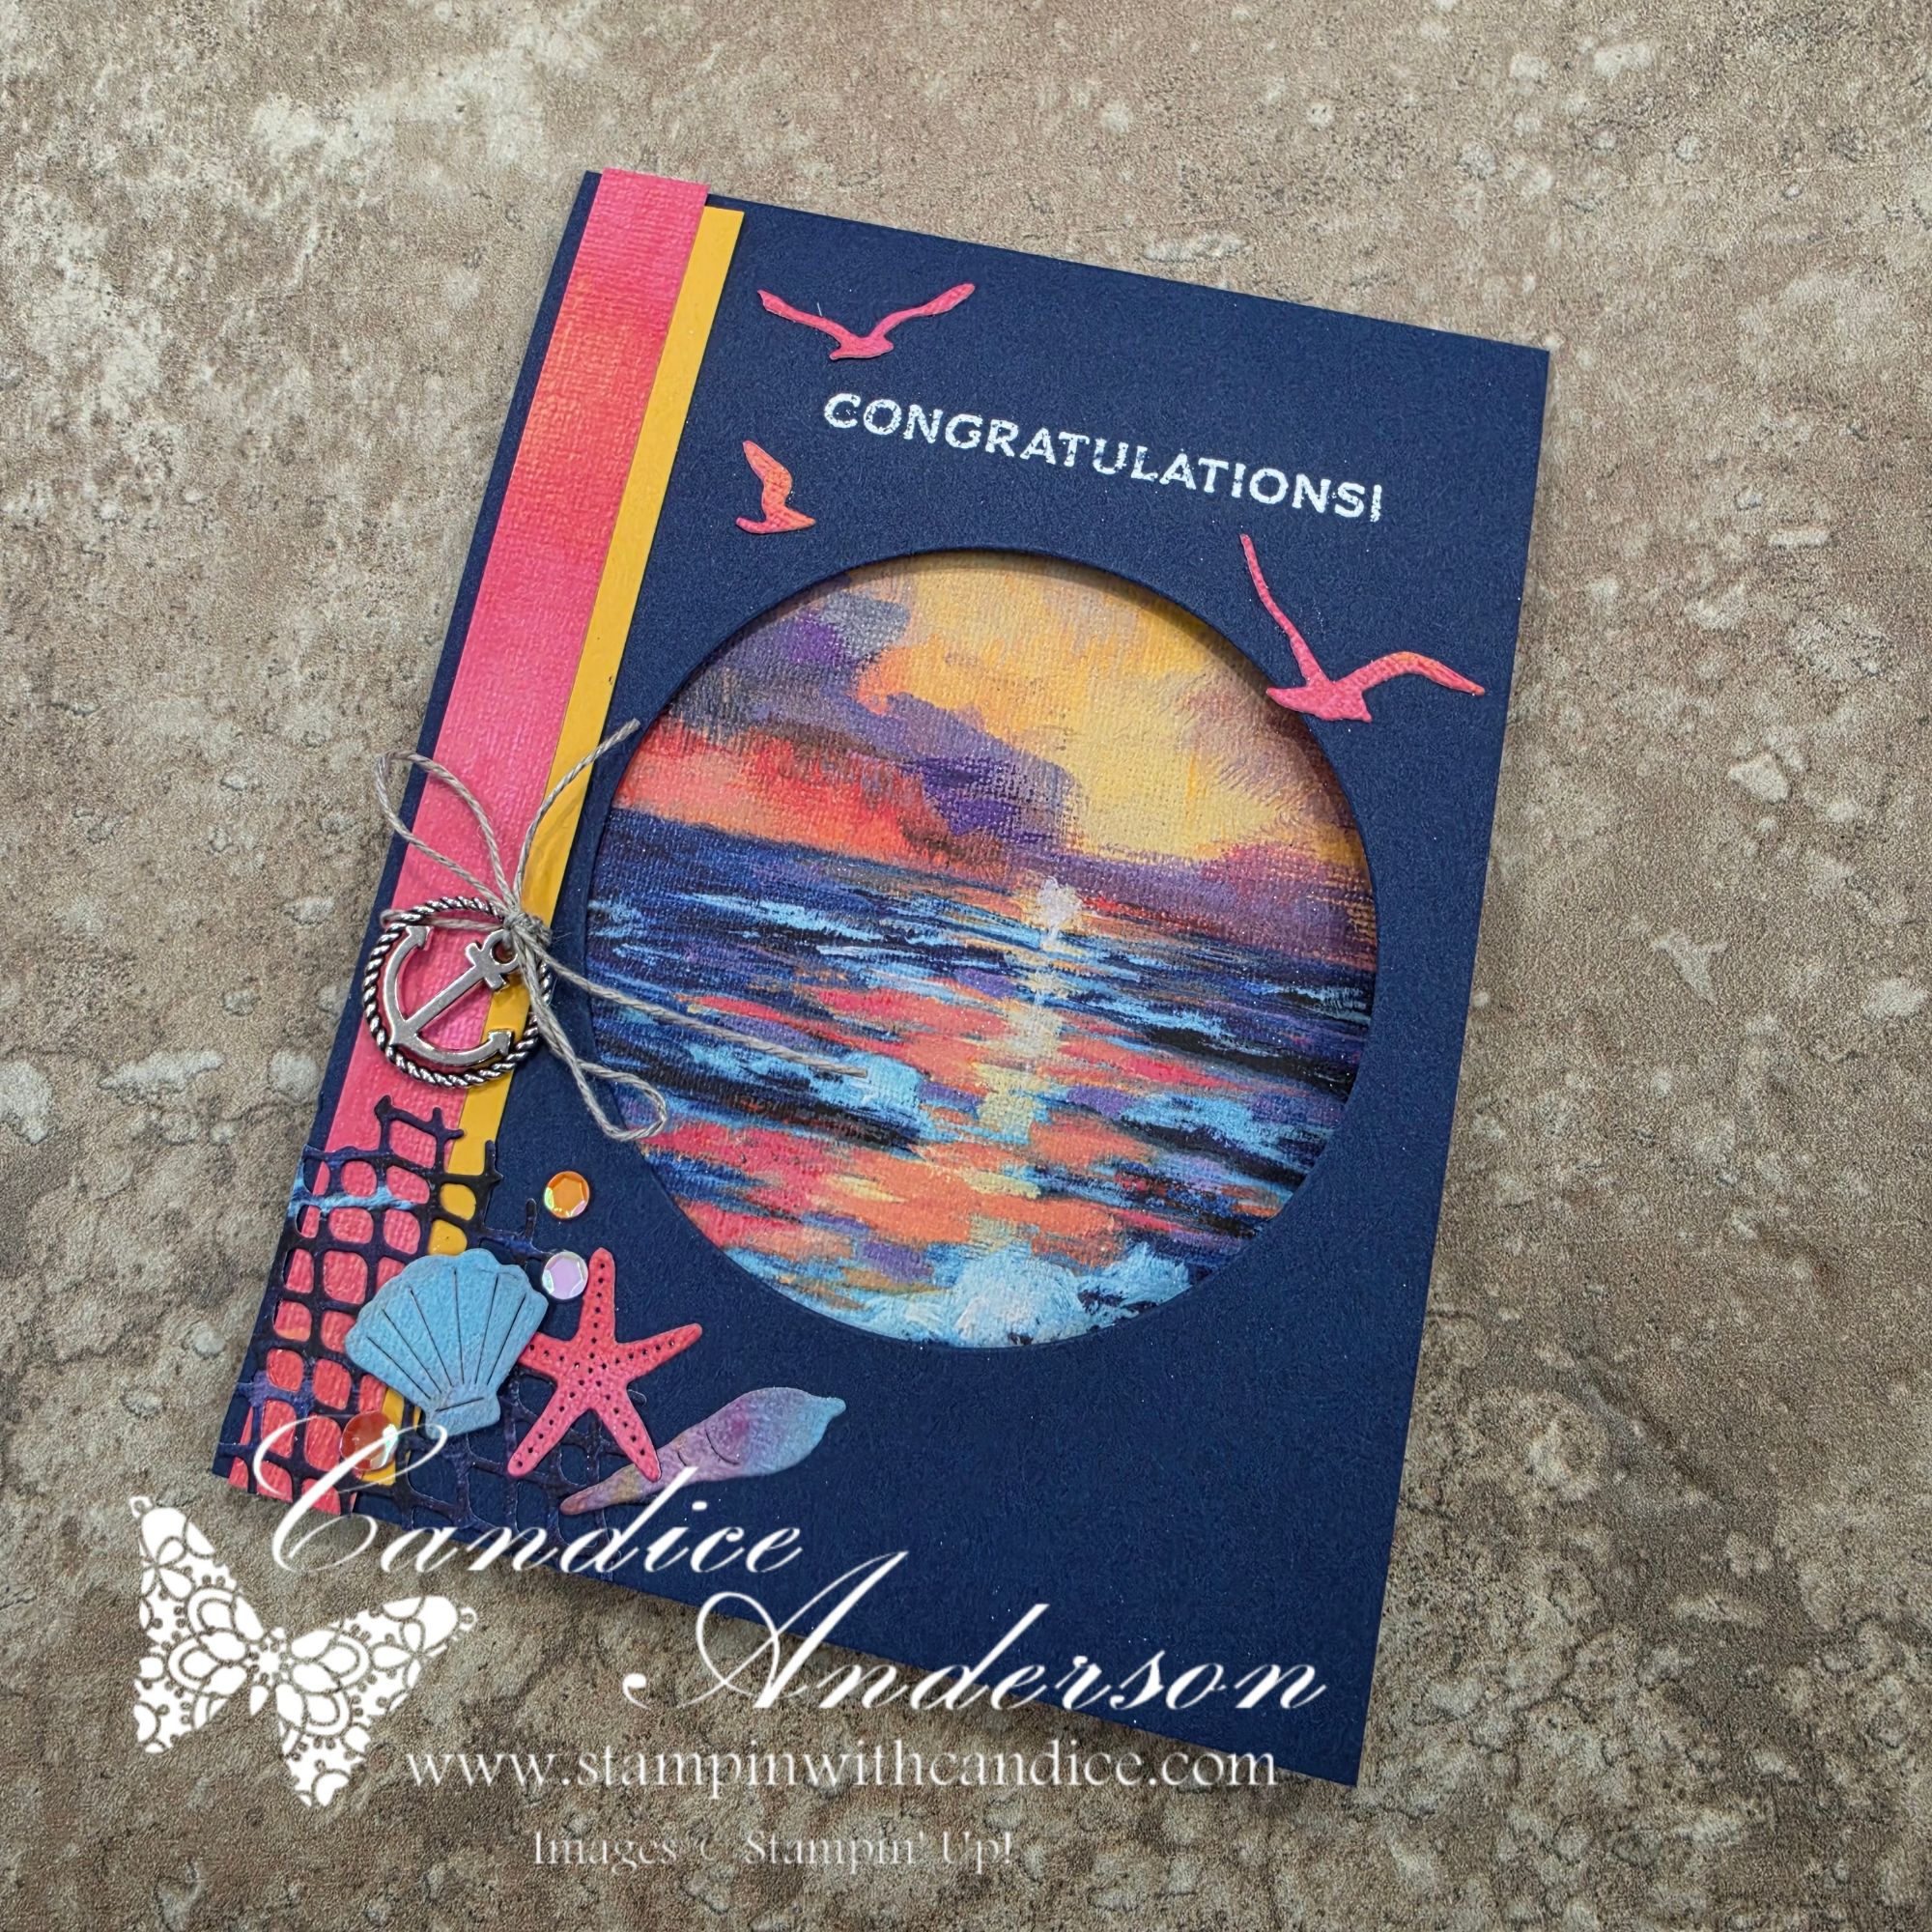
- Tip: I used the Rays die for the ocean card because it completely cuts out the circle.
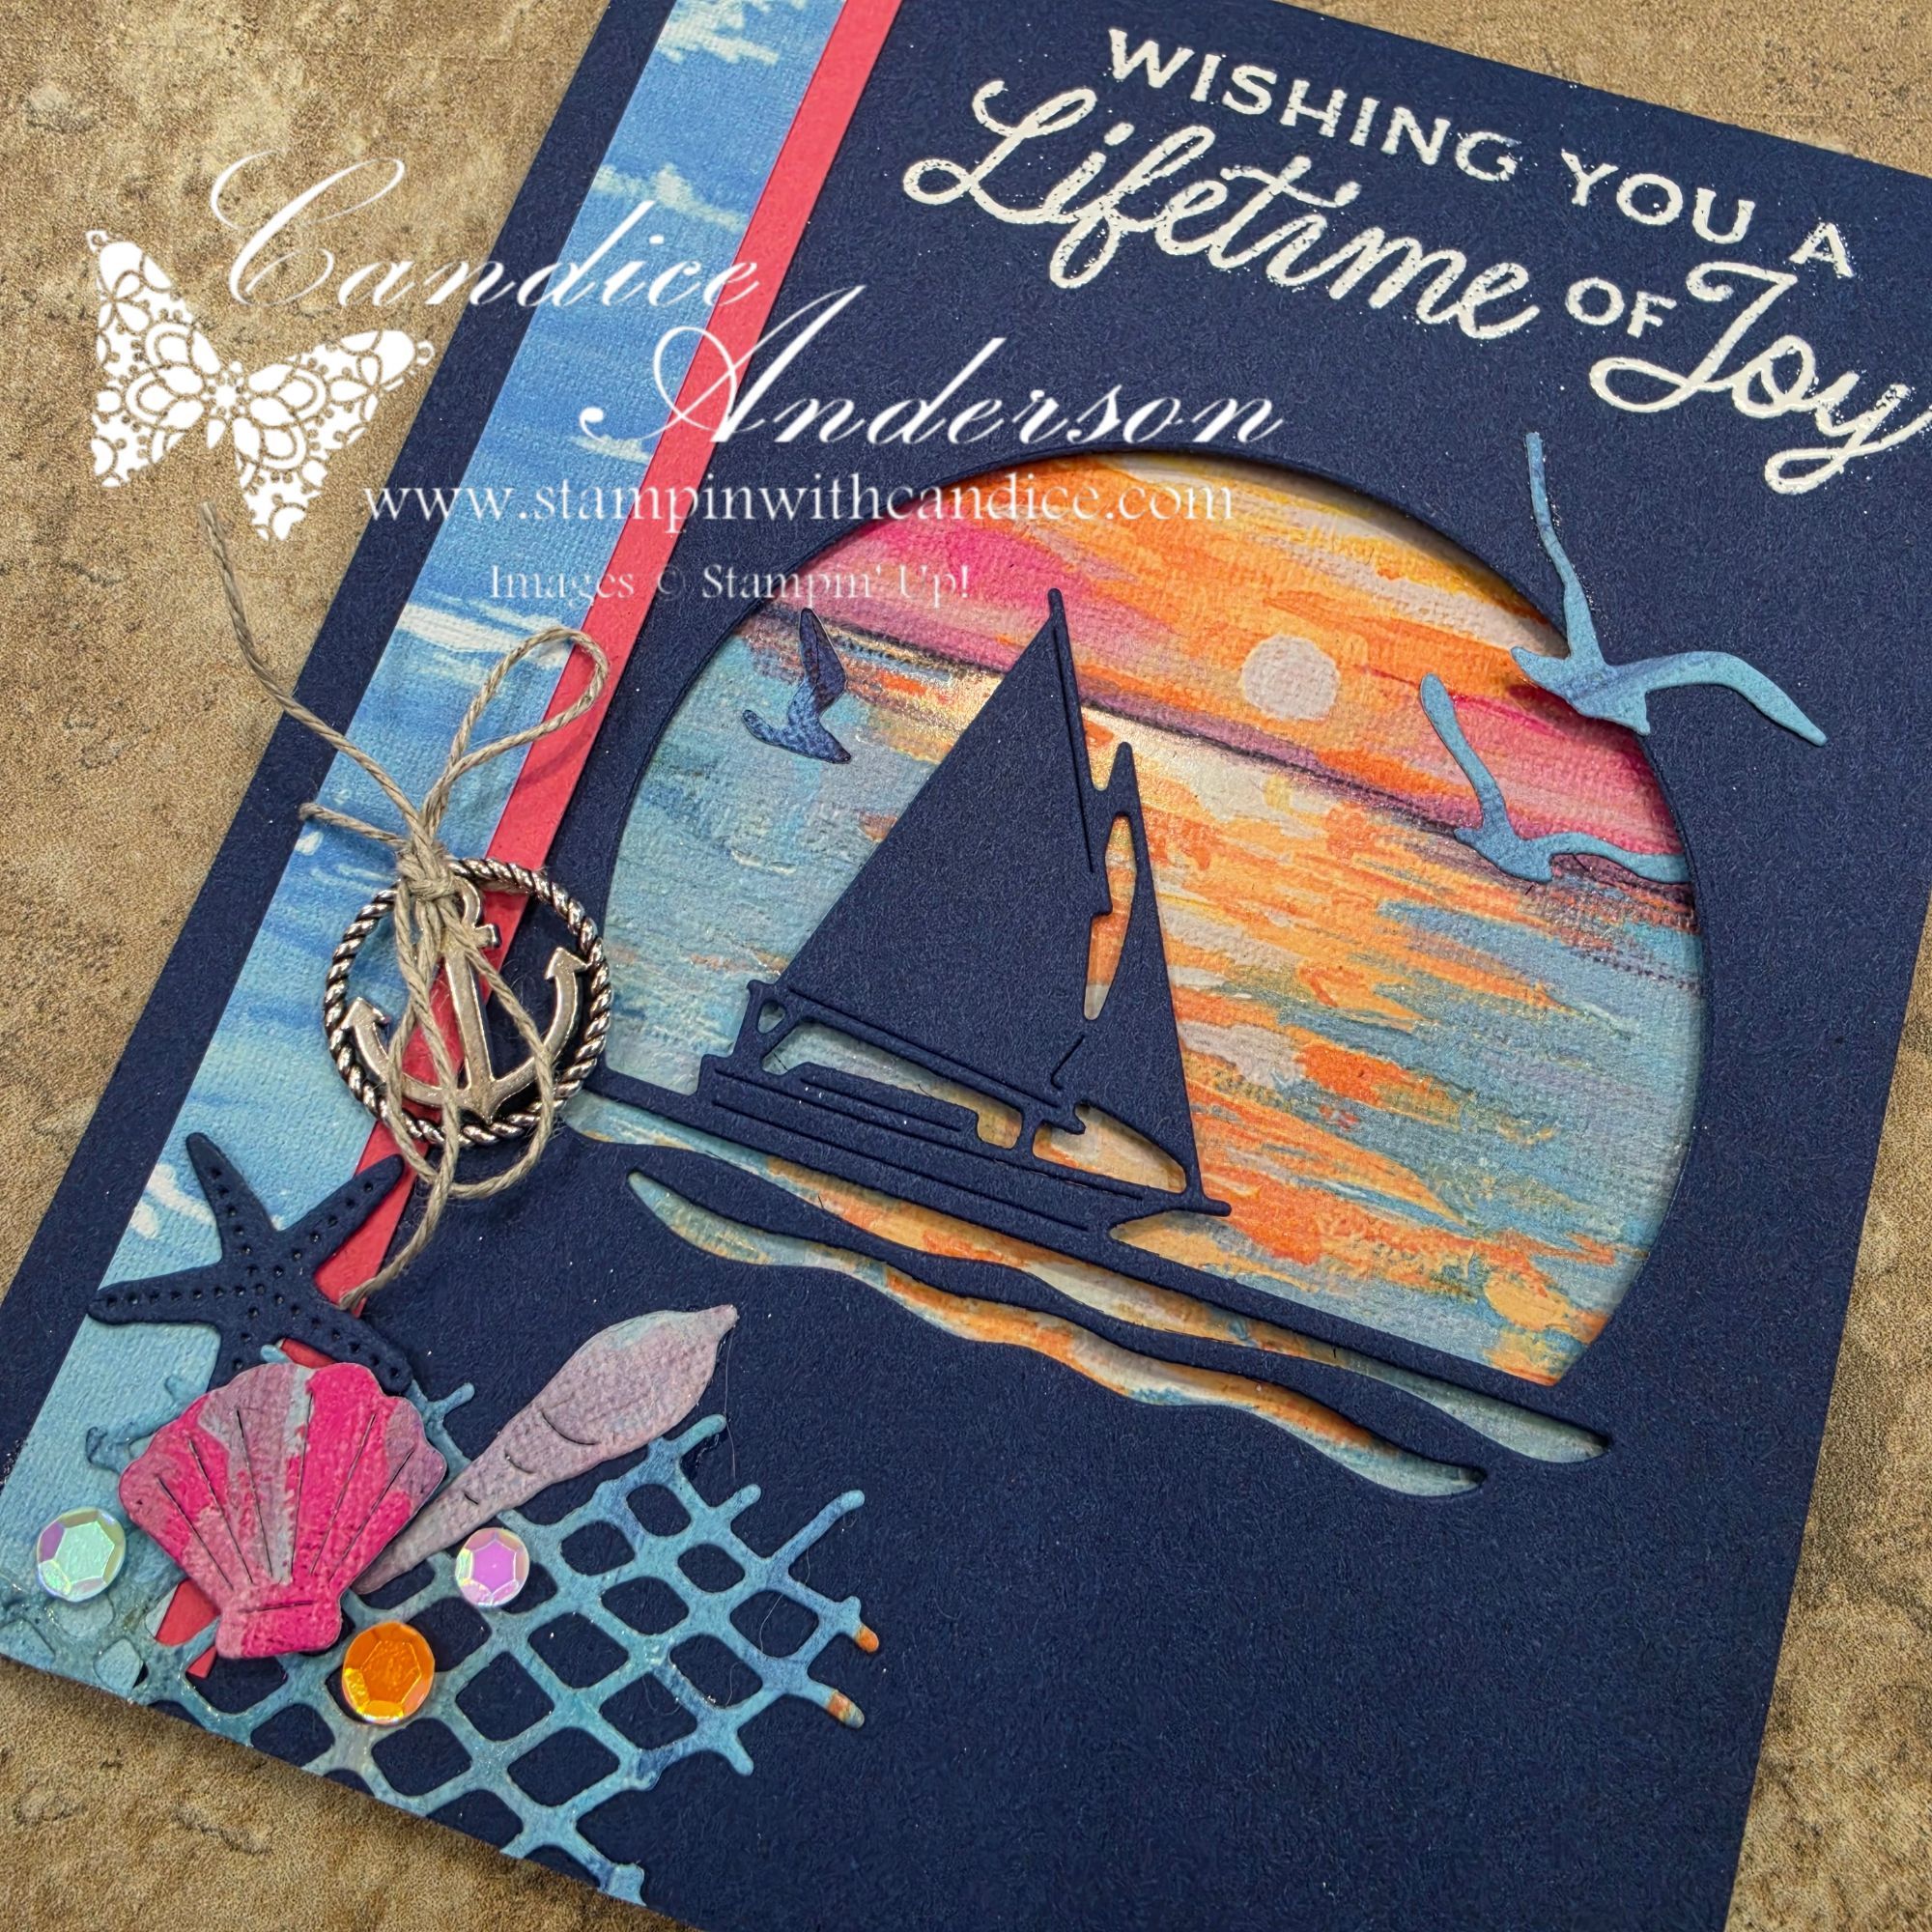
- Stamp your desired greeting in the upper-right section of the card front using VersaMark ink, then heat emboss with White Embossing Powder.
- Position your chosen die approximately 1″ from the bottom and 1/4″ from the right side.
- Important: Open the card base before running it through your Cut & Emboss Machine so you only cut through the card front.
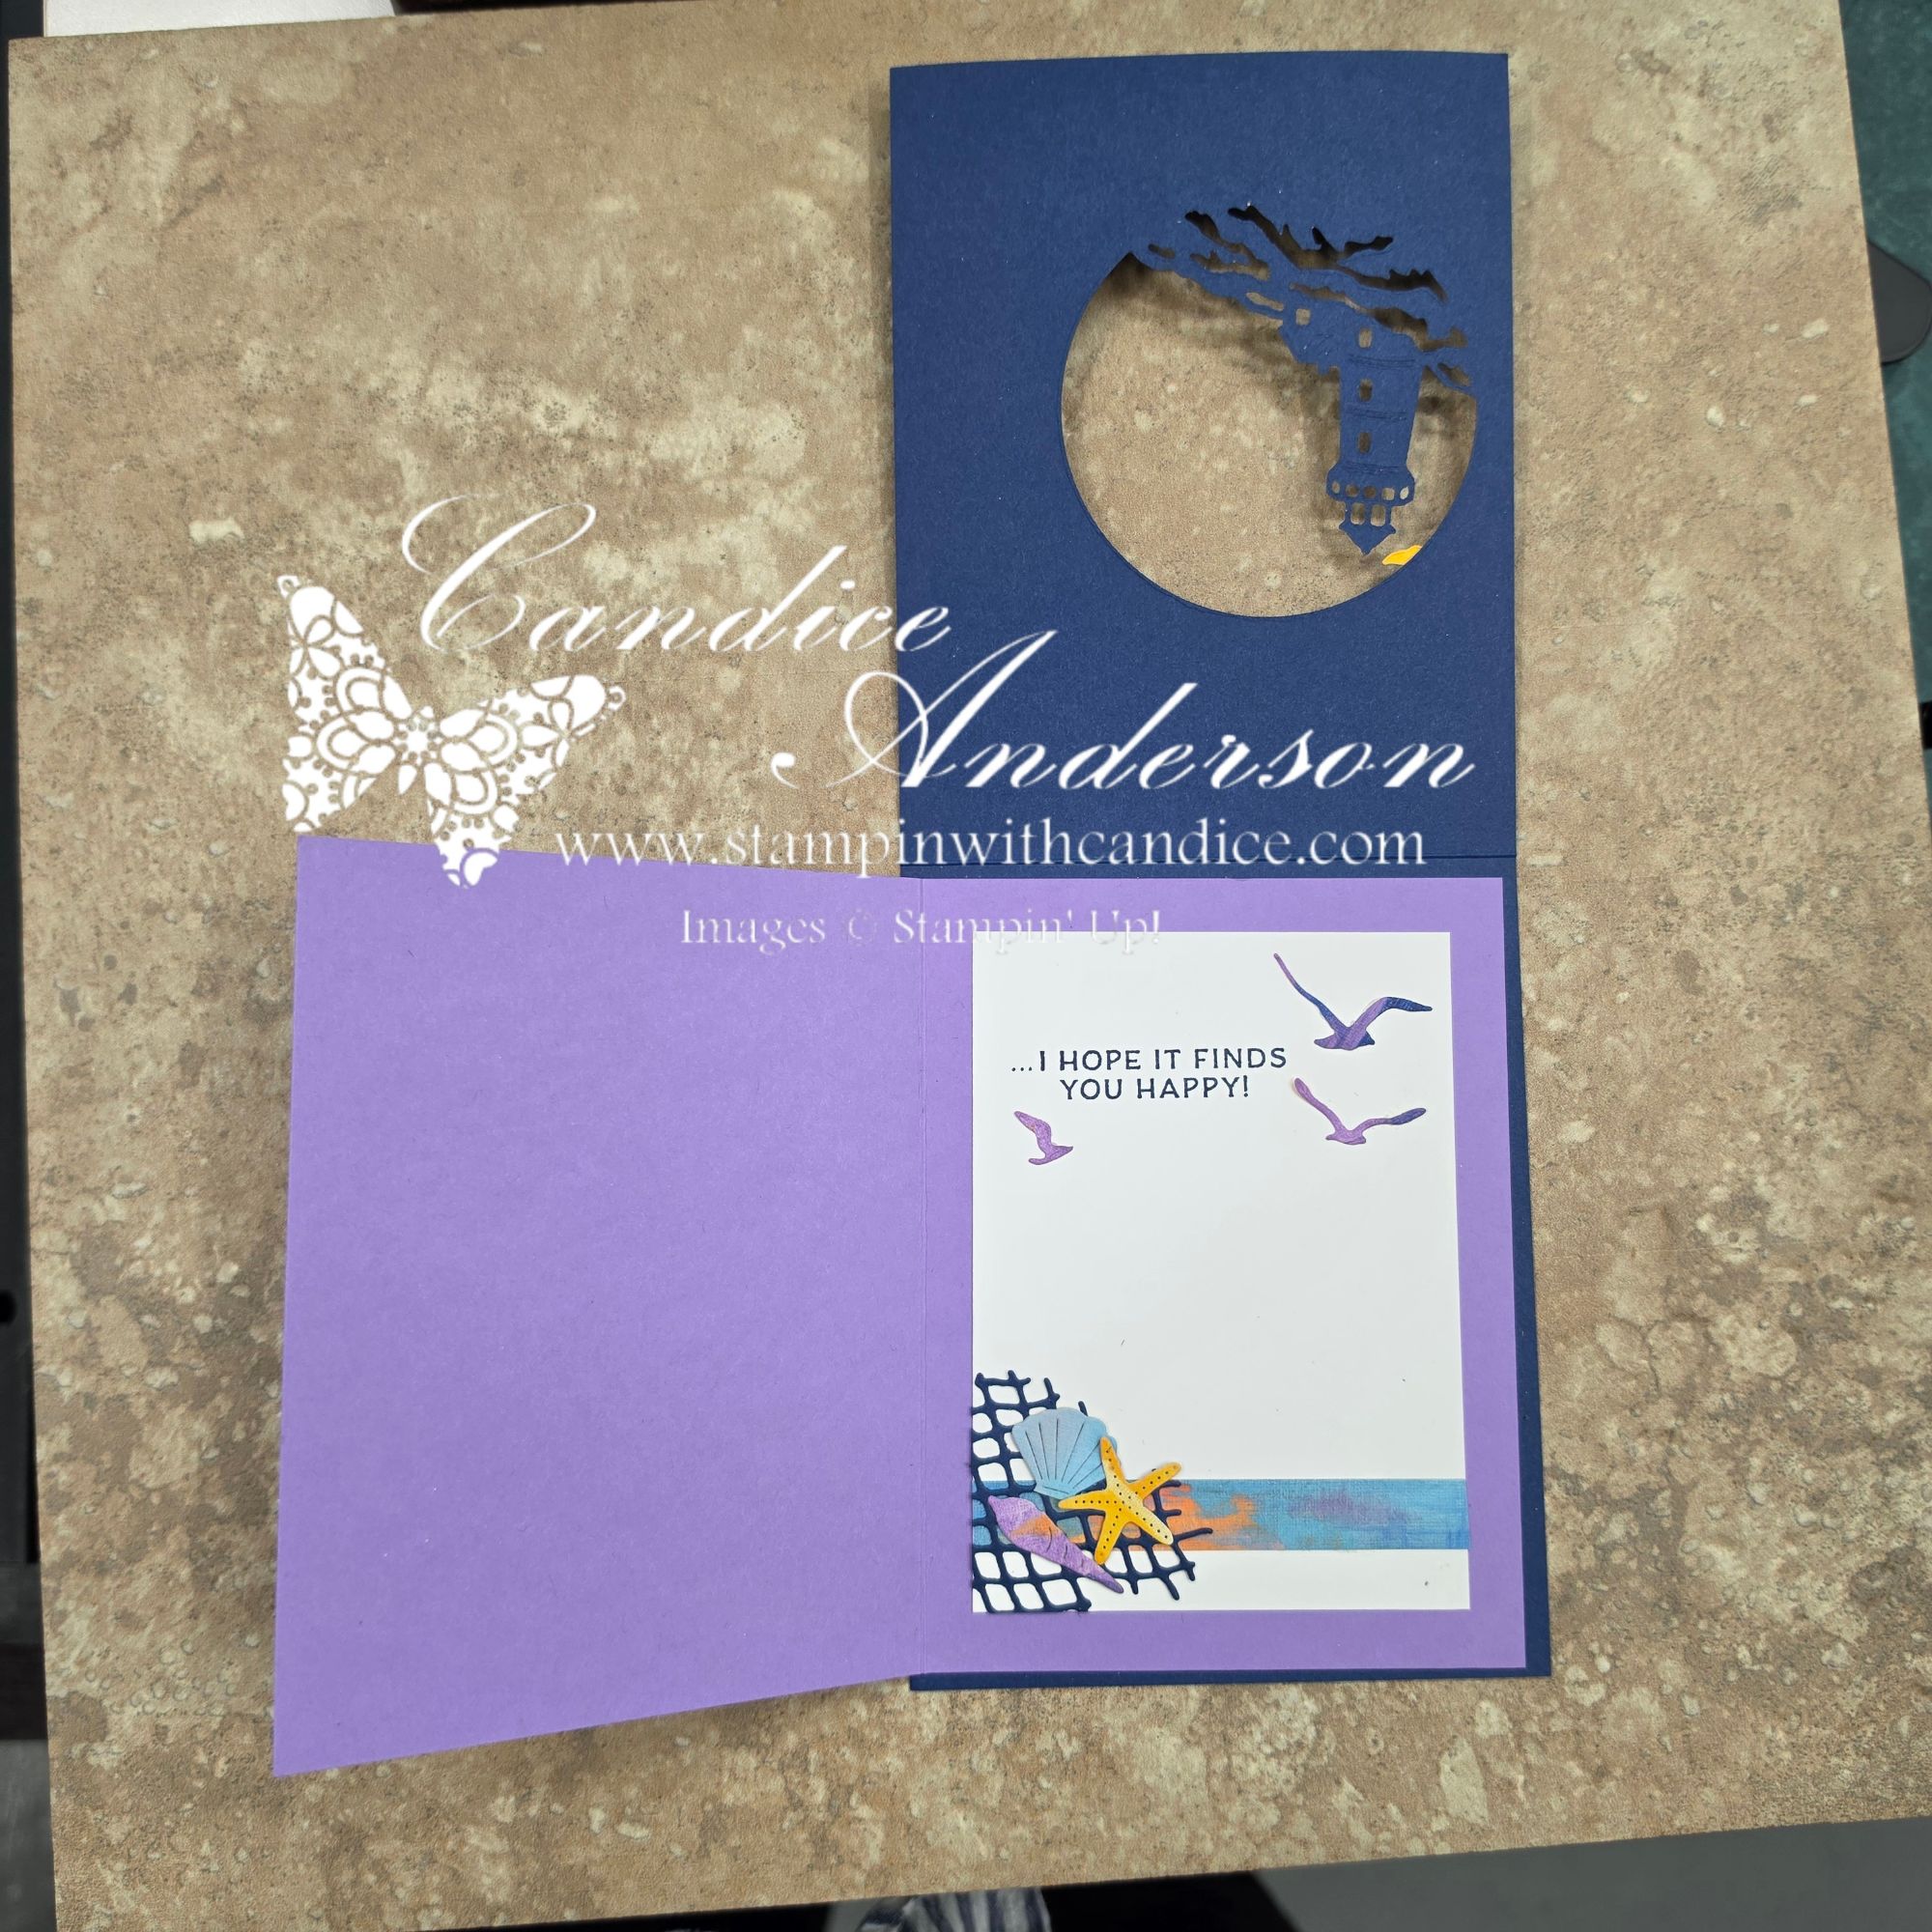
2. Add the Inside Fun-Fold Piece
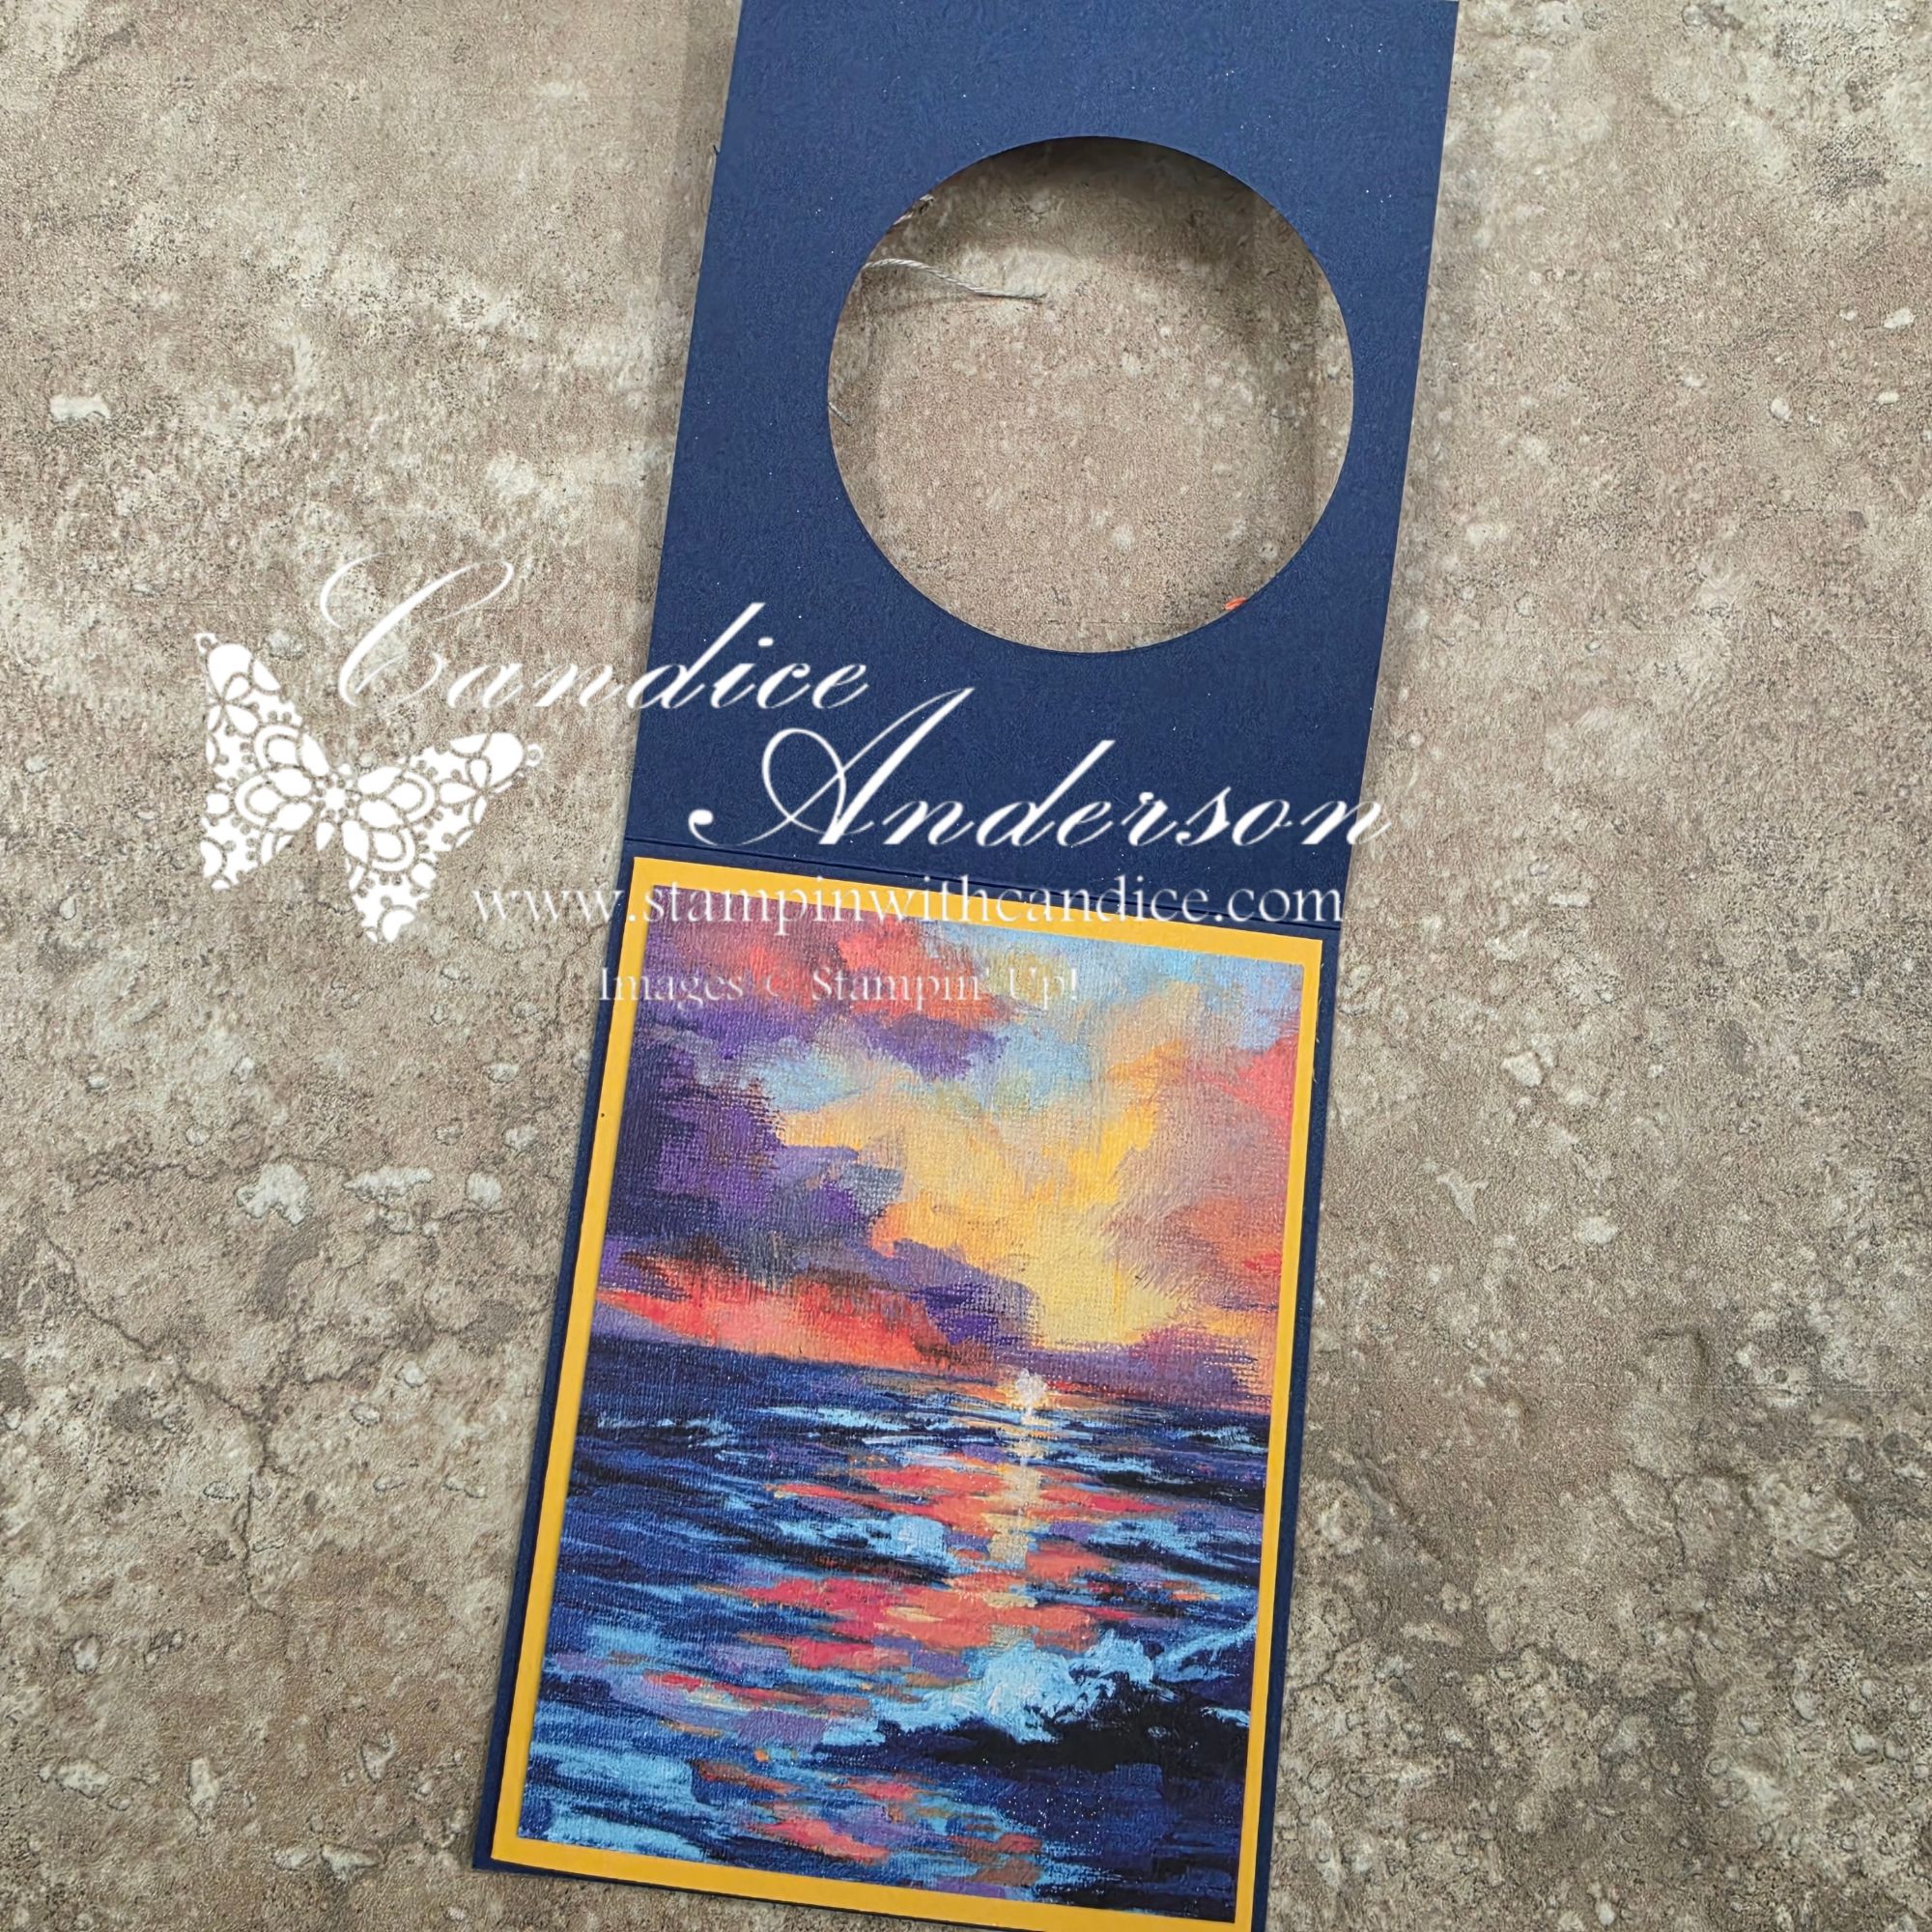
- Fold the 8″ x 5-1/4″ cardstock, scored at 4″.
- Attach it to the inside of the Night of Navy card base, centering it with the fold on the left side.
3. Add the Designer Series Paper
- Attach the 3-3/4″ x 5″ Designer Series Paper to the front of the inside fun-fold piece.
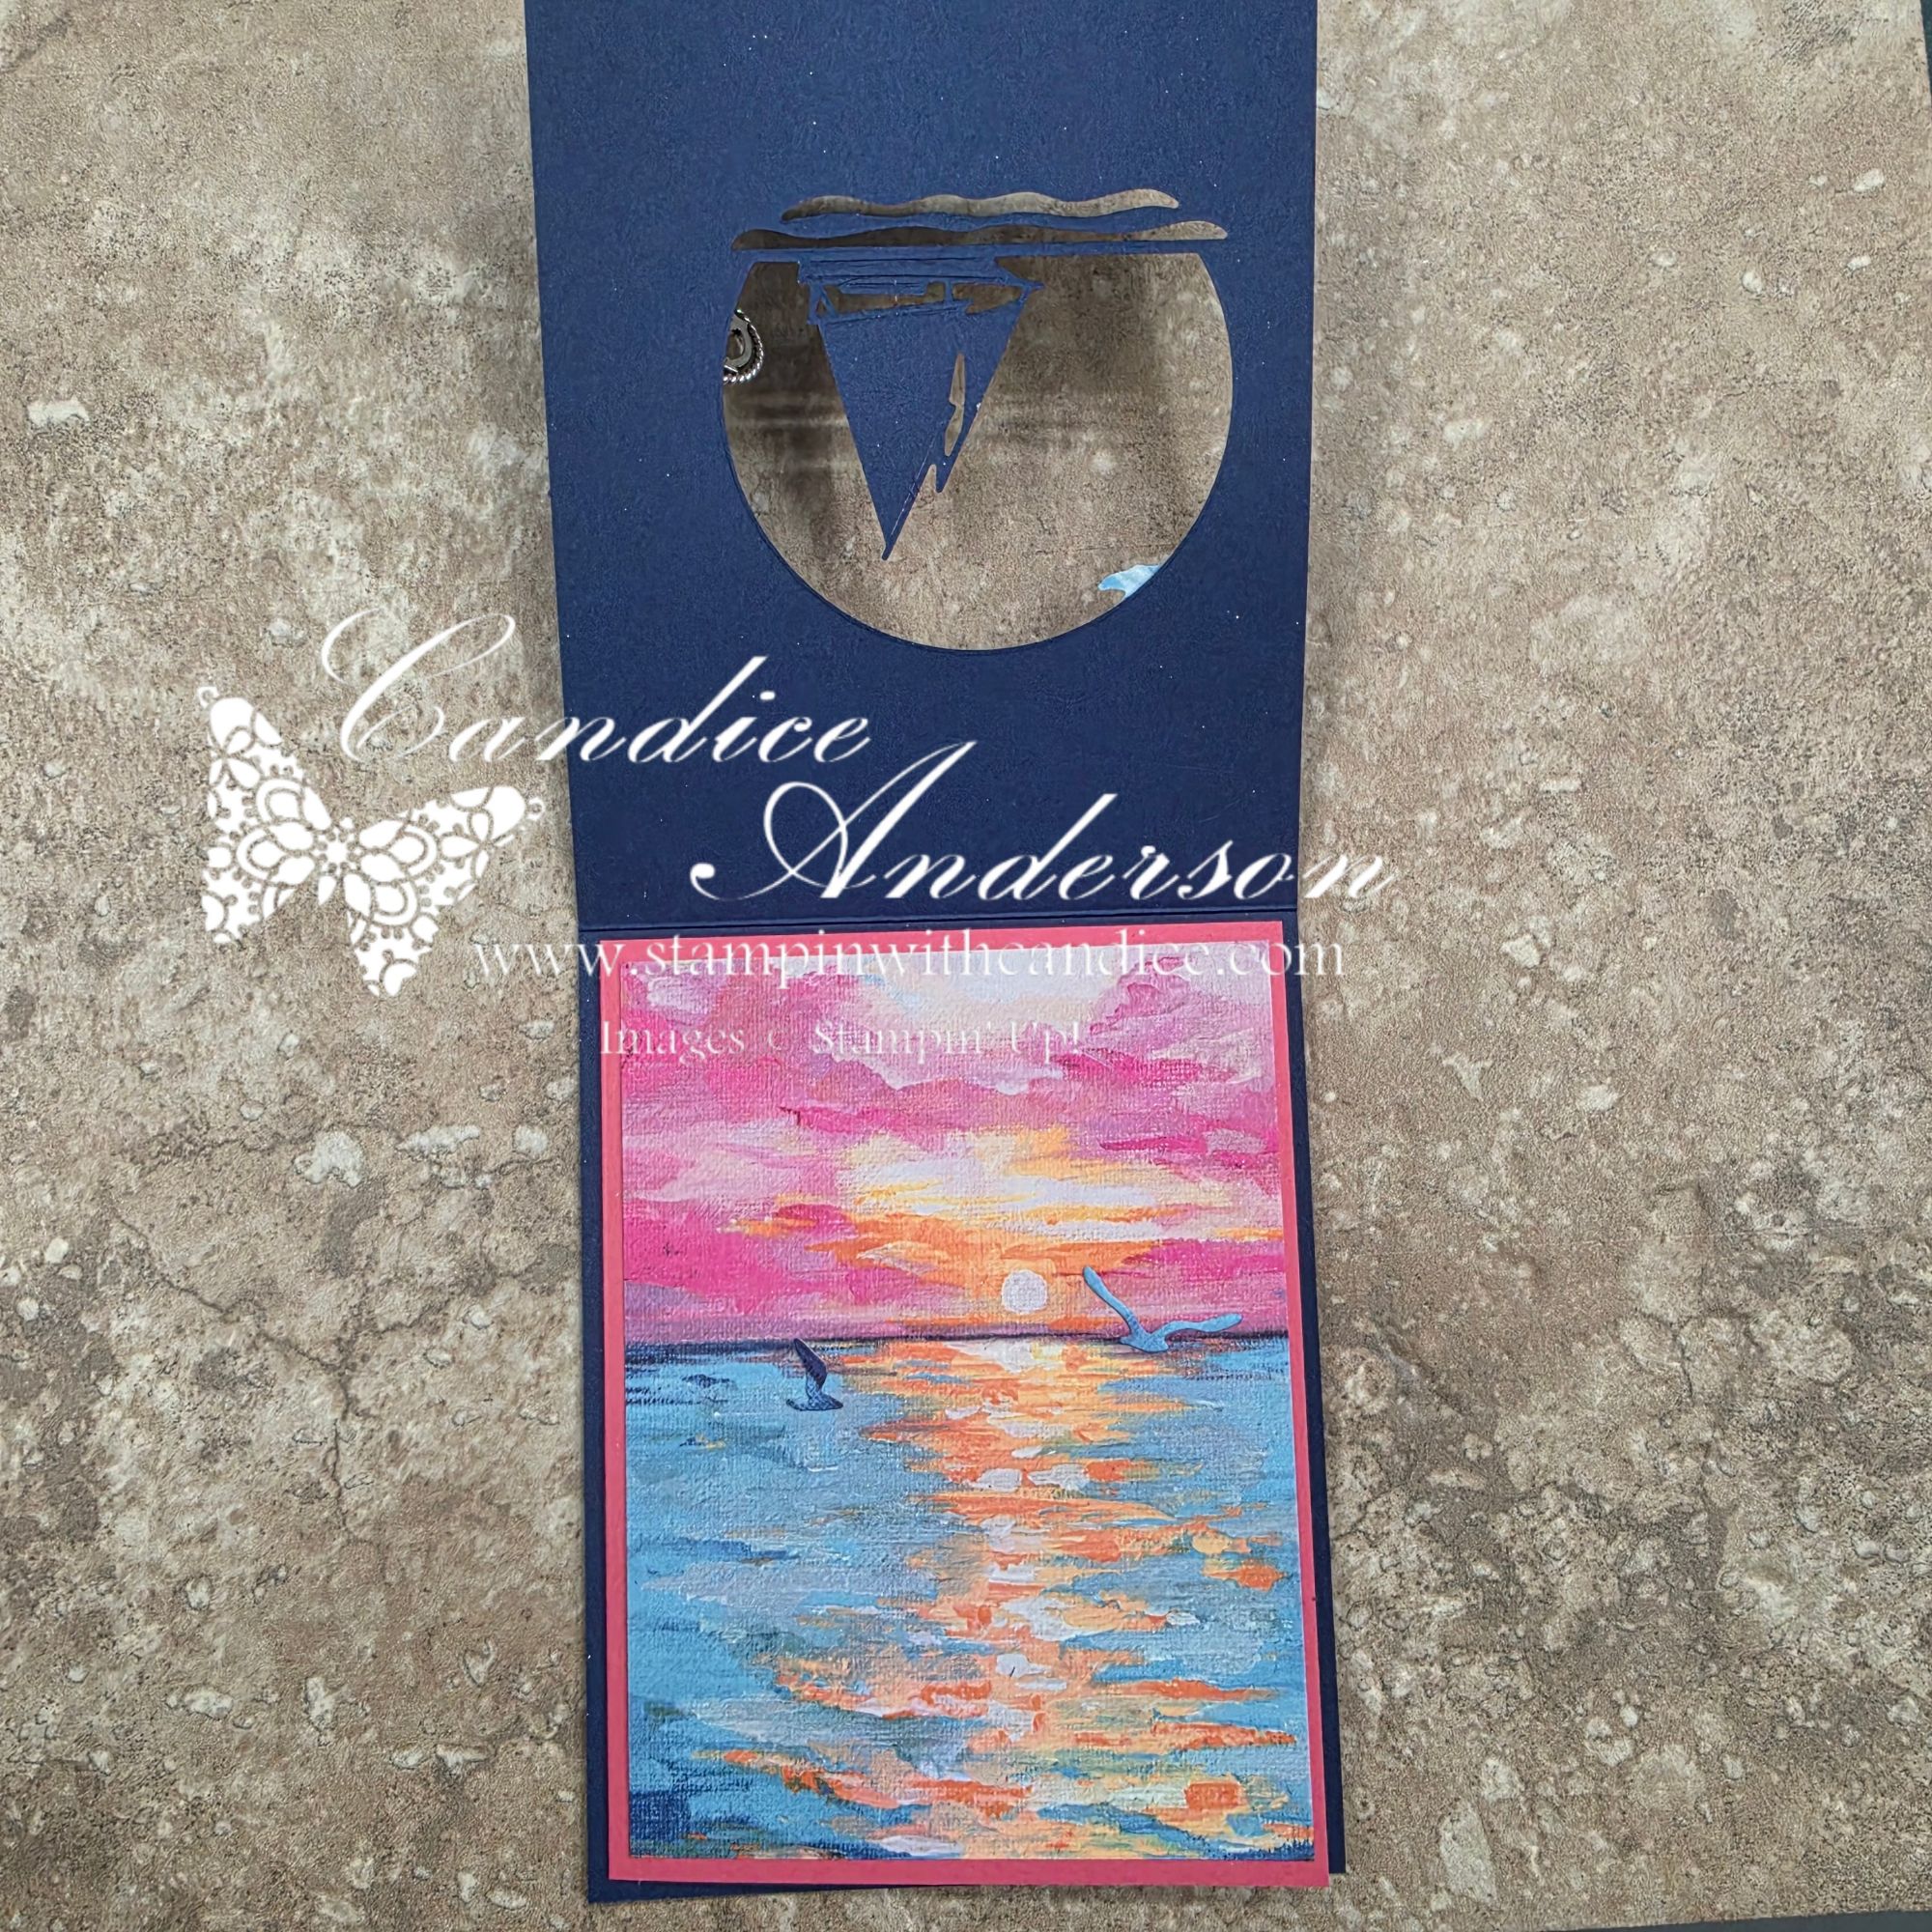
- This is the section that will show through your die-cut opening when the card is closed.
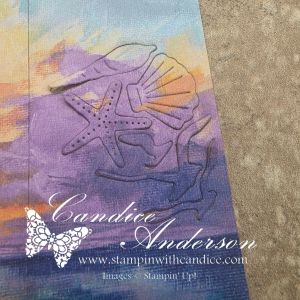
4. Die Cut Your Decorative Pieces
Use the 1-3/4″ strip of Designer Series Paper to cut additional images for decorating your card.
- I cut two sets of seashells and two sets of birds for most of my cards.
- Remember to flip the Designer Series Paper over! Using both sides gives you additional colors and patterns for more variety.
- I also cut two netting pieces.
- If desired, use the Night of Navy piece removed when cutting the Sailboat or Lighthouse opening to cut one of the netting pieces.
- You only need portions of the netting for the finished card, so don’t worry if you can’t cut the entire image from your scraps.
- The exact pieces you cut will depend on the Designer Series Paper and focal-point die you selected. You should have plenty of paper—I was even able to cut a few extras while designing my cards.
5. Decorate the Card Front
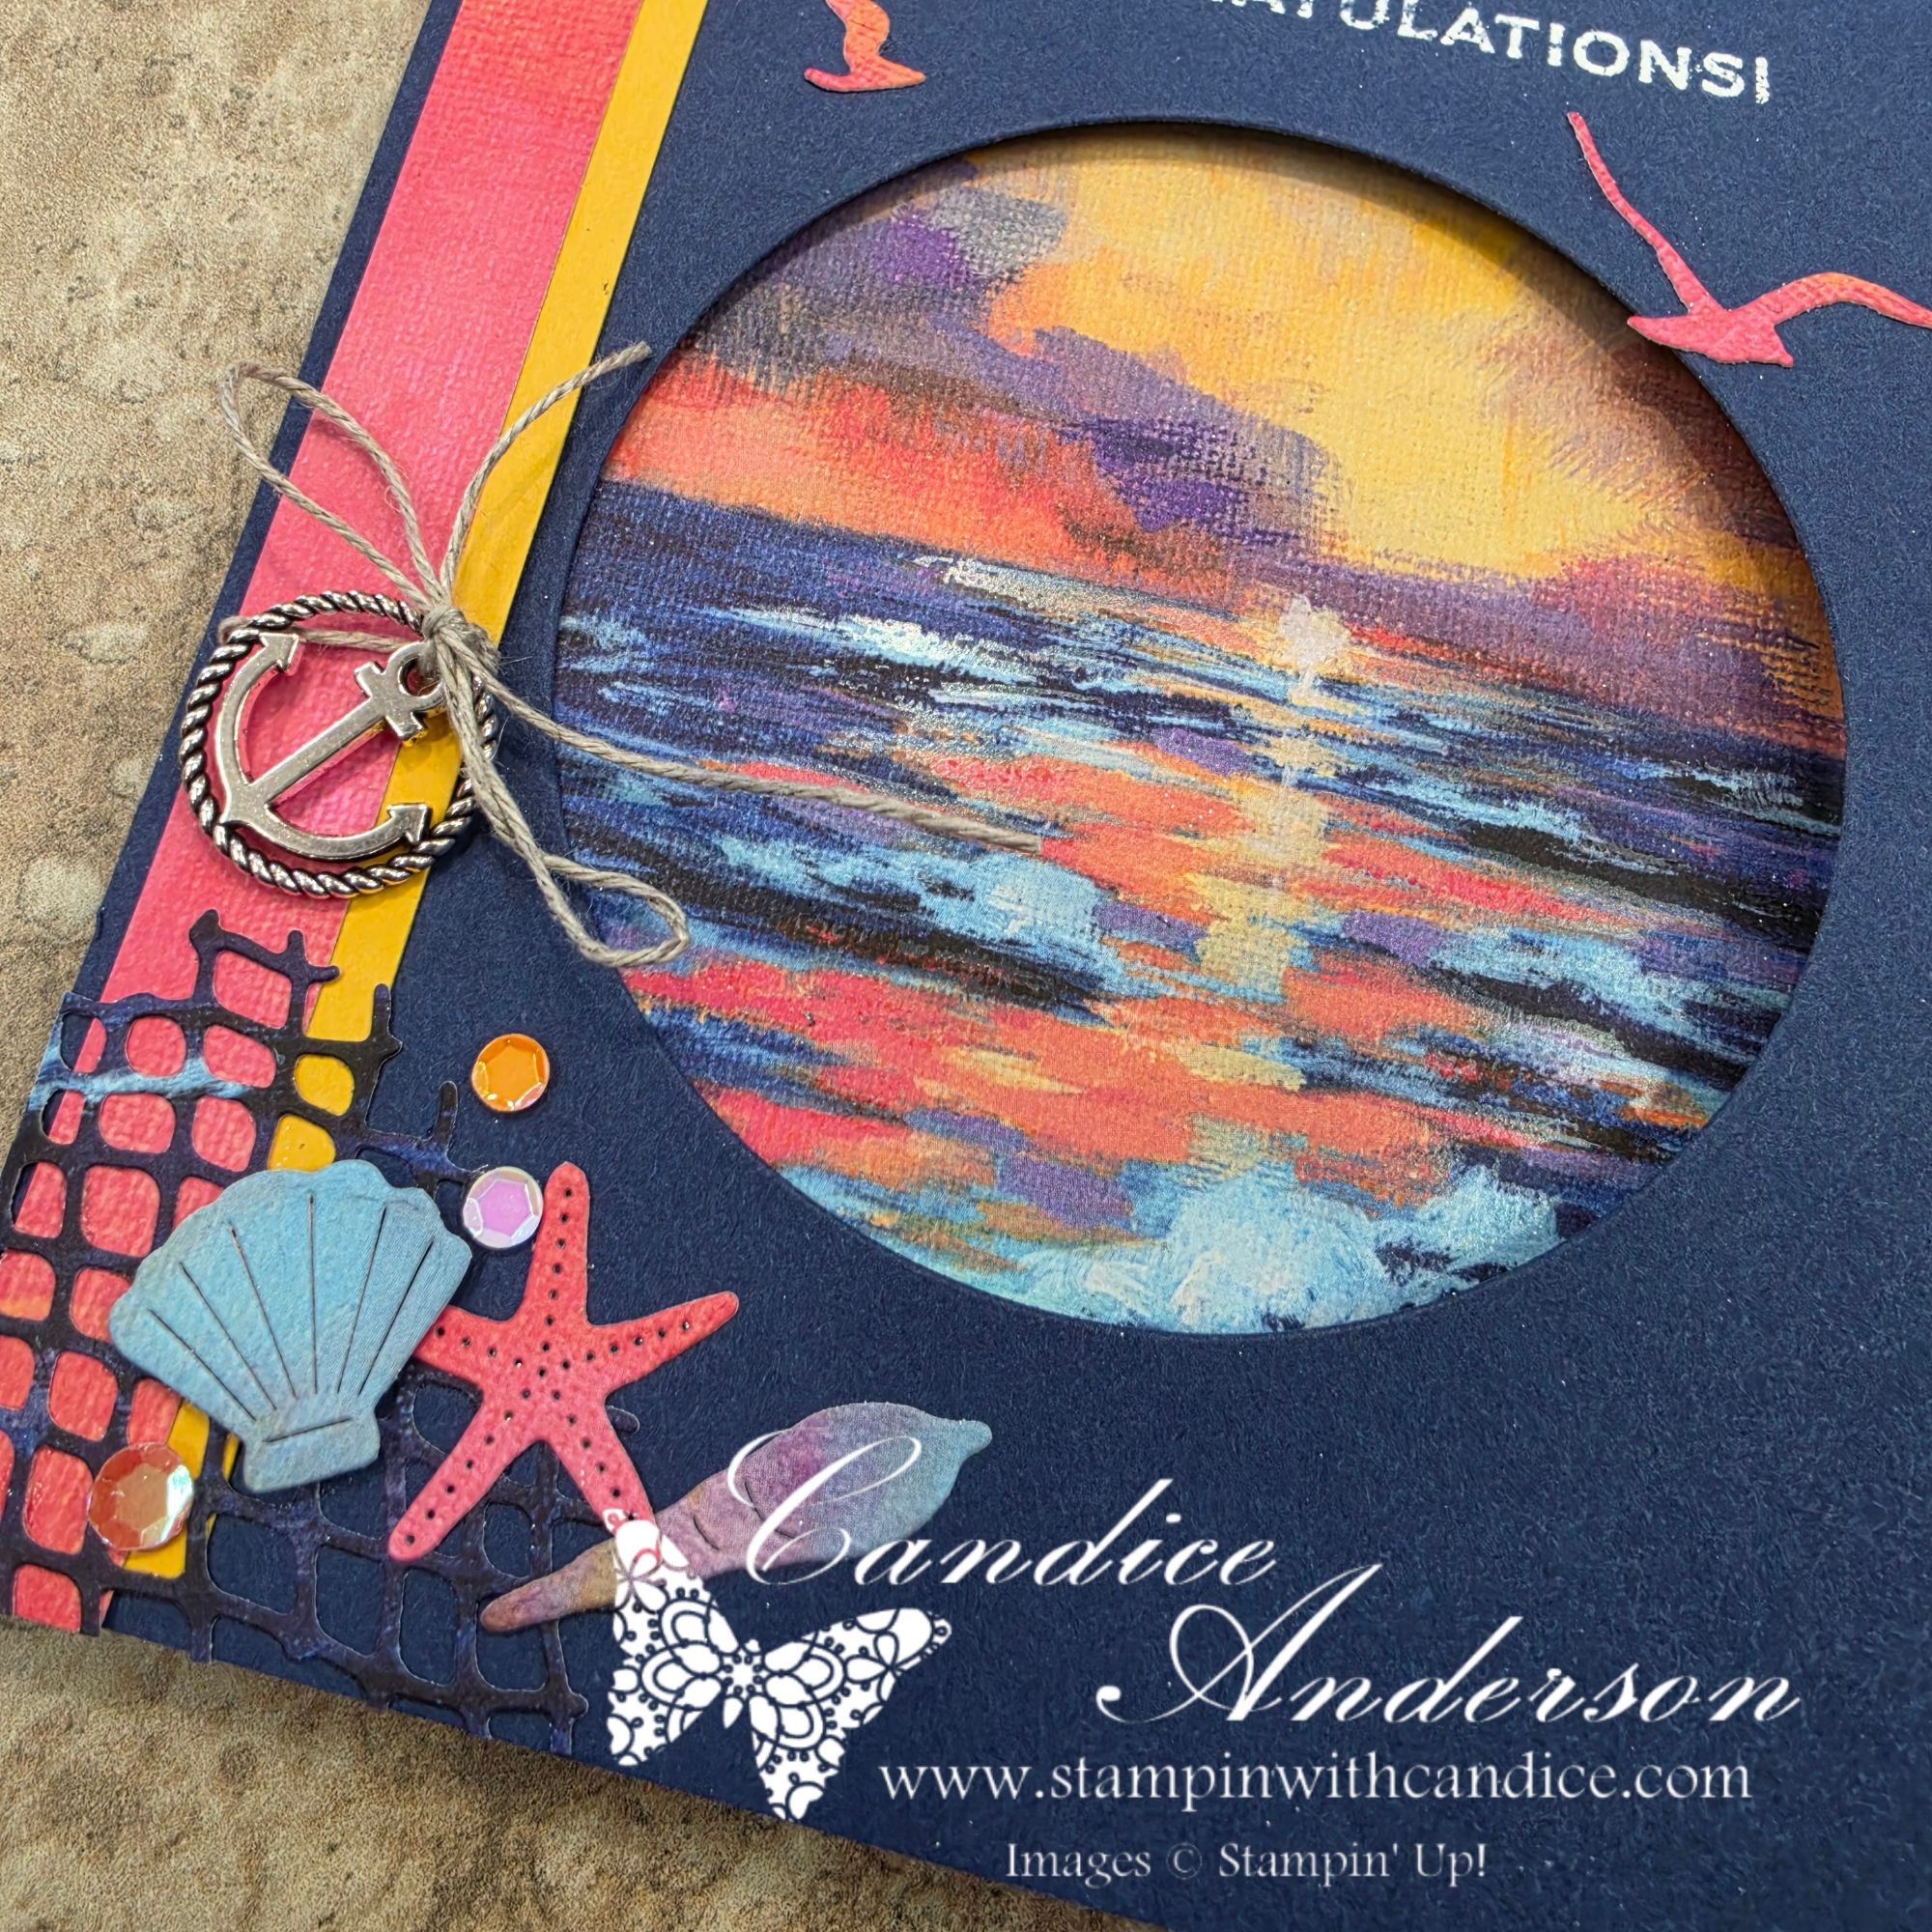
- Layer the 1/2″ x 5-1/4″ cardstock strip over the 1/2″ Designer Series Paper strip, leaving approximately 1/8″ of the Designer Series Paper showing.
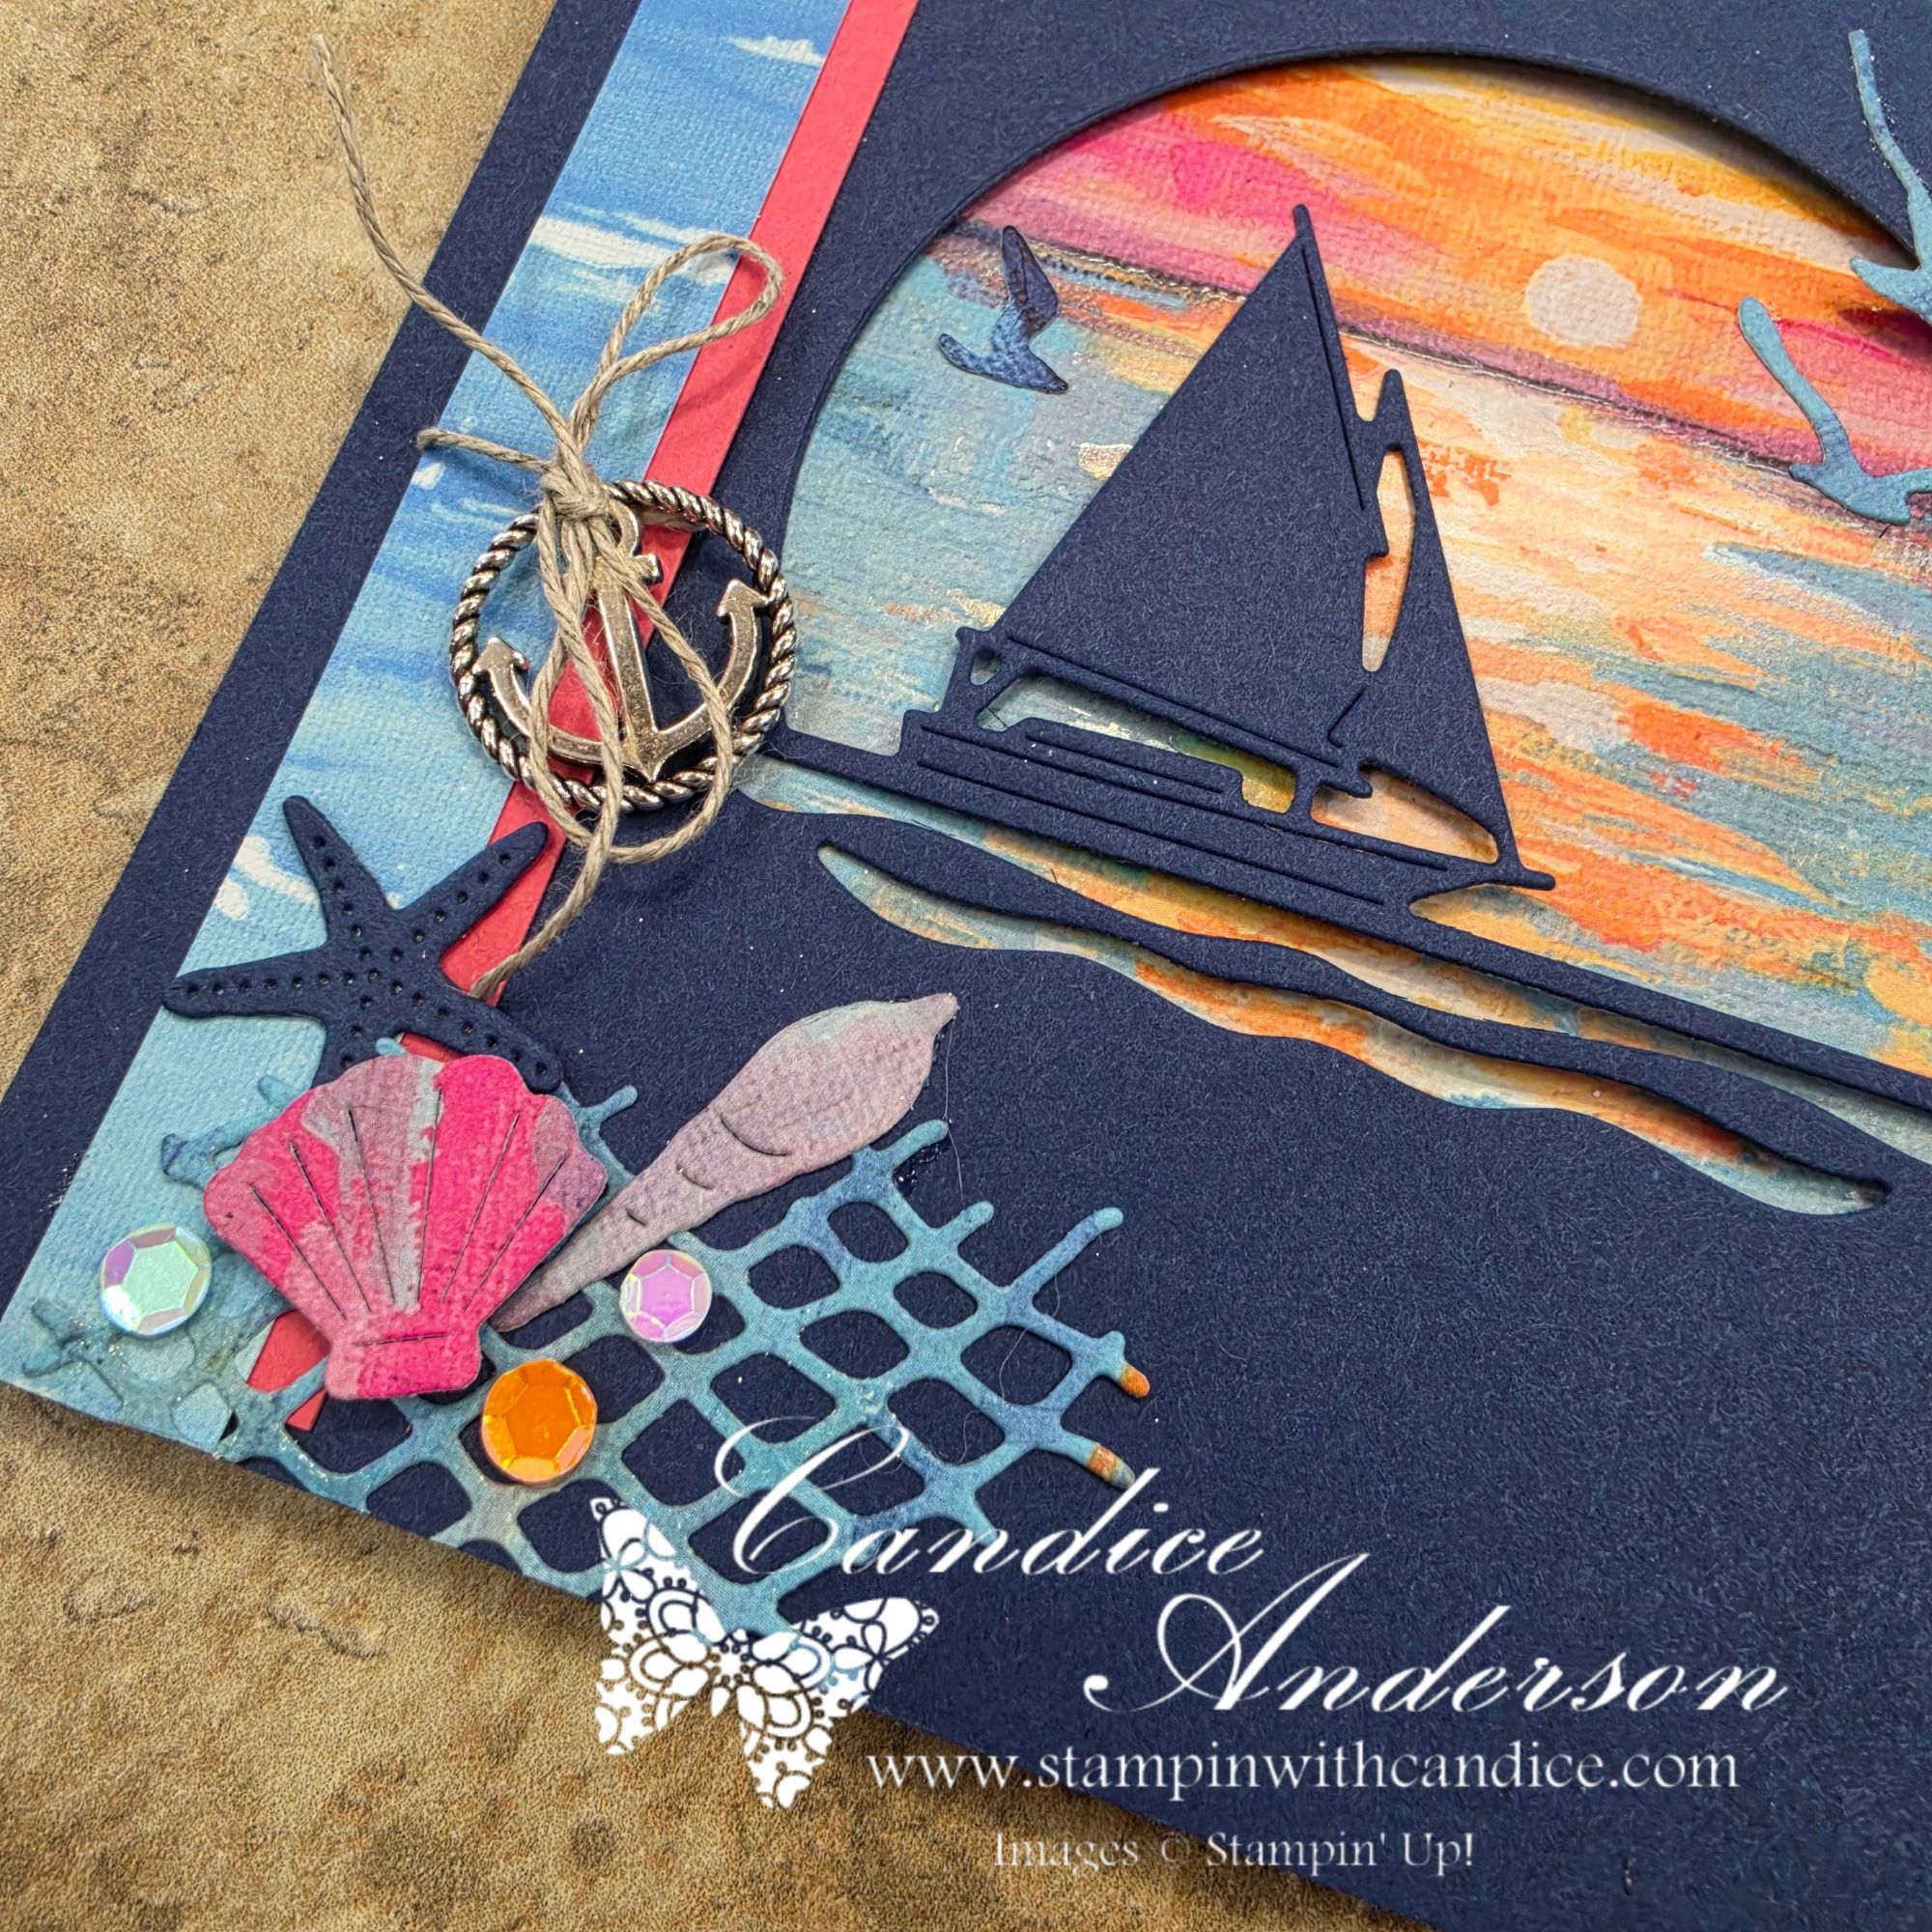
- Wrap Linen Thread around the layered strips.
- Add an Anchor Trinket and finish by tying the Linen Thread into a large bow.
- Attach the layered strips along the left side of the card front. Trim the top and bottom as needed so they are flush with the card.
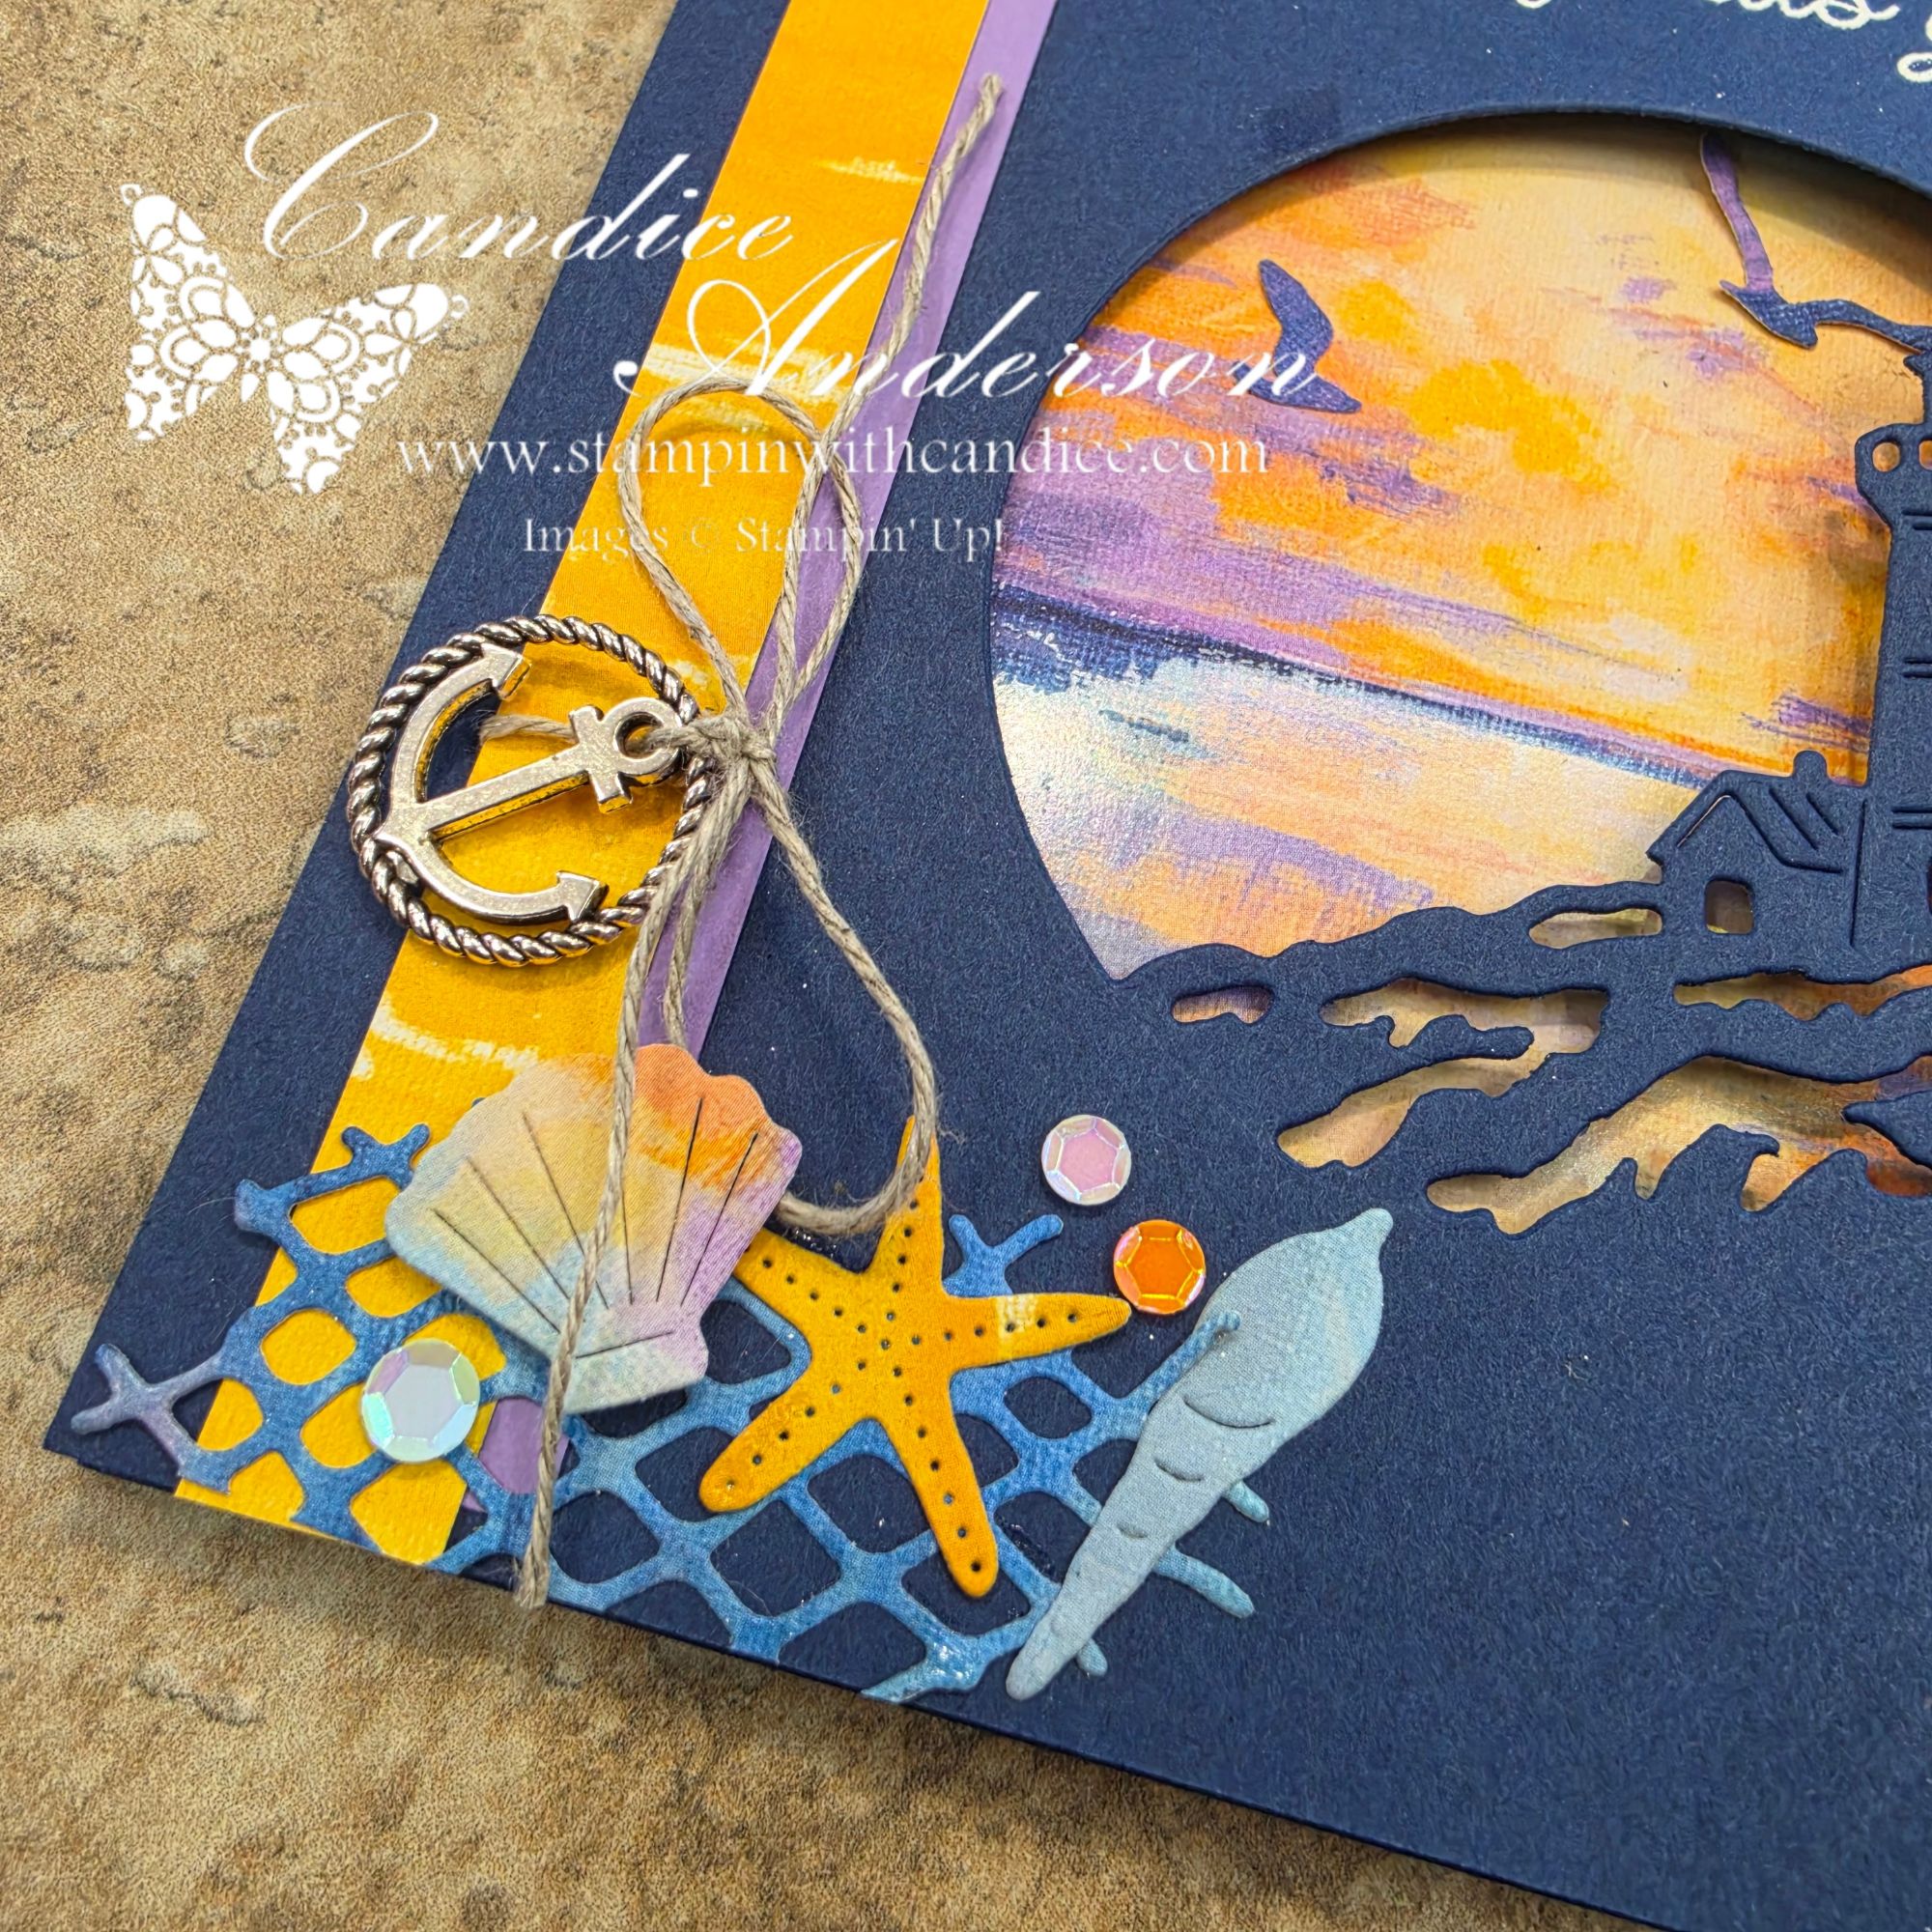
- Add the die-cut netting and seashells. Use a Stampin’ Dimensional to pop up the larger shell for extra dimension.
- Add your die-cut birds where desired.
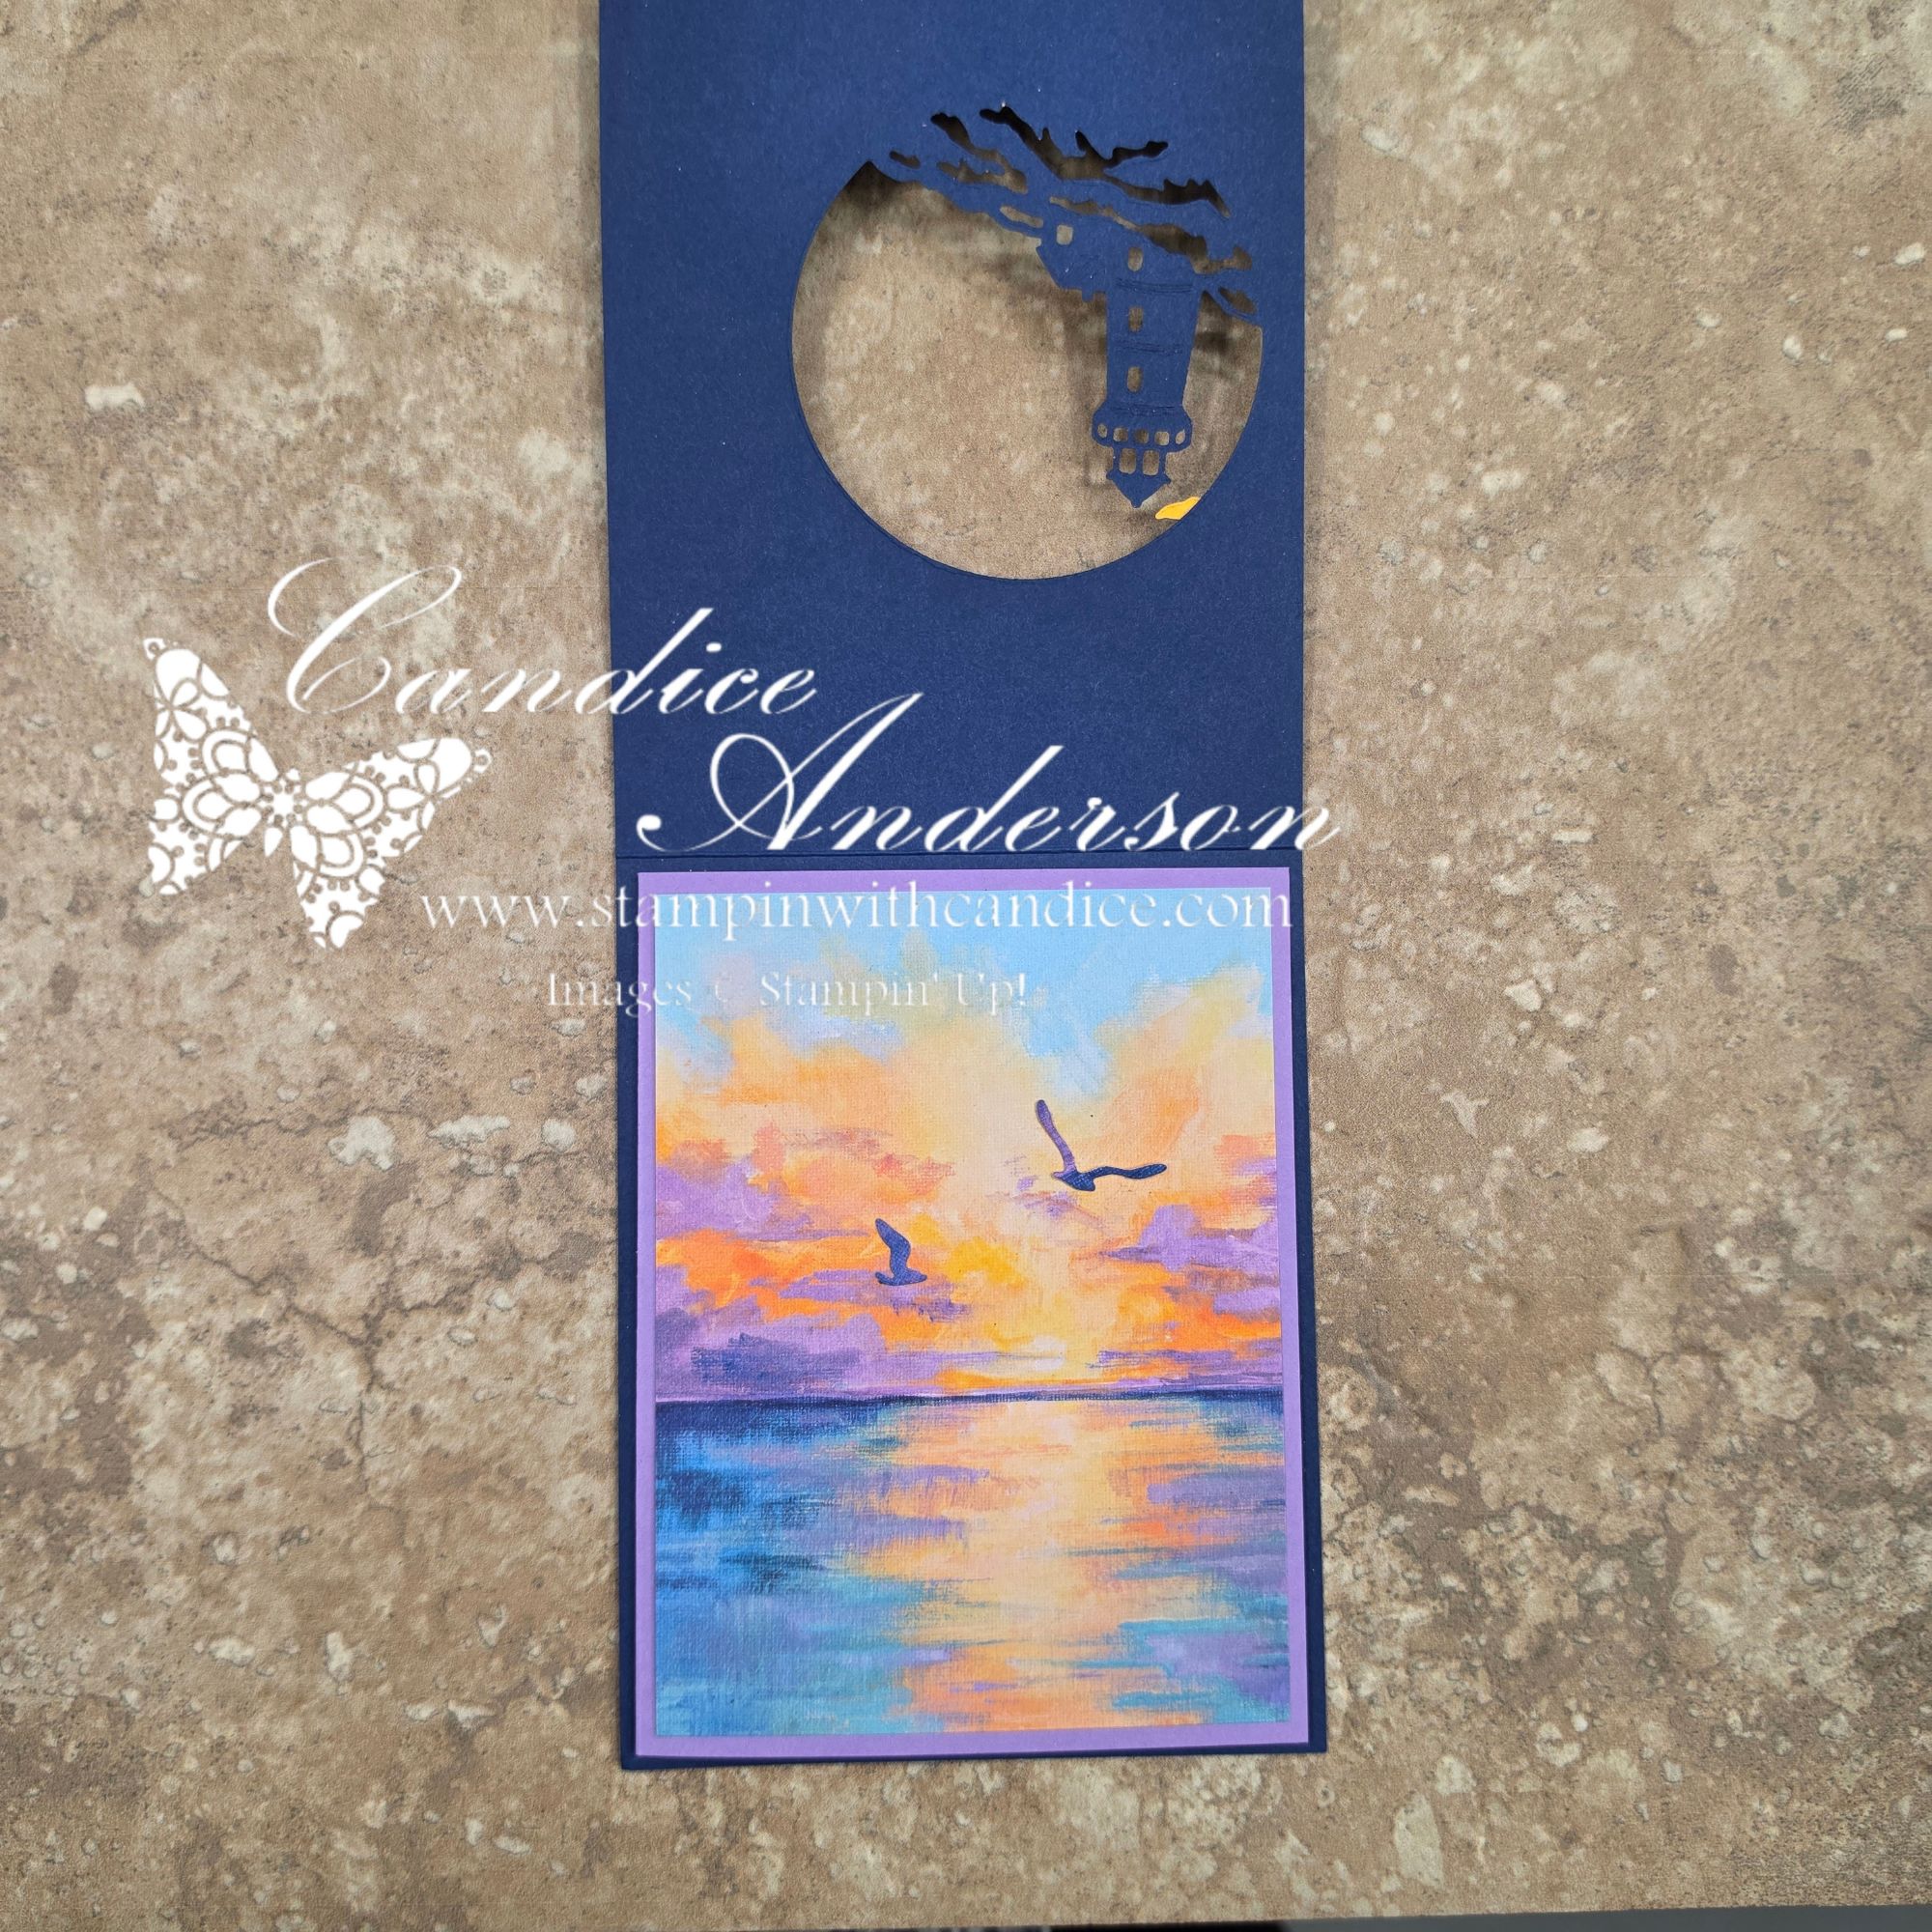
- Tip: On some of my cards, I attached the birds directly to the Designer Series Paper on the inside so they become part of the scene showing through the peek-a-boo opening.
6. Decorate the Inside
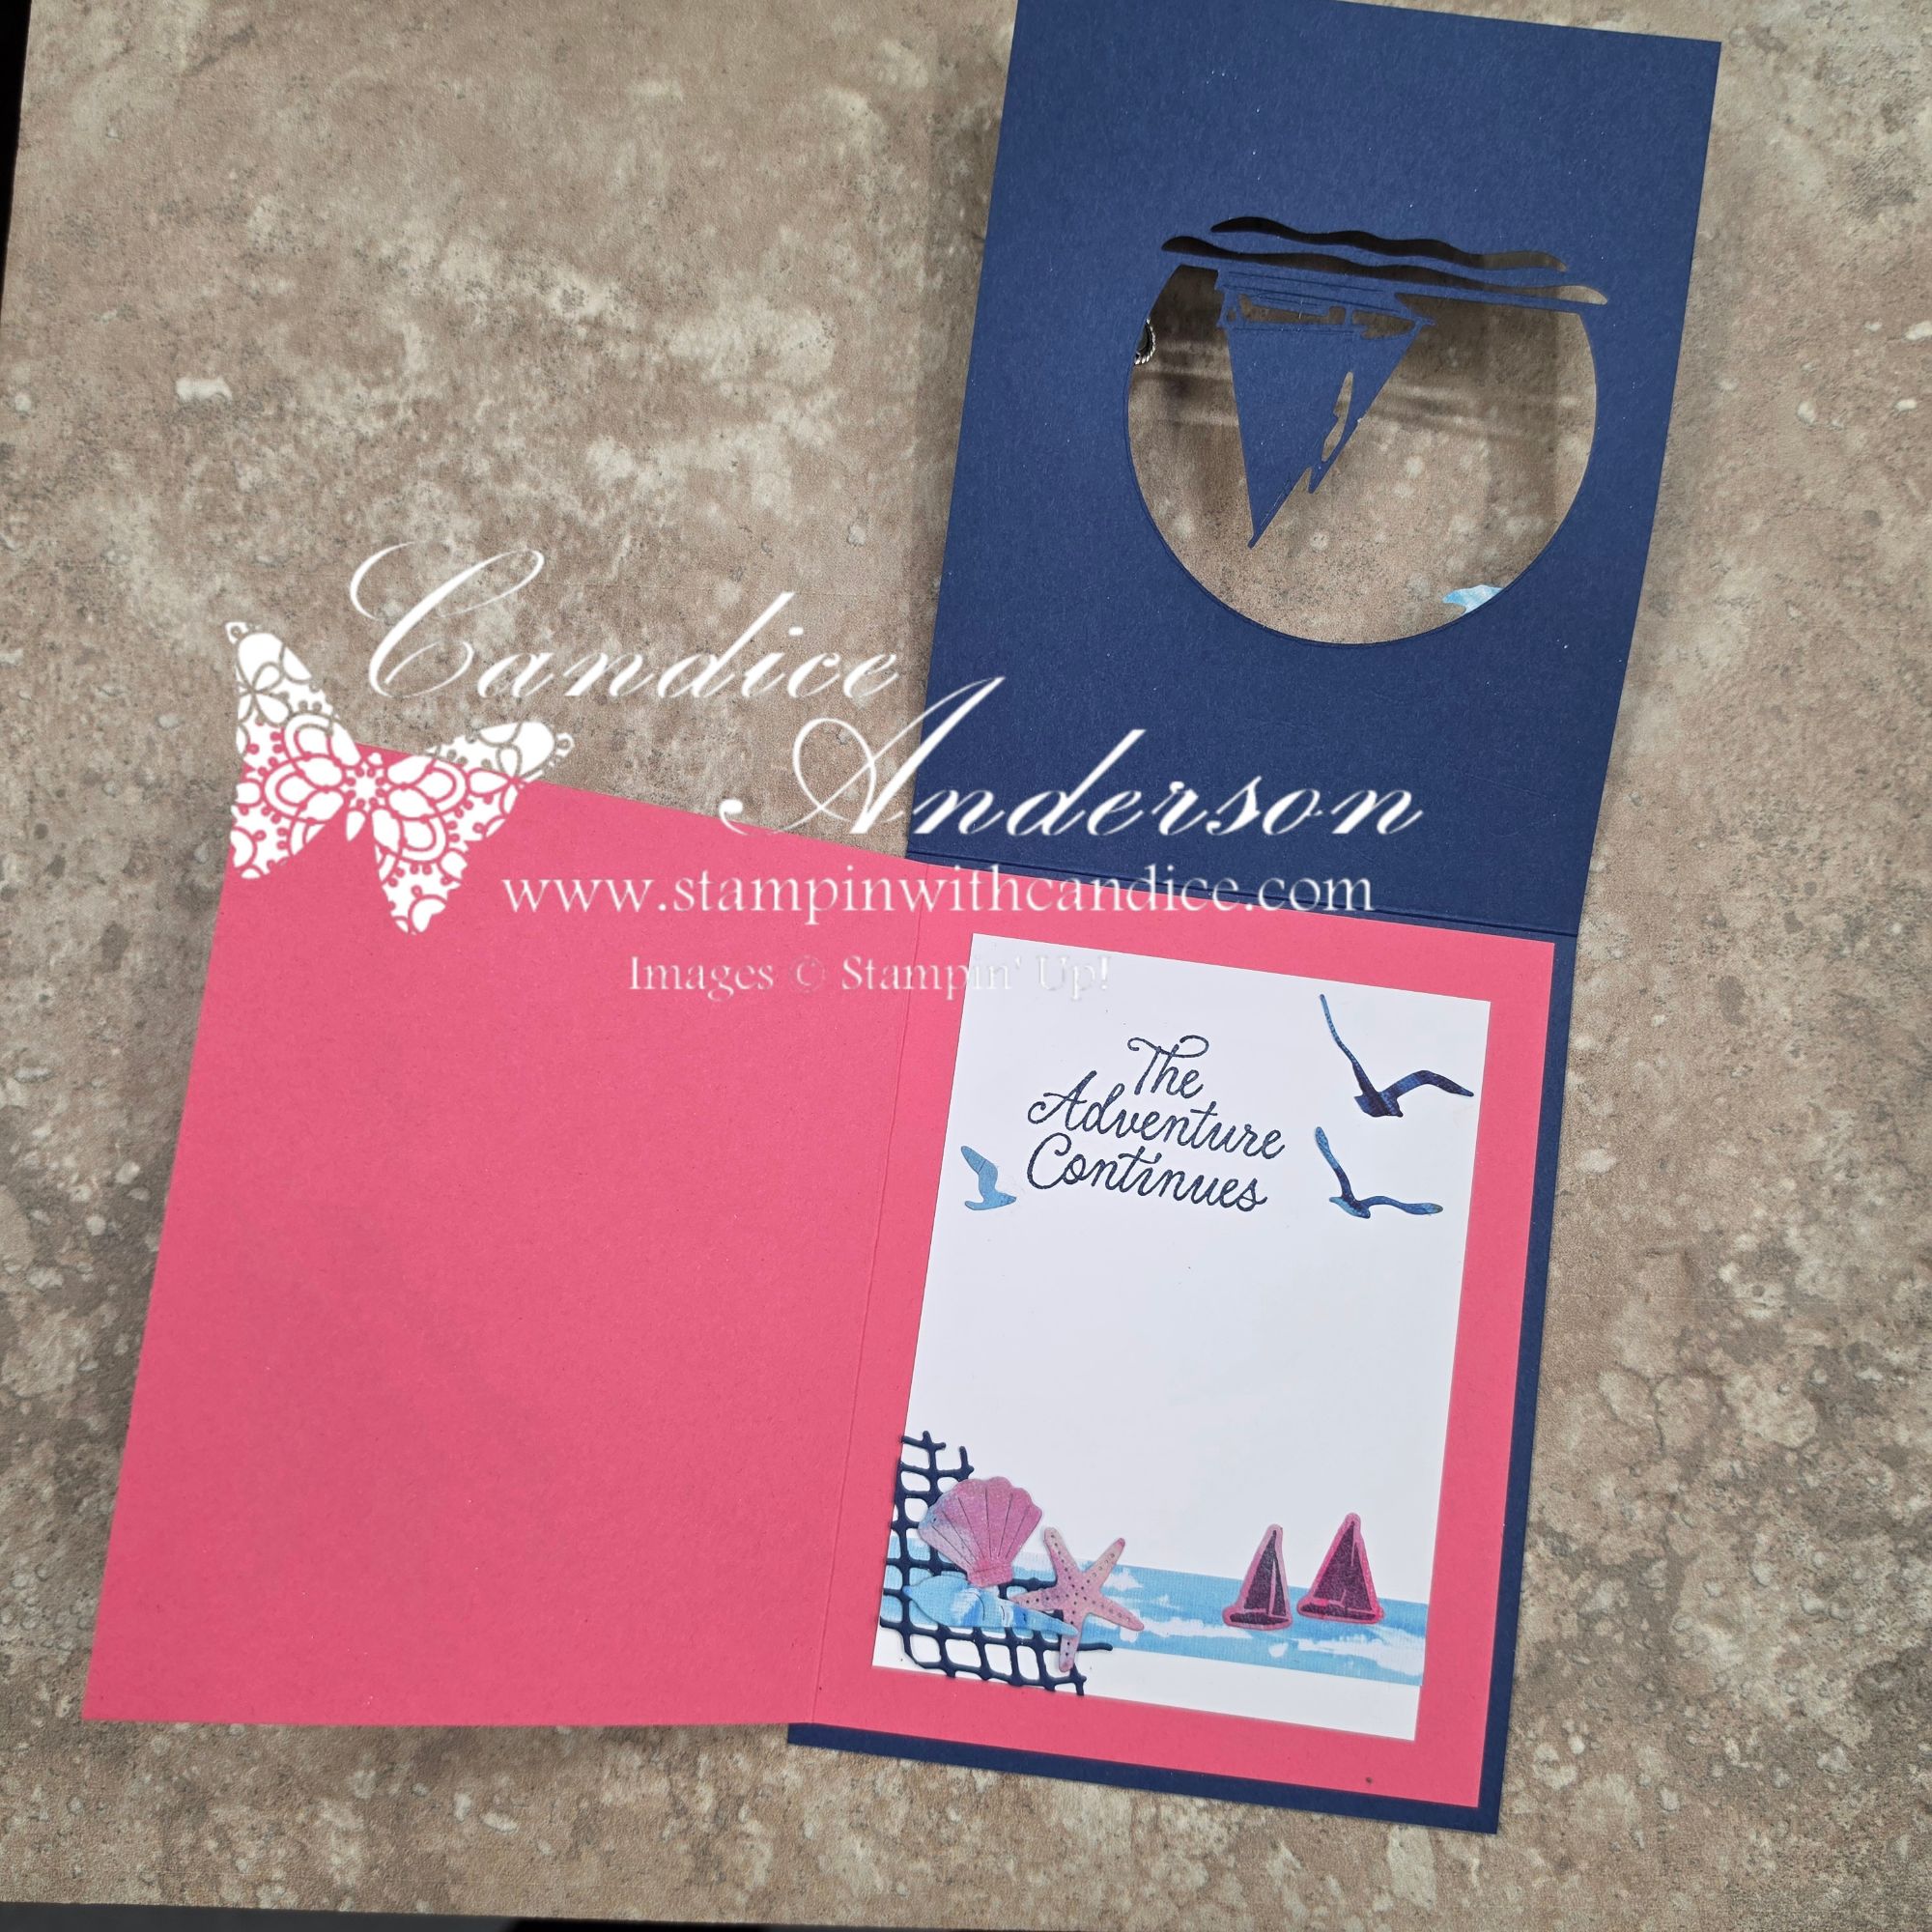
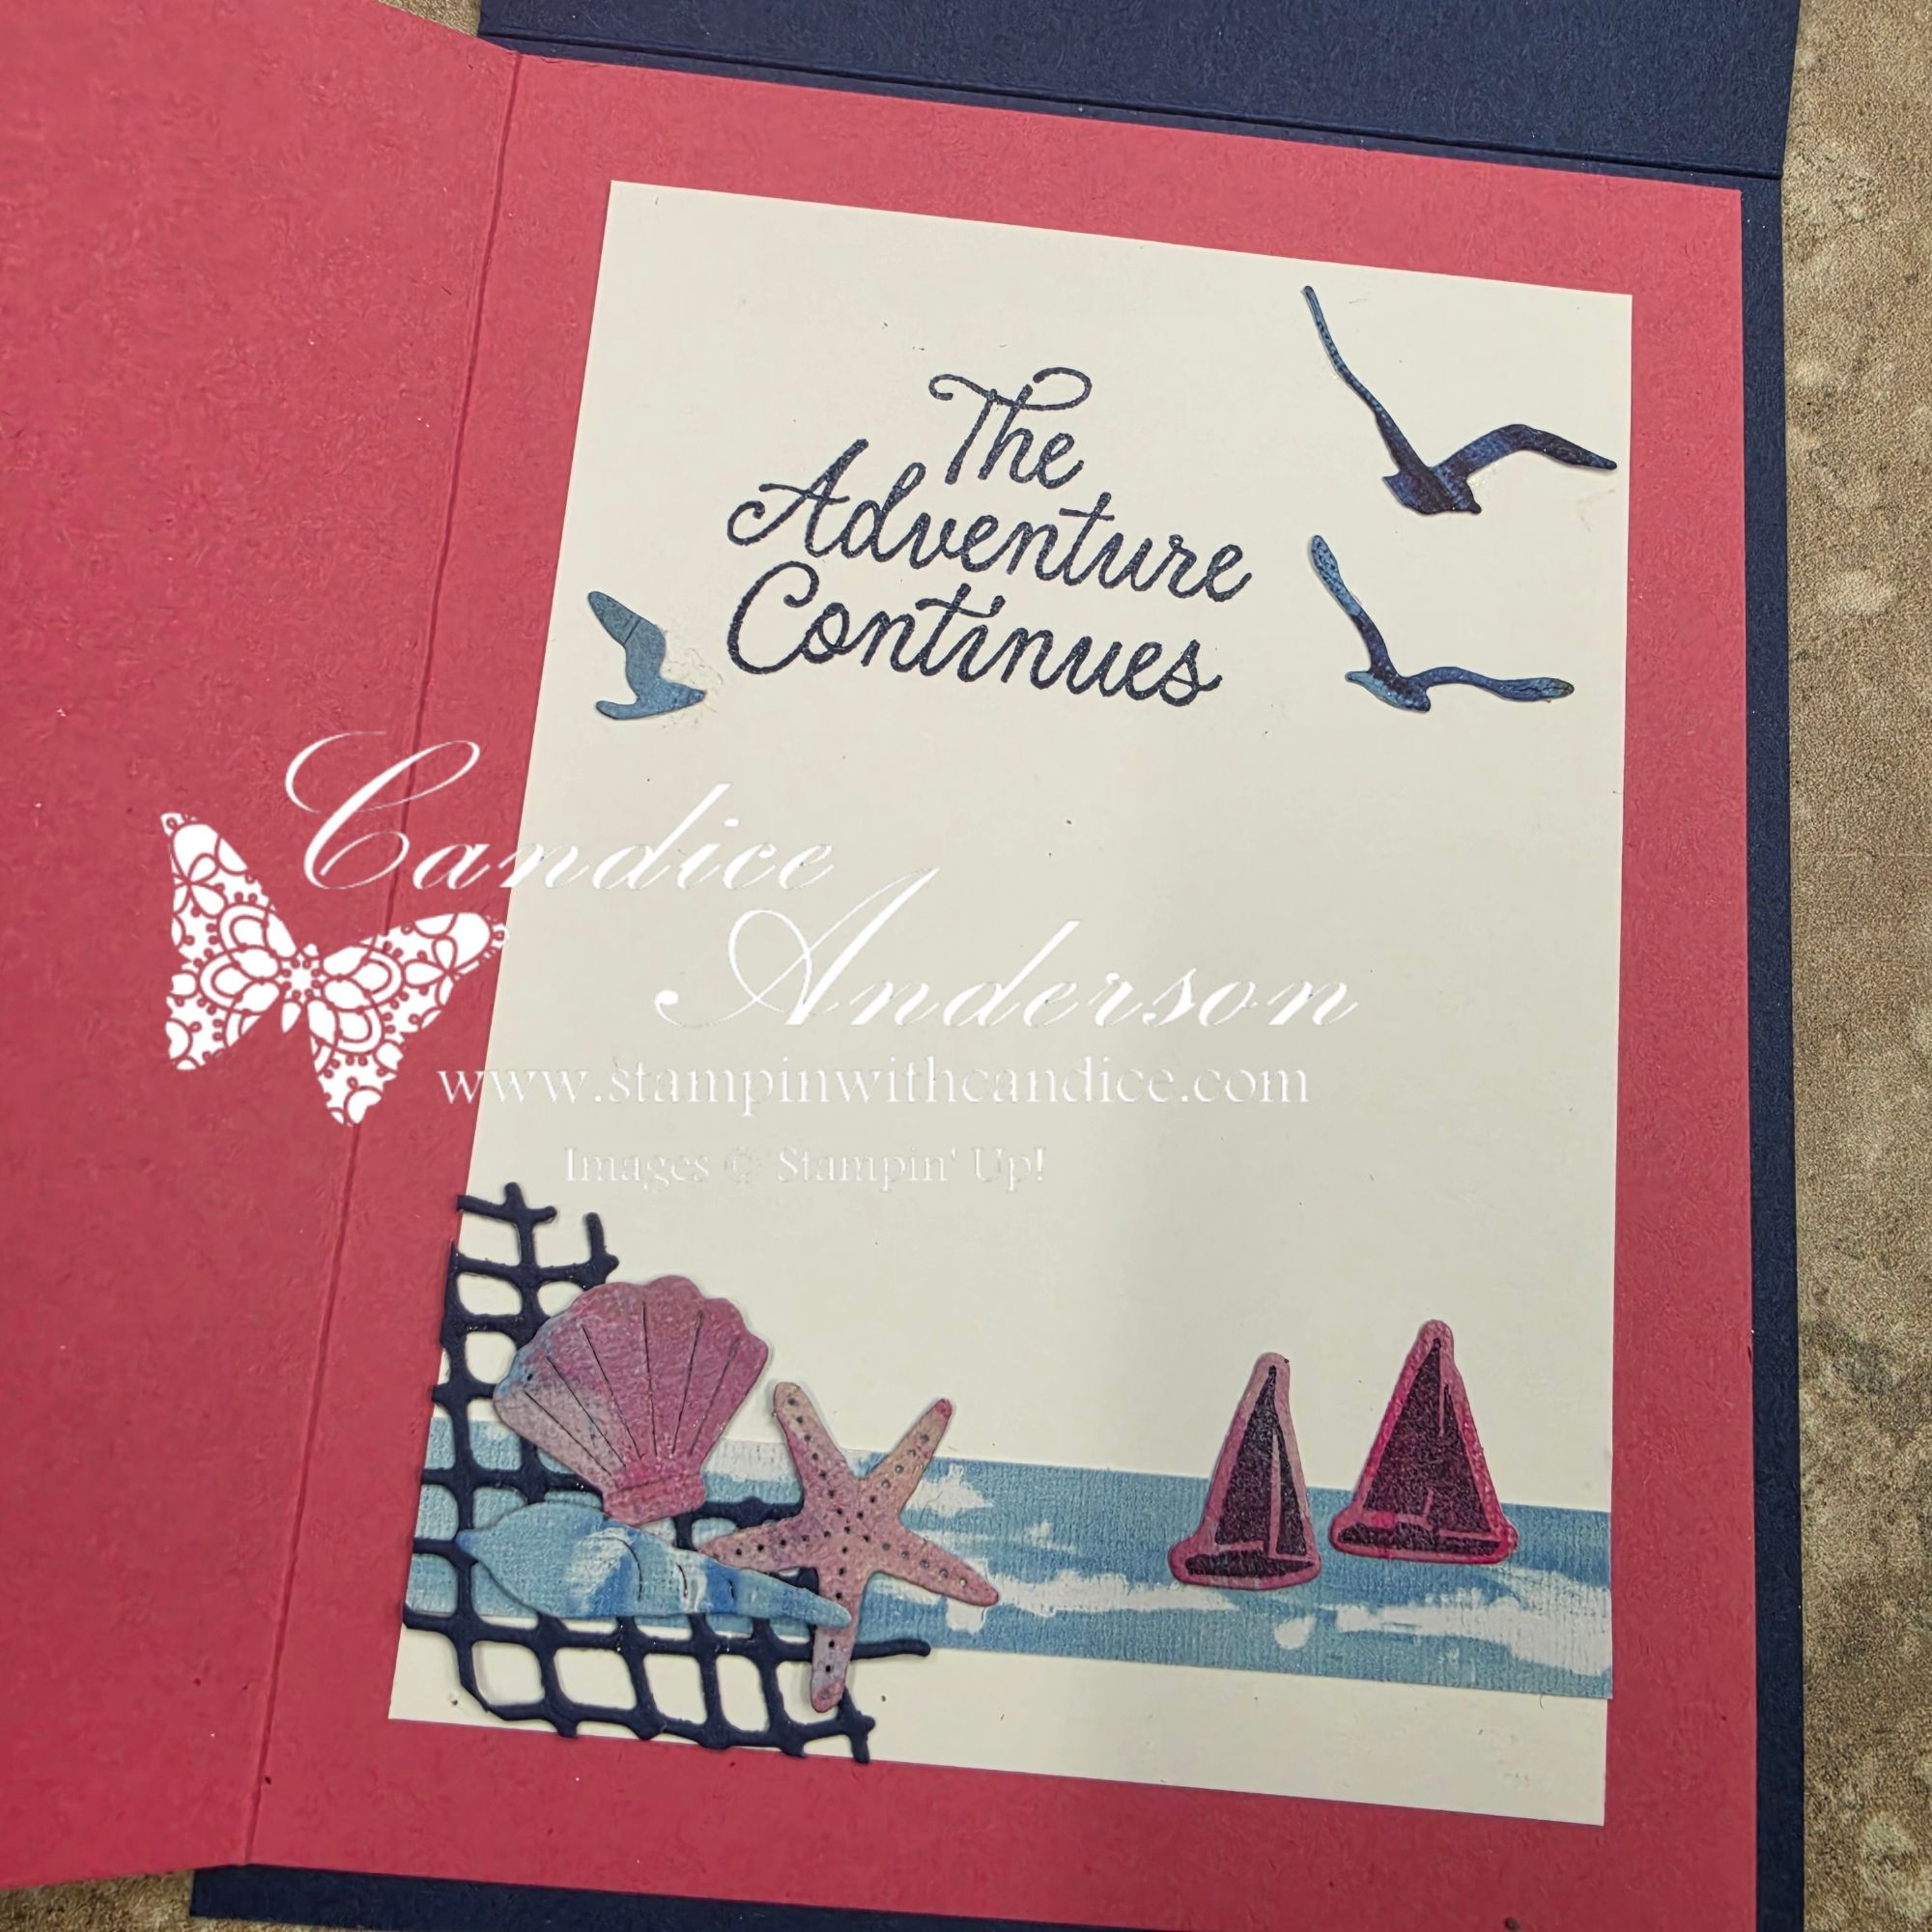
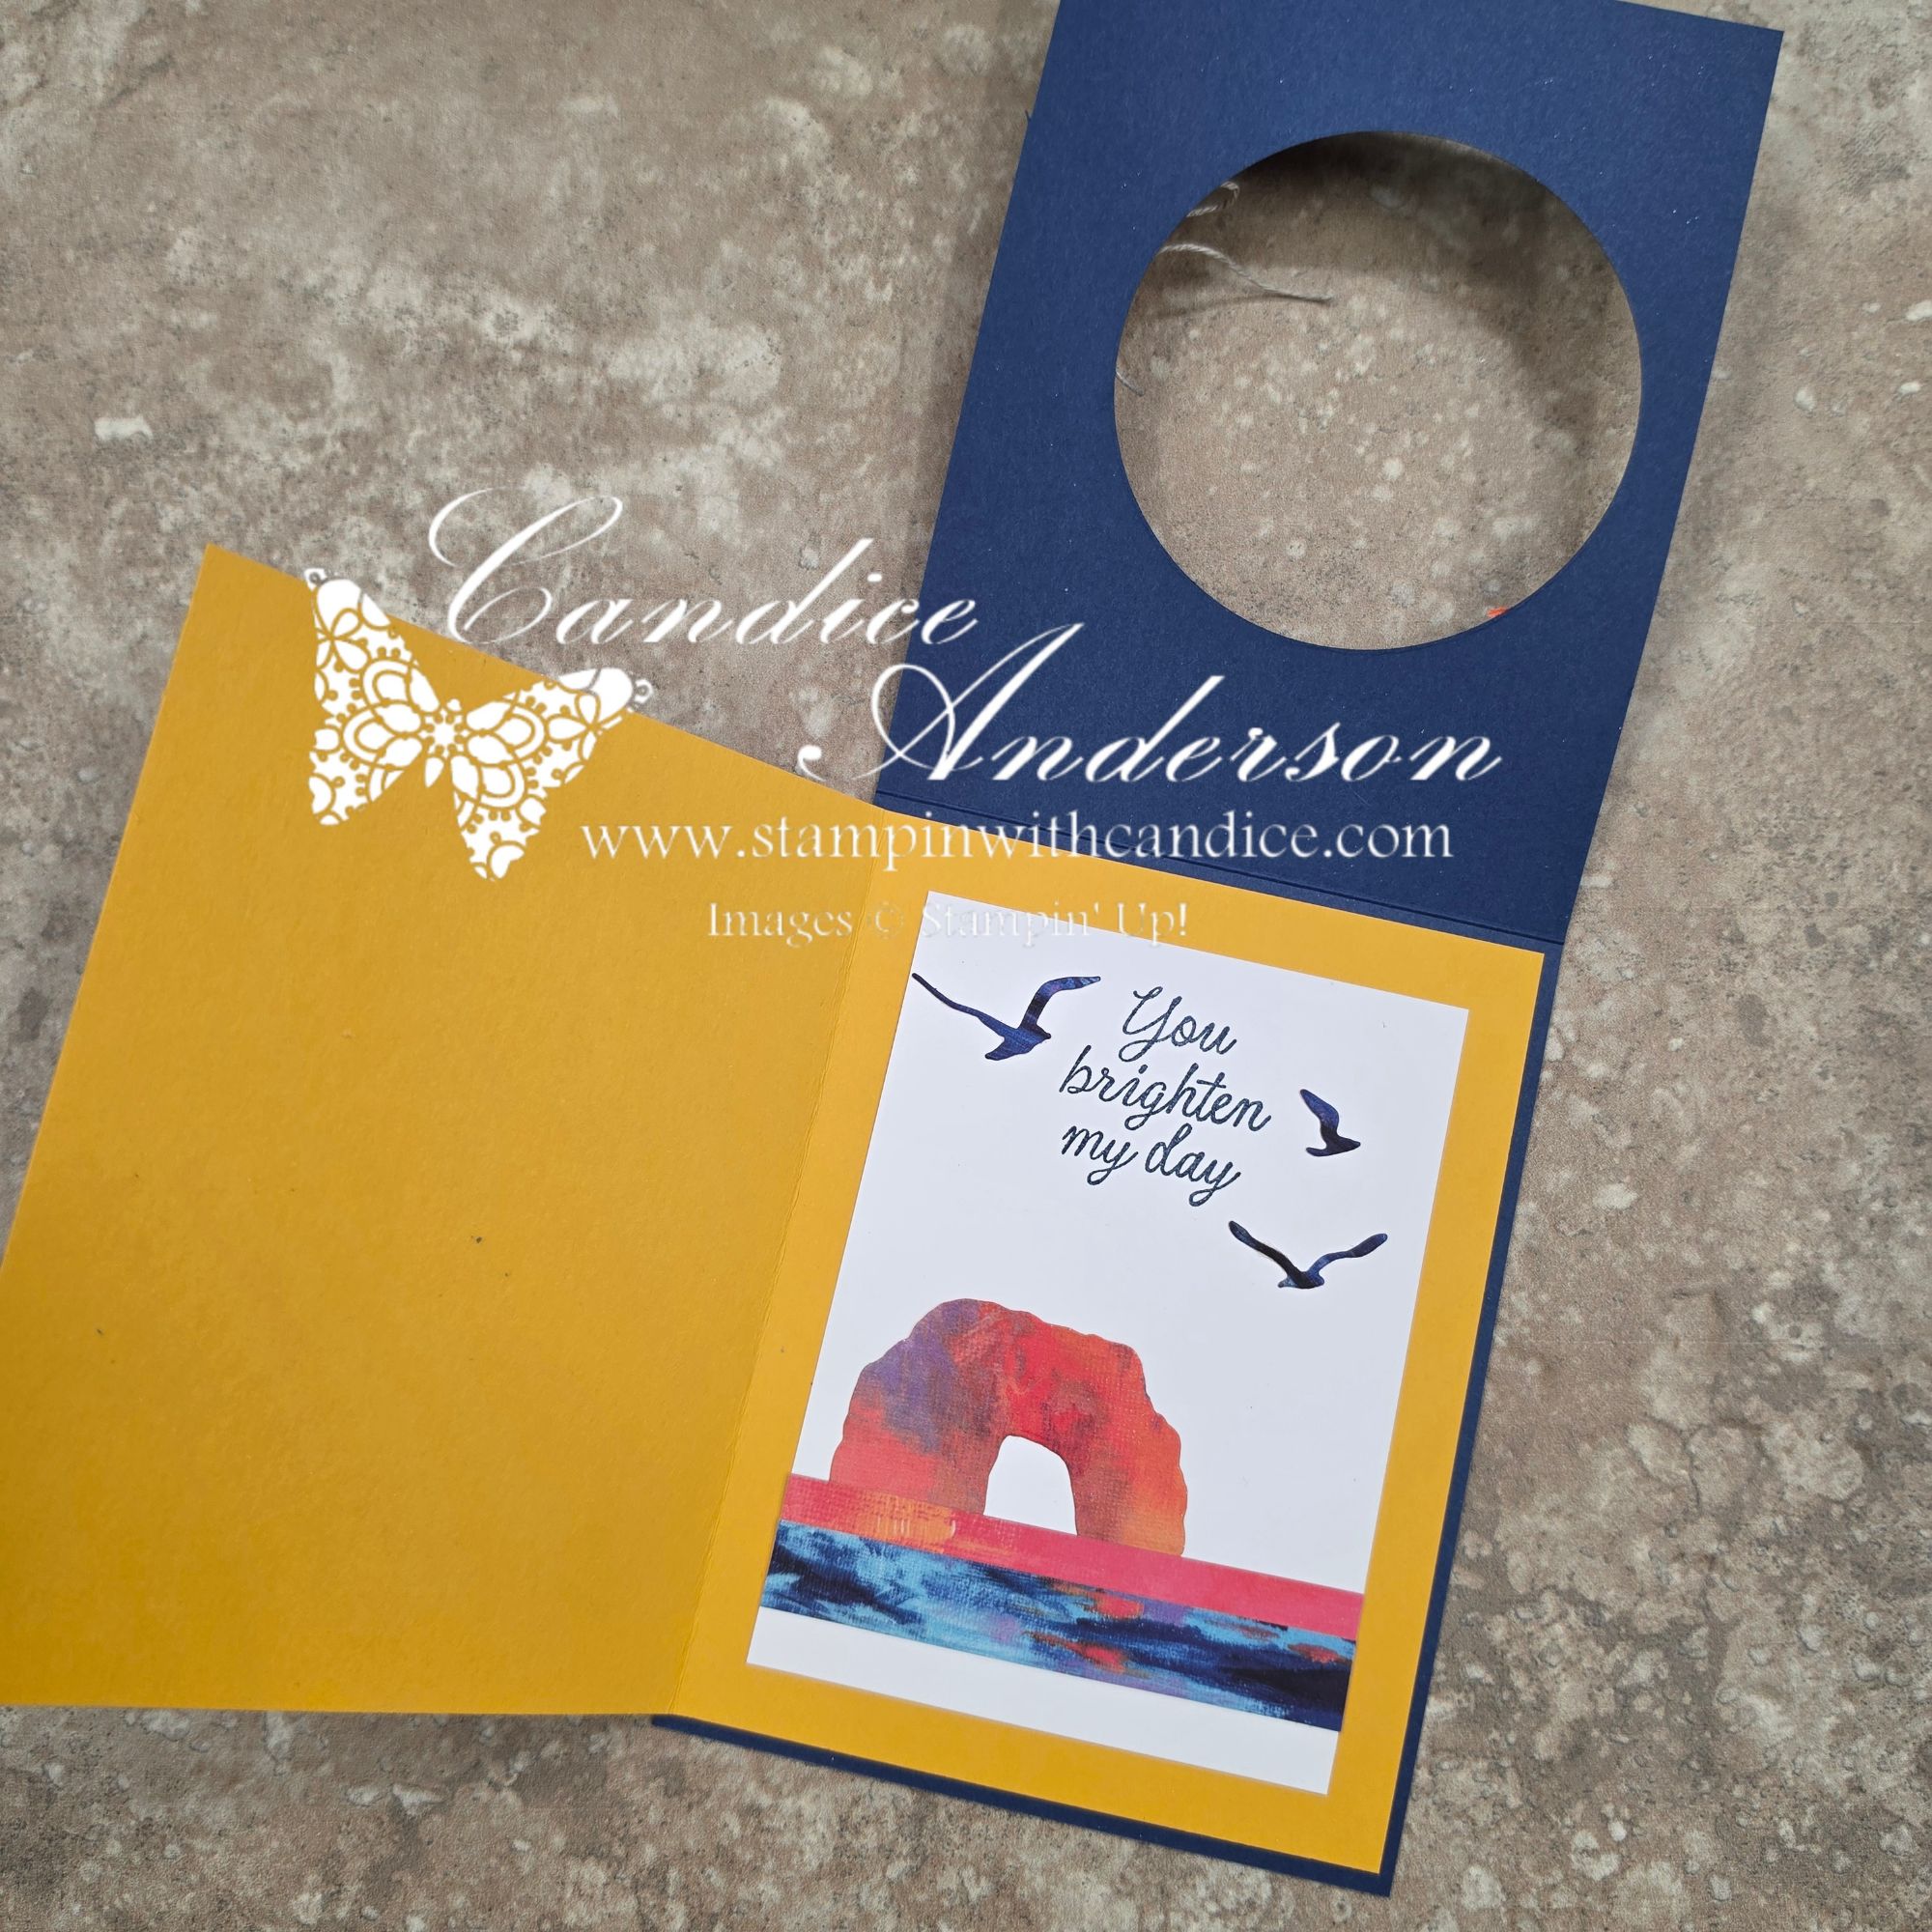
Use the 3-1/4″ x 4-1/2″ cardstock piece to create your writing panel.
- Stamp your desired greeting in Night of Navy ink.
- Add one of the 1/2″ Designer Series Paper strips cut from the center section—or use both if you like!
- Decorate with additional pieces die cut from the Designer Series Paper.
- Trim any pieces as needed.
- Attach the completed panel inside the 8″ x 5-1/4″ fun-fold section.
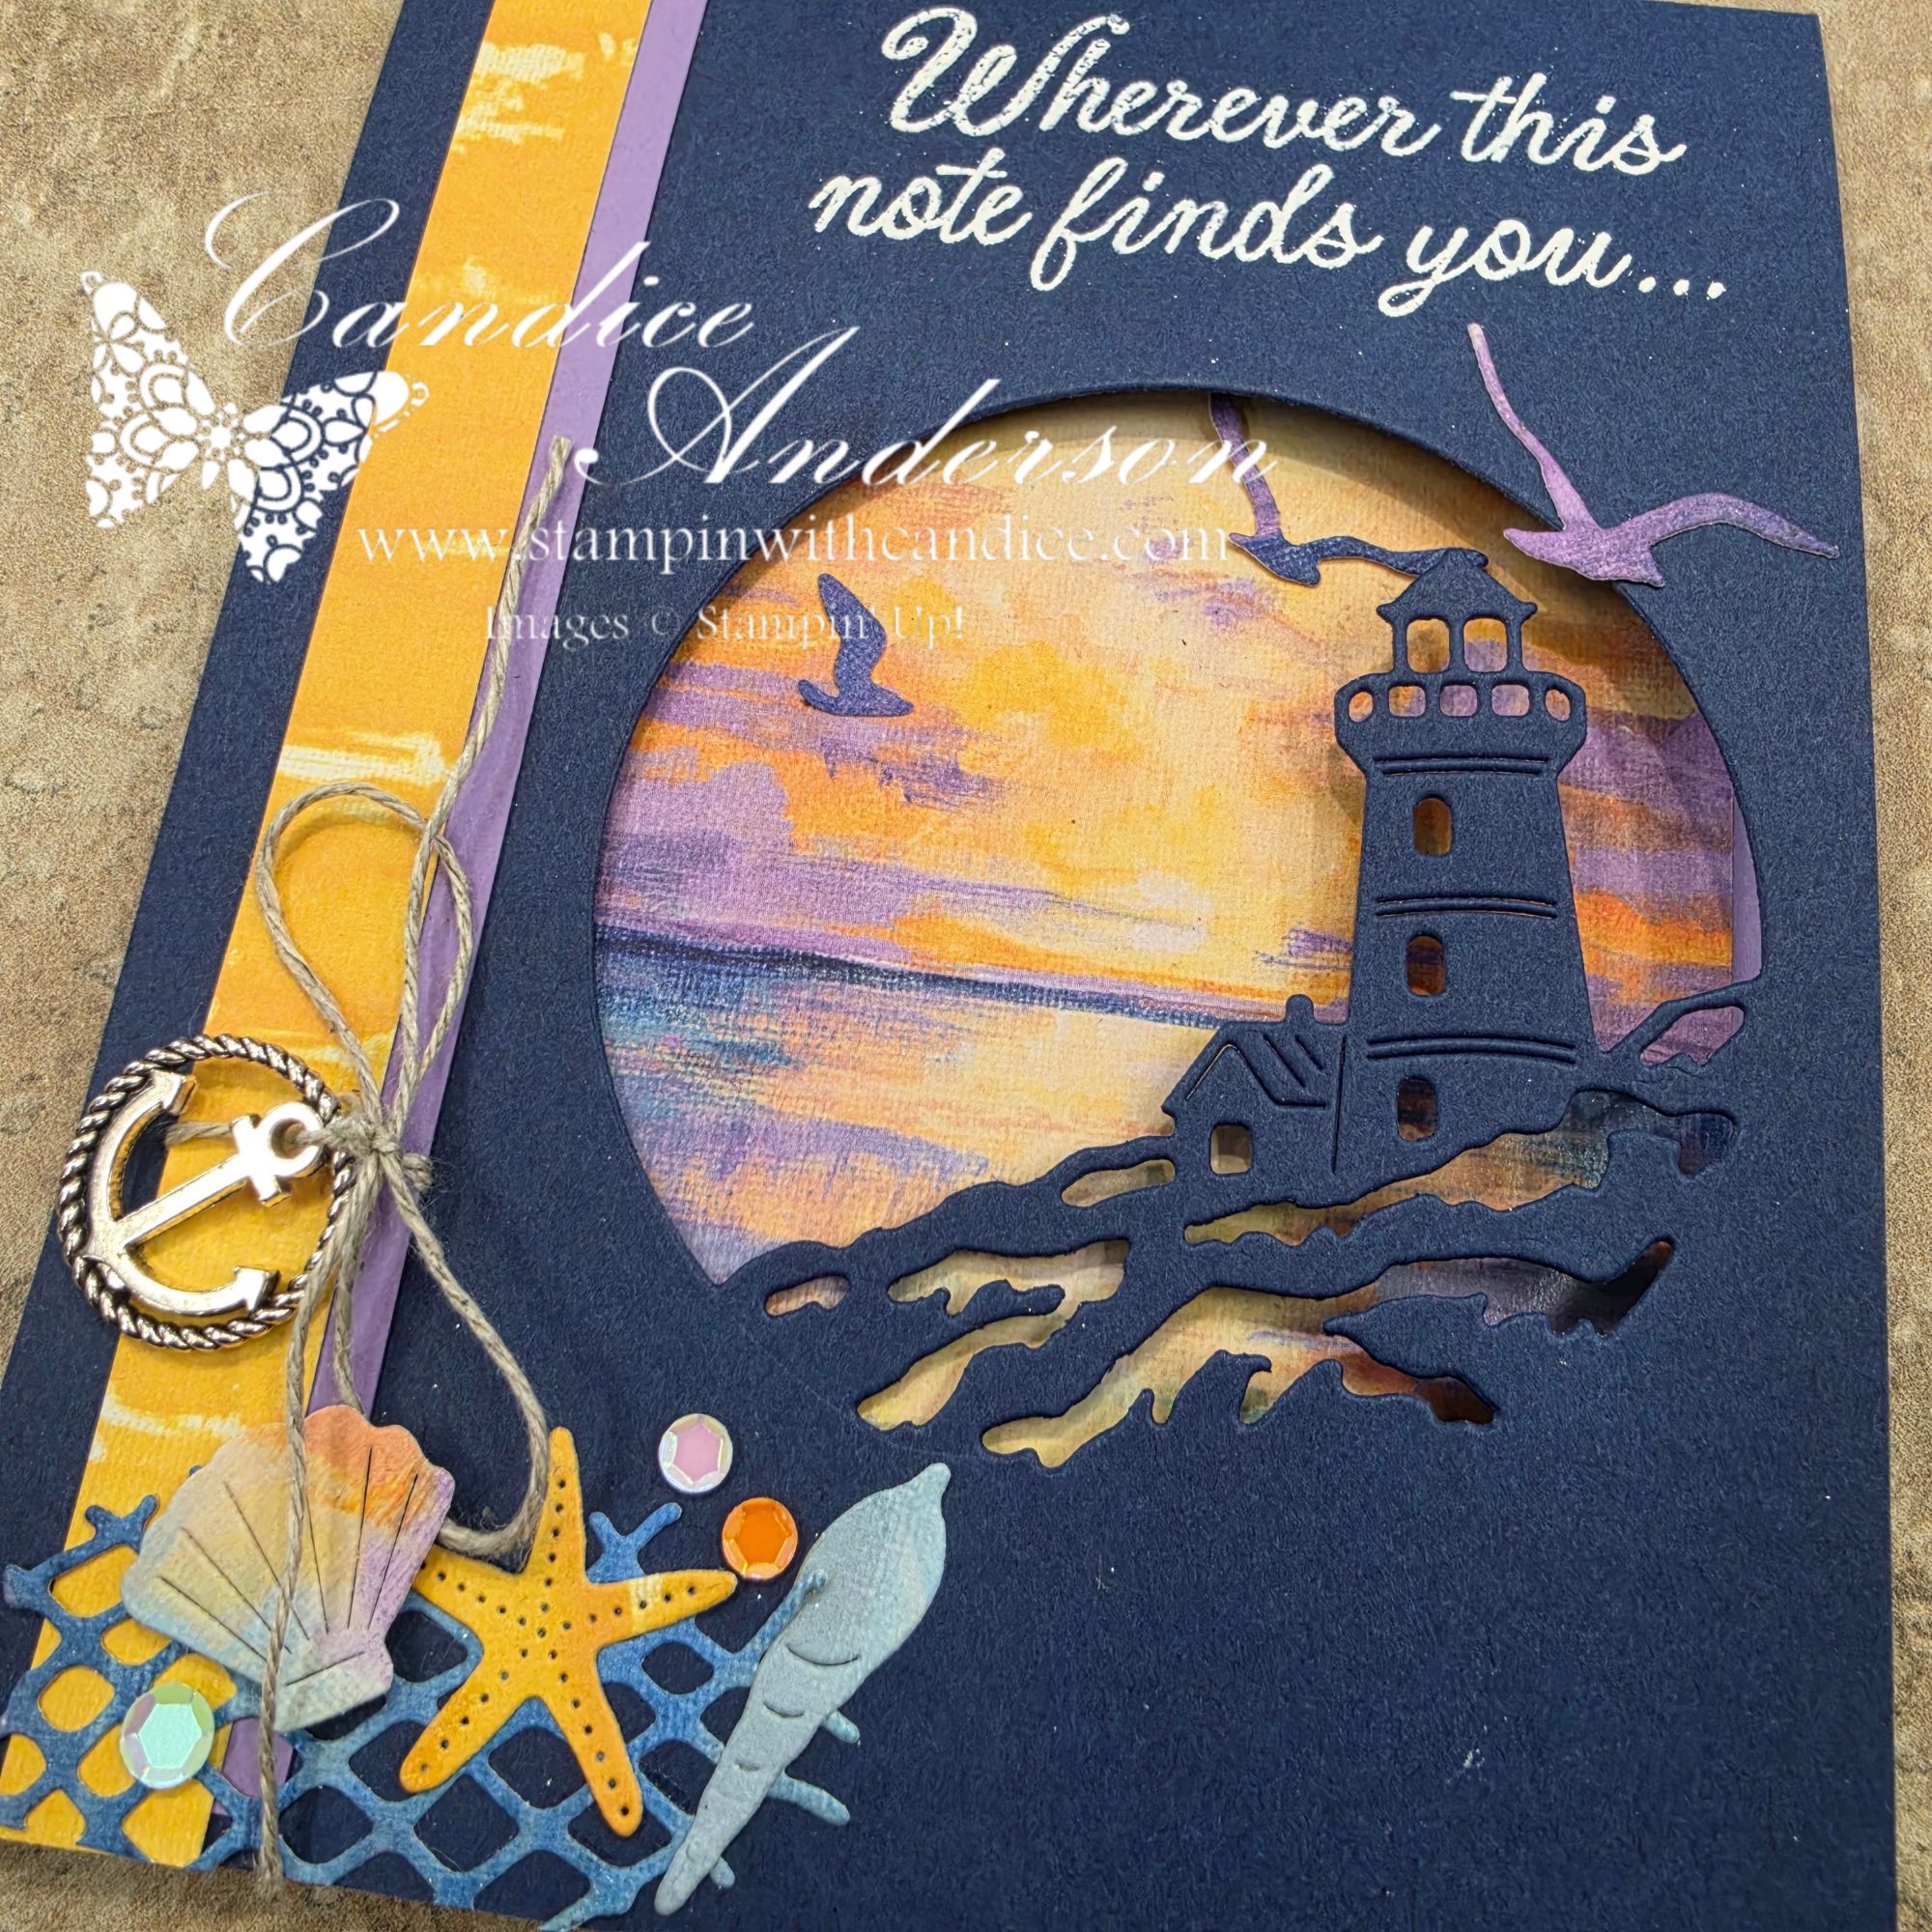
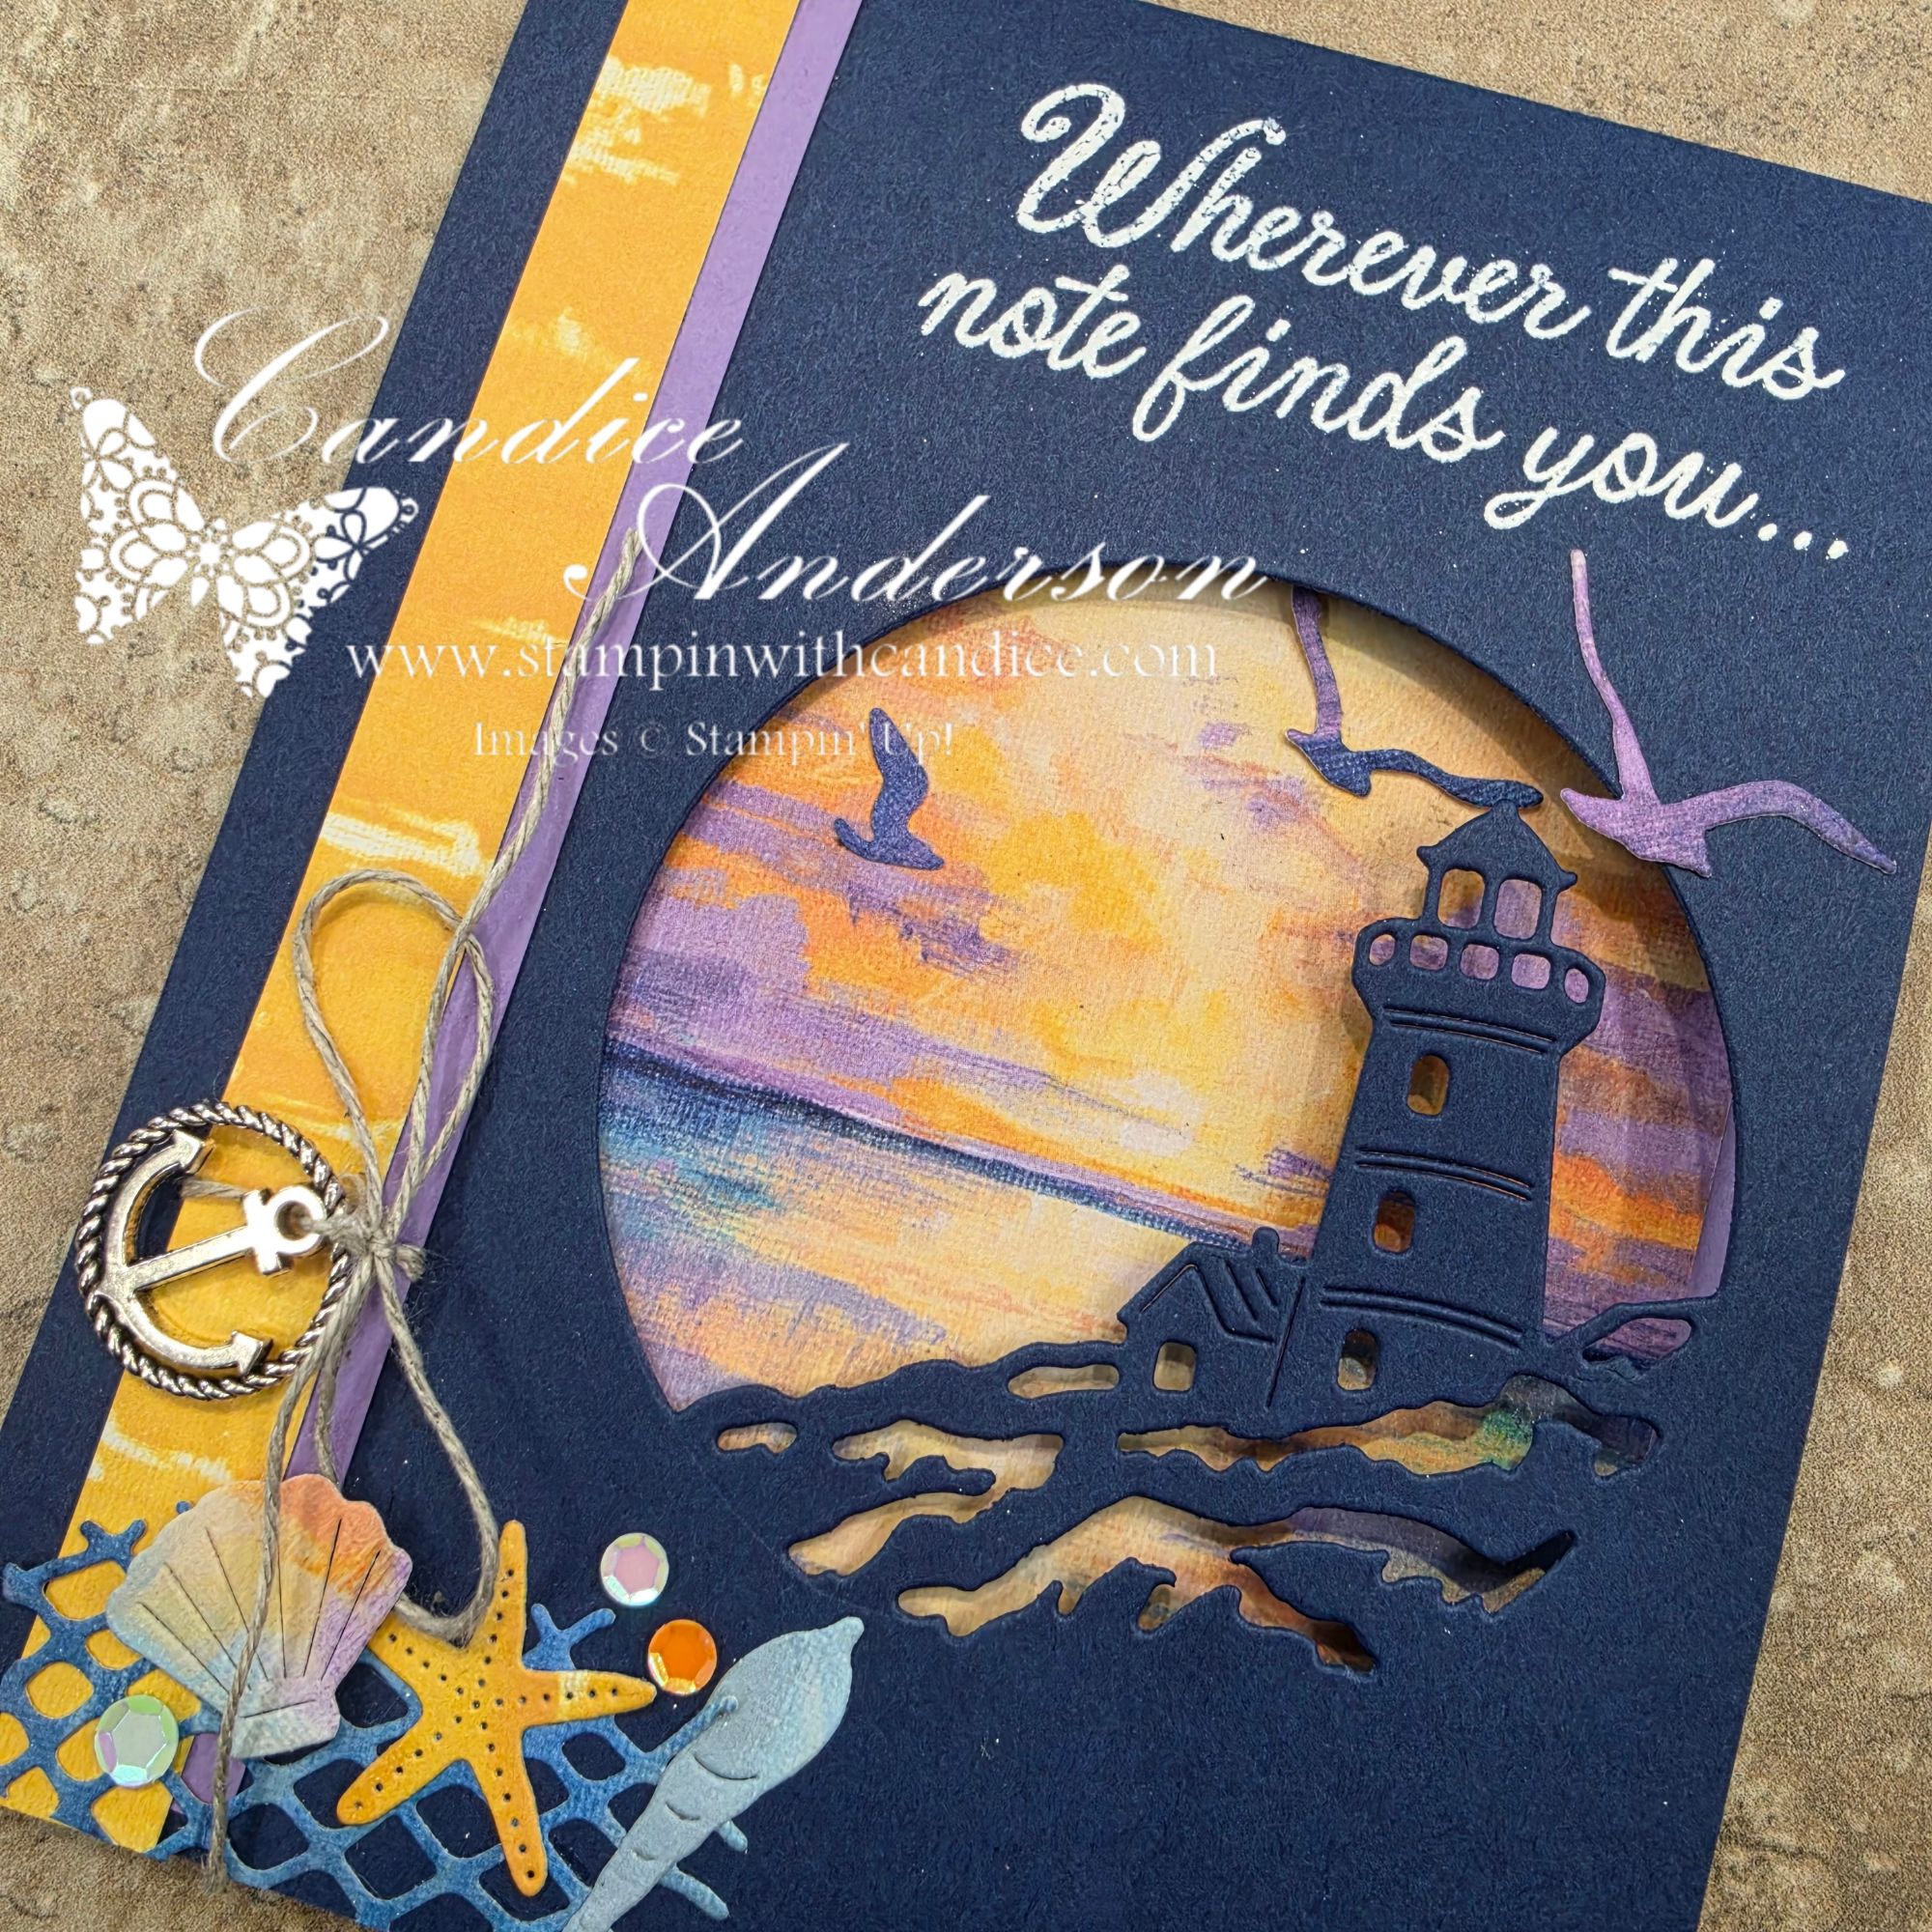
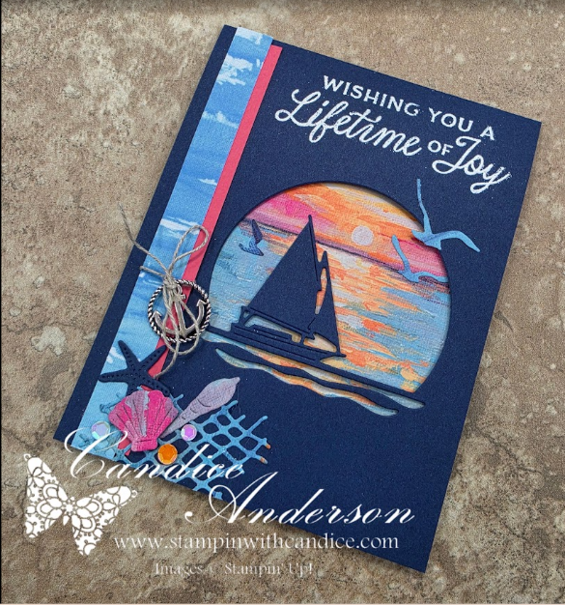
Your Scenic Coast Peek-a-Boo Fun Fold is complete! The fun part is that by changing the Designer Series Paper, focal-point die, and small decorative pieces, you can create several different looks using the same basic design.
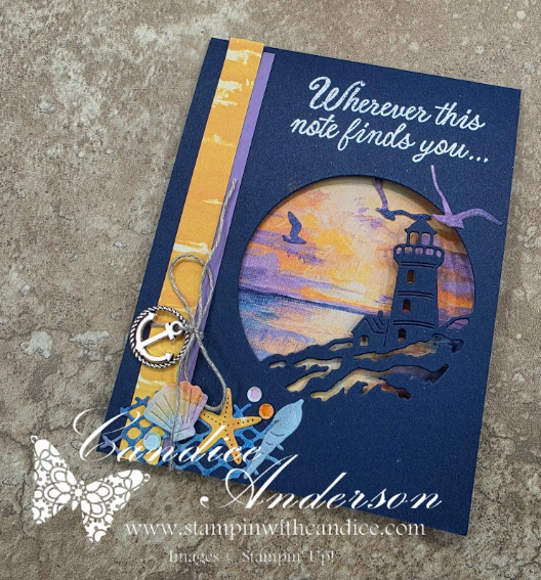
Scroll through for a closer look at all three designs and some of the little details that make each card unique.
Keep Creating!
I hope this project inspires you to take the basic peek-a-boo fun fold and make it your own. Try changing the Designer Series Paper, dies, colors, or embellishments and see what you create!
Learn • Connect • Create • Grow—one project at a time. 🦋
If you need any of the supplies used in this project—or want to browse the newest Stampin’ Up! products—you can use the project supply list above or shop with me anytime.
Thank you again for supporting my small business and for being part of this creative community. Your encouragement and enthusiasm allow me to continue creating and sharing projects like this with you.
If you have any questions while creating your card, please don’t hesitate to contact me.
Happy crafting,

Copyright Notice
The artwork, stamps, images, and product designs used in this project are © Stampin’ Up!
This tutorial, project design, written instructions, photographs, and video content are © Candice Anderson/StampinWithCandice.com.
This tutorial is for personal use only and may not be copied, reproduced, redistributed, sold, or taught as your own without the express written permission of Candice Anderson.

