Shining Stars & Holly Jolly Branches | Global Design Project #GDP568

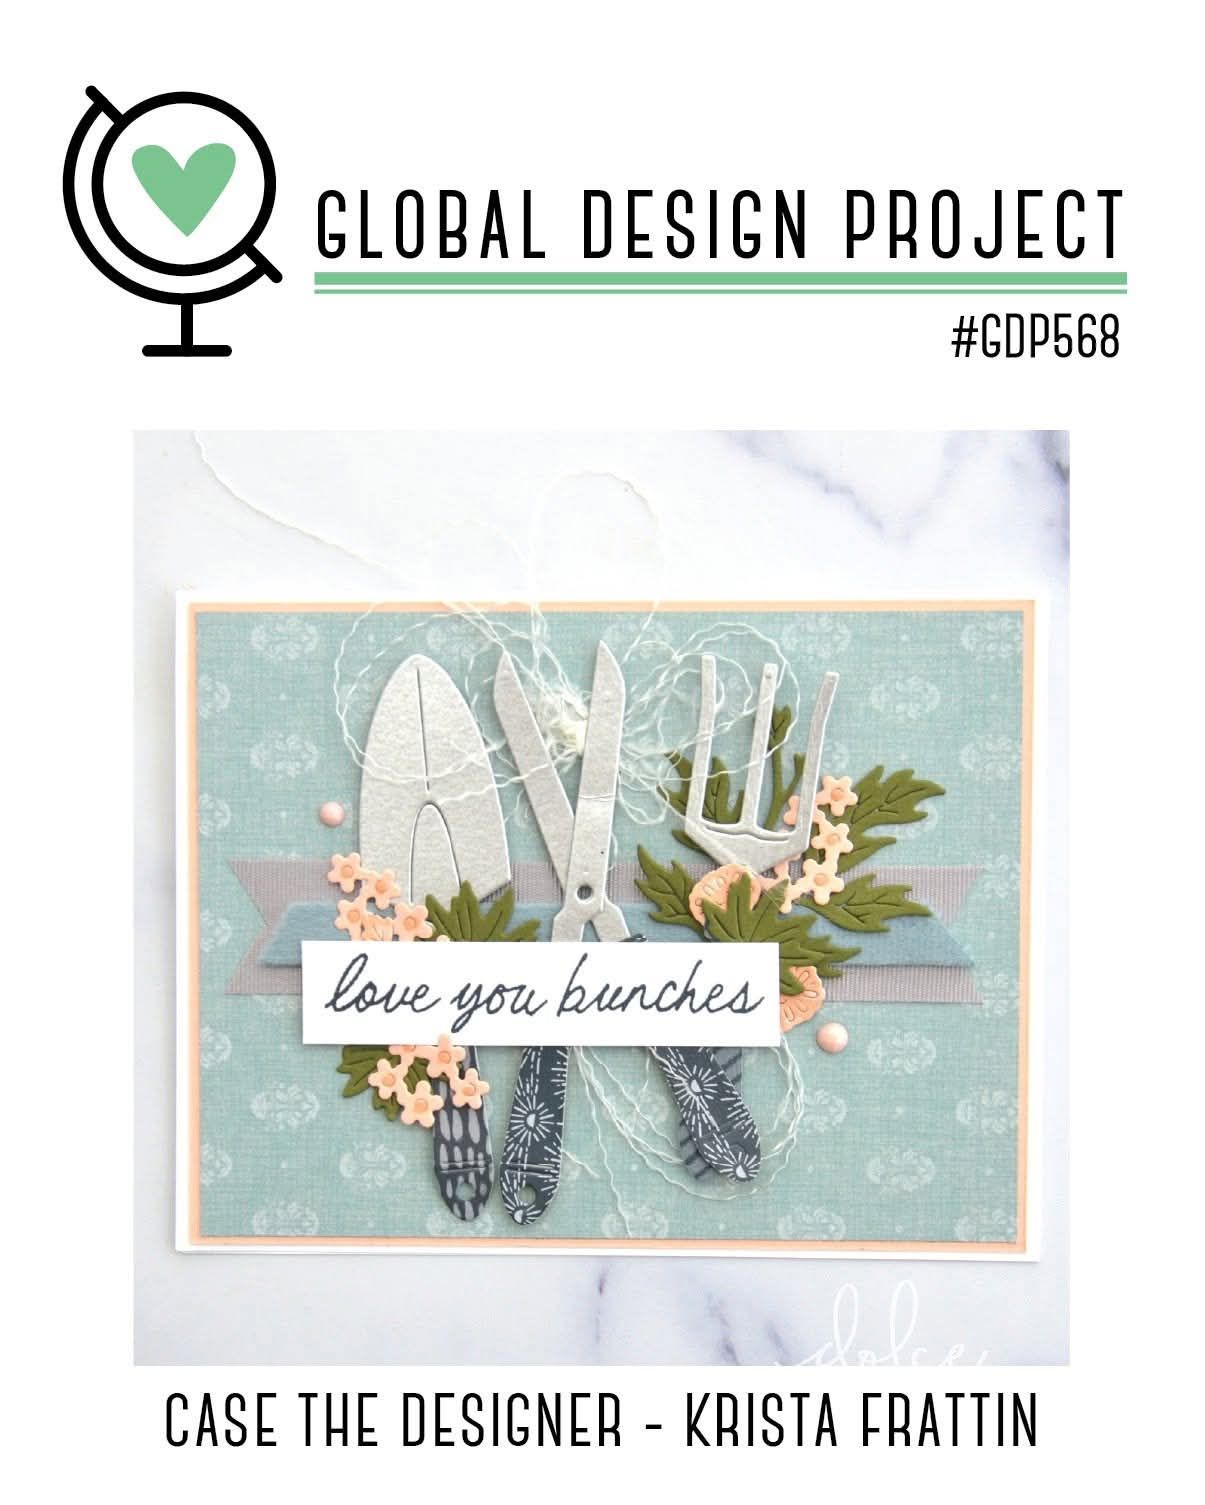
This week’s Global Design Project Challenge #GDP568 was another fun CASE the Designer challenge, featuring the talented Krista Frattin!

All week long, I wasn’t quite sure what I wanted to create for this challenge. I had a few ideas floating around, but nothing was really coming together. Then, toward the end of the week, my Stampin’ Up! order arrived with this month’s Product of the Month — the Shining Stars Dies! ⭐

OMG! I was so excited to get my hands on these dies, and as soon as I saw them, I knew they would be perfect for this challenge!

I decided to pair them with the Holly Jolly Branches Bundle and step a little outside my usual Christmas color palette. I took inspiration from Krista’s beautiful colors, changing them up just slightly to give my card a more festive feel.

And I have to say, I absolutely LOVE how it turned out!

Creating the Background & Adding Layers

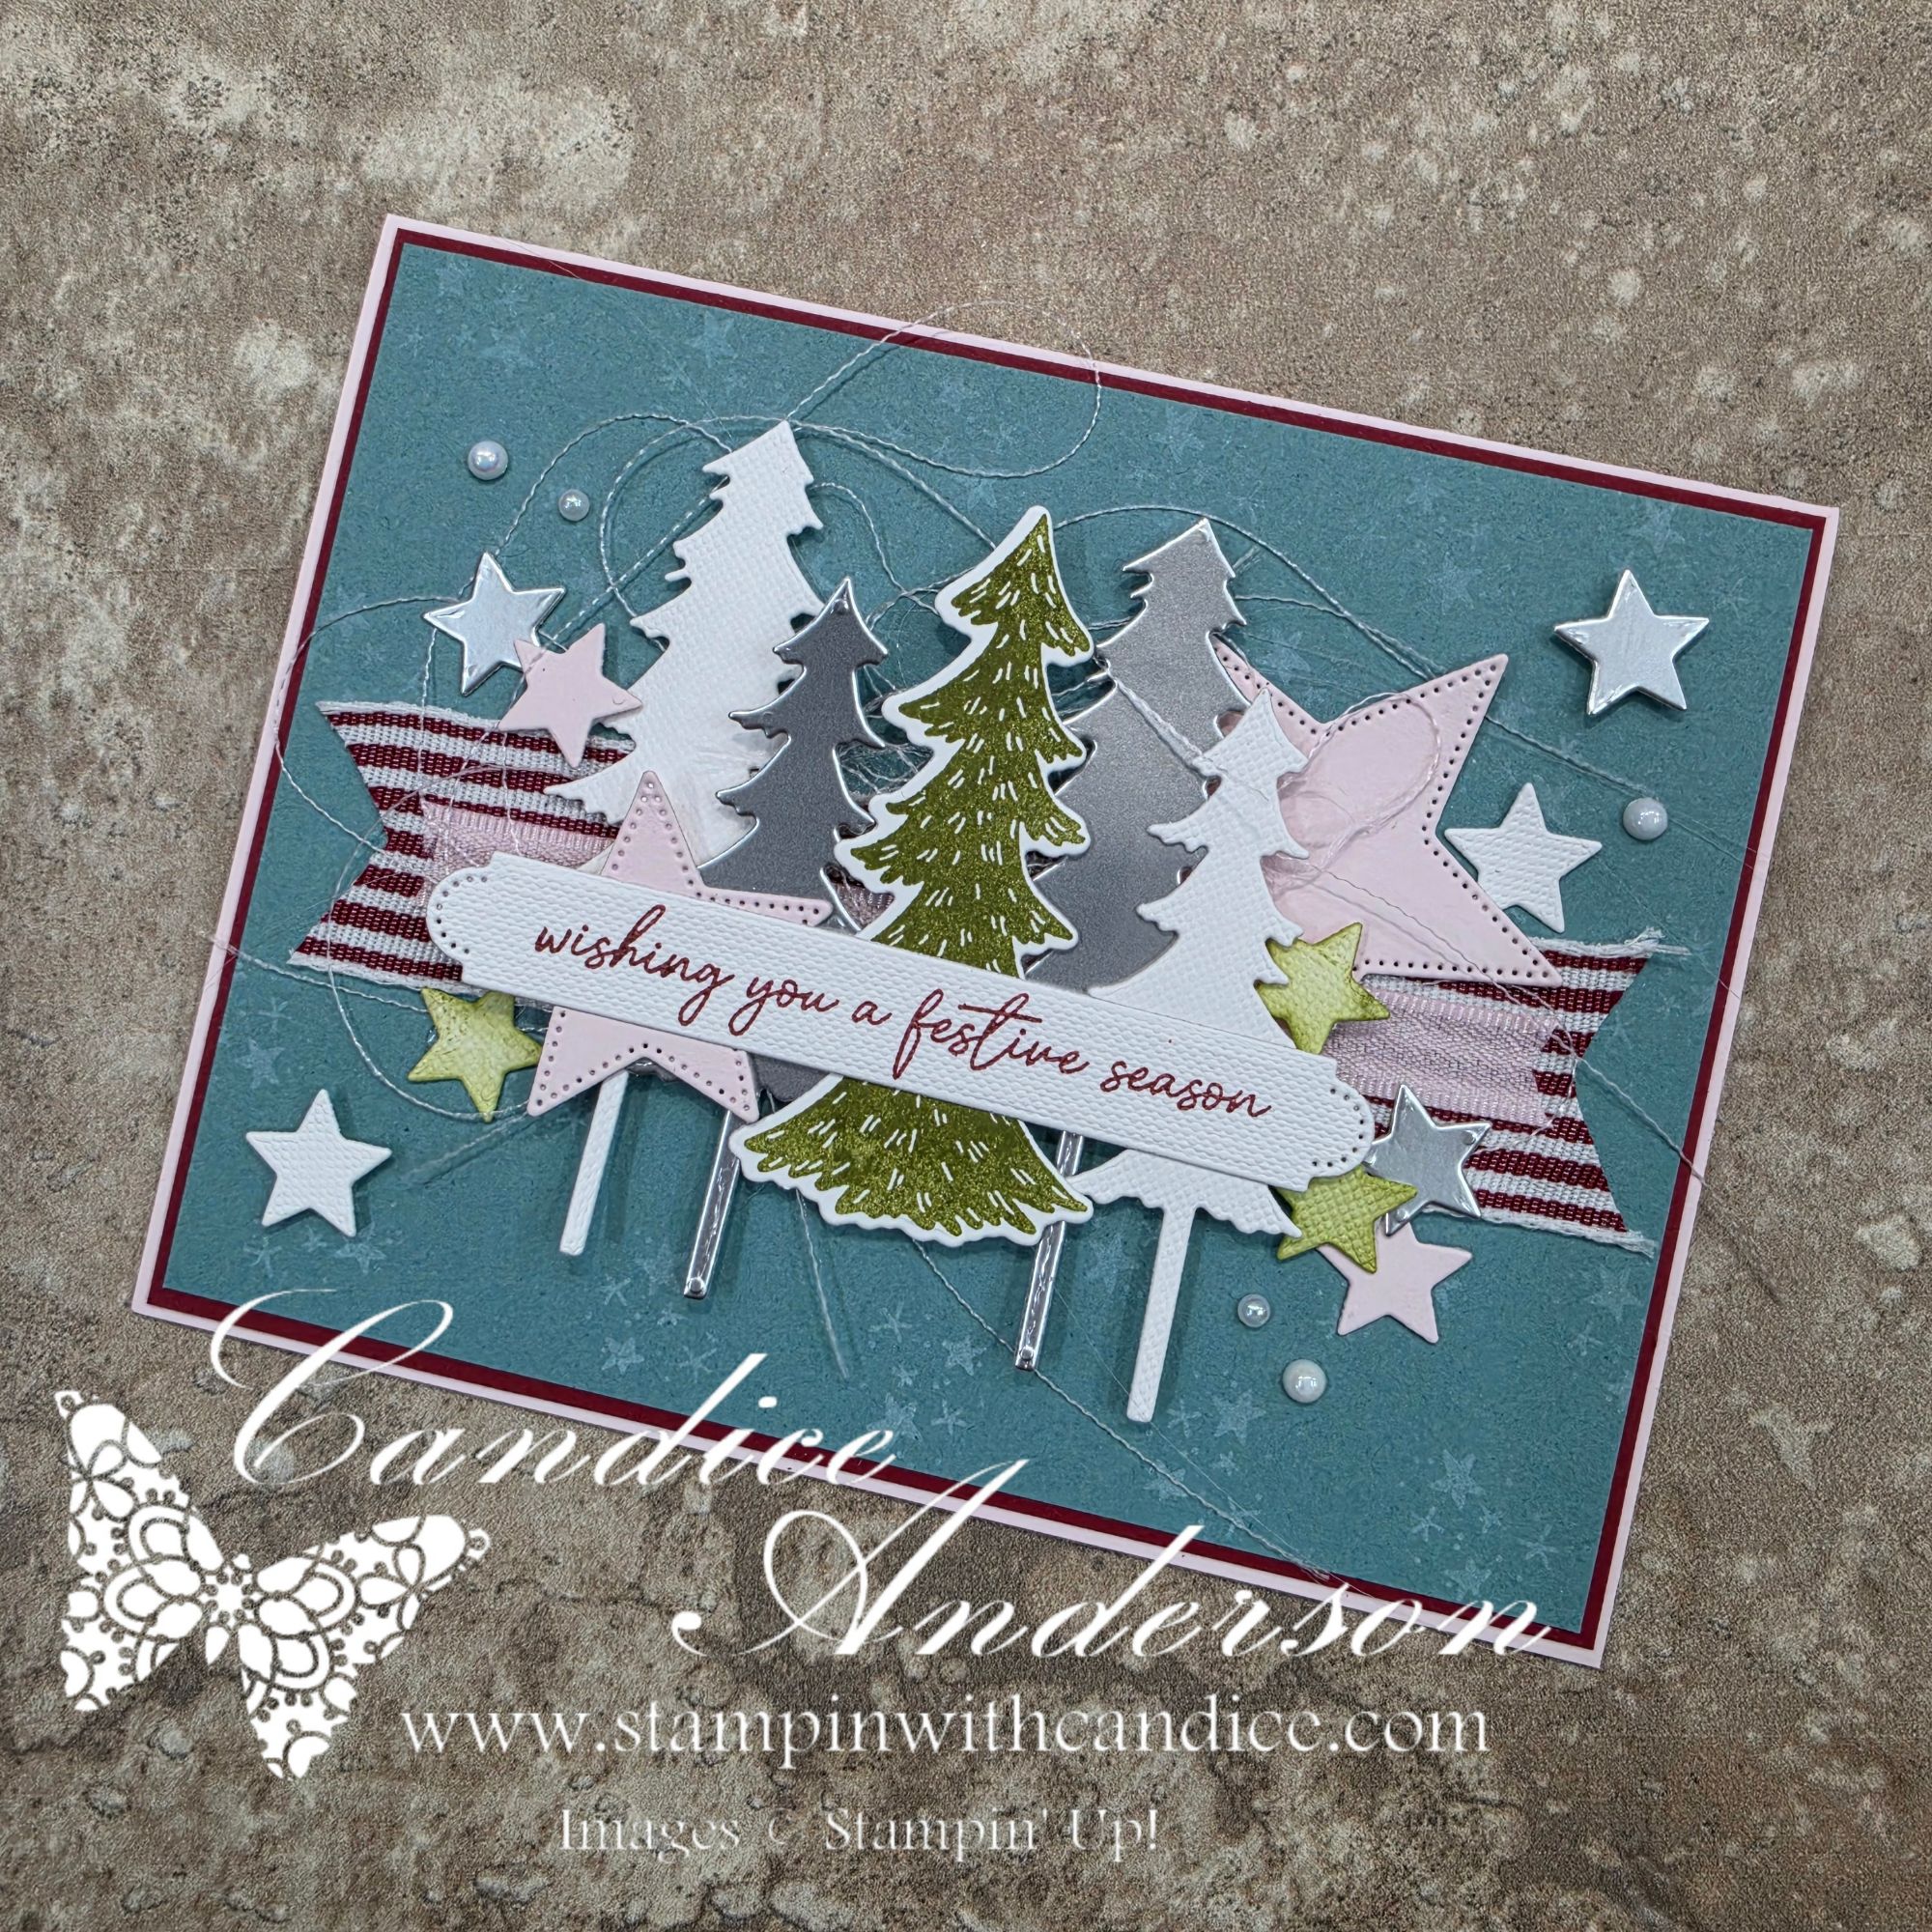
I started with Lost Lagoon for my background, stamping a subtle pattern of stars using white ink. I love how the soft white stars add interest without taking away from the focal point.

Next, I stamped my Christmas tree in Old Olive and began building layers with the Holly Jolly Branches Bundle and Shining Stars Dies.

To add a little sparkle, I die-cut several trees and stars using Silver Foil Sheets. I love how the metallic accents catch the light and give the card that extra touch of holiday magic!

A Sneak Peek at Something New!

One of my favorite details on this card might be a little difficult to see in the pictures.

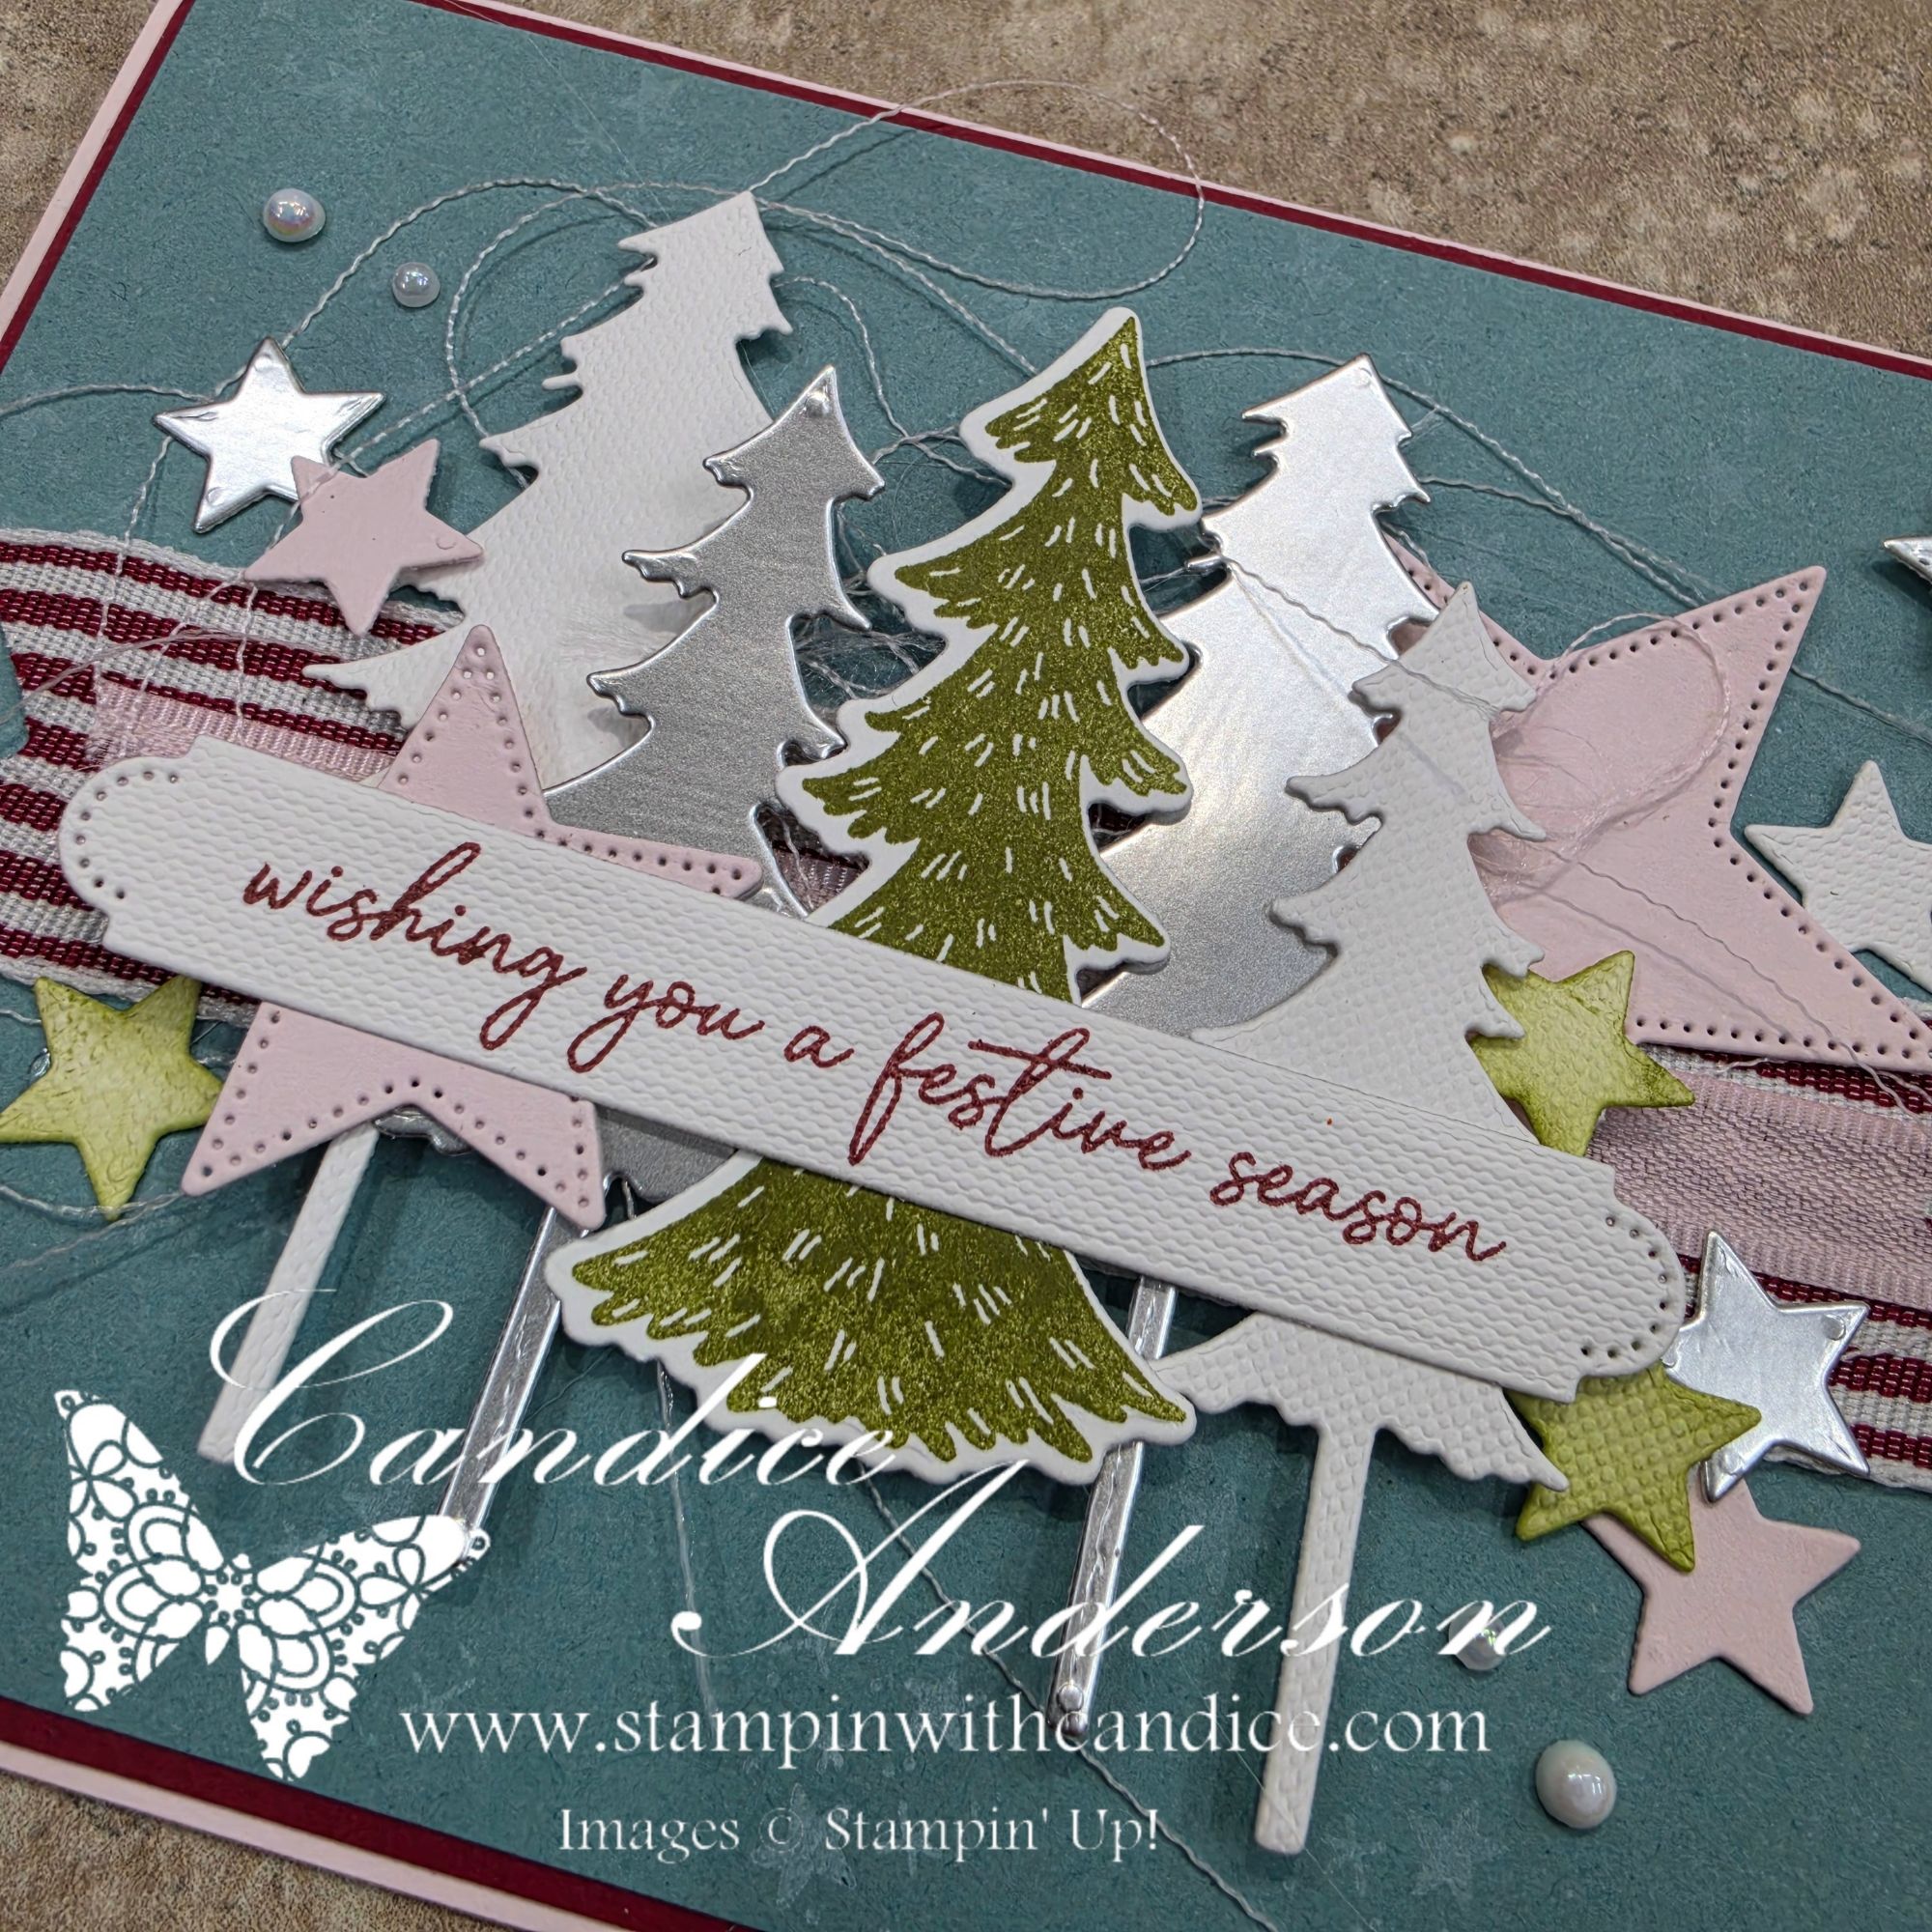
The greeting, several of the trees, and some of the stars were all die-cut from the new Textured Canvas Specialty Paper, coming in November as part of Stampin’ Up!’s Online Exclusives!

This paper is so cool! It adds a beautiful, soft texture to your projects, but what’s even better is that you can stamp directly onto it!

I also used a Blending Brush to add Old Olive ink to a few of the canvas stars, giving them a little extra color and dimension. It’s such a simple way to customize the paper while still allowing that wonderful texture to show through.

One of the things I love most about being a Stampin’ Up! demonstrator is getting early access to new products like this!

And speaking of being a demonstrator, there’s an awesome joining special happening in October! If you’ve ever thought about joining my team, I’d love to share more with you. You can also visit the GROW section of my blog to learn more about the creative opportunities and benefits of being part of my team.
Ribbon, Stars & a Little Whimsy

To finish building my design, I added some Barely Blush stars and ribbon, along with the new Cherry Cobbler Striped Grosgrain Ribbon.

We’ve had ribbon similar to this in the past, and it’s always been one of my favorites for Christmas projects. There’s just something about those festive stripes!

But did you notice the wispy ribbon flurries tucked behind the trees?

This is such a fun technique, and it’s one I recently shared when creating my Spooktacular Gift Bags!

By carefully pulling out one of the main threads from the ribbon, you can separate the fibers and create these wonderful, delicate wisps. I tucked them behind my trees, letting them loop and flow naturally across the card.

I love how they add movement, texture, and a little bit of whimsy without overwhelming the design.

For the finishing touches, I added a few Iridescent Pearls and layered my Lost Lagoon panel onto Cherry Cobbler cardstock, all mounted on a Barely Blush card base.

Those little details really brought everything together!


Sometimes the Best Projects Are the Unexpected Ones!

When I first sat down to create this card, I really wasn’t sure how it was going to turn out. I had a general idea, a new set of dies I couldn’t wait to play with, a color palette that was a little different from my usual Christmas combinations, and beautiful challenge sample for inspiration.
But once I started creating, everything came together surprisingly easily!

I love the mix of textures, the unexpected colors, and all those wonderful layers. It’s definitely one of those cards that looks more complicated than it actually is and has that WOW factor I love!

That’s one of the reasons I enjoy participating in creative challenges so much. They encourage me to try something different, look at my supplies in a new way, and sometimes discover combinations I might never have thought to use.

What do you think? Would you use Lost Lagoon, Old Olive, Barely Blush, and Cherry Cobbler for a Christmas card?


Have You Gotten Your Shining Stars Dies Yet?

If the Shining Stars Dies aren’t already on your wish list, you might want to add them! ⭐

They’re this month’s Stampin’ Up! Product of the Month, which means you can purchase them for just $5 with a qualifying $75 order!

I have a feeling these dies are going to be popular, so I wouldn’t wait too long if you want to grab a set before they’re gone.

Ready to shop? Visit my online store at candiceanderson.stampinup.net.

And remember to check out the other amazing creations for #GDP568. There’s always so much inspiration to be found!

Happy Stamping!

Learn • Connect • Create • Grow 🦋

A beautifully crafted Christmas card featuring a window scene that displays a peaceful nativity setting on one side, while the inside is adorned with cozy holiday elements like hanging stockings and warm colors.

💕 Let’s Stay Connected

📺 YouTube 📘 Facebook 📸 Instagram 📌 Pinterest

Create with Candice Challenge — It’s Finally Here!

If you know me, you know I love a good challenge and participate in many different ones. You may have noticed that I even have a page dedicated to sharing some of my favorite creative challenges—and in the last section, there has been a little teaser:

Create with Candice Challenges — Coming Soon!

Well, guess what? The wait is over!

If you joined me for my live on Monday, you got the first look at my very first Create with Candice Challenge!

Each challenge will last approximately one month, giving you plenty of time to create and participate. The challenges will change from month to month and could include sketches, colors, themes, techniques, CASE the Designer, or just about anything else I come up with!

Most importantly, I hope these challenges inspire you to pull out your supplies, try something new, and share your creativity with us.

You can find all the information about how to participate, share your projects, and become one of my Featured Creators on the Create with Candice Challenge page. And while you’re there, be sure to jump over to my Creative Challenges page for even more challenges and inspiration.


Our First Challenge — #CWCC001

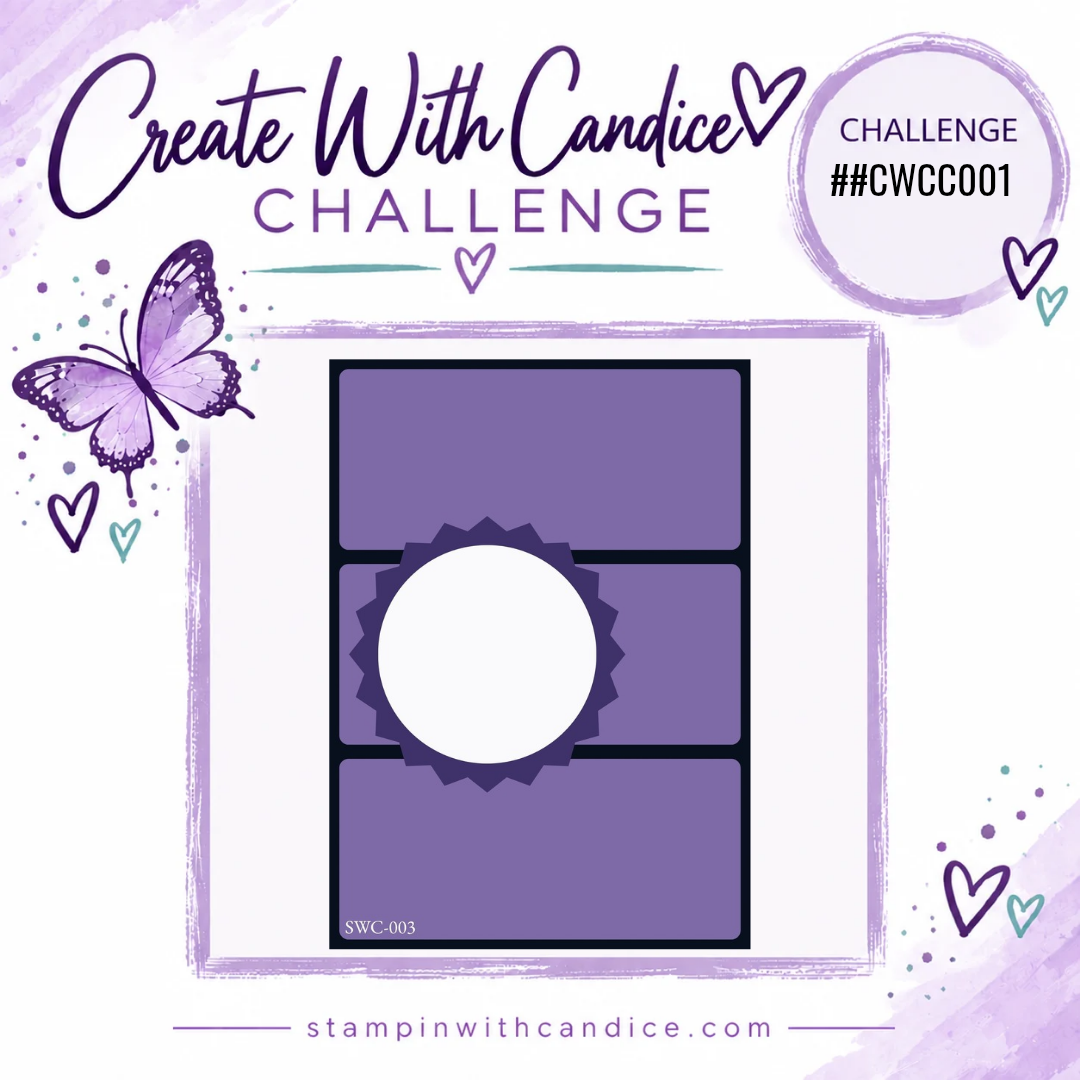
Before you go, let me introduce you to our very first Create with Candice Creative Challenge!

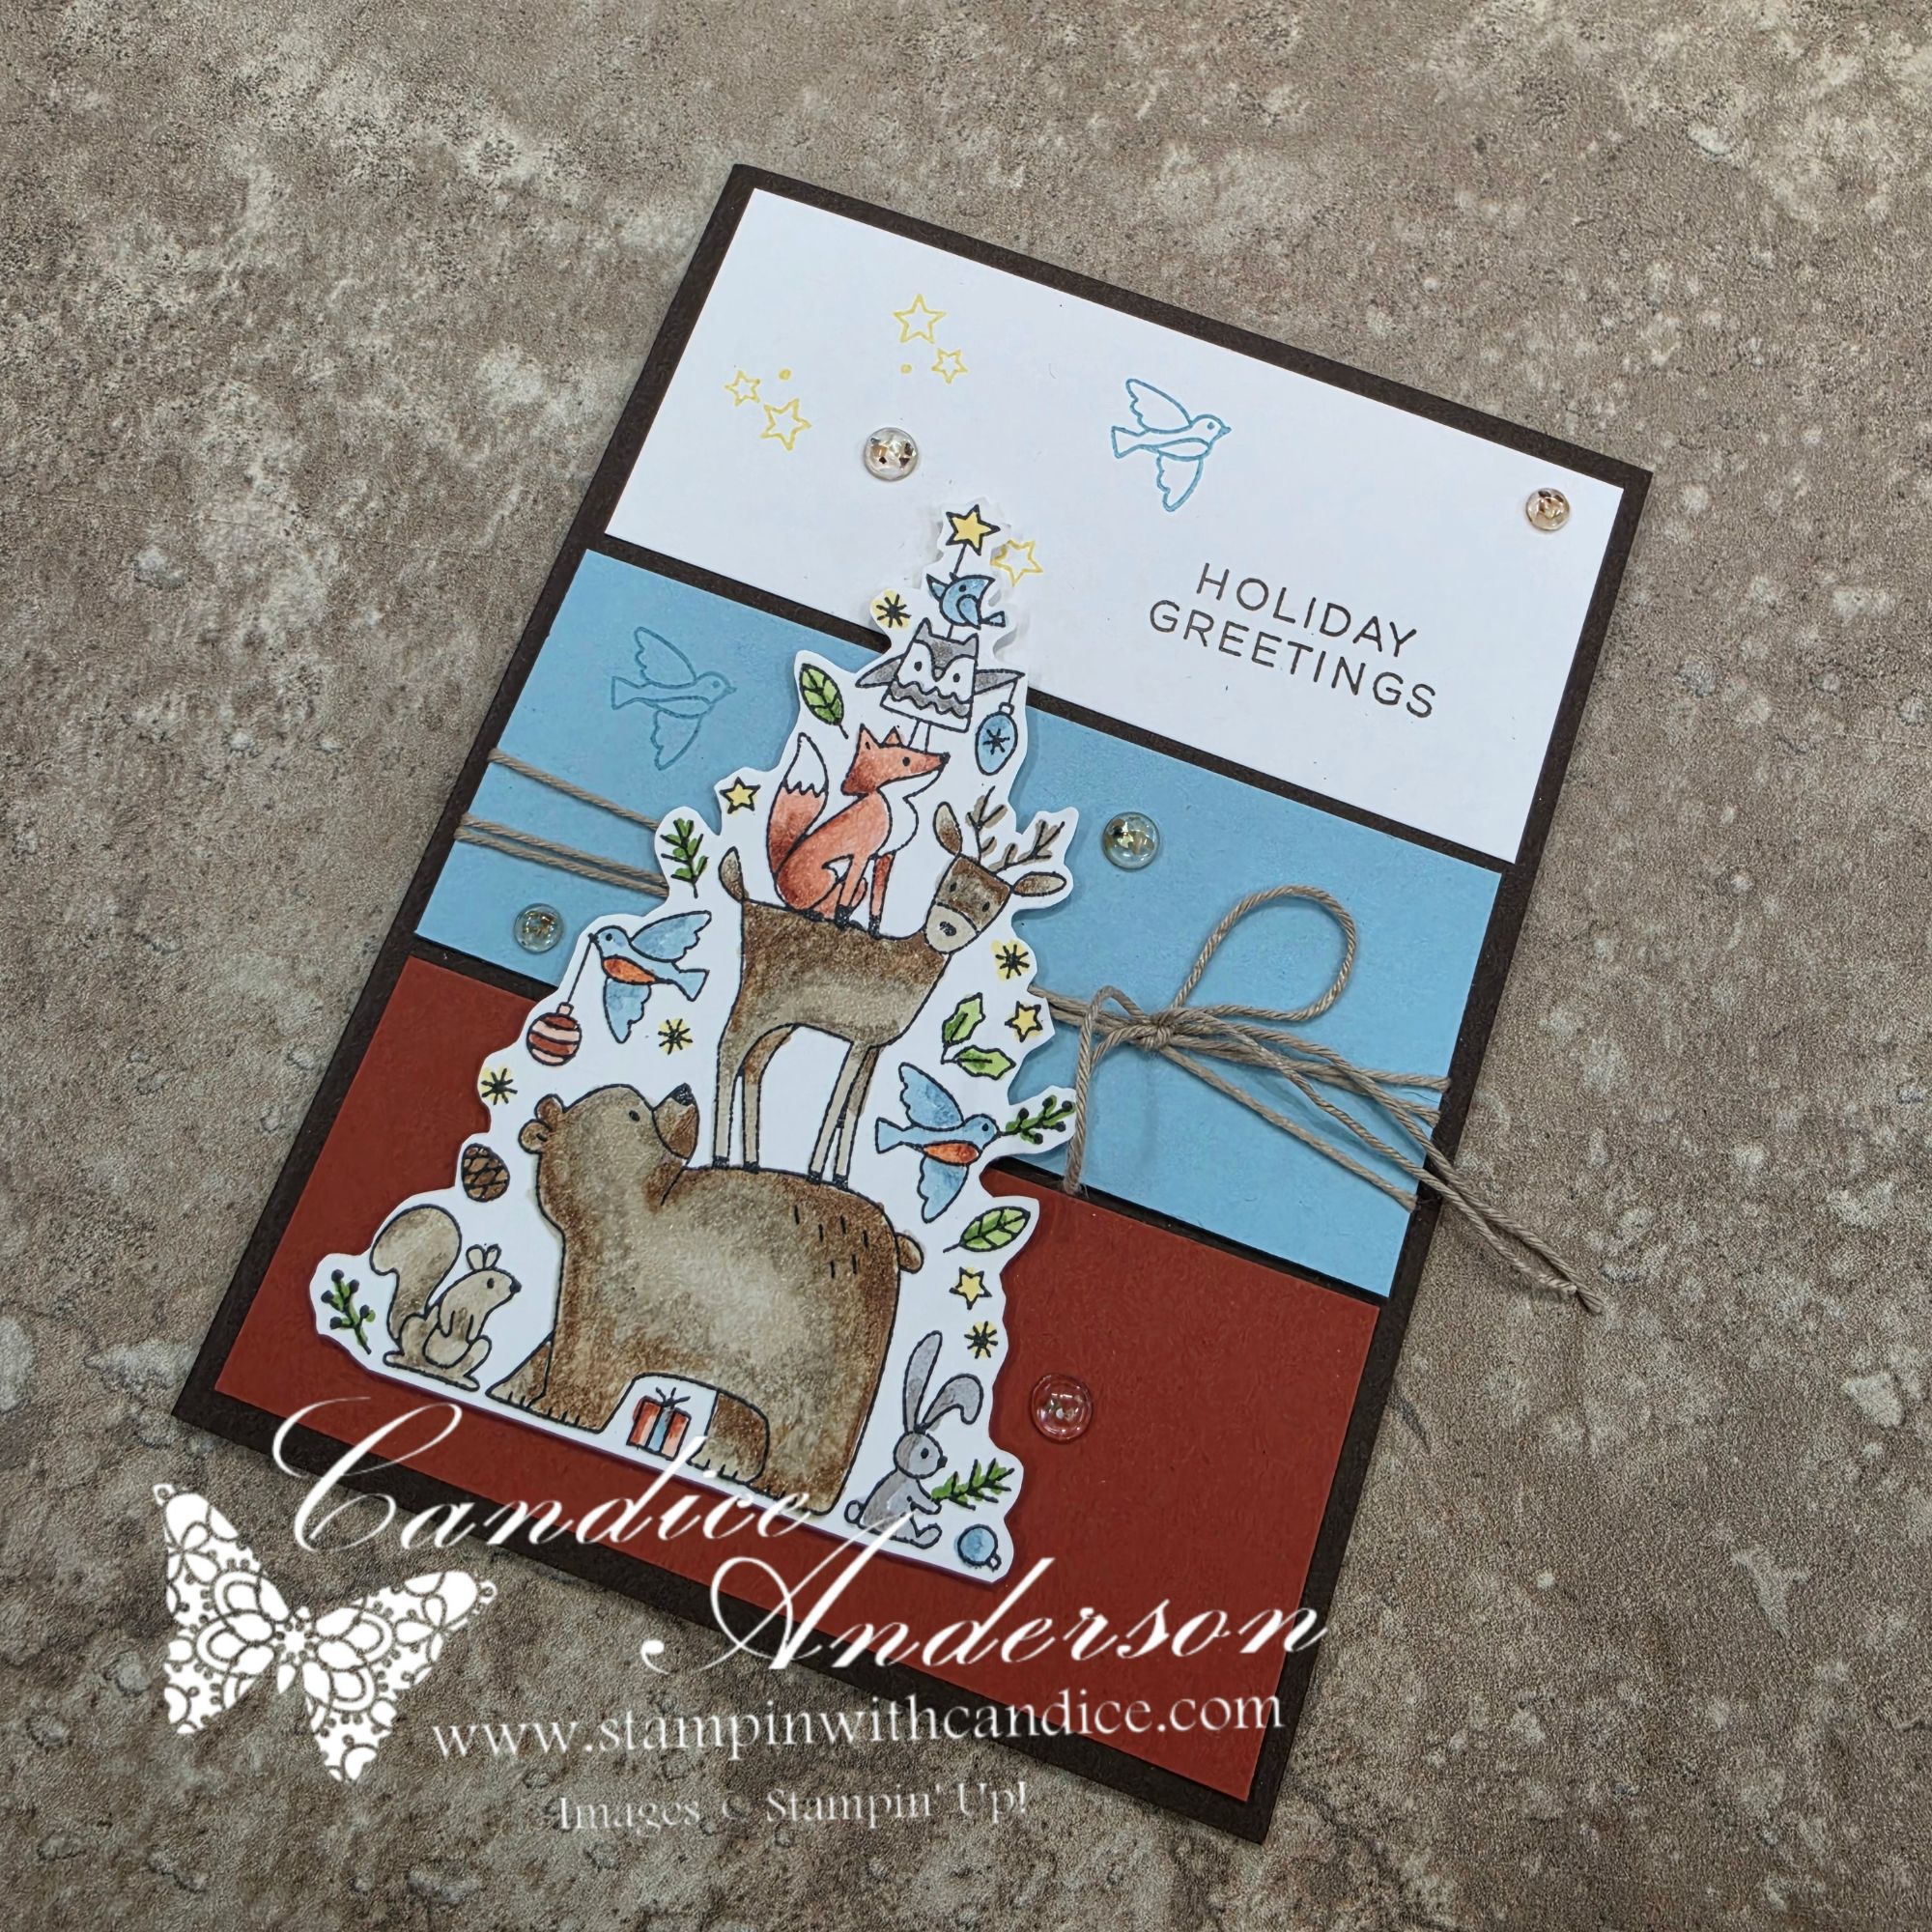
This month I’m starting with a super-easy sketch challenge. I honestly fell in love with this layout and had a hard time stopping once I started creating with it!

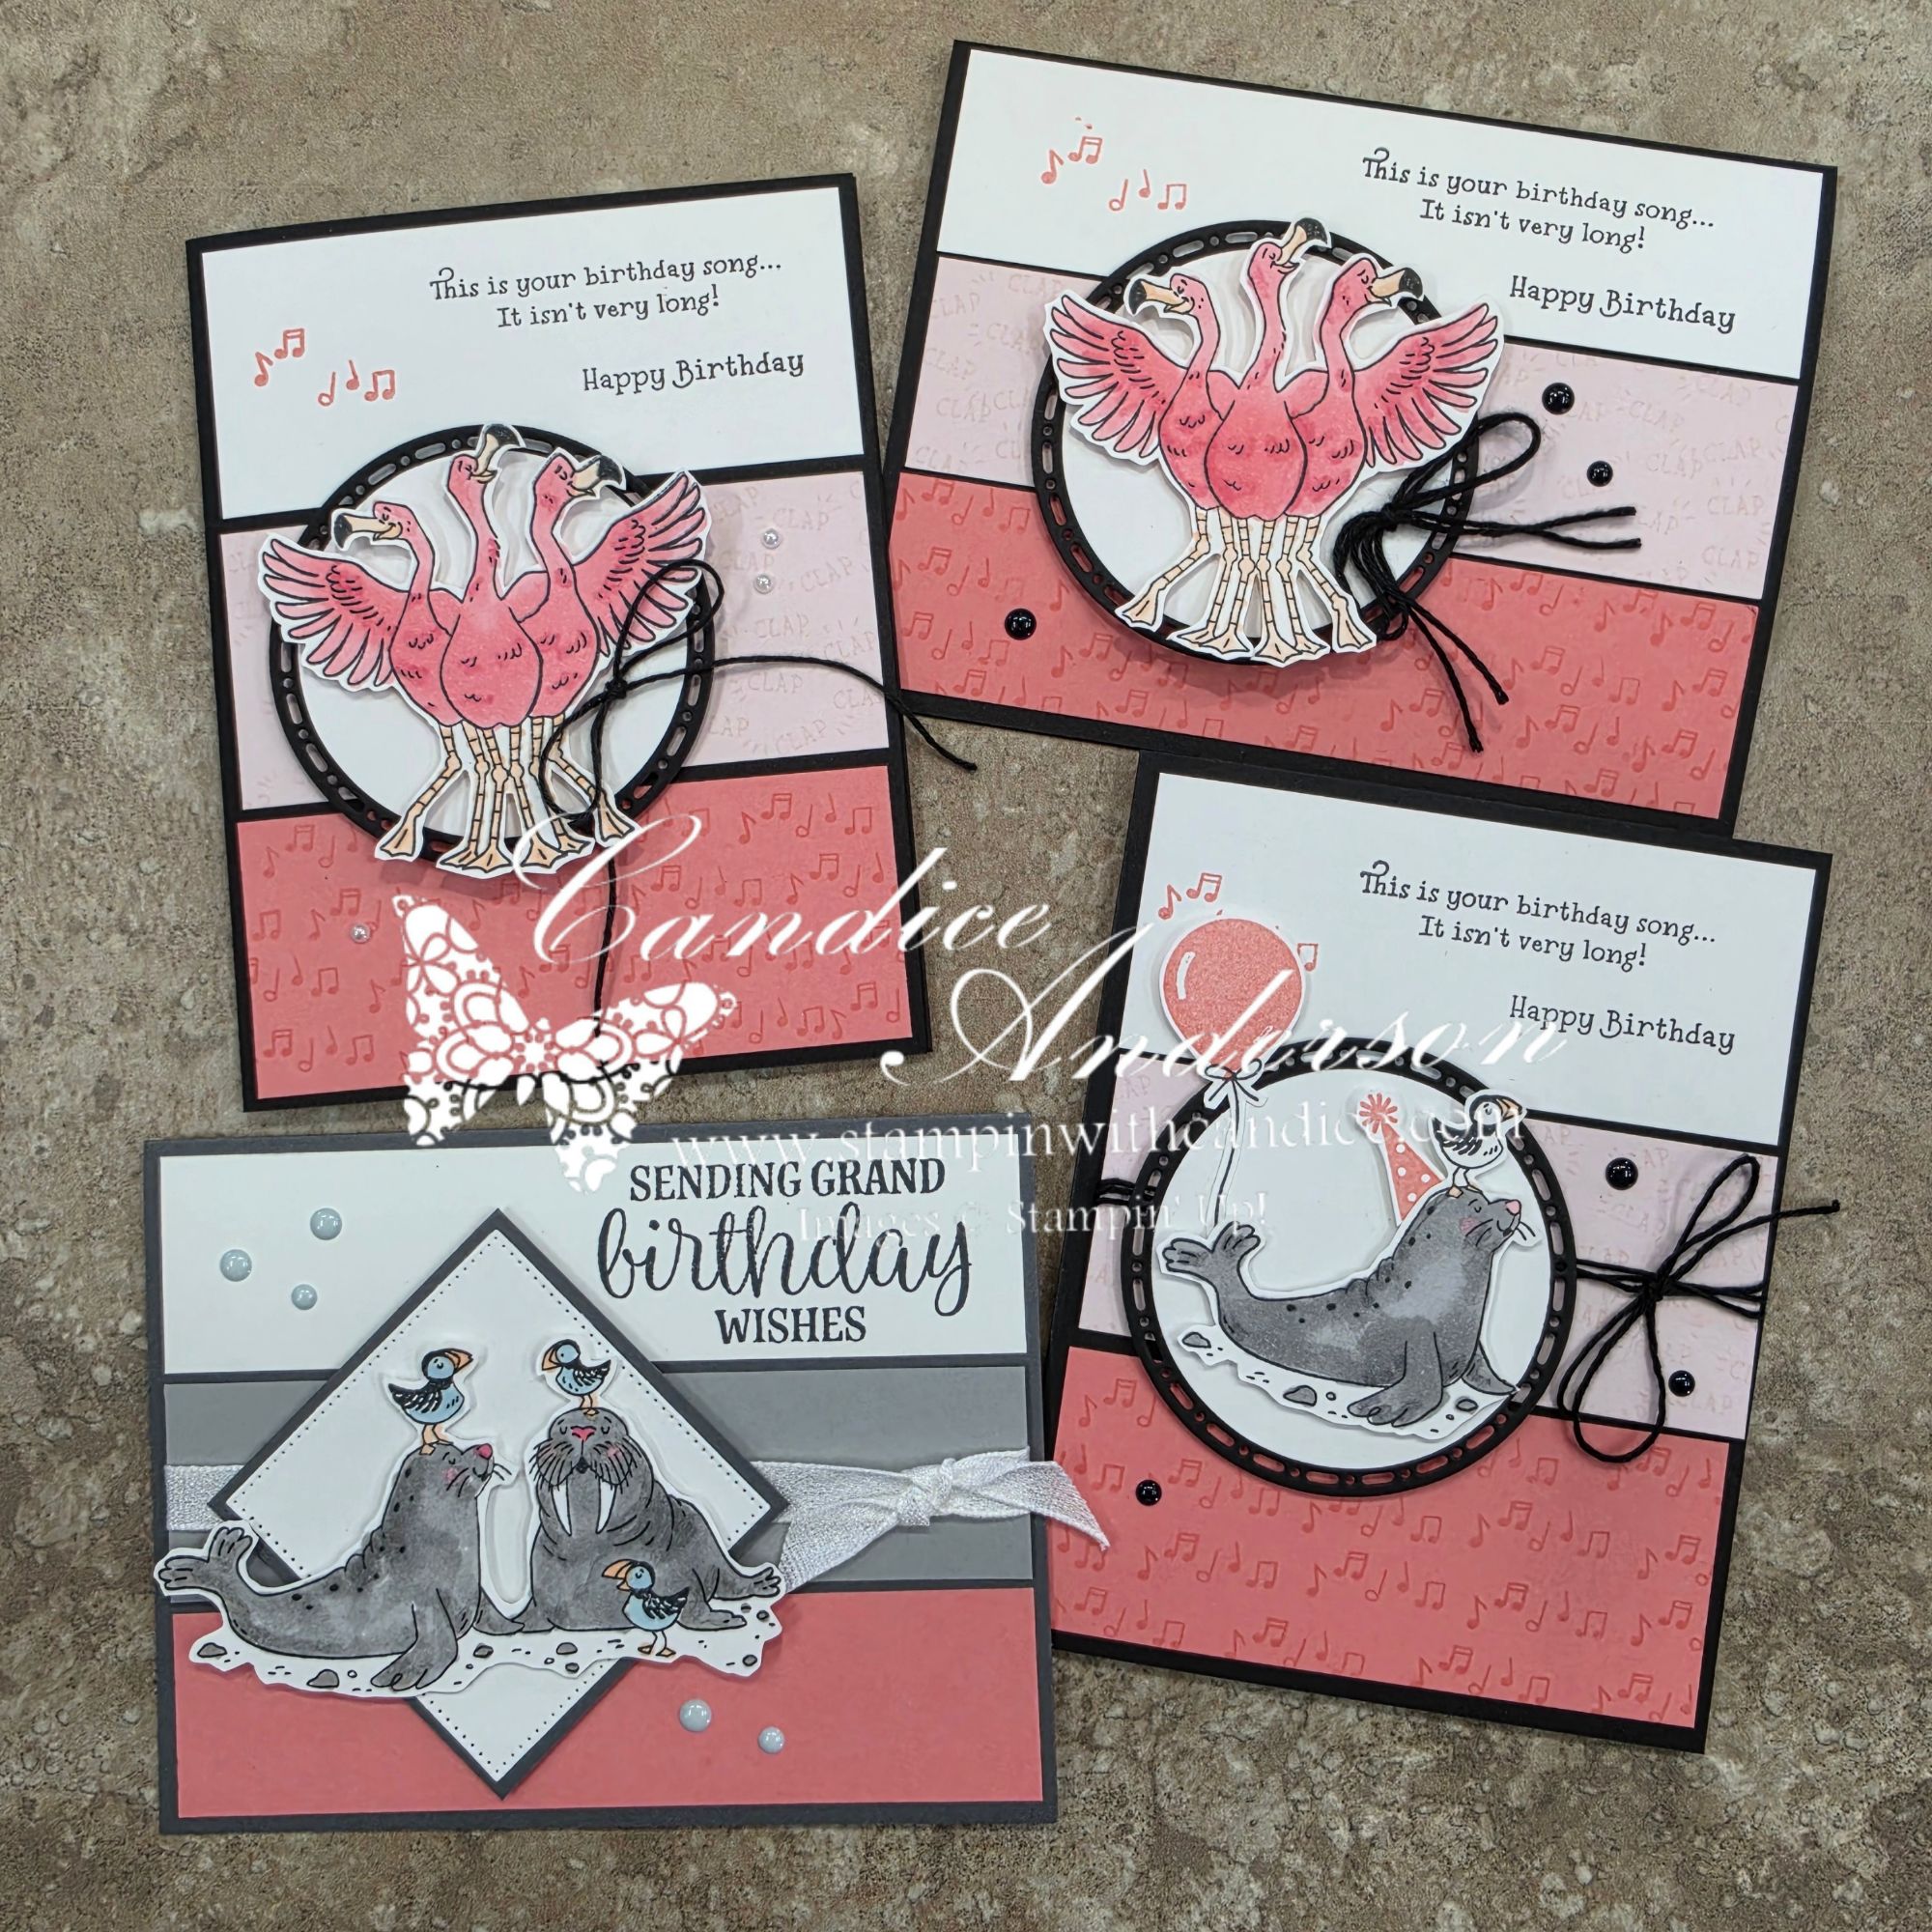
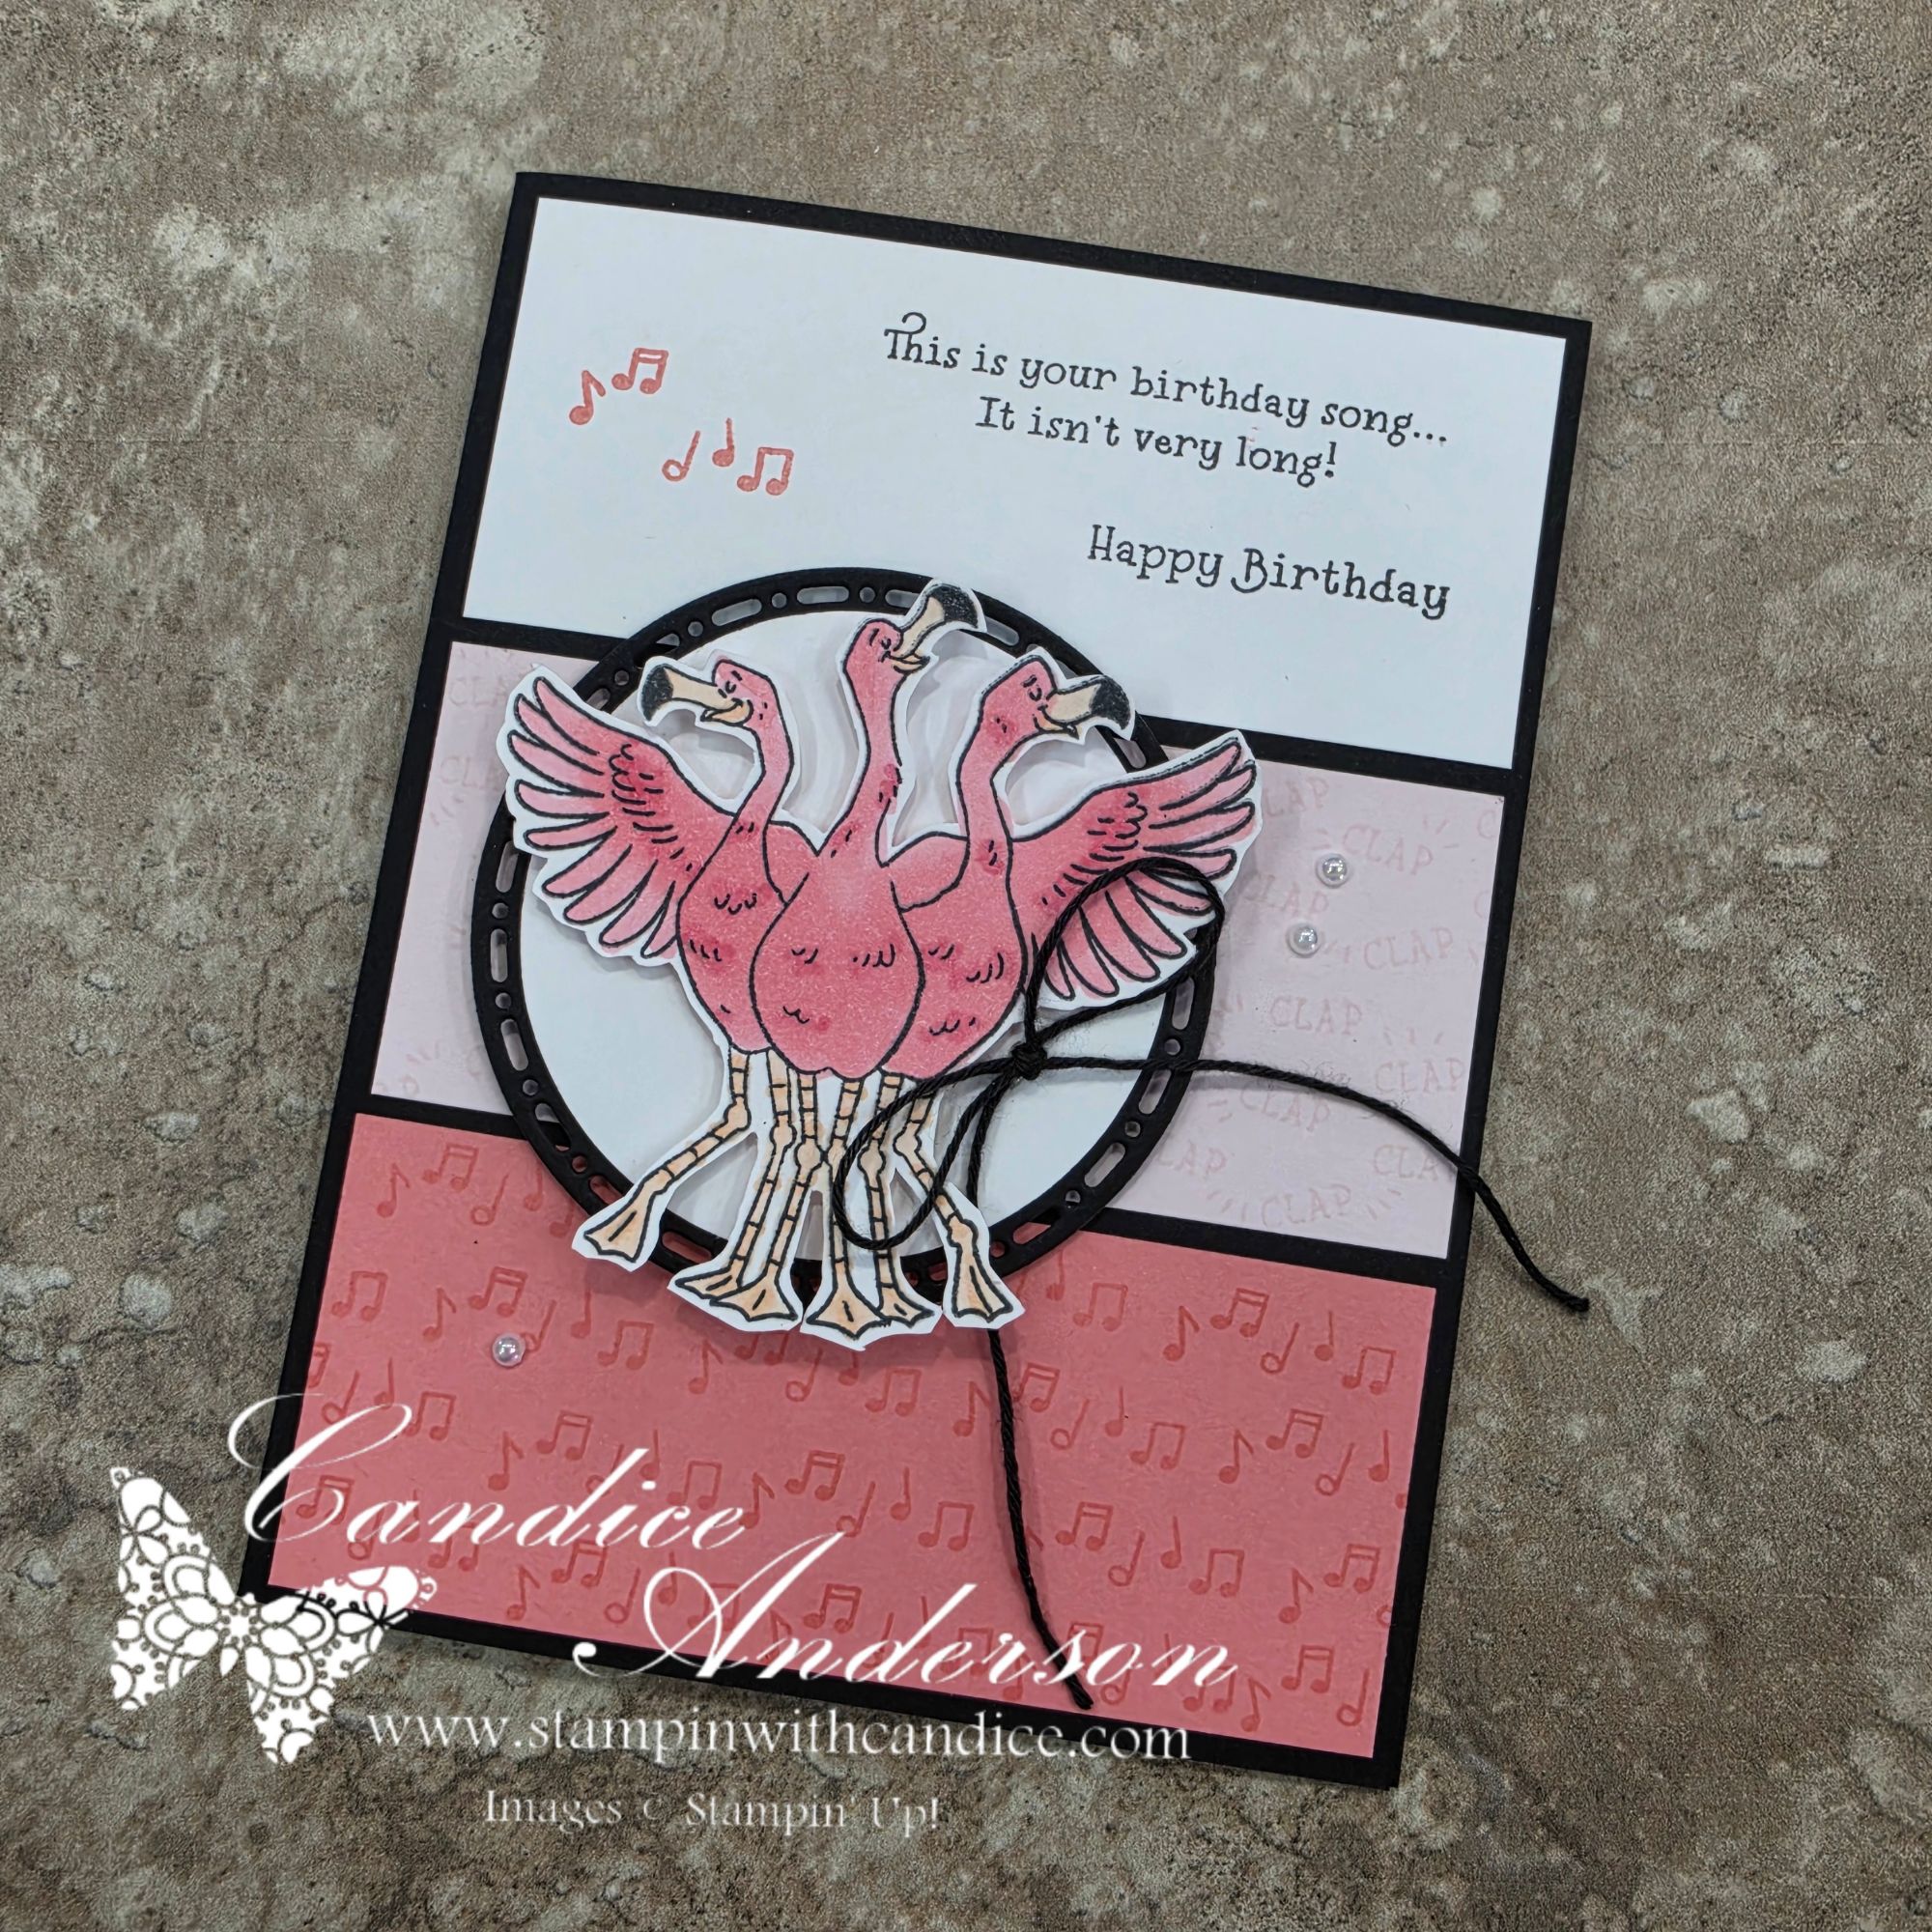
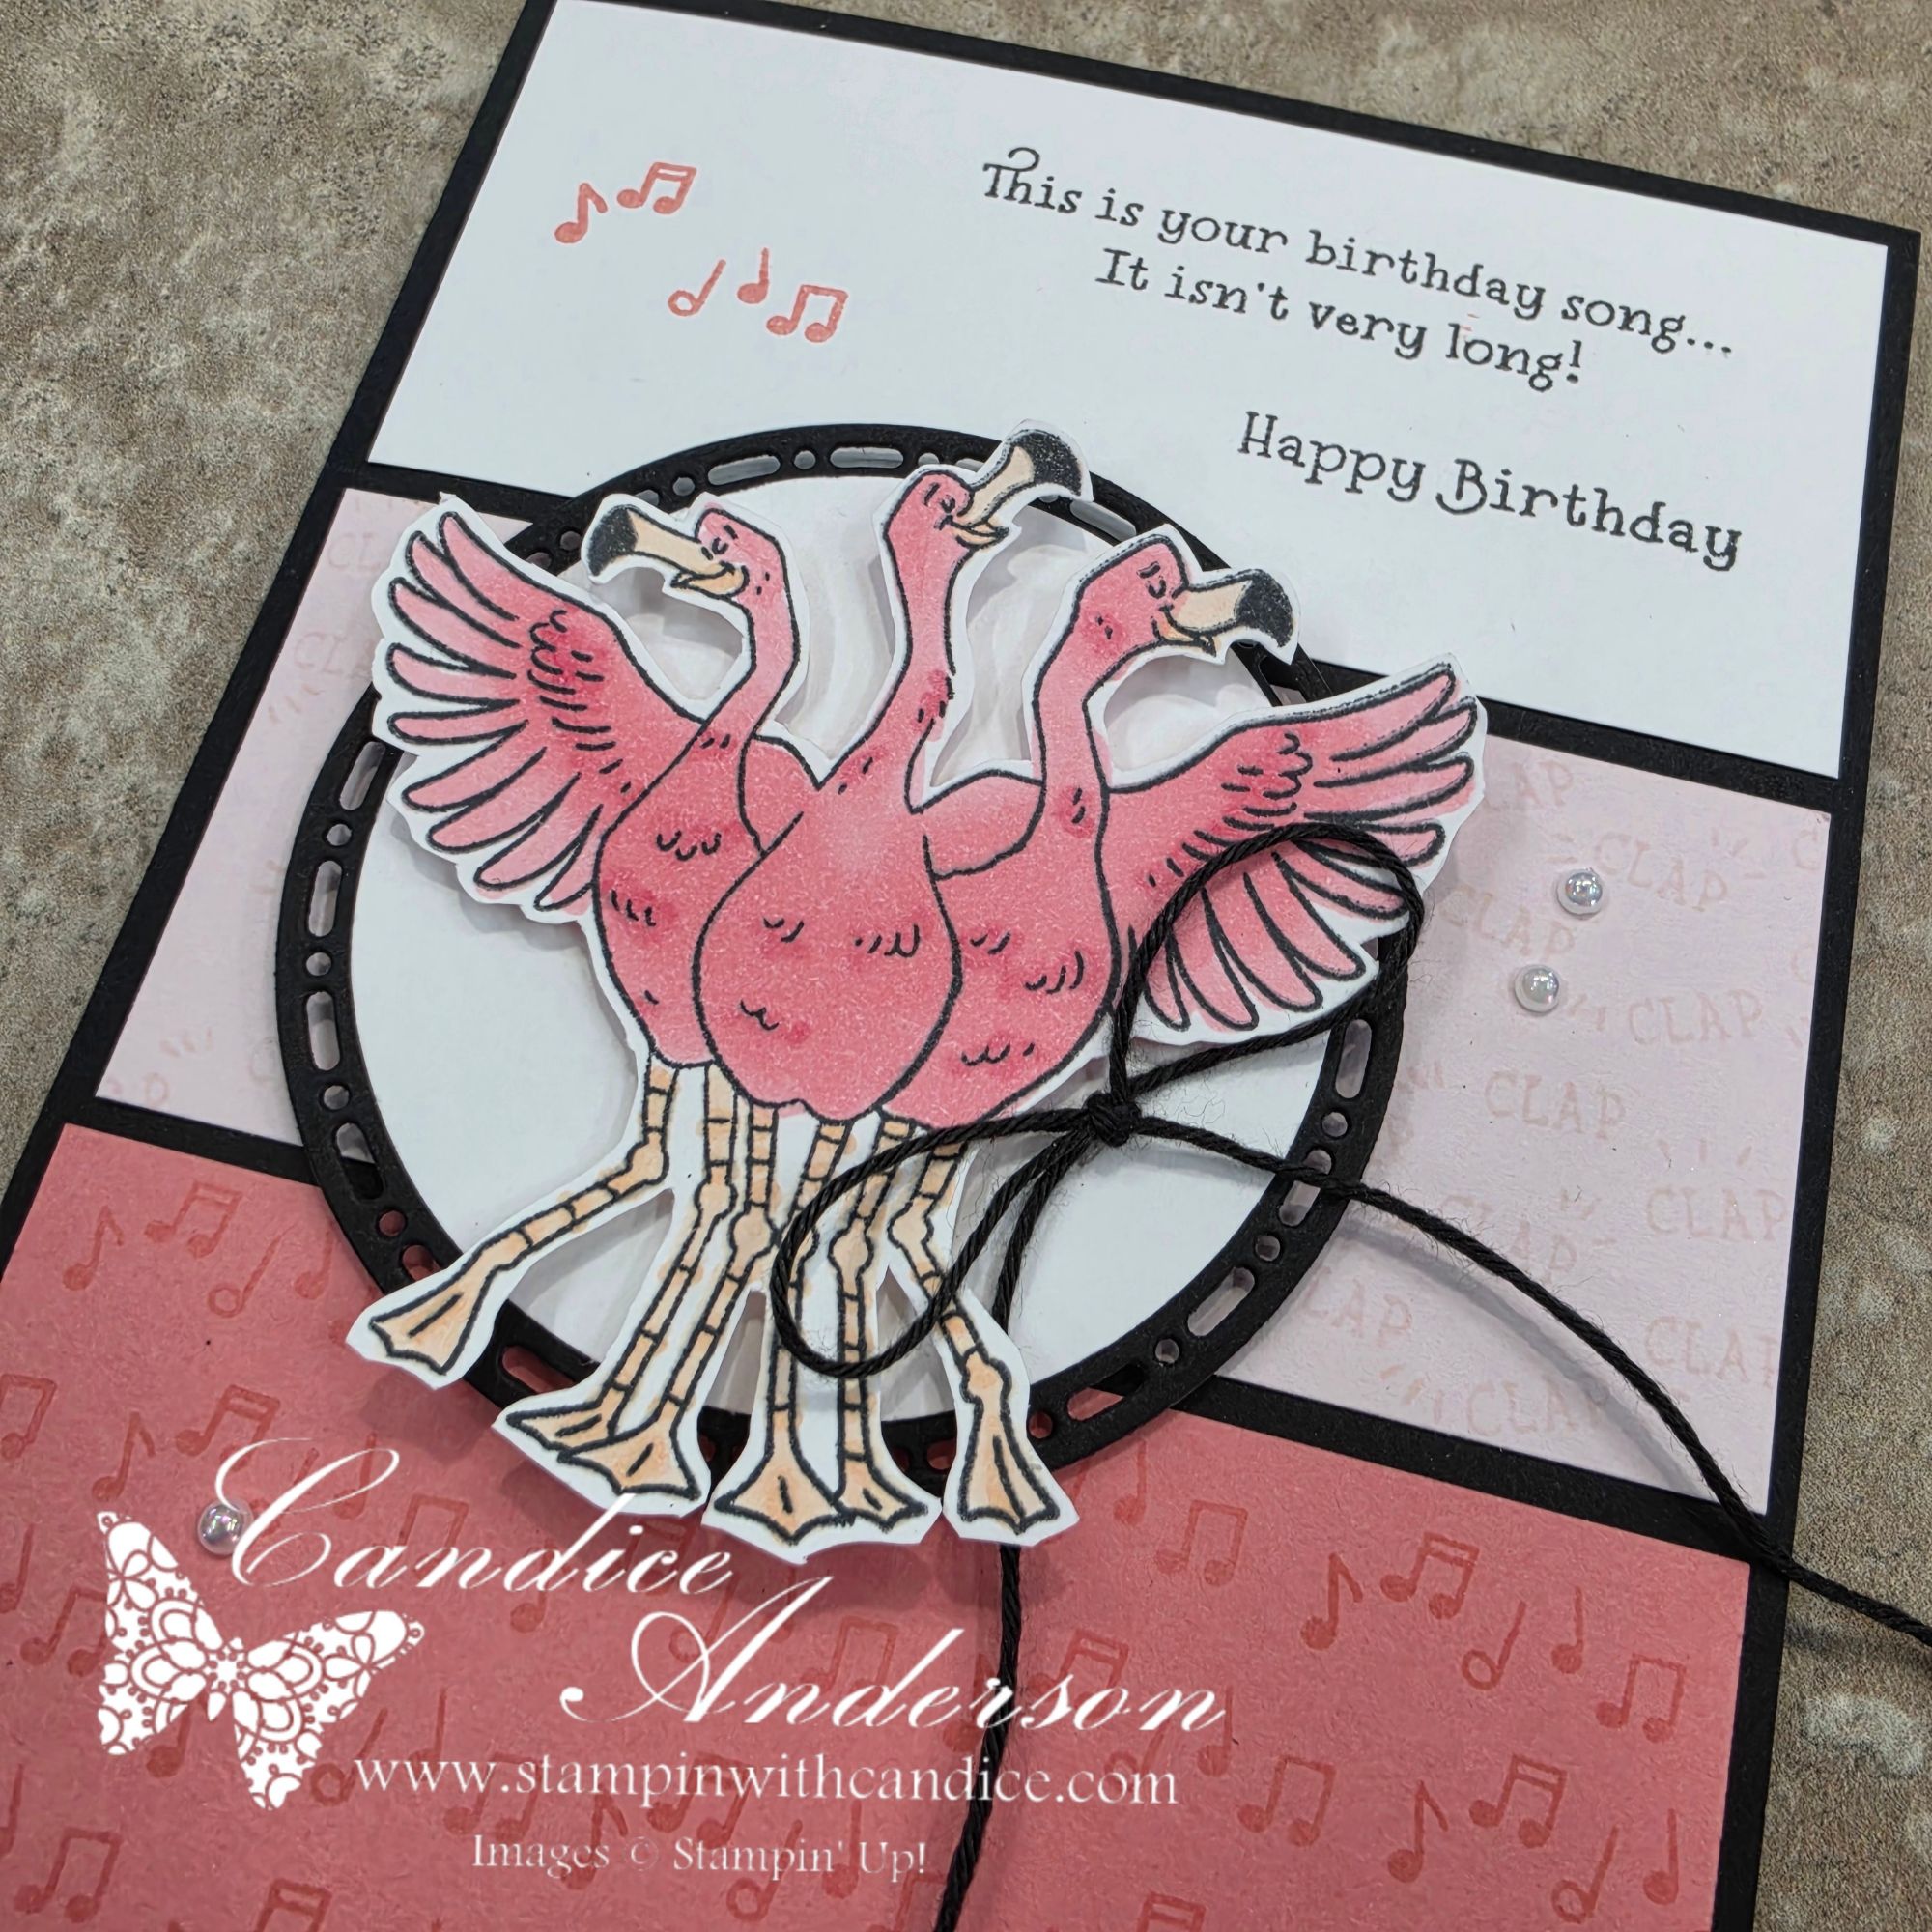
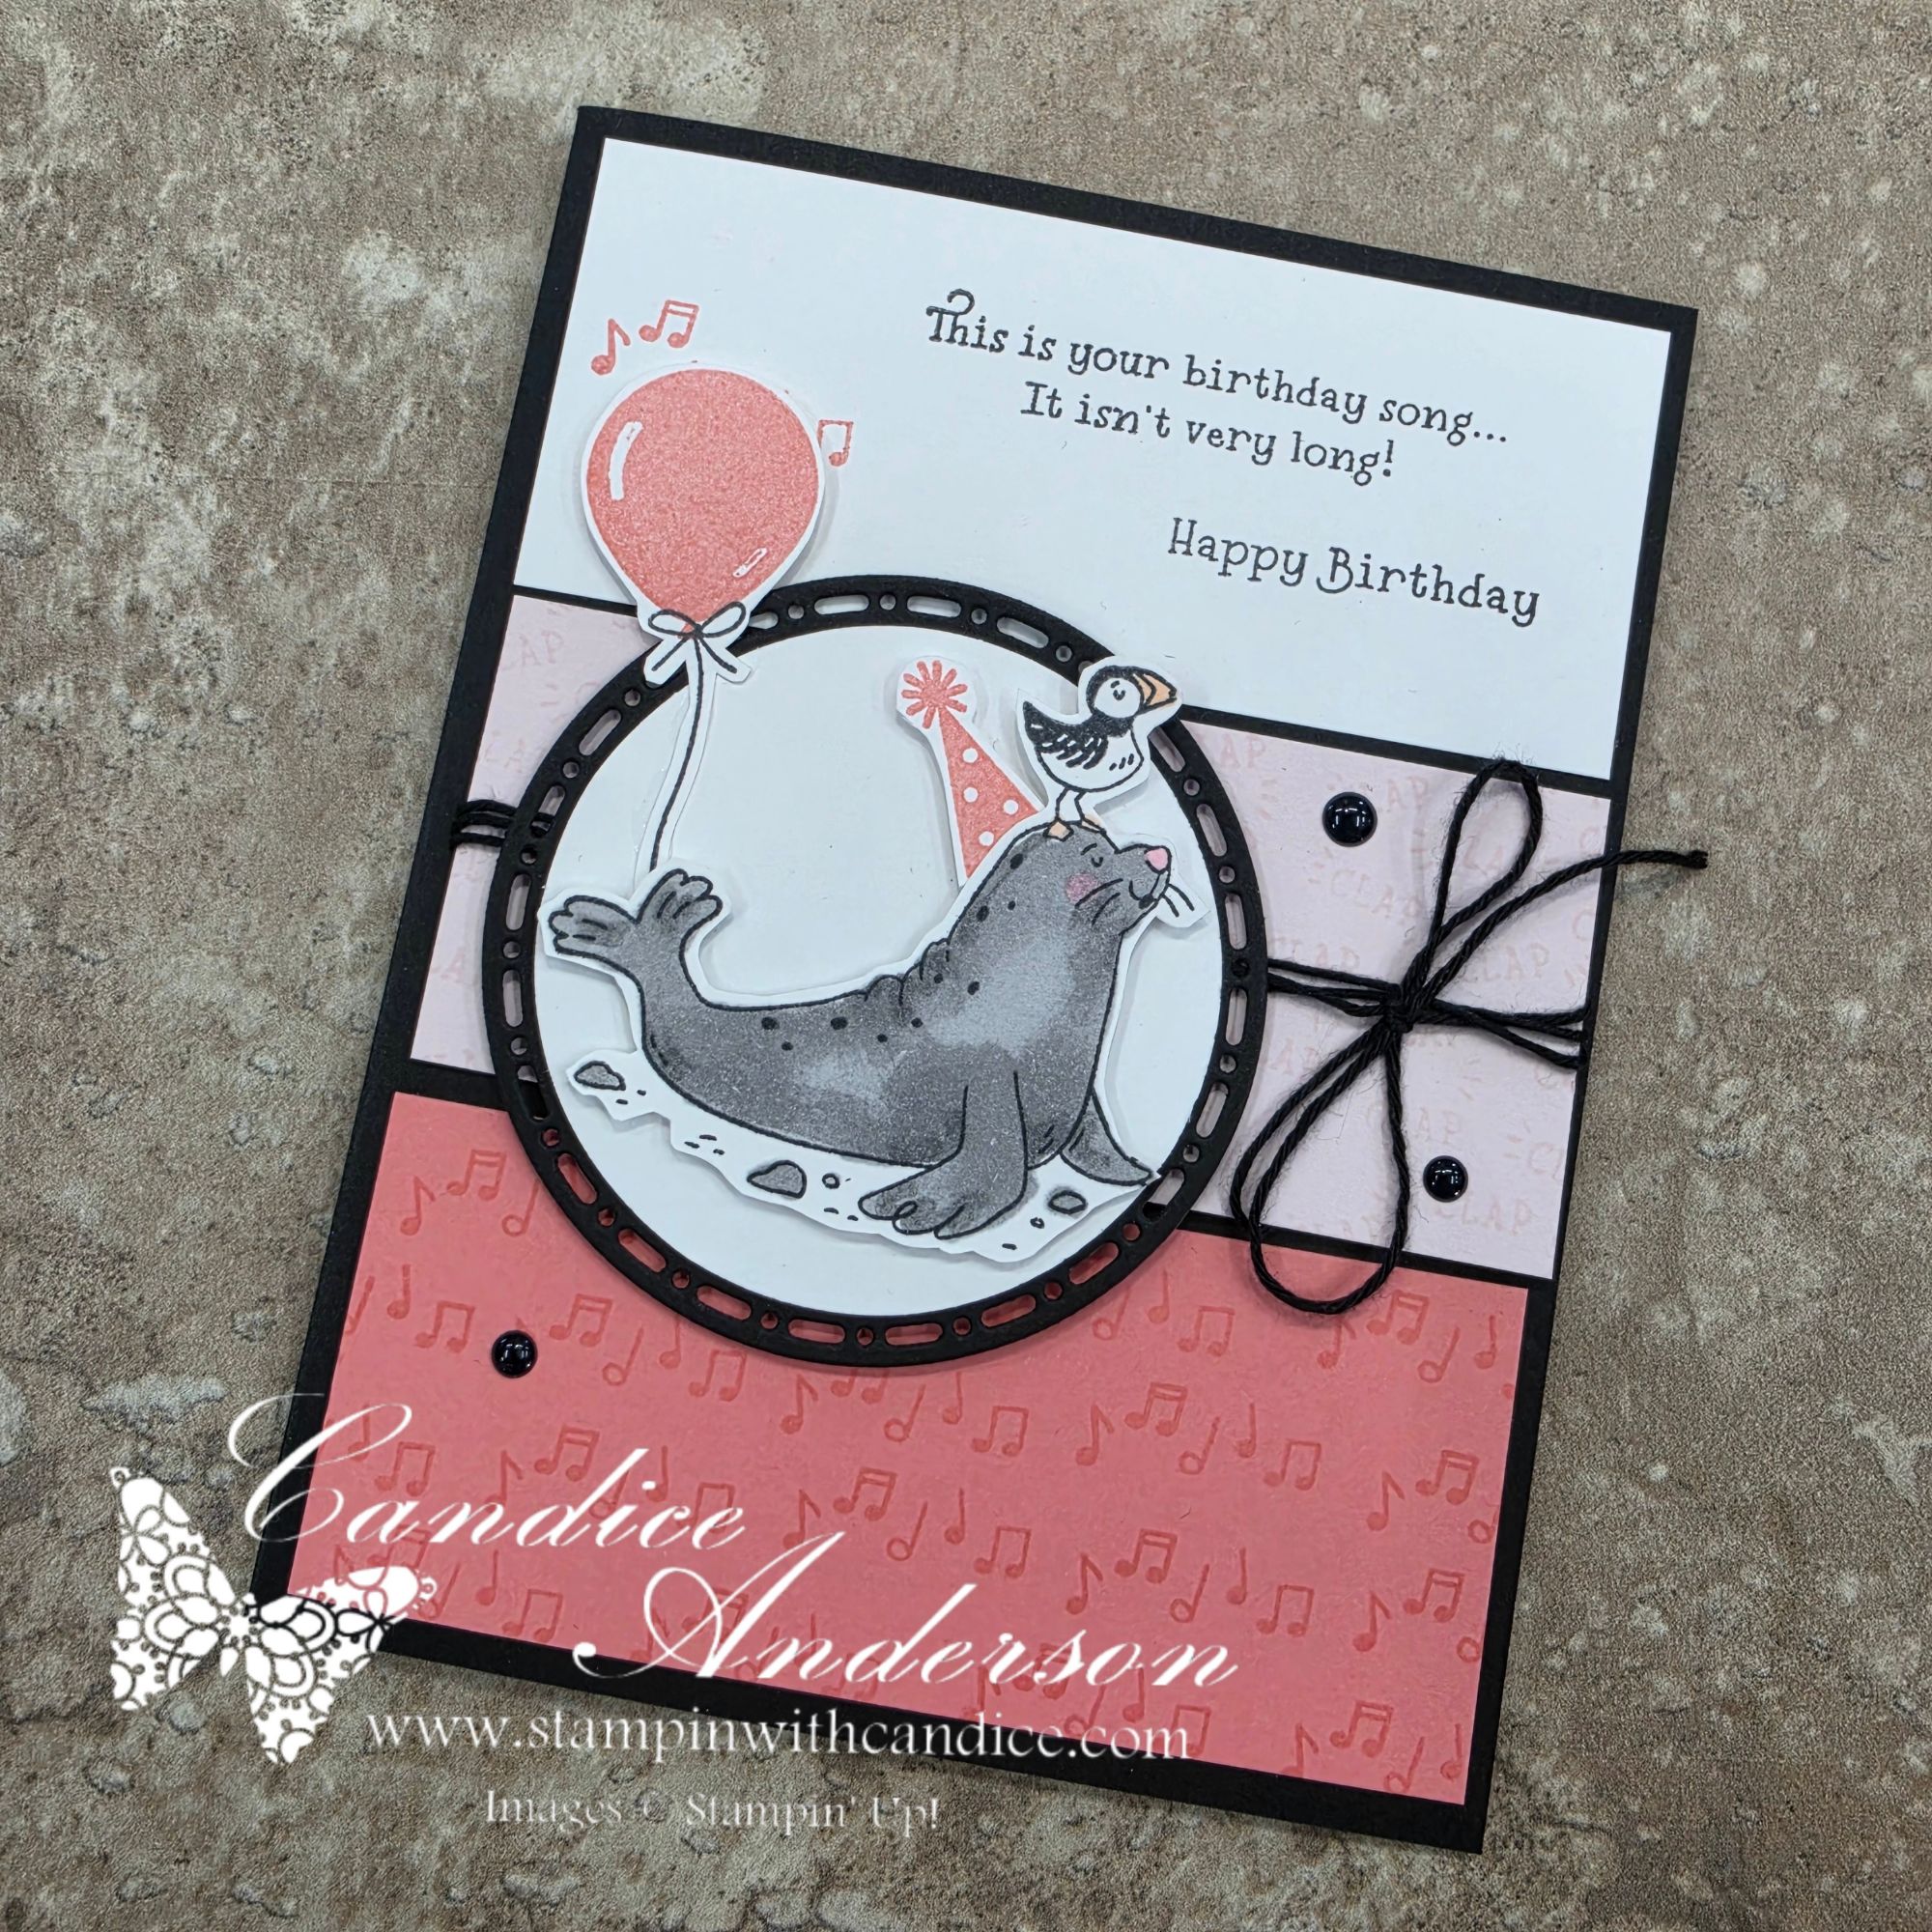
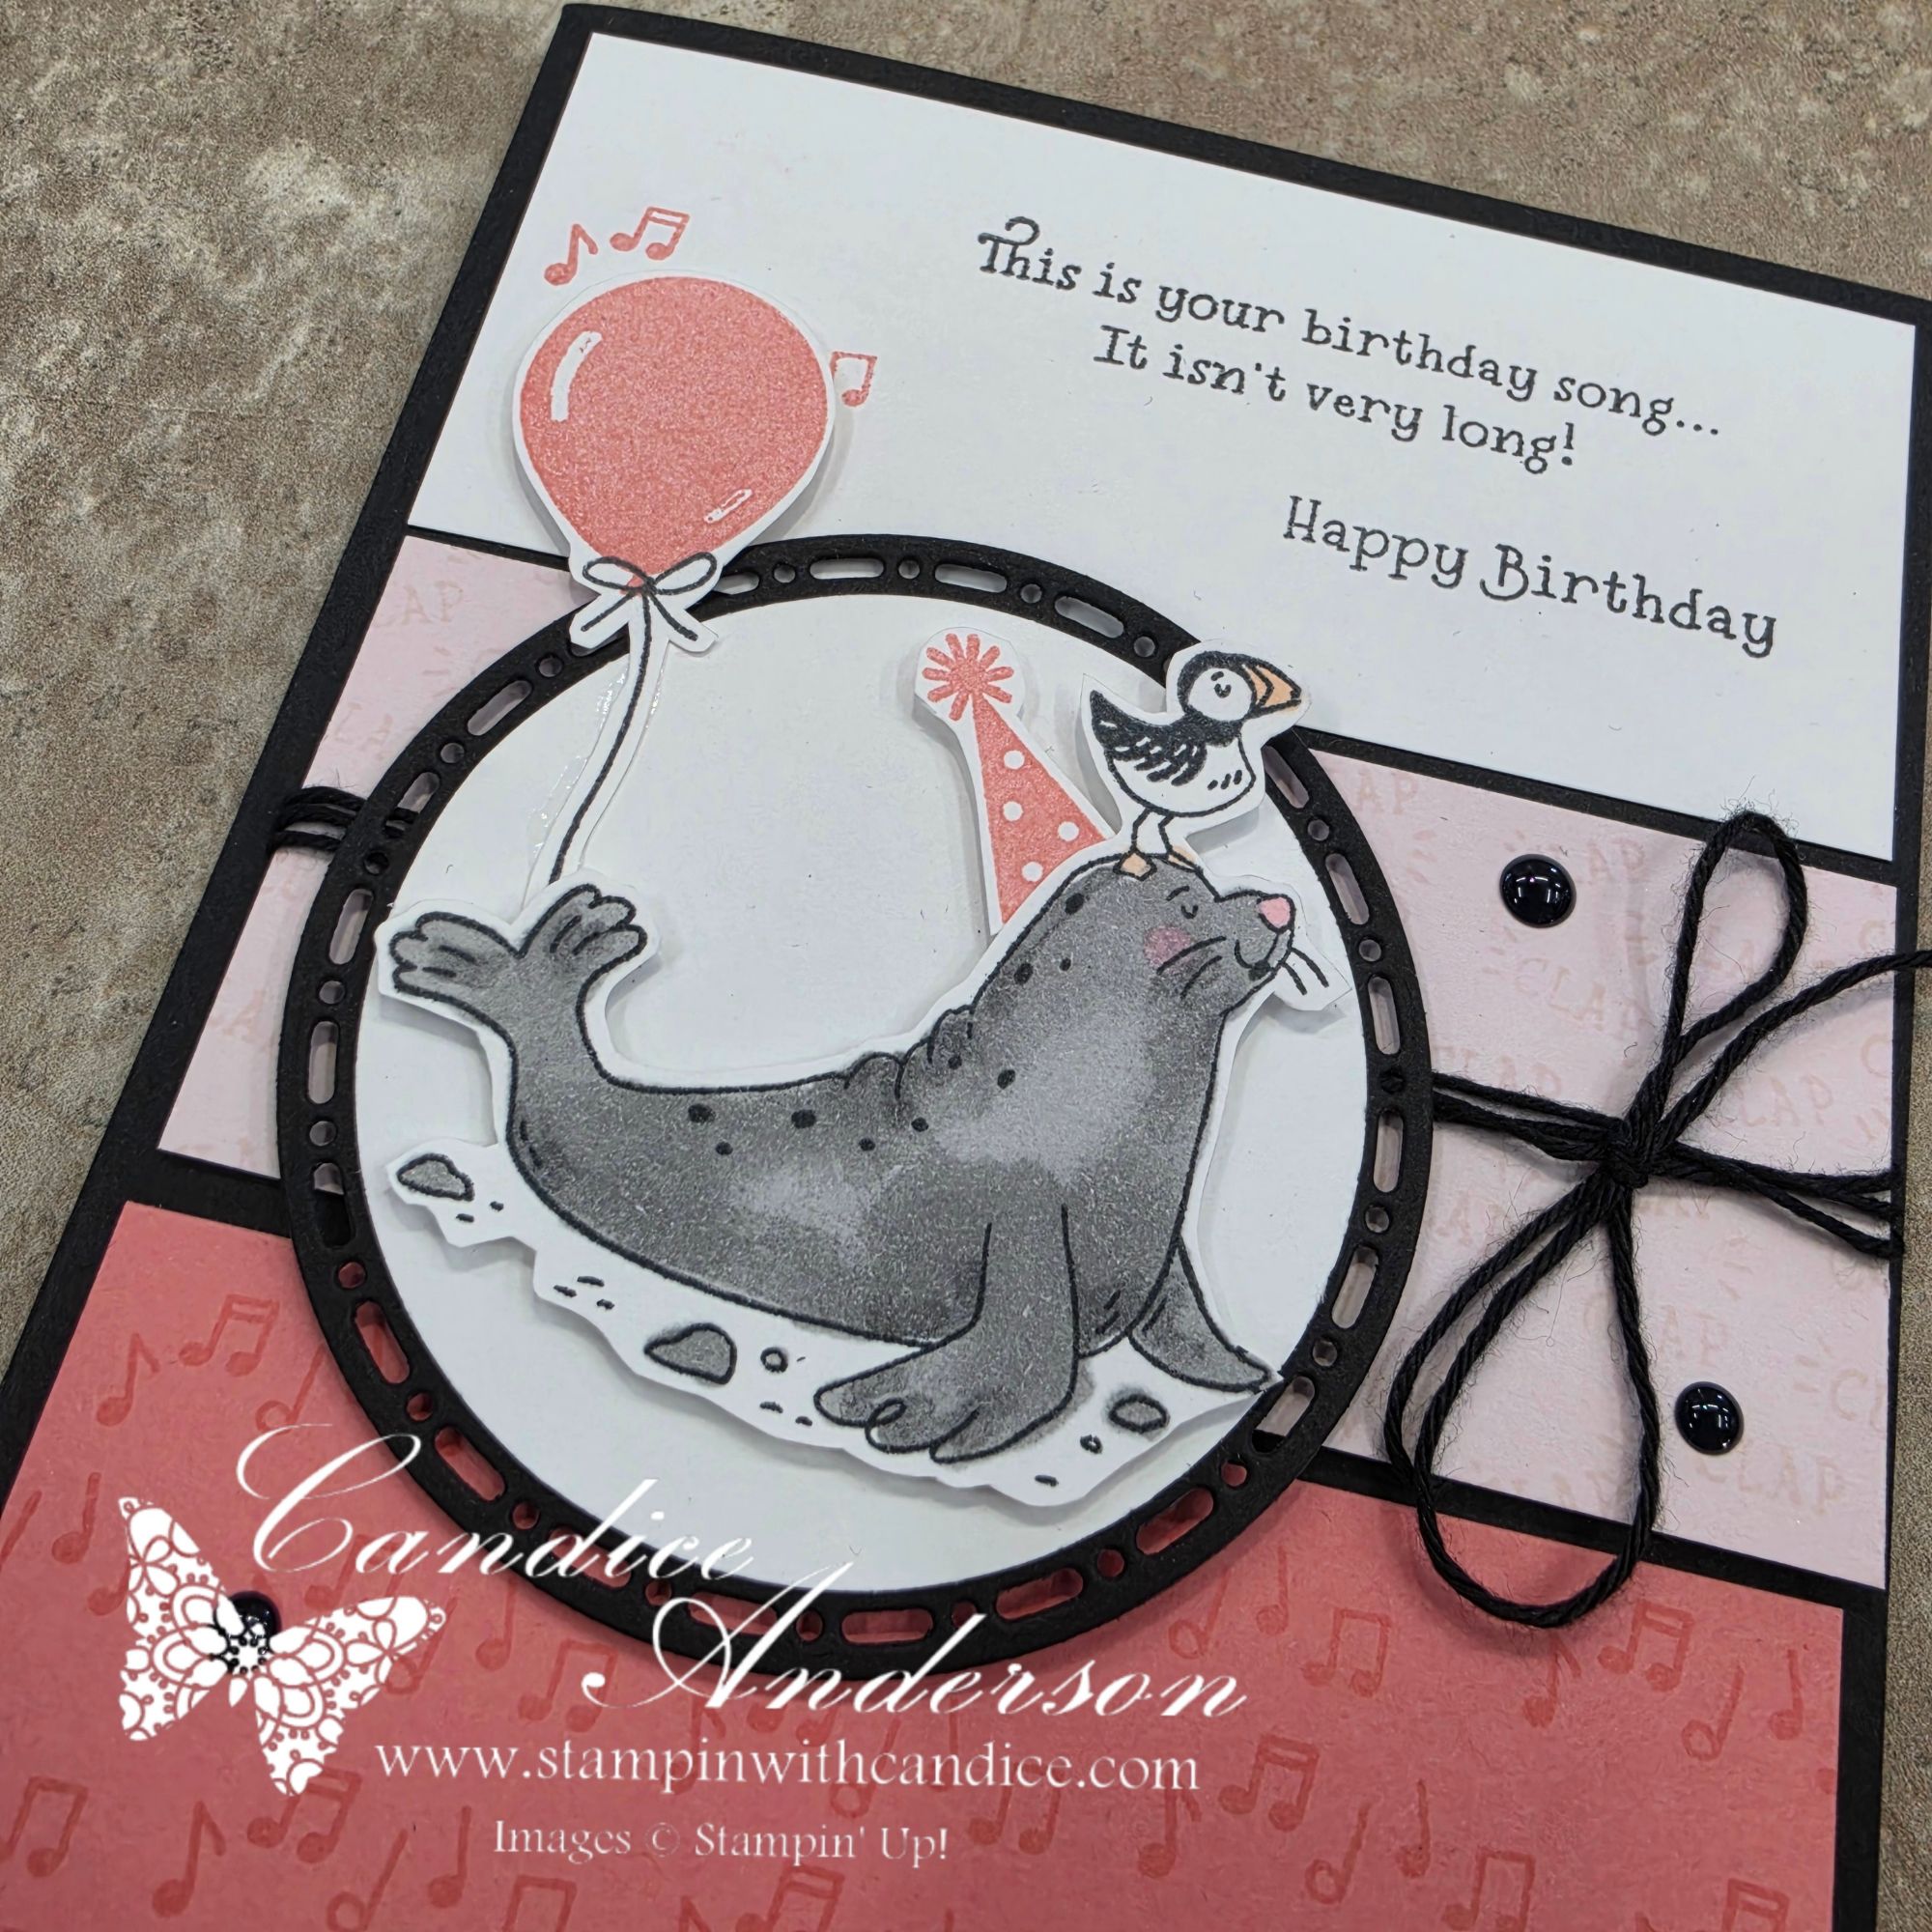
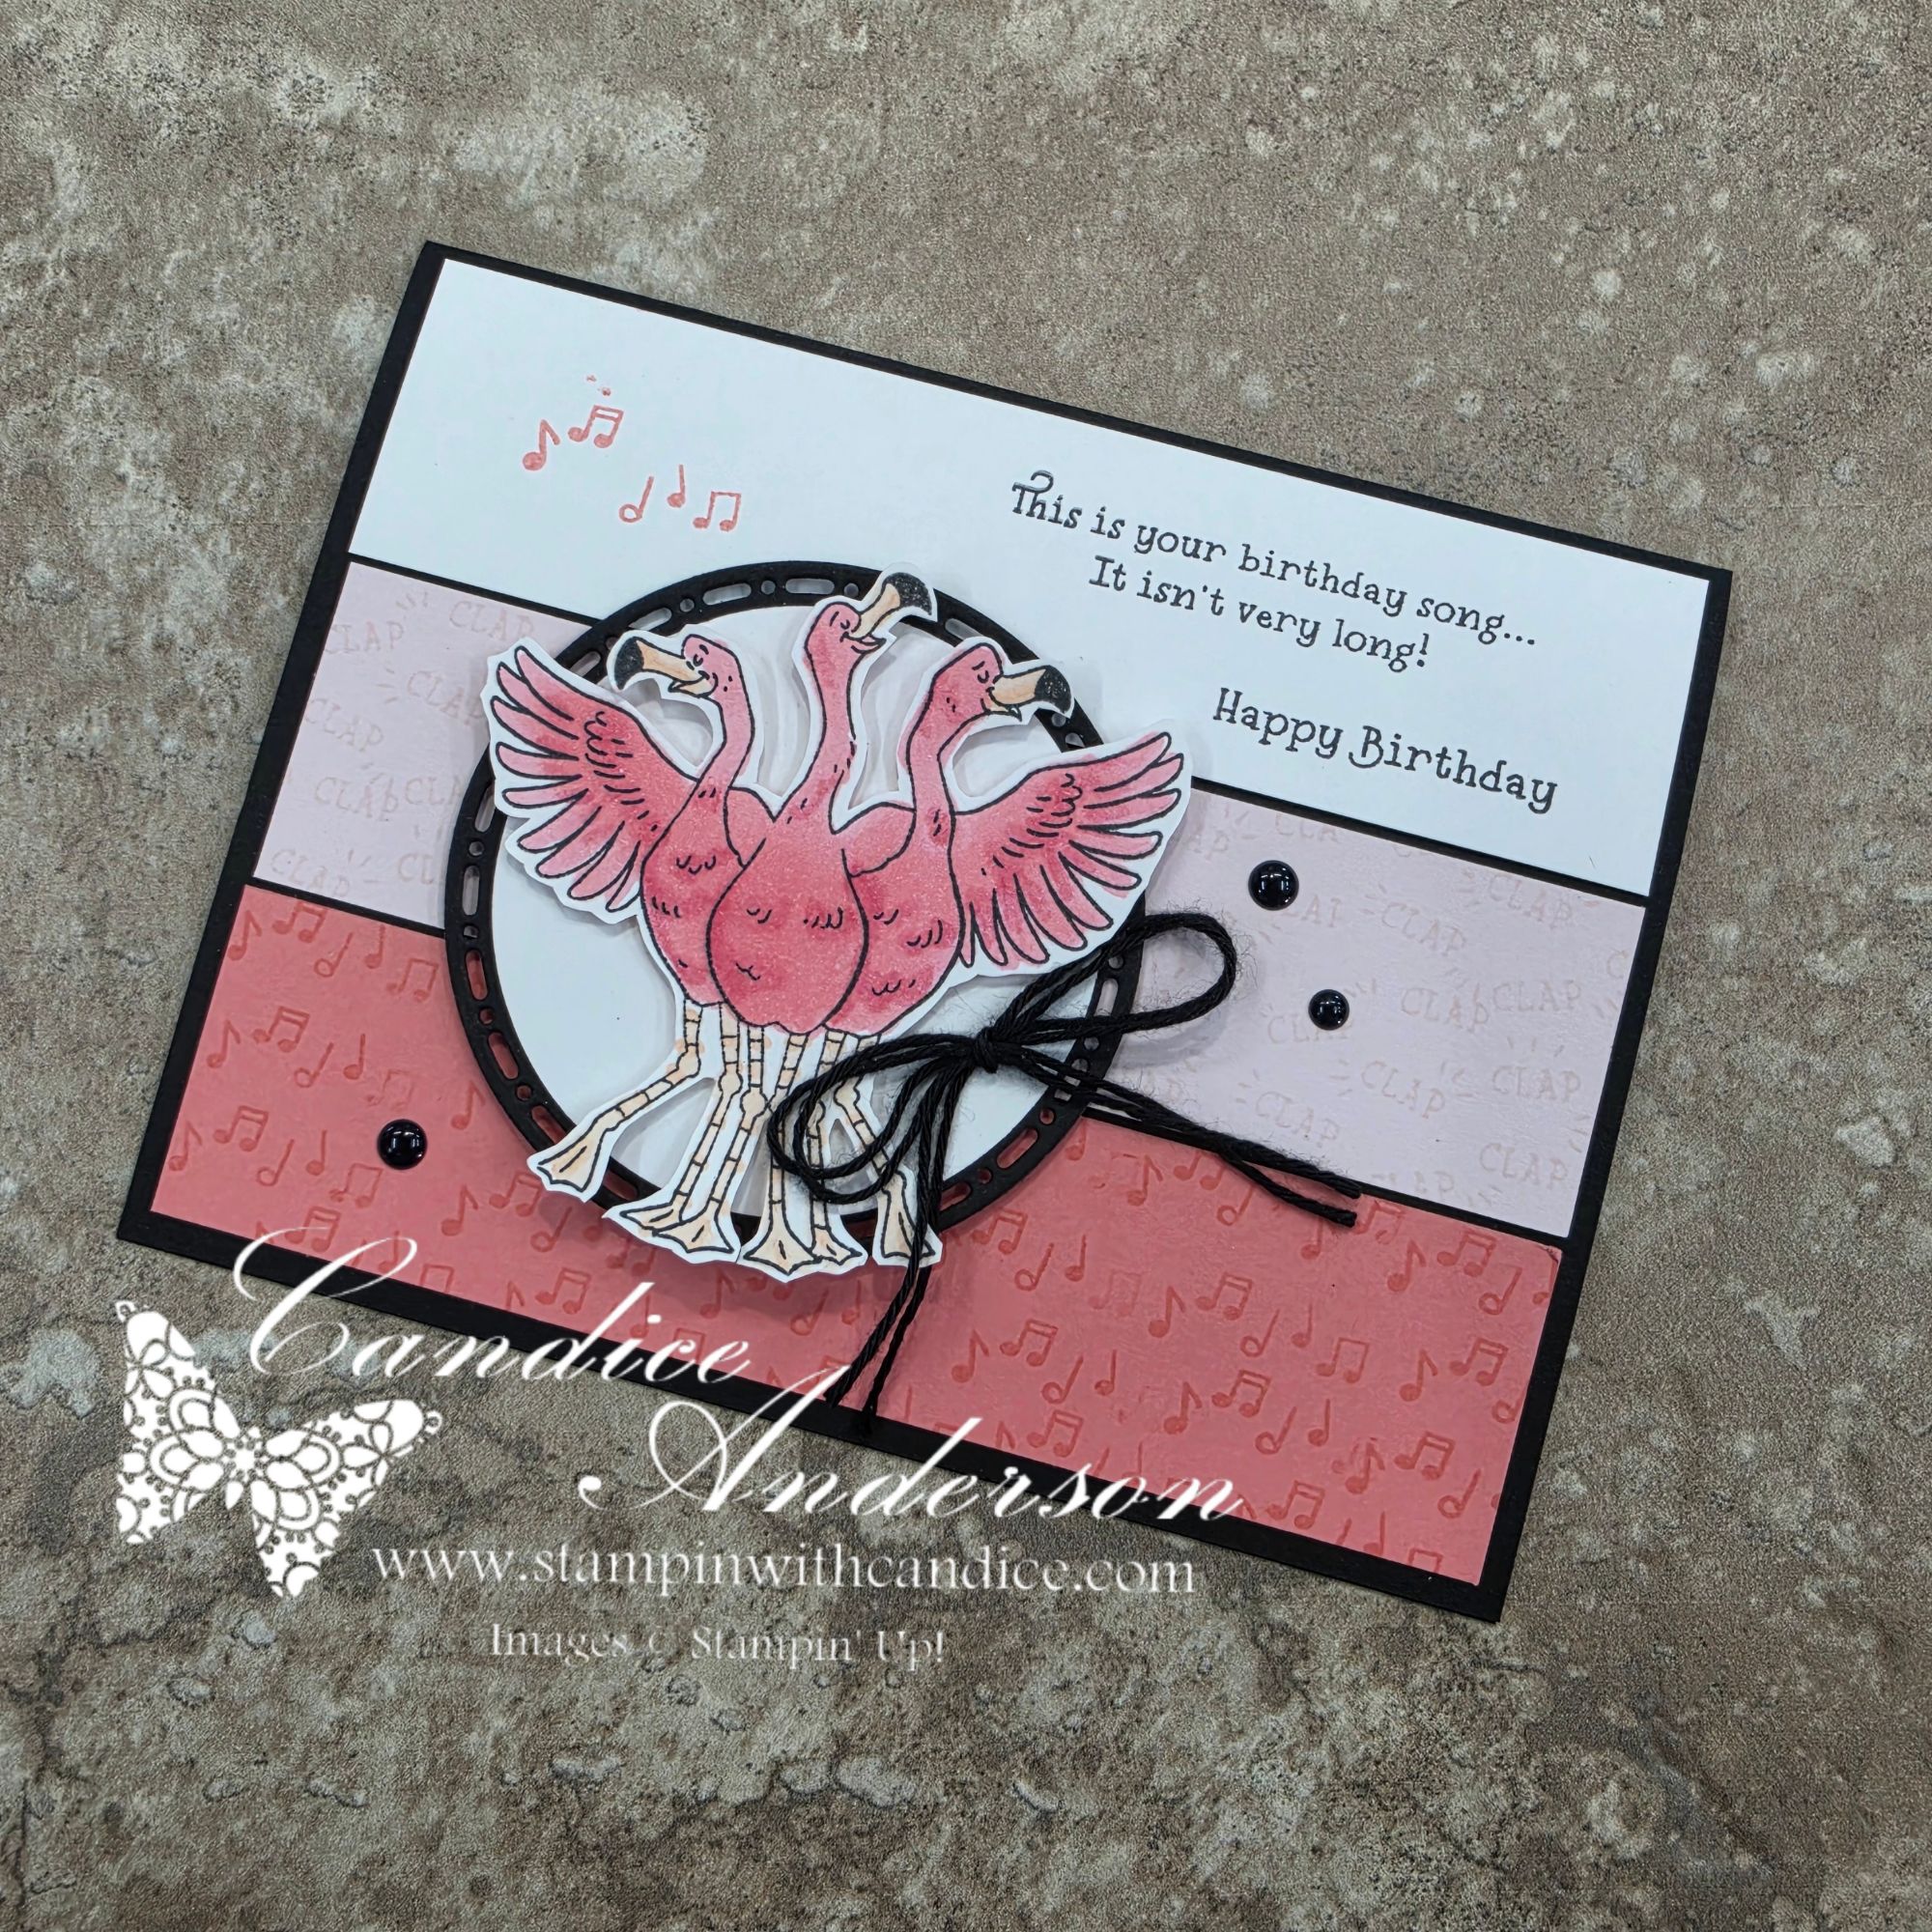
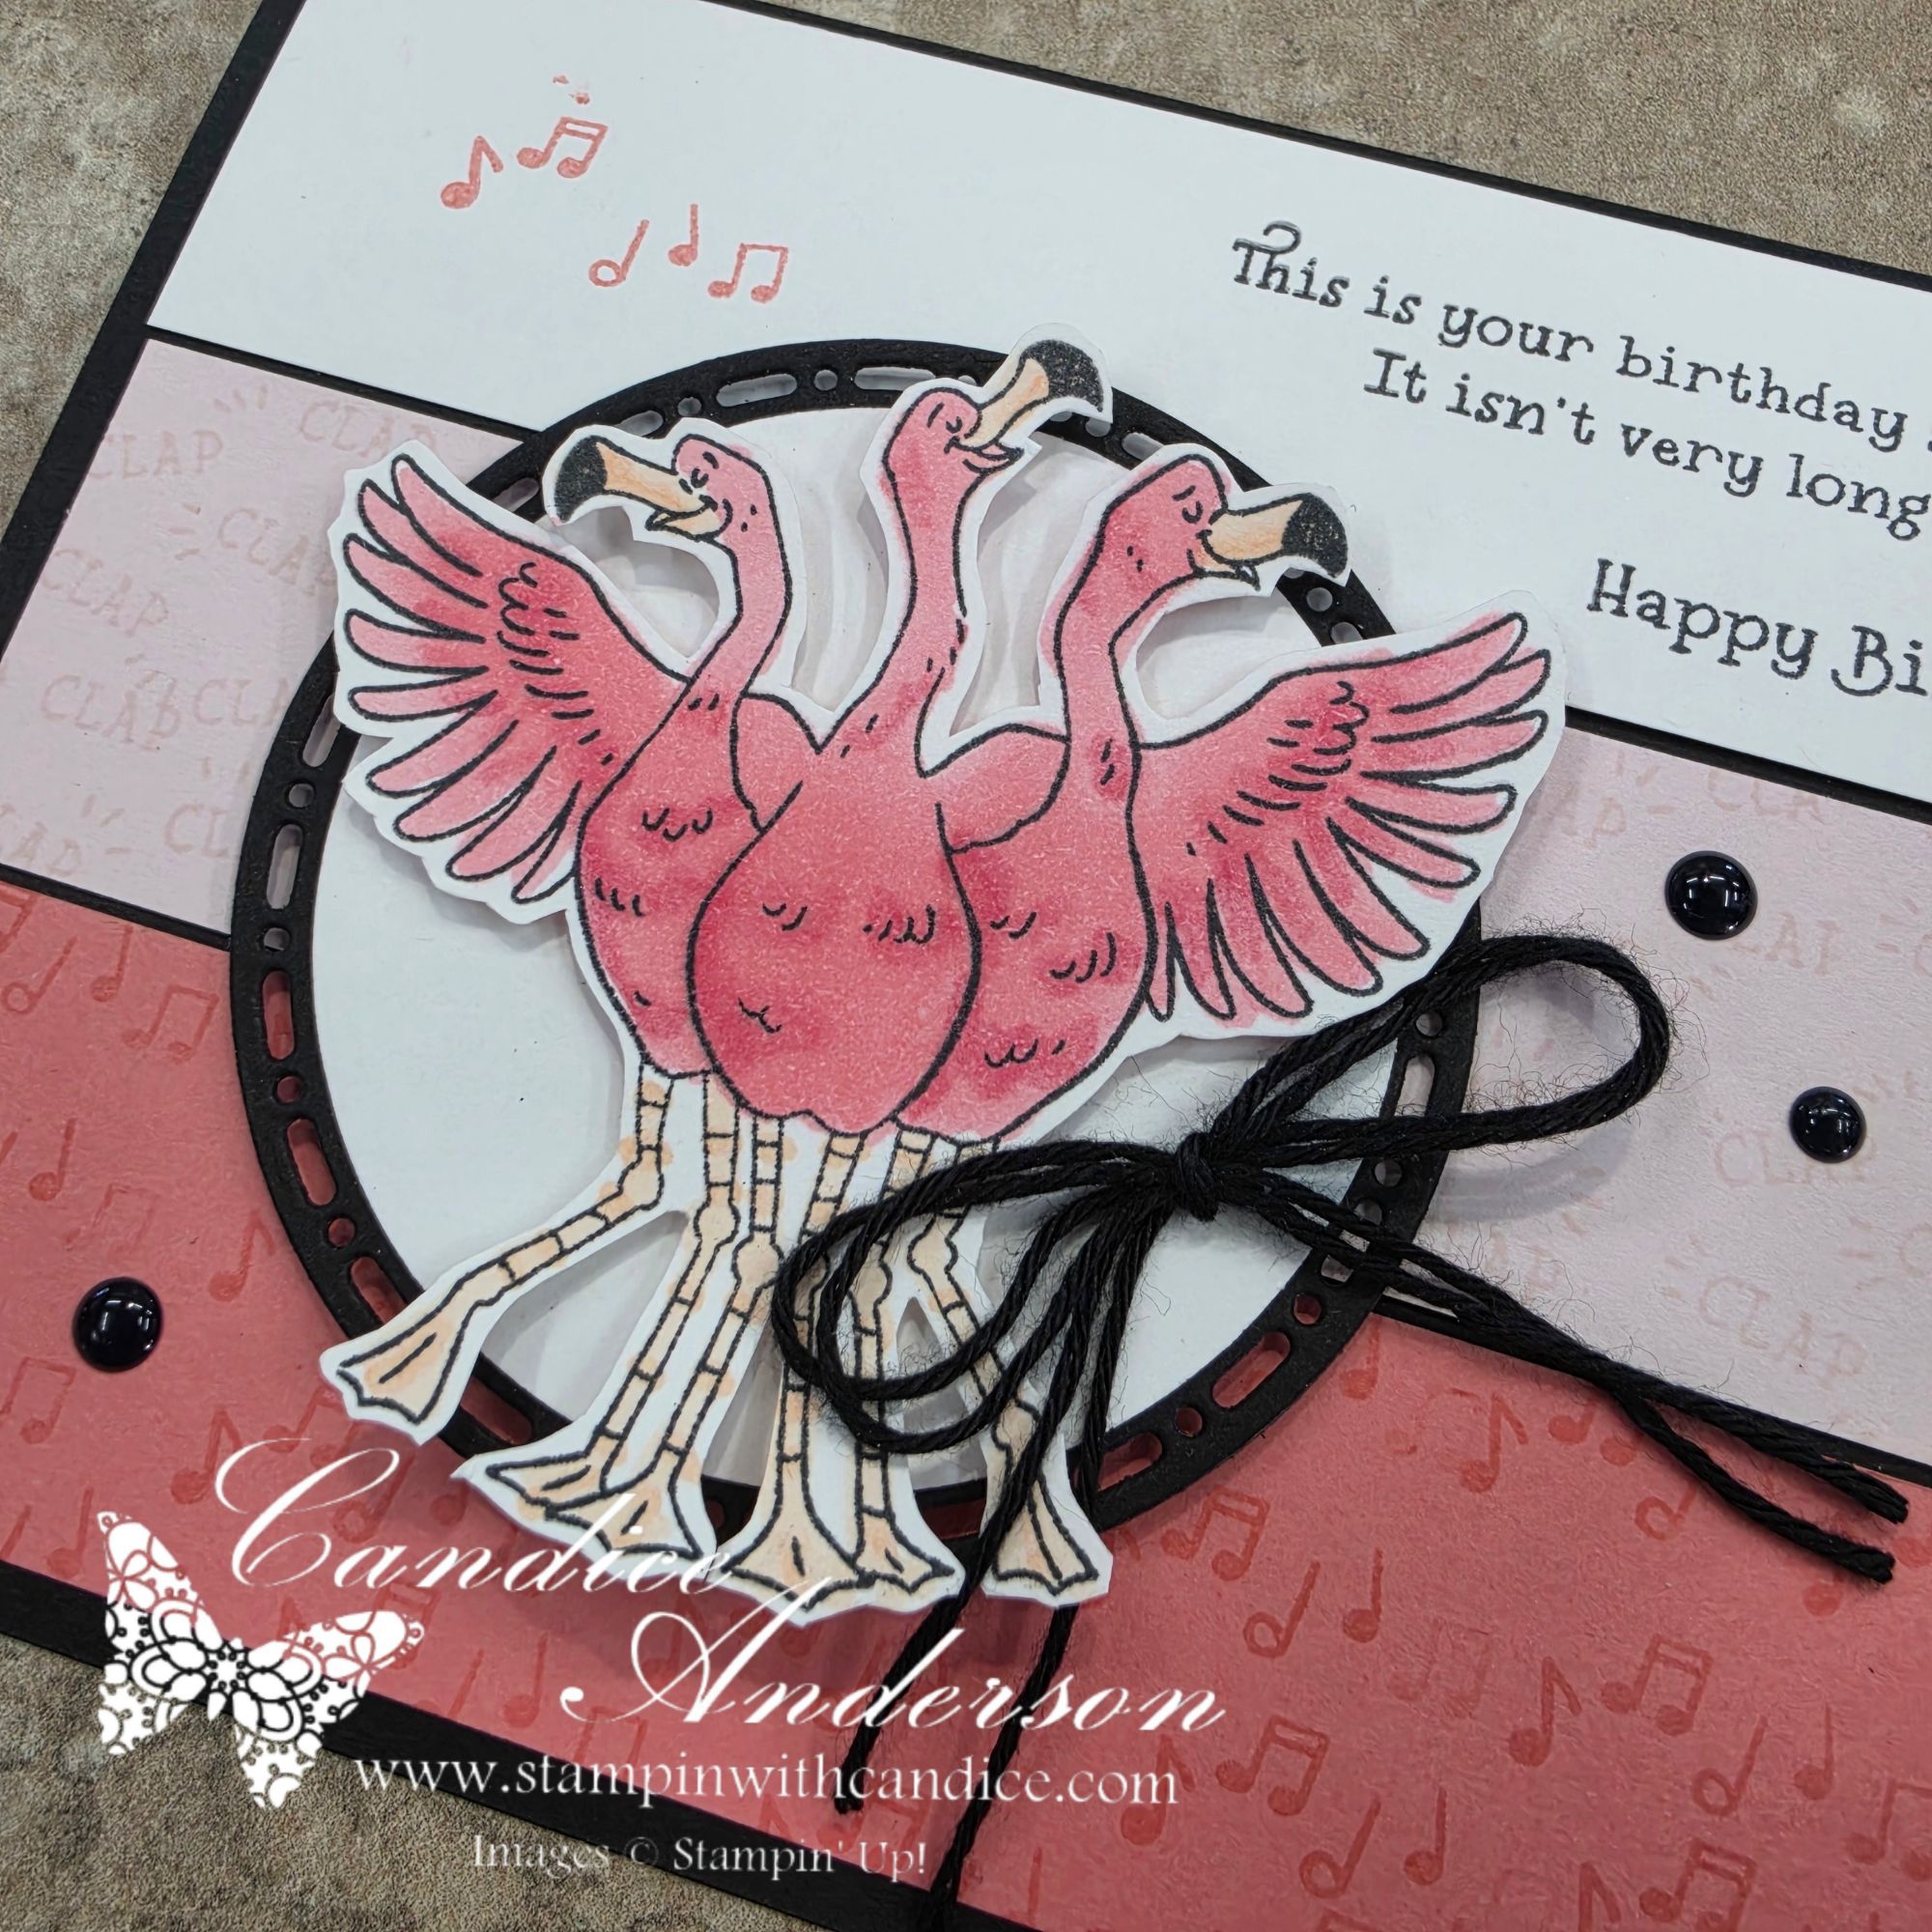
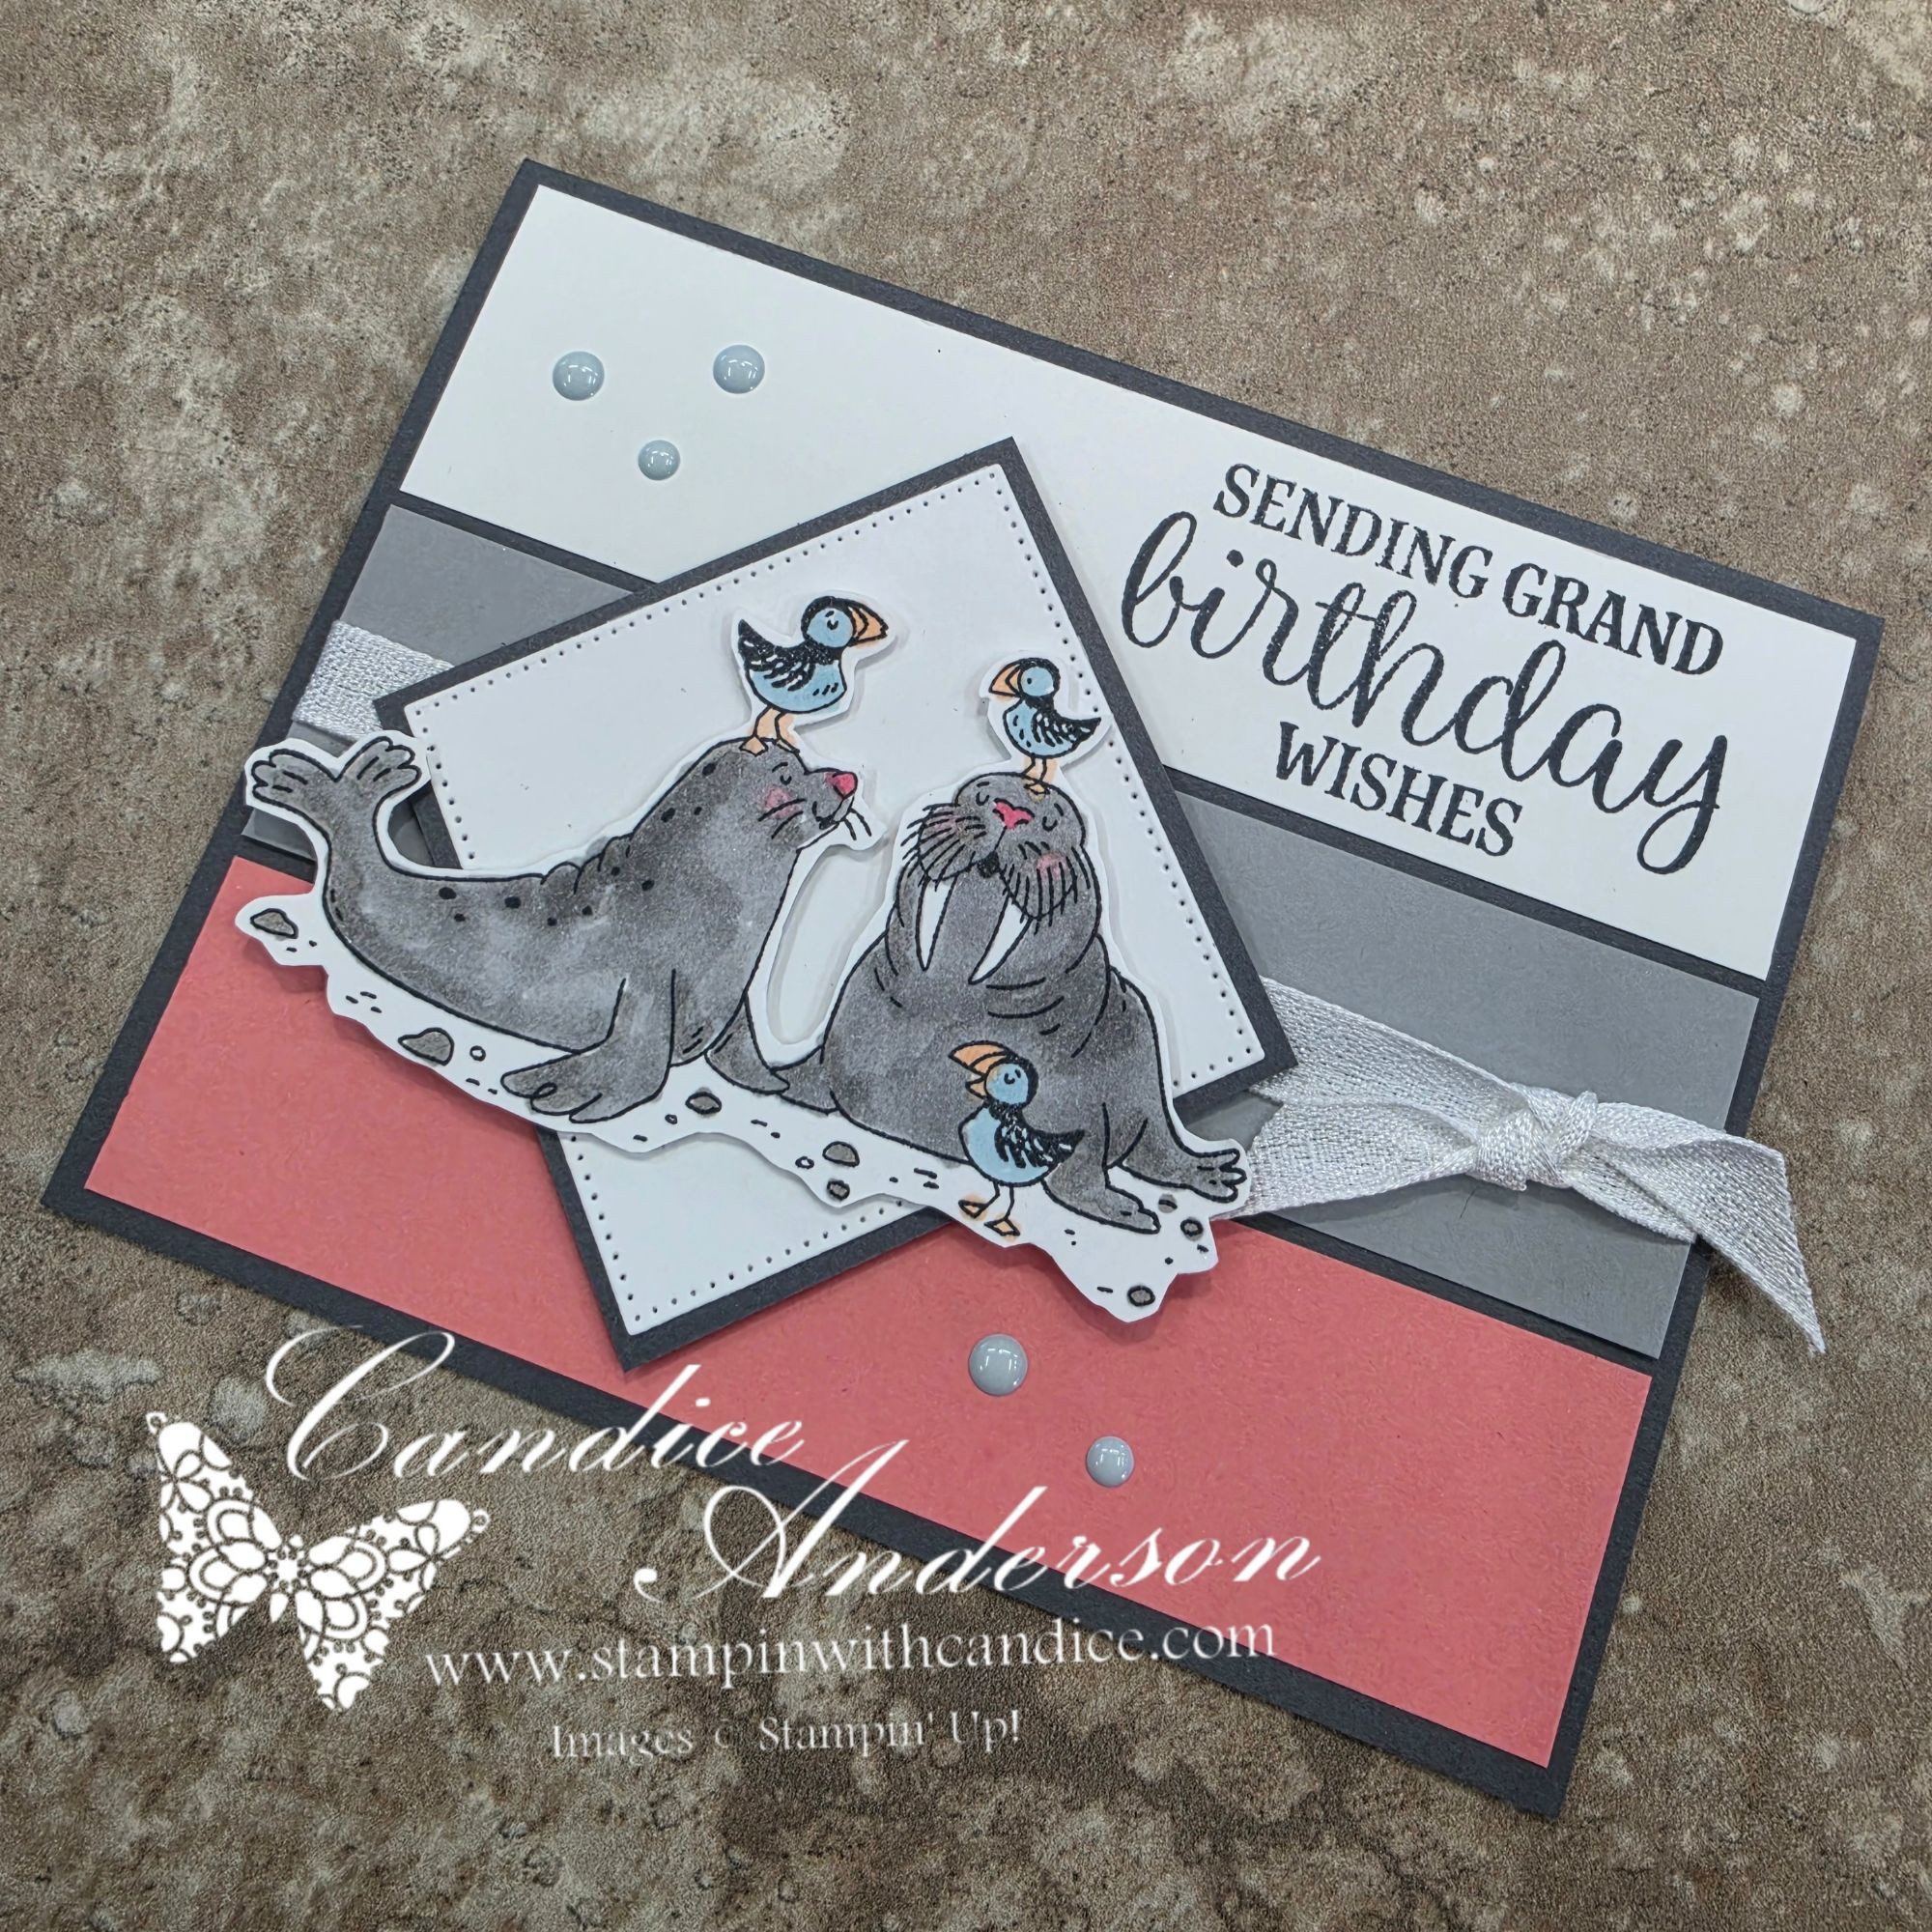
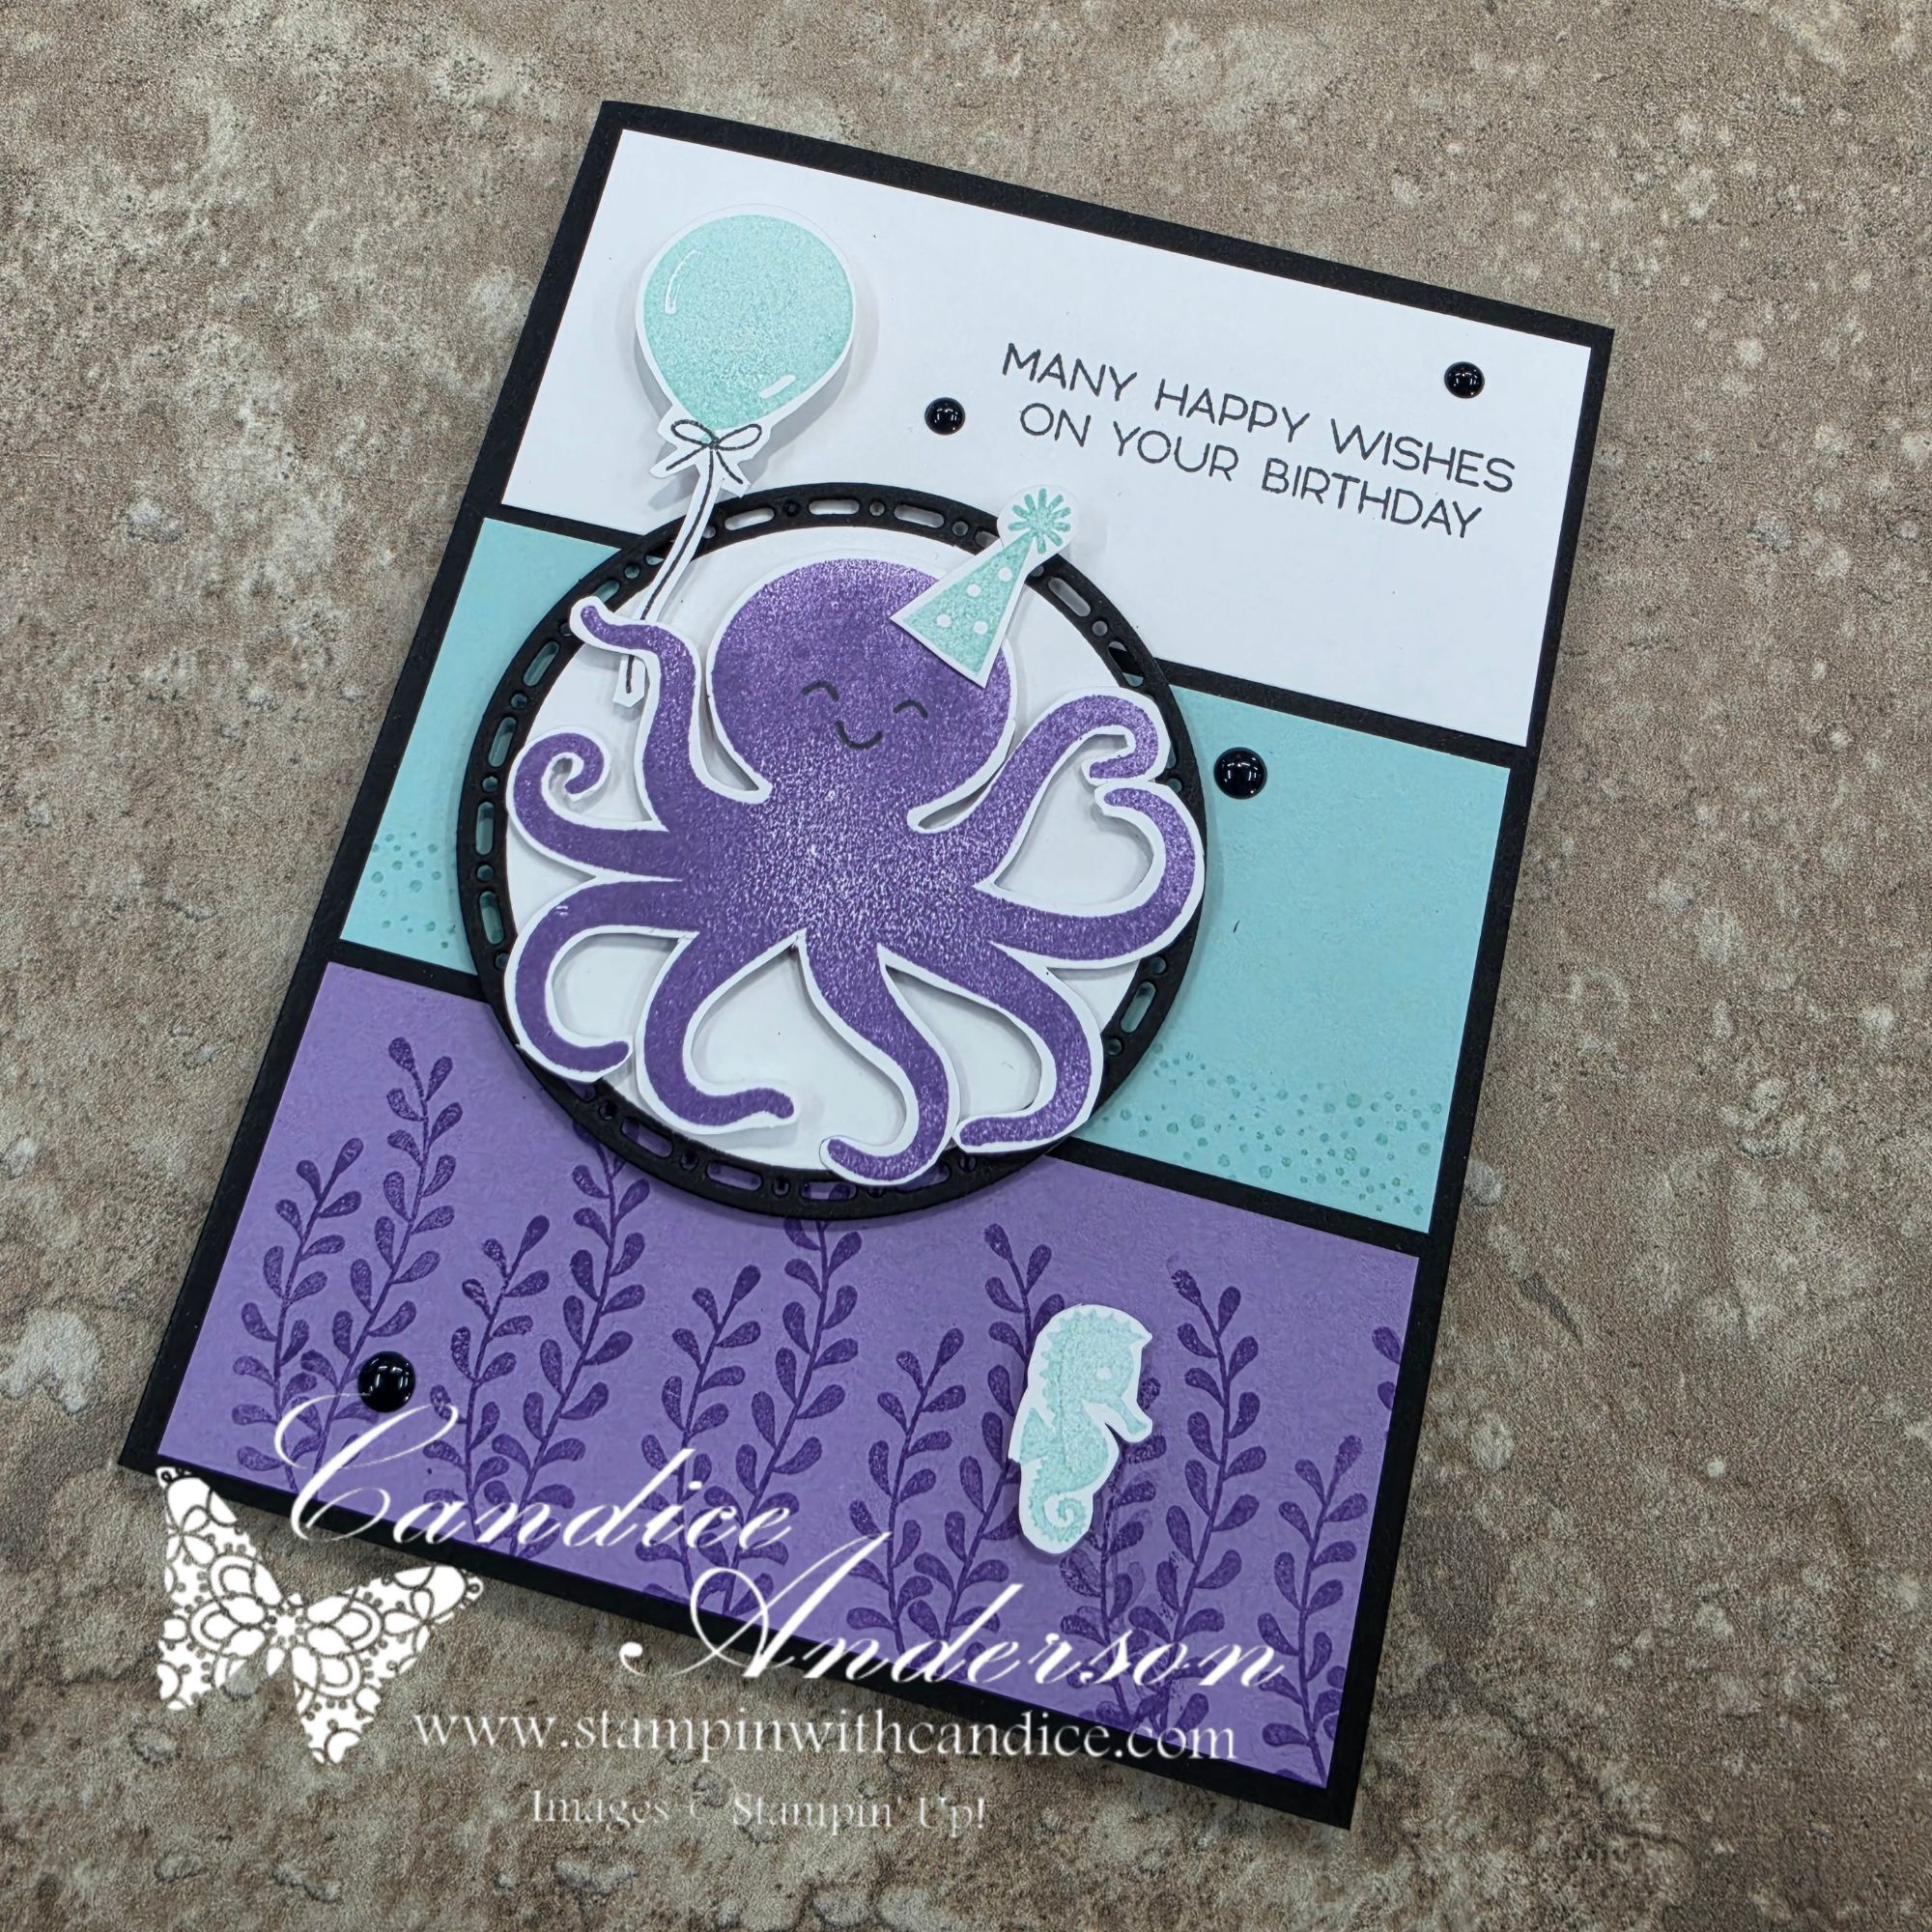
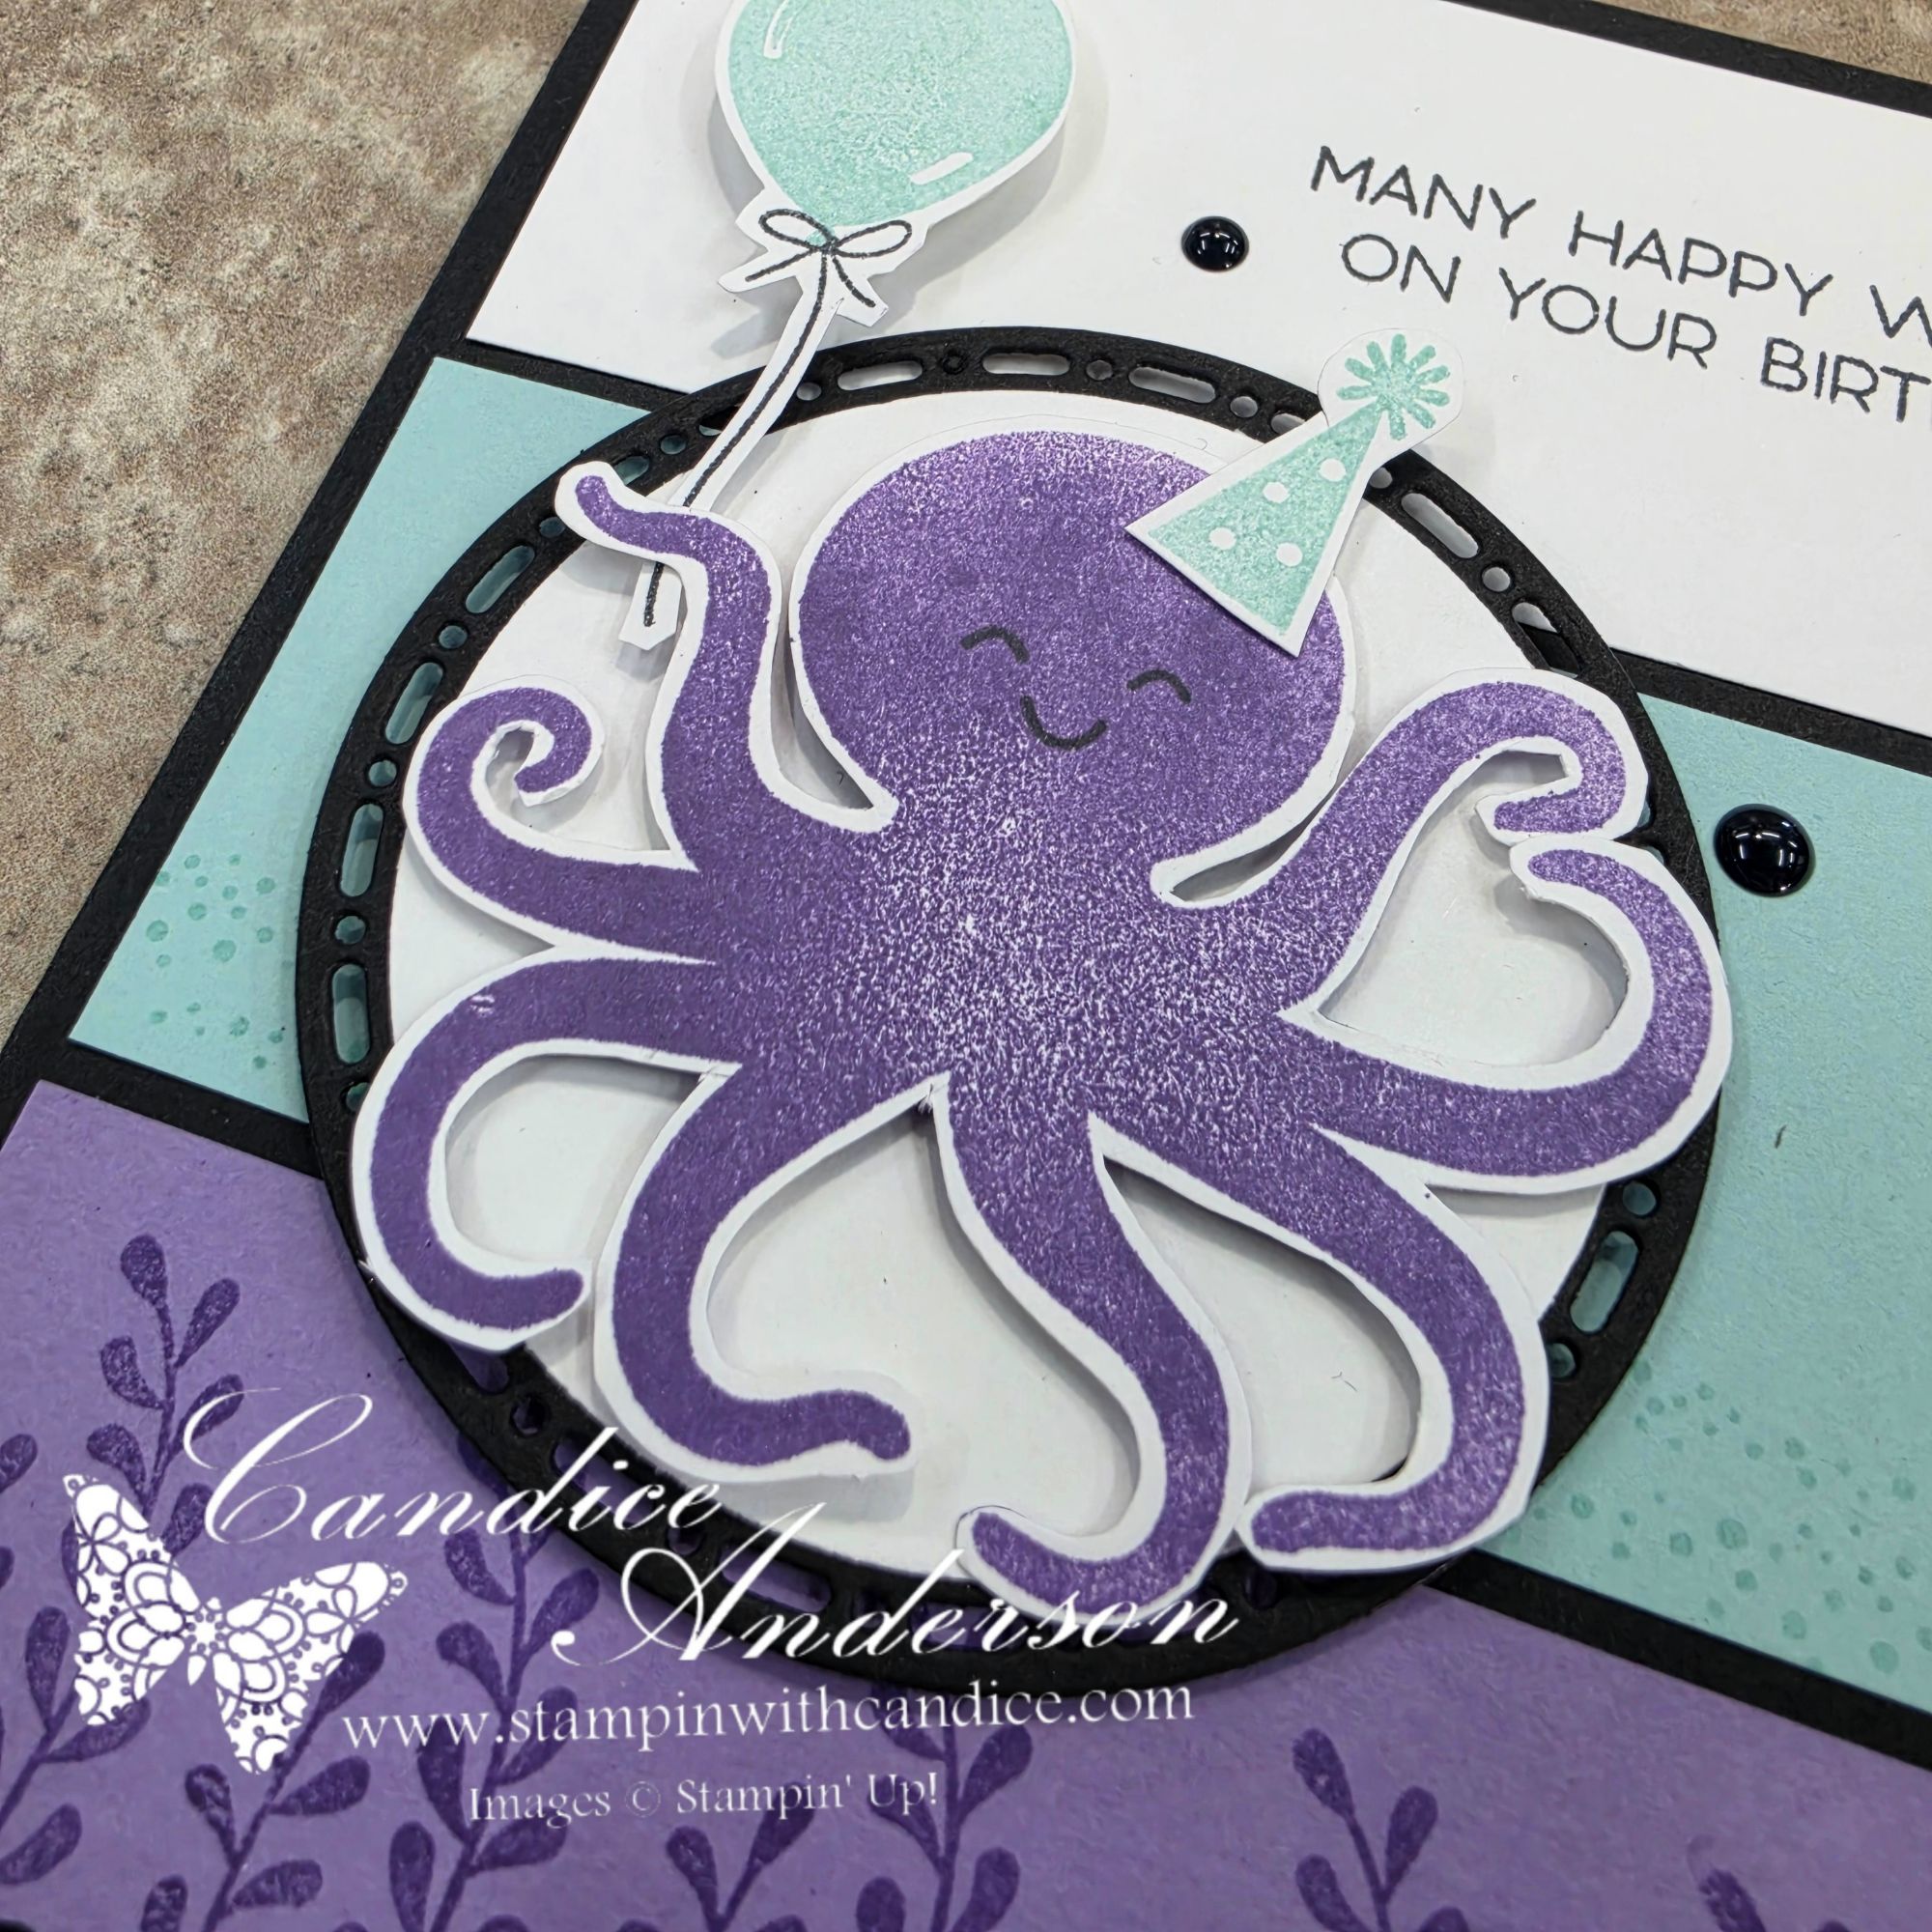
During my live, I shared how to create the Flamingo and Walrus cards, demonstrating how easily the same sketch can be adapted to both vertical and horizontal card designs.

But I didn’t stop there!

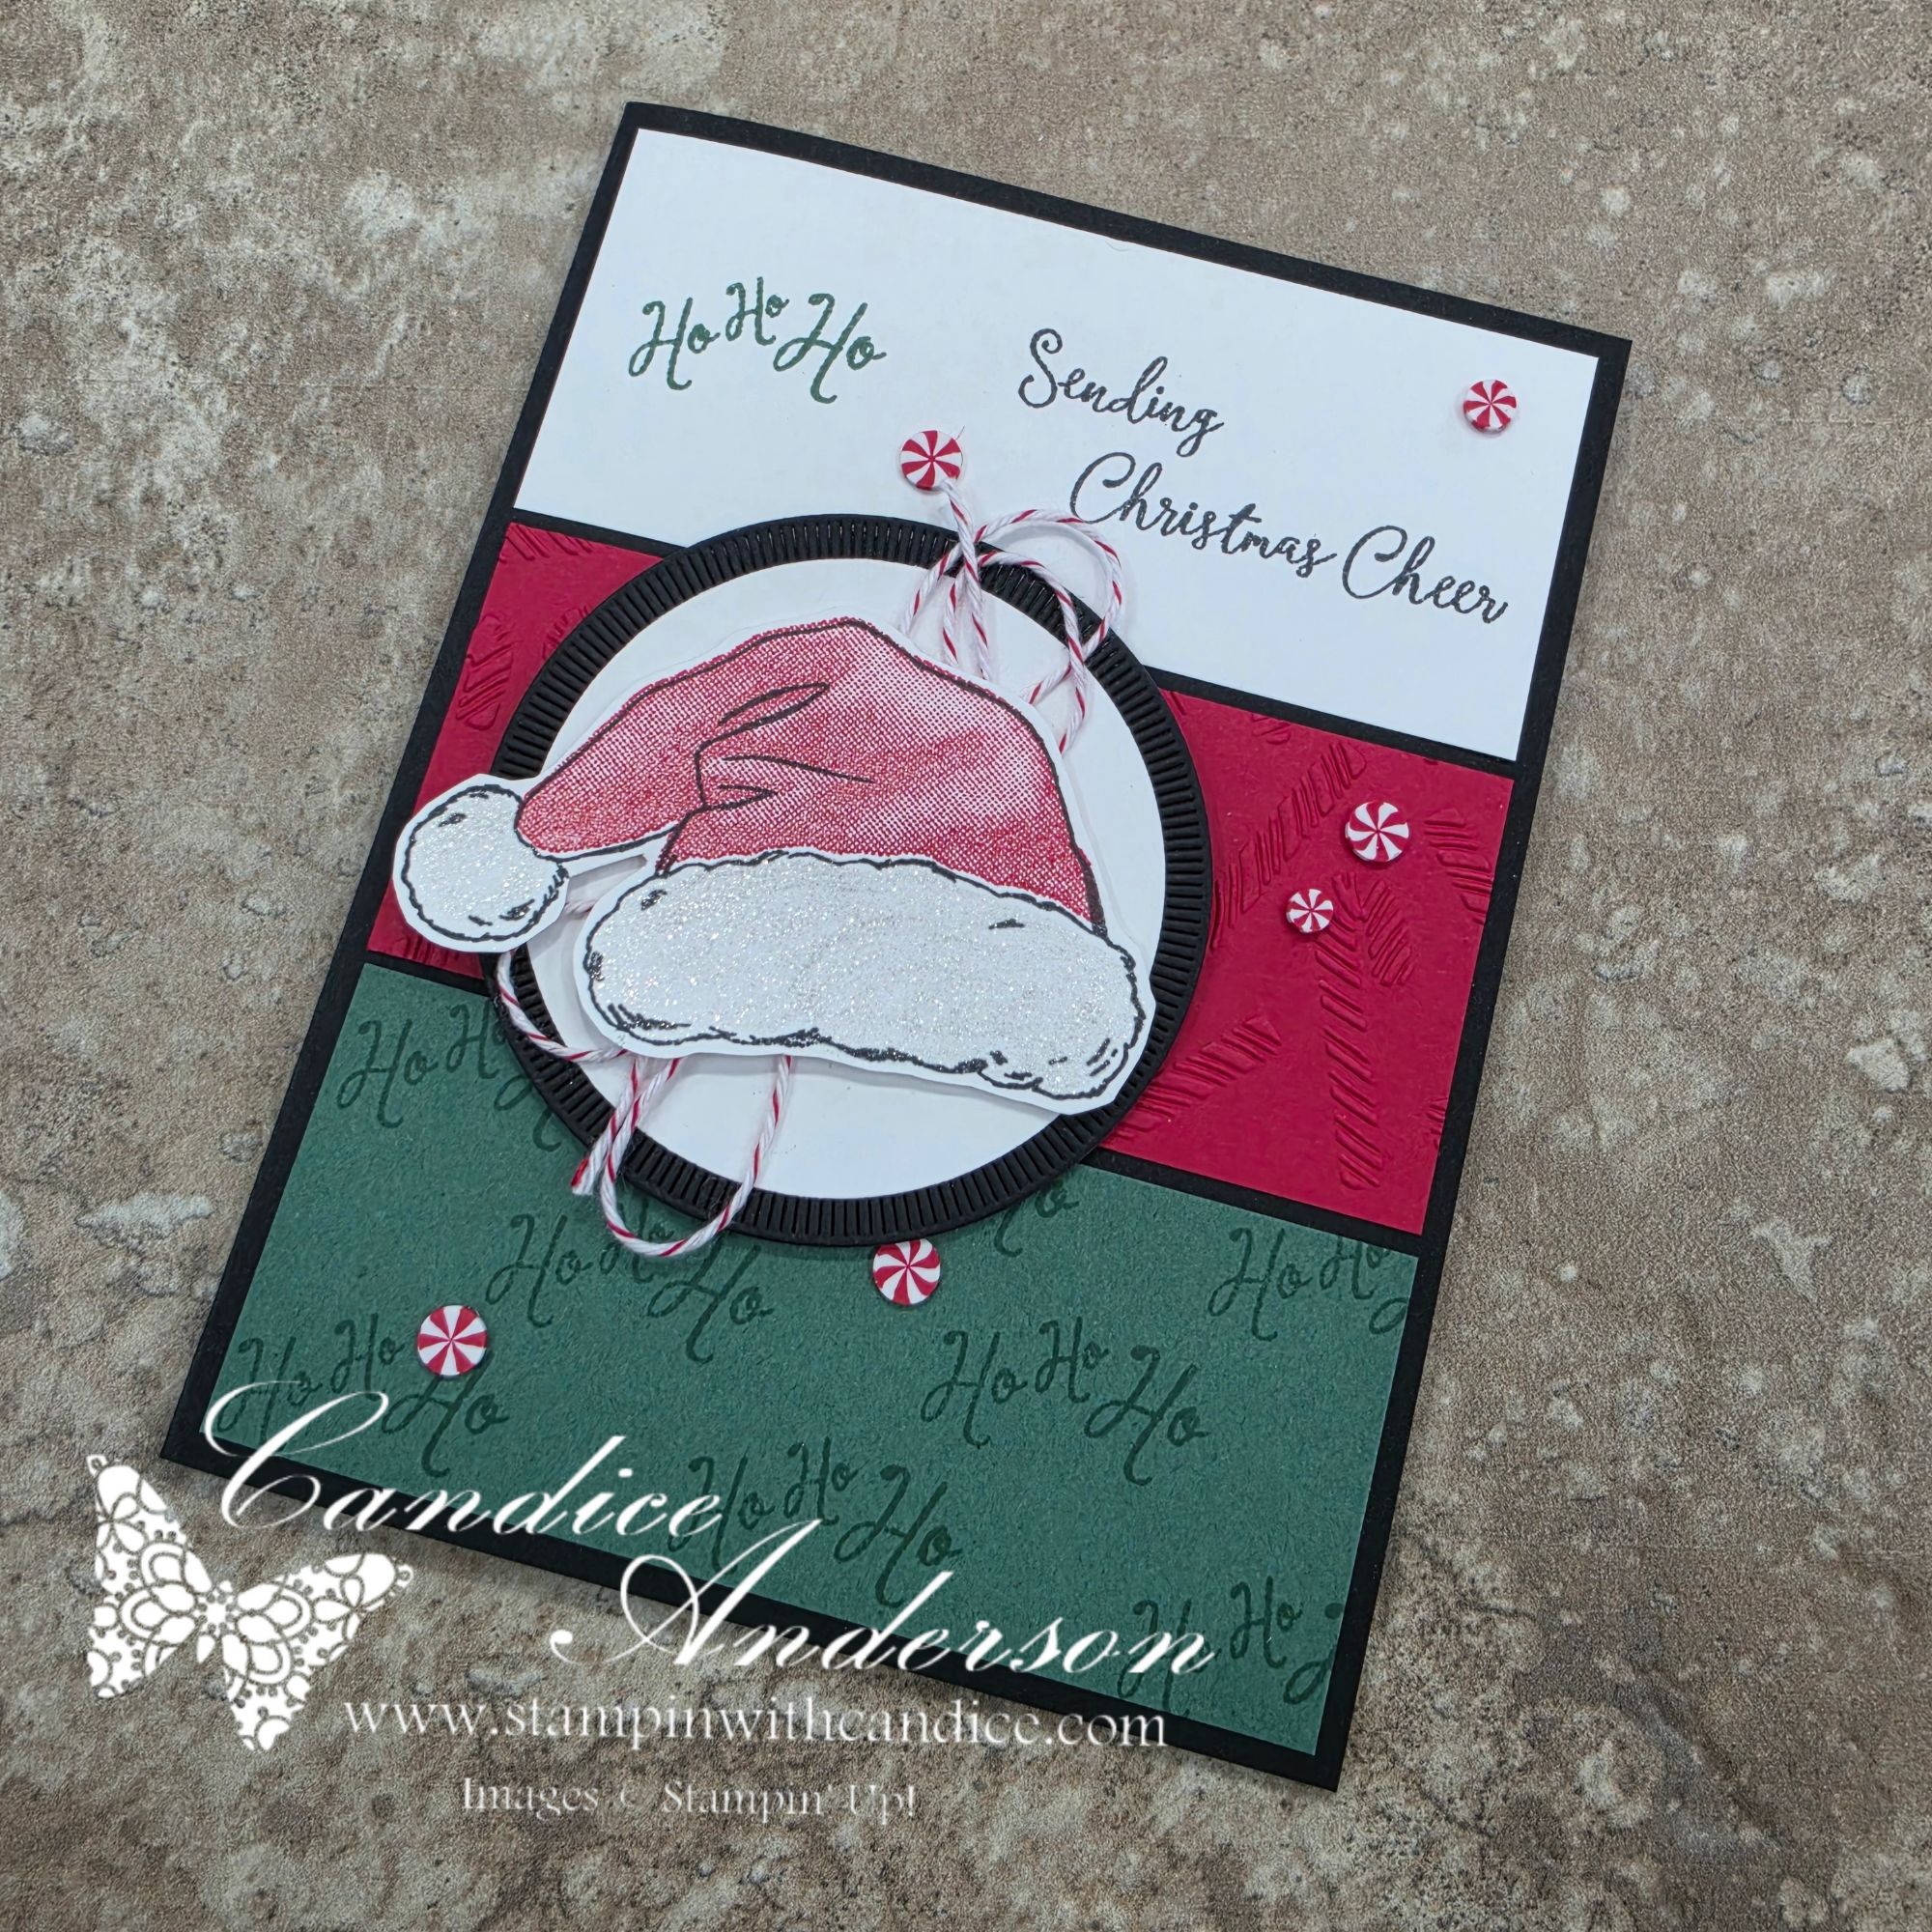
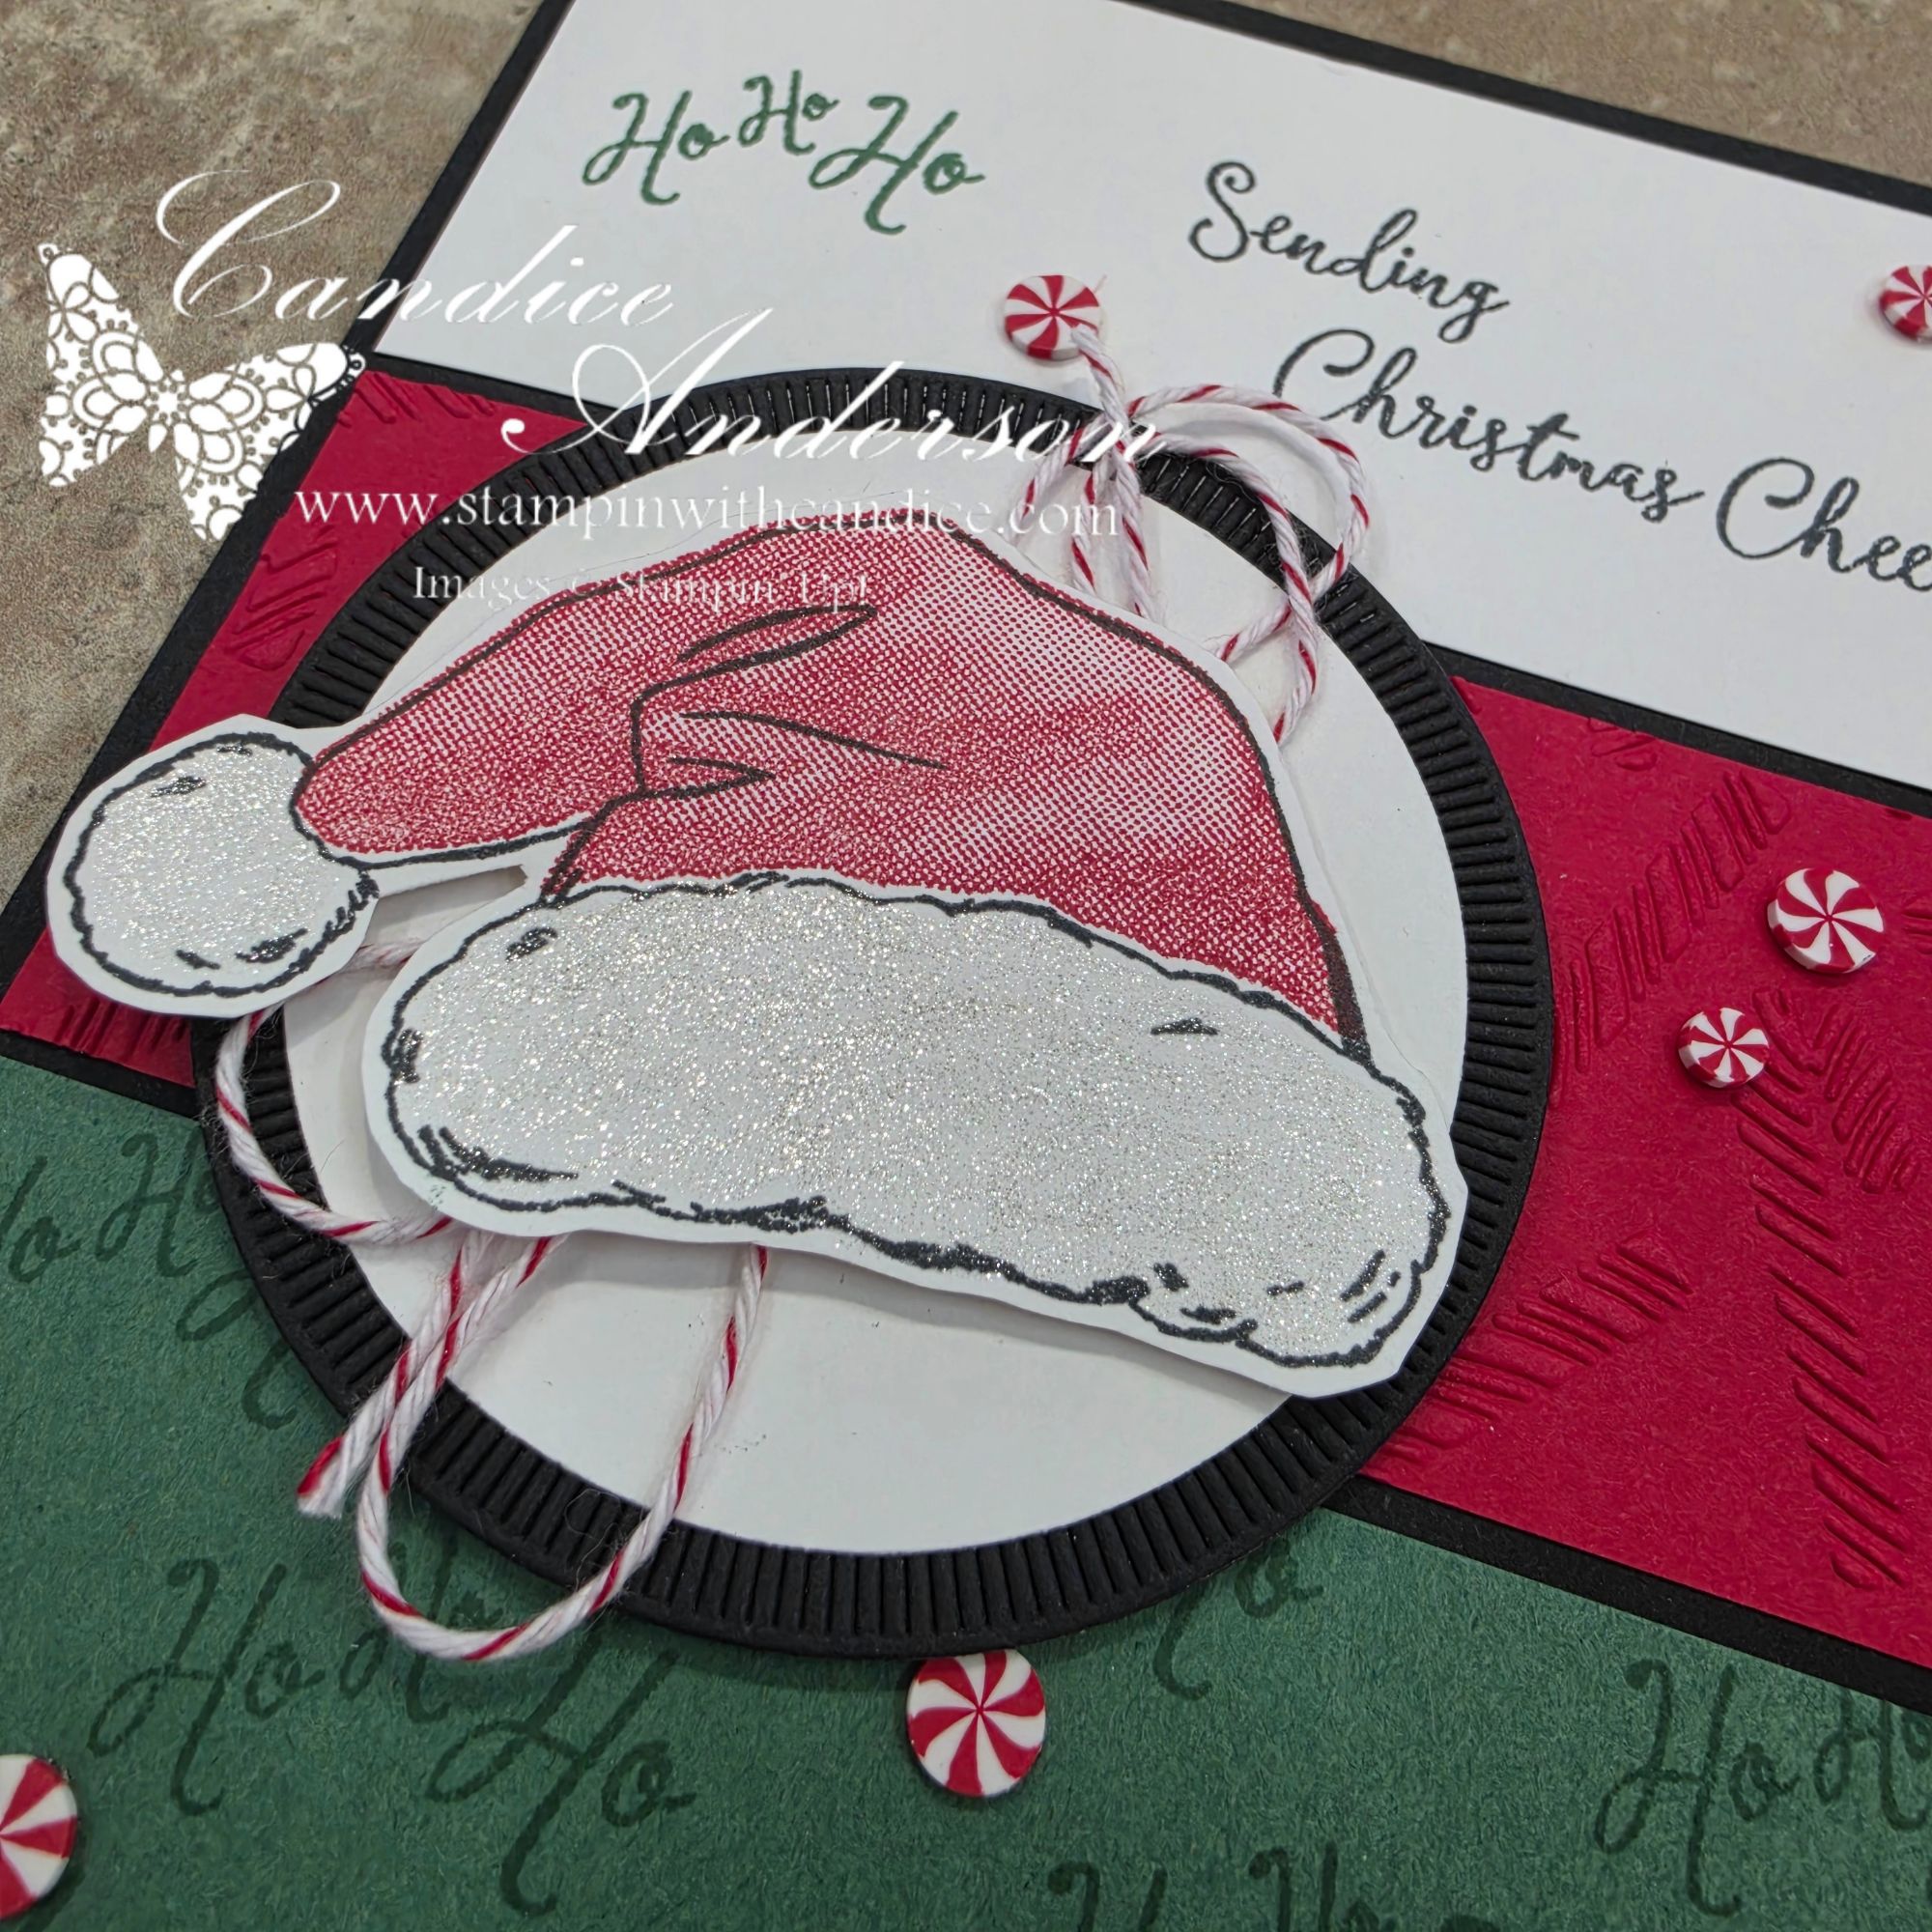
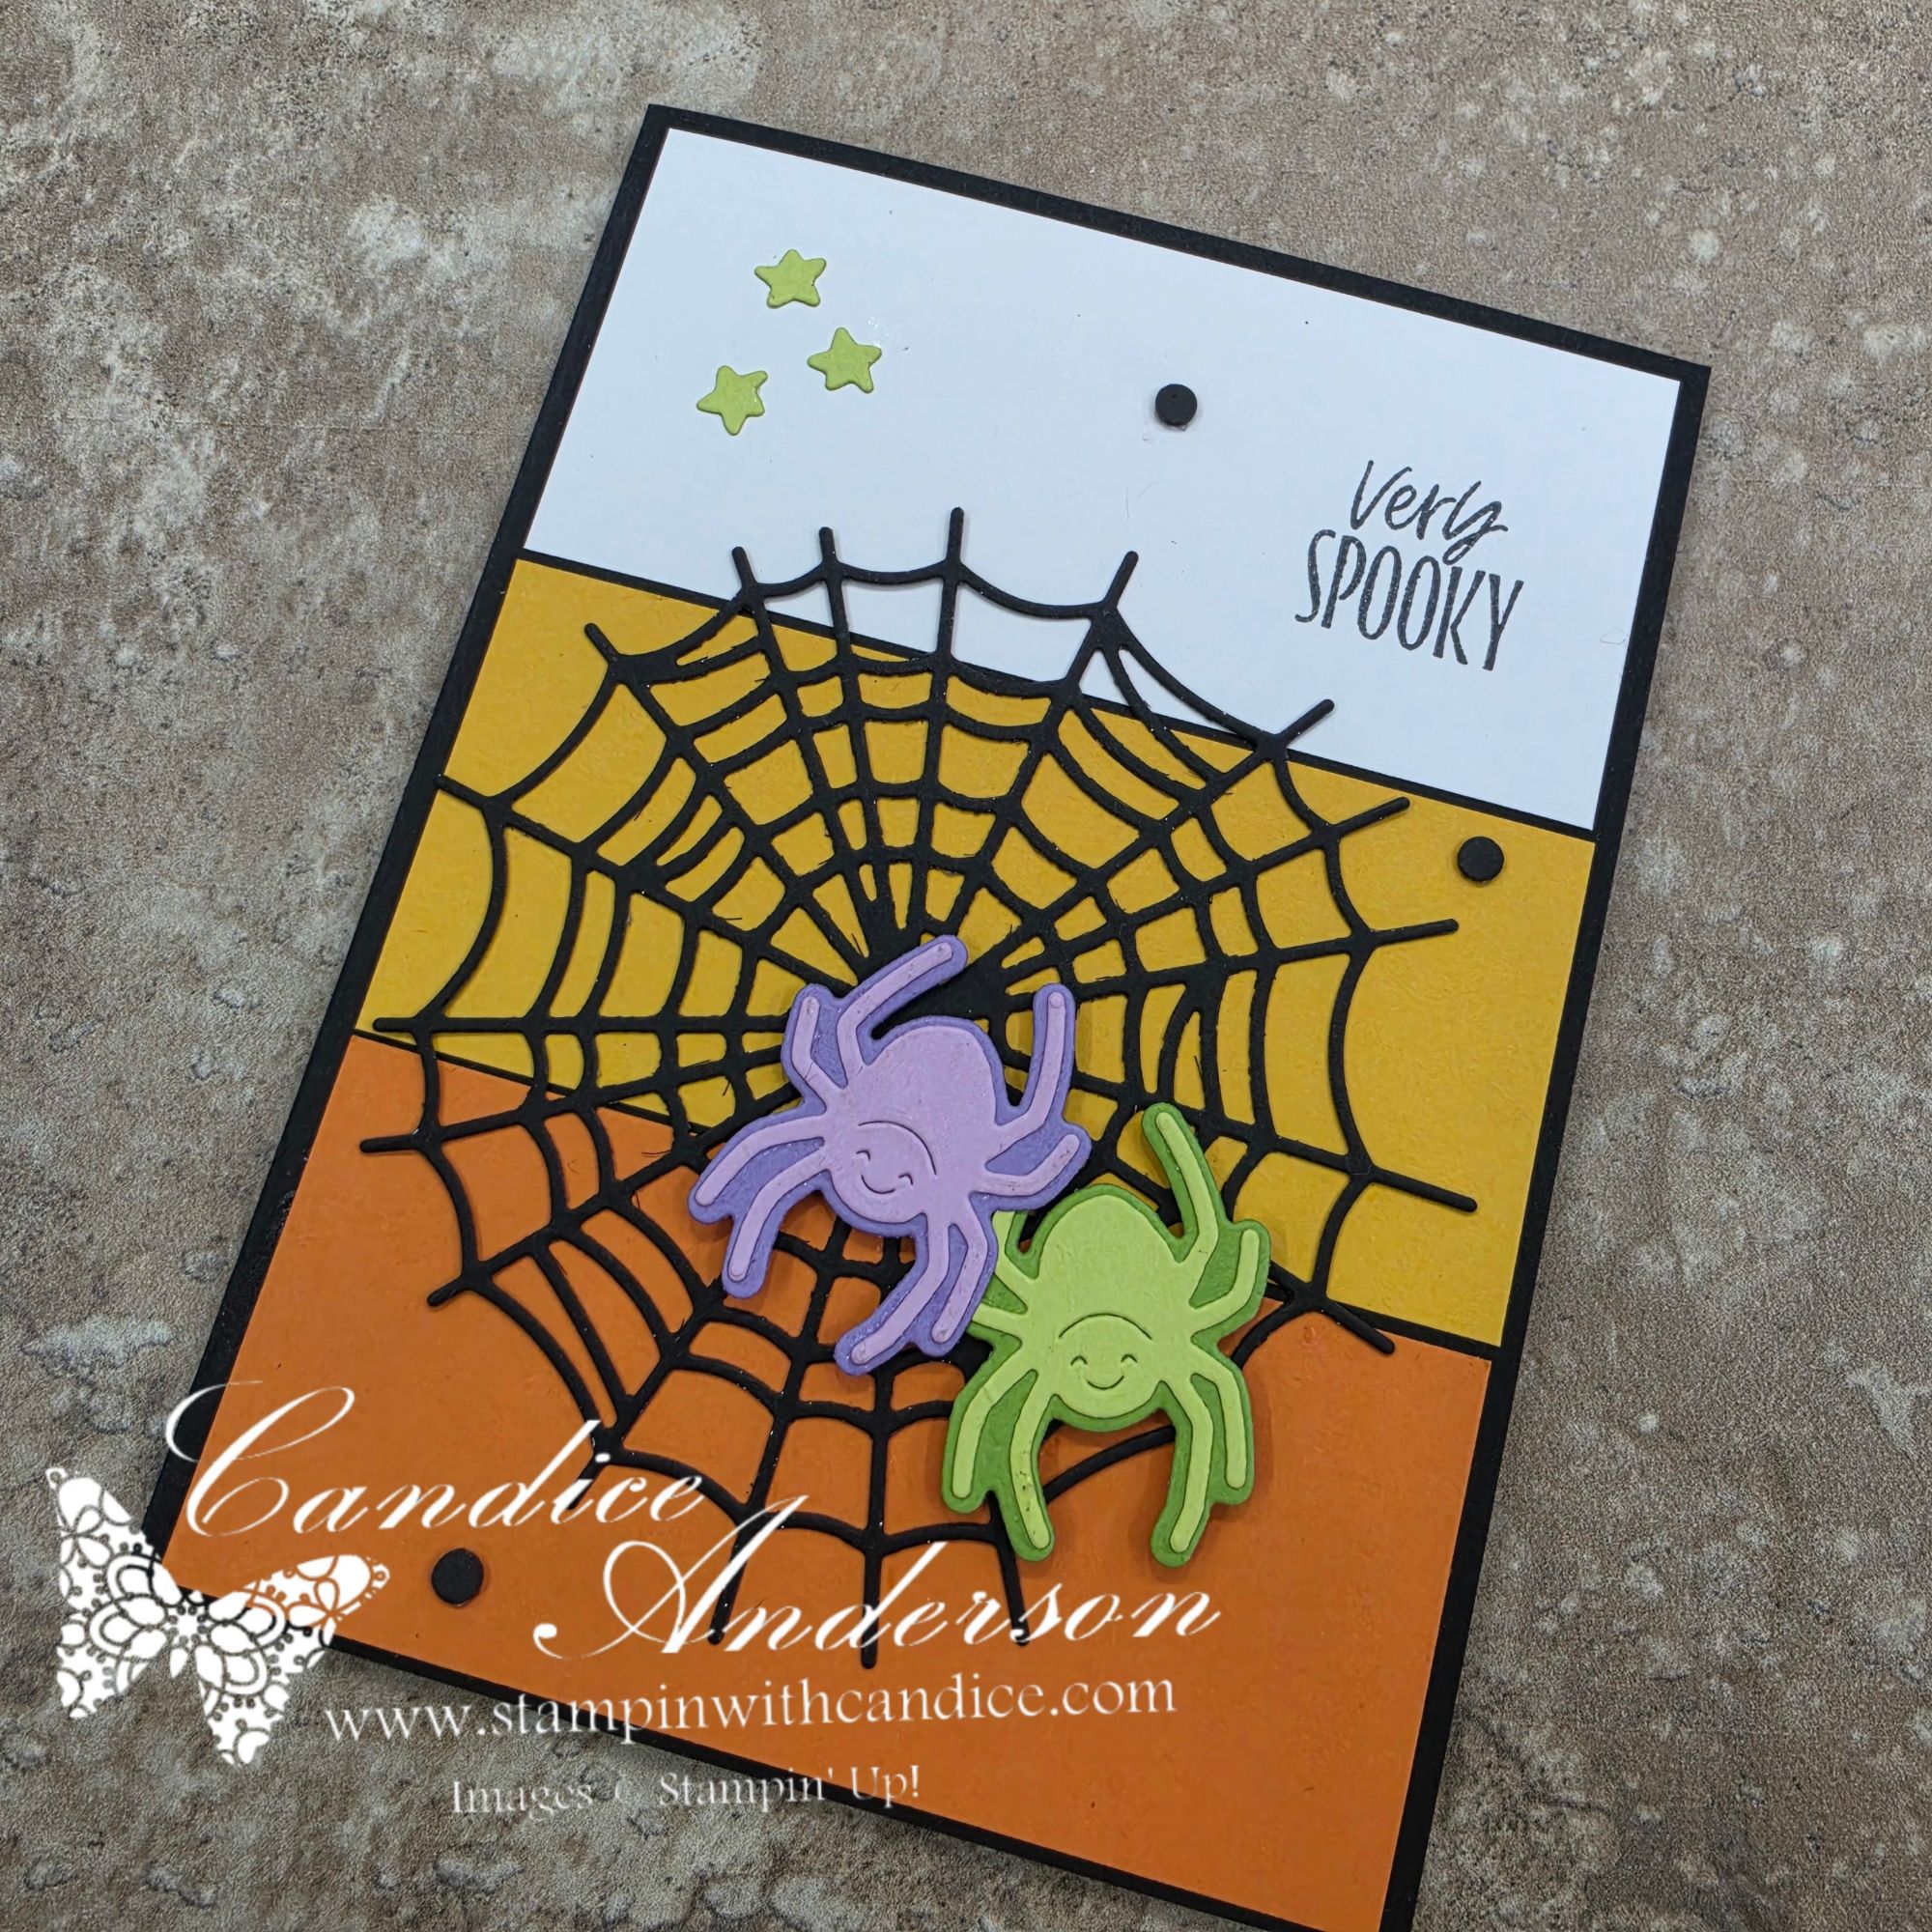
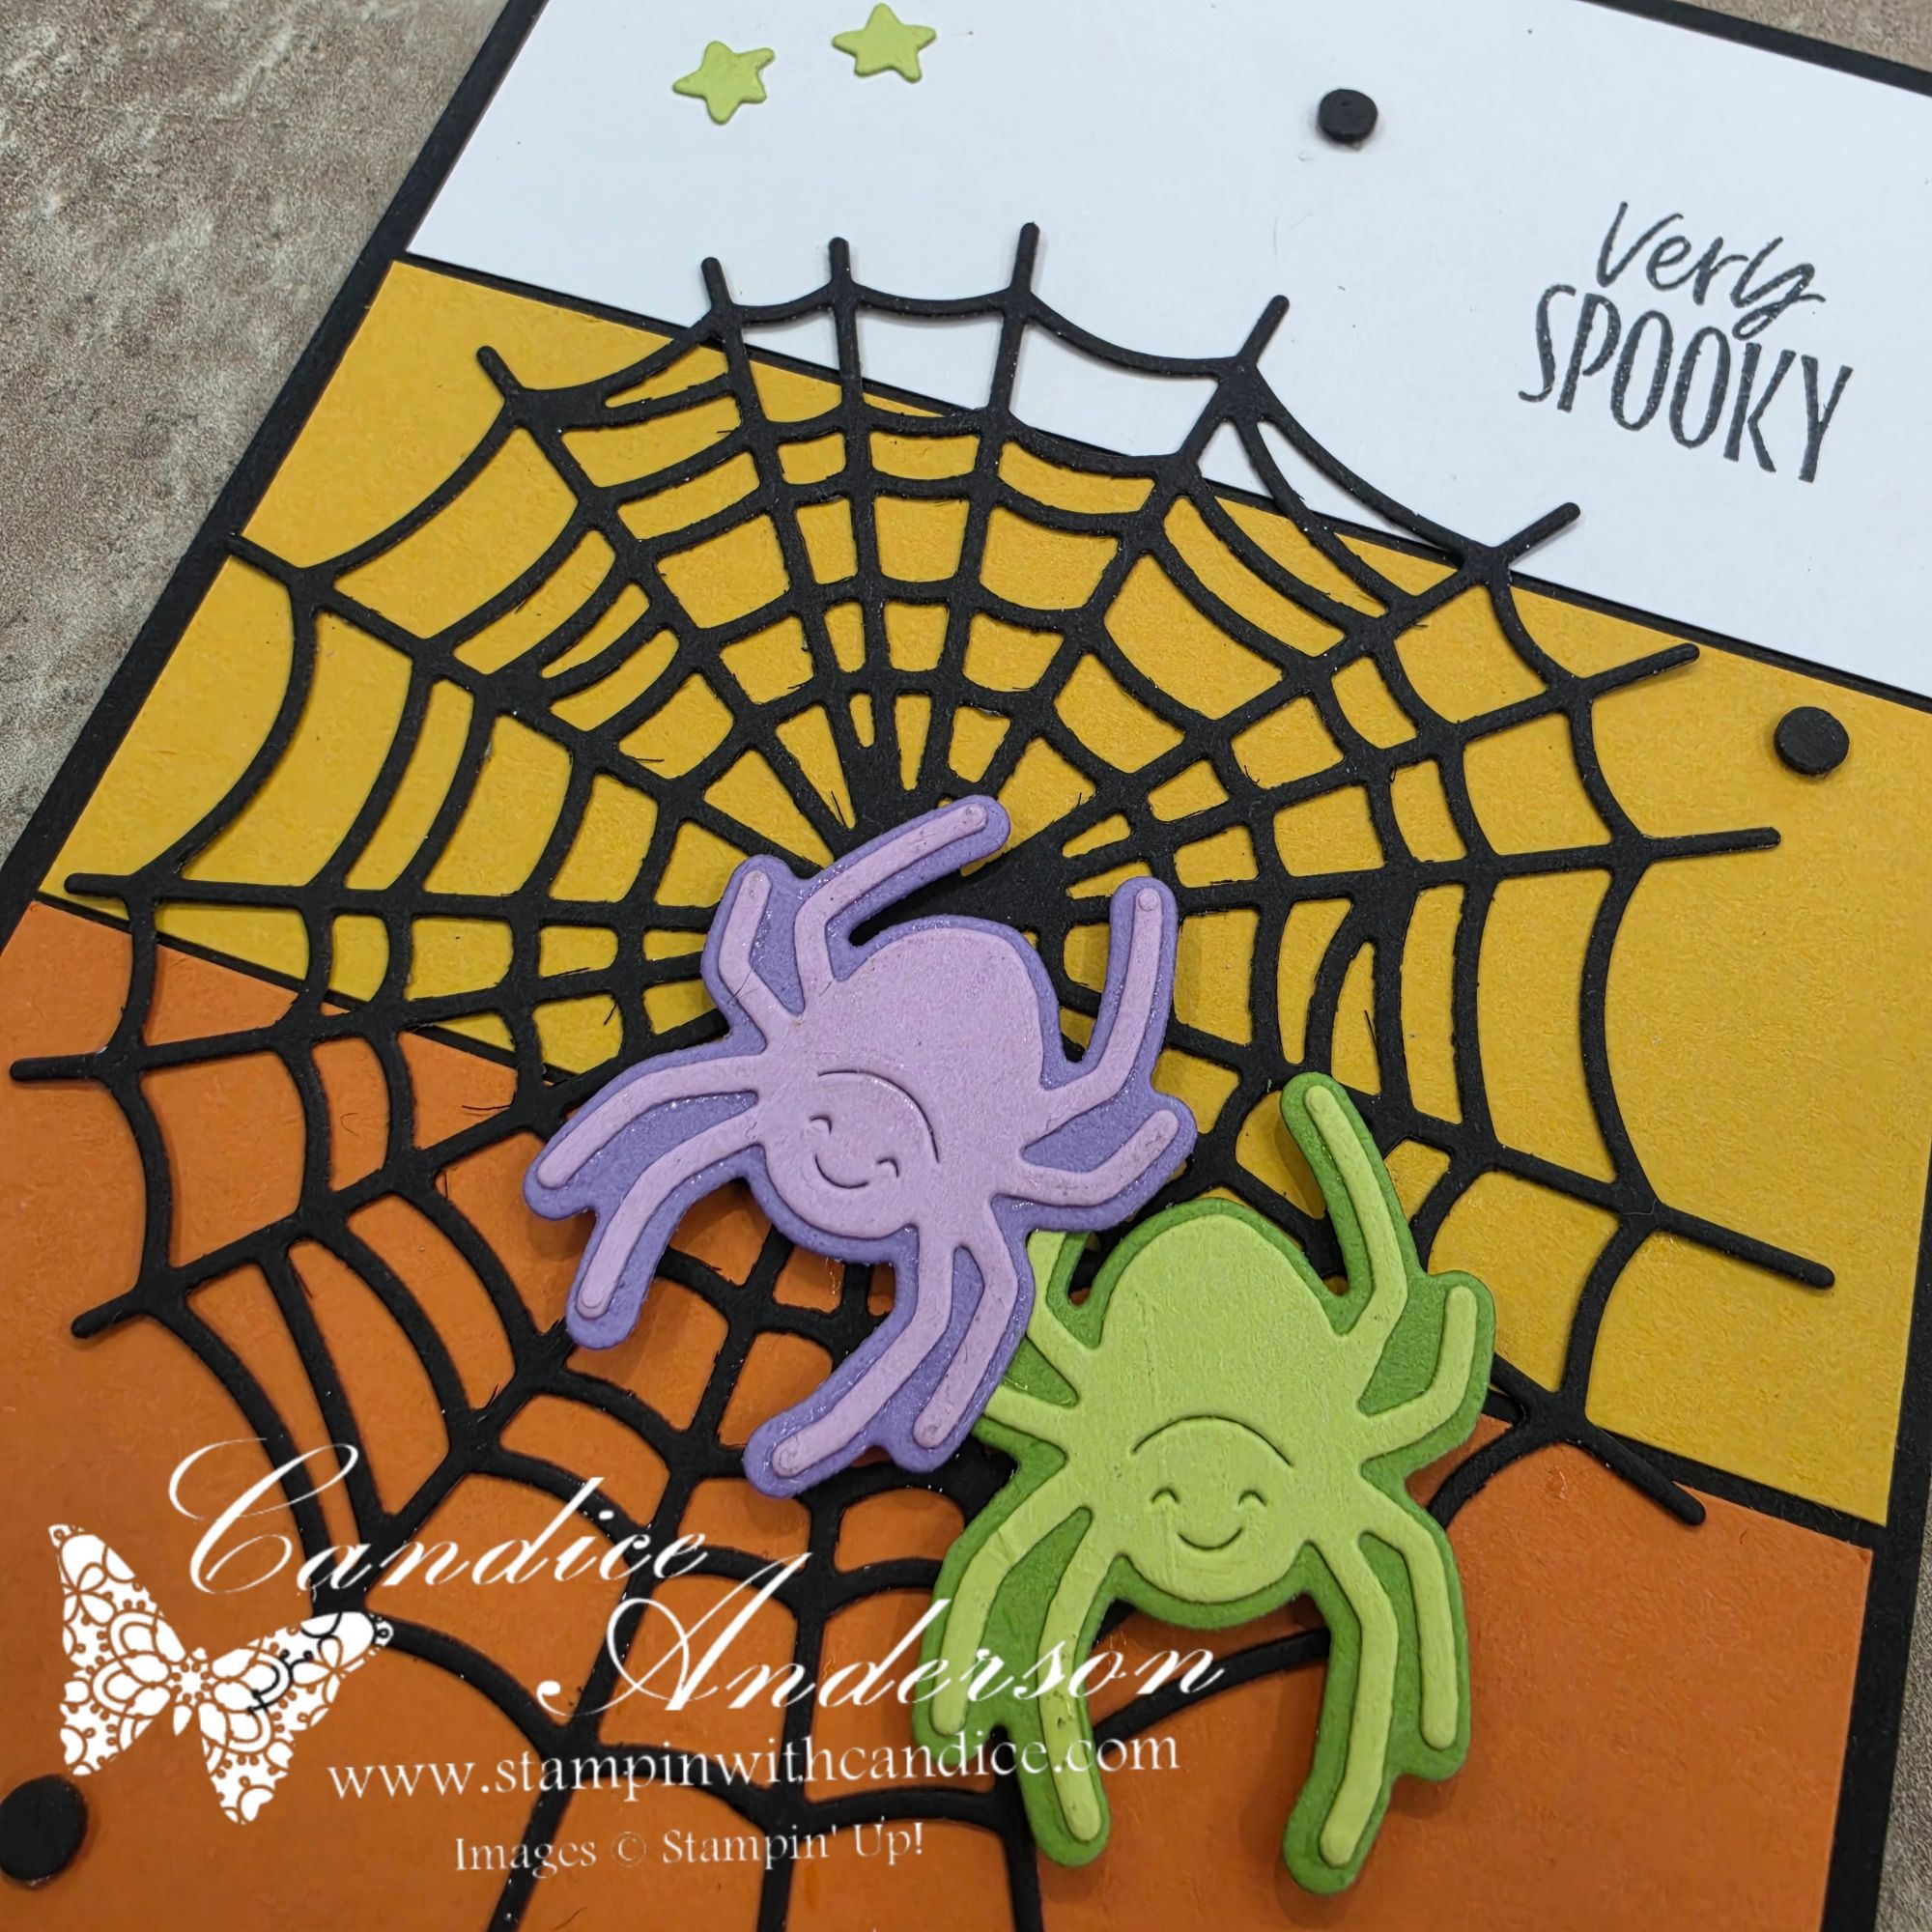
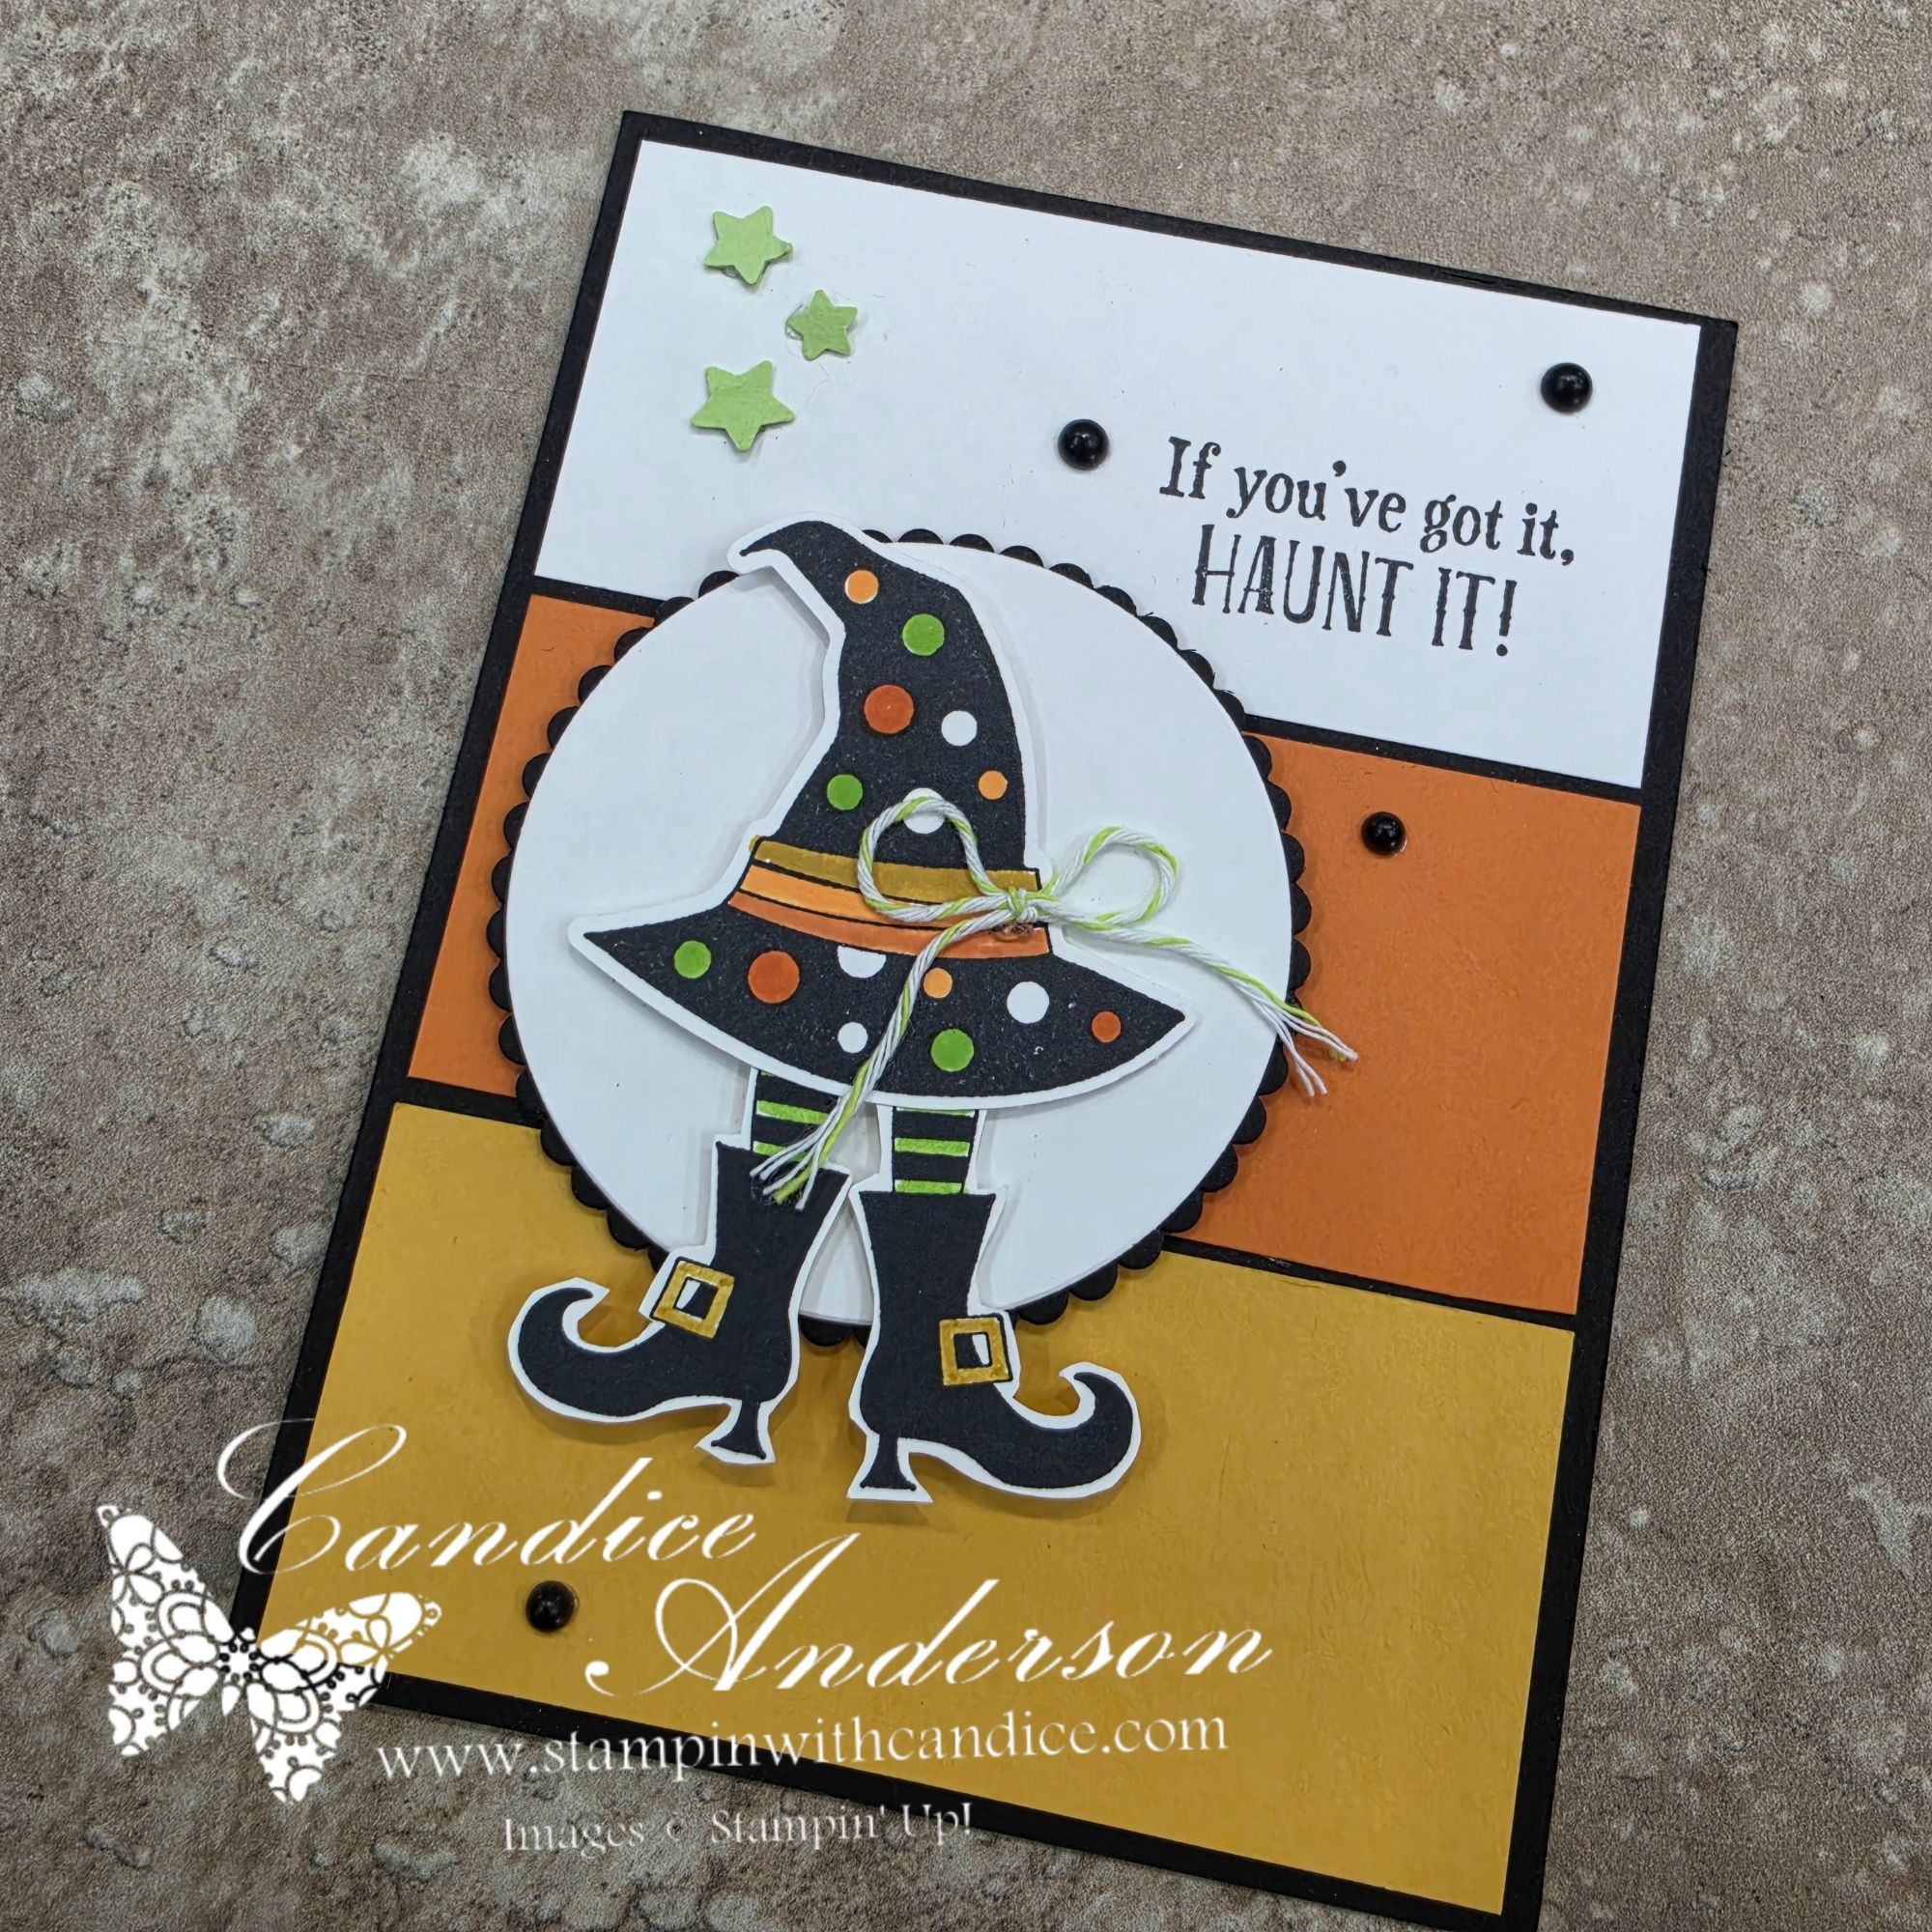
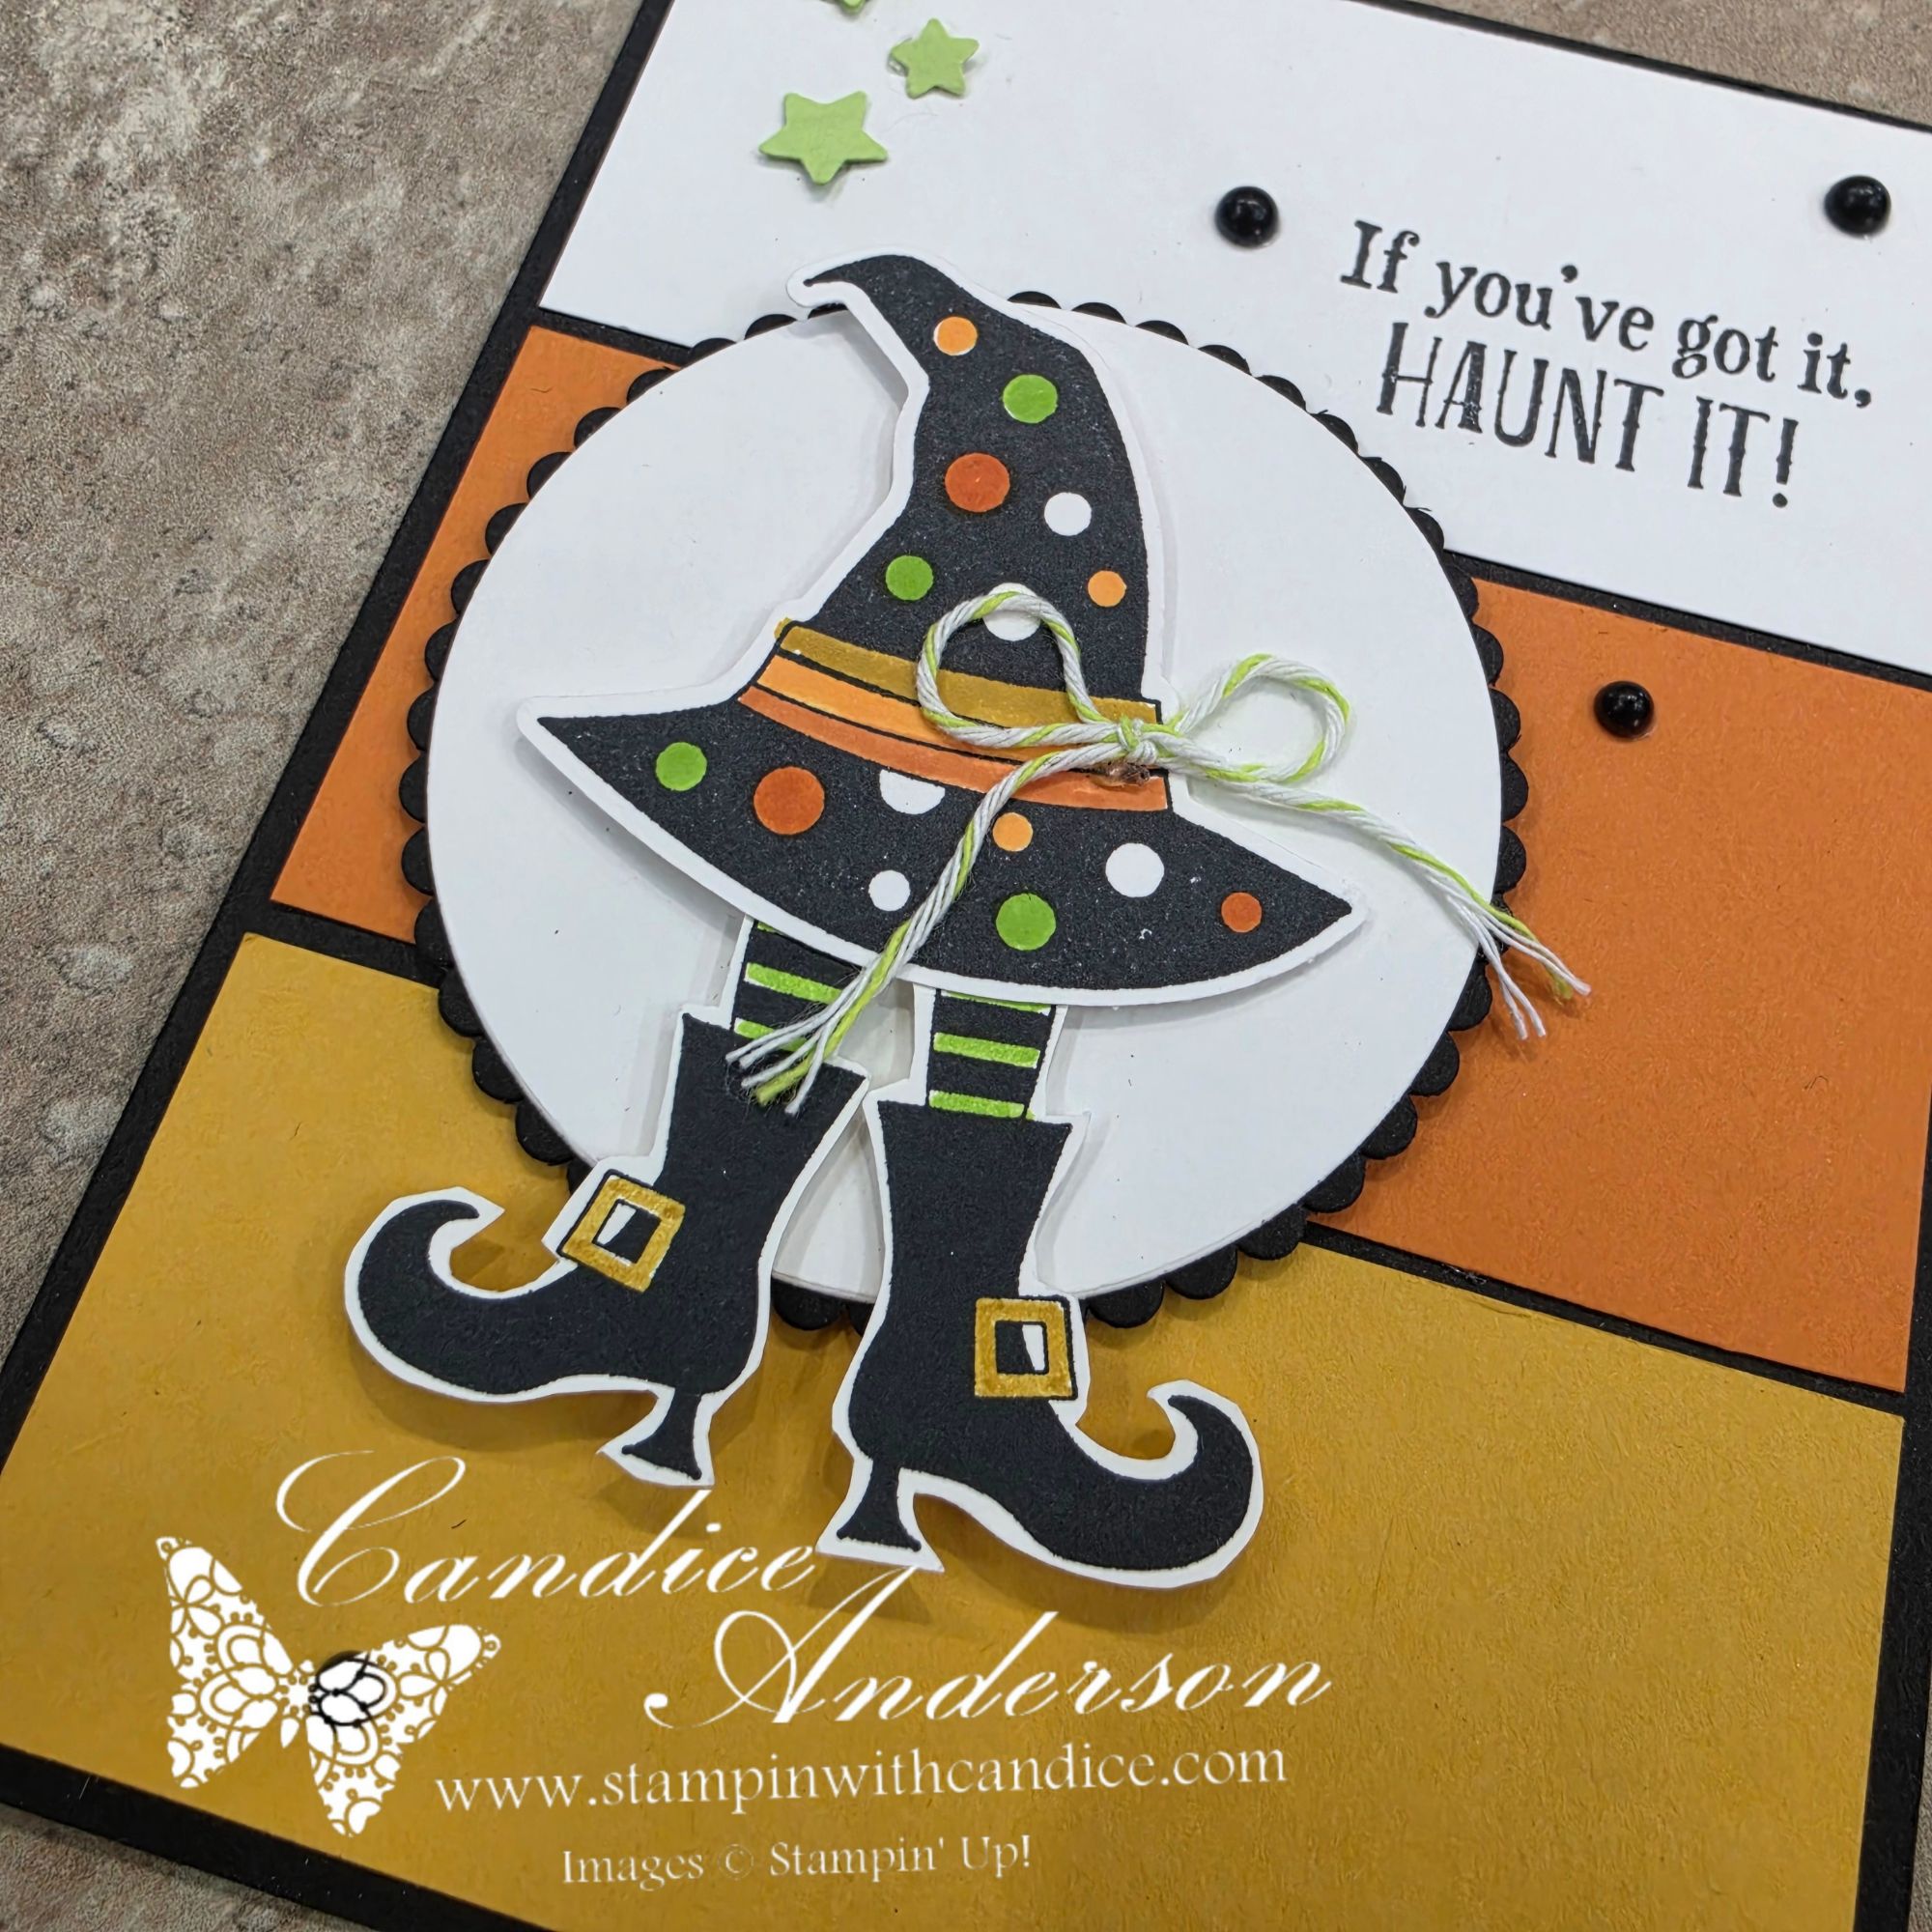
Be sure to scroll through and check out all the different cards I created using this fun design, along with the card that inspired it all (the Halloween Witches Hat). I think you’ll be surprised by just how many different looks you can get from one simple sketch.


Now it’s your turn!

Use the sketch as your starting point and make it your own. Turn it, flip it, change the shapes, keep it simple, or dress it up—the sketch is there to inspire you, not limit you.

Then share your creation using #CWCC001 and #CreateWithCandice so we can see what you create and inspire one another.

I can’t wait to see what you come up with, share your creativity throughout the month, and send a little happy mail to our Featured Creator!

Happy Stampin’! 🦋

A beautifully crafted Christmas card featuring a window scene that displays a peaceful nativity setting on one side, while the inside is adorned with cozy holiday elements like hanging stockings and warm colors.

💕 Let’s Stay Connected

📺 YouTube 📘 Facebook 📸 Instagram 📌 Pinterest

Creating Depth with One Color: Card Making Tips

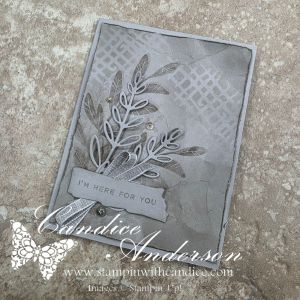
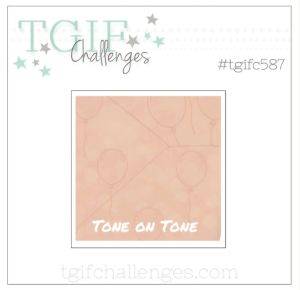
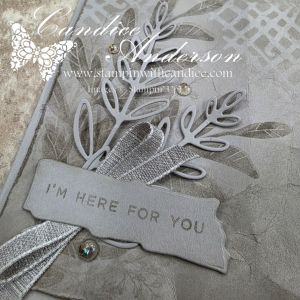
This week’s #TGIFC587 challenge was all about tone-on-tone, and I decided to really challenge myself by creating an entire card using just one color.

Rather than choosing a color you would typically expect with the Notes of Collage Bundle, I reached for Gray Granite. This is a sneak peek bundle (and I’m not even sure when it will be released!), but I couldn’t wait to create with it. I have to say… I absolutely love how this card turned out.

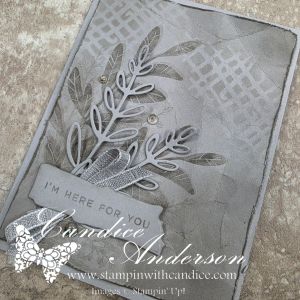
One of my goals was to show that a monochromatic card doesn’t have to feel flat. By layering several simple techniques, I was able to create lots of depth, texture, and contrast while staying true to a single color palette.

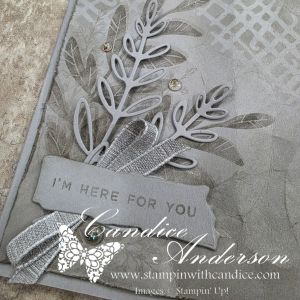
For the background, I die cut one of the abstract images and used the piece as a mask with a blending brush to softly add ink. Afterwards, I made sure my Gray Granite ink pad was freshly reinked so I could stamp the large leaf at full strength twice, then stamped the wispy leaf a several times using the stamp off technique for a softer, lighter impression.

To add even more texture, I distressed the edges of the cardstock with my scissors before gently crinkling the panel. A little more Gray Granite ink brushed over the edges and creases helped highlight all of that wonderful texture. The delicate die-cut leaves, cut from Gray Granite cardstock, really stand out against the inked background without introducing another color.

I kept the sentiment monochromatic as well by stamping “I’m Here for You” in Gray Granite on a die-cut label. Finally, I finished the card with Gray Granite Variegated Ribbon and a few Mosaic Dots for just the right amount of sparkle and elegance.

This card was a wonderful reminder that sometimes limiting yourself creatively can actually open the door to new ideas. It’s amazing how much interest you can create with a single color by simply varying the depth of ink, layering textures, and adding dimension.

Have you ever challenged yourself to create a true monochromatic card using just one color? I’d love to hear which color you would choose or better yet share your creation in the comments or on my social media.

No matter where your creative journey takes you, I’m so glad you’re here. Let’s learn, create, connect, and grow together—one project at a time. 🦋

A beautifully crafted Christmas card featuring a window scene that displays a peaceful nativity setting on one side, while the inside is adorned with cozy holiday elements like hanging stockings and warm colors.

💕 Let’s Stay Connected

📺 YouTube 📘 Facebook 📸 Instagram 📌 Pinterest