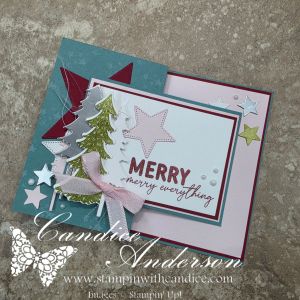
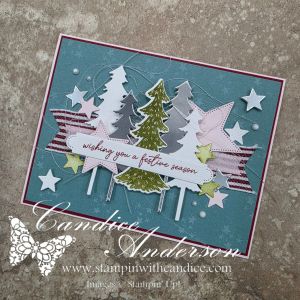
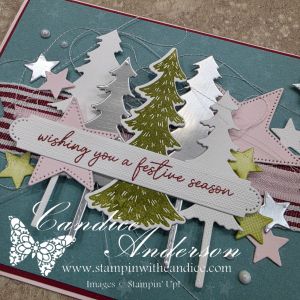
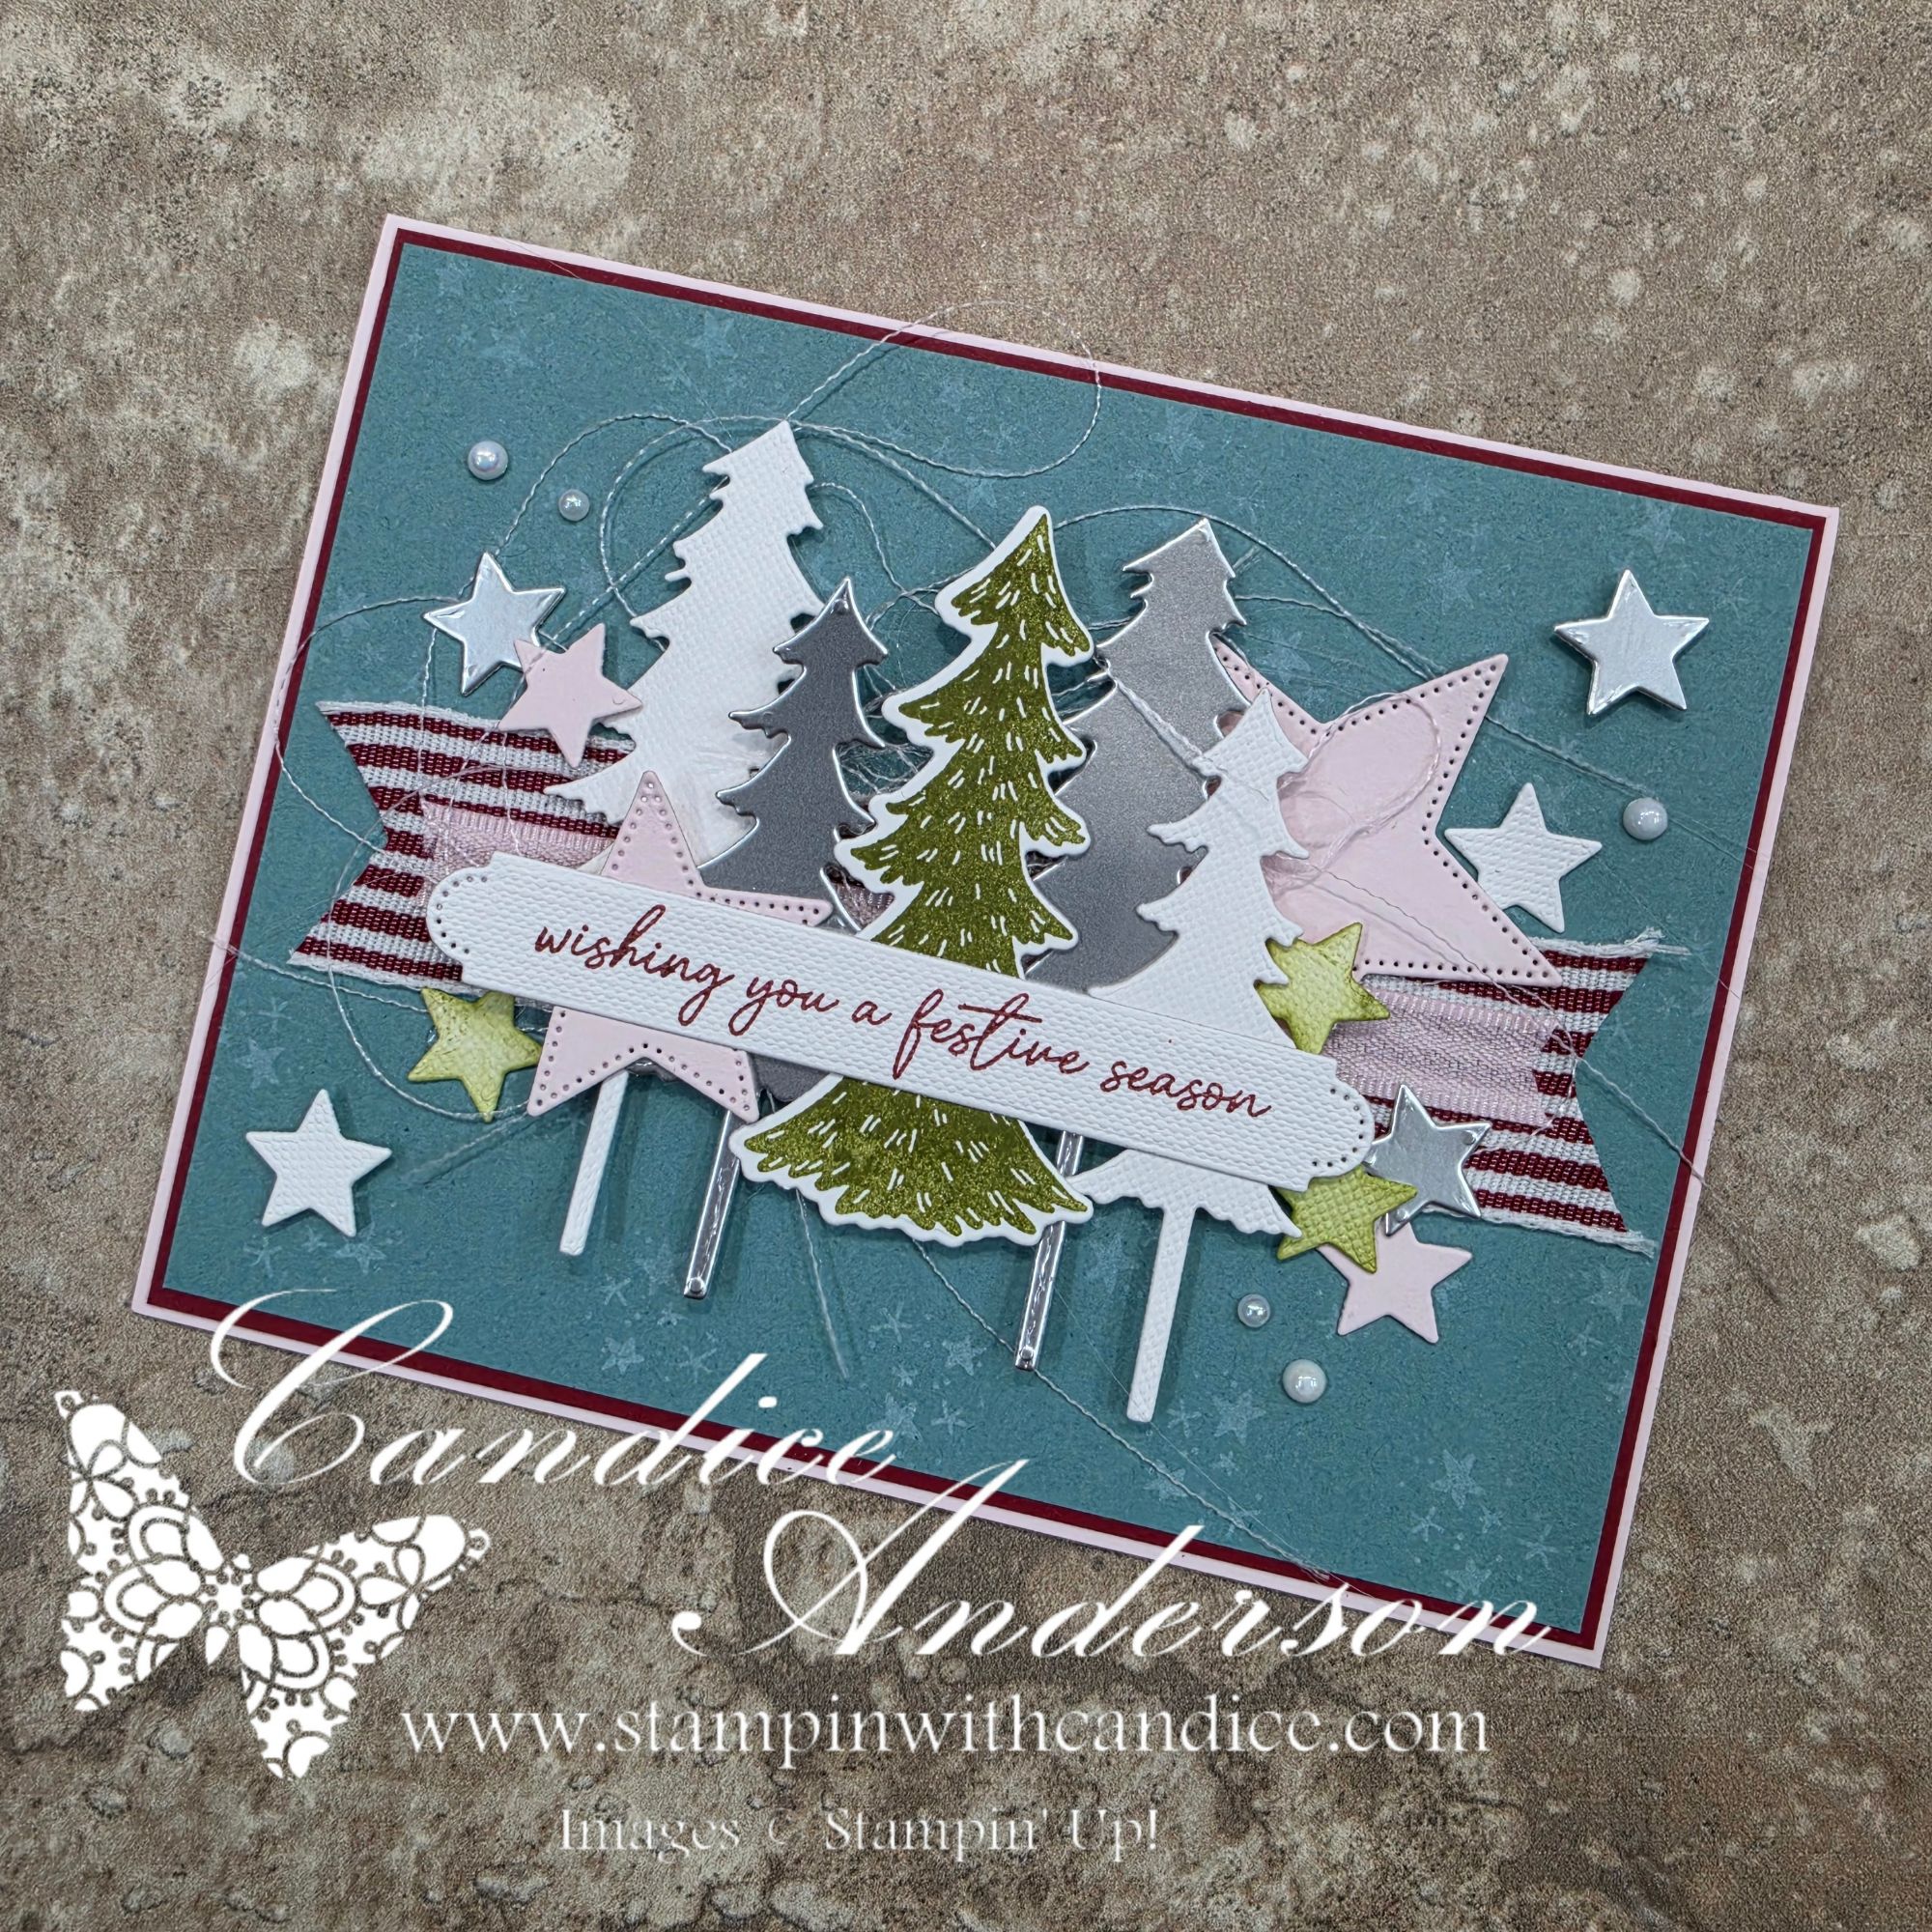
Inspired by TGIF Challenges #TGIFC585

As I’ve been working behind the scenes updating my website, one of the pages I’ve been most excited to create is a new section dedicated to the creative challenges I love participating in. Challenges are one of my favorite ways to spark creativity, try new techniques, and look at my supplies in a whole new way.

While putting that page together, I came across the TGIF Challenges #TGIFC585 sketch and knew it would be the perfect inspiration for my next project.

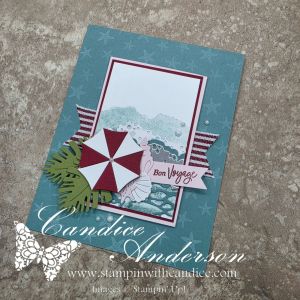
For this card, I reached for the Splash and Relax Bundle to create a bright, cheerful summer design. The sketch immediately made me think of sunshine, water, and relaxing by the pool.

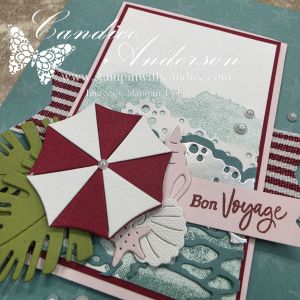
To create the background, I used the Water & Dotted Lines Mask with a blending brush, layering Pool Party, Coastal Cabana, and Pretty Peacock ink to build the water effect. Once the ink was blended, I added a simple splash of water across the background to lift some of the color and create natural texture. It’s one of my favorite techniques because it’s incredibly easy but gives such beautiful results.

One other little detail I love is the baker’s twine. Rather than searching for the perfect color, I started with the gray baker’s twine from the pack and used my blending brush with Pretty Peacock ink to color it. It’s such an easy technique that lets you customize your twine to match any project. Plus, it gives you even more ways to use all the colors included in a multicolor pack!

I finished the card with a bright life preserver, my custom-colored baker’s twine, a simple greeting, and a few embellishments to keep the focus on the fun background.

Sometimes the simplest designs become my favorites, and this one definitely makes me smile. Between the ink-blended background, the water splatter texture, and the colored baker’s twine, this card uses a few easy techniques that add lots of interest without adding much extra work.

If you’ve never tried a sketch challenge before, I encourage you to give one a try. They are a wonderful way to get inspired and stretch your creativity.

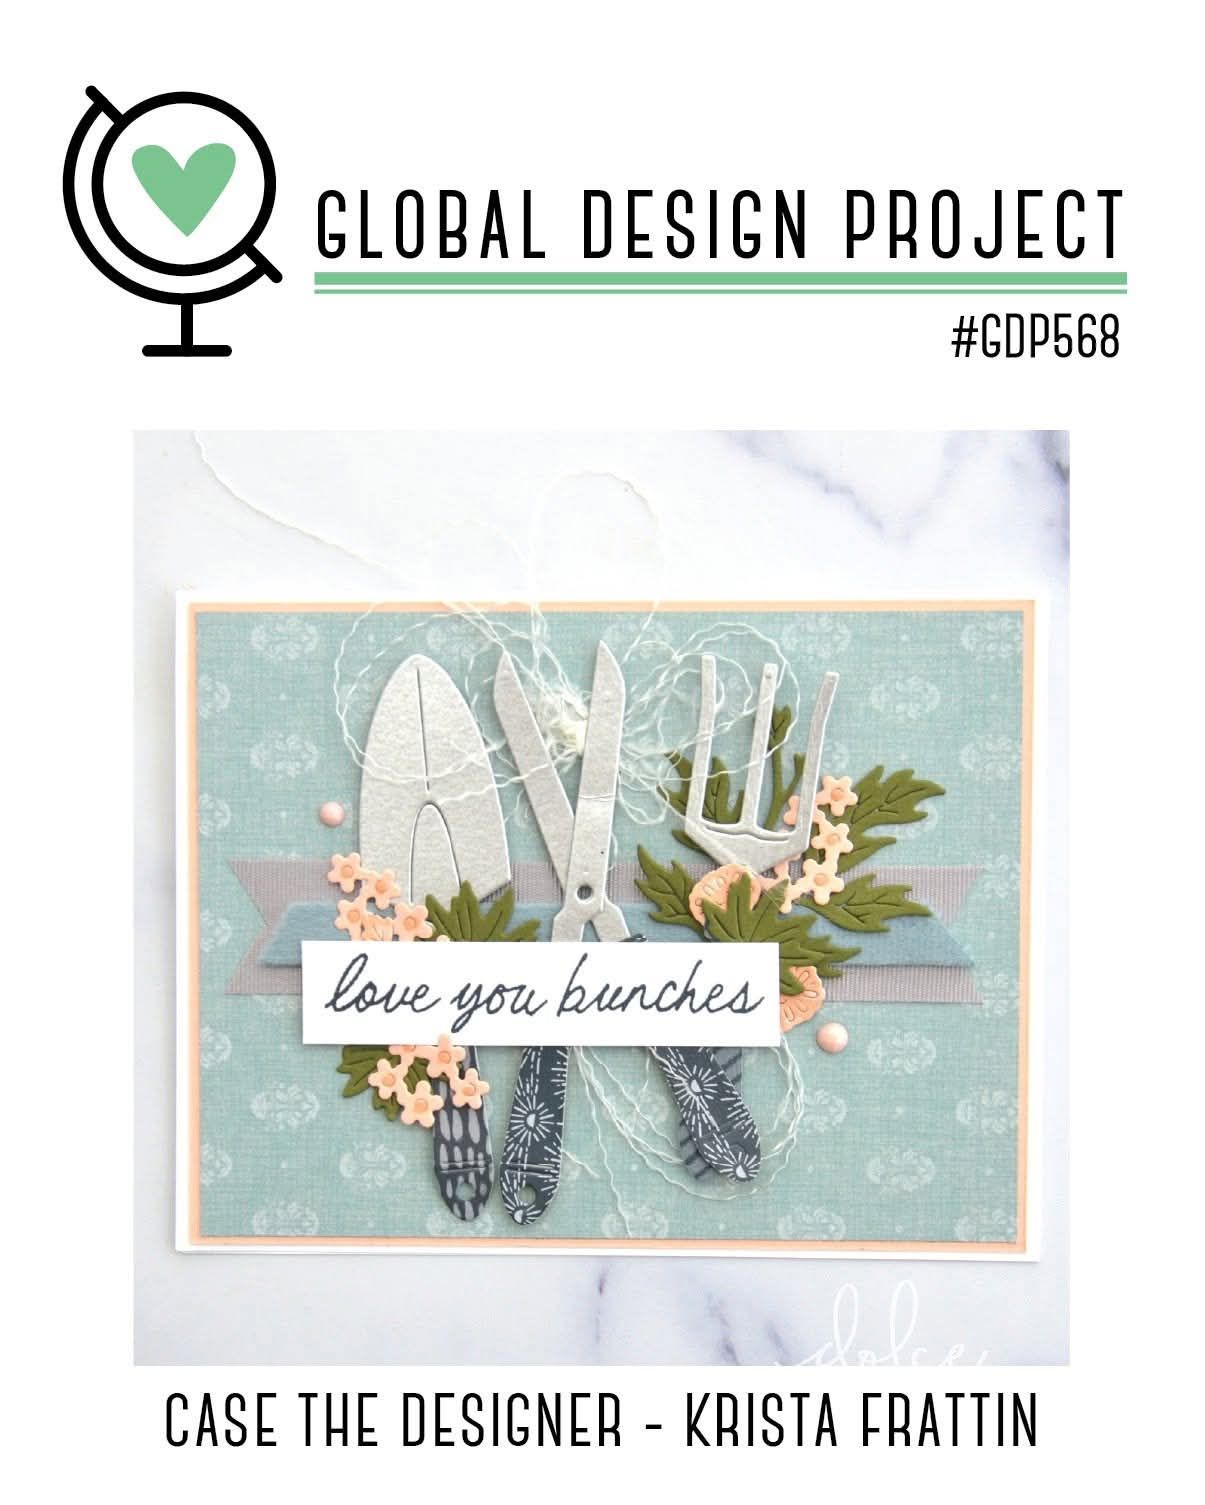
Challenge: #TGIFC585

Ready to make your own? For a complete supply list and quick access to all the products used, click here to shop this project.

Love creative challenges or looking for a little inspiration? Be sure to check out the Creative Challenges page in the Learn section of my blog. It’s packed with links to some of my favorite challenge sites, along with ideas to spark your creativity. They’re fun, inspiring, and a wonderful way to get yourself creating today!

Happy Stampin’

A beautifully crafted Christmas card featuring a window scene that displays a peaceful nativity setting on one side, while the inside is adorned with cozy holiday elements like hanging stockings and warm colors.
💕 Let’s Stay Connected

📺 YouTube 📘 Facebook 📸 Instagram 📌 Pinterest

Craft Unique Shaped Cards for Any Occasion

On my live this week, I shared how easy it is to create fun shaped cards using your larger dies. These cards are quick to make, full of personality, and a great way to add a little extra wow to your projects.
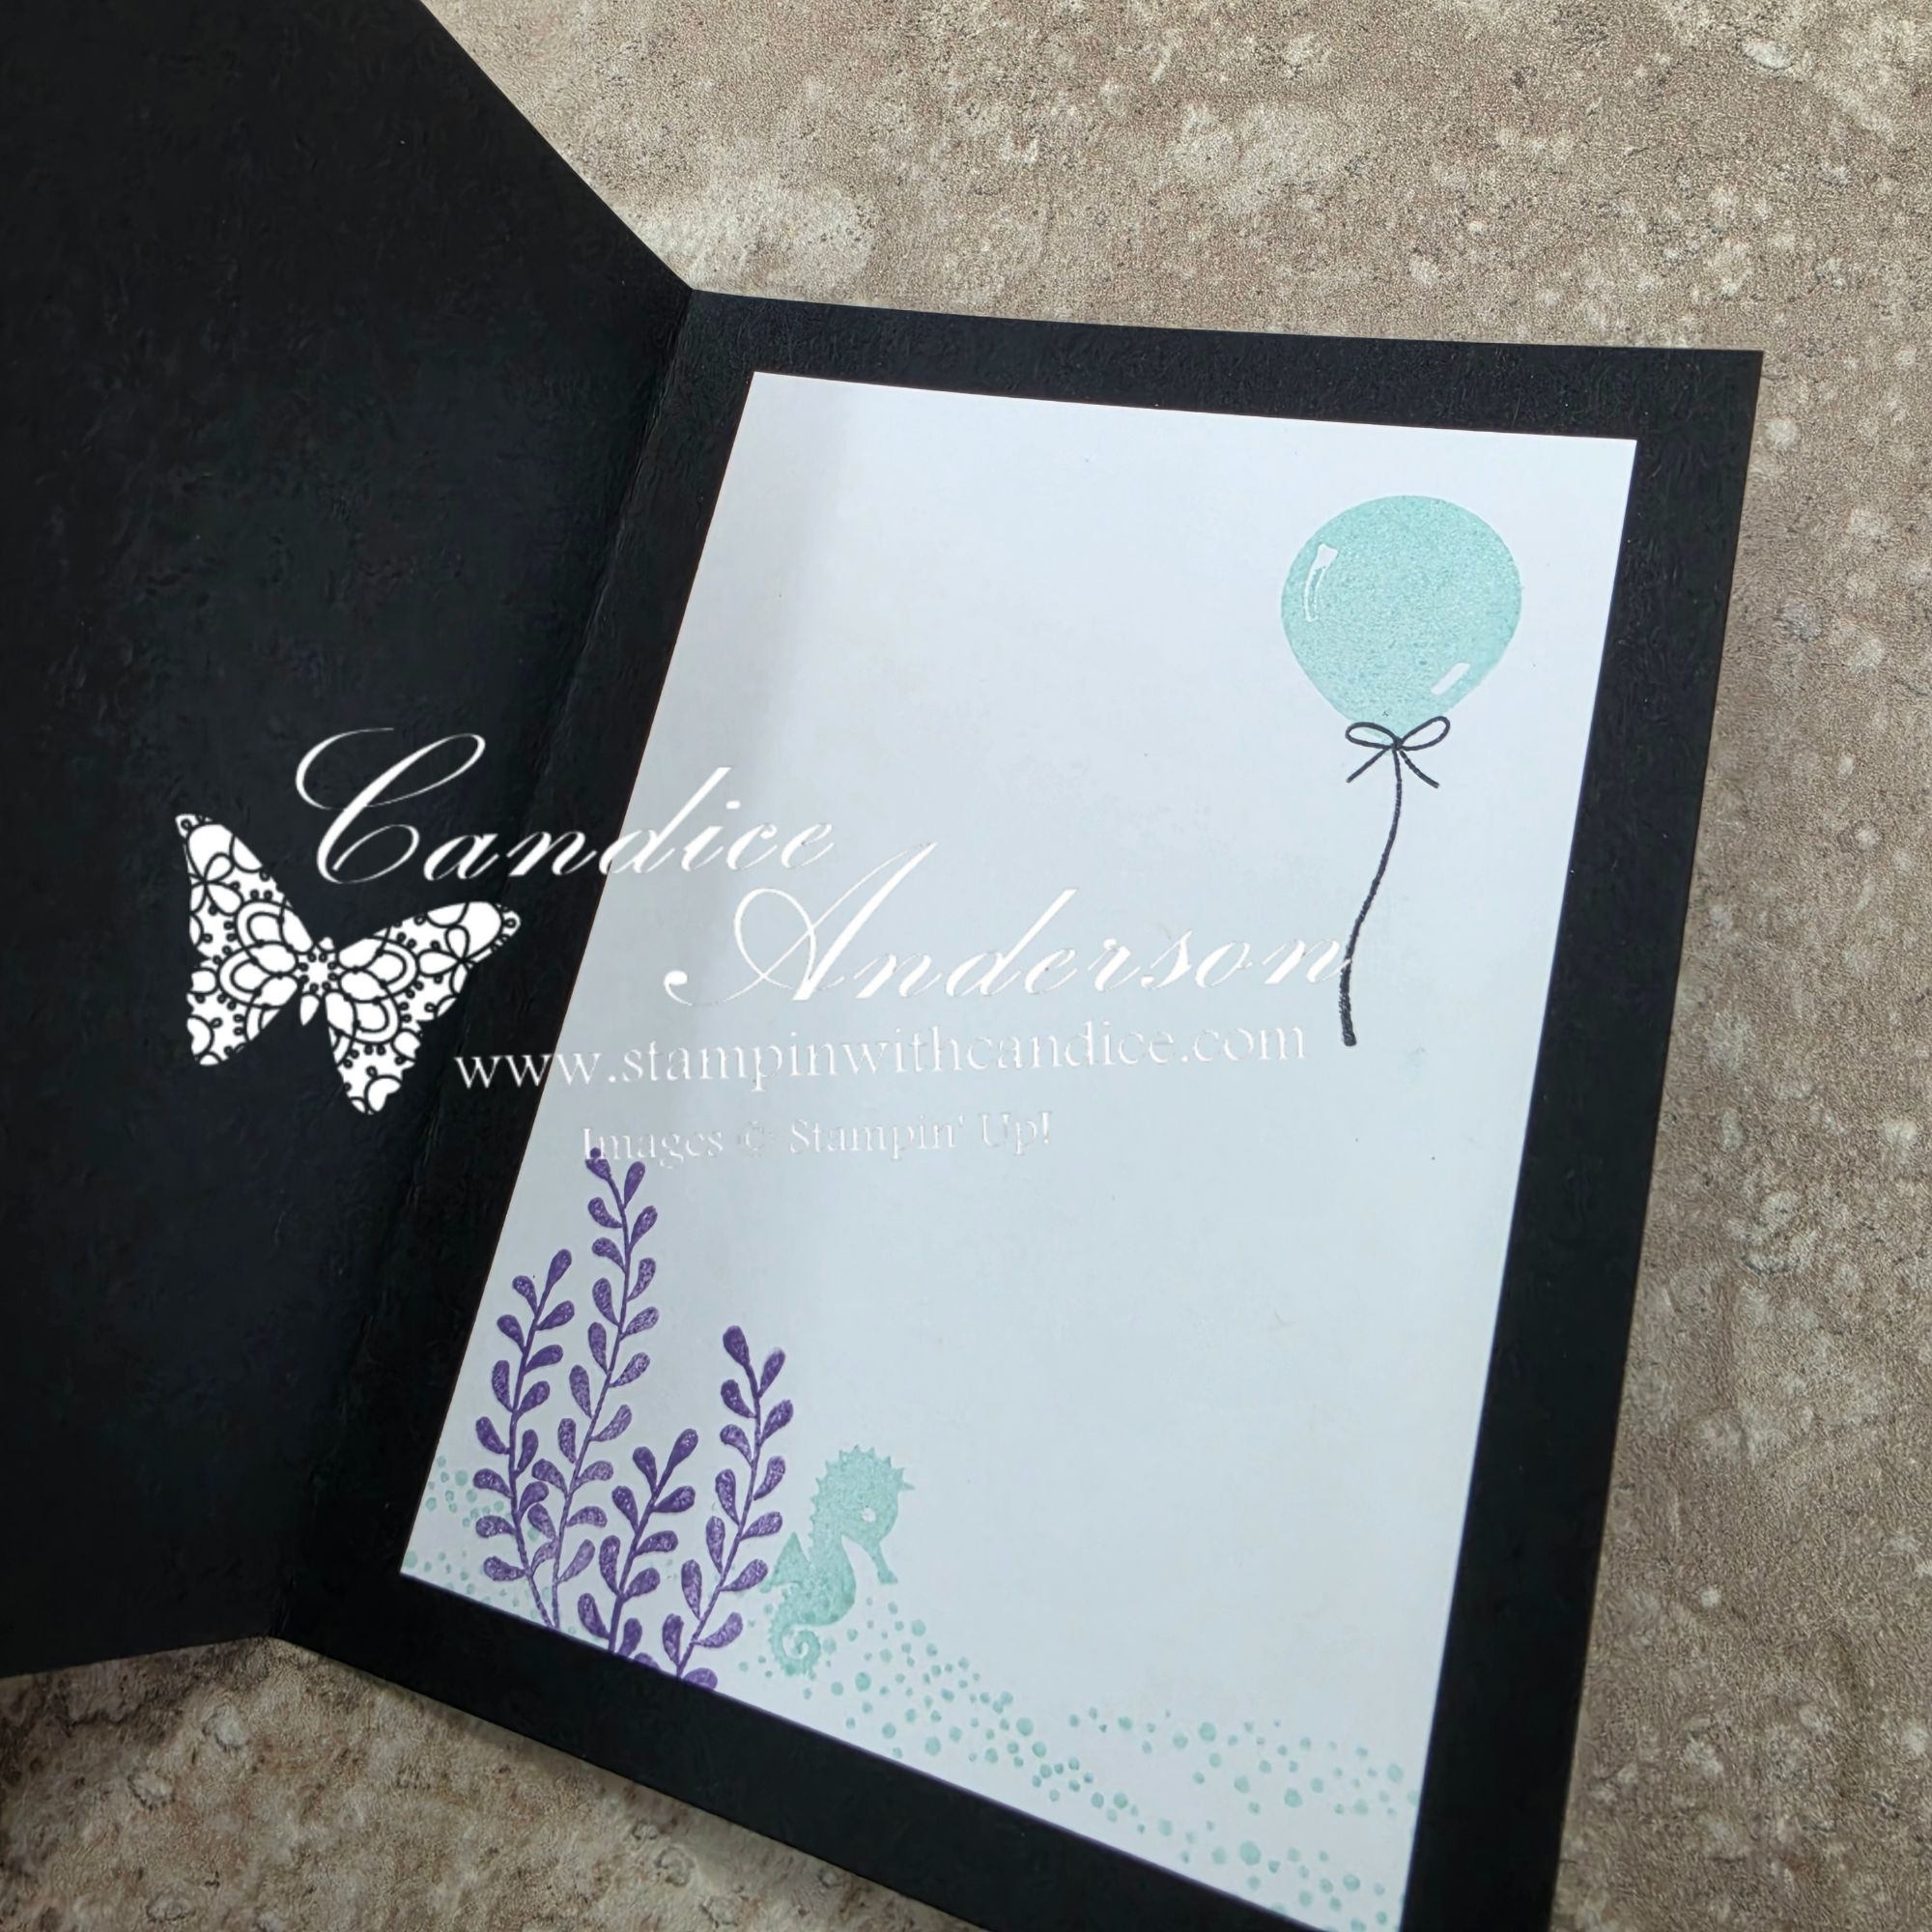
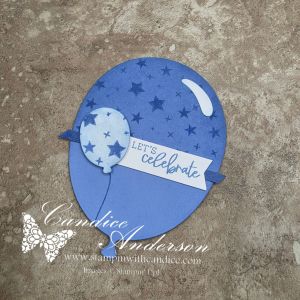
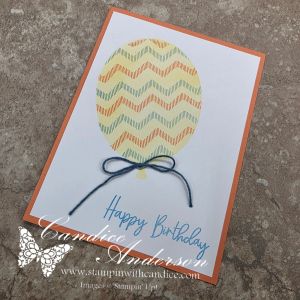
For today’s cards, I featured the Balloon Festoon Bundle #167606, which includes these fabulous oversized balloon dies. I was inspired by my friend Amelia, who demonstrated a simple technique for turning almost any large die shape into a card base. And bonus depending on which one you choose they can still fit in a standard size envelope.

The process is surprisingly easy. Simply cut two of your chosen shapes. On one of the die-cut pieces, score about ½” along the top or side, depending on the shape and how you want the card to open. Fold along the score line and adhere that folded tab to the back of the second die cut. Just like that, you have a shaped card that opens and closes!

I decided to keep my designs simple by using a single color of cardstock and coordinating ink along with Basic White. By combining stamping and blending brushes, I was able to create several different shades and tones of the same color, adding depth and interest without needing lots of supplies. I chose to feature some of the new In Colors, but this technique works beautifully with any color palette. Check out all the fun combinations you can make.

These shaped cards are perfect for birthdays, celebrations, congratulations, and so many other occasions. Depending on the size of the die you use, many will even fit inside a standard-sized envelope, making them easy to mail.

To finish them off, I added a touch of sparkle with Wink of Stella or if you are using the in-colors try out our new shimmer brushes.

Fast, easy, and so much fun—this is definitely a technique you’ll want to try with your favorite large dies. As an added bonus, you’ll discover that many of your dies can do double duty, creating both focal elements and unique card bases.

I hope you’ll give shaped cards a try! If you missed the live, be sure to catch the replay and see just how simple these cards are to create.


Ready to get started?

Click the Shop Now button to order any supplies you need. Then click on the Balloon Festoon Card Tutorial below to access the PDF tutorial, video instructions, cutting guide, and helpful tips and tricks.

Before you know it, you’ll be creating your own fun shaped cards for birthdays, celebrations, and special occasions. Happy crafting, and I can’t wait to see what you create!

Colorful advertisement banner featuring the text 'SHOP NOW' and 'Online Store' with decorative elements like flowers, butterflies, scissors, and craft supplies.

Balloon Festoon Card Tutorial

Bonus – Add a little extra with the new white gel pen.


A beautifully crafted Christmas card featuring a window scene that displays a peaceful nativity setting on one side, while the inside is adorned with cozy holiday elements like hanging stockings and warm colors.

💕 Let’s Stay Connected

📺 YouTube 📘 Facebook 📸 Instagram 📌 Pinterest

Easy Pocket Fun Fold Card – Simply Out of This World 🌙✨

Last night on my live I shared this easy pocket fun fold card inspired by Sunny Day Stamping, and I promised you all the details! This card is so simple to create but still gives you that extra wow when the recipient pulls out the hidden insert.

Three handmade birthday cards featuring a space theme. Each card has a yellow and blue color scheme with text that says 'You're Out of This World.' One card includes an astronaut illustration, while another features the phrase '3-2-1 Blast off!' Various design elements like stars and moons are incorporated.

For my cards I used the brand new Moon and Back Stamp Set (#167531) coming in March — and it is absolutely adorable. 🌙 It pairs perfectly with this interactive design.


How to Create the Pocket Fun Fold

This design is very versatile. You can create it horizontal or vertical — I did one of each!

  1. Choose your direction (horizontal or vertical).
  2. Decide how much you want your pull-out insert to peek over the top. You can either fold it down or cut it off.
    • I cut off 1″ on my horizontal card.
    • I cut off 1-1/2″ on my vertical card.
  3. Use adhesive to seal the sides (I used Tear & Tape) or simply wrap a ribbon or belly band around the card.
  4. Pick a circle shape for your focal point.

Now here’s the fun part 👇

Before you fully close your pocket, punch or die cut a matching circle on the card base directly behind where your focal circle will sit. This allows your focal image to actually attach to the pull-out insert instead of the card front.

When attaching your focal circle to the pull-out piece, use Stampin’ Dimensionals so it sits slightly raised above the paper. This not only adds dimension and extra WOW, but it also makes the insert easier to slide in and out — and easier for the recipient to grab ahold of.

Such a simple trick — but it makes a big difference in both the design and functionality and t it creates that magical interactive element when the card is opened!


Adding Even More WOW

On my vertical card, I stepped it up by adding a handmade rosette behind the circle focal point. It adds dimension and really makes the design pop. This is quick any easy to do using the simply scored tool. I walk you through it in the video.

This fun fold truly is out of this world — and perfect for birthdays, kids’ cards, encouragement, and more.

Be sure to watch the replay for full step-by-step instructions and to see exactly how it all comes together!


Supplies Used

Stamps & Dies

  • Moon and Back Stamp Set (#167531 – coming in March!)
  • Spotlight on Nature Dies (#163580)
  • Stylish Shapes Dies (#159183)

Tools & Accessories

  • 2″ Circle Punch (#133782)
  • Simply Scored (#122334)
  • Tear & Tape Adhesive (#154031)
  • Stampin’ Dimensionals (#14430)
  • Black & White Baker’s Twine (#155475)

Cardstock

  • Daffodil Delight
  • Basic Black
  • Poppy Parade
  • Azure Afternoon

Ink

  • Real Red
  • Crushed Curry
  • Blueberry Bushel
  • Memento Black

If you give this pocket fun fold a try, I would love to see what you create! Be sure to tag me or share it in the comments. 💕

And remember to follow along so you never miss another Make It With Me Monday!


A beautifully crafted Christmas card featuring a window scene that displays a peaceful nativity setting on one side, while the inside is adorned with cozy holiday elements like hanging stockings and warm colors.

Please feel free to contact me if you have any questions.

Contact me today to place your order!
435-232-2655 Cell ( Call or Text)
andersoncandice@hotmail.com


💕 Let’s Stay Connected

📺 YouTube
📘 Facebook
📸 Instagram
📌 Pinterest

A Fidget Spinner for Crafters: The Never-Ending Card

Monday I shared a Never-Ending (Infinity) Card, and let me tell you… this is one of those projects I had seen before but was always a little intimidated to try. Turns out? It’s way easier than it looks—especially thanks to a fantastic tutorial I found by Karey Titus.

For my cards, I featured the Endless Love Stamps & Dies #167062 along with the Made with Love DSP #167054, and I wanted to share a few helpful tips I picked up while making them.

Tips for Making a Never-Ending Card

• Cardstock colors:
You can use two different colors of cardstock or stick with the same color. If you’re worried about keeping track of direction and orientation, I highly recommend using the same color—it makes things much less confusing.

• Practice the folds first:
Before decorating, assemble your base pieces and practice turning the card. This really helps you understand how the card moves and makes it easier to decide what should go on each panel. Keep in mind that if it’s not folding and laying out the way you want try flipping the card as it can change the direction of the fold and cuts.

• Sizing is flexible:
I made two different sizes—a 6″ × 6″ card and then used the leftover 5″ × 5″ pieces to create a smaller version. You can truly make this card in any size, as long as you start with a square.

• Scoring measurements:
You’ll score at ¼ of the measurement from each side.

  • For a 6″ × 6″ card, score at 1-1/2″ and 4-1/2″
  • For a 5″ × 5″ card, score at 1-1/4″ and 3-1/4″

This creates an inside panel that’s half the size of the full card (3″ for the 6″ × 6″ and 2-1/2″ for the 5″ × 5″ .)

A layout design with measurement lines and notes on white paper, detailing scoring and cutting instructions for a crafting project.

• Cutting & assembly:
You’ll need two sheets, both scored and then cut in half in opposite directions.
The trickiest part is placing the adhesive correctly so the card can turn smoothly.

I used Tear & Tape #154031 because it’s strong and easy to work with. Place it on the outside corners (top and bottom) of one sheet. Then take the second sheet, turn it 90 degrees, and attach it to those corners.

If you’re more of a visual learner, be sure to watch the video to see how it’s done—it makes the assembly so much easier to follow.

Decorating the Card

Now for the fun part—decorating!
Most of my panels were cut ¼” smaller than the base pieces. Be mindful of the direction each panel will turn. I laid everything out as I went so I could decide where each piece made the most sense.

I had so much fun making these that I decided to try a few more designs, including the smaller version I mentioned in my video. I stuck with the heart theme and added in:

  • Love Story Stamp Set #167065
  • Darling Dinos Stamp Set #164730 (Last Chance)
  • Sweet Jar Stamp Set #165501 (Last Chance)

These cards are so fun, easy, and interactive—and honestly, they’re a little like a fidget spinner for crafters. You just can’t help but keep flipping them! I hope I’ve inspired you to give a never-ending card a try! I’d love to see what you create—be sure to tag me or give me a shout-out when you share your project or drop it in the comments.


A beautifully crafted Christmas card featuring a window scene that displays a peaceful nativity setting on one side, while the inside is adorned with cozy holiday elements like hanging stockings and warm colors.

Please feel free to contact me if you have any questions.

Contact me today to place your order!
435-232-2655 Cell ( Call or Text)
andersoncandice@hotmail.com


💕 Let’s Stay Connected

📺 YouTube
📘 Facebook
📸 Instagram
📌 Pinterest

Creative Card Making with Happy Place Stamp Set

Last night’s project was so much fun to share! 💕 I’ll admit—I had a couple of little mishaps along the way, but hopefully if you watched, you still loved this fun and creative idea. Sometimes those little hiccups make crafting even more real and relatable. 😊

I shared several projects using the Happy Place stamp set #165966, and I loved exploring different ways to bring this set to life.

Three handmade greeting cards featuring colorful designs. One card says 'HAPPY place' with a beach scene in the letters, another card features the phrase 'HAPPY days' with a similar theme, and the third card has a black and white pattern of palm trees.

Project 1:
I showed how to color the images using Watercolor Pencils #149014 with Water Painters #168253. Quick tip: I first tried this on watercolor paper, but I don’t recommend it for this technique. I got a much clearer stamped image when I used white cardstock instead.

Project 2:
For the second card, I kept things super simple by stamping directly onto the Beach Boardwalk DSP #166820. This made for an easy, clean design with very little effort.

Project 3 (Step-by-Step):
For my final card, I walked through the process of creating a multicolor background using paper instead of coloring.
Here’s how it came together:

  • I applied Adhesive Sheets #152334 to cardstock
  • Cut ¼” strips of different colors and lined them up
    • Highland Heather
    • Flirty Flamingo
    • Peach Pie
    • Pool Party
    • Summer Splash
    • Azure Afternoon
  • Trimmed the panel to size and stamped the image in black
  • Used the 2″ Circle Punch #133782 for the “days” sentiment
  • Finished it off with the So Swirly Embossing Folder #163791, Black Baker’s Twine #155475, and Muted Palette Dots #165155

This technique gives a similar look to coloring—but without picking up a pencil!

I hope these projects inspire you to take another look at the Happy Place stamp set and try something new.

To see how I created it check out the full video.

🎉 Bonus Days Reminder:

  • Spend $50 before February 2nd and earn $5 to redeem next month
  • Spend $75 and grab the Product of the Month for just $5

Thanks so much for crafting along and shopping with me—I appreciate your support more than you know! 💖


A beautifully crafted Christmas card featuring a window scene that displays a peaceful nativity setting on one side, while the inside is adorned with cozy holiday elements like hanging stockings and warm colors.

Please feel free to contact me if you have any questions.

Contact me today to place your order!
435-232-2655 Cell ( Call or Text)
andersoncandice@hotmail.com


💕 Let’s Stay Connected

📺 YouTube
📘 Facebook
📸 Instagram
📌 Pinterest

From Treat Bag to Box: My Favorite Heart Gusseted Treat Bag Project

Monday night on my live, I shared multiple projects using the Heart Gusseted Treat Bags (#167073), and I had so much fun playing with these bags and seeing just how many ideas I could come up with. 💕

My live video featured my favorite project.. This little box is relatively simple to make, and I love how versatile it is—plus, one bag makes TWO boxes, which is always a win!

Box Instructions

Start with one Heart Gusseted Treat Bag:

  1. Cut off the top folded portion of the bag.
    • Measure 9-1/4″ up from the bottom and cut.
  2. Trim the bottom so the bag measures 9″ total.
  3. Cut the bag in half at 4-1/2″.
  4. Score the bottom at 3/4″.
    • Be sure to flip the piece so you get a good score on both sides.
  5. Cut the corners on the bottom of each piece up to the 3/4″ score line.
    • You should now have two red sections and two white sections.

Box Base (for Support)

  • Cut a piece of chipboard to 4″ x 1-1/4″
    • I used chipboard from my Paper Pumpkin kits.
  • Cover with Real Red cardstock, also 4″ x 1-1/4″.
  • Adhere to the bottom of the inside of the box for extra stability.

Decorating Details

A close-up view of a decorative Valentine's Day card featuring layered hearts in shades of pink and red, with a ribbon that reads 'Hugs & Kisses'. The background includes a lace-like doily pattern.

Decorate your box as desired! For my sample, I used:

  • Lovely Doilies #167104
  • Endless Love Stamp Set #167055
  • Endless Love Dies #167061
  • Bubble Bath Ribbon #167075
  • Real Red Baker’s Twine #164051

Colors: Real Red, White, & Bubble Bath

Perfect Fit: This box fits our Note Cards (#159232) perfectly, making it ideal for a sweet Valentine note or gift enclosure.

The simple card design tucked inside the box was inspired by Heidi Collins, keeping the look clean, classic, and easy to recreate.

Bonus: This project is the perfect fit for this week’s Global Design Project challenge – Hearts #GDP531! 💖

Be sure to check out my video to see just how easy this project is to create, along with the other fun ideas I shared. I’ll be posting more details on the remaining projects later this week, so be sure to tune back in! 💕


A beautifully crafted Christmas card featuring a window scene that displays a peaceful nativity setting on one side, while the inside is adorned with cozy holiday elements like hanging stockings and warm colors.

Please feel free to contact me if you have any questions.

Contact me today to place your order!
435-232-2655 Cell ( Call or Text)
andersoncandice@hotmail.com


💕 Let’s Stay Connected

📺 YouTube
📘 Facebook
📸 Instagram
📌 Pinterest