Fun Christmas Picture Ornament

I’m serving in our ward nursery and we wanted to make a cute gift that the kids could give their parents for Christmas.  My daughter just happens to be one of our cute nursery kids.  The ornament turned out so cute that I just had to share them with you.

20140110_162844

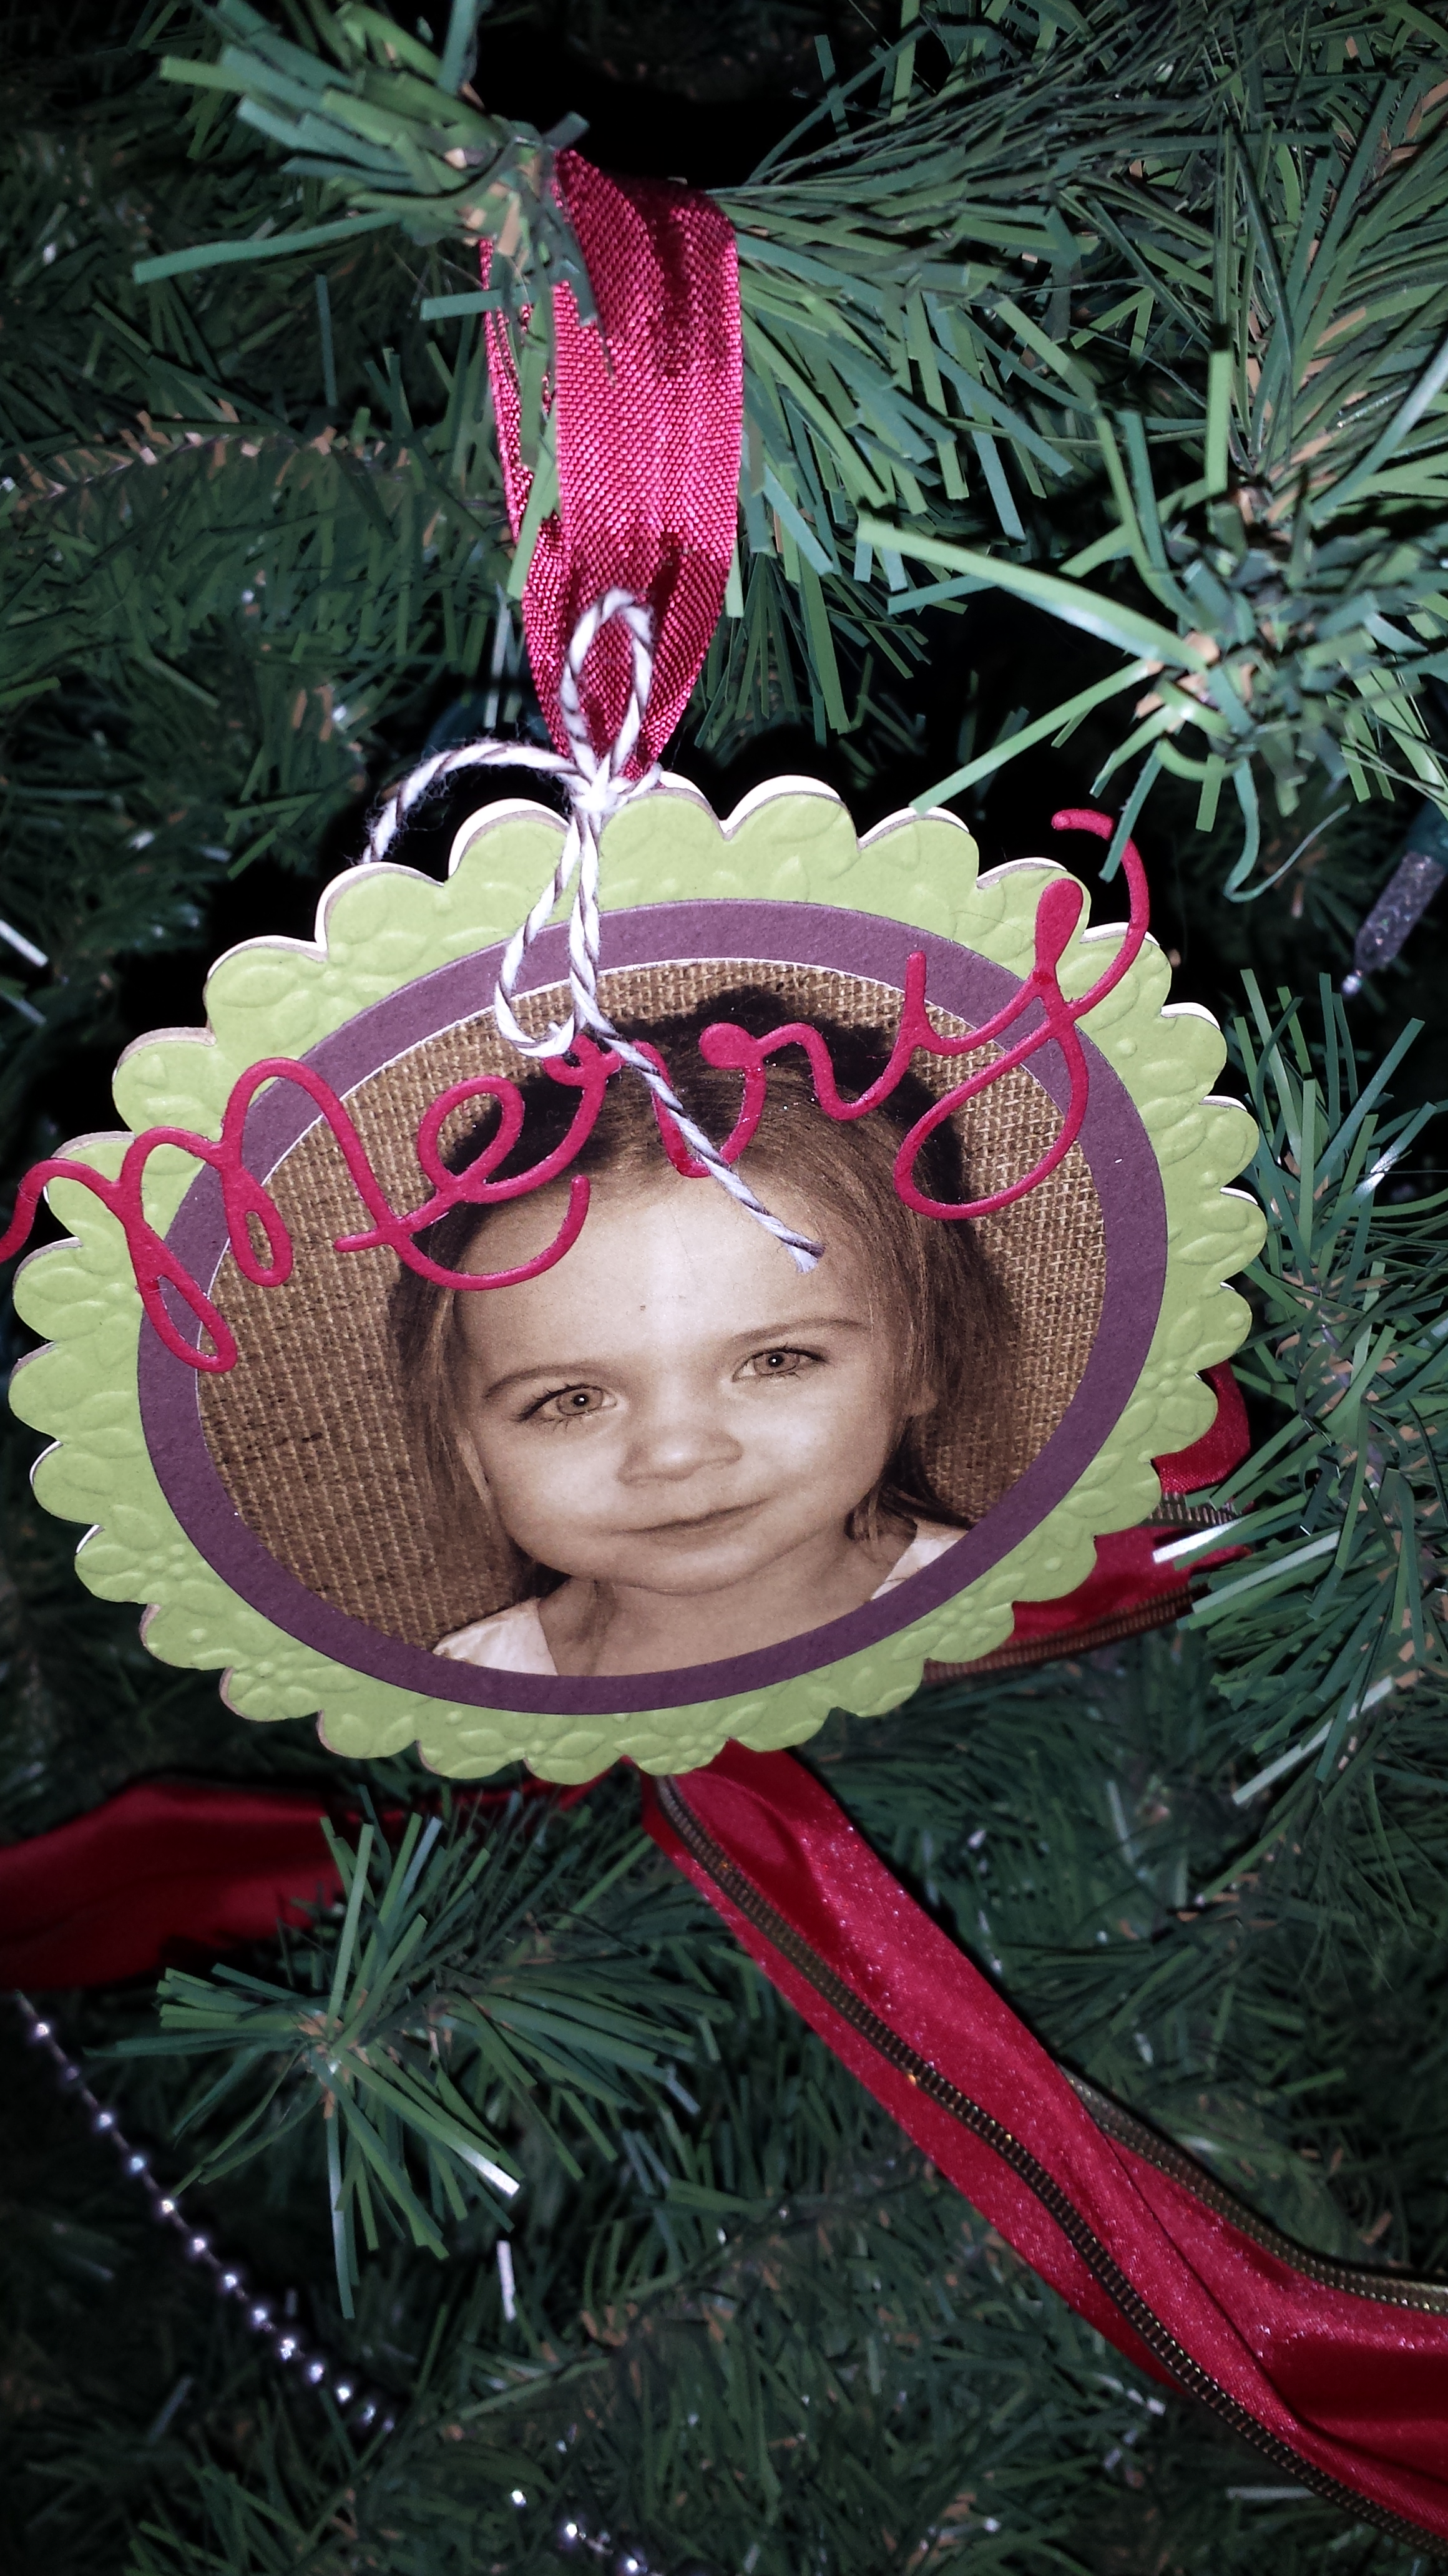
First this is the front with the darling picture of my daughter.  Thanks to technology it was easy to take pictures of the kids with my phone each week.  Then I used My Digital Studio to get them the perfect size and to change them all to sepia to match the ornaments better.

I used the scallop circle die to cut out a piece of card board (Of course I had plenty from the back of our great products.  I save all of them they are so great for many projects.)  I covered the chipboard with a piece of Old Olive paper cut out with the scallop circle die and embossed with the pedals of plenty embossing folder.  The chocolate chip background and the picture were cut out using the circle thinlits.  I finished it off with the fun thinlit Merry.  (Just a tip if you use wax paper.  Wax side towards the paper.  The paper will come out nice and easy without tearing.)20140110_162907

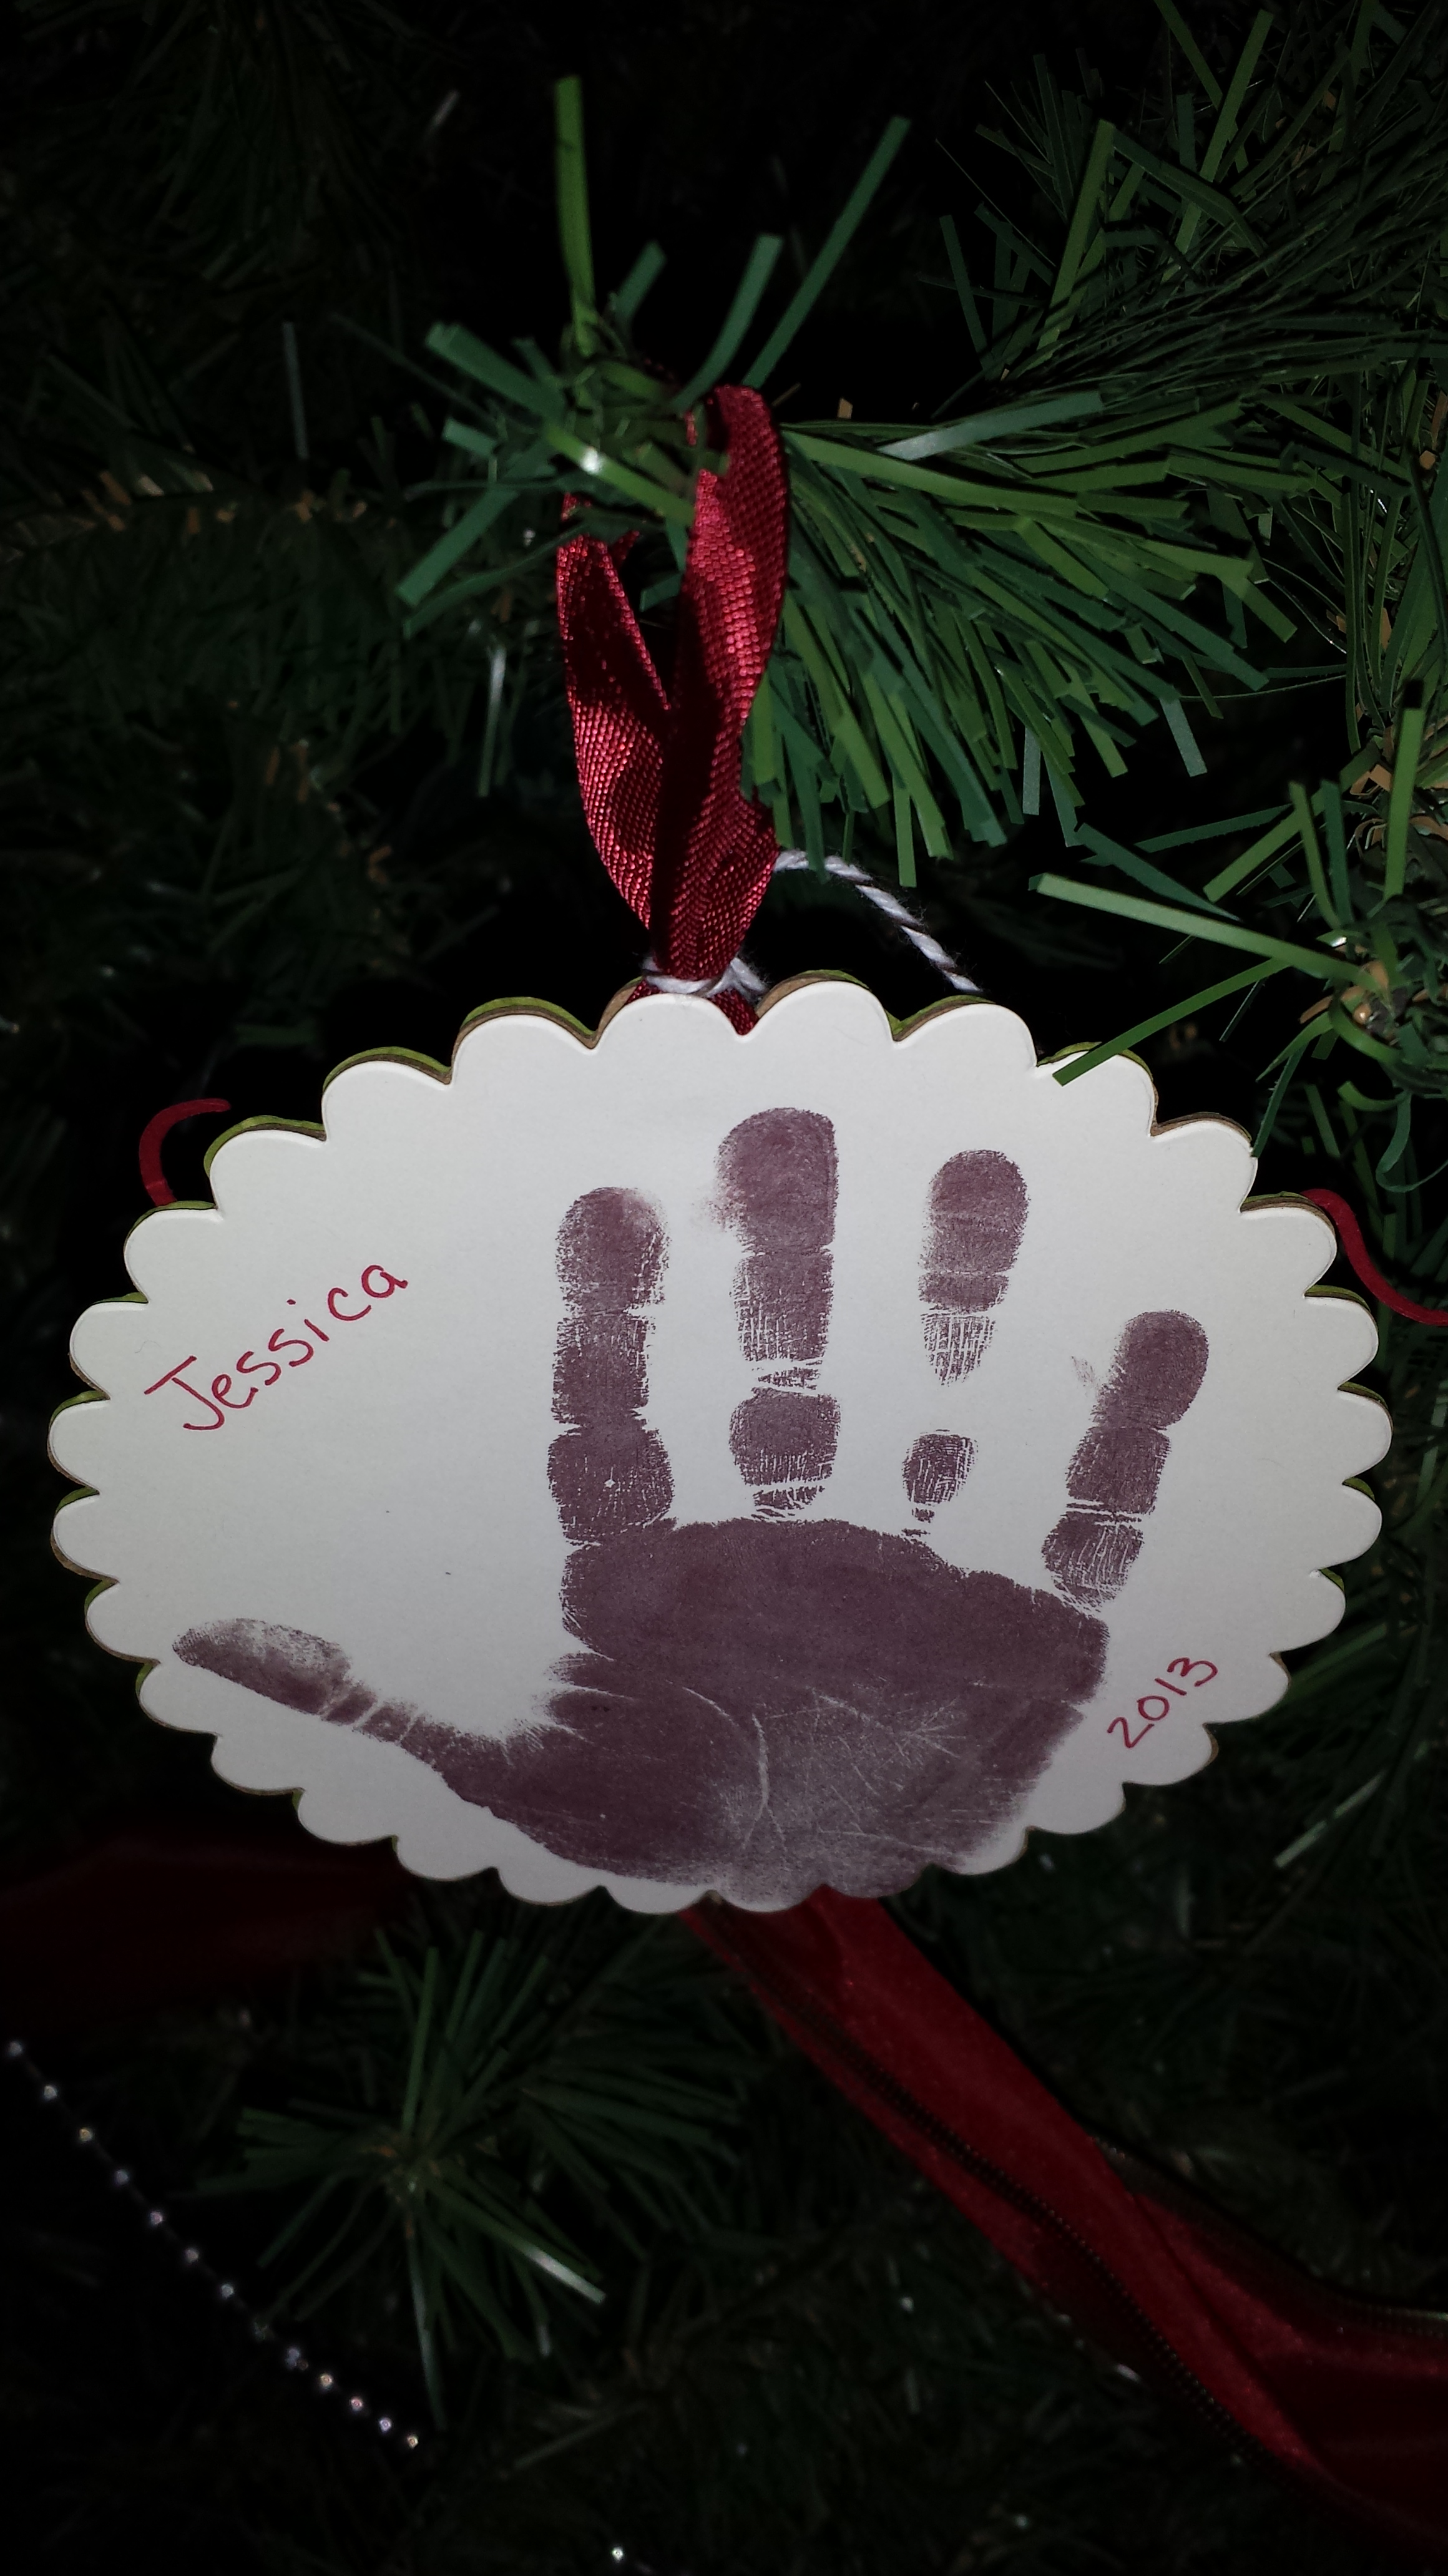
This is the cute back side.  We had each child stamp their hand print and we added a name a date.  I even made a few with pictures of Jesus in case we had a few visitors.  (So glad I did since we had 2.)  The parents loved them.  I love how it looks I my tree.

20140110_174617

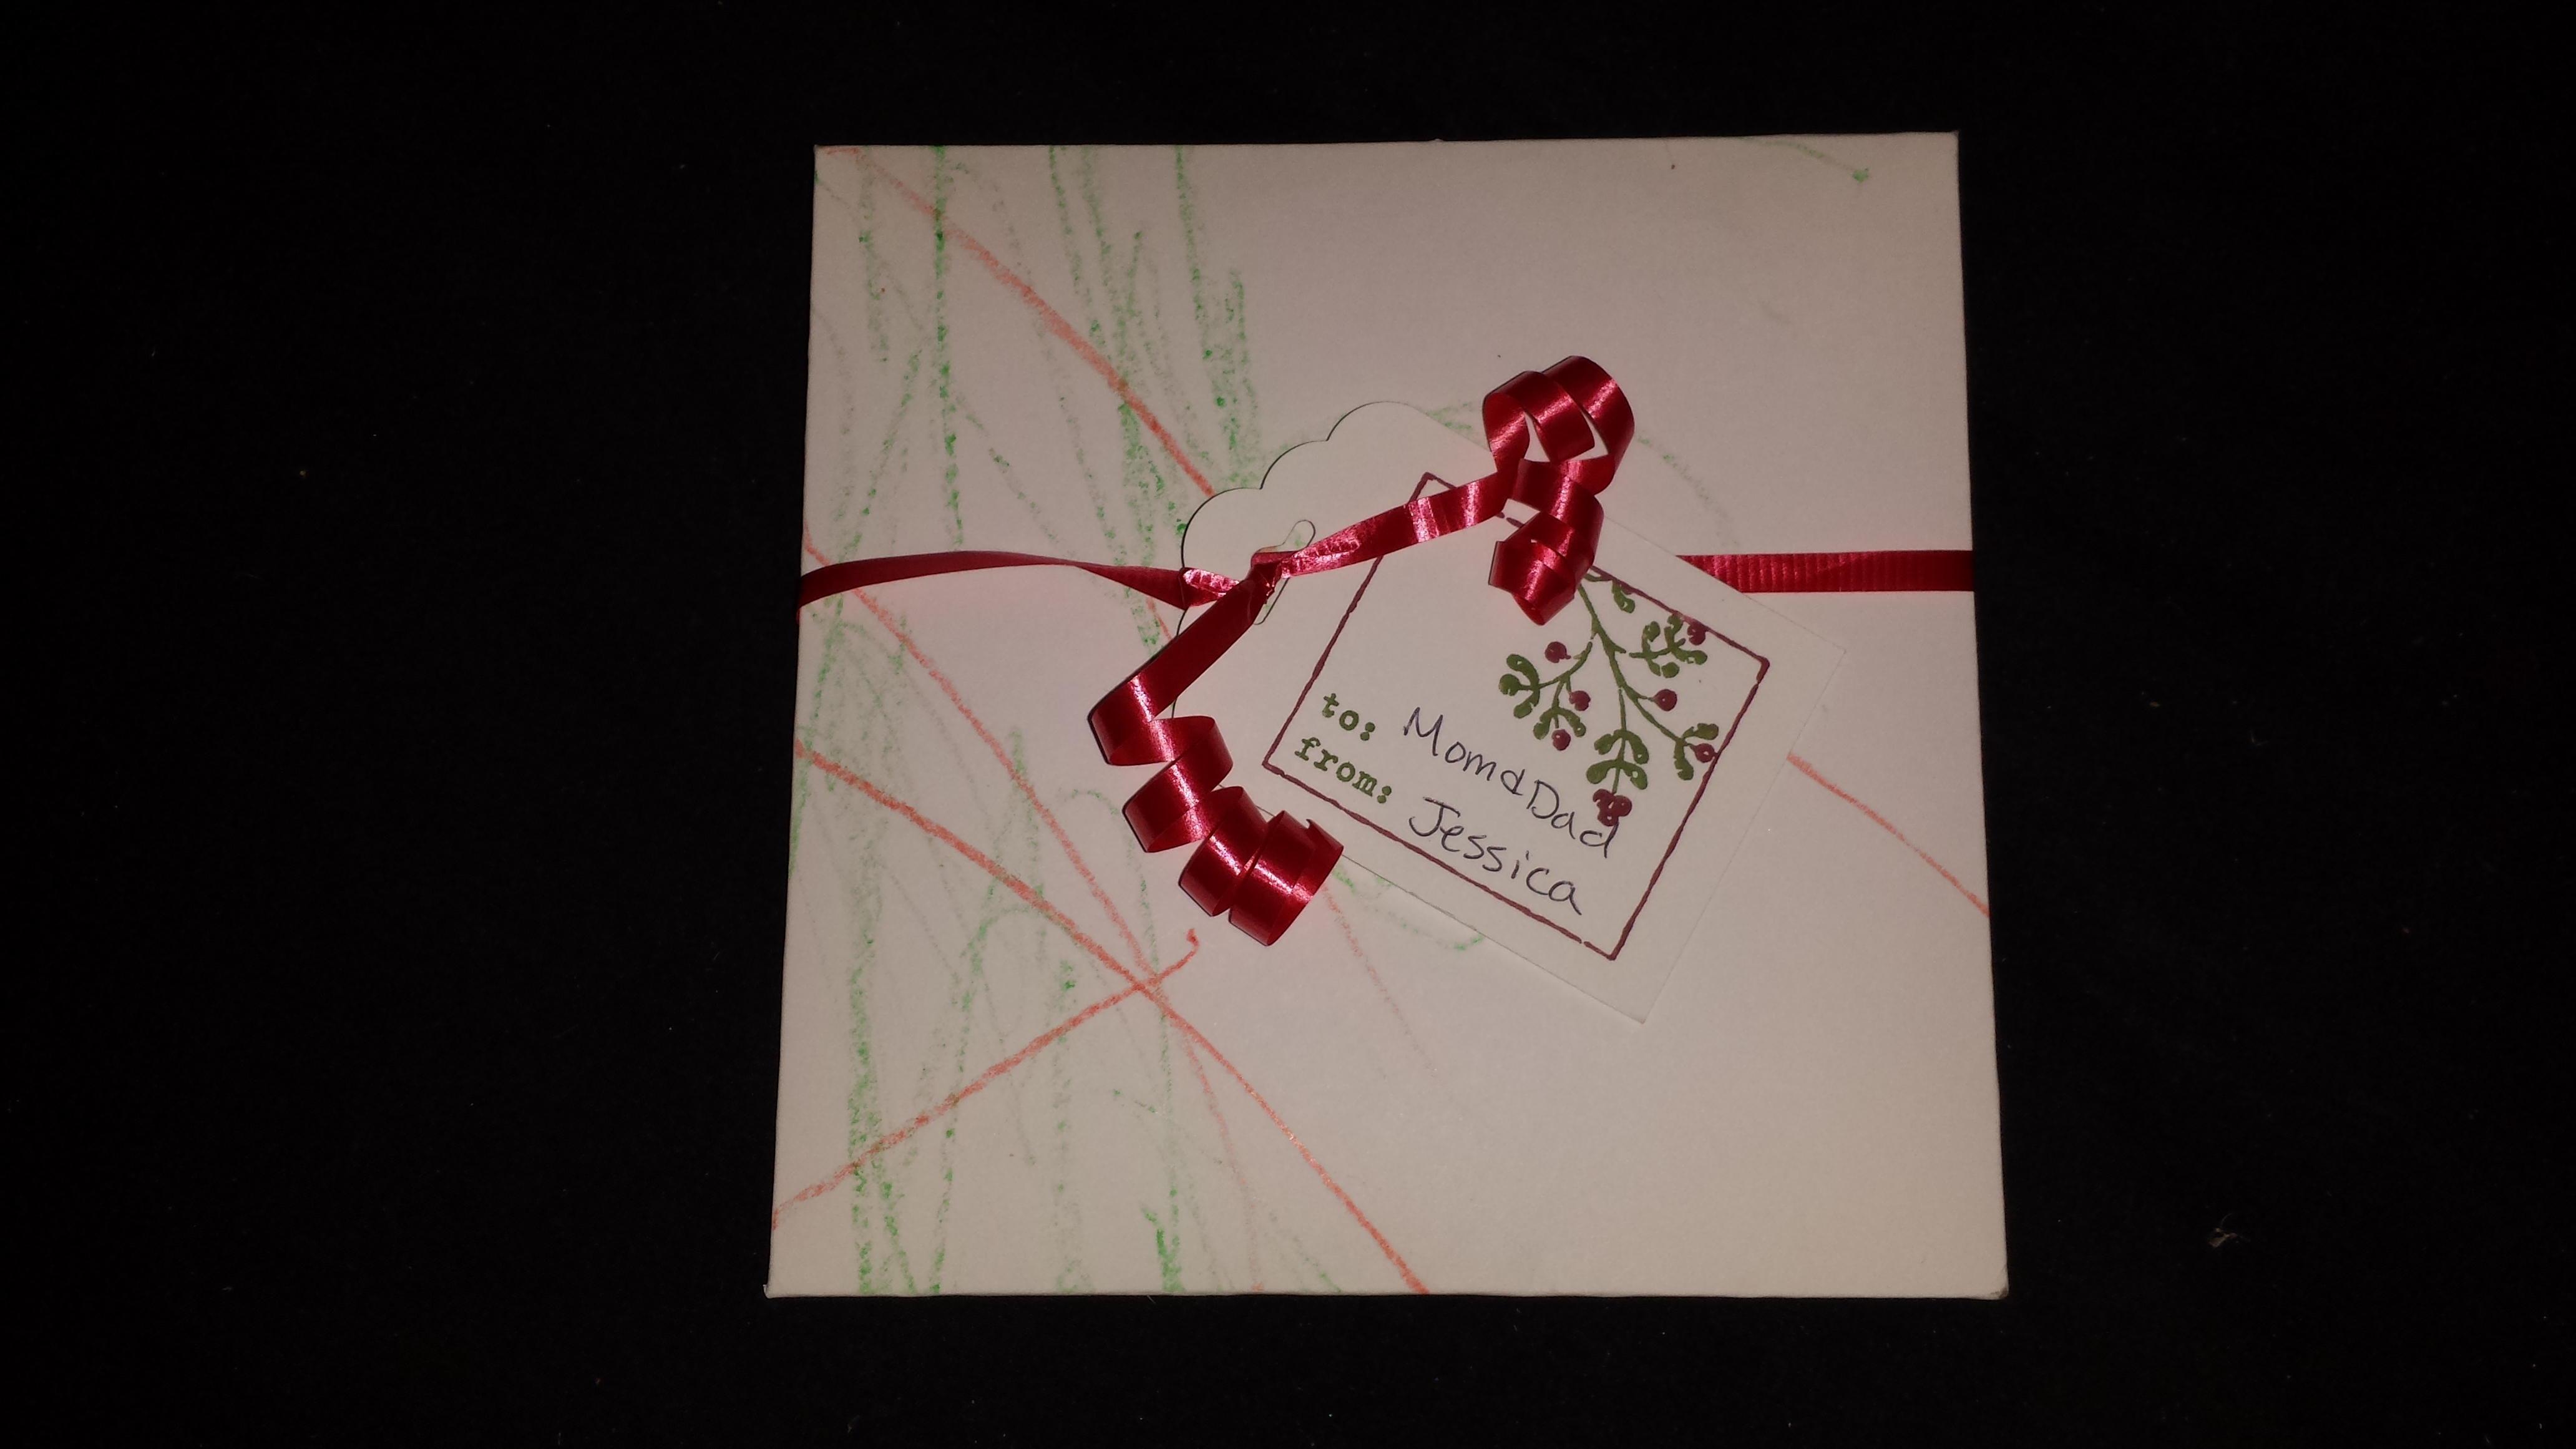
I finished it off by making custom sized envelopes with our Envelope punch board.  We had the kids color them to make them extra special.  Then we tied them shut with a quick ribbon and added a tag.  I love love love the new scalloped tag topper punch in the occasions mini.  It made it so easy to add Christmas tags to these and all my Christmas presents.  (Just a note the stamp set is an old Christmas tag set the I love to use every year.  It makes tags so easy and I never run out.)

Personally I love having ornament that are pictures of my kids.  It’s so fun to get them out as see them every year.  Hopefully you are inspired to make a cute ornament for your tree next year using some of our great products mixed with your imagination.

Tag Signature

Products used:

Colors:
Cherry Cobbler, Old Olive, Very Vanilla, Chocolate Chip

Big Shot Items:
#1113468 Scallop Circle Bigz Die $19.95
#130911 Circles Collection $26.95
#116824 Petal-a-Plenty Embossing Folder $7.95
#132171 Expressions Thinlits Dies $24.95

Ribbons:
#120992 Cherry Cobbler Seam Binding $6.95
#123124 Early Espresso Baker’s Twine $2.95

Others:
#133324 Scalloped Tag Topper Punch $22.95
#133774 Envelope Punch Board $19.95

A Little Thank You Tag

I had the opportunity this week to go down to Stampin’ Up! and help the advisory board with a project.   I wanted to take them a little gift just to say “thank you.”  I had lots of zucchini thanks to awesome Dad so I decided to make little zucchini breads with this cut tag.  I love how they turned out and it was so fun to share them with the hard working team.  I used the leaf from the holiday catalog along with a thank you set and the grunge set from the maim catalog.

image

image

I challenge you to brighten someones day with a fun hand crafted gift.  These simple tags were so quick but very much appreciated.

Big Thank You!

I just wanted to send out a big thank you to all my customer’s and hostesses that helped me reach 100K on career sales this year.  I couldn’t have done it with out you.

image

Posted from WordPress for Android

Hybrid MDS Project

I’ve enjoyed sharing MDS with so many of you during my free classes.  While I was talking to them about this wonderful program I mentioned how easy it to create Hybrid projects.  A Hybrid Project is where part of your project is created Digitaly and the other is created traditionally.  I was telling them about one of the projects the I created last year for the Stampin’ Up! Artisan design contest.  This was one of my favorite projects.  It’s a 12 x 12 scrapbook page.  One of the pictures that I used was the Birth announcement that I created in “My Digital Studio.”  I just printed it out larger to put it on the page.

Love Page


I love all the detail I was able to add to the page and how the MDS is the only color that I added to the page.  It’s hard to tell in the picture, but the whole thing sparkles and shimmers.  It’s was actually created as more of a show piece then one that would go in a scrapbook since it has so many layers.  I just re-created it (finally) so that I could hang it up in my daughters room that we just finished painting.  I put it in one of those 12 x 12 frames and it looks so cute.  Just so you know a few of the items are retired now as it was created last year.

MDS is such a great tool you can use to enhance your traditional scrapbook as well as creating all Digital projects.  I hope that you will join me from one of my future classes.  You can down-load the free MDS trial from my website or better yet just buy the program for the new low cost of just $19.95.

If you have any questions let me know.

4-April

Merry Christmas

I just wanted to wish everyone a Merry Christmas this morning.  I hope that you all have a very Happy Holiday.  Thank you for your support this year.  I’m looking forward to a great New Year.  I’m heading off to Leadership soon and can’t wait to share all the new fun stuff with you so stay tuned.

Here’s a quick Christmas Card I made with “My Digital Studio.”  I love how easy this program make it to share my photos in such a cute way.

Christmas Card 2012-001

Happy Holiday’s,  Candice

12-December

Baby Jessica is Here!

Sorry I’m a bit behind on posting, but I have a great excuse.  I have to share with you my new bundle of  joy.  Baby Jessica was born on September 6th.  I’m so excited to have her here.  I’m also ready to get back to Stampin’.  It’s been a rough 9 months, but she’s worth it.  Thanks so much to everyone for your support.  Be watching for new classes, projects and other fun events coming soon.

I created this fun page with MDS.  The best part was I could hold Jessica in my arms while I made it.  If you are interested in learning more just let me know.  It’s an awesome program and so easy to use.  I’m looking forward to creating more fun projects.