Have you seen the three new Scrapbooking Workshop Kits in the Mini Catalog? Because oh my goodness—I am in love with all three! 😍
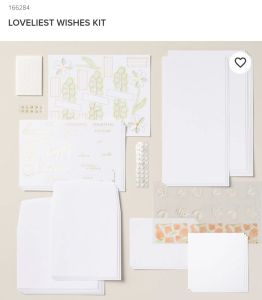
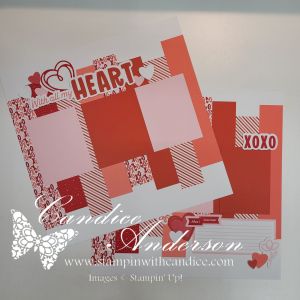
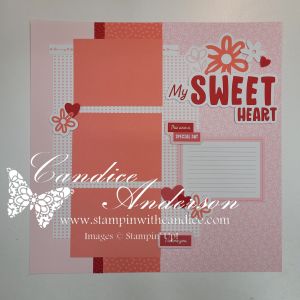
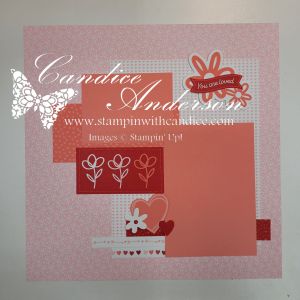
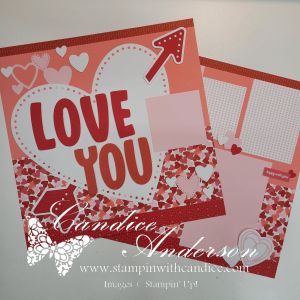
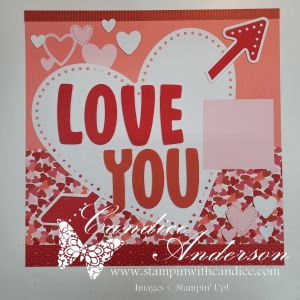
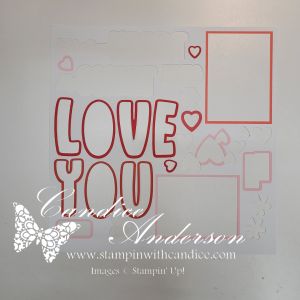
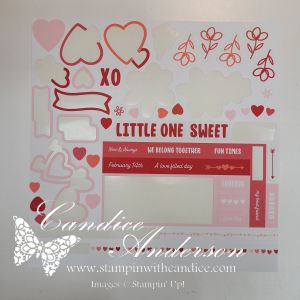
Today I decided to put together the Love Story Scrapbooking Workshop Kit #167078, and I wanted to share exactly what I love about these kits.

Here’s why these kits are a total win:
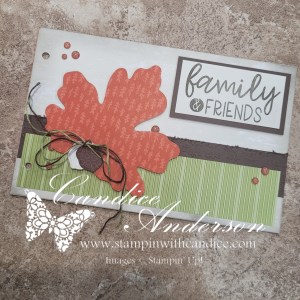
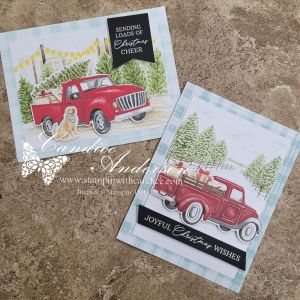
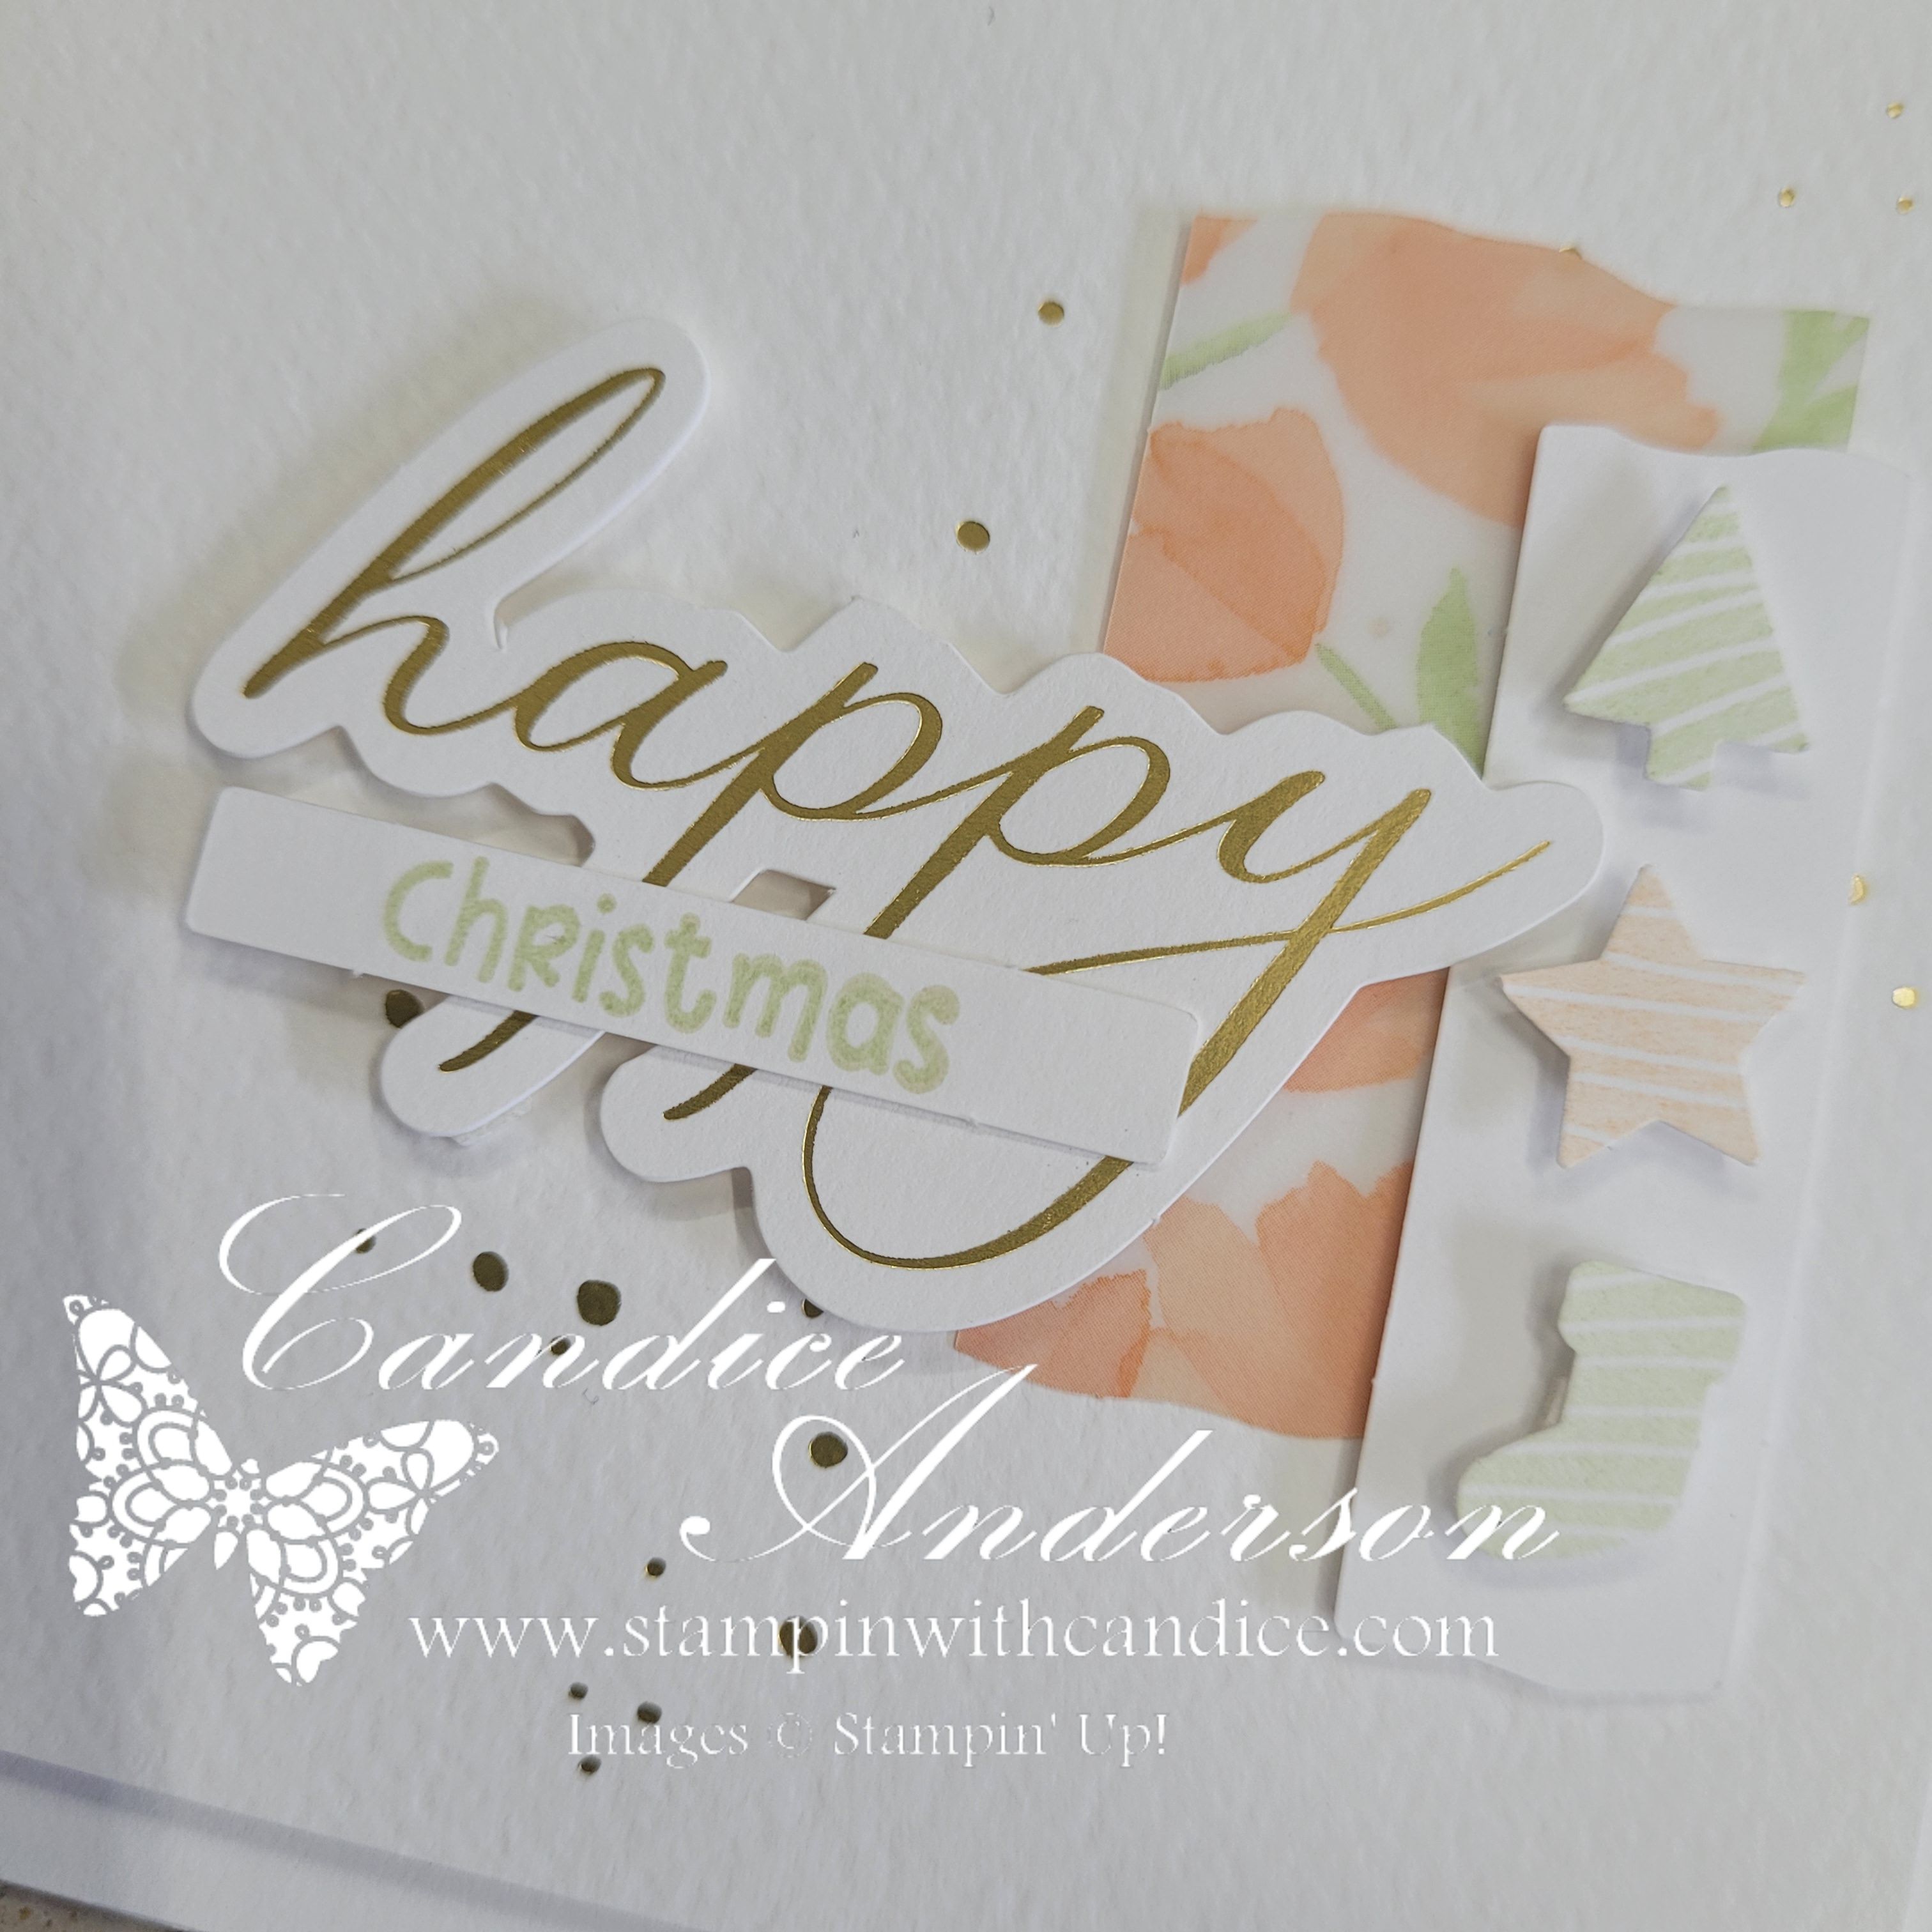
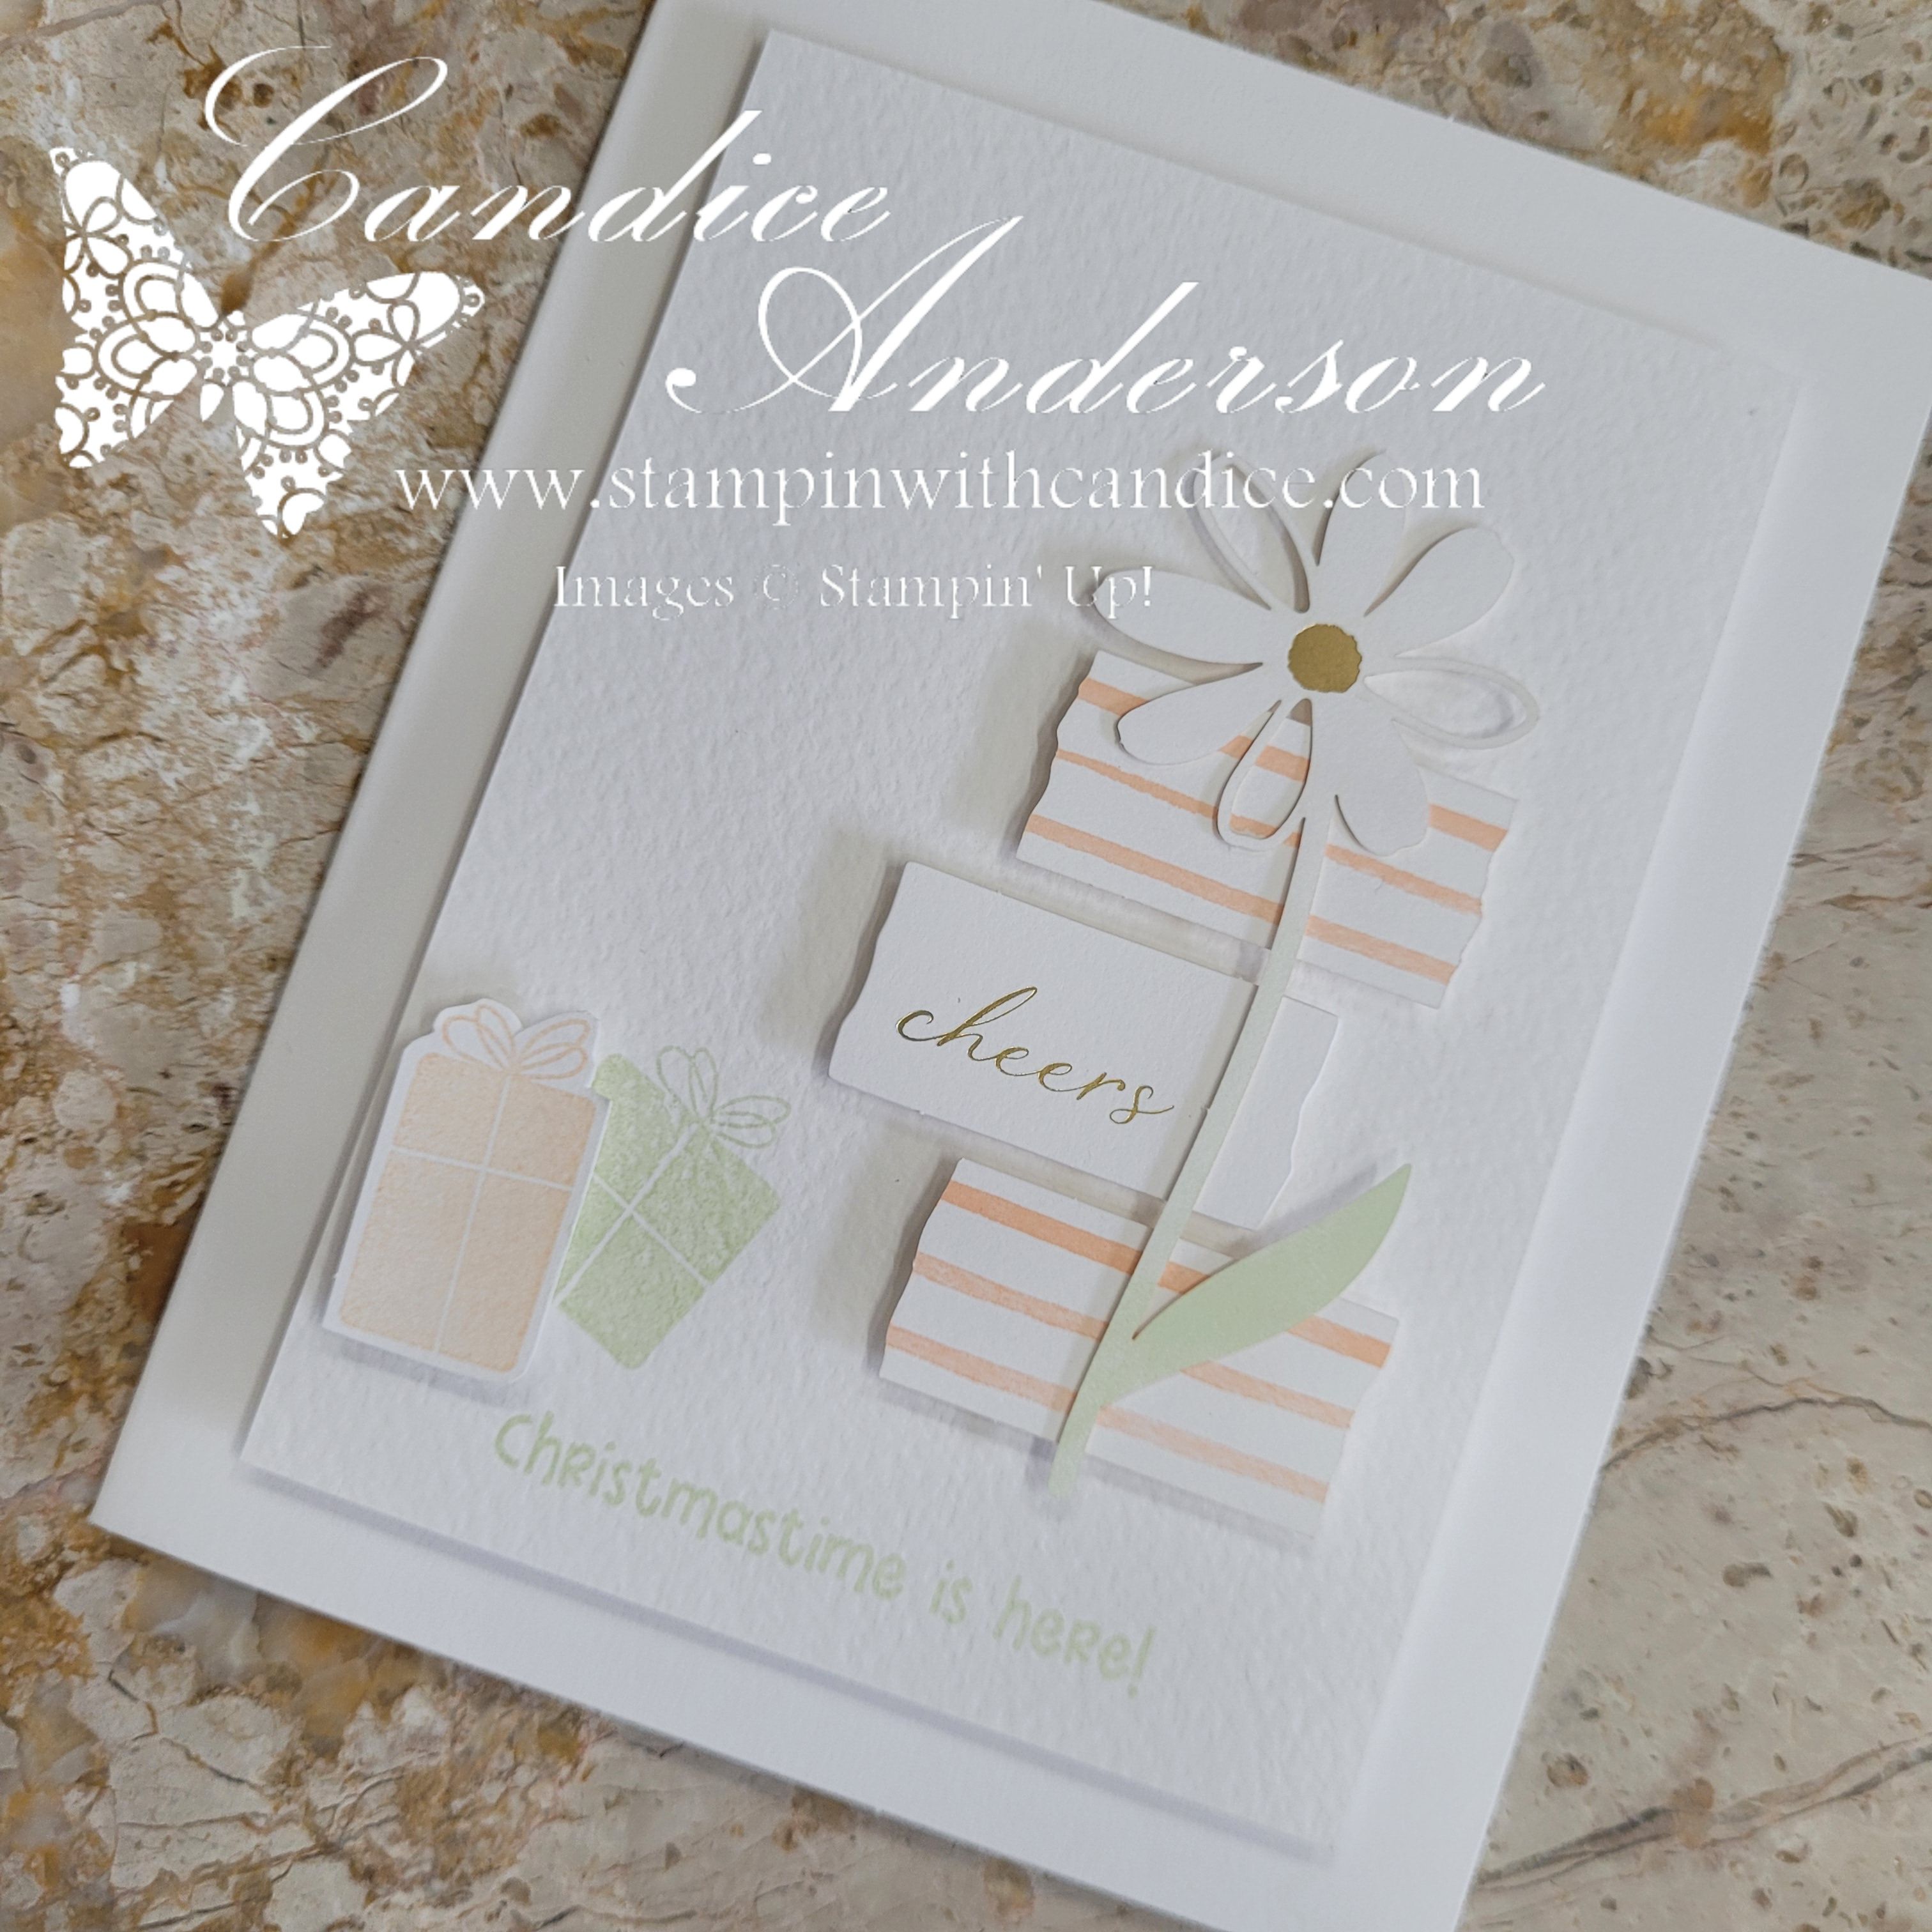
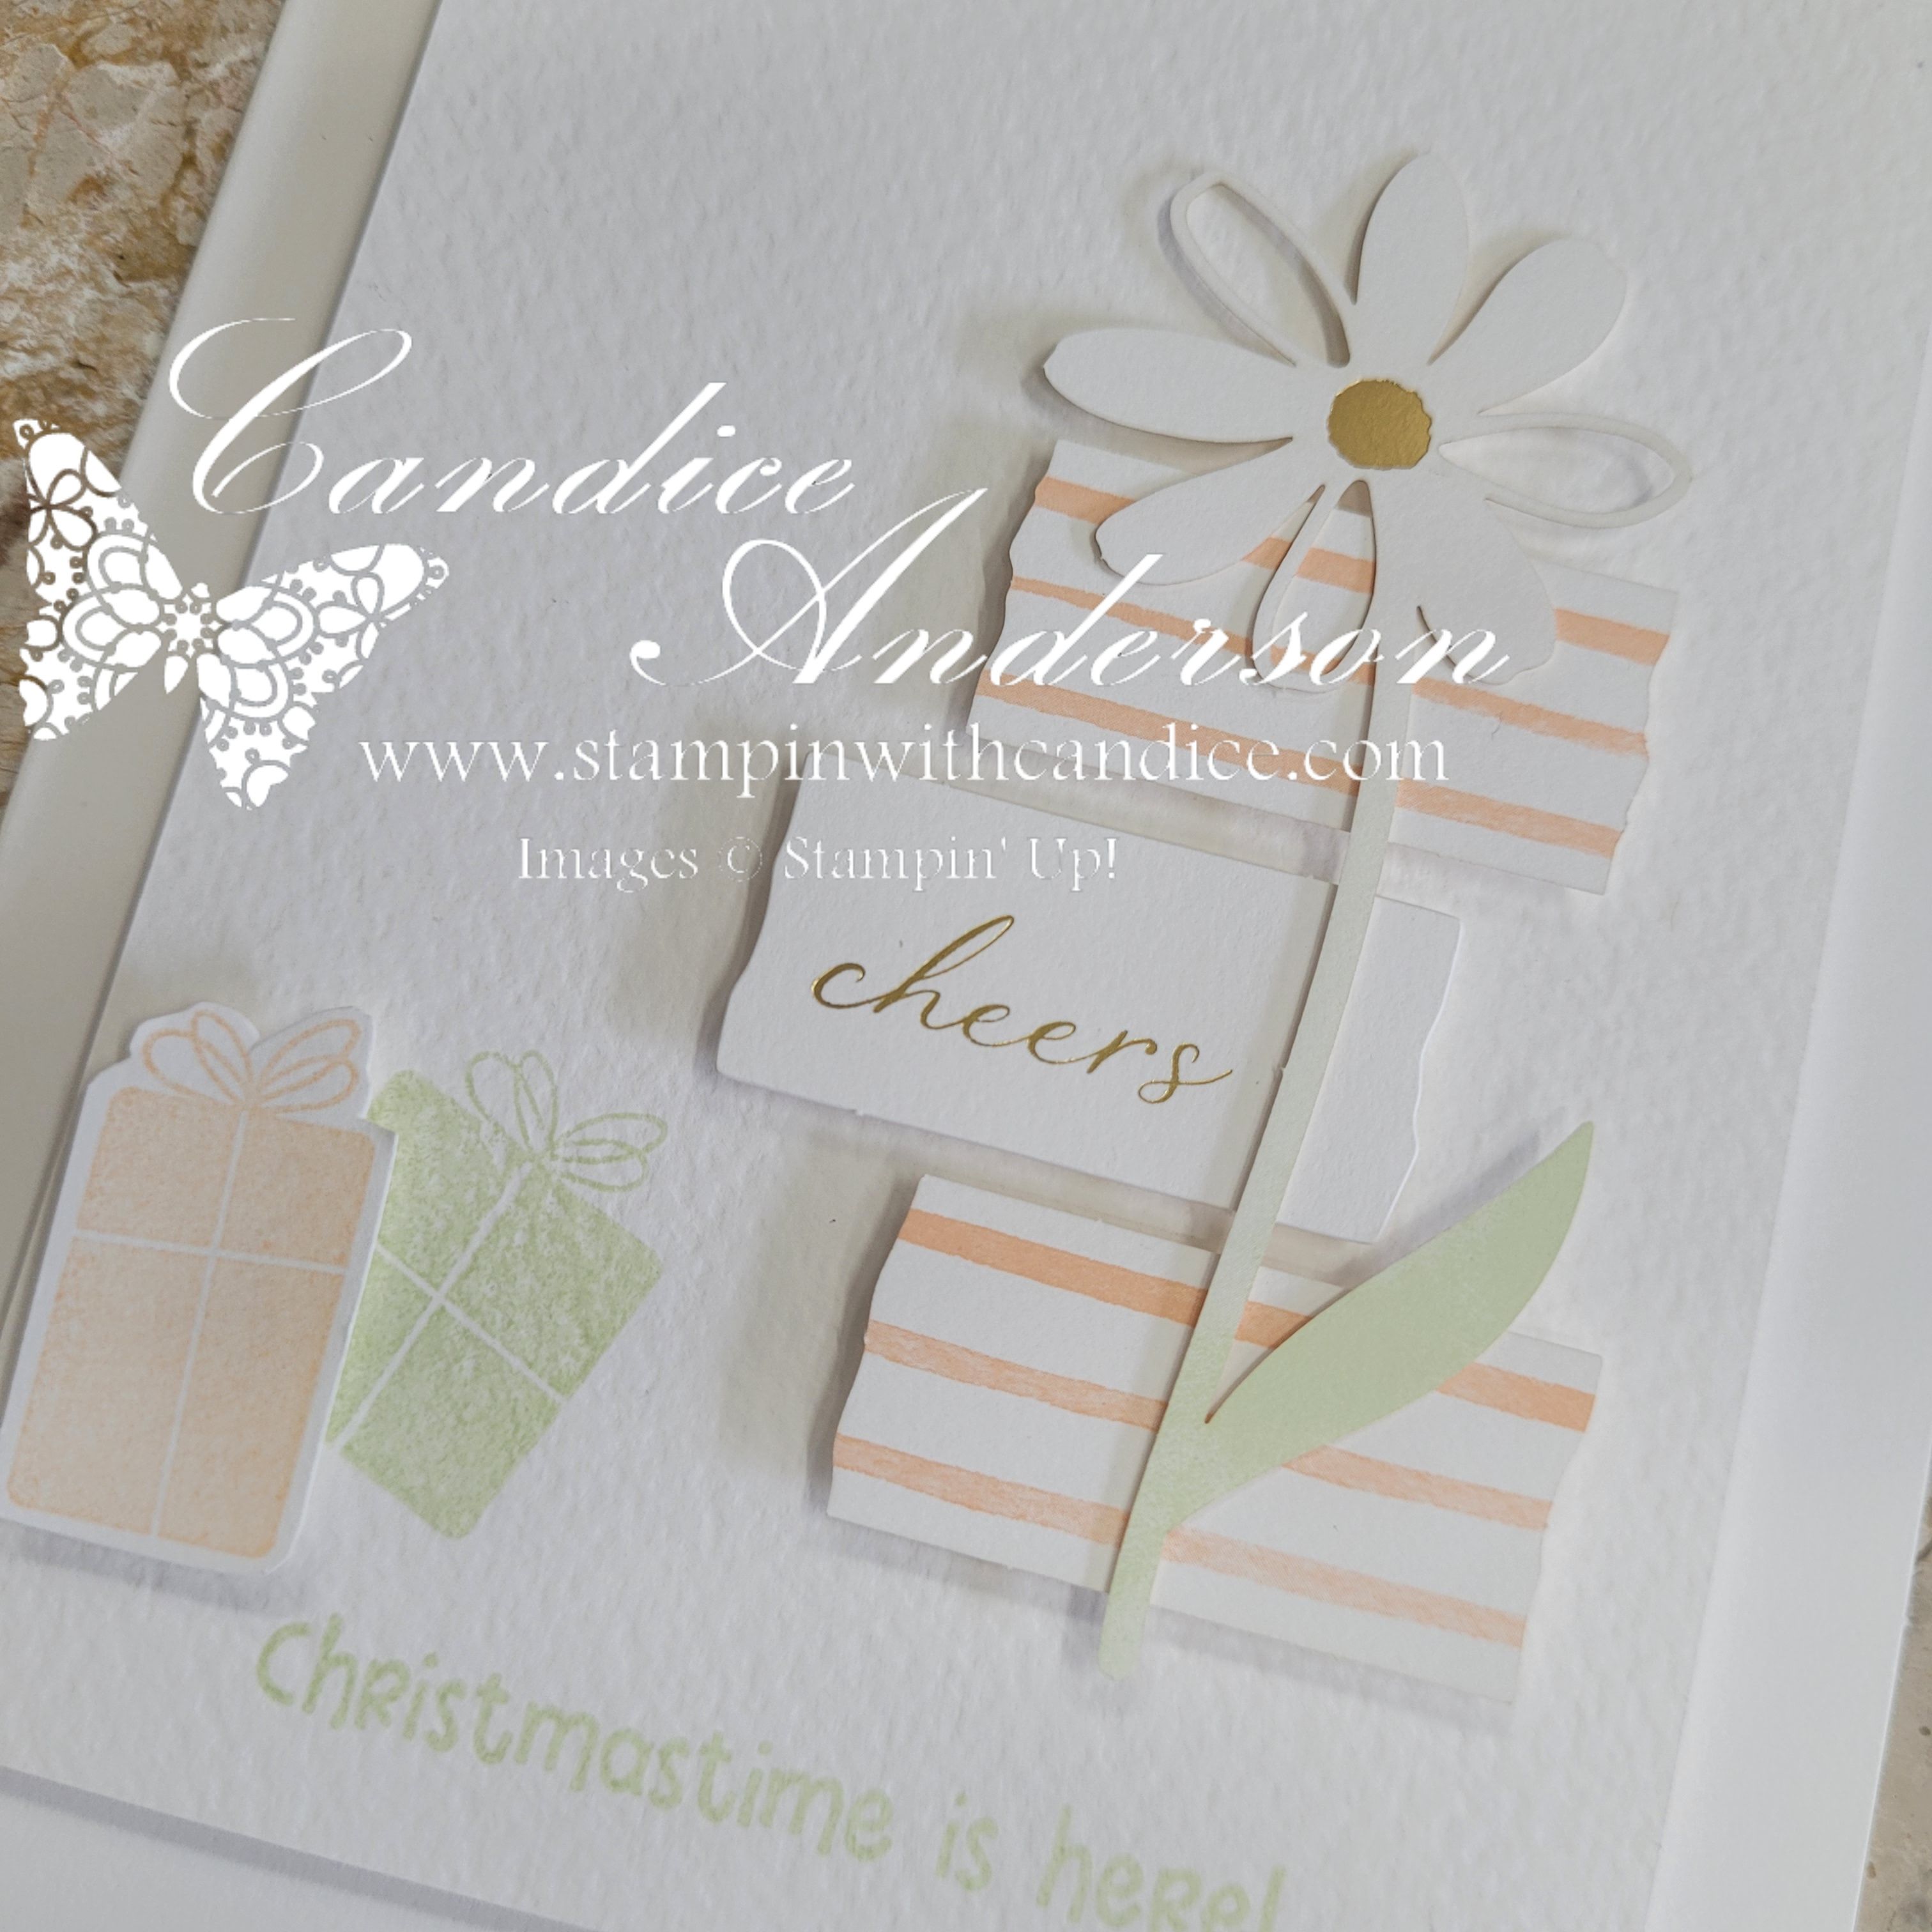
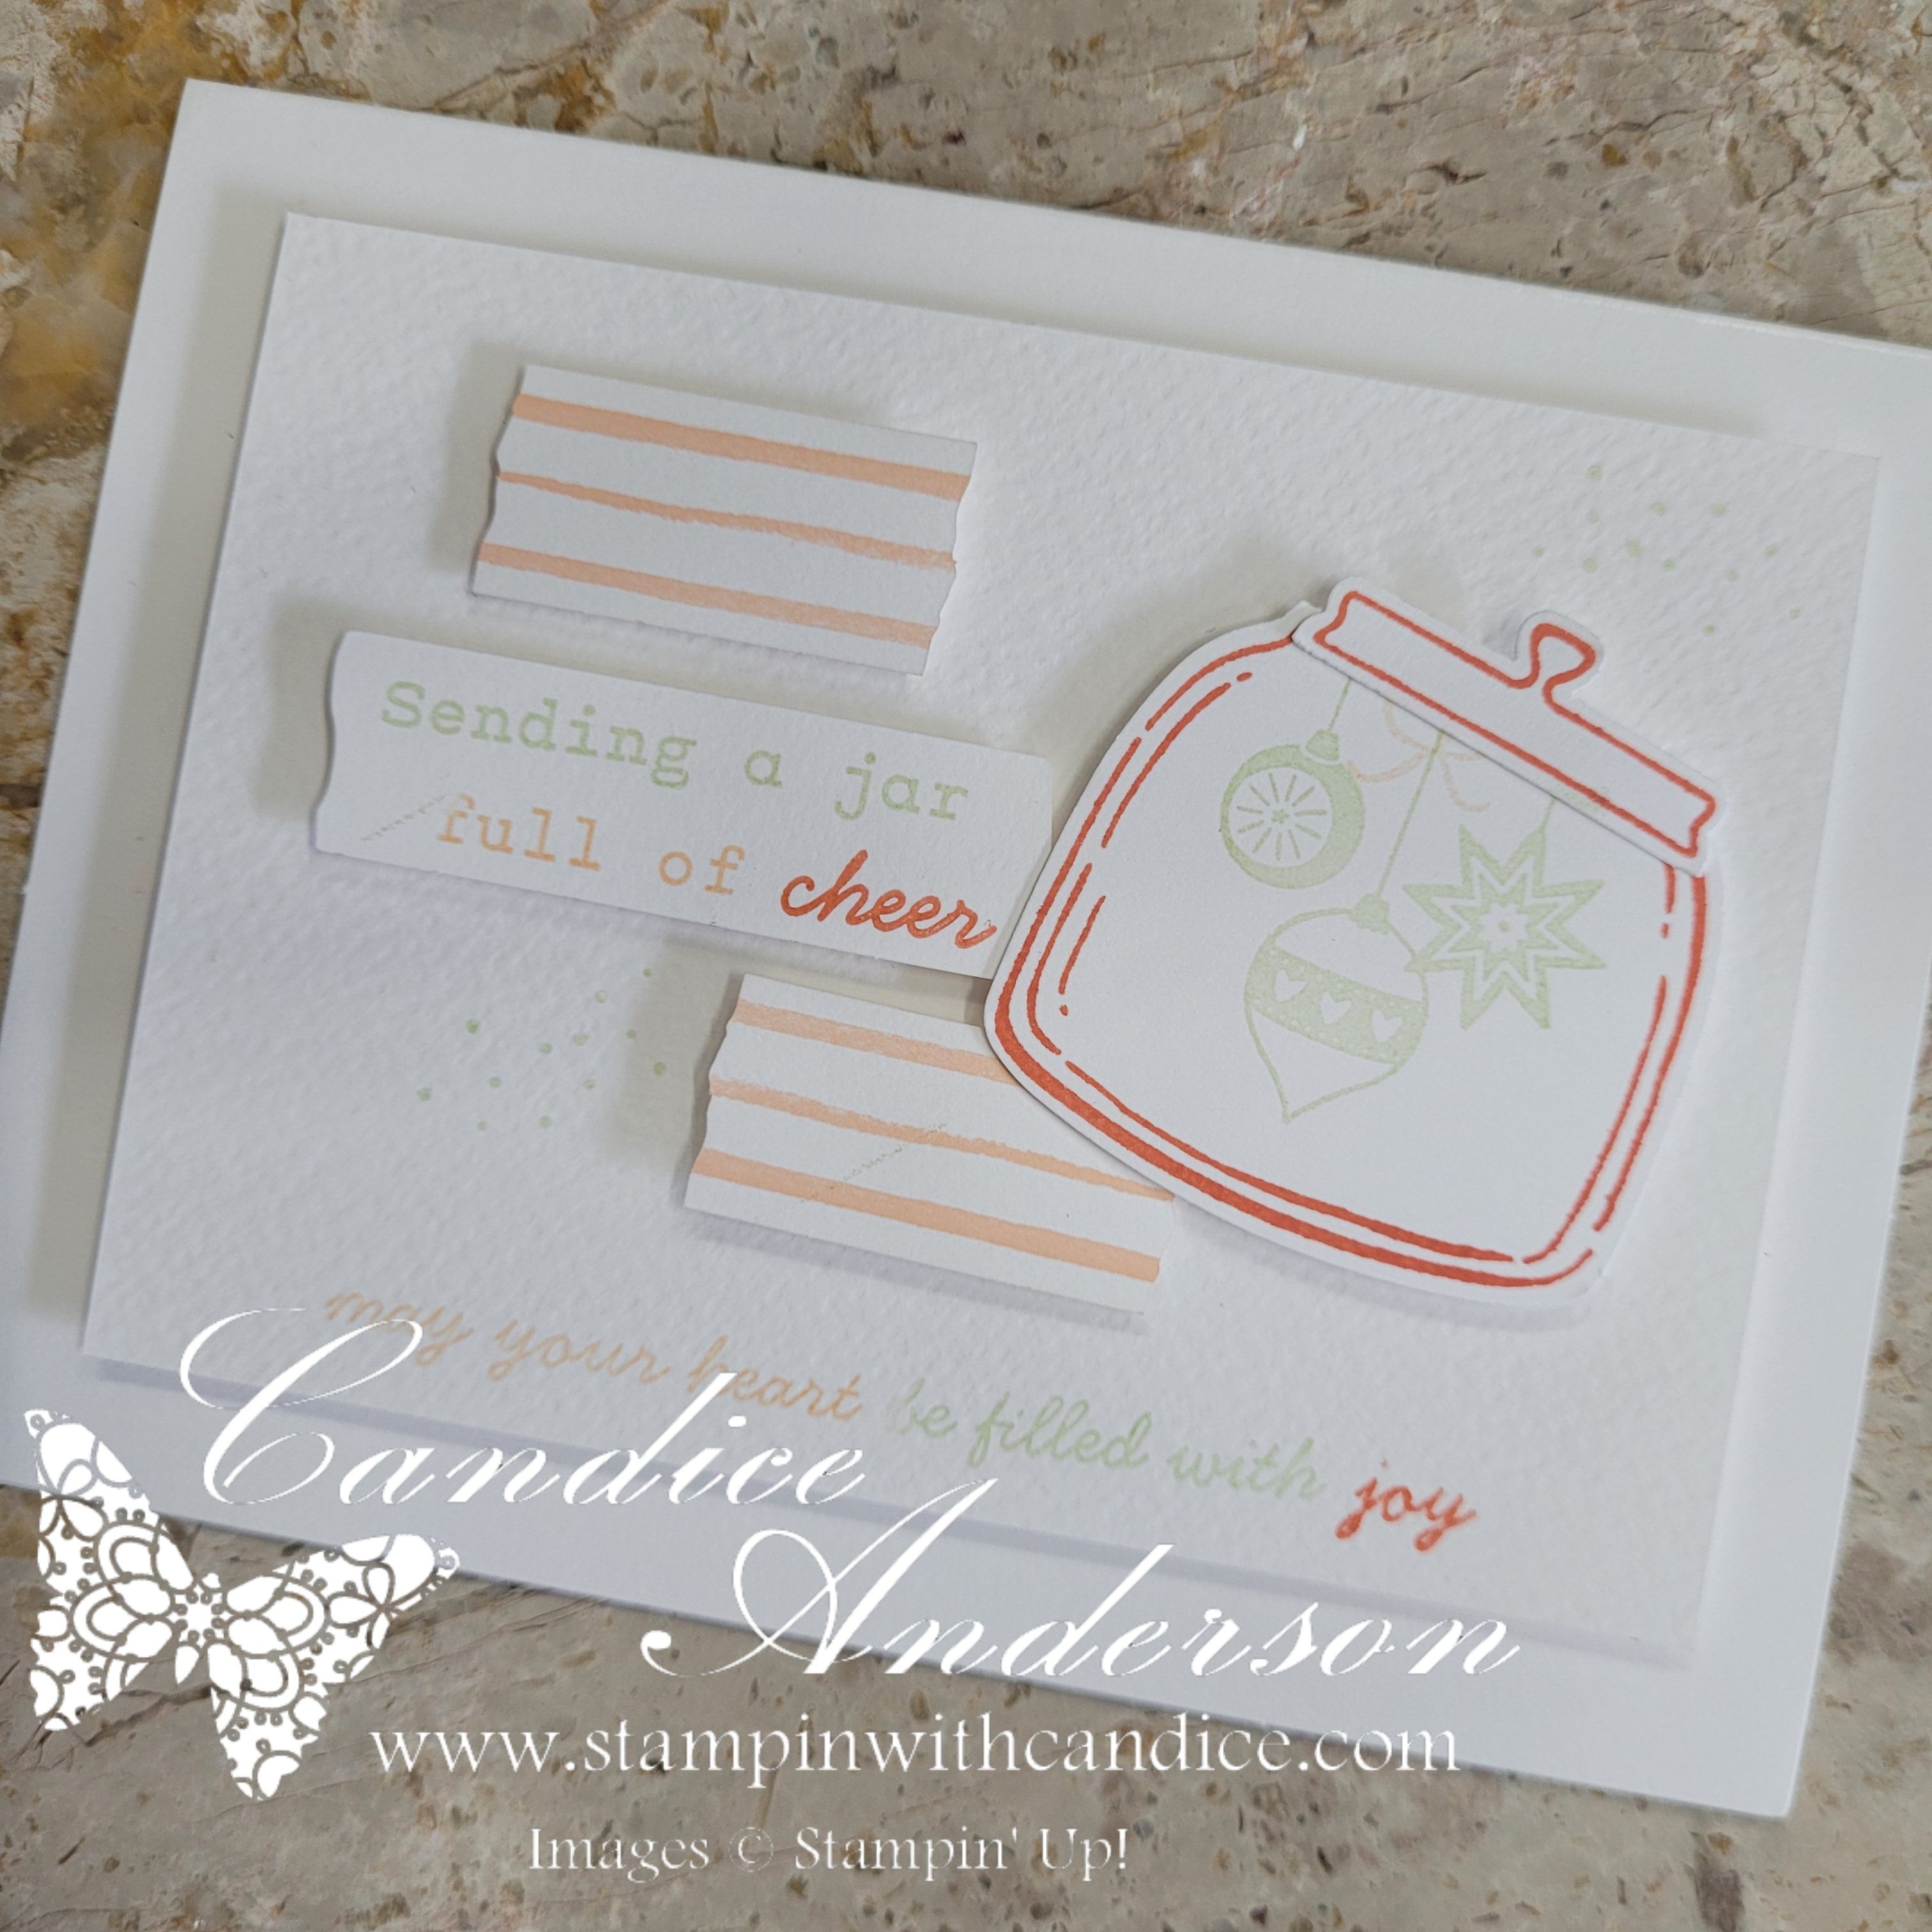
1️⃣ They are beautifully designed.
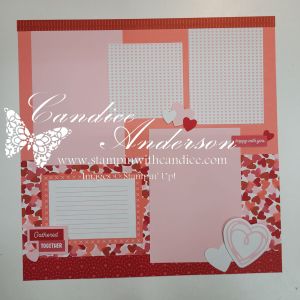
The creativity in these kits is incredible—from the layouts to the little design details. Everything coordinates so well and feels very intentional.
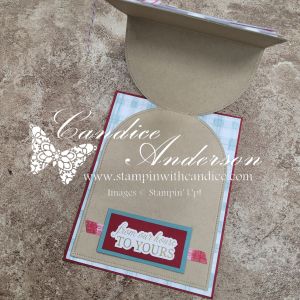
2️⃣ They are super easy to assemble.
I completed my Love Story kit in about 3 hours, and that included taking my time and truly enjoying the process.
3️⃣ The instructions are fantastic.
They are clear, easy to follow, and very well put together—perfect whether you’re a beginner or a seasoned scrapbooker.
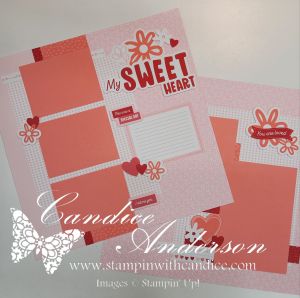
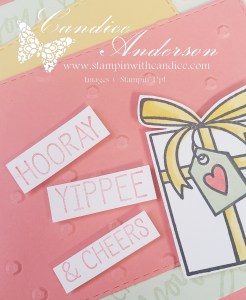
4️⃣ They are relaxing and enjoyable to create.
This was one of those projects where you can just sit back, craft, and unwind. No stress. Just fun.
5️⃣ They have coordinating stamp sets.
I love that you can expand the kit with matching stamps to make it even more versatile.
- Love Story Stamp Set #167065
- Exploring Nature Stamp Set #166913
- Beach Time Stamp Set #166832
6️⃣ The kits coordinate with full suites.
All three new kits—
- Love Story Scrapbooking Workshop Kit #167078
- Made with Love Suite #167079
- Exploring Nature Scrapbooking Workshop Kit #166934
- Nature Walk Suite #166936
- Beach Time Scrapbooking Workshop Kit #166843
- Beach Boardwalk Suite #166844
have matching suites that include additional stamp sets, ribbons, papers, and accessories you can add to your project if you want to take it even further.
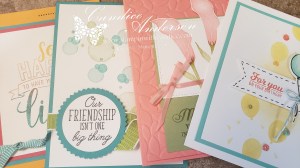
7️⃣ Bonus: LOTS of extra goodies!
There is plenty of extra paper and stickers left over, which means more cards, more layouts, and more creative fun later on.
✨ Stay tuned to see what I come up with using my leftovers—I have ideas already brewing!

If you love scrapbooking but want something that’s easy, coordinated, and totally stress-free, these workshop kits are a must-try. 💕
👉 You can shop current Stampin’ Up! supplies and tools here:
Shop with Me Here

Please feel free to contact me if you have any questions.
Contact me today to place your order!
435-232-2655 Cell ( Call or Text)
andersoncandice@hotmail.com
💕 Let’s Stay Connected
📺 YouTube
📘 Facebook
📸 Instagram
📌 Pinterest
#StampinWithCandice #ScrapbookingWorkshop #LoveStoryKit #CreativeTime #MemoryKeepingMadeEasy #StampinUp