Have you had a chance to try Paper Pumpkin yet? Do you know what Paper Pumpkin is? Now is the time to try it and learn more. Paper Pumpkin is a fun easy way to craft each month. Our monthly kits are delivered to your home each month and include fun and easy projects for those of all ages.

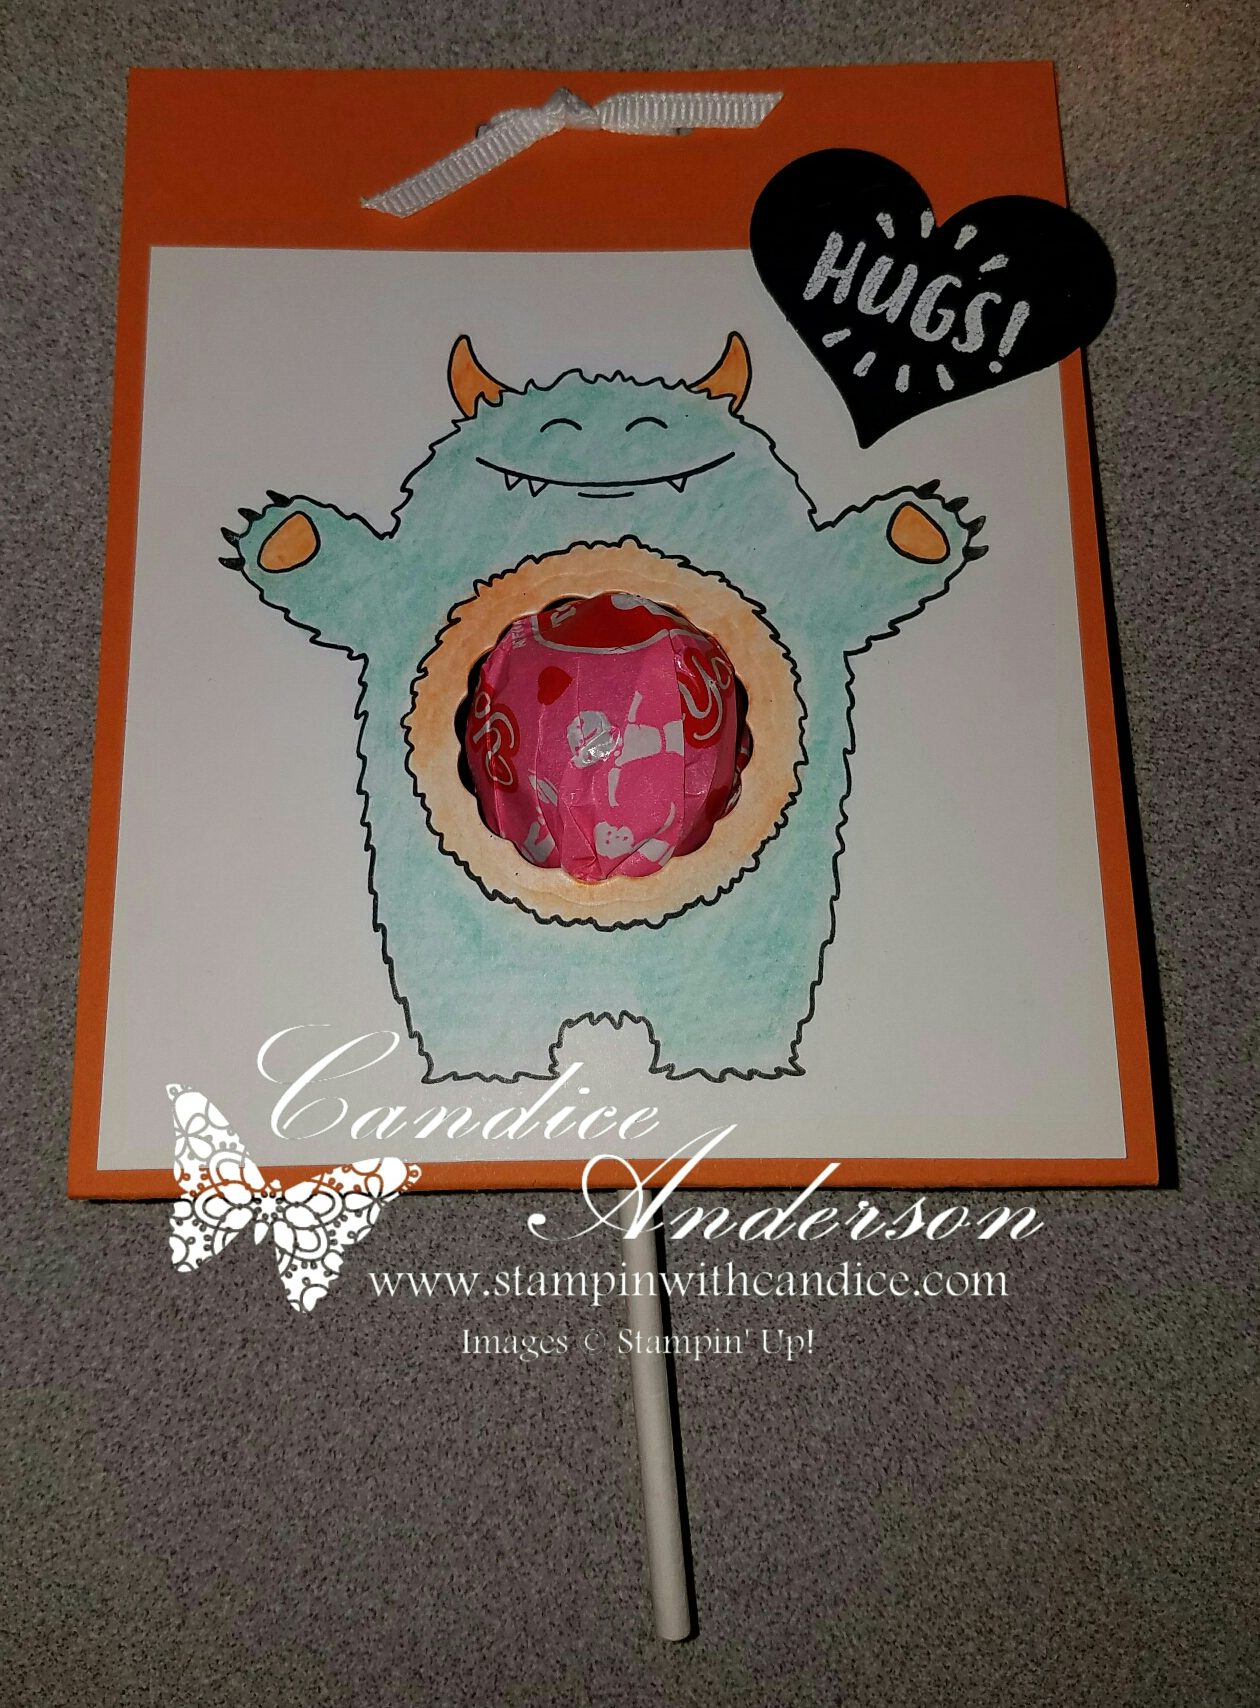
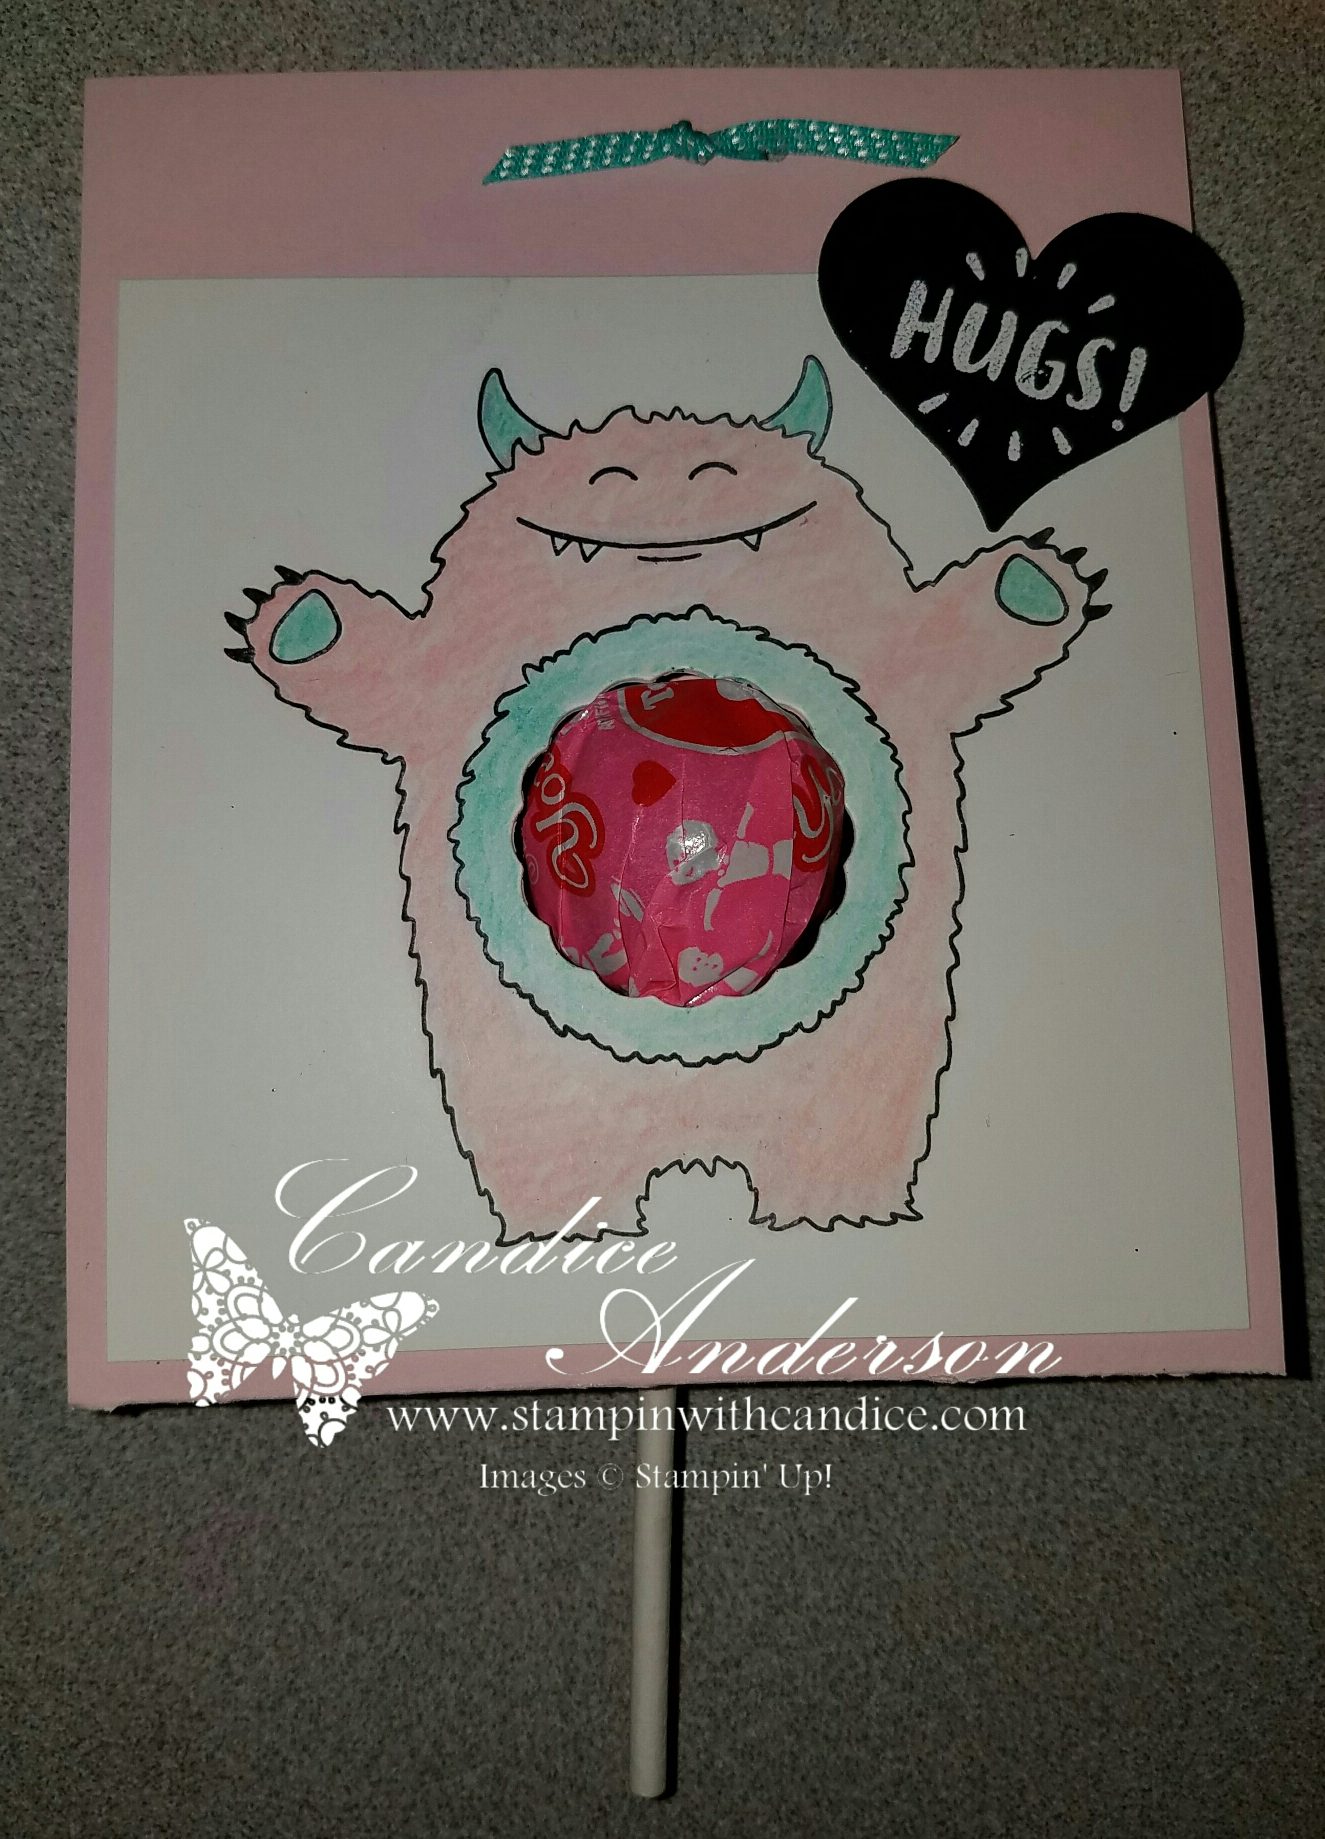
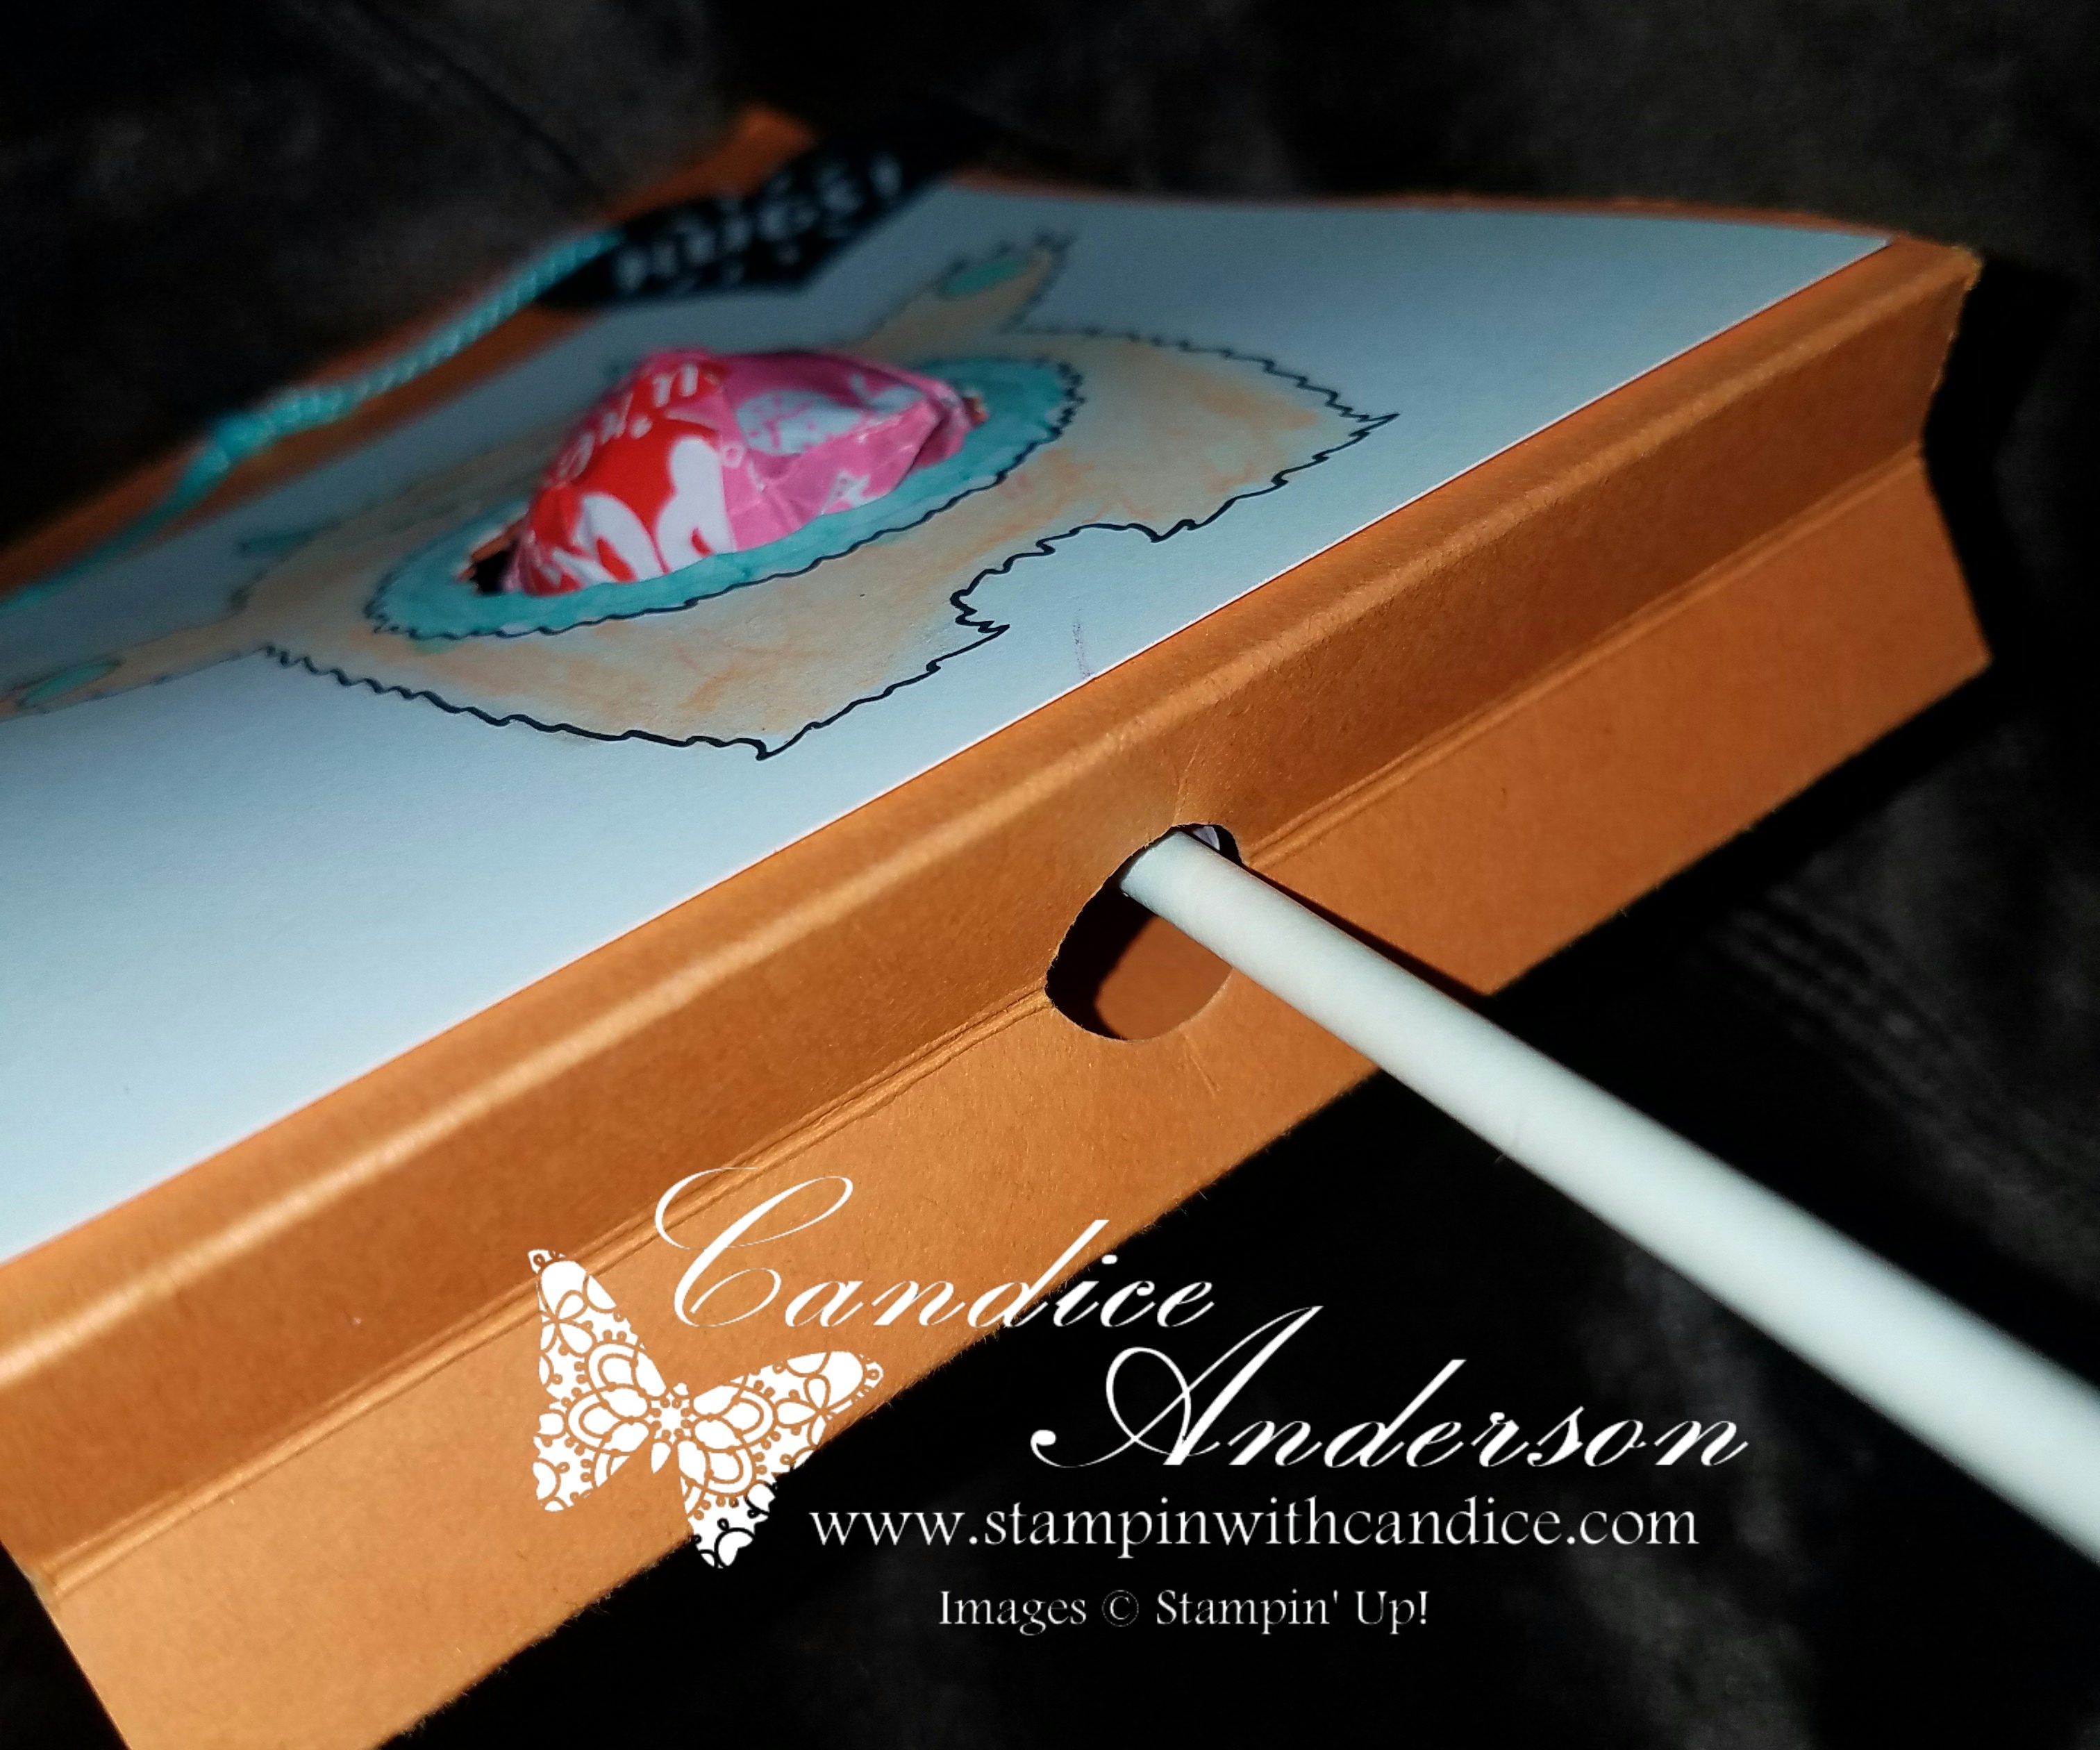
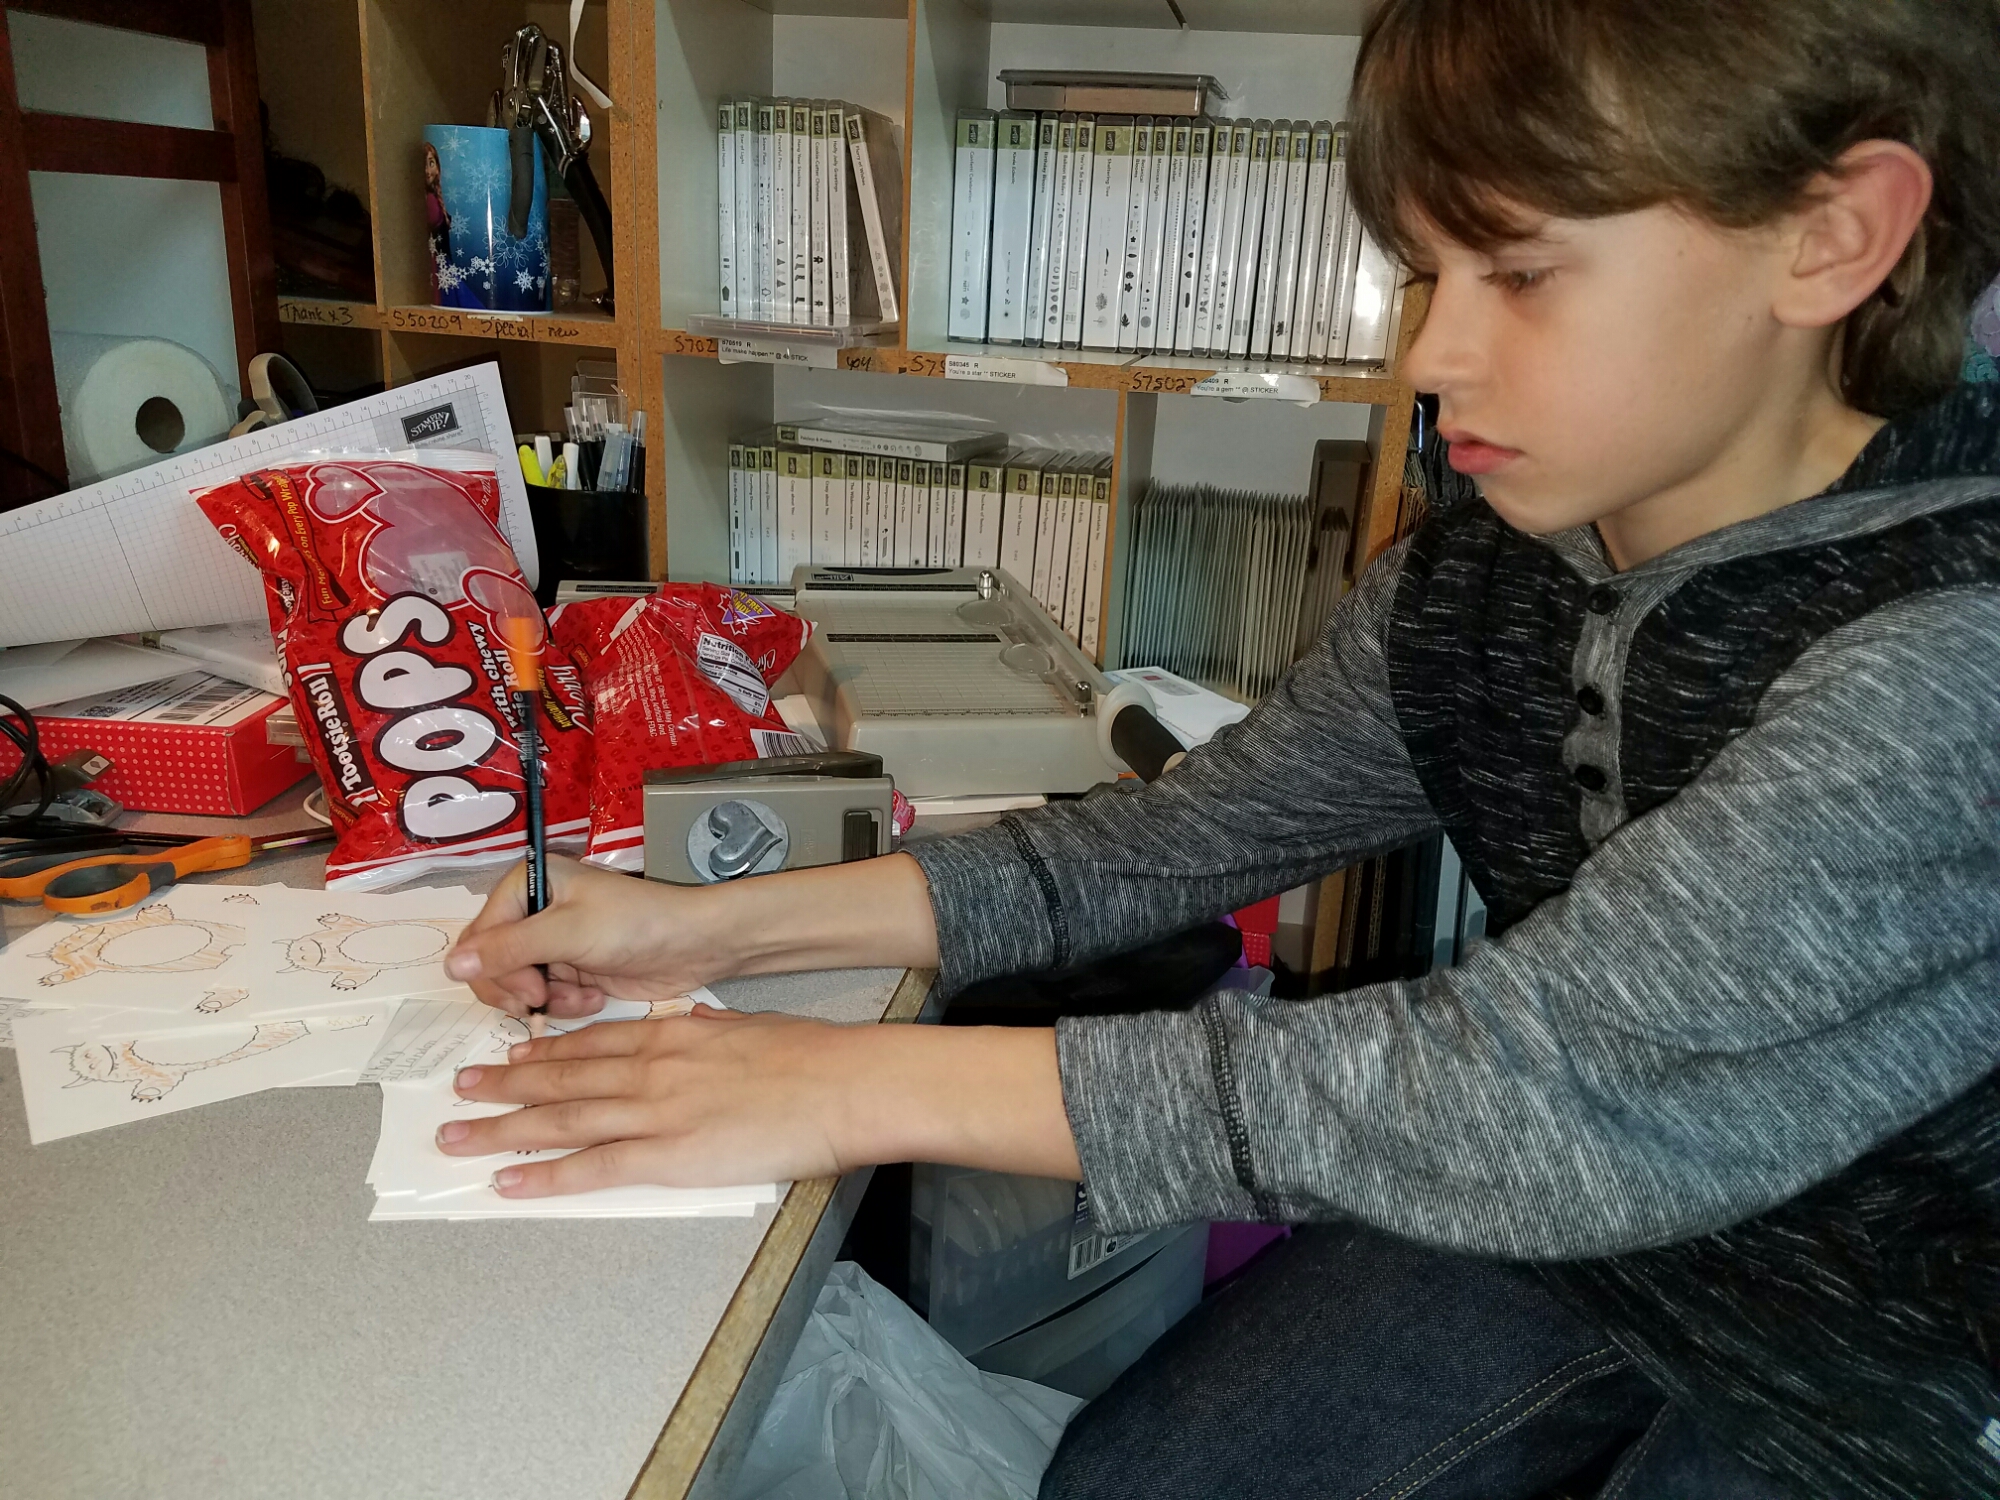
I think one of the best things about Paper Pumpkin is that it’s easy to share because each kit has plenty of projects to go around. My little girl and I love to create these projects together each month. Here’s a picture of her with her finished creations from last month. I don’t know about you but I have a hard time just letting her use my regular products without a lot of supervision, however I can let her do Paper Pumpkin on her own or we can create them together (that’s our favorite.) She loves to spend time with me creating her own fun projects. This is a perfect gift as well so go ahead and give it a try today.

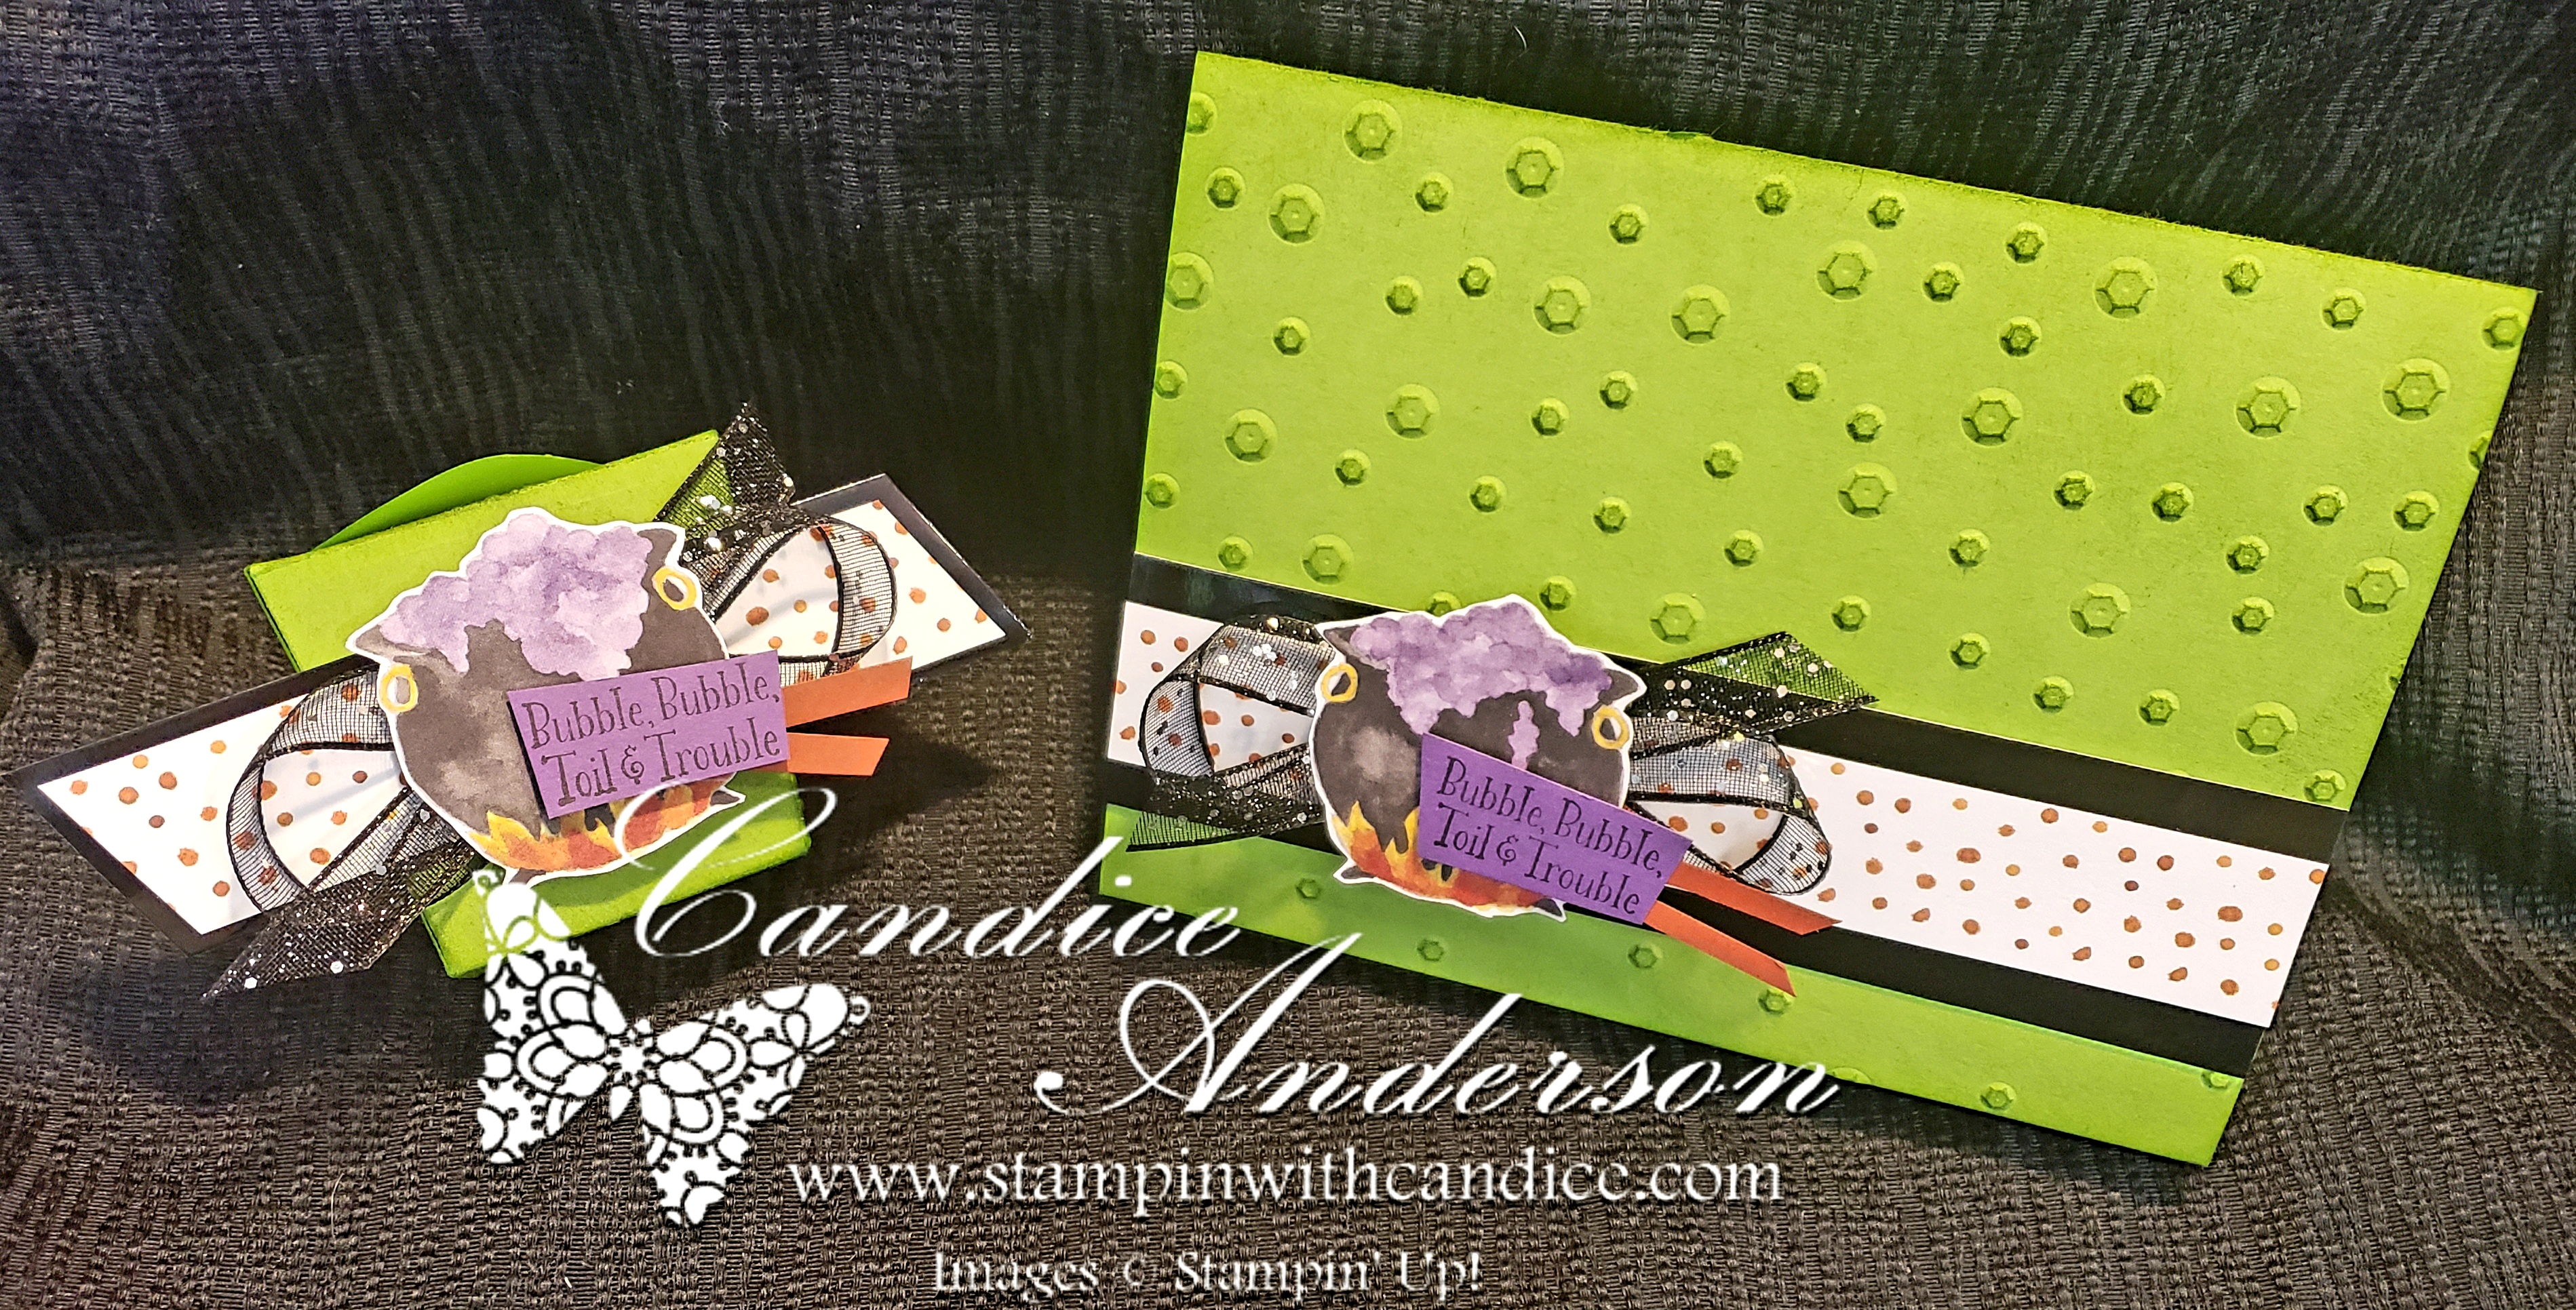
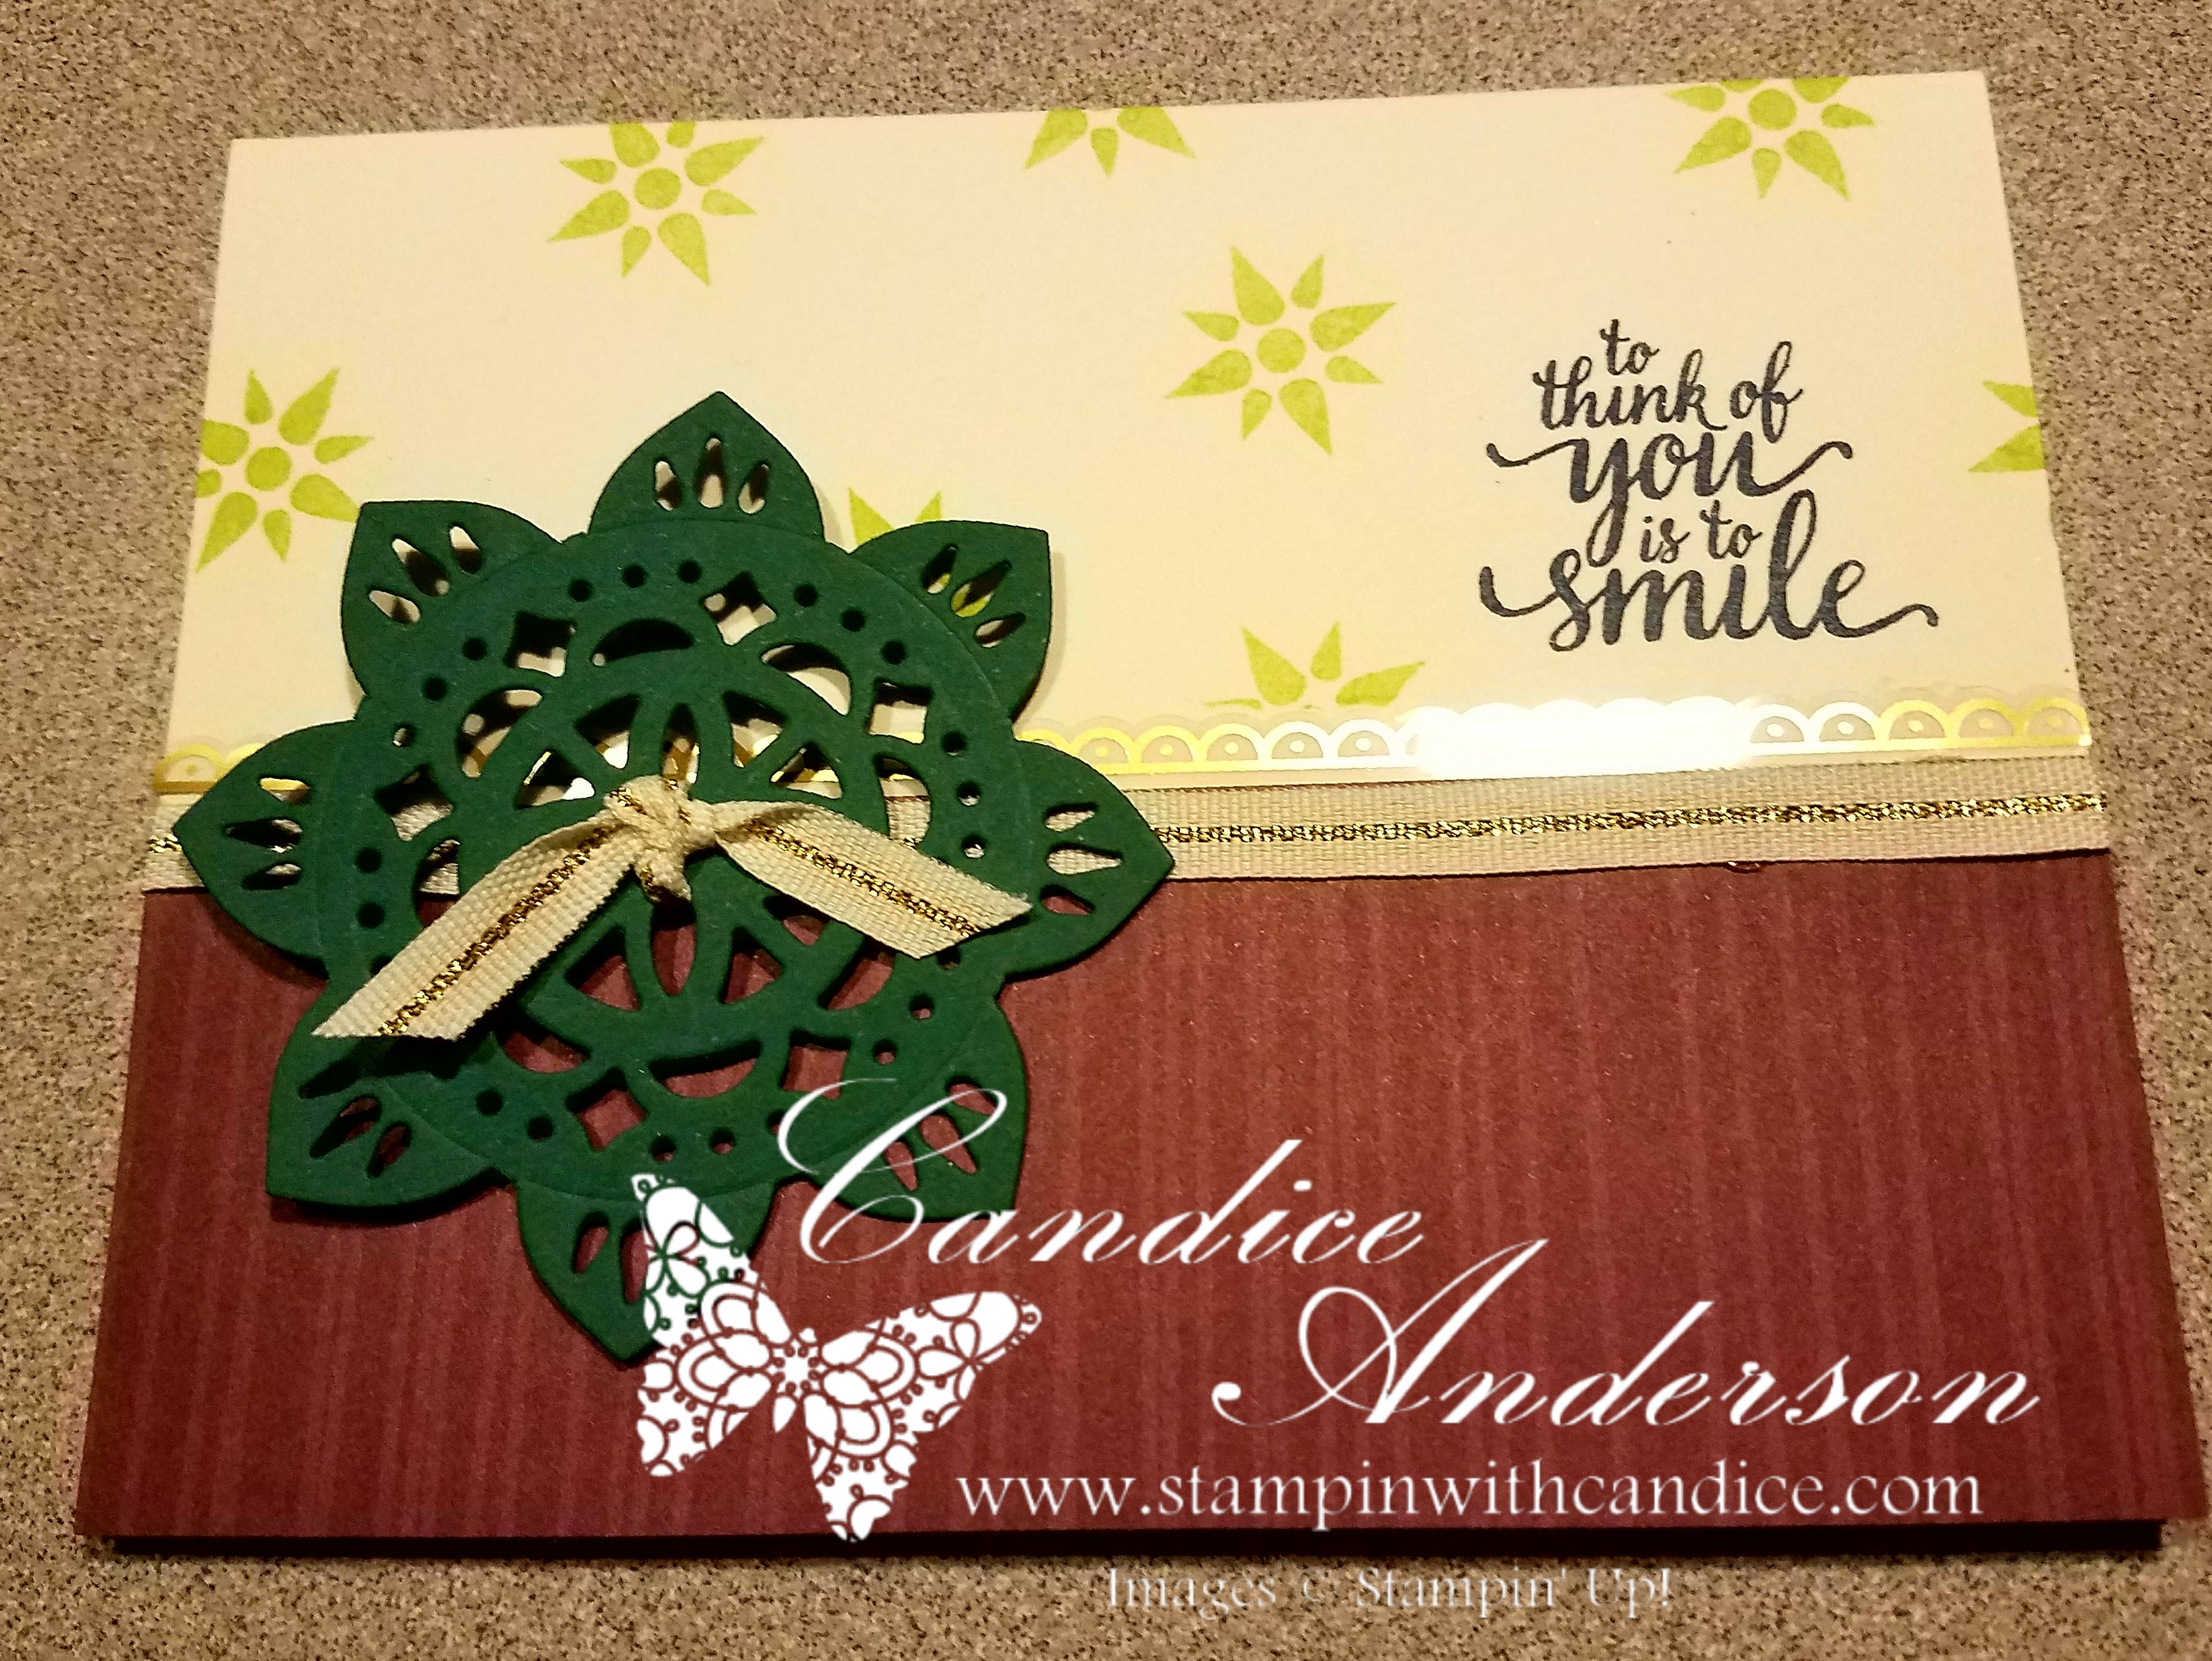
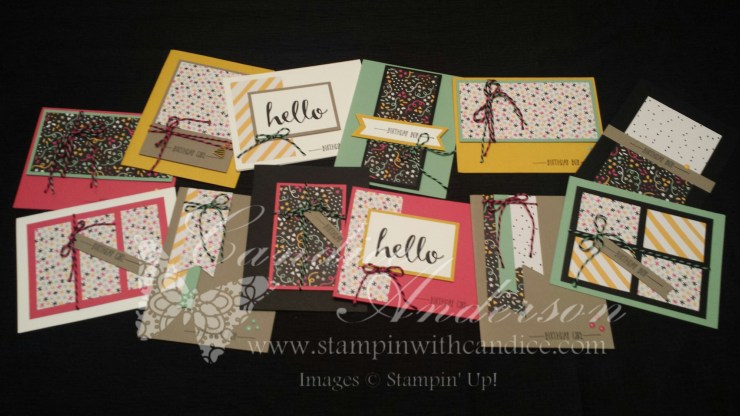
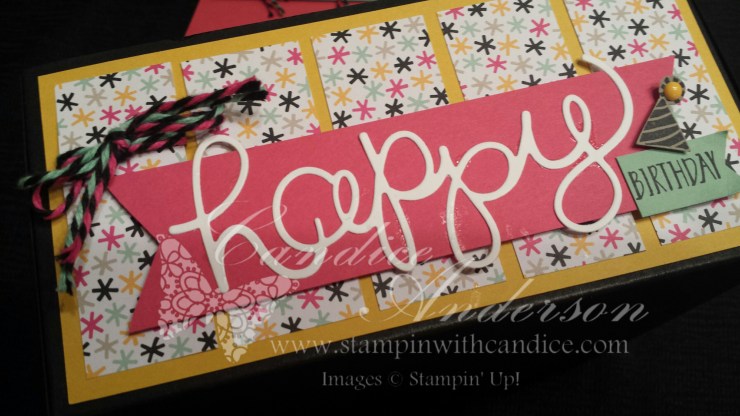
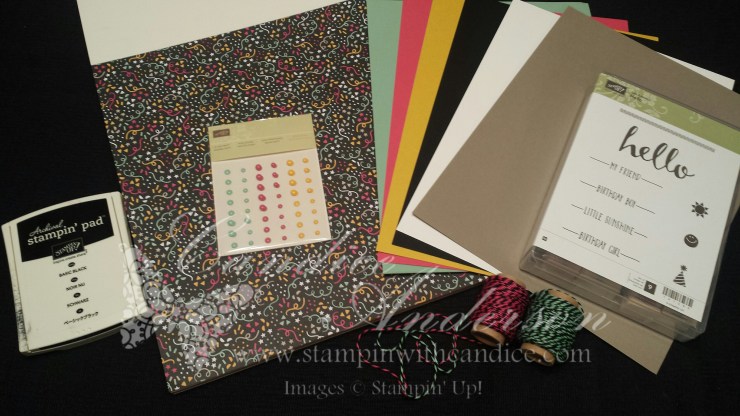
Here’s my cute creations from last months. Remember today is the last day to take advantage of this great sale. Try it for just $5.00 additional kits are $19.95 per month (includes shipping.) Click here to sign up.
New subscribers enter the code FLASH1018 before the sale ends to receive this special introductory price. Make sure you put the code in the prepaid/promo code section to get the special price before you click continue.
 Order online 24/7
Contact me today to place your order
or book your party!
435-232-2655 Cell ( Call or Text)
andersoncandice@hotmail.com