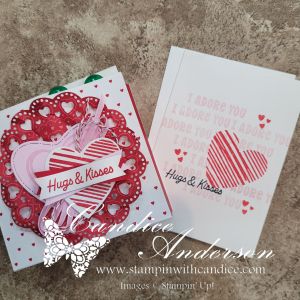
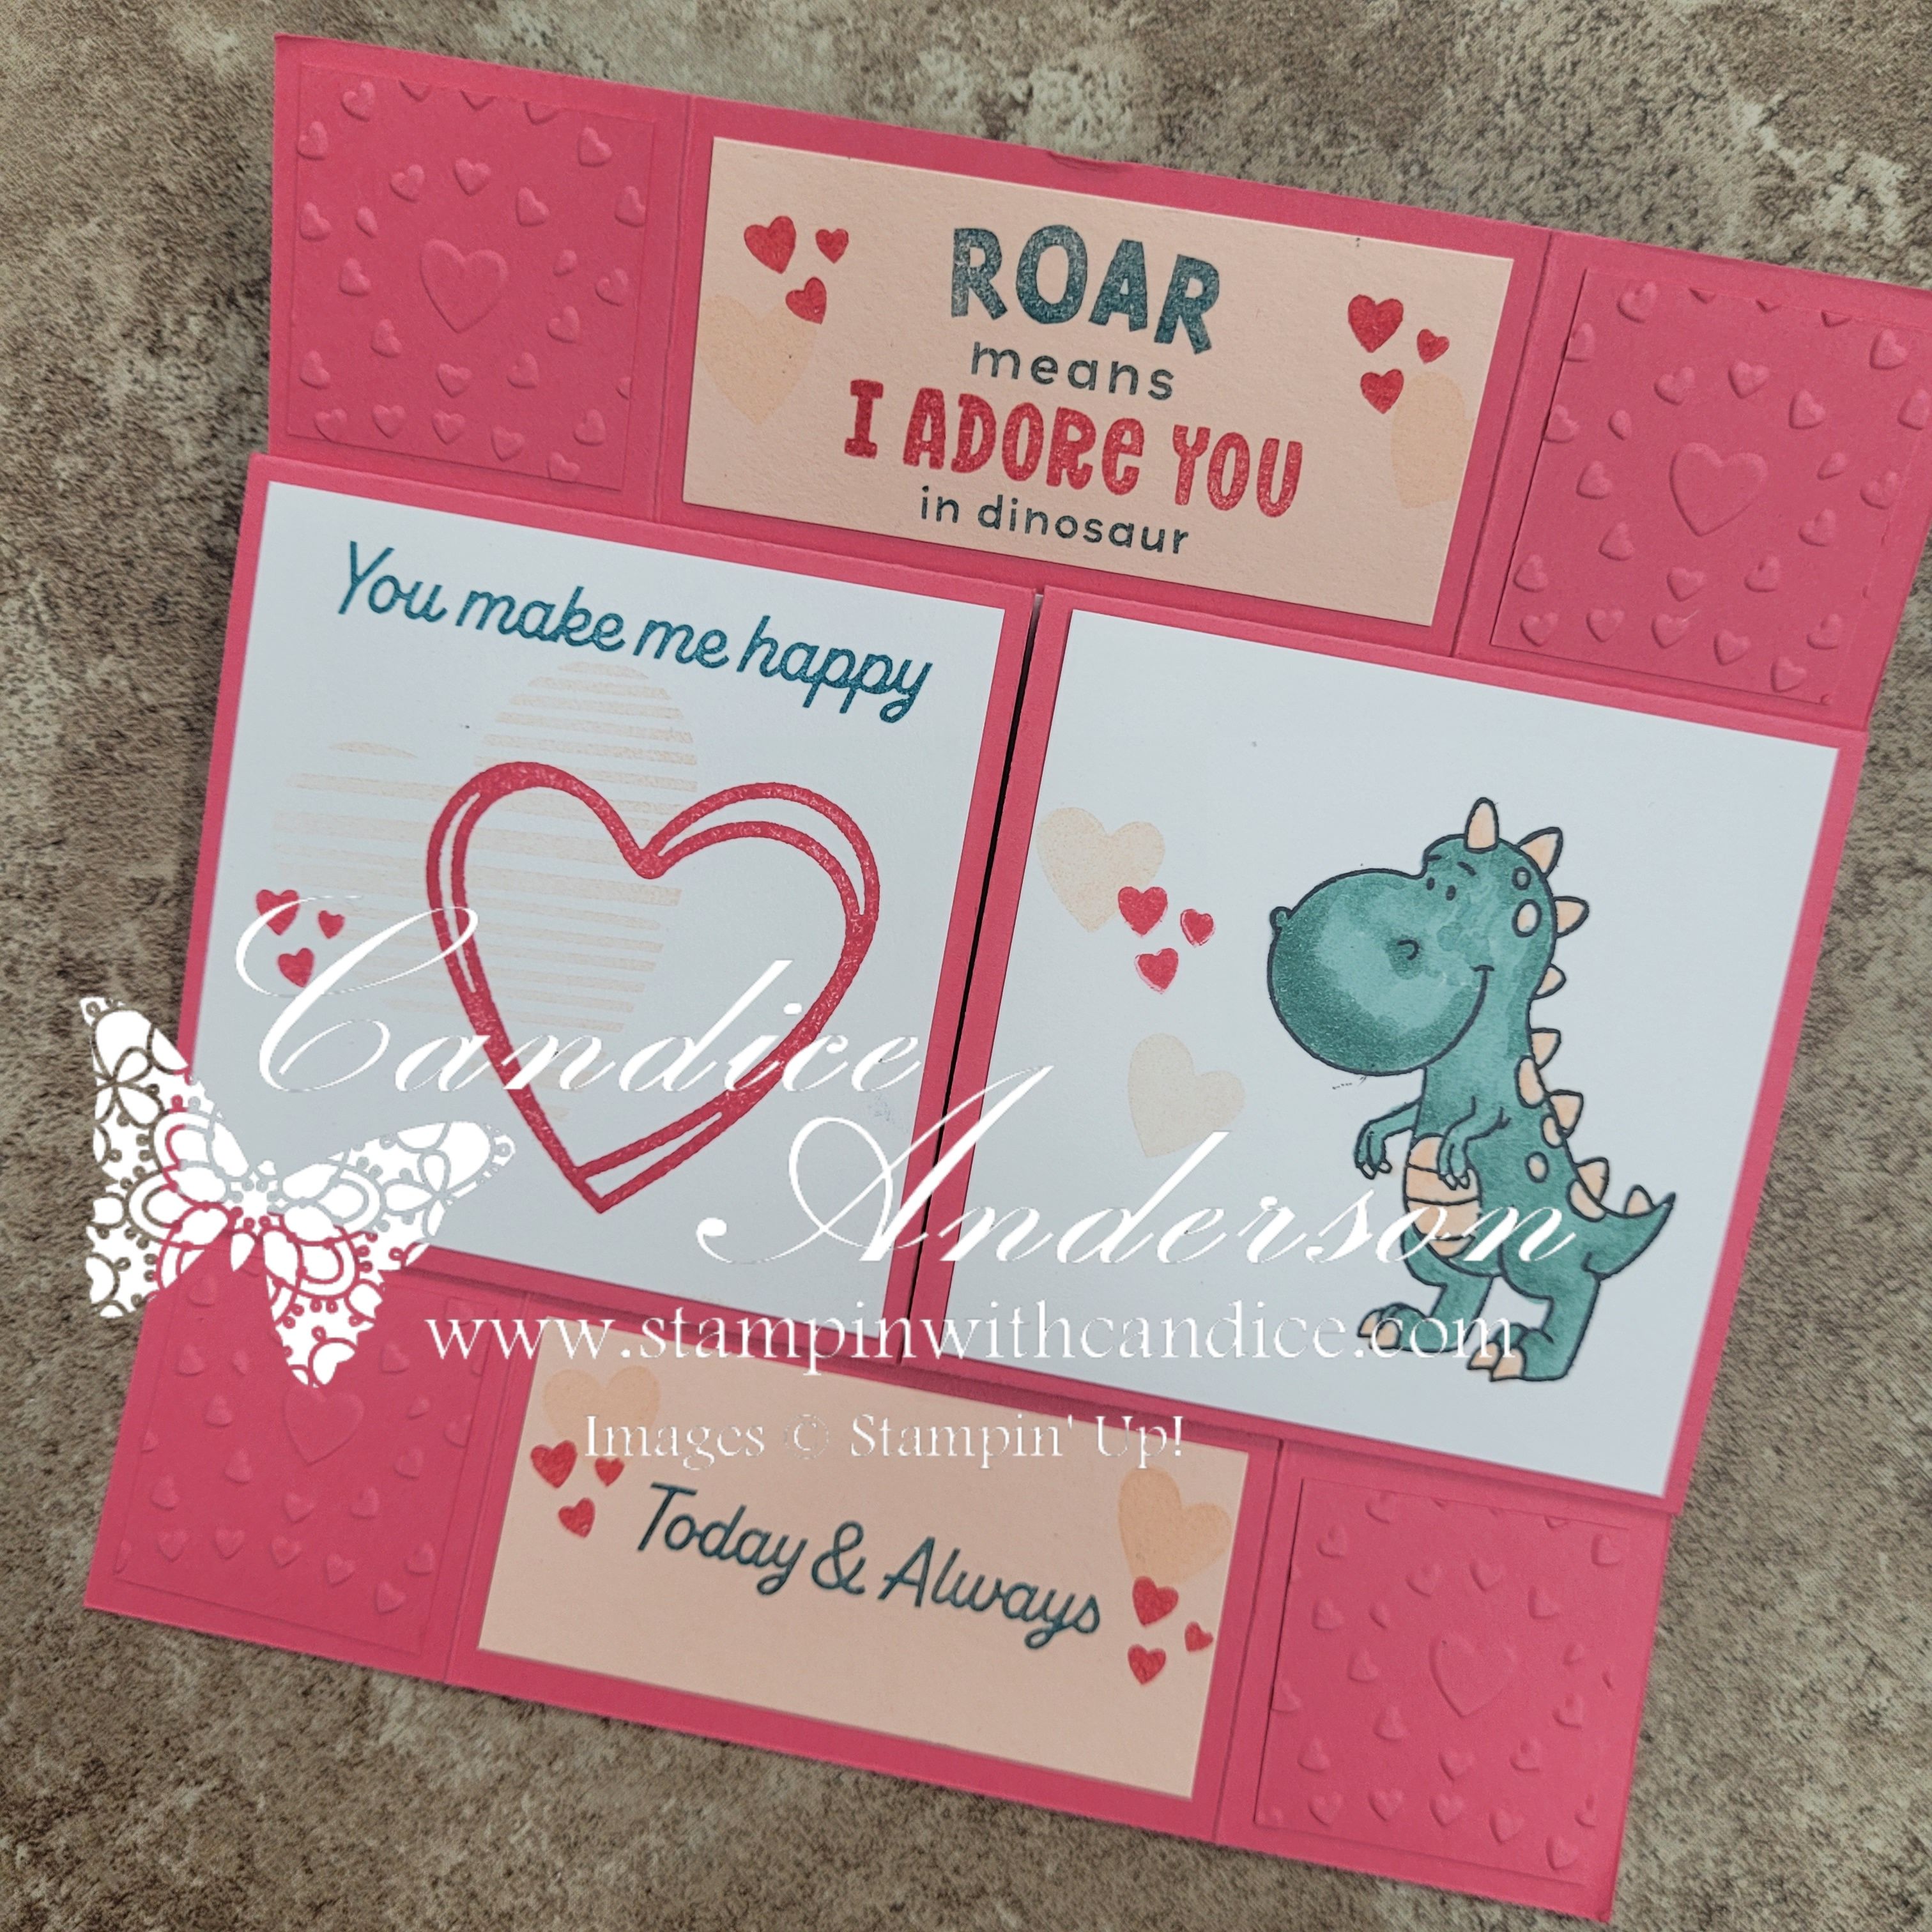
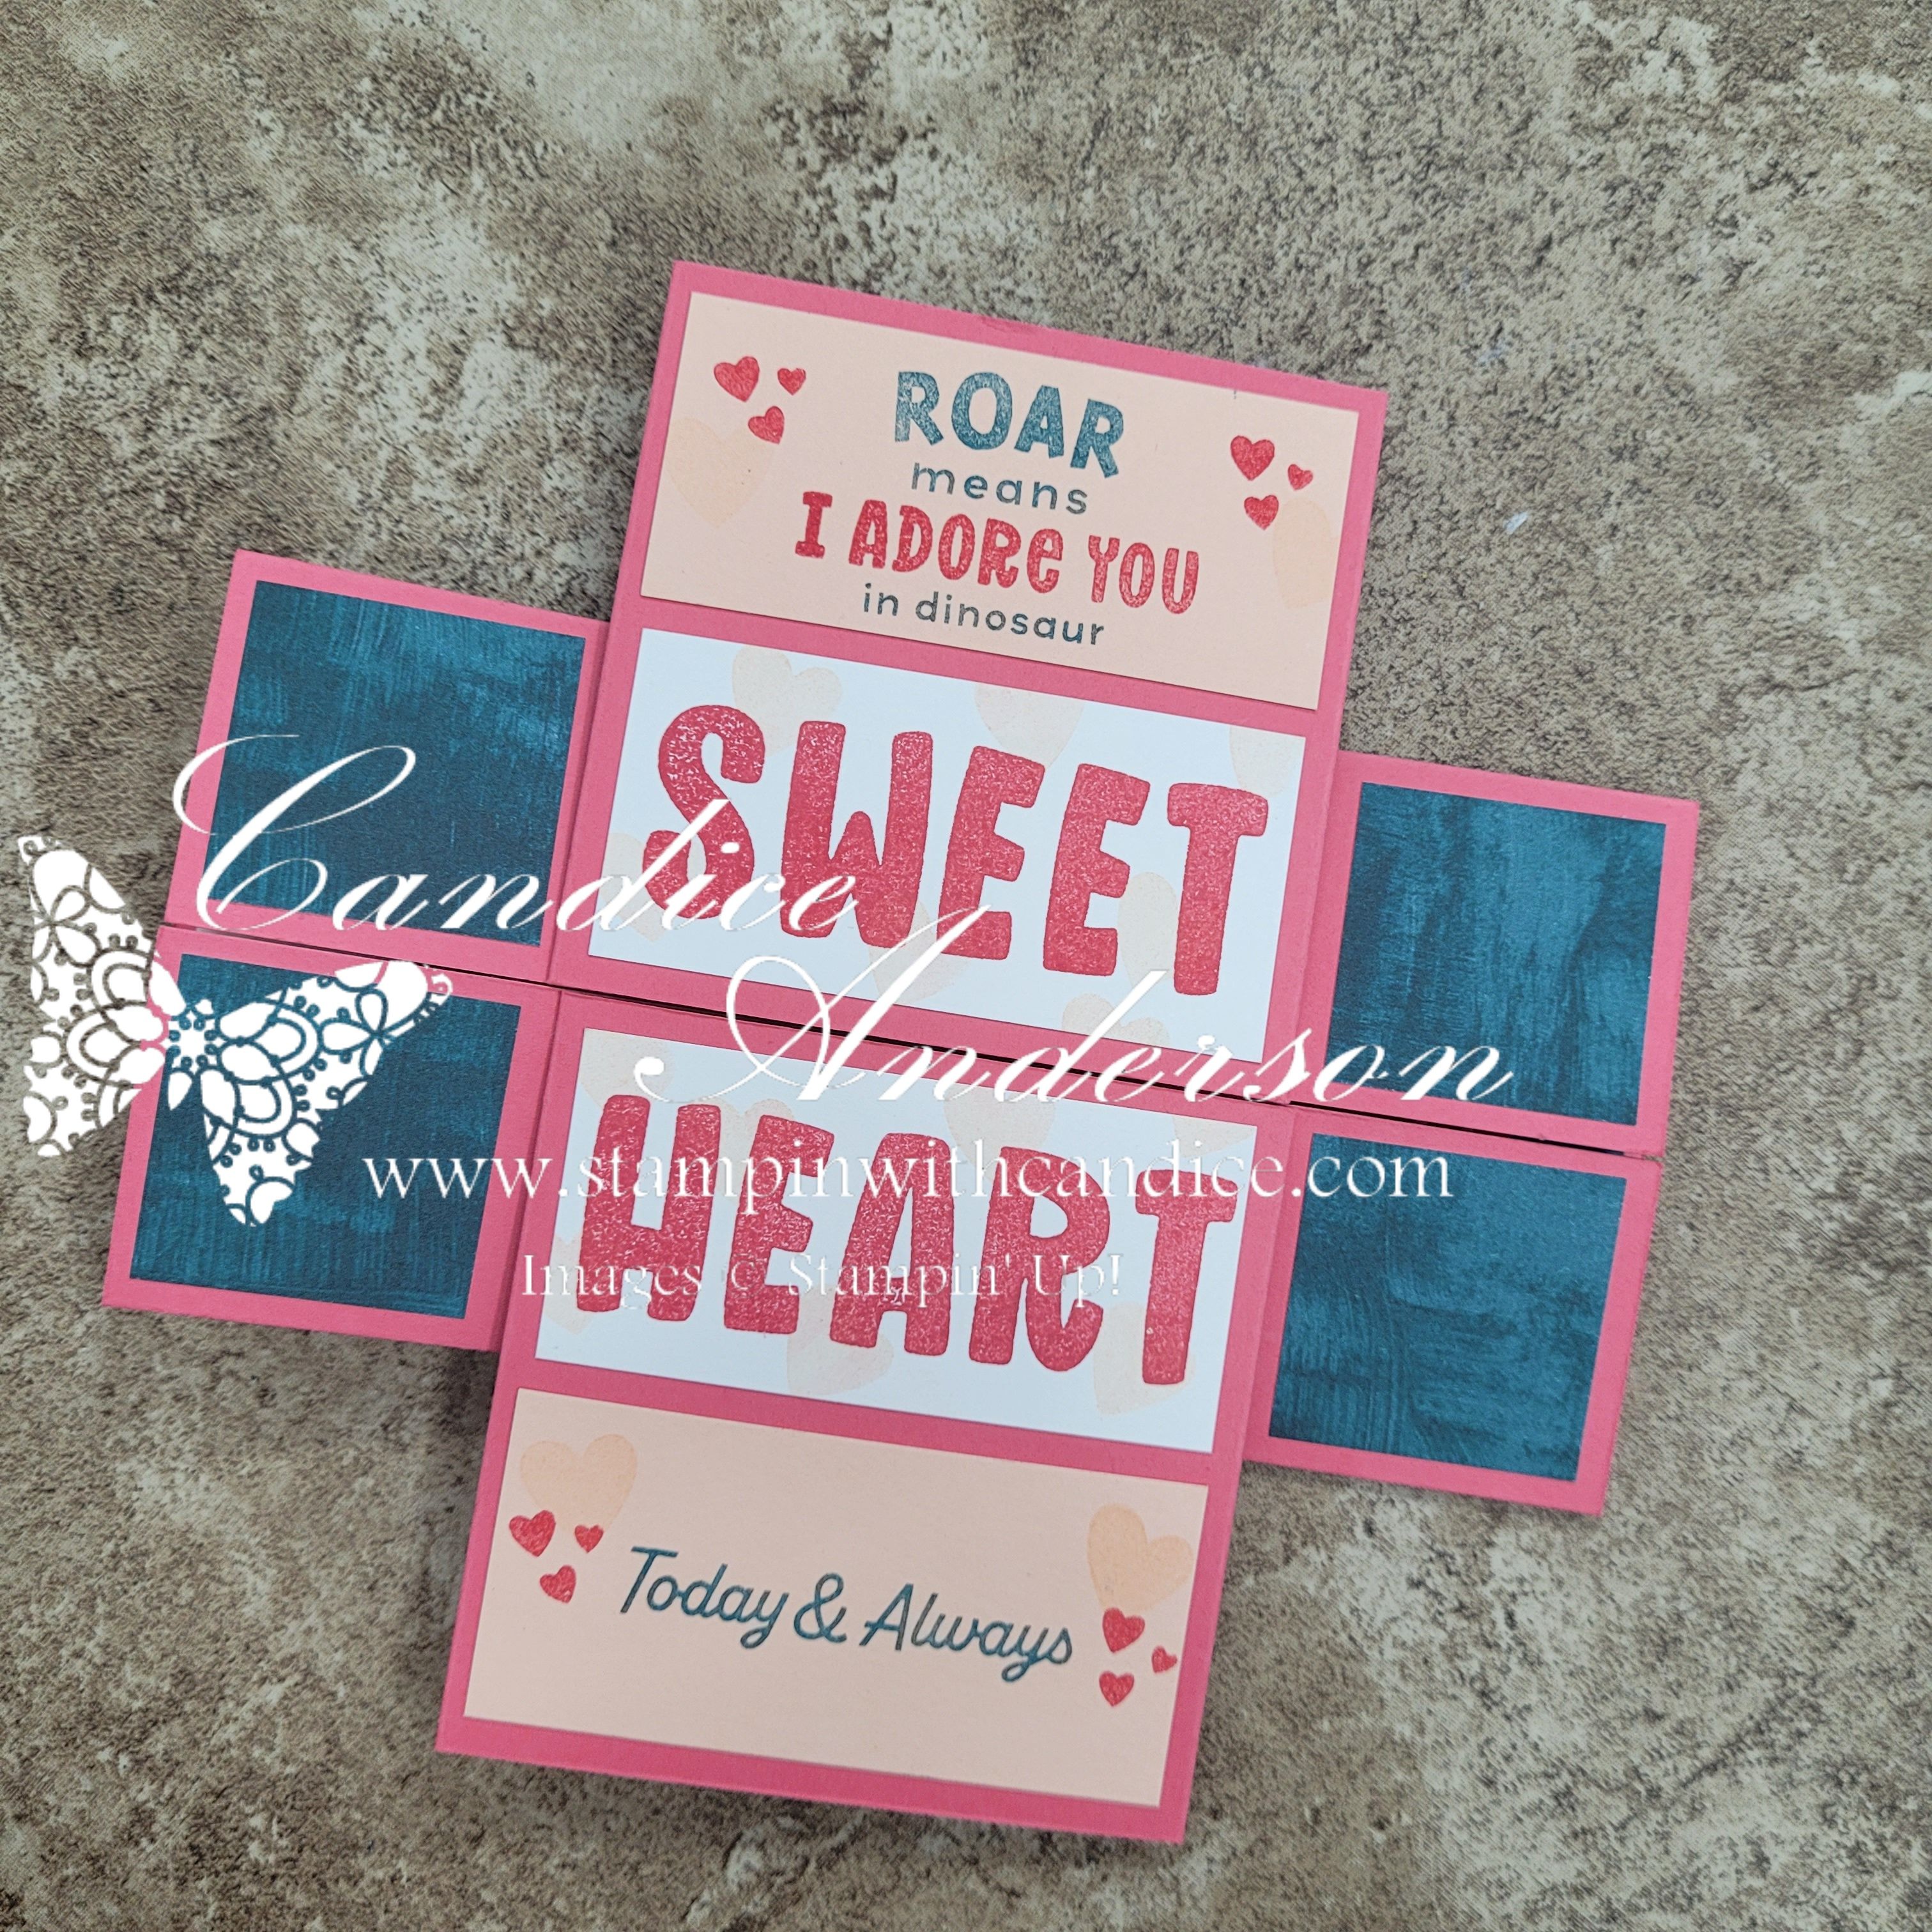
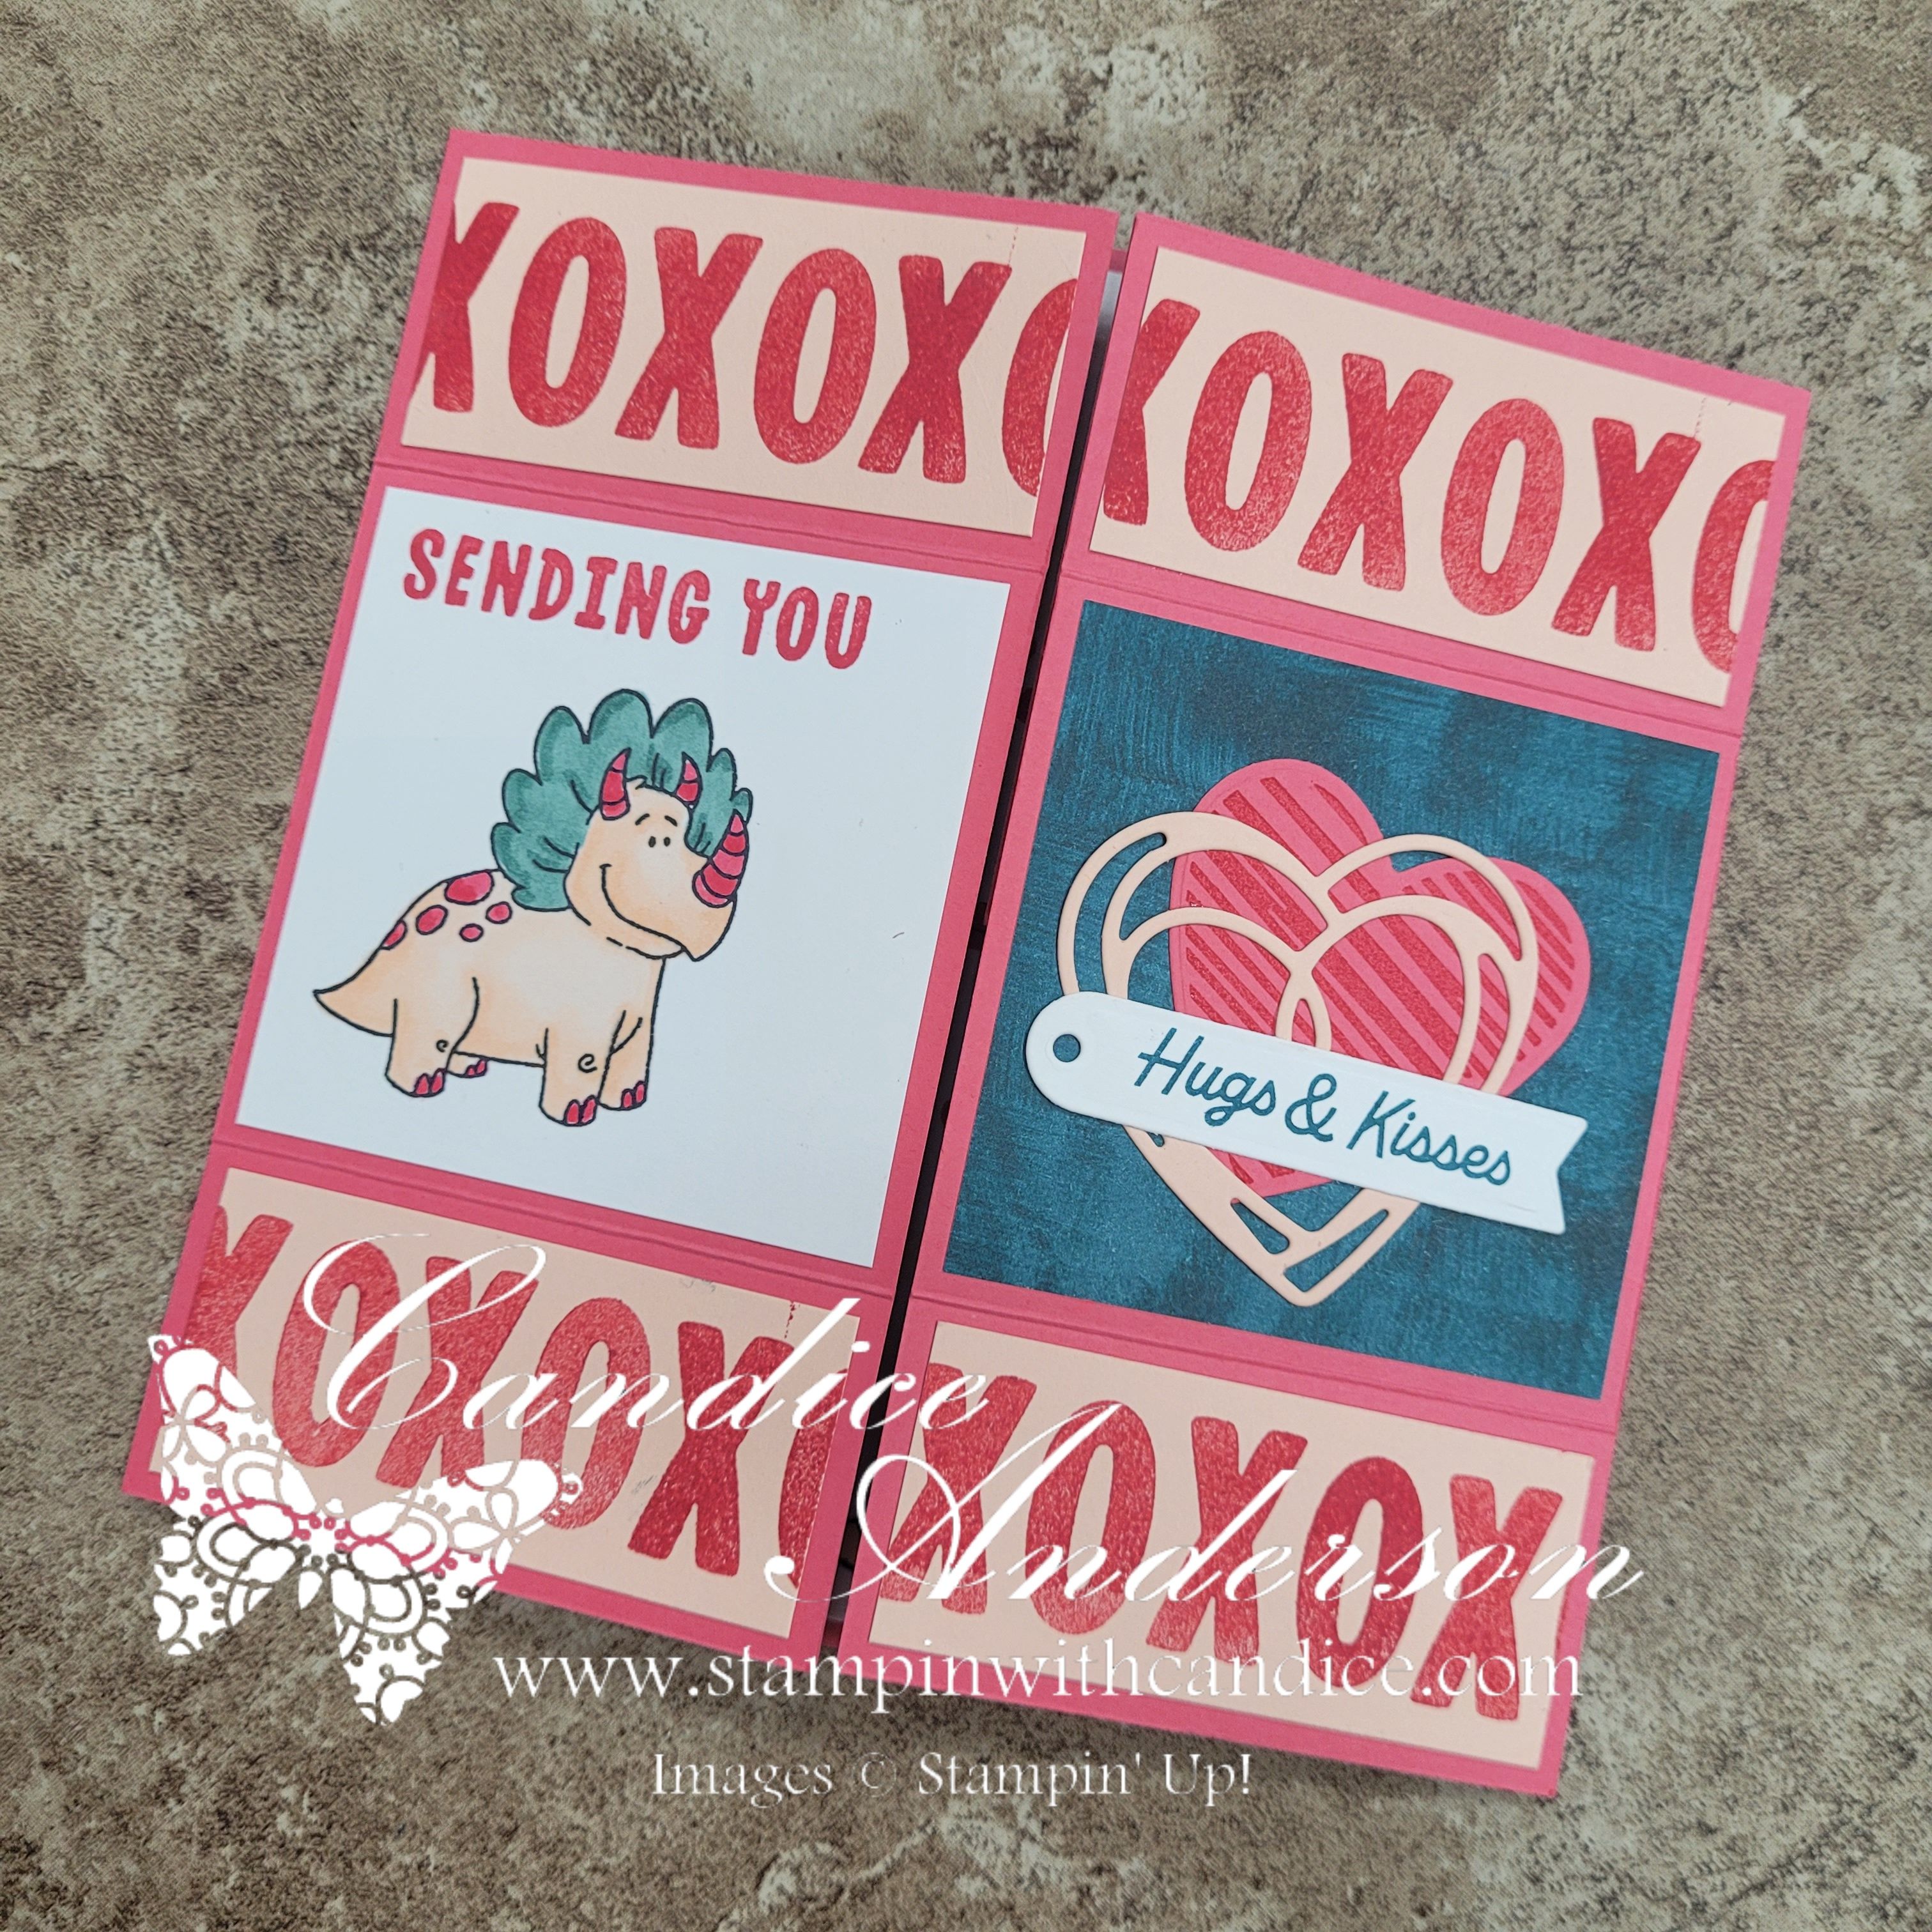
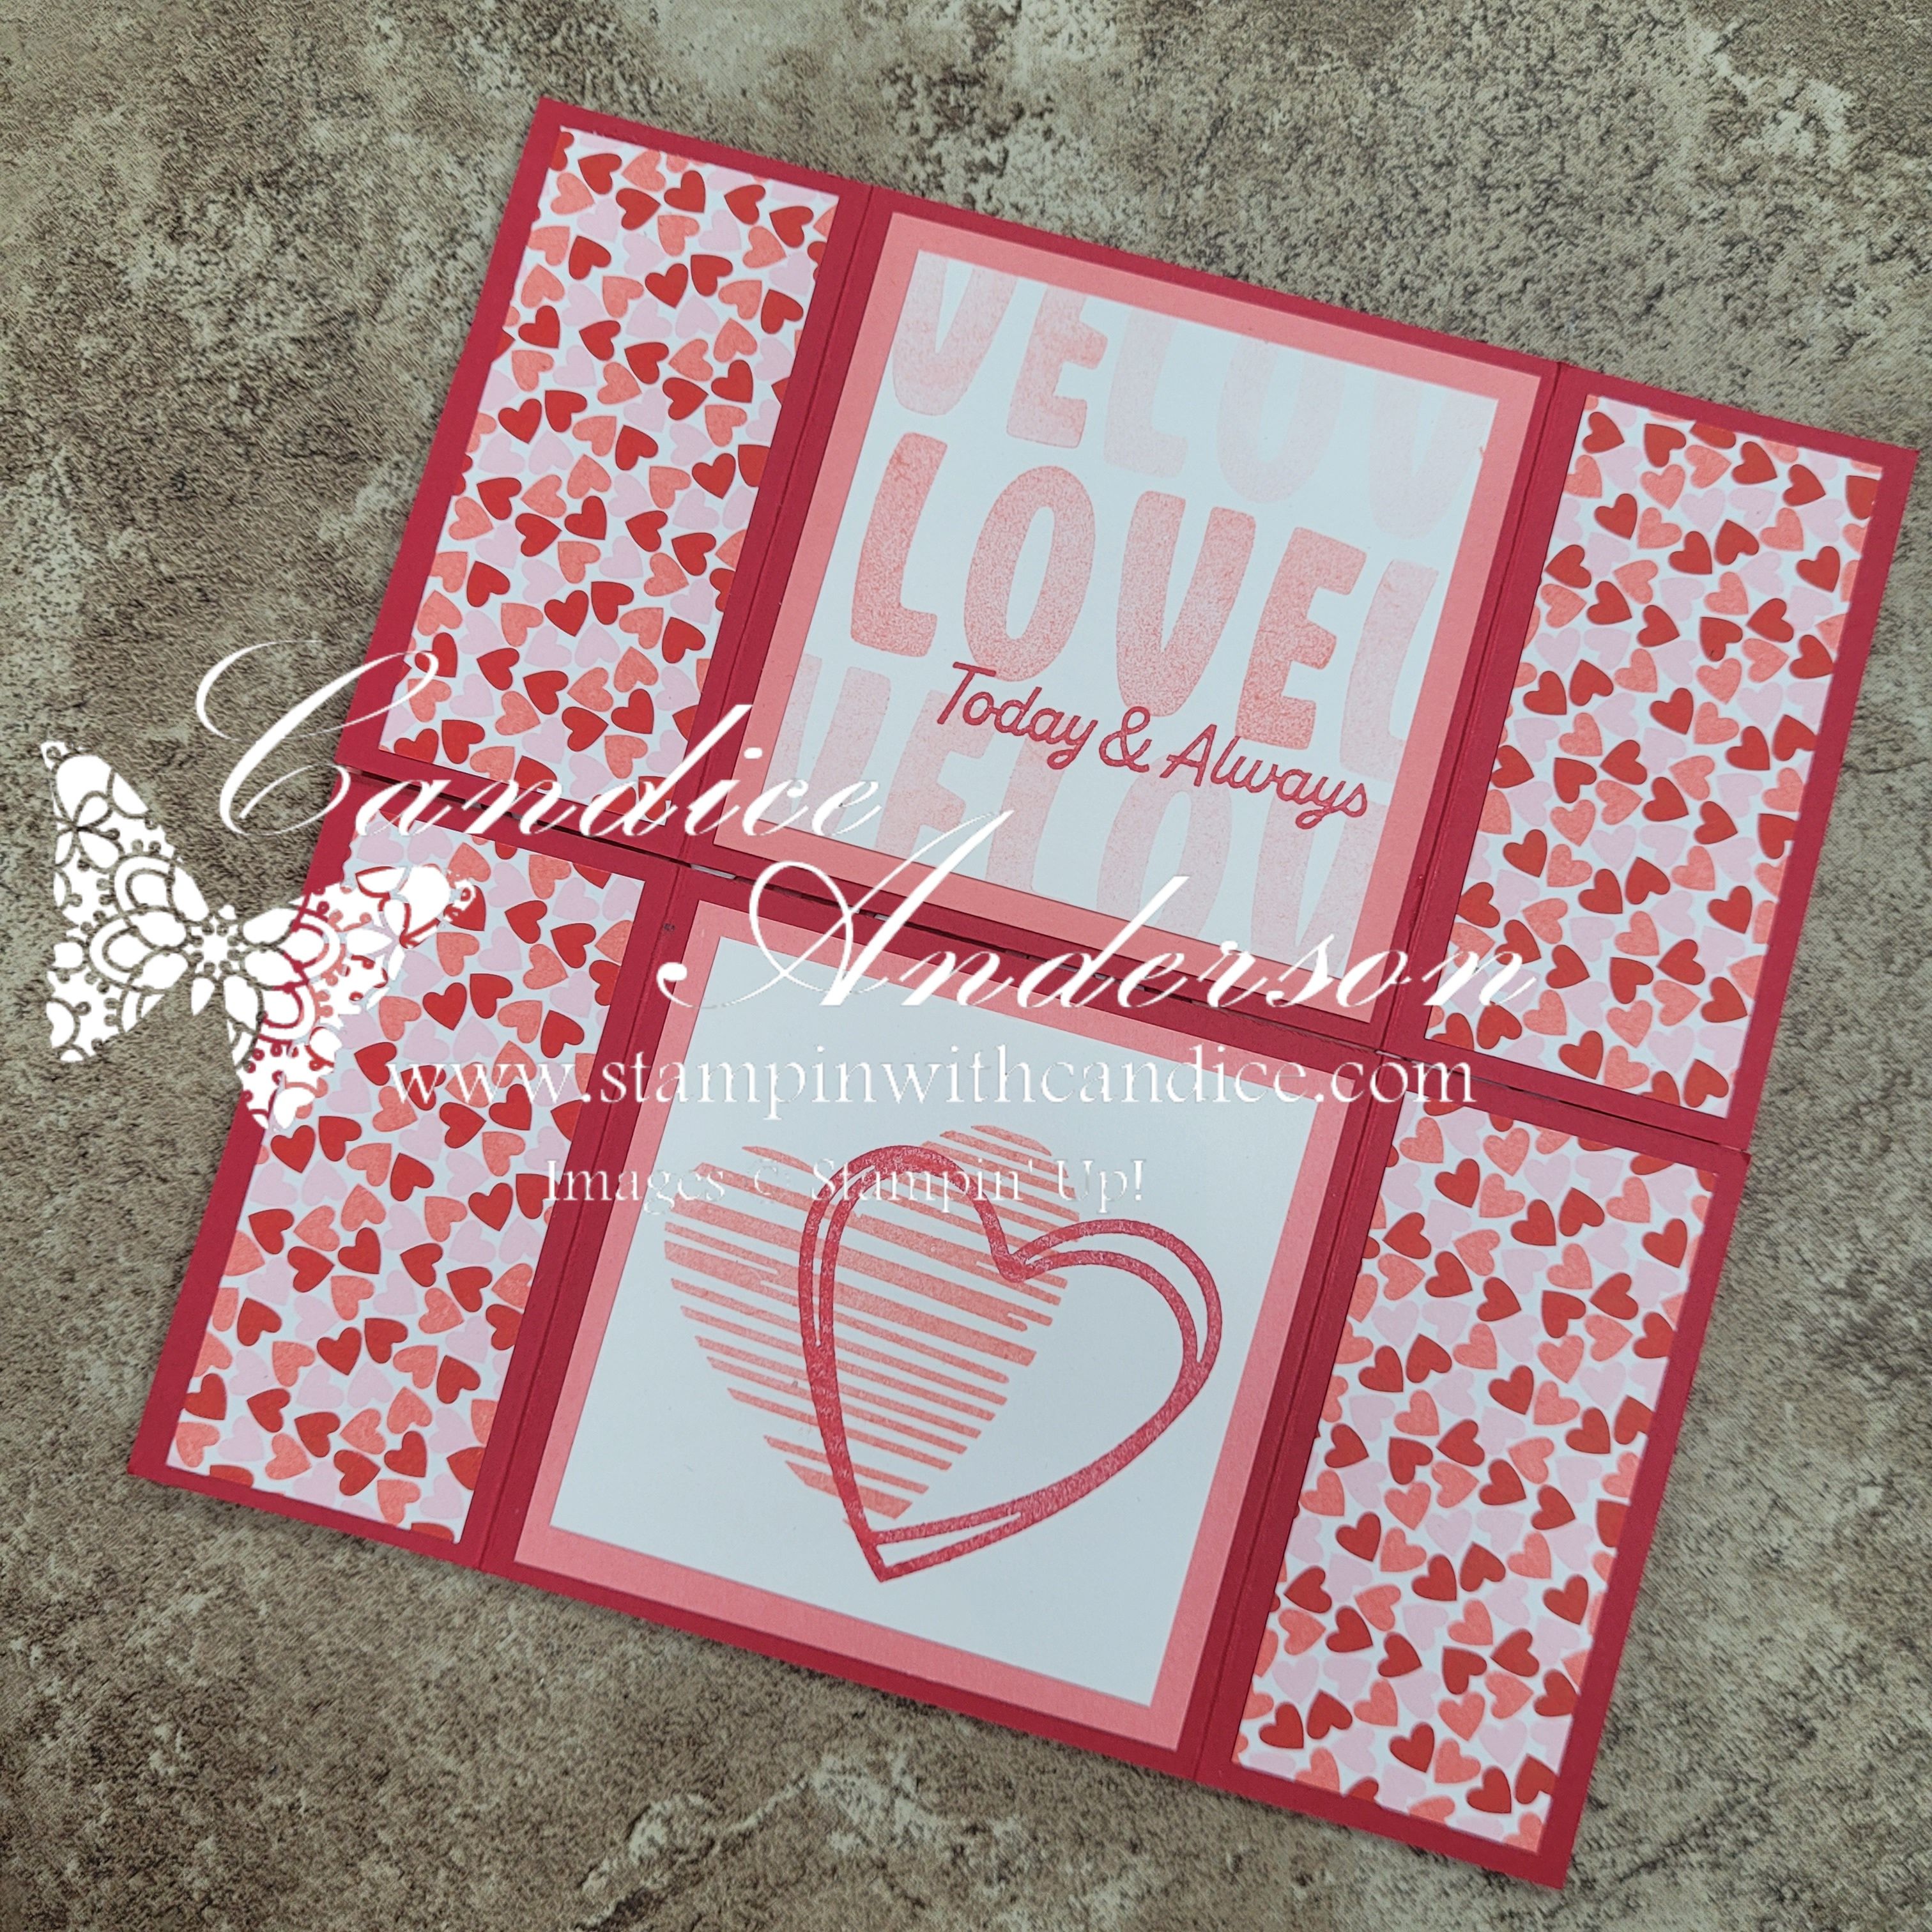
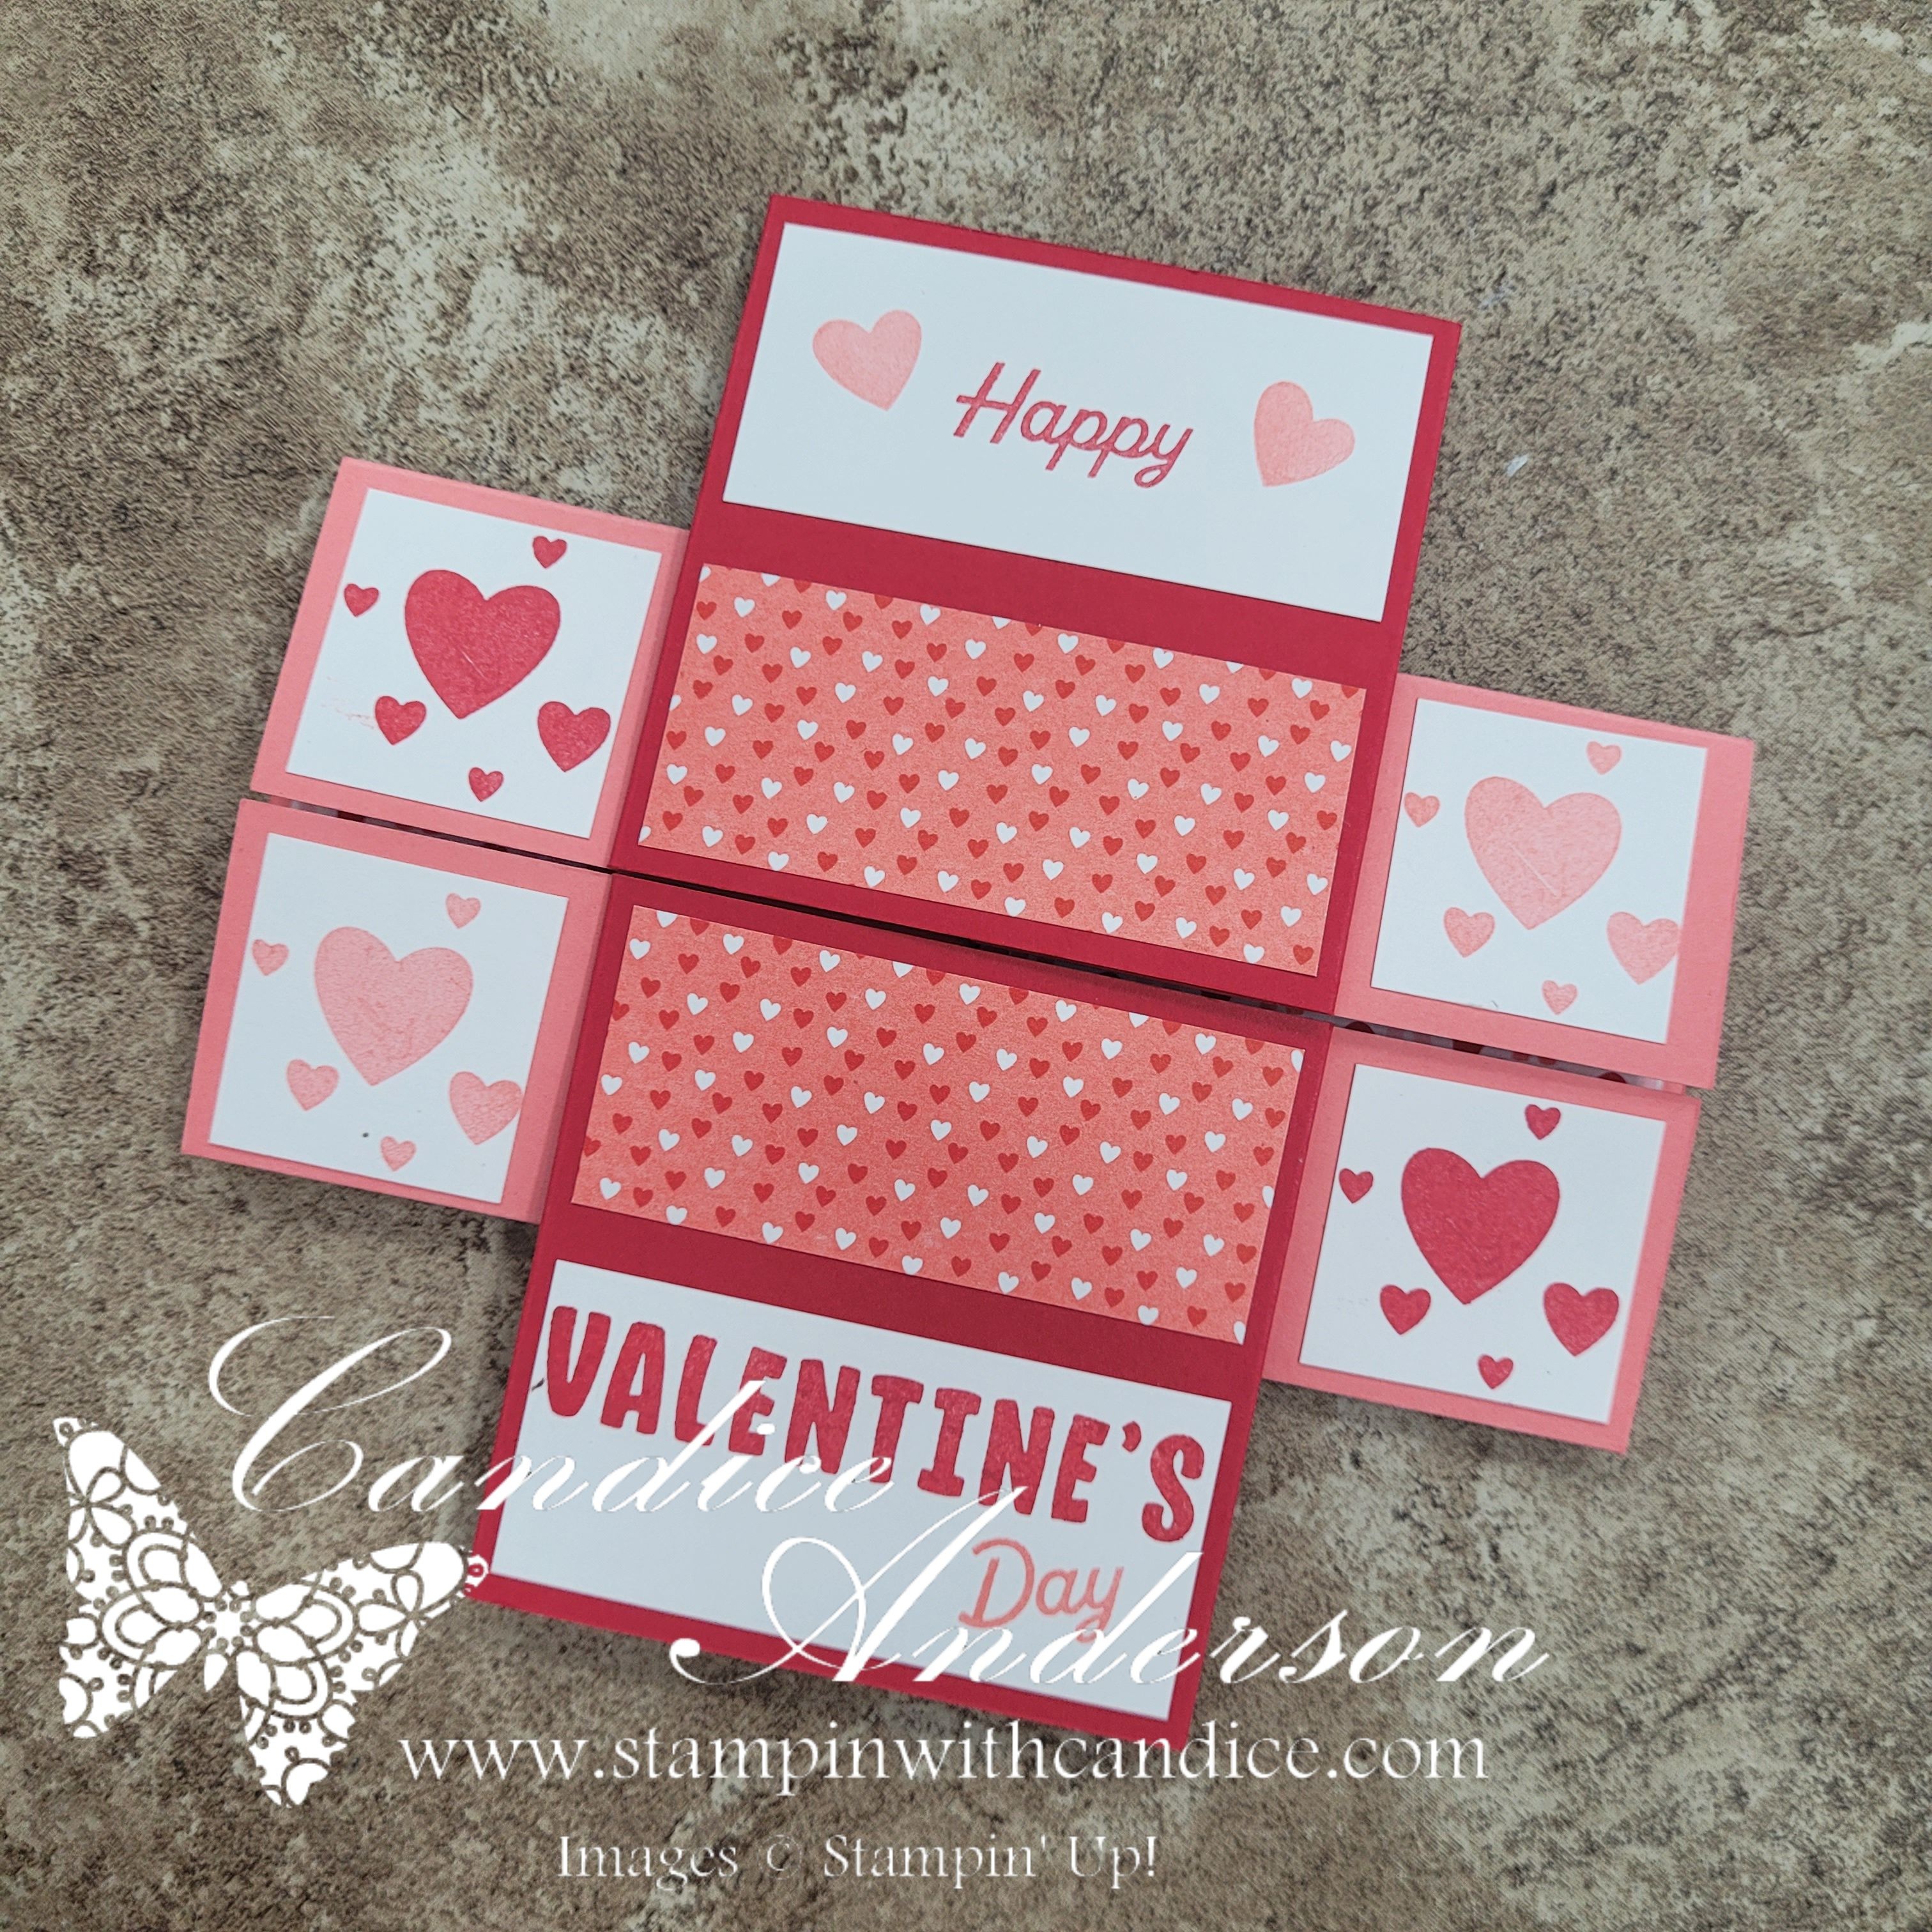
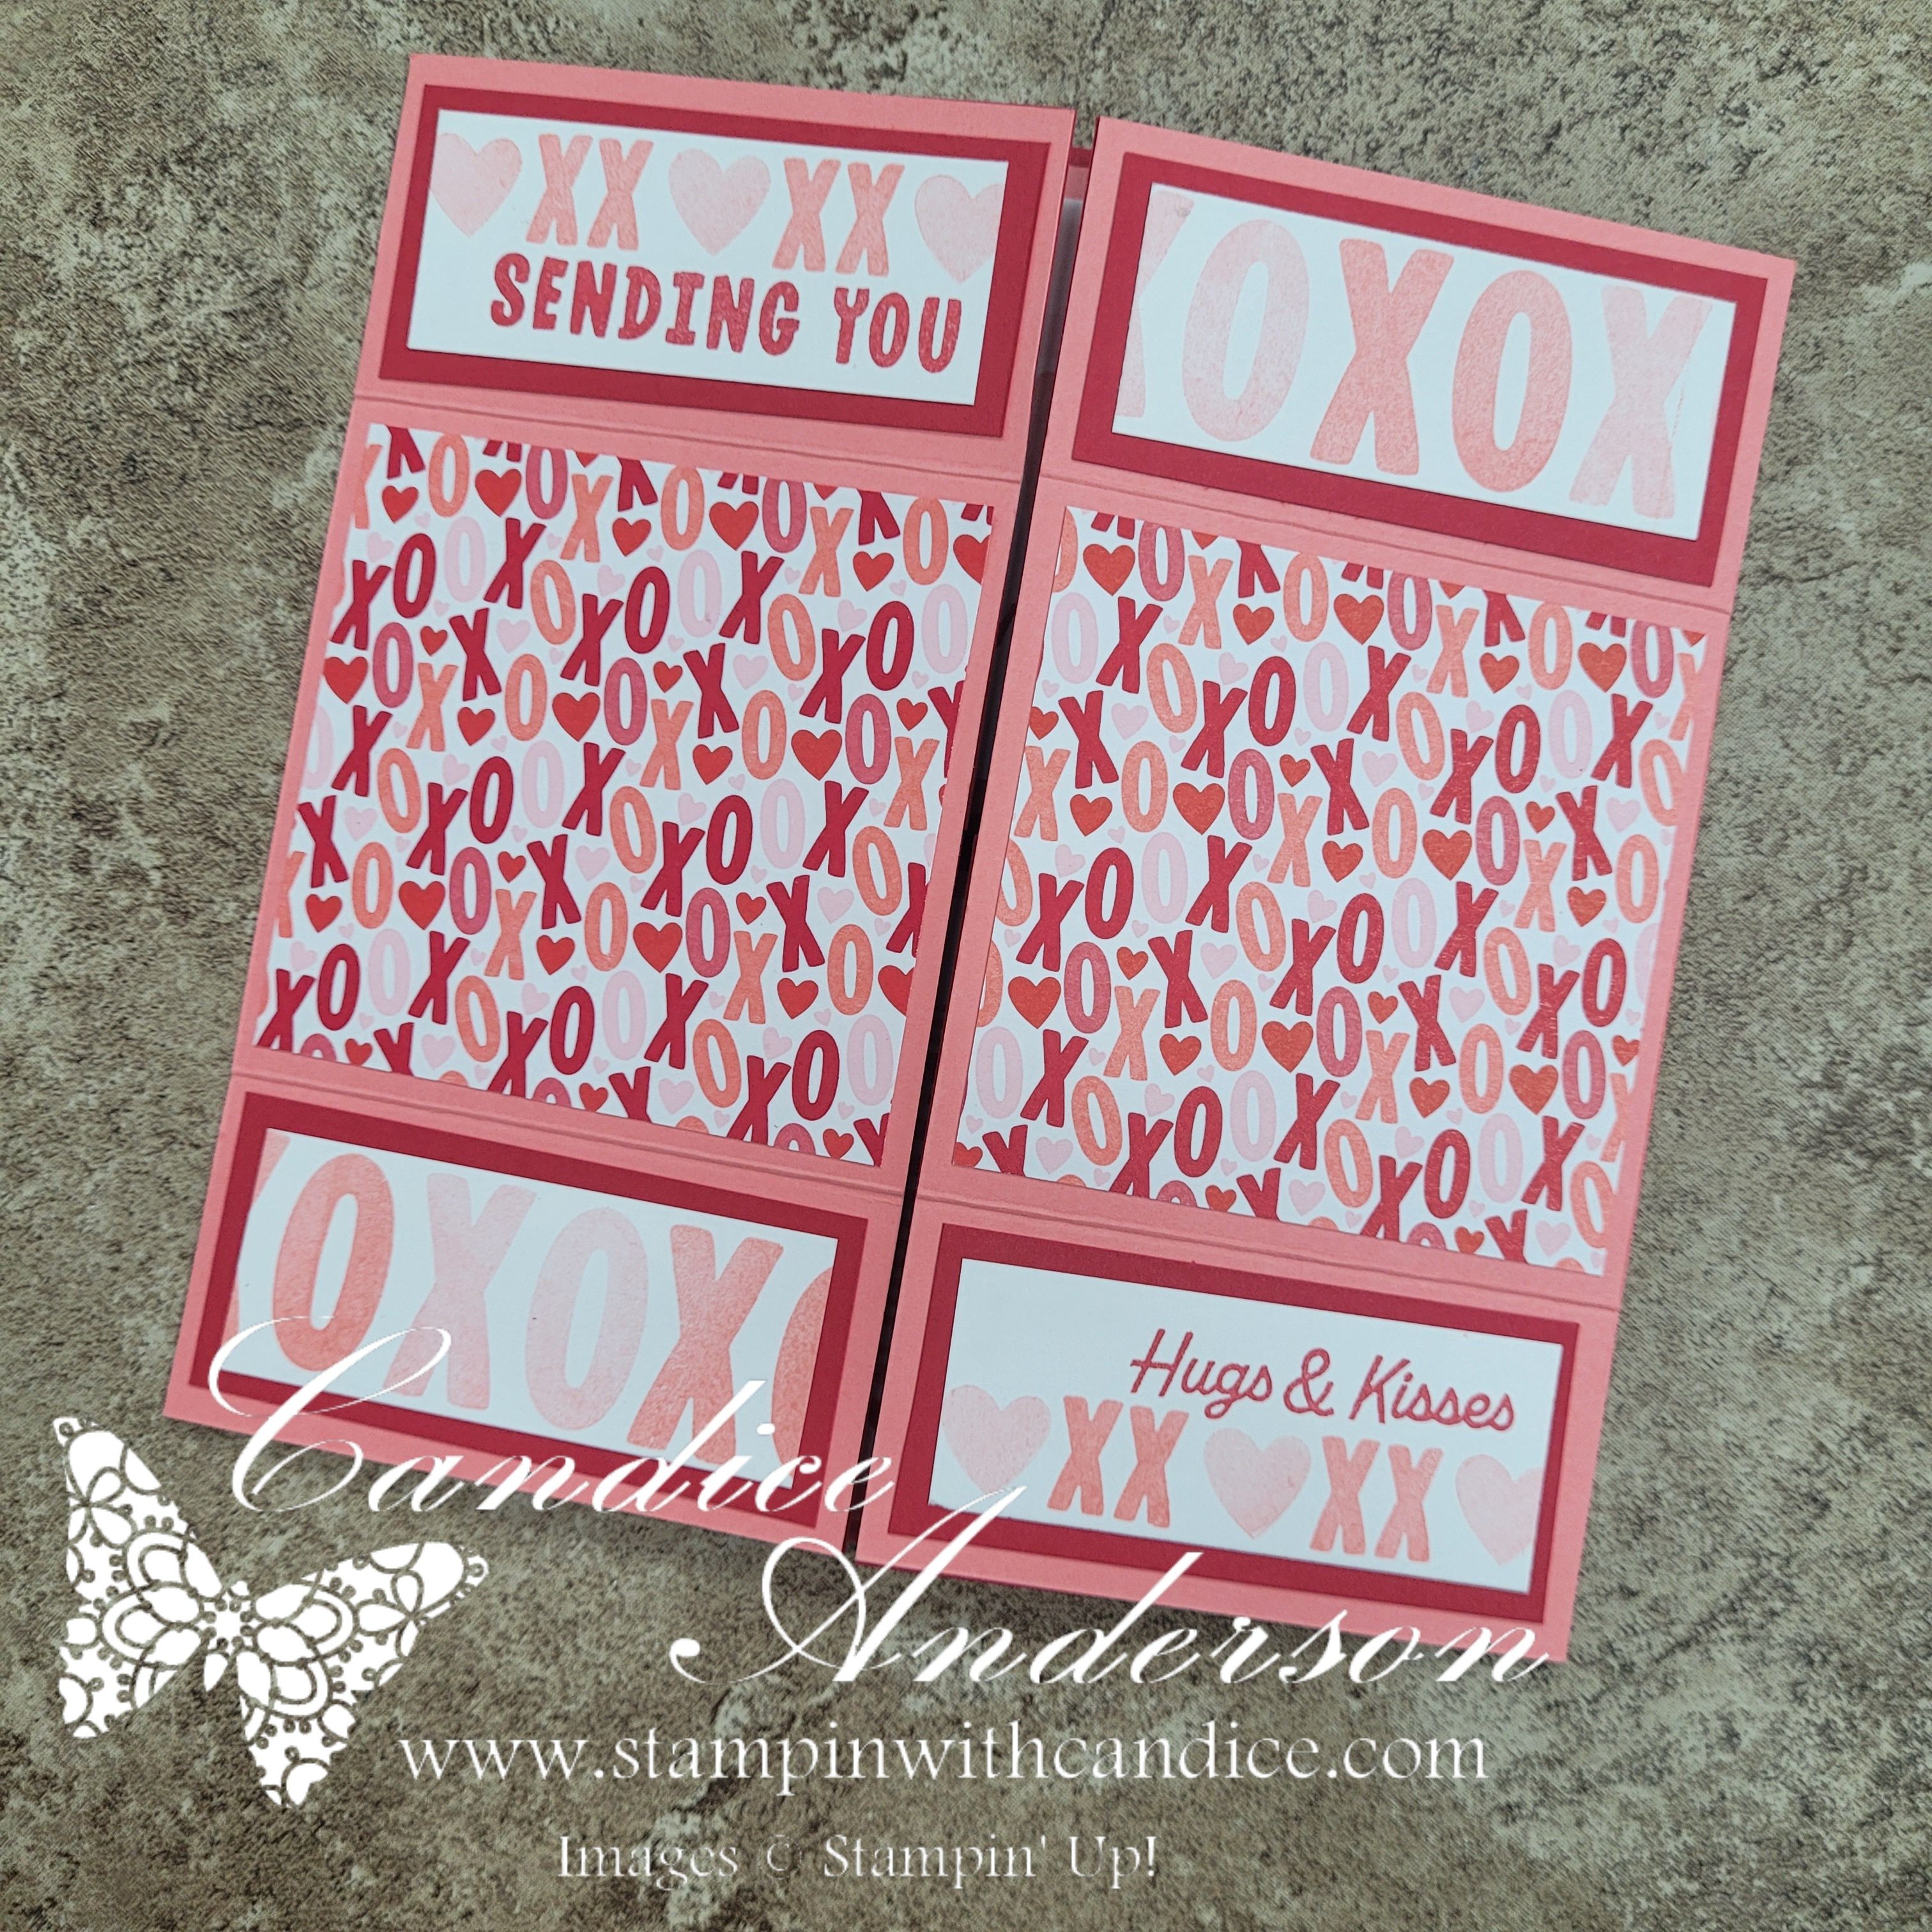
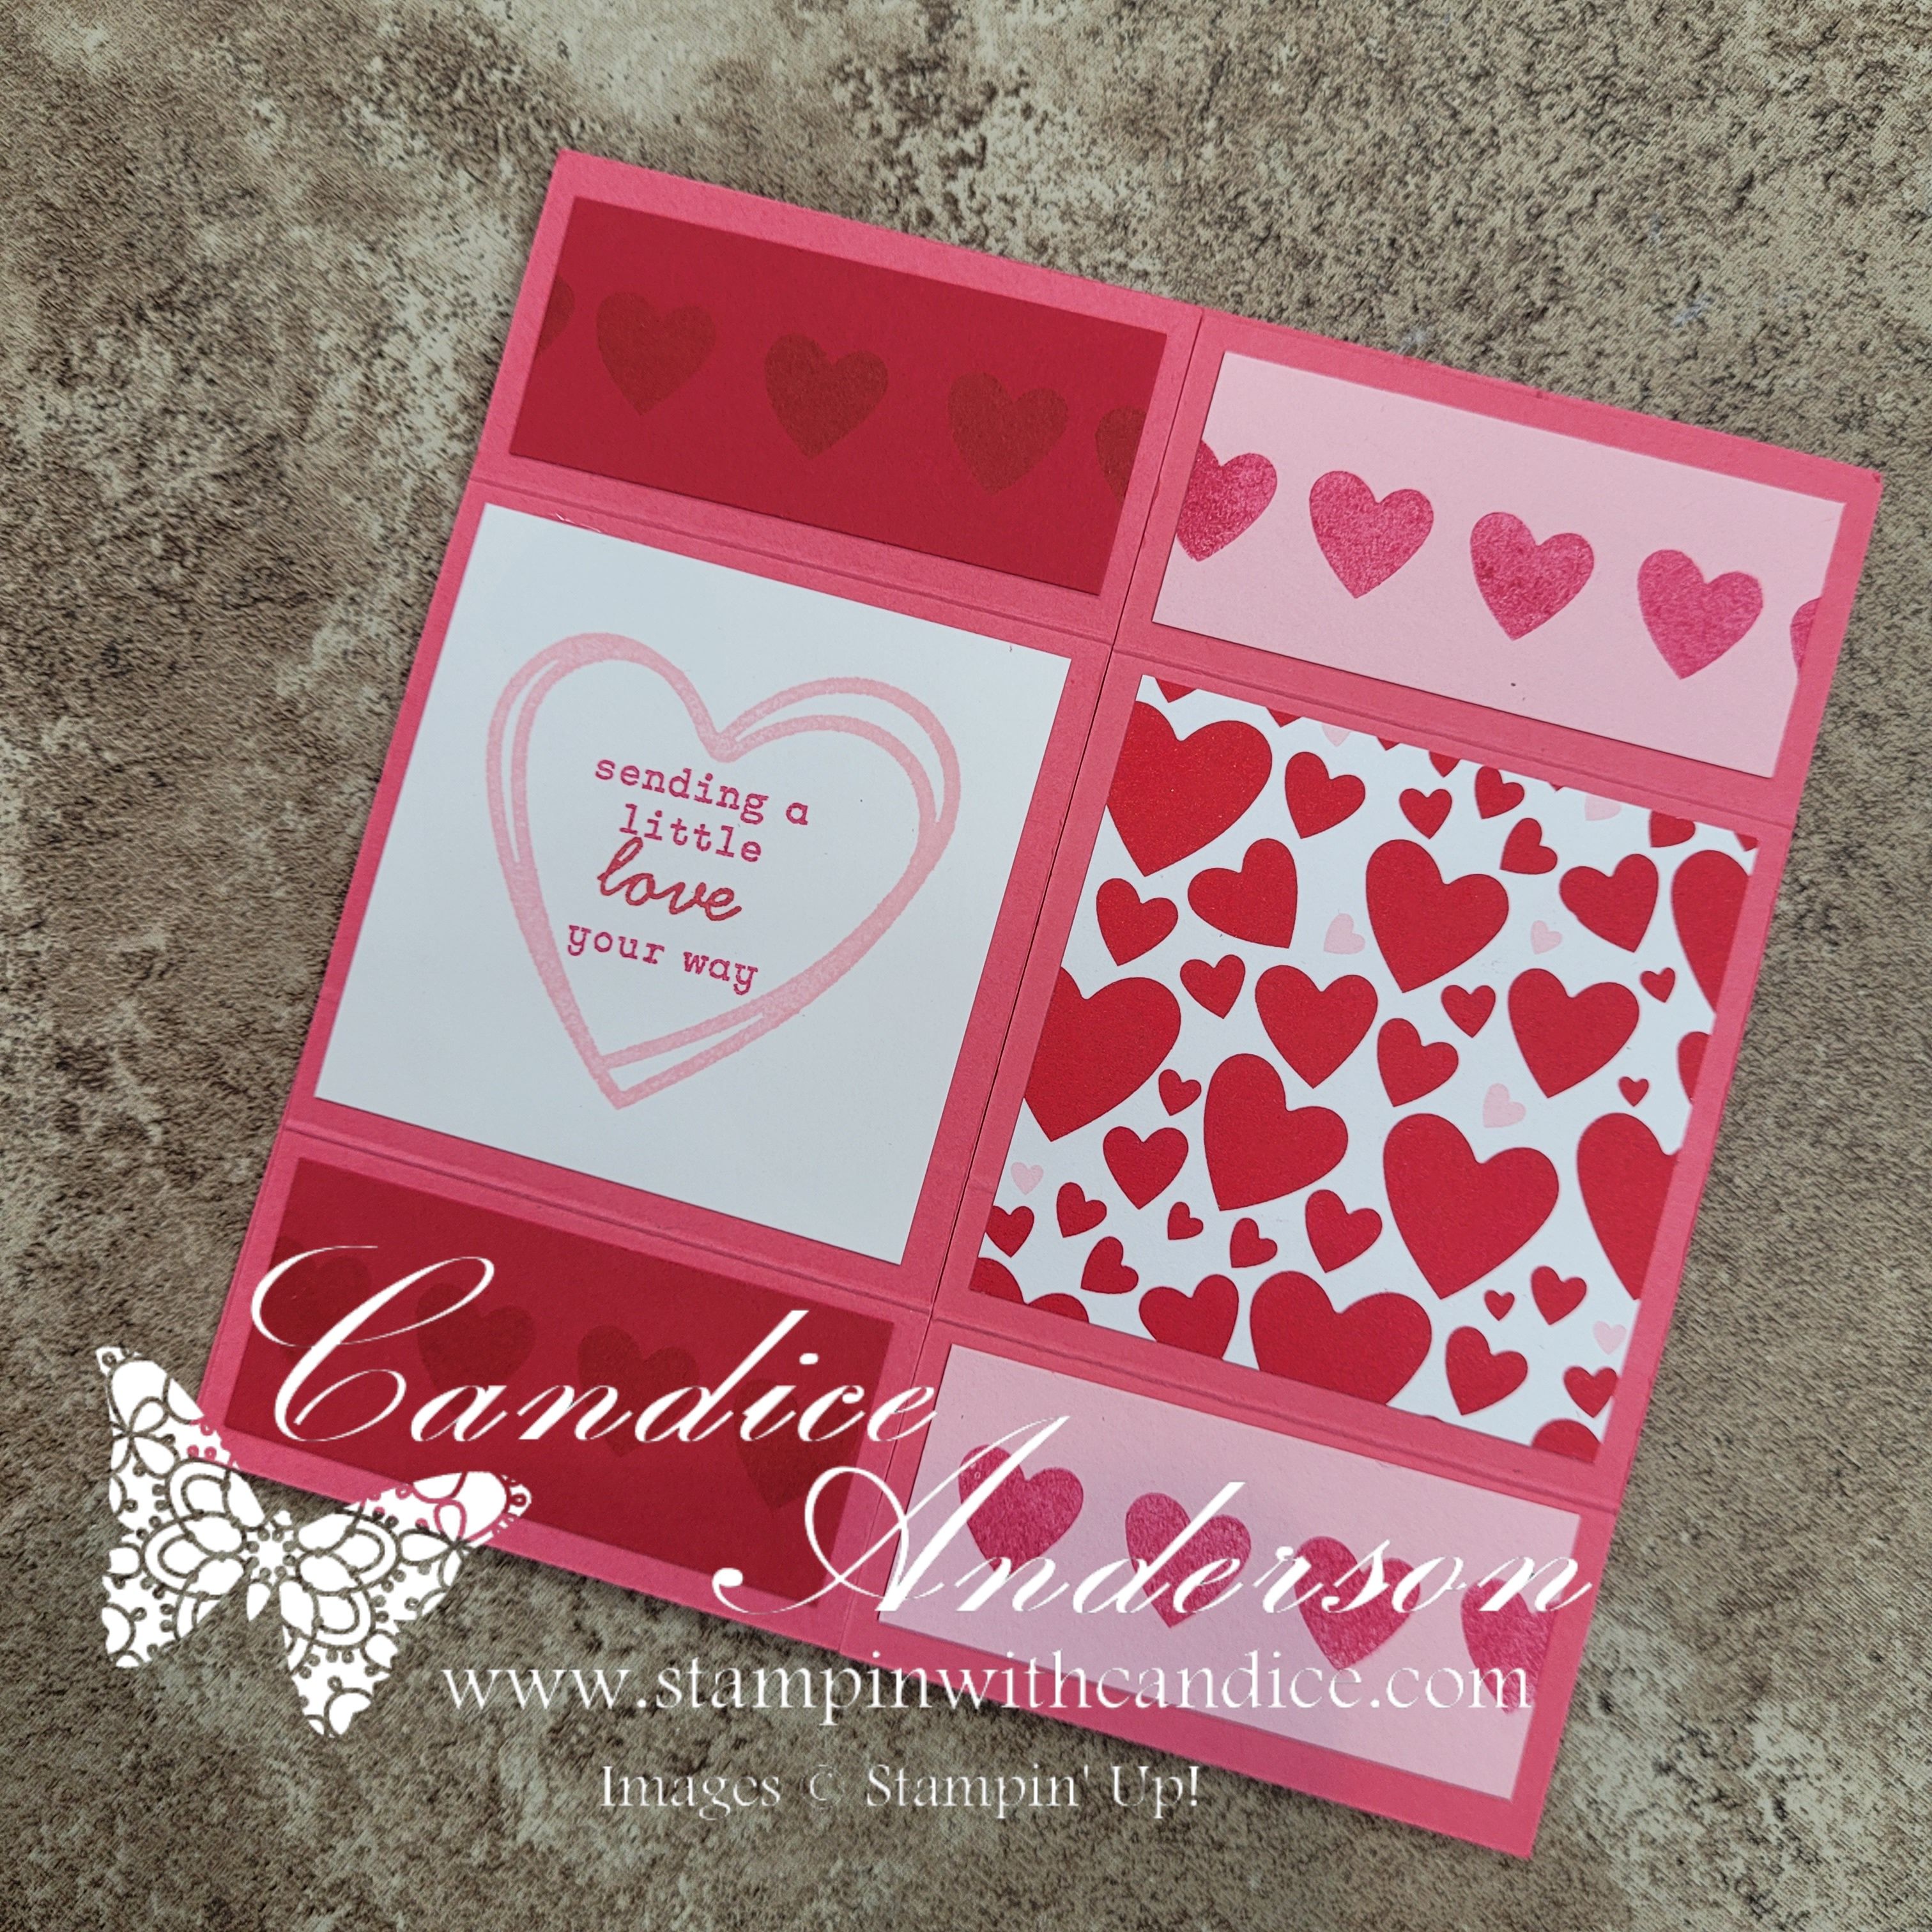
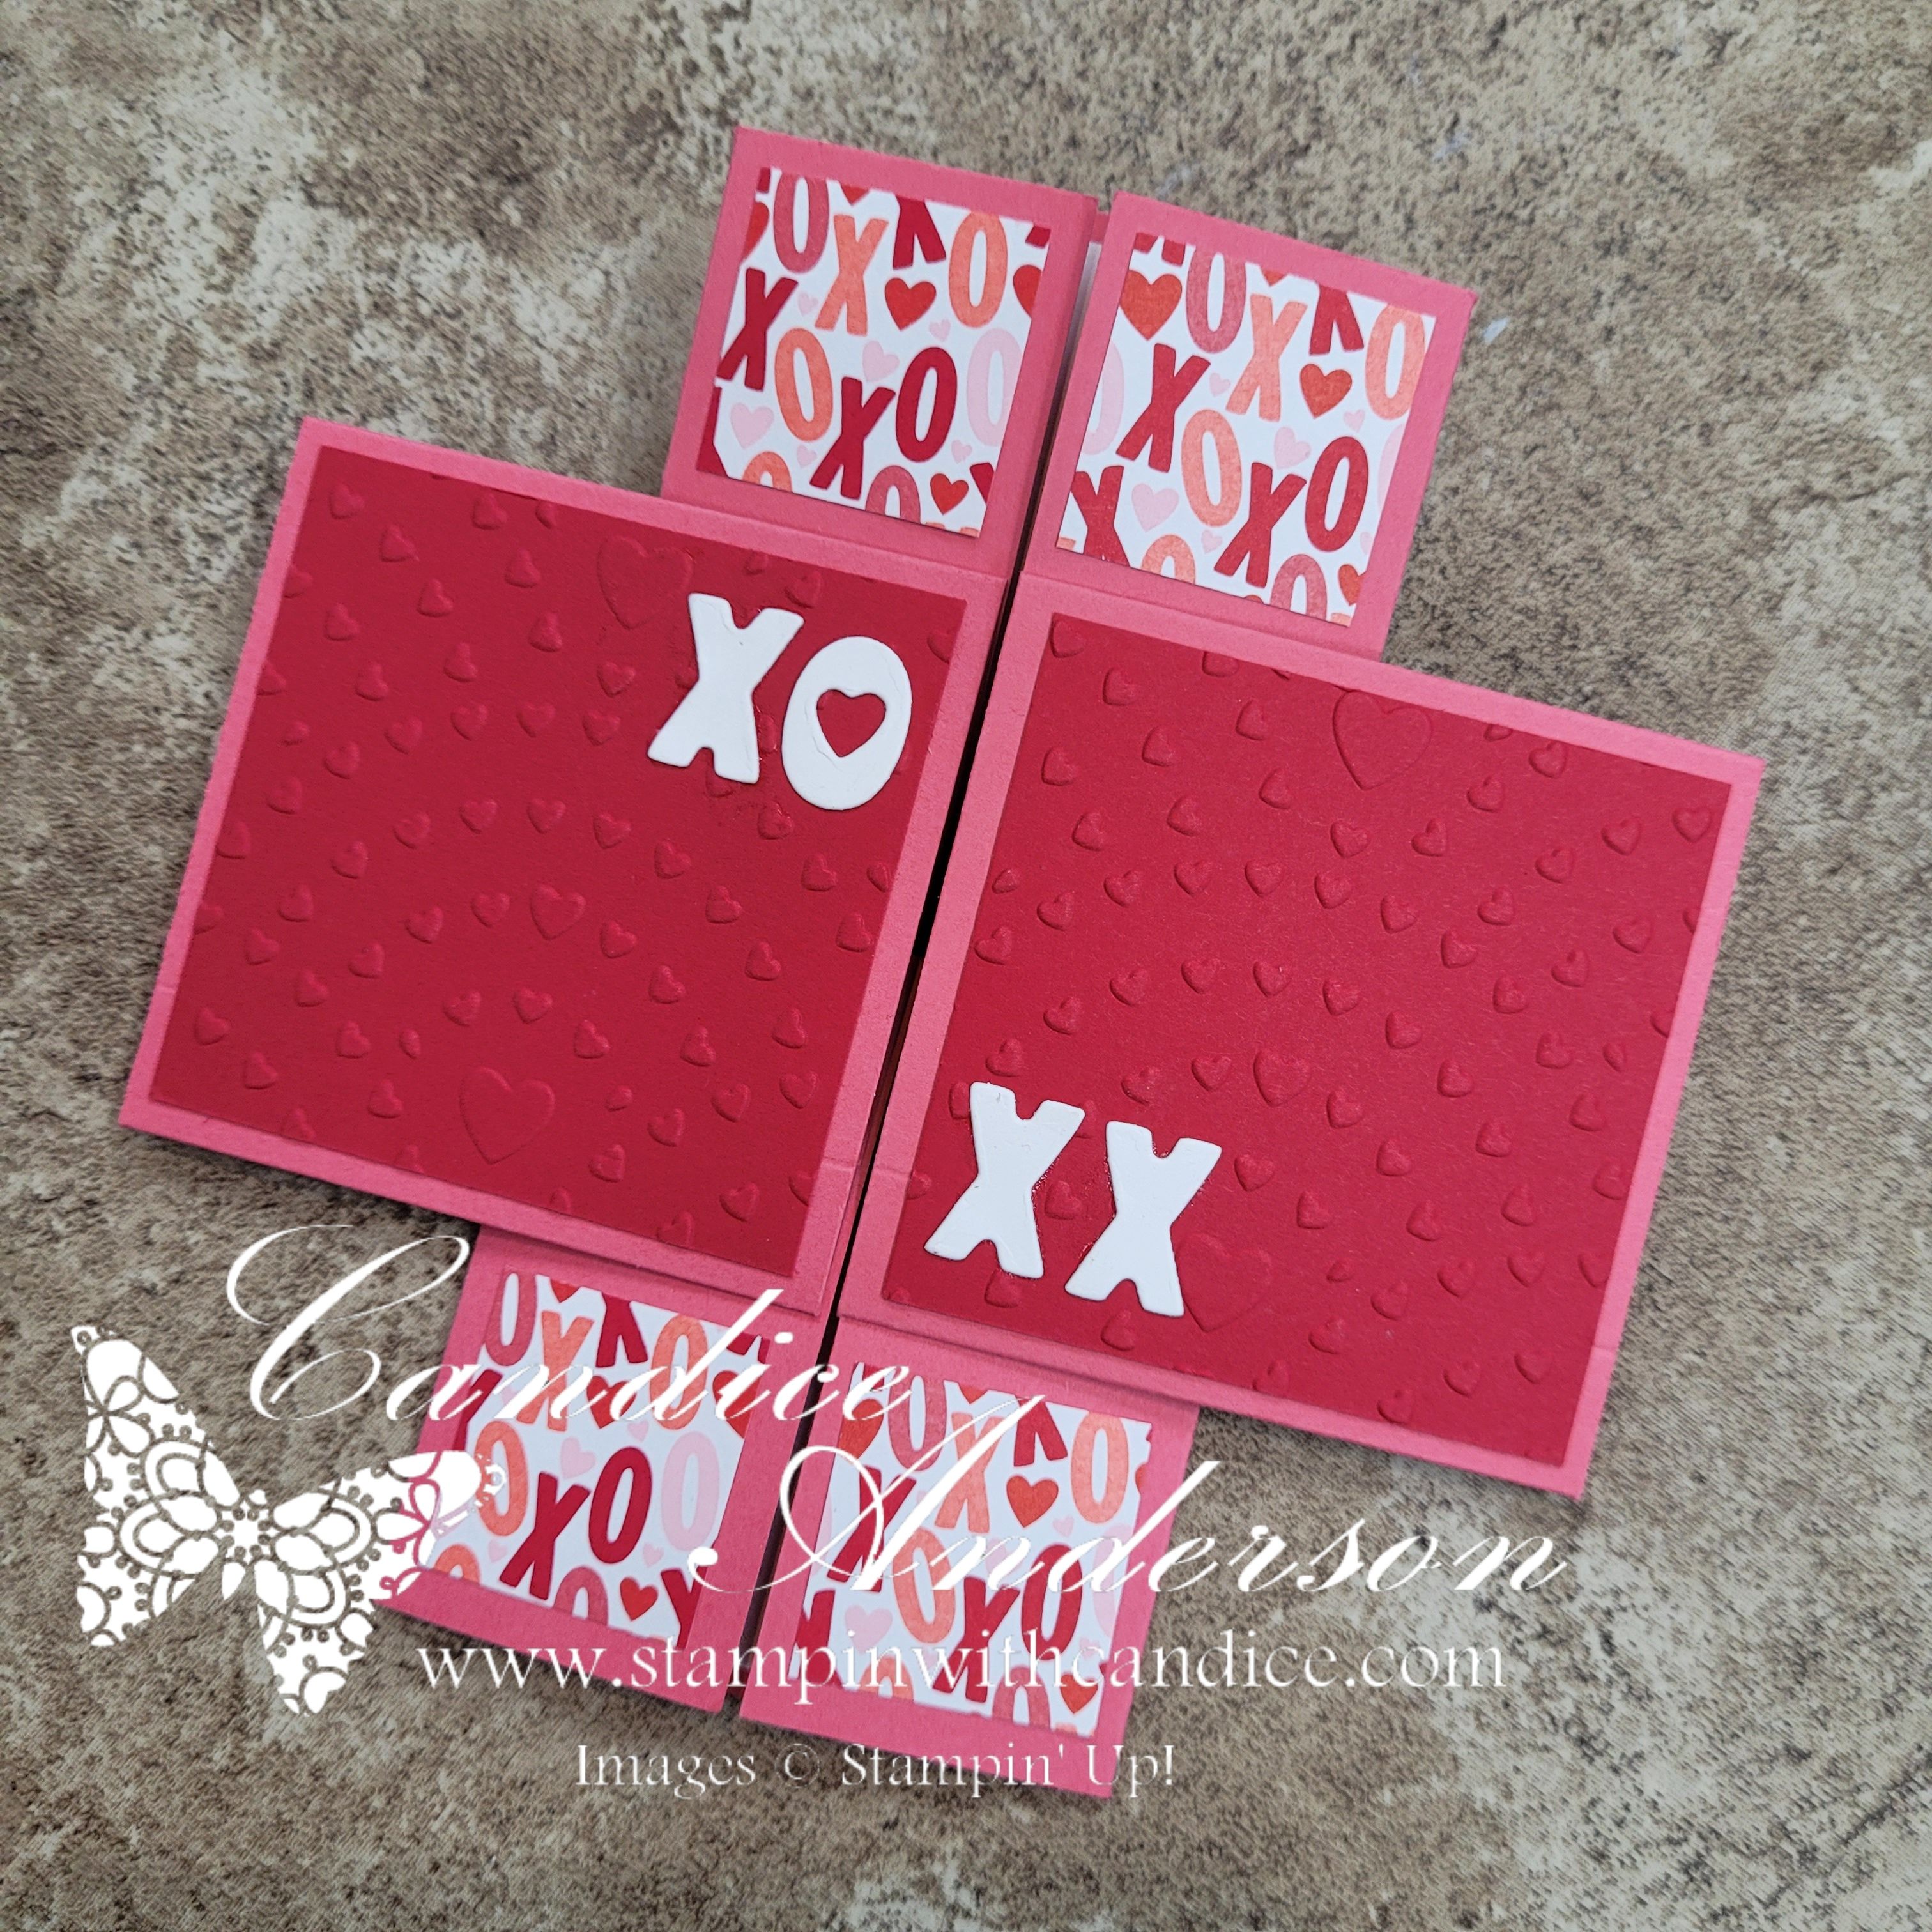
Monday I shared a Never-Ending (Infinity) Card, and let me tell you… this is one of those projects I had seen before but was always a little intimidated to try. Turns out? It’s way easier than it looks—especially thanks to a fantastic tutorial I found by Karey Titus.

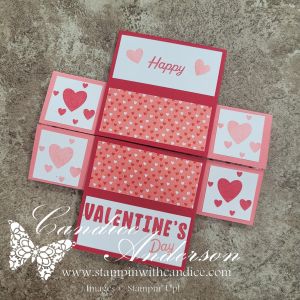
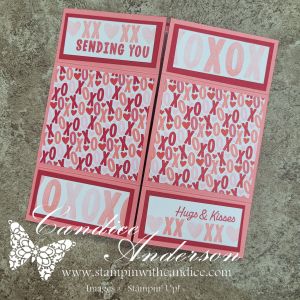
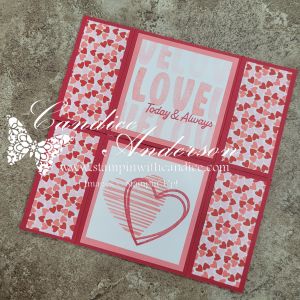
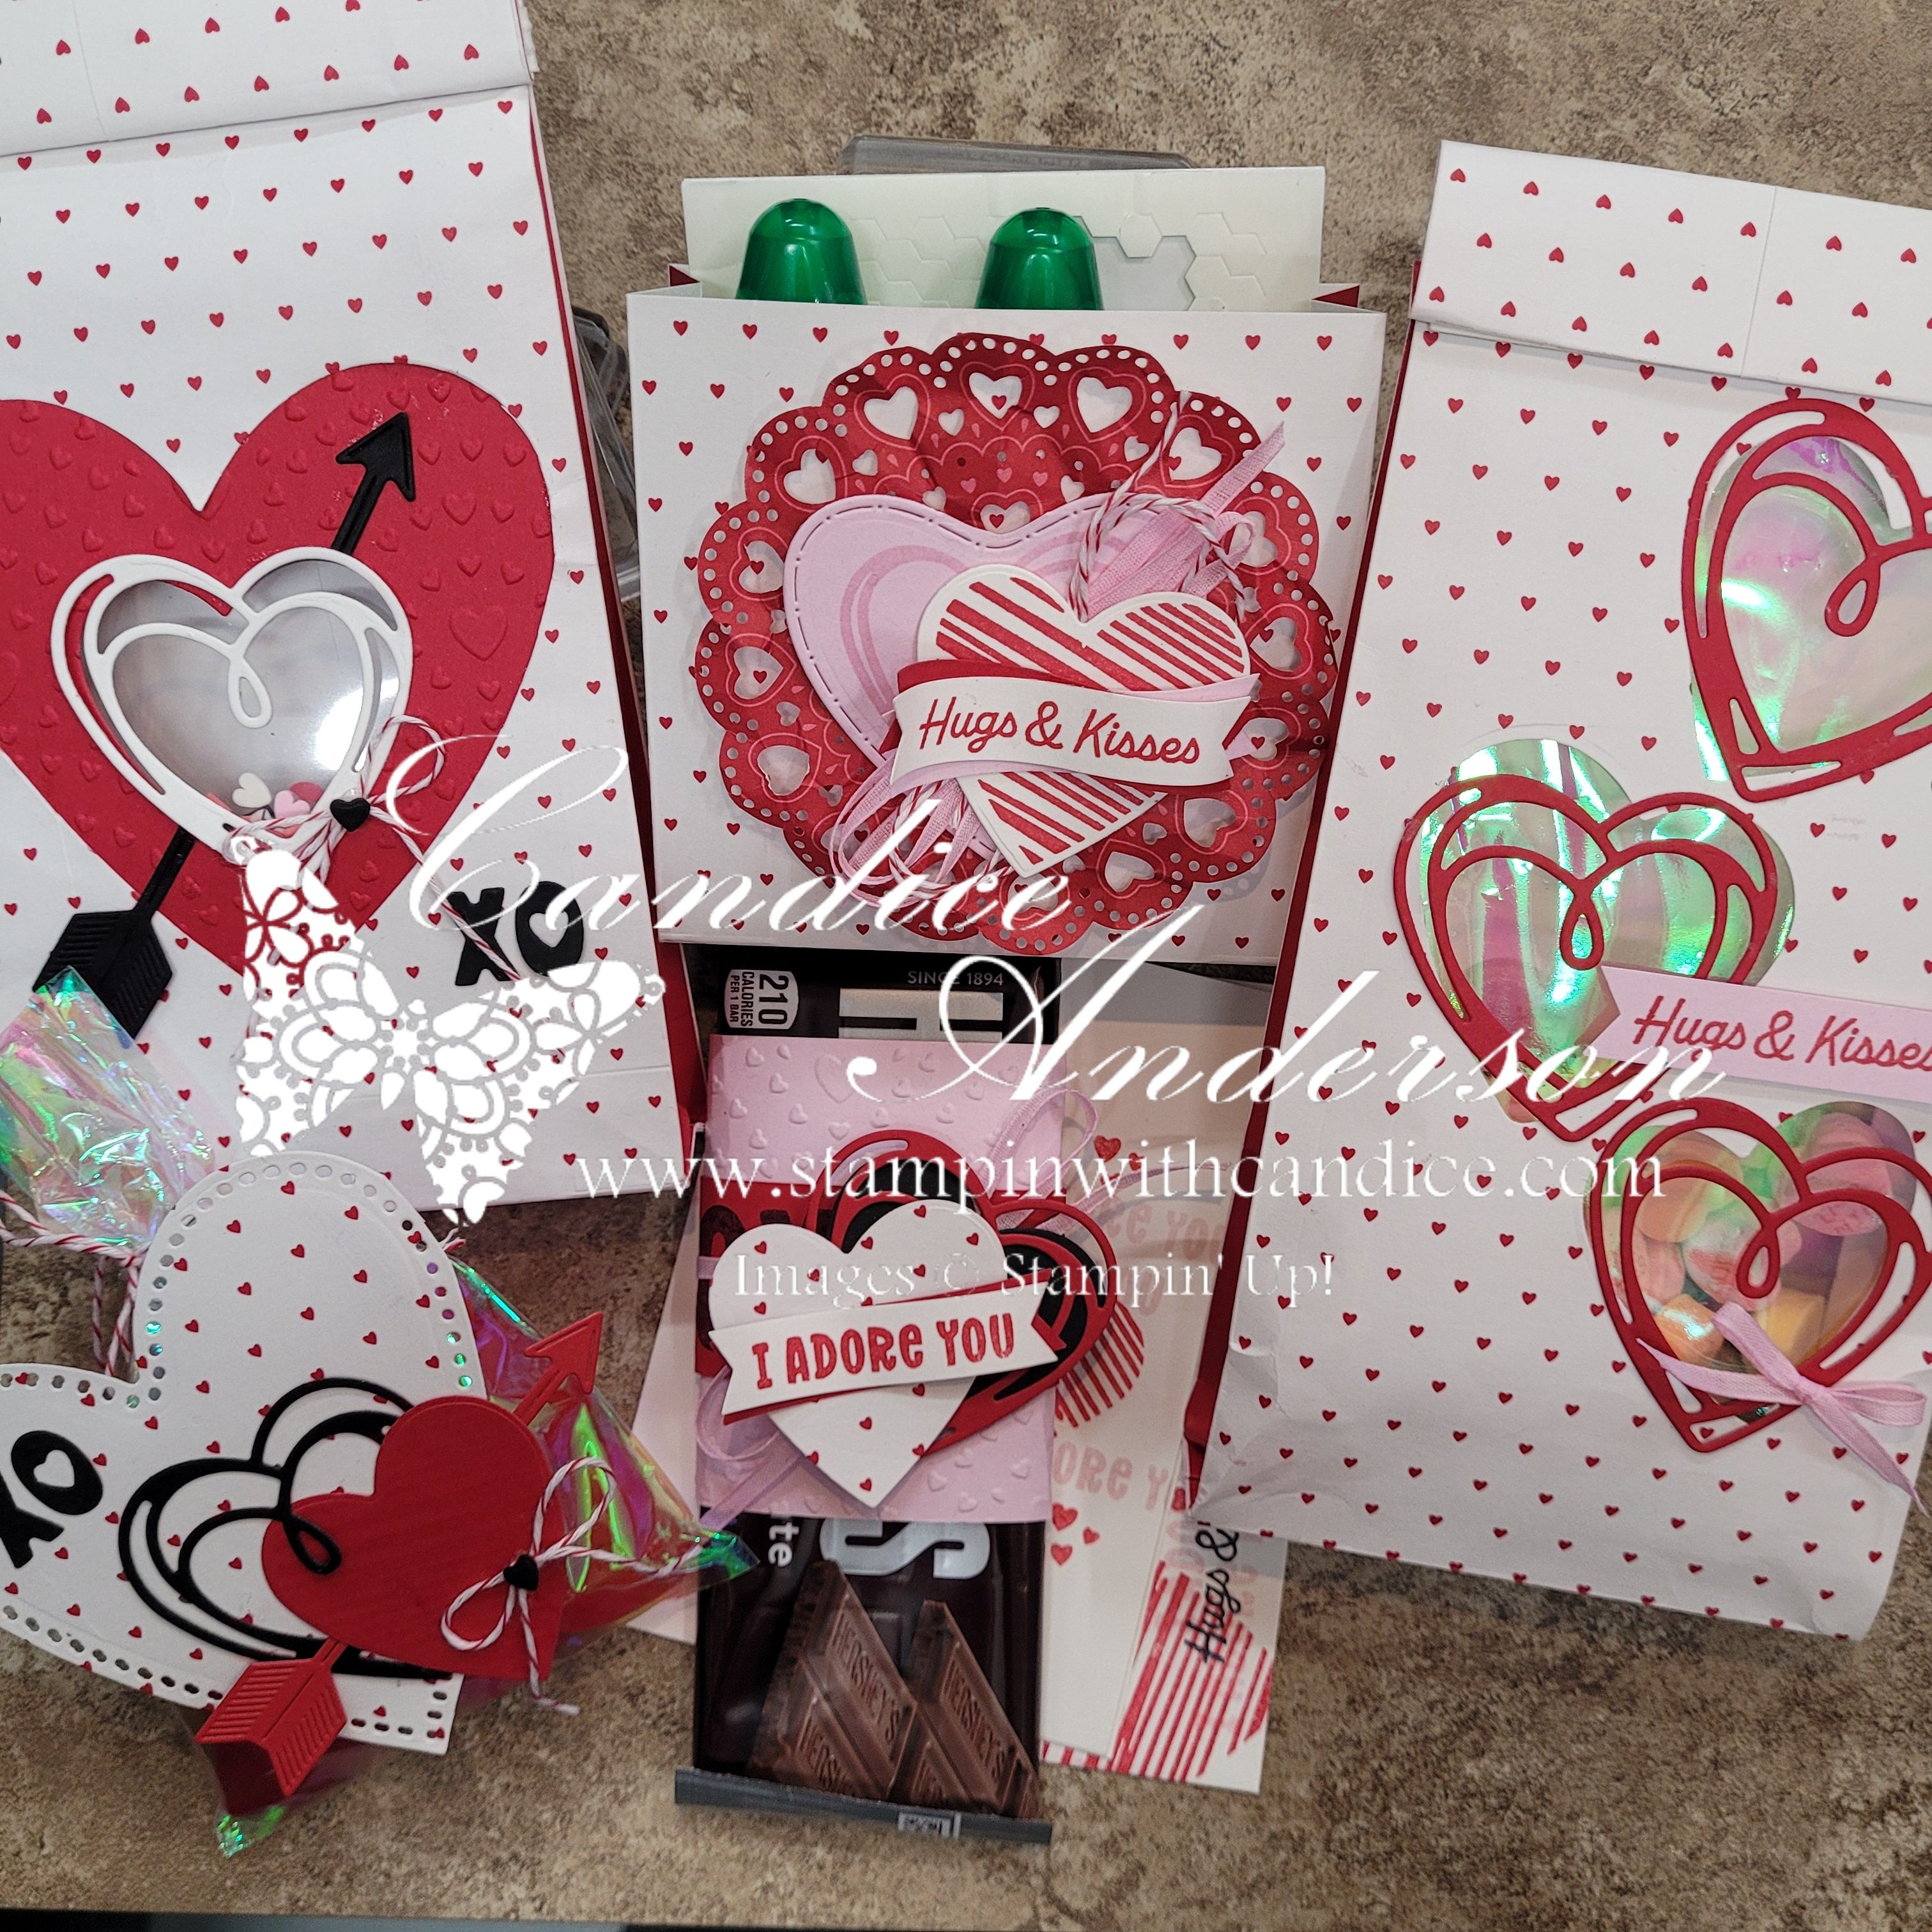
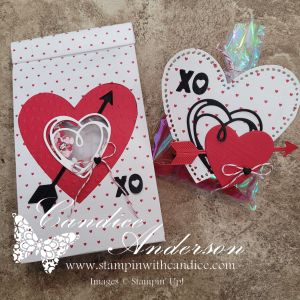
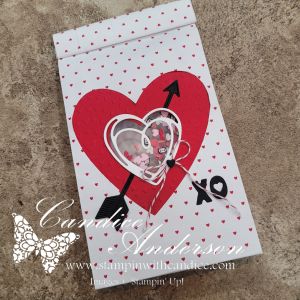
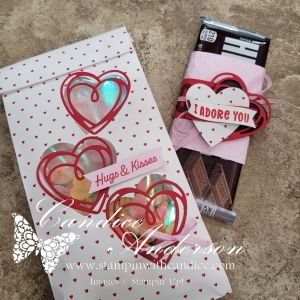
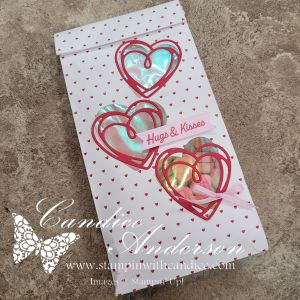
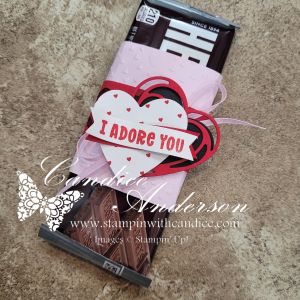
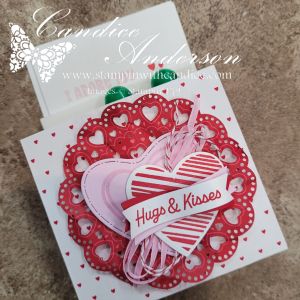
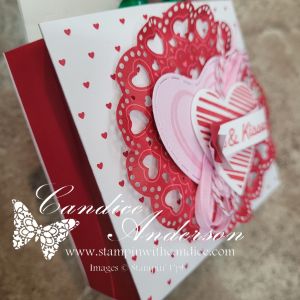
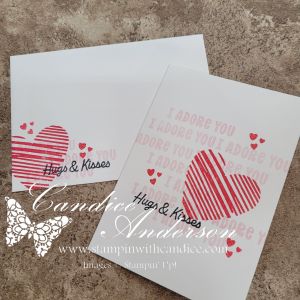
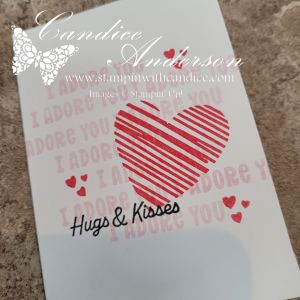
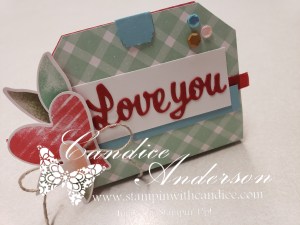
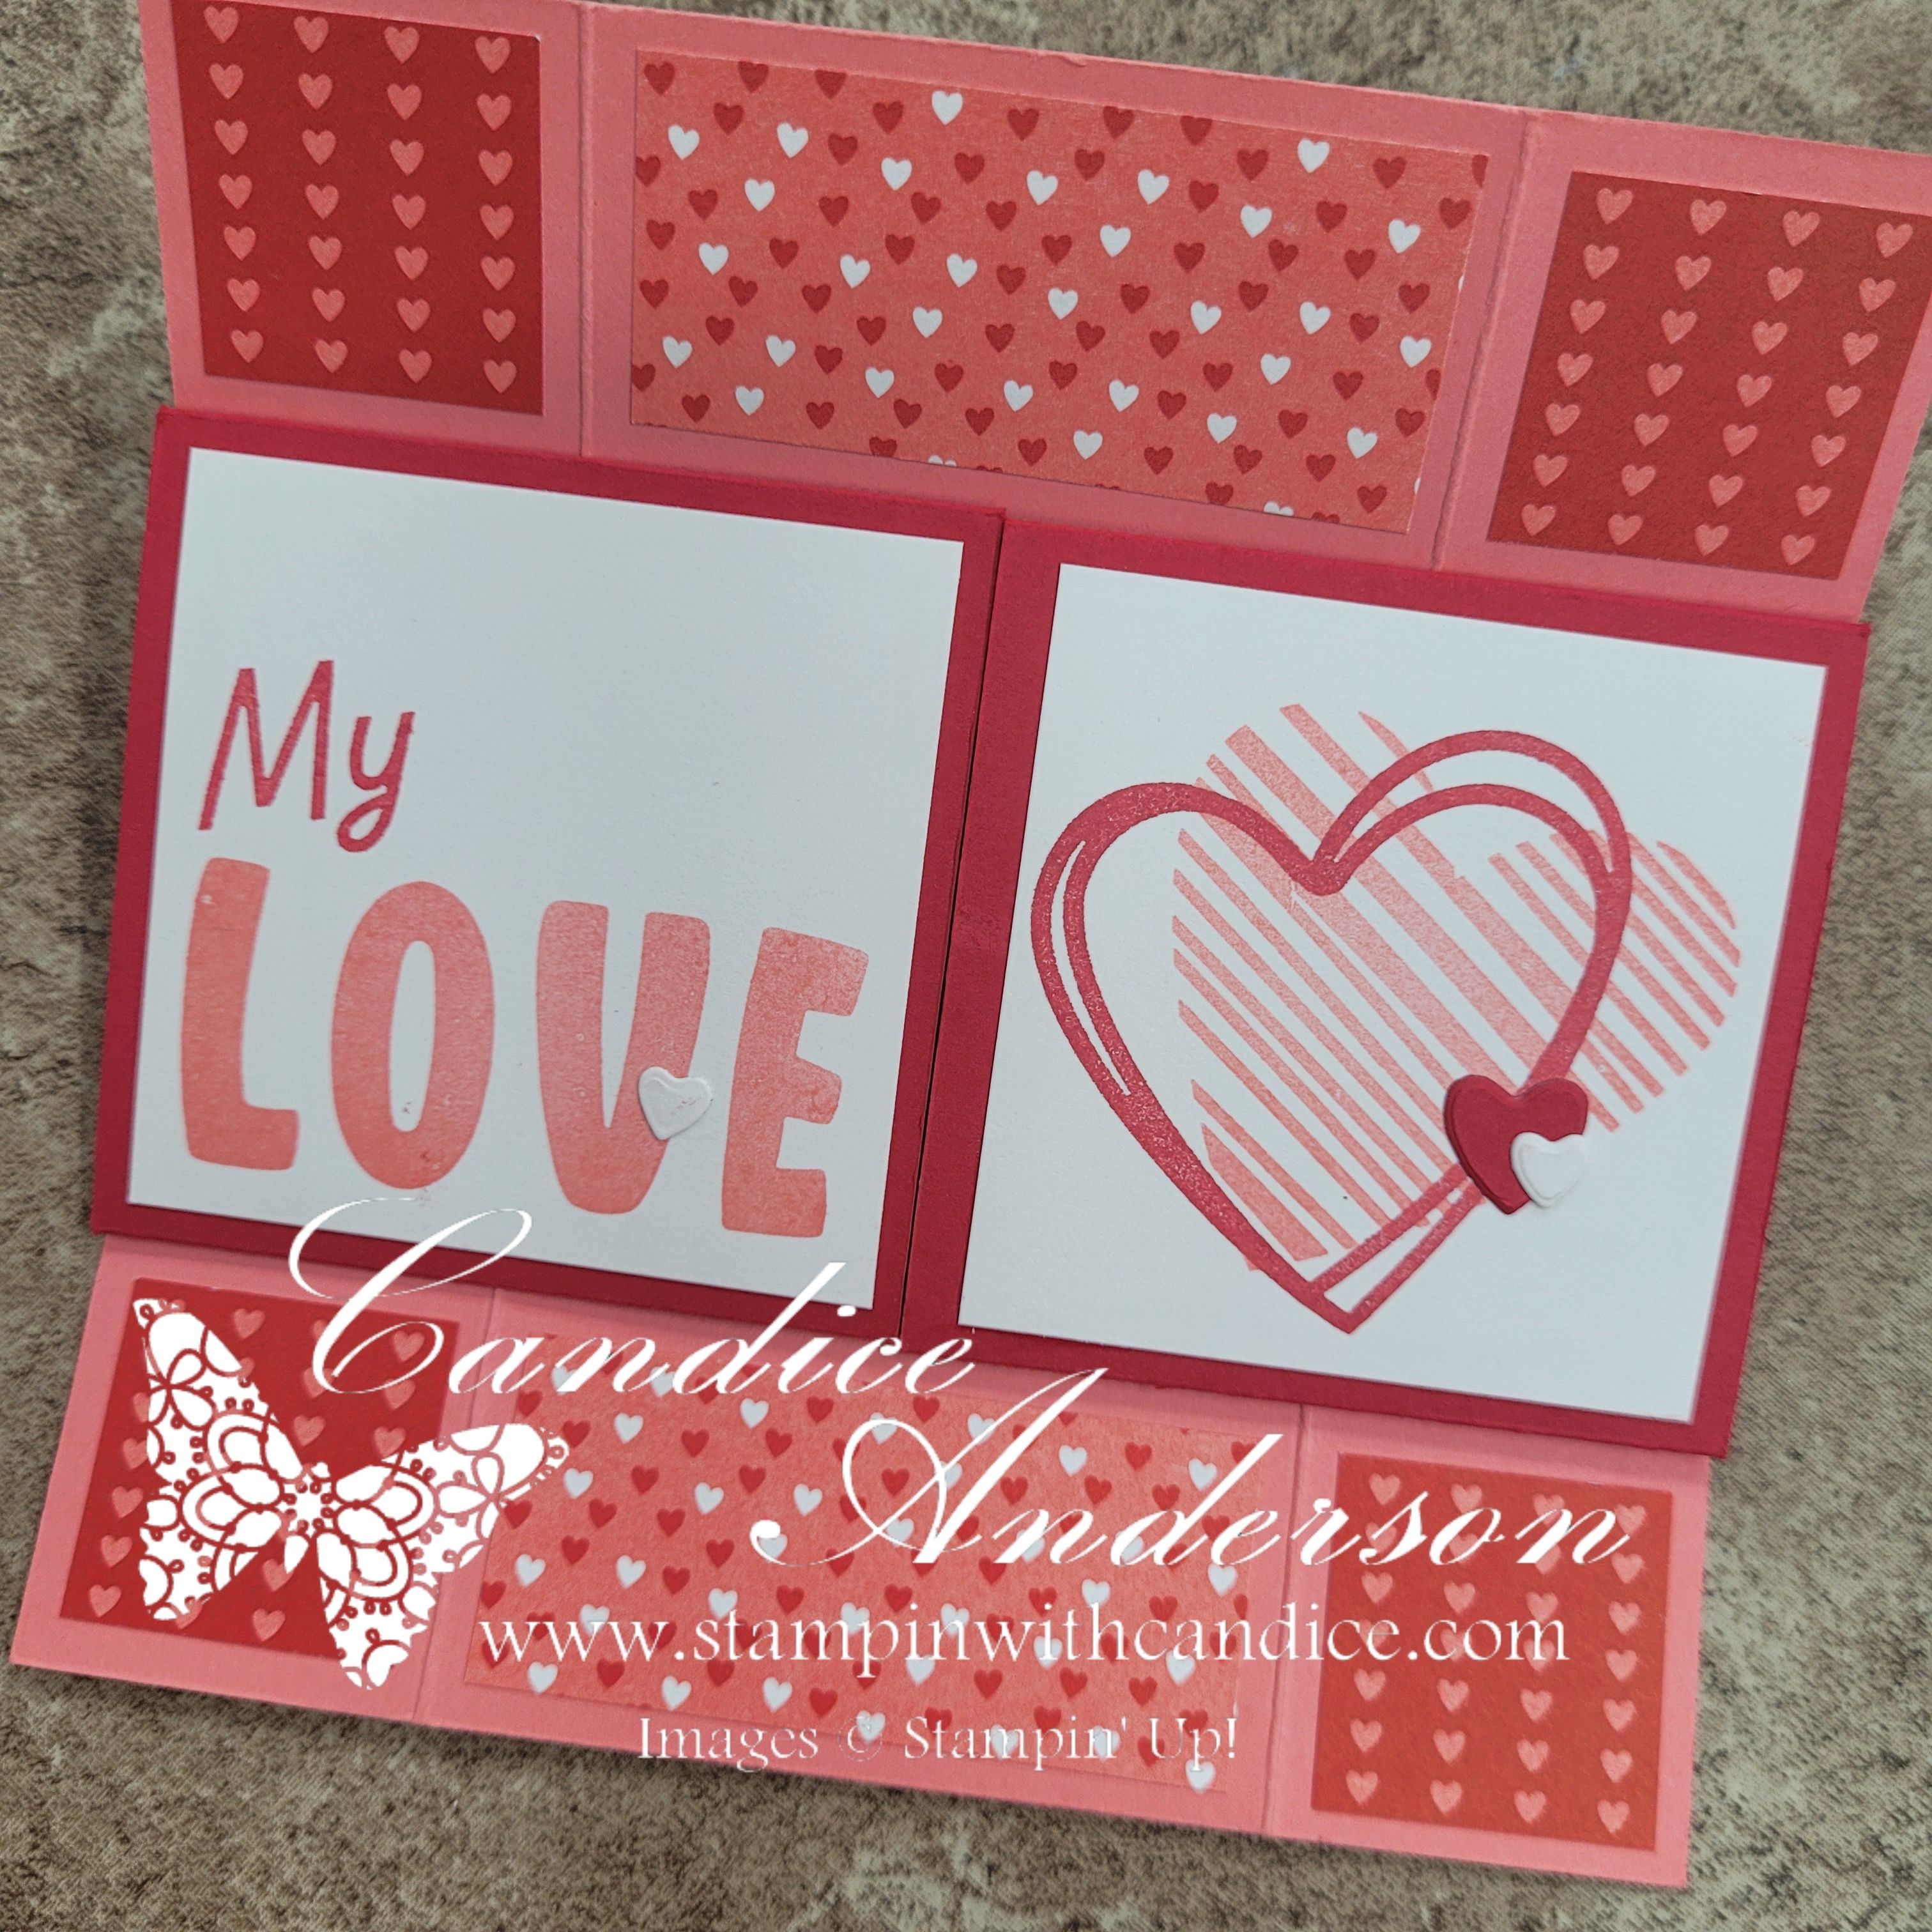
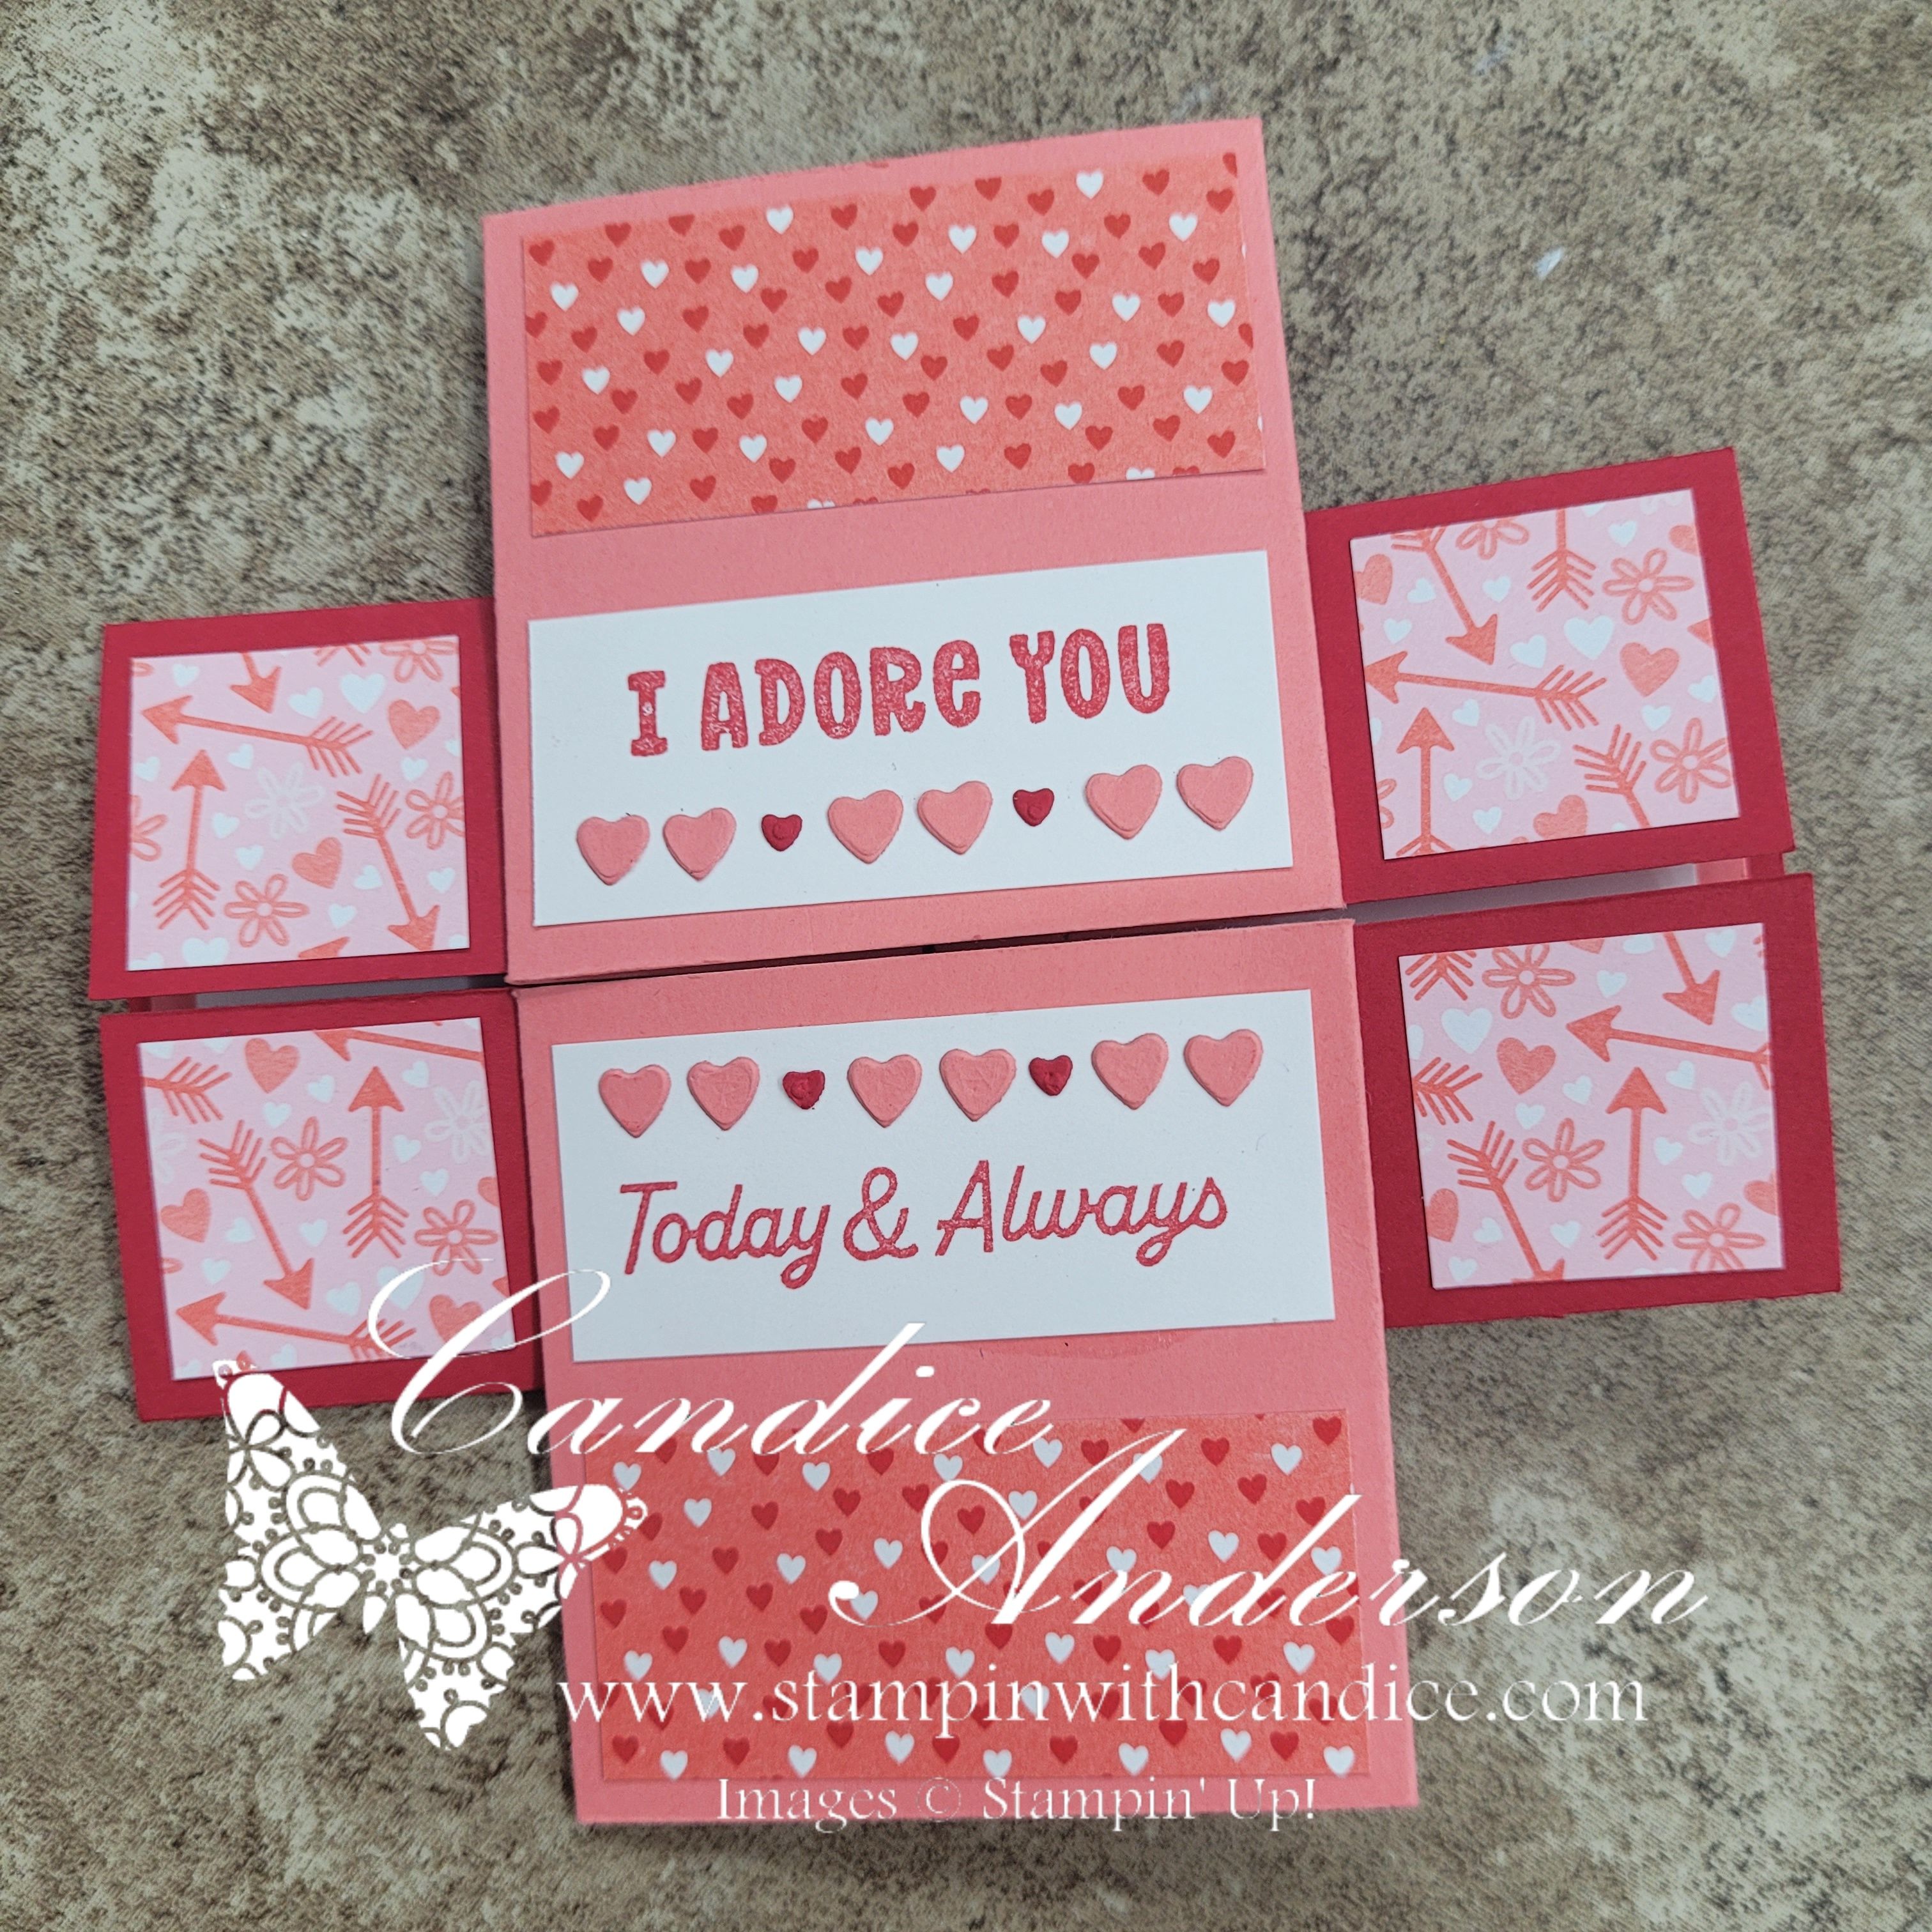
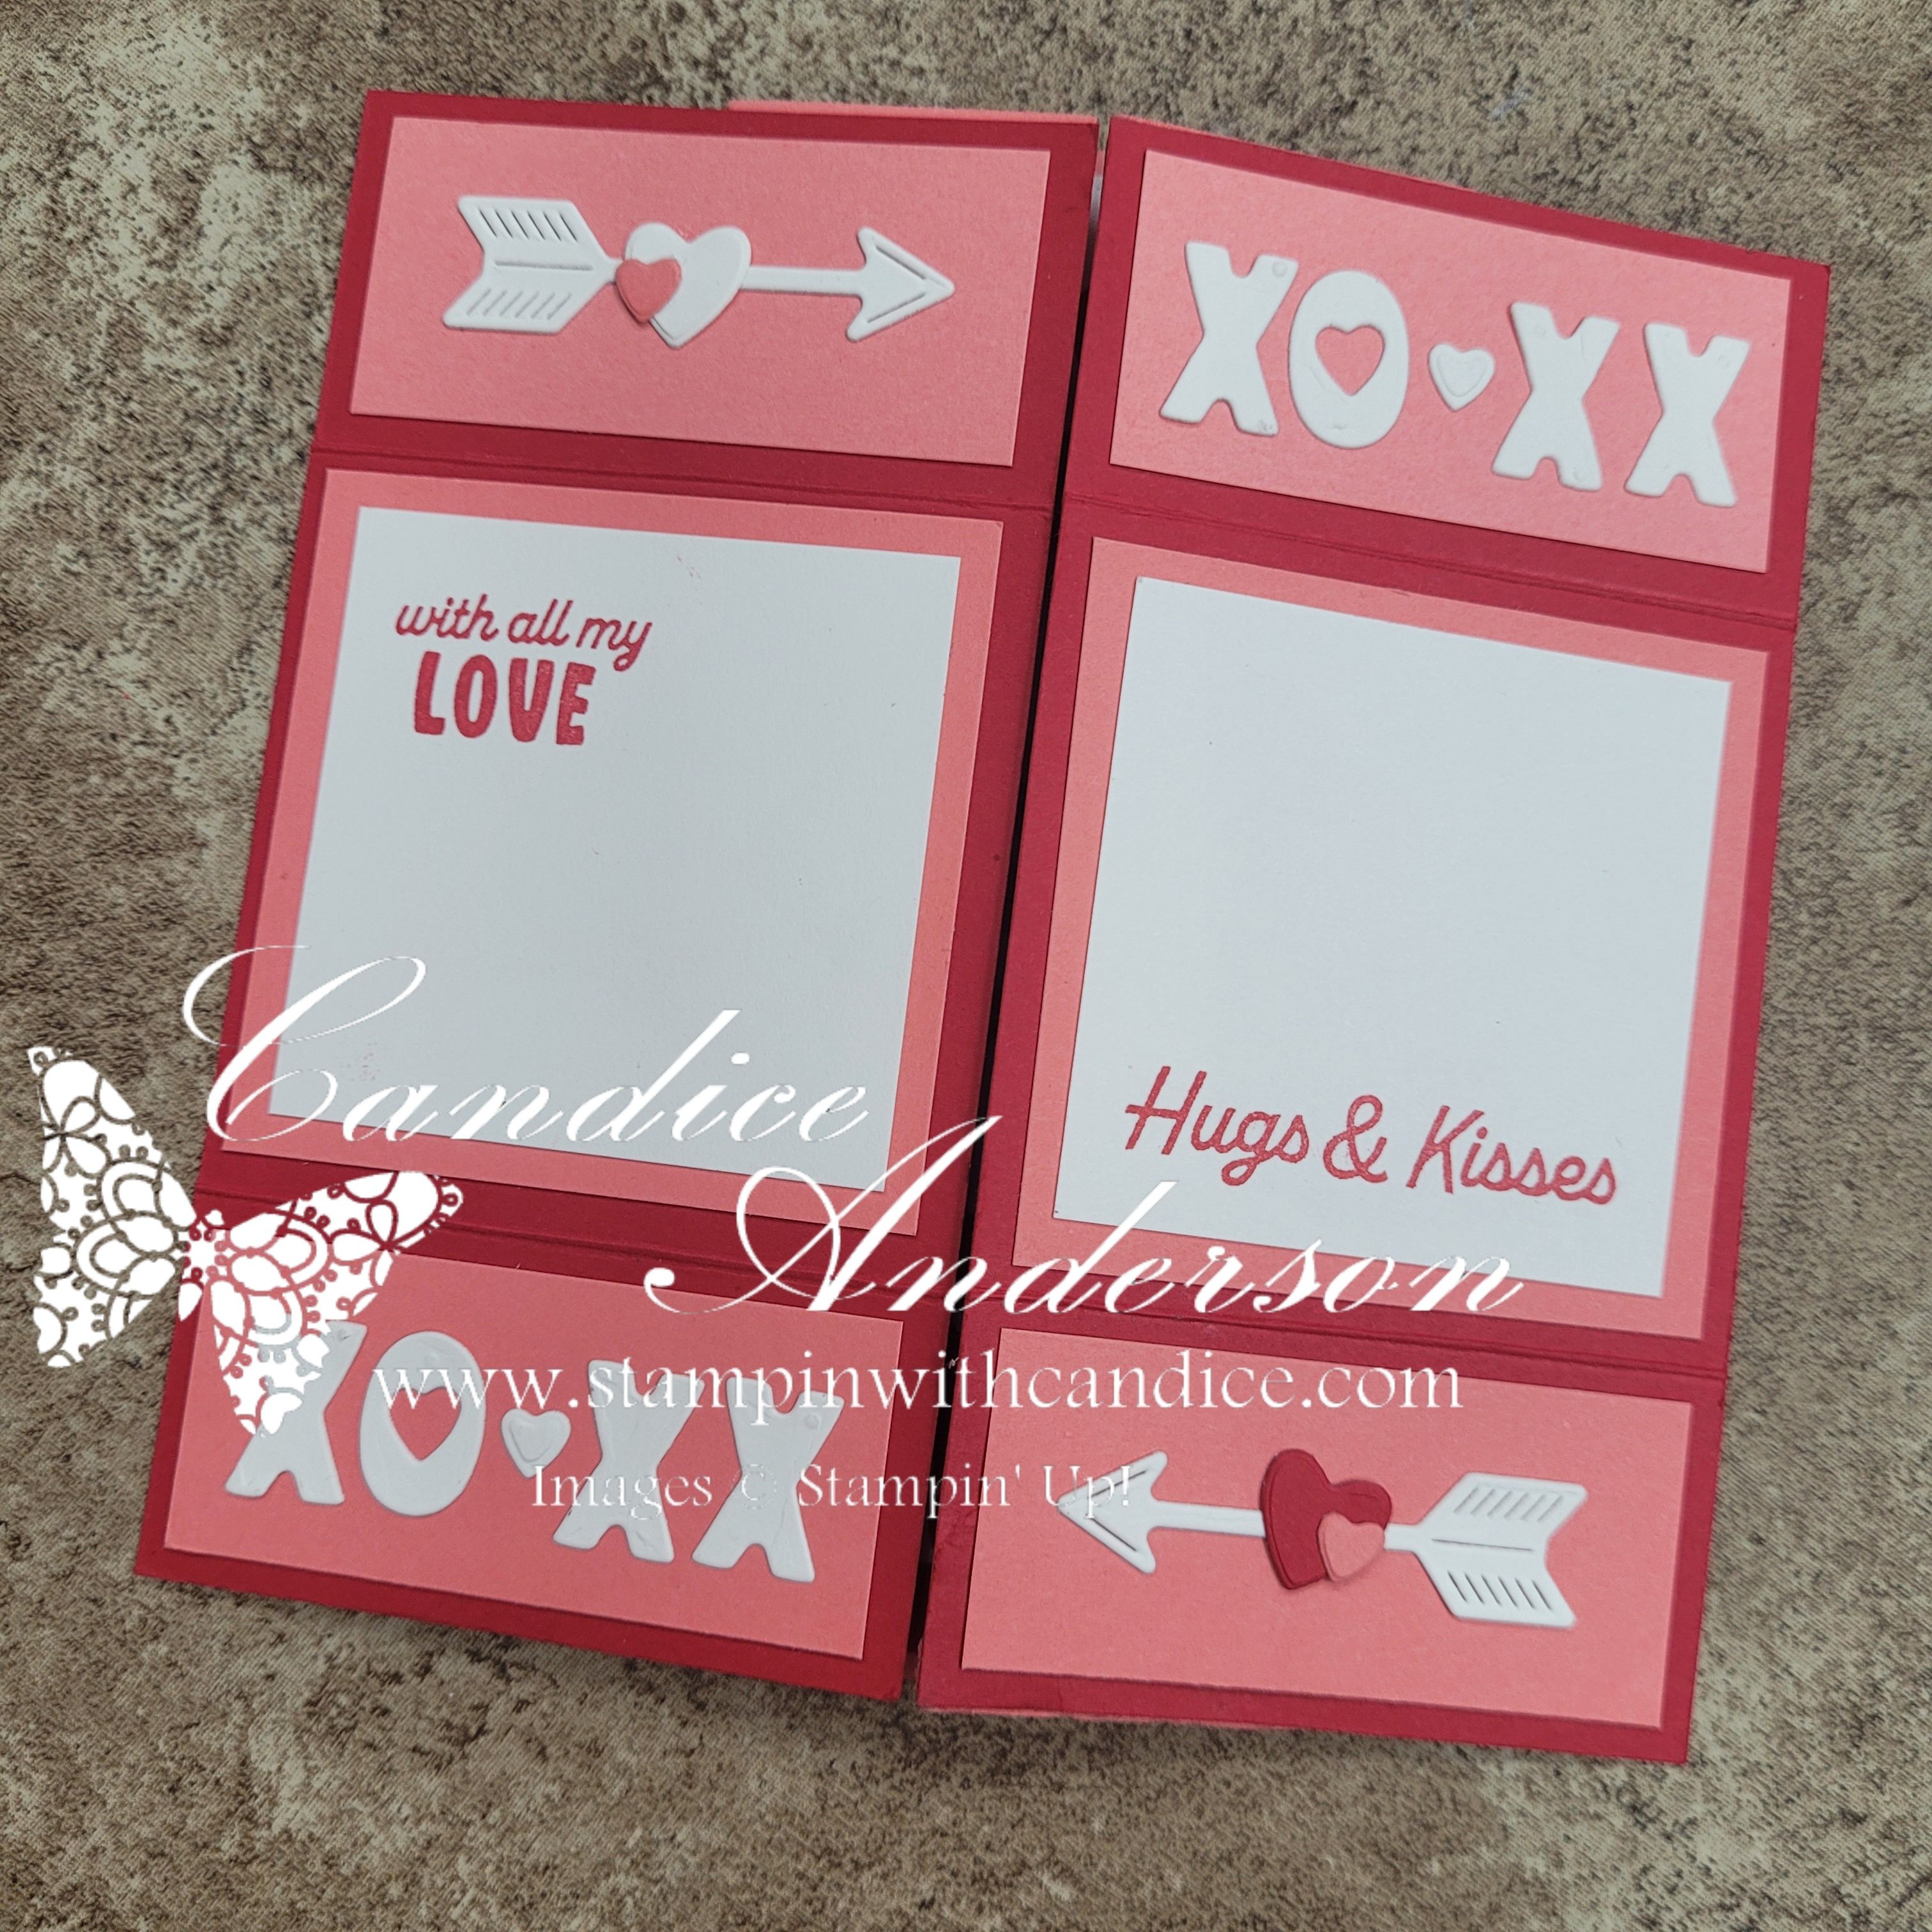
For my cards, I featured the Endless Love Stamps & Dies #167062 along with the Made with Love DSP #167054, and I wanted to share a few helpful tips I picked up while making them.
Tips for Making a Never-Ending Card
• Cardstock colors:
You can use two different colors of cardstock or stick with the same color. If you’re worried about keeping track of direction and orientation, I highly recommend using the same color—it makes things much less confusing.
• Practice the folds first:
Before decorating, assemble your base pieces and practice turning the card. This really helps you understand how the card moves and makes it easier to decide what should go on each panel. Keep in mind that if it’s not folding and laying out the way you want try flipping the card as it can change the direction of the fold and cuts.
• Sizing is flexible:
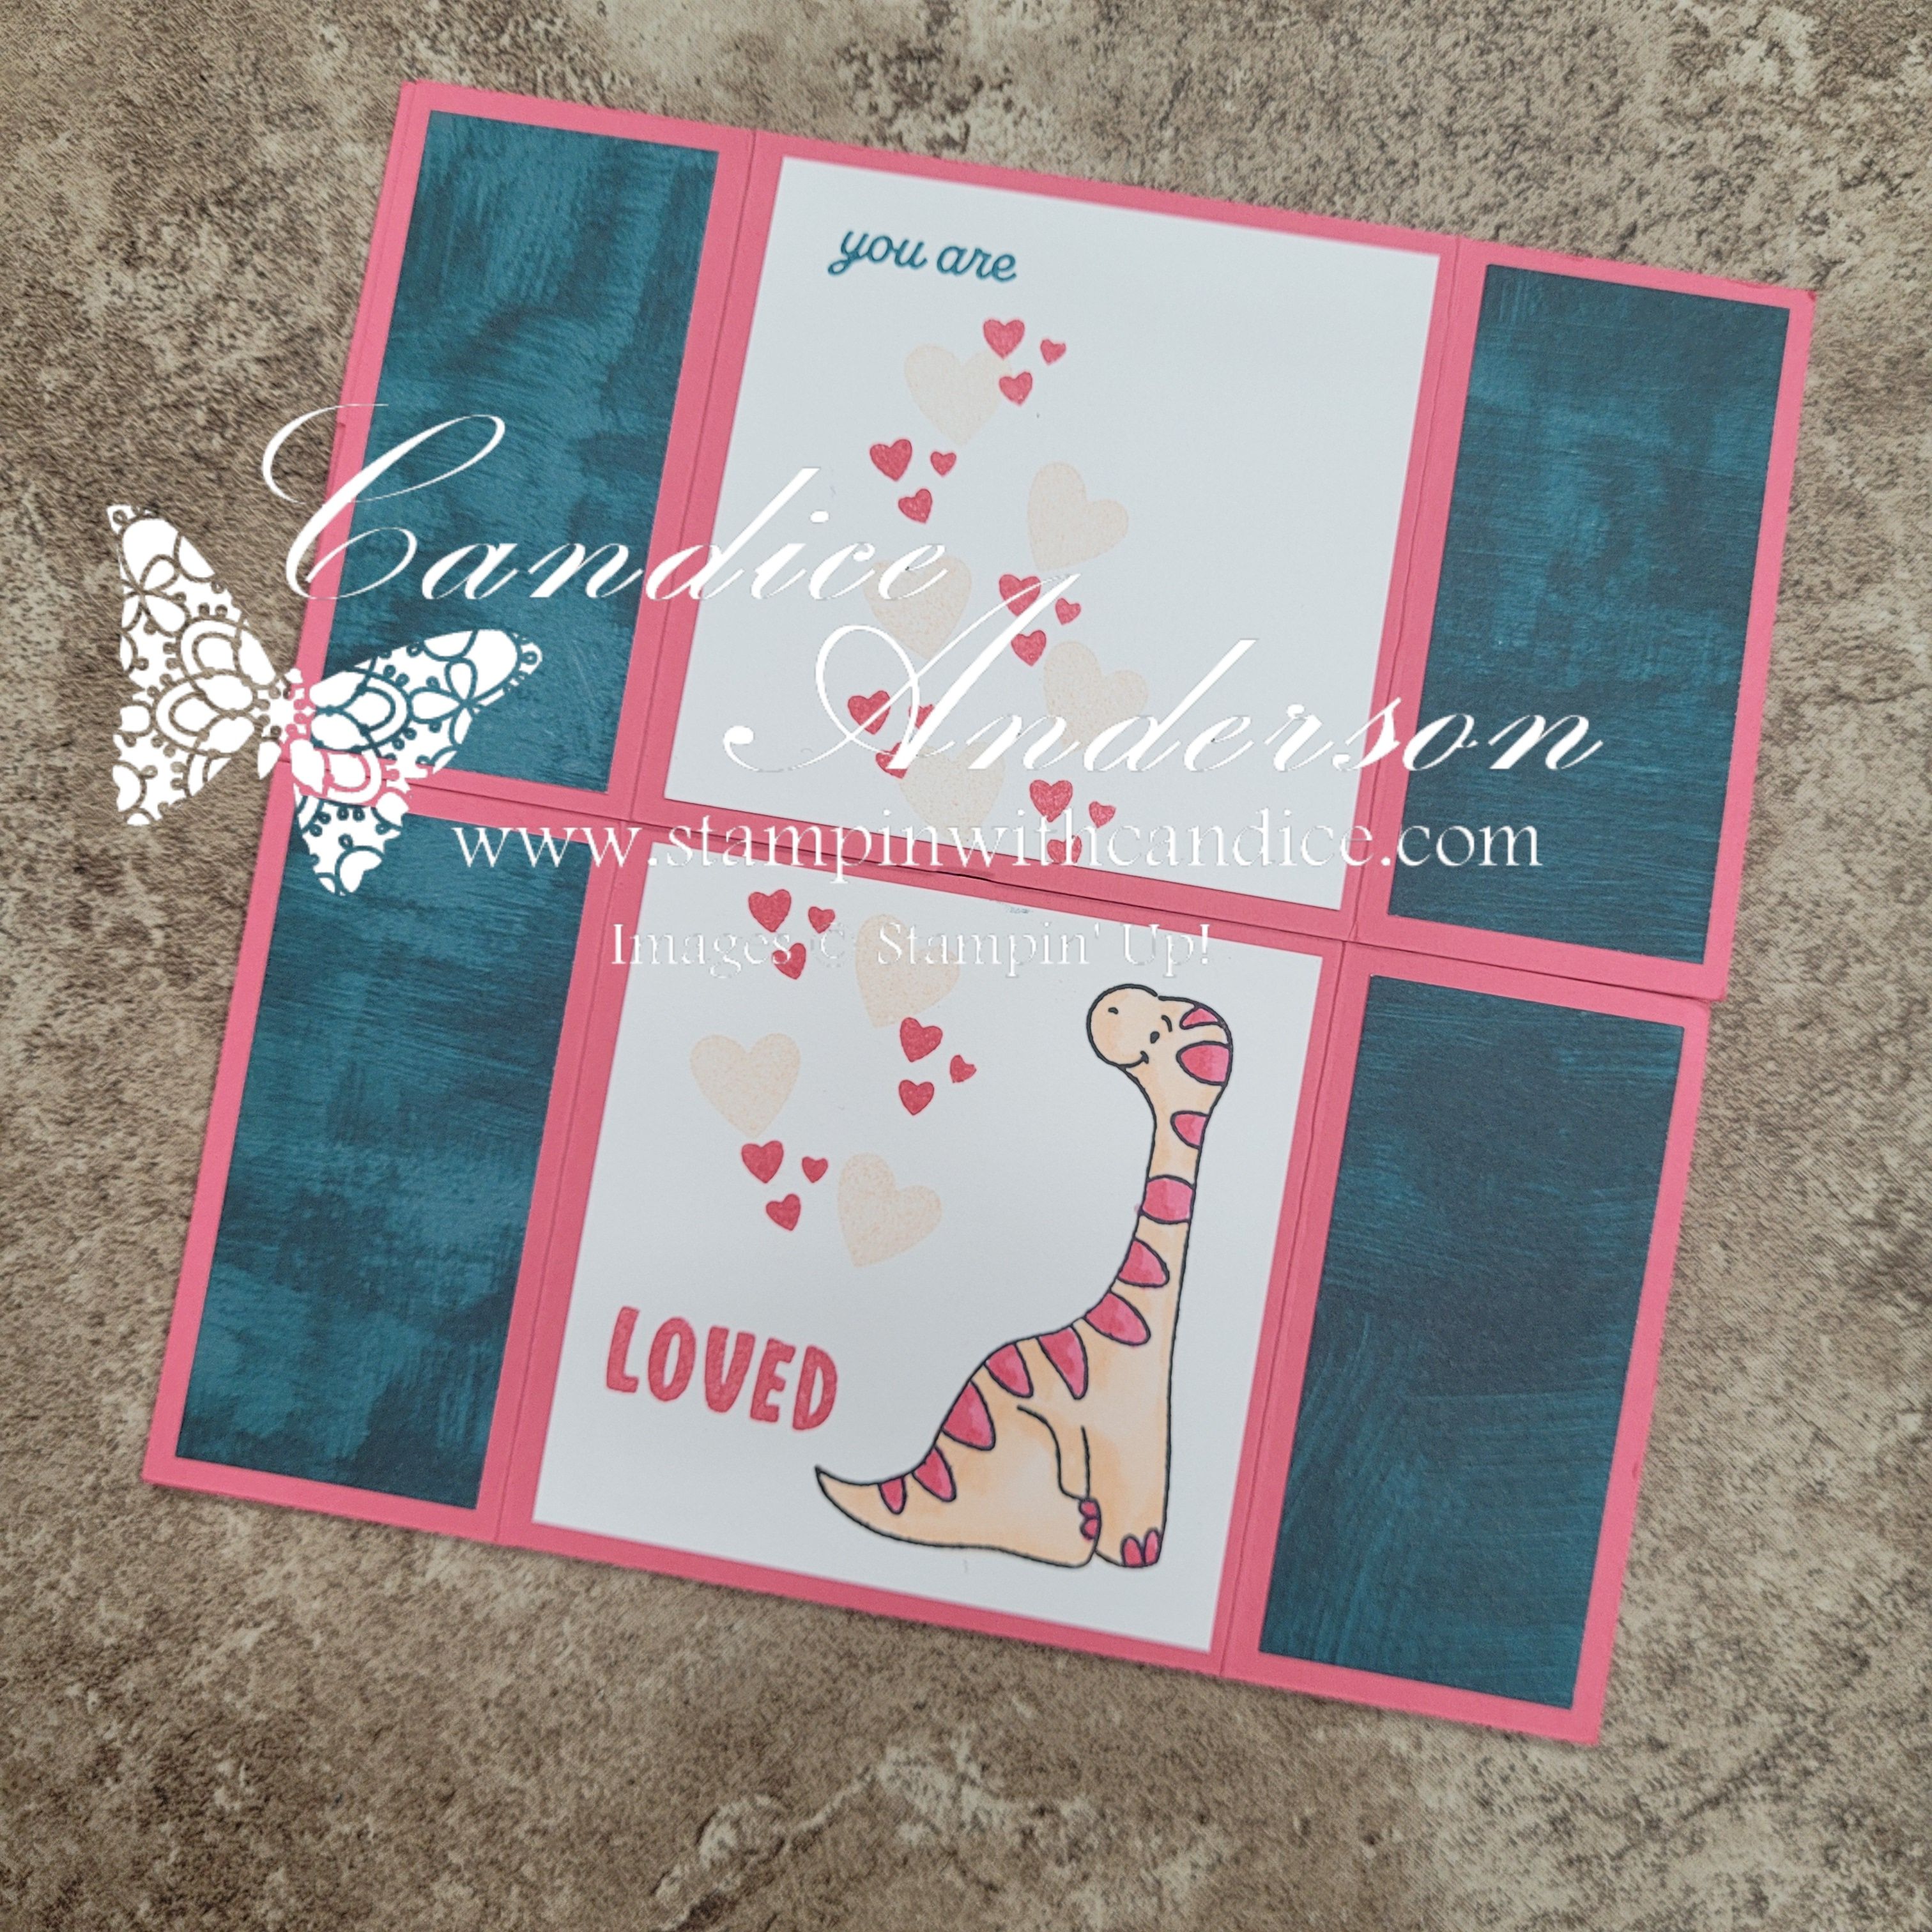
I made two different sizes—a 6″ × 6″ card and then used the leftover 5″ × 5″ pieces to create a smaller version. You can truly make this card in any size, as long as you start with a square.
• Scoring measurements:
You’ll score at ¼ of the measurement from each side.
- For a 6″ × 6″ card, score at 1-1/2″ and 4-1/2″
- For a 5″ × 5″ card, score at 1-1/4″ and 3-1/4″
This creates an inside panel that’s half the size of the full card (3″ for the 6″ × 6″ and 2-1/2″ for the 5″ × 5″ .)
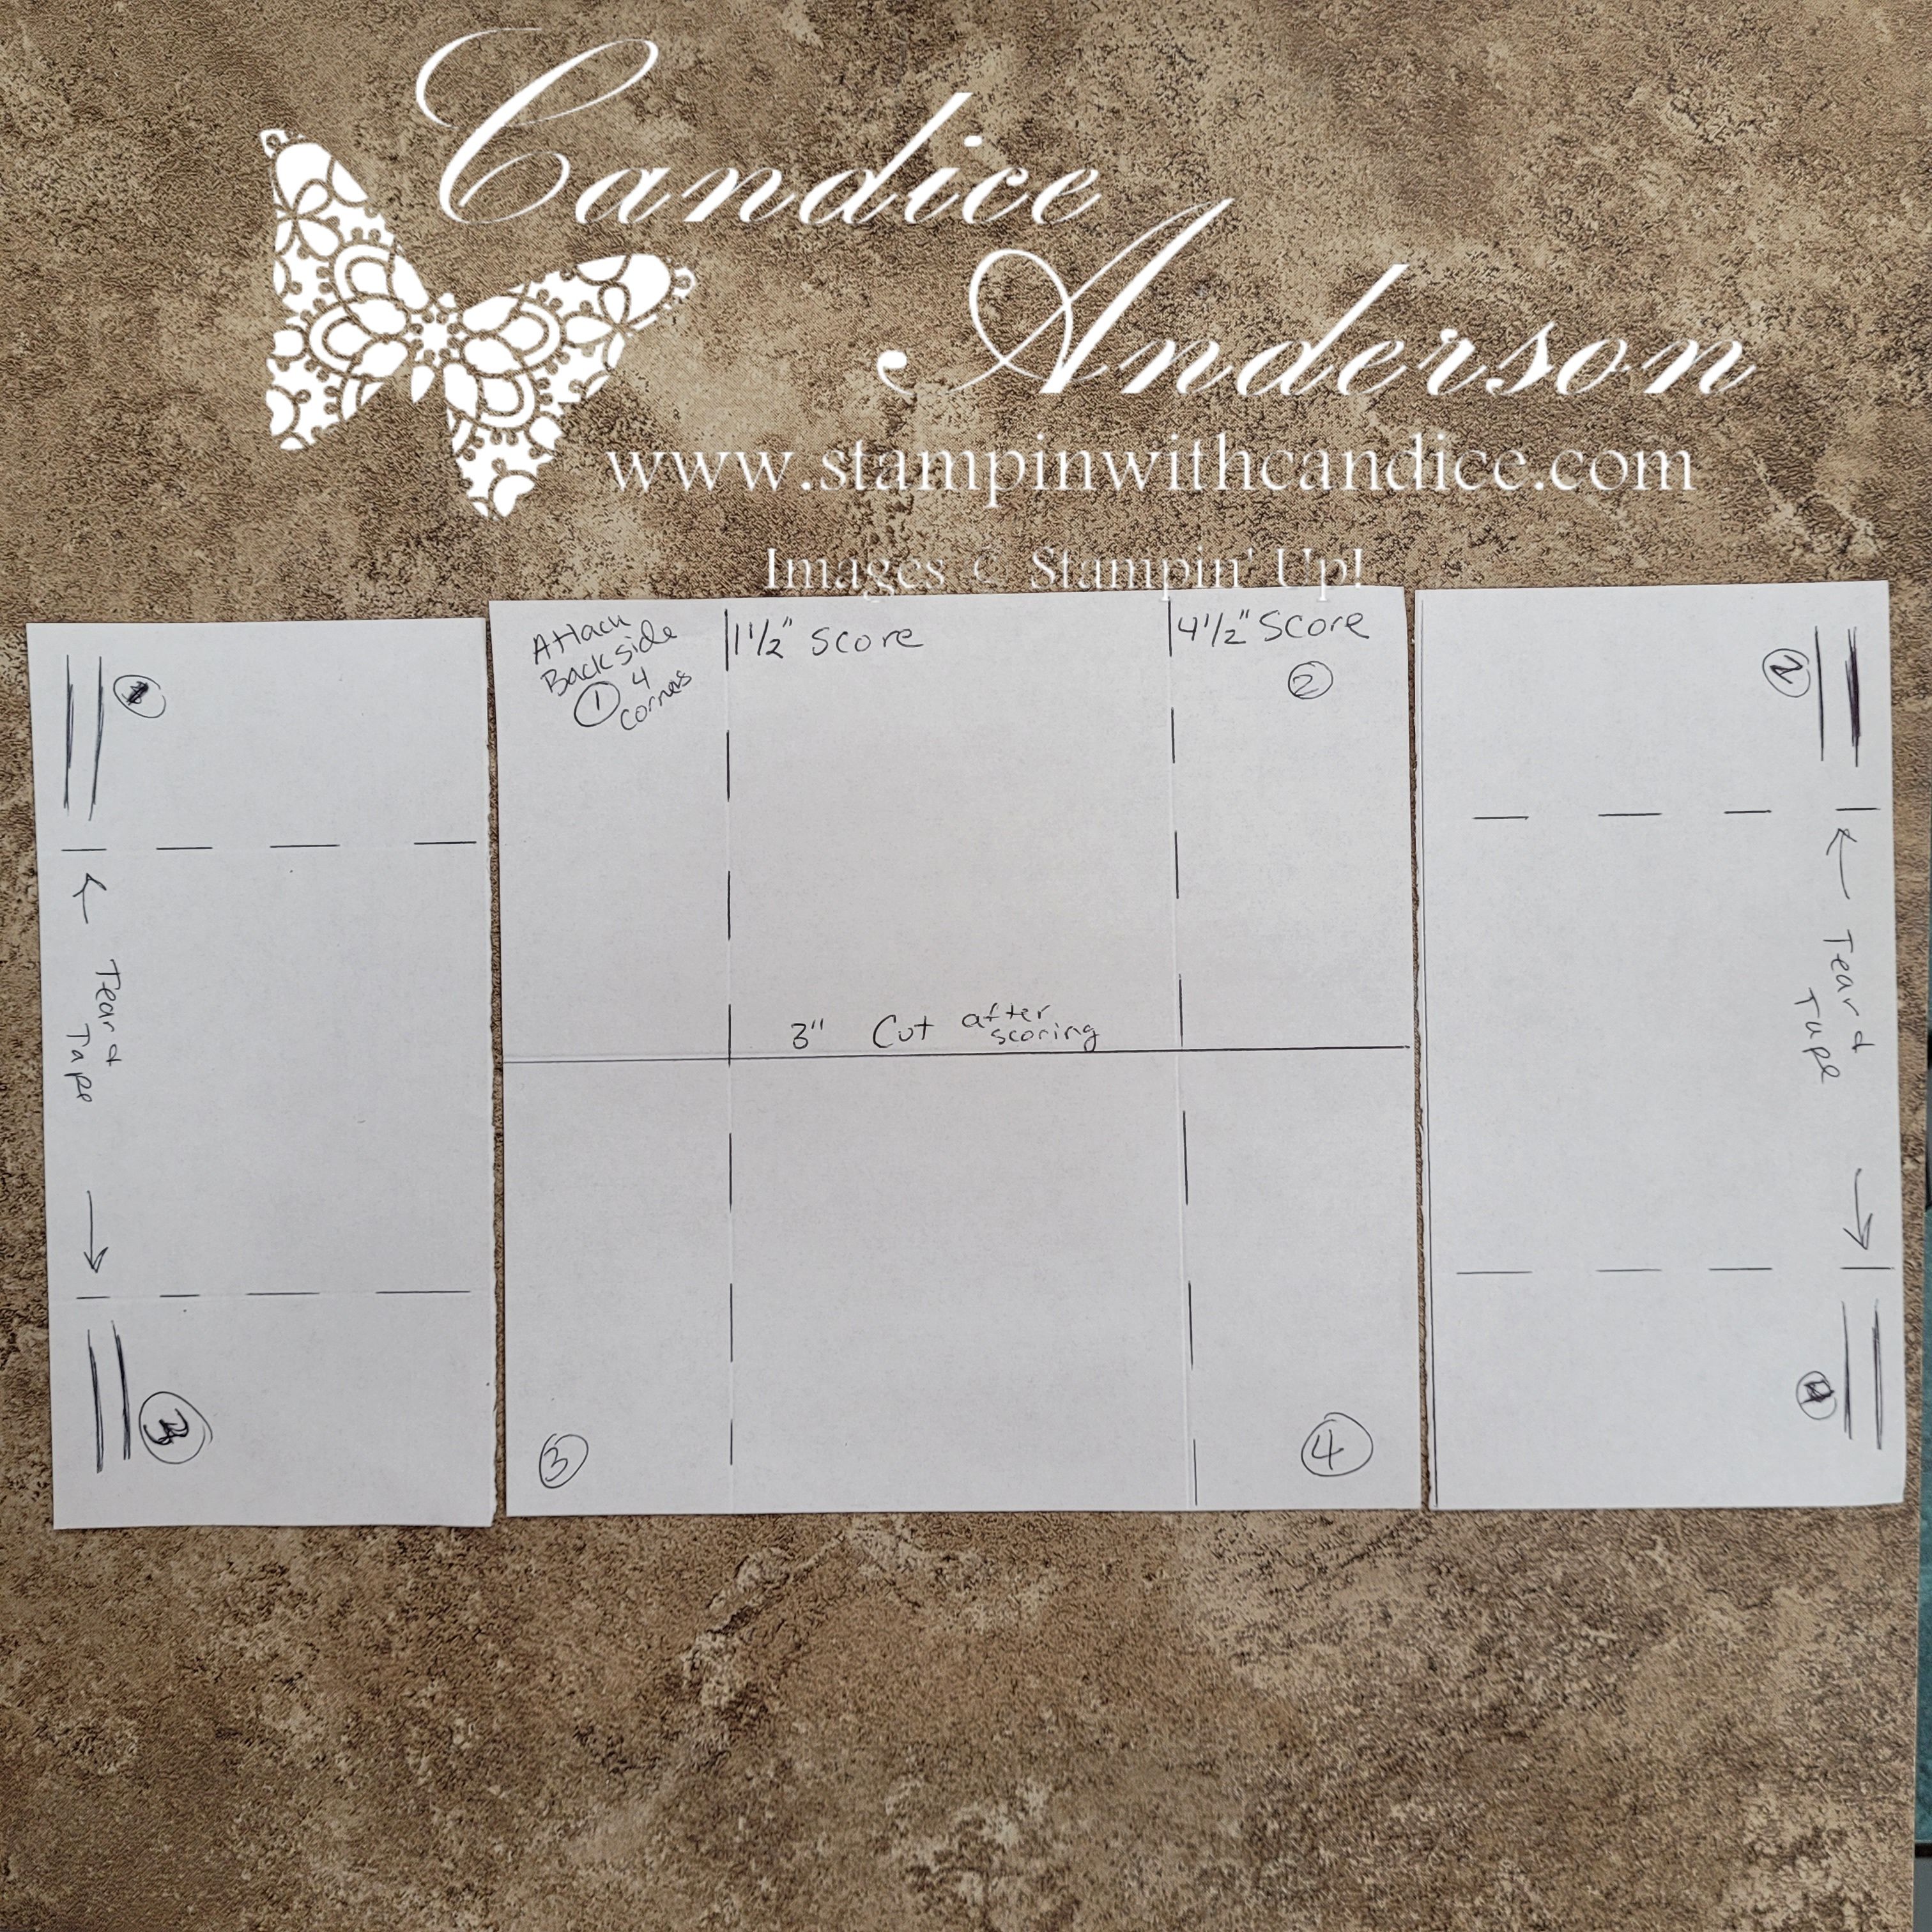
• Cutting & assembly:
You’ll need two sheets, both scored and then cut in half in opposite directions.
The trickiest part is placing the adhesive correctly so the card can turn smoothly.
I used Tear & Tape #154031 because it’s strong and easy to work with. Place it on the outside corners (top and bottom) of one sheet. Then take the second sheet, turn it 90 degrees, and attach it to those corners.
If you’re more of a visual learner, be sure to watch the video to see how it’s done—it makes the assembly so much easier to follow.
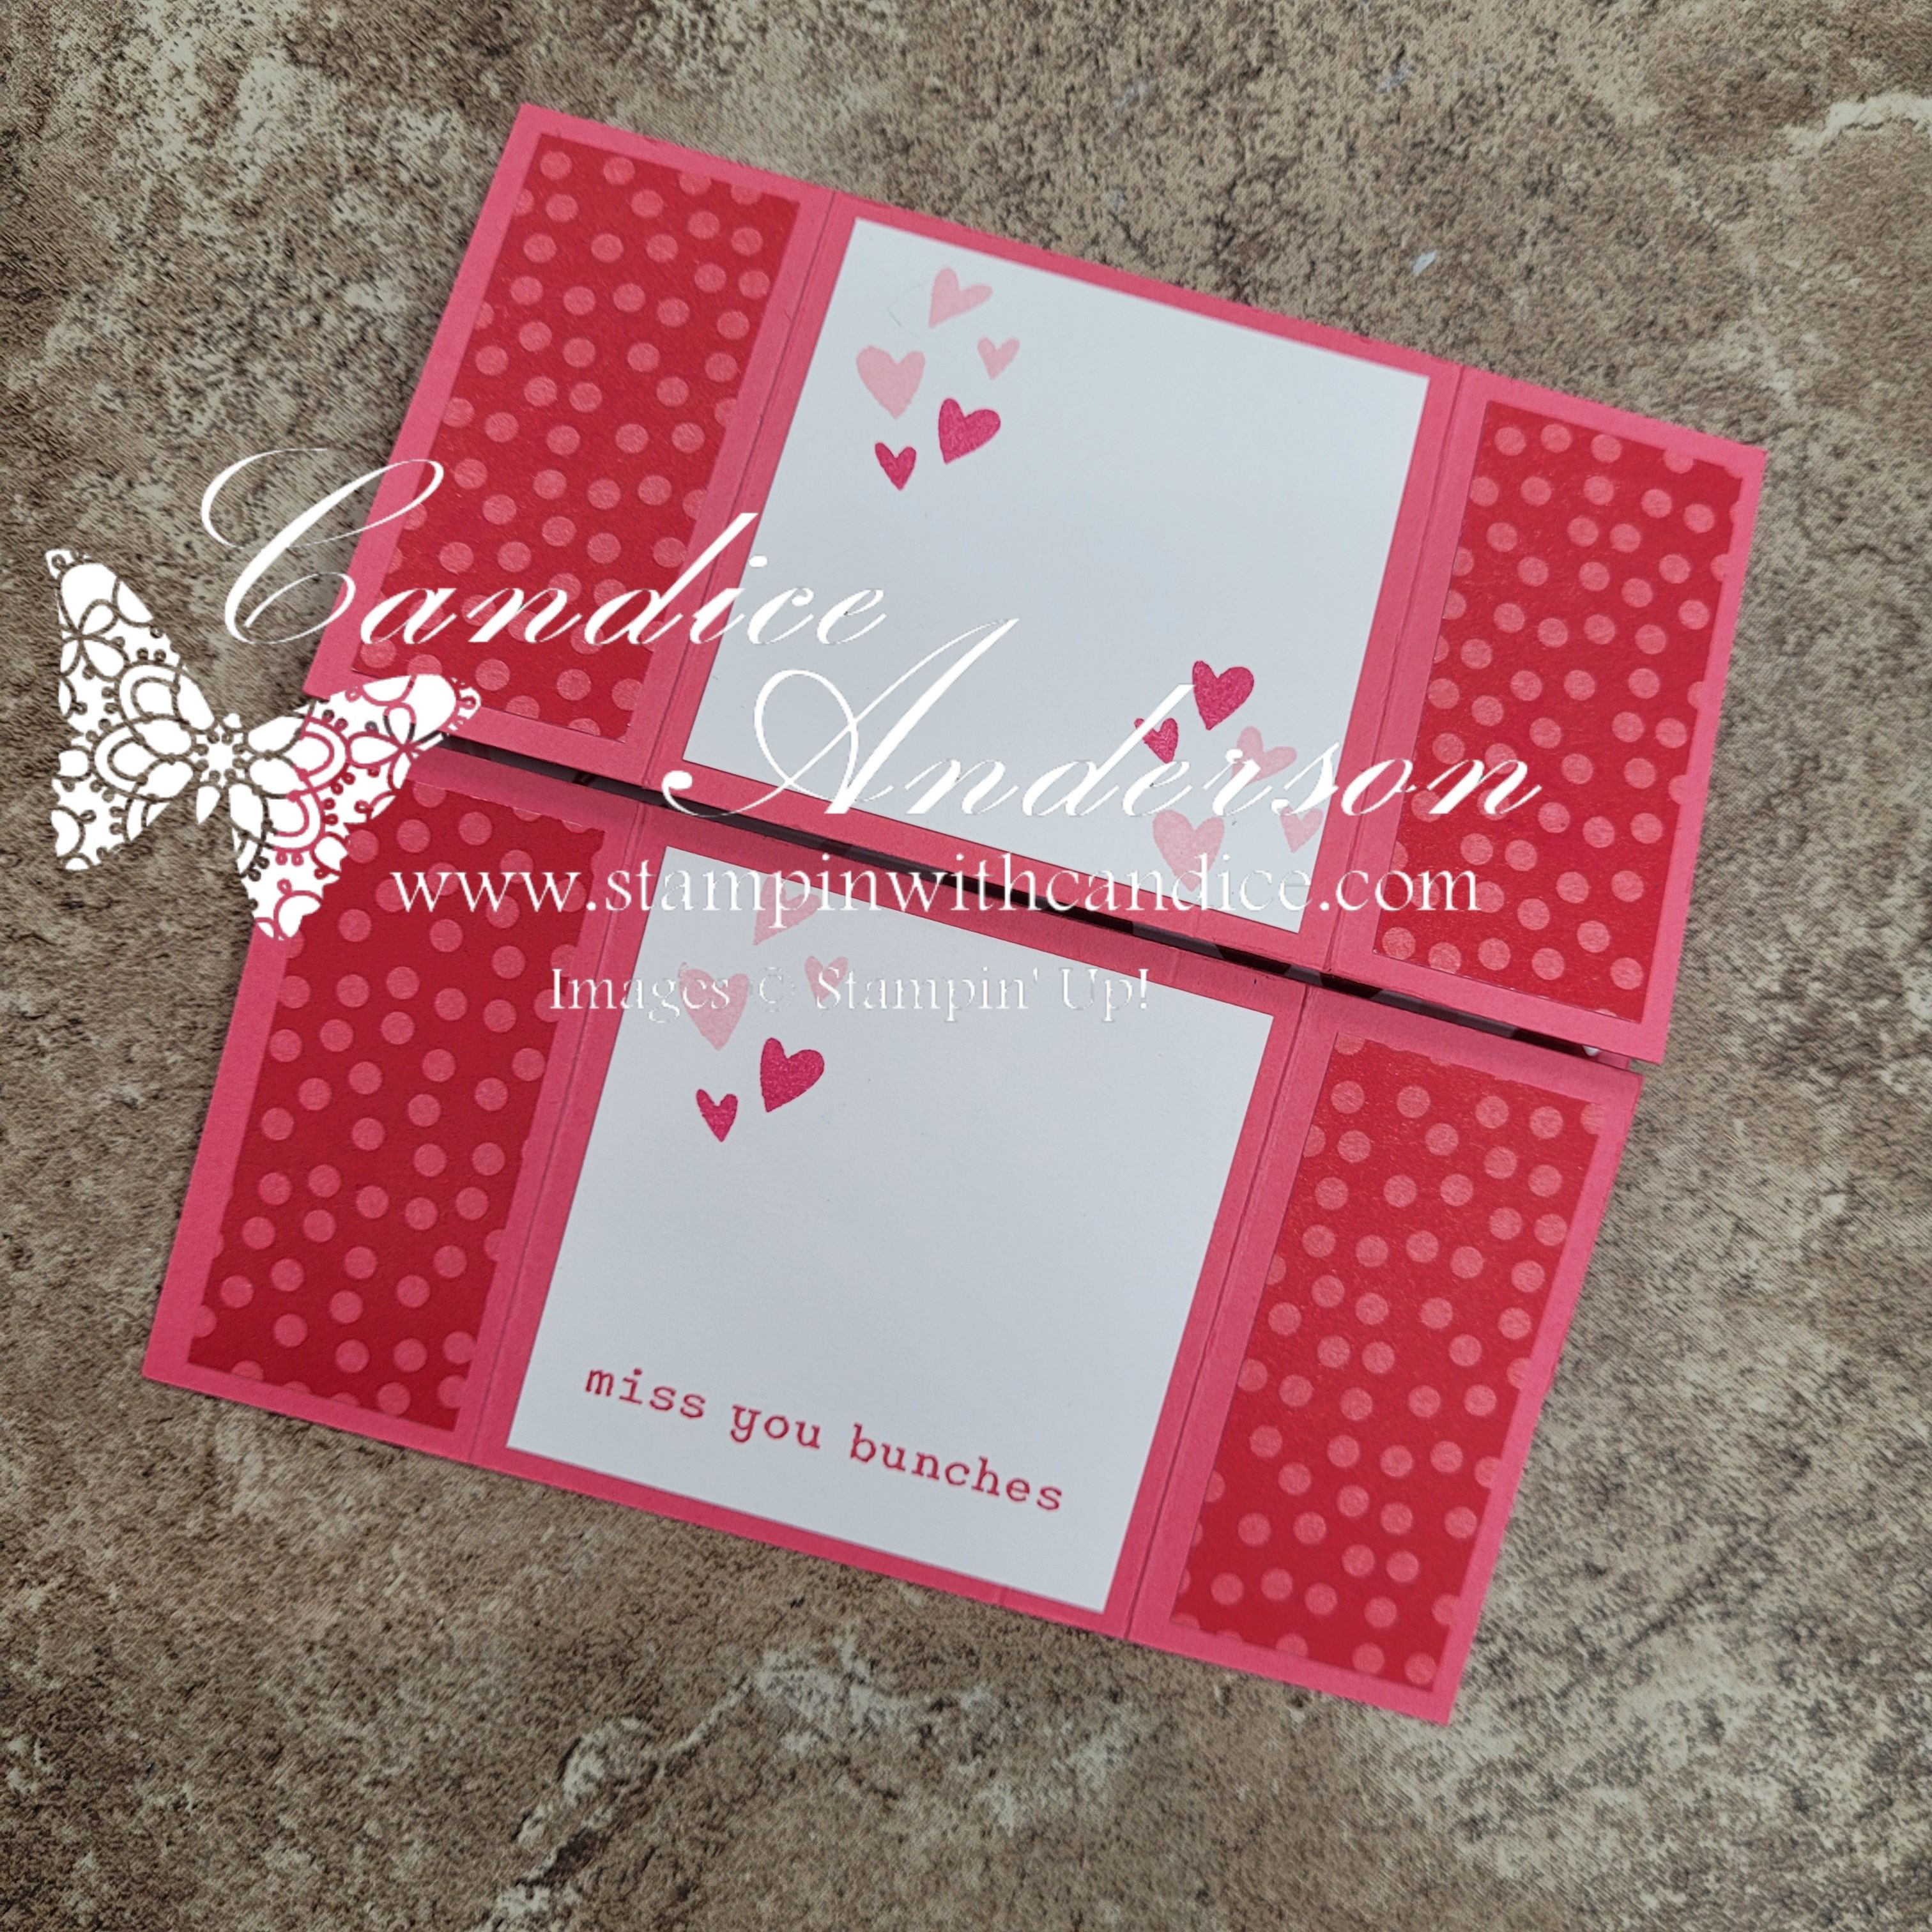
Decorating the Card
Now for the fun part—decorating!
Most of my panels were cut ¼” smaller than the base pieces. Be mindful of the direction each panel will turn. I laid everything out as I went so I could decide where each piece made the most sense.
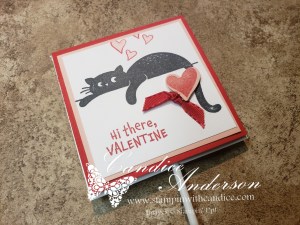
I had so much fun making these that I decided to try a few more designs, including the smaller version I mentioned in my video. I stuck with the heart theme and added in:
- Love Story Stamp Set #167065
- Darling Dinos Stamp Set #164730 (Last Chance)
- Sweet Jar Stamp Set #165501 (Last Chance)


These cards are so fun, easy, and interactive—and honestly, they’re a little like a fidget spinner for crafters. You just can’t help but keep flipping them! I hope I’ve inspired you to give a never-ending card a try! I’d love to see what you create—be sure to tag me or give me a shout-out when you share your project or drop it in the comments.
👉 You can shop current Stampin’ Up! supplies and tools here:
Shop with Me Here

Please feel free to contact me if you have any questions.
Contact me today to place your order!
435-232-2655 Cell ( Call or Text)
andersoncandice@hotmail.com