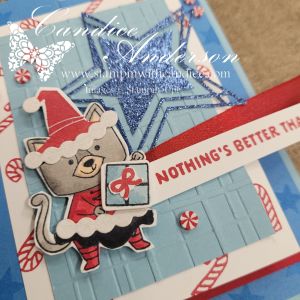
What does a Halloween stamp set have to do with a Christmas card challenge? Turns out — everything! 🐾🎄
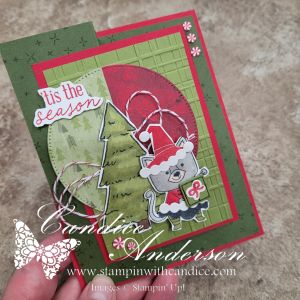
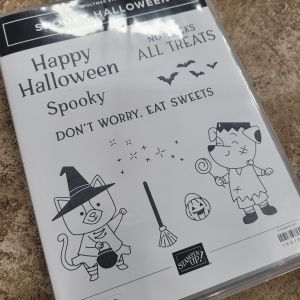
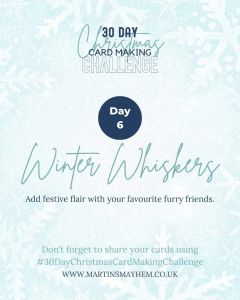
For Day 6, I decided to have a little fun combining two worlds: Santa’s Workshop and Winter Whiskers. I pulled out the Spooky Halloween stamp set and transformed it into the sweetest, coziest holiday card! With a little creativity (and a Santa hat or two), my spooky kitty became an adorable Christmas helper ready to deliver gifts straight from the North Pole. 🎁✨
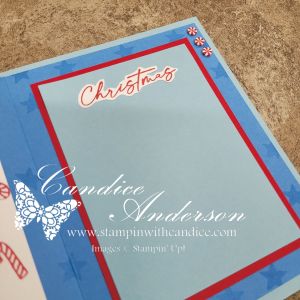
Bright pops of Real Red and Old Olive set the stage, while embossed textures, peppermint accents, and a touch of Wink of Stella brought it all to life. Watch the short to see all the different samples.
This just goes to show — you can stretch your stamp sets far beyond their original season!
👉 Want to see exactly how I made it? Check out the video for a little Christmas magic and a full tutorial! https://youtube.com/live/ngjGCRNZis8?feature=share


👉 You can find current Stampin’ Up! supplies I used by visiting my store:
Shop with Me Here
Main products featured:
- 166192 Spooky Halloween Stamp Set
- 116198 Spooky Halloween Dies
- 166103 Fright Night Stamp Set
- 166106 Fright Night Dies
- 166040 Pine Tree Trimmings
- 166046 Pine Tree Trimmings Dies
- 164228 More than Autumn Stamp Set
- 164275 Decorative Trees Stamp Set
- 167032 Swirled Designs Dies
- 164049 Forever Plaid Embossing Folder

Please feel free to contact me if you have any questions.
Contact me today to place your order!
435-232-2655 Cell ( Call or Text)
andersoncandice@hotmail.com
💕 Let’s Stay Connected
📺 YouTube
📘 Facebook
📸 Instagram
📌 Pinterest
#StampinWithCandice #StamperCandi #CreativeSkills #StampinUp #ACardADayInNovember #30DayChristmasCardMakingChallenge #ChristmasCards #HandmadeCards #SantaWorkshop #WinterWhiskers #SpookyHalloween #CardMakingCommunity