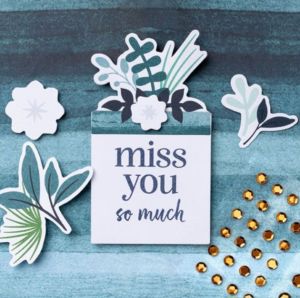
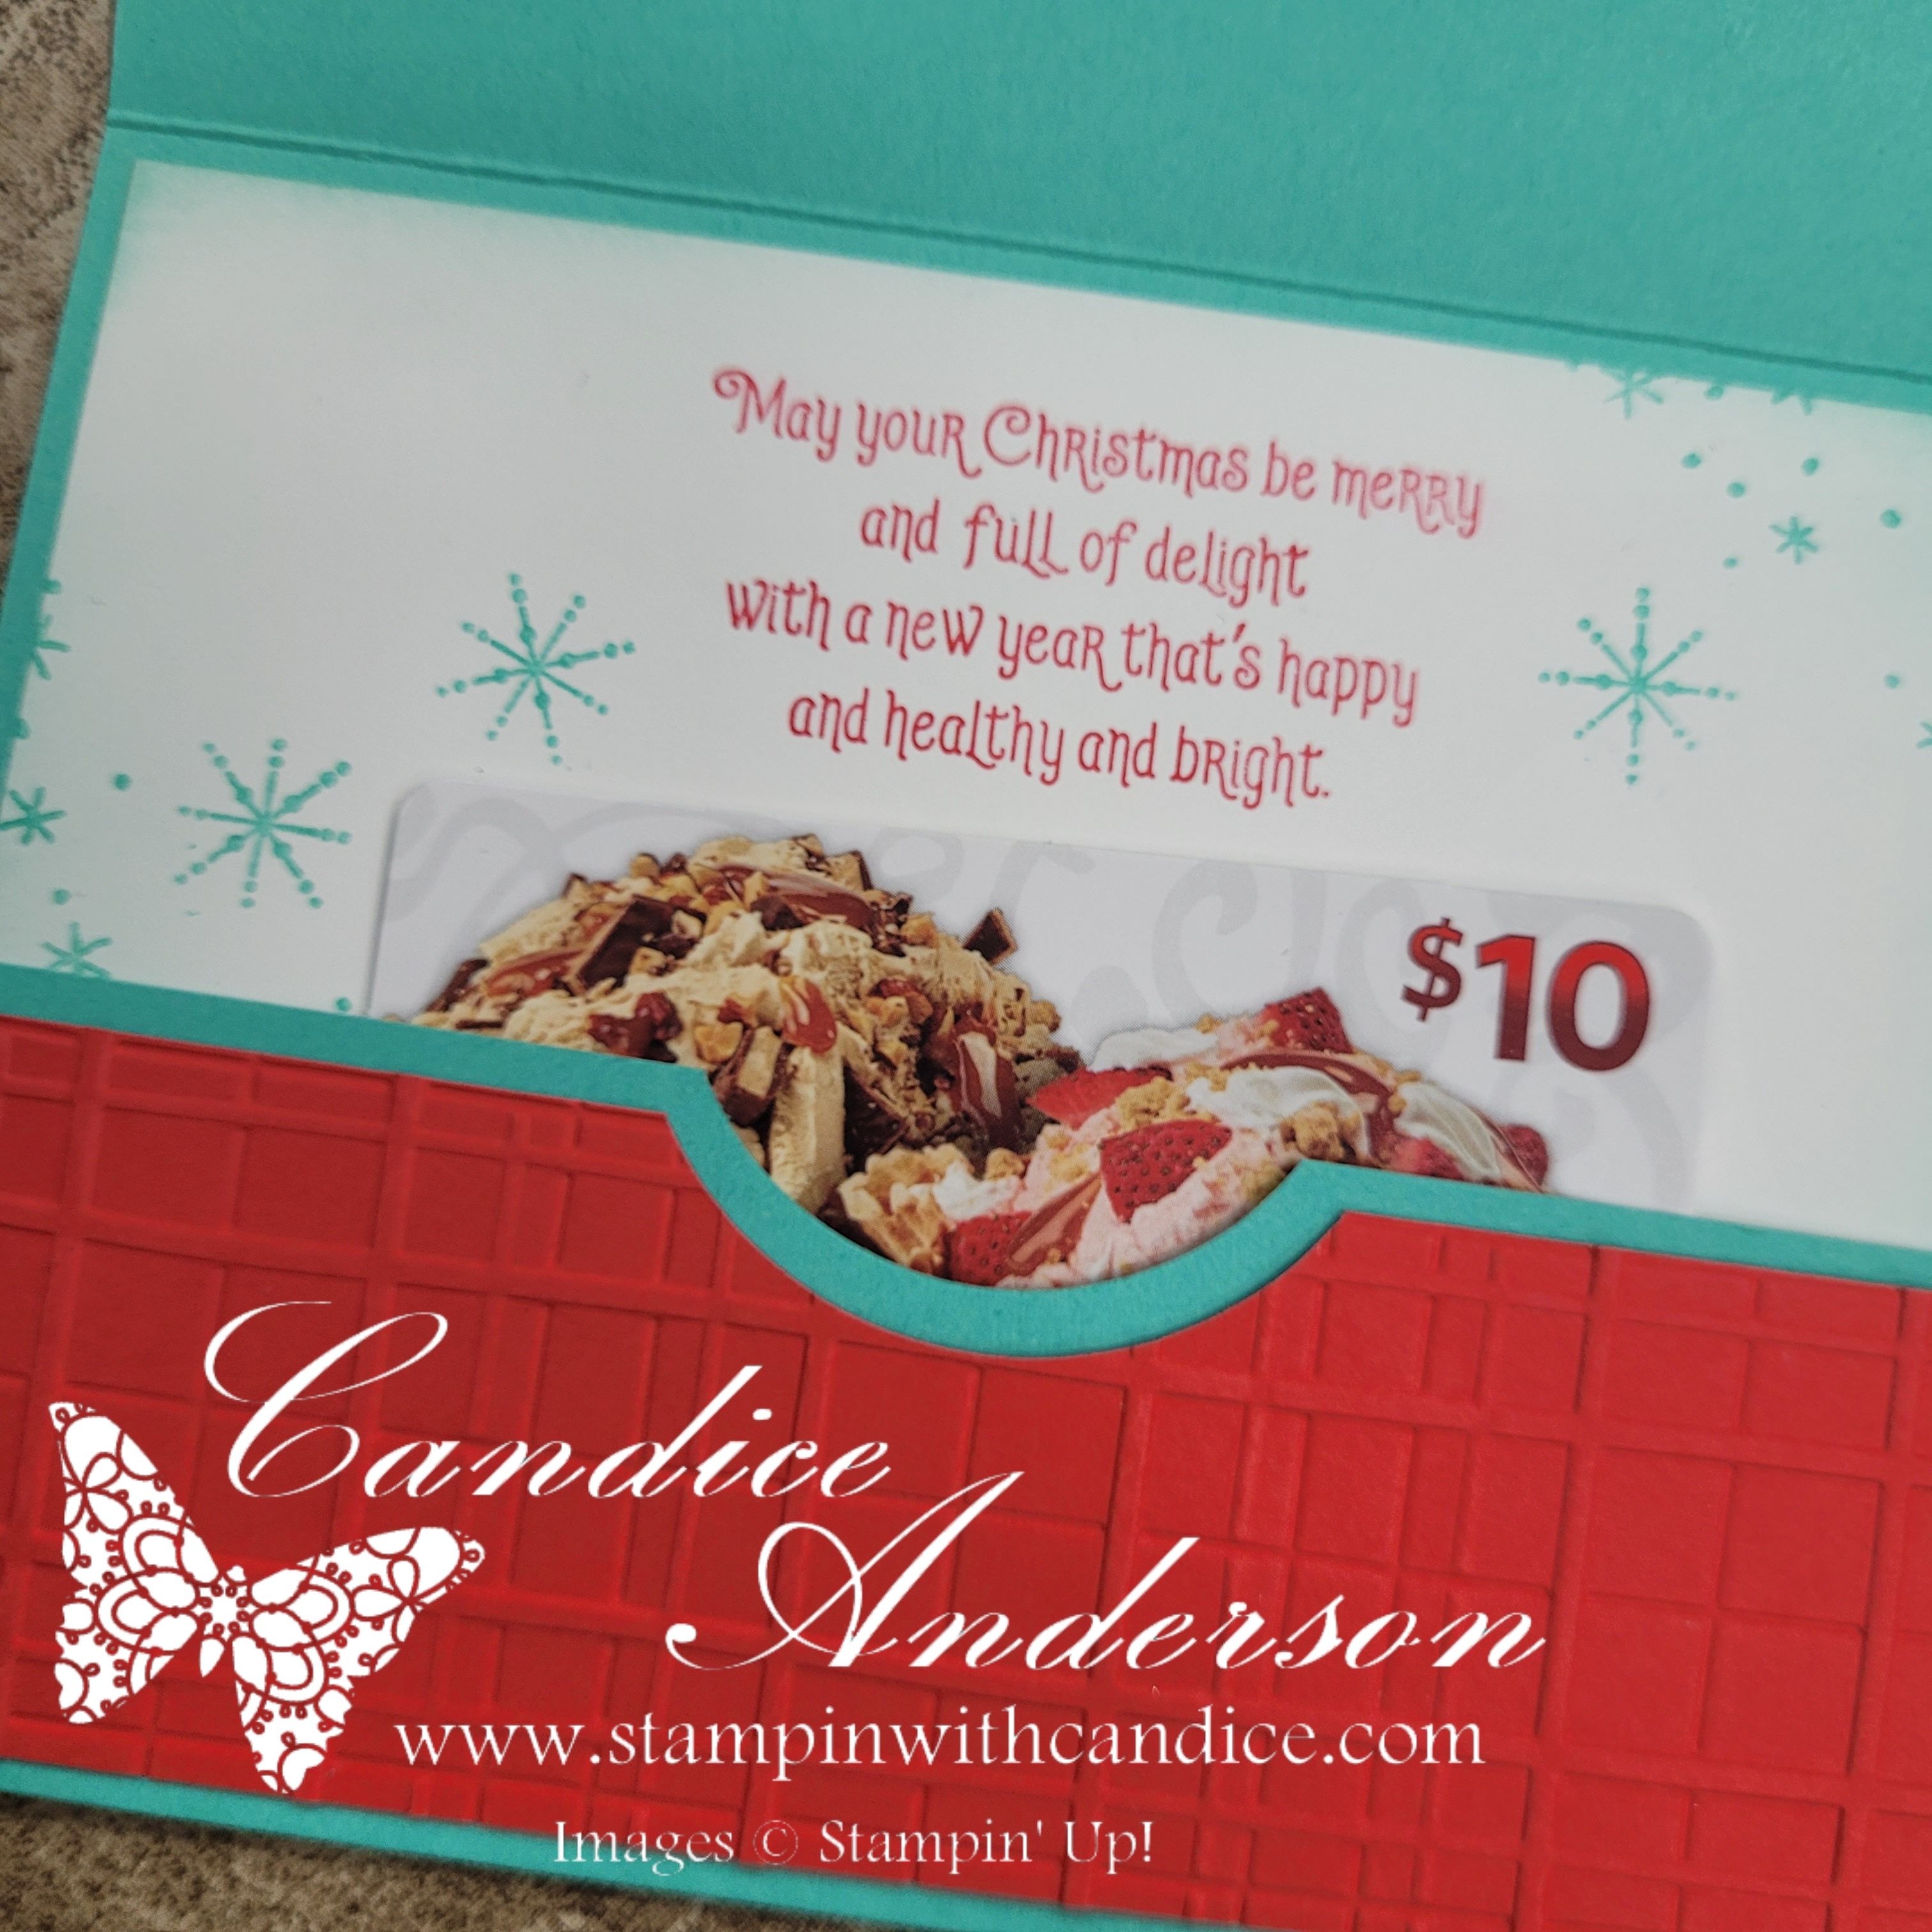
Fun Fold Gift Card Holder + Sketch Challenge #5
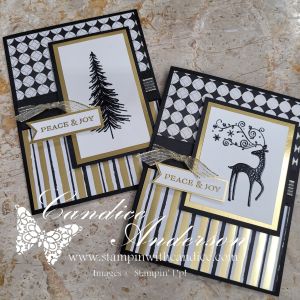
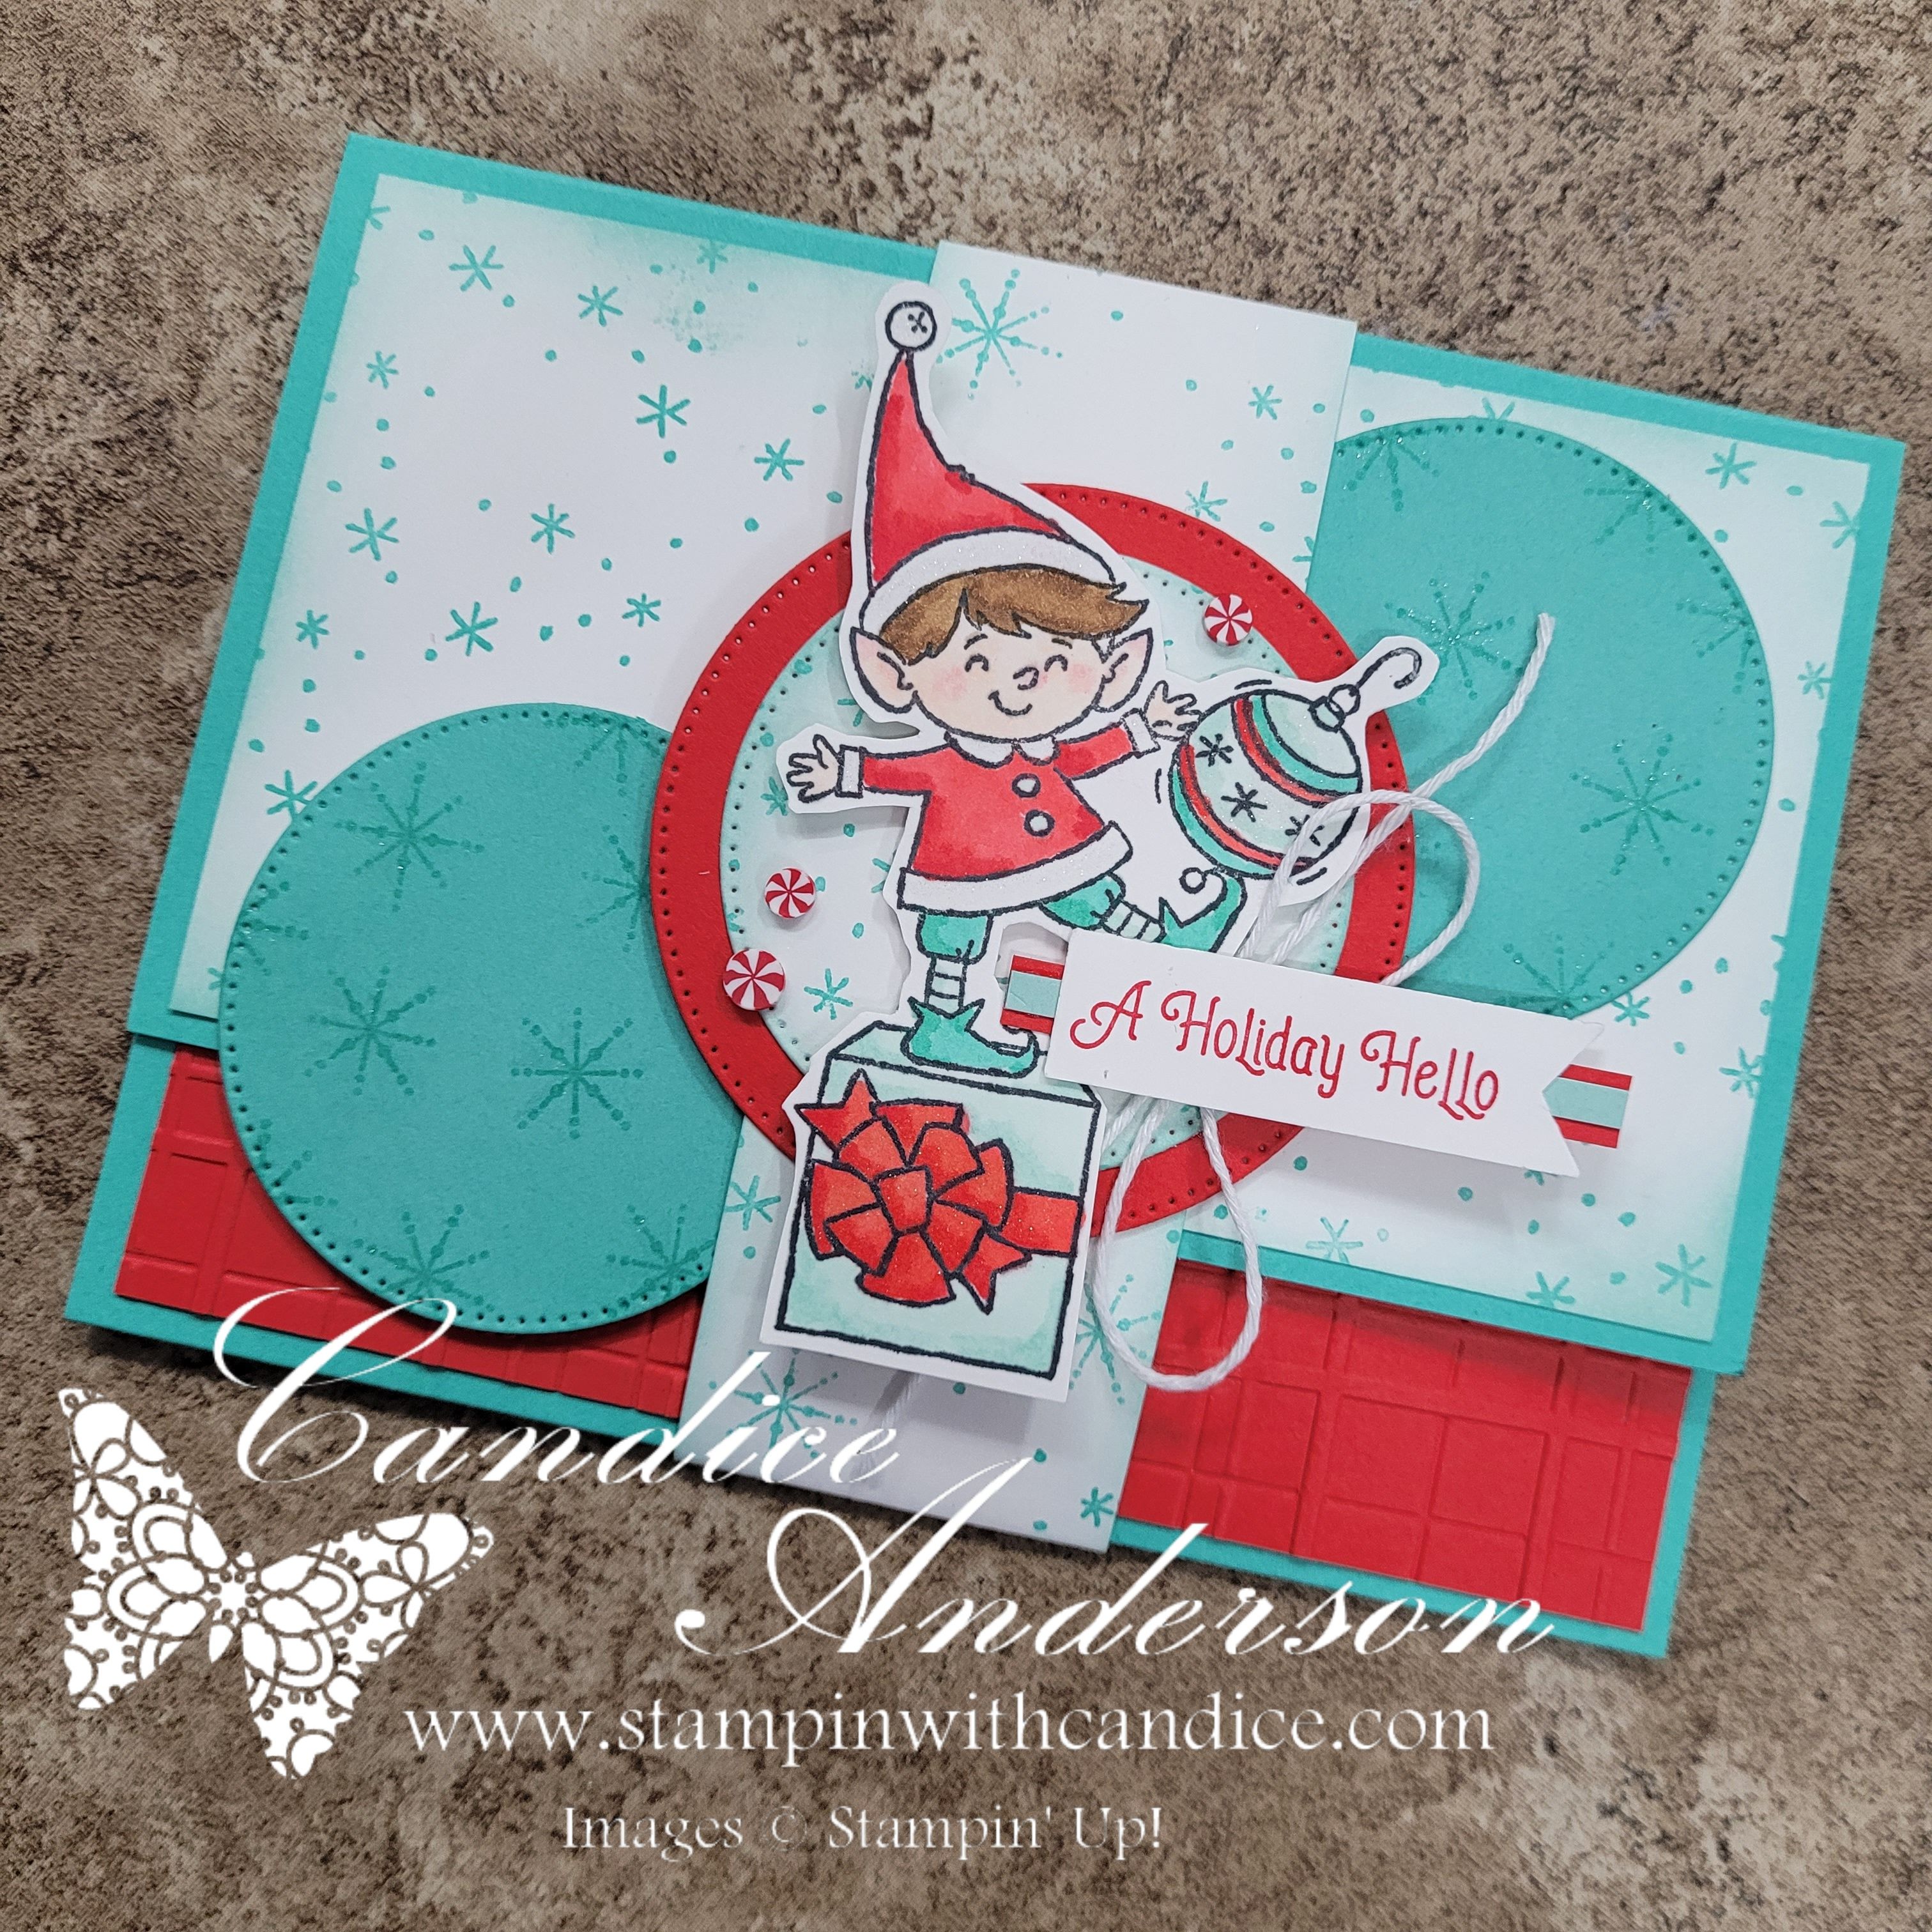
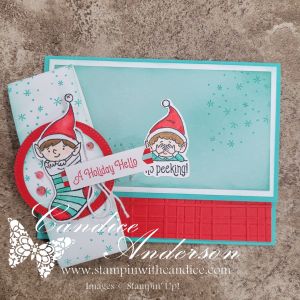
Today’s theme was Elfie Time, and the moment I read it, I knew exactly which stamp set I had to pull out—my beloved retired #Elfie (#150509). Pairing it with Sketch Challenge #5 inspired a playful twist: a Fun Fold Gift Card Holder!
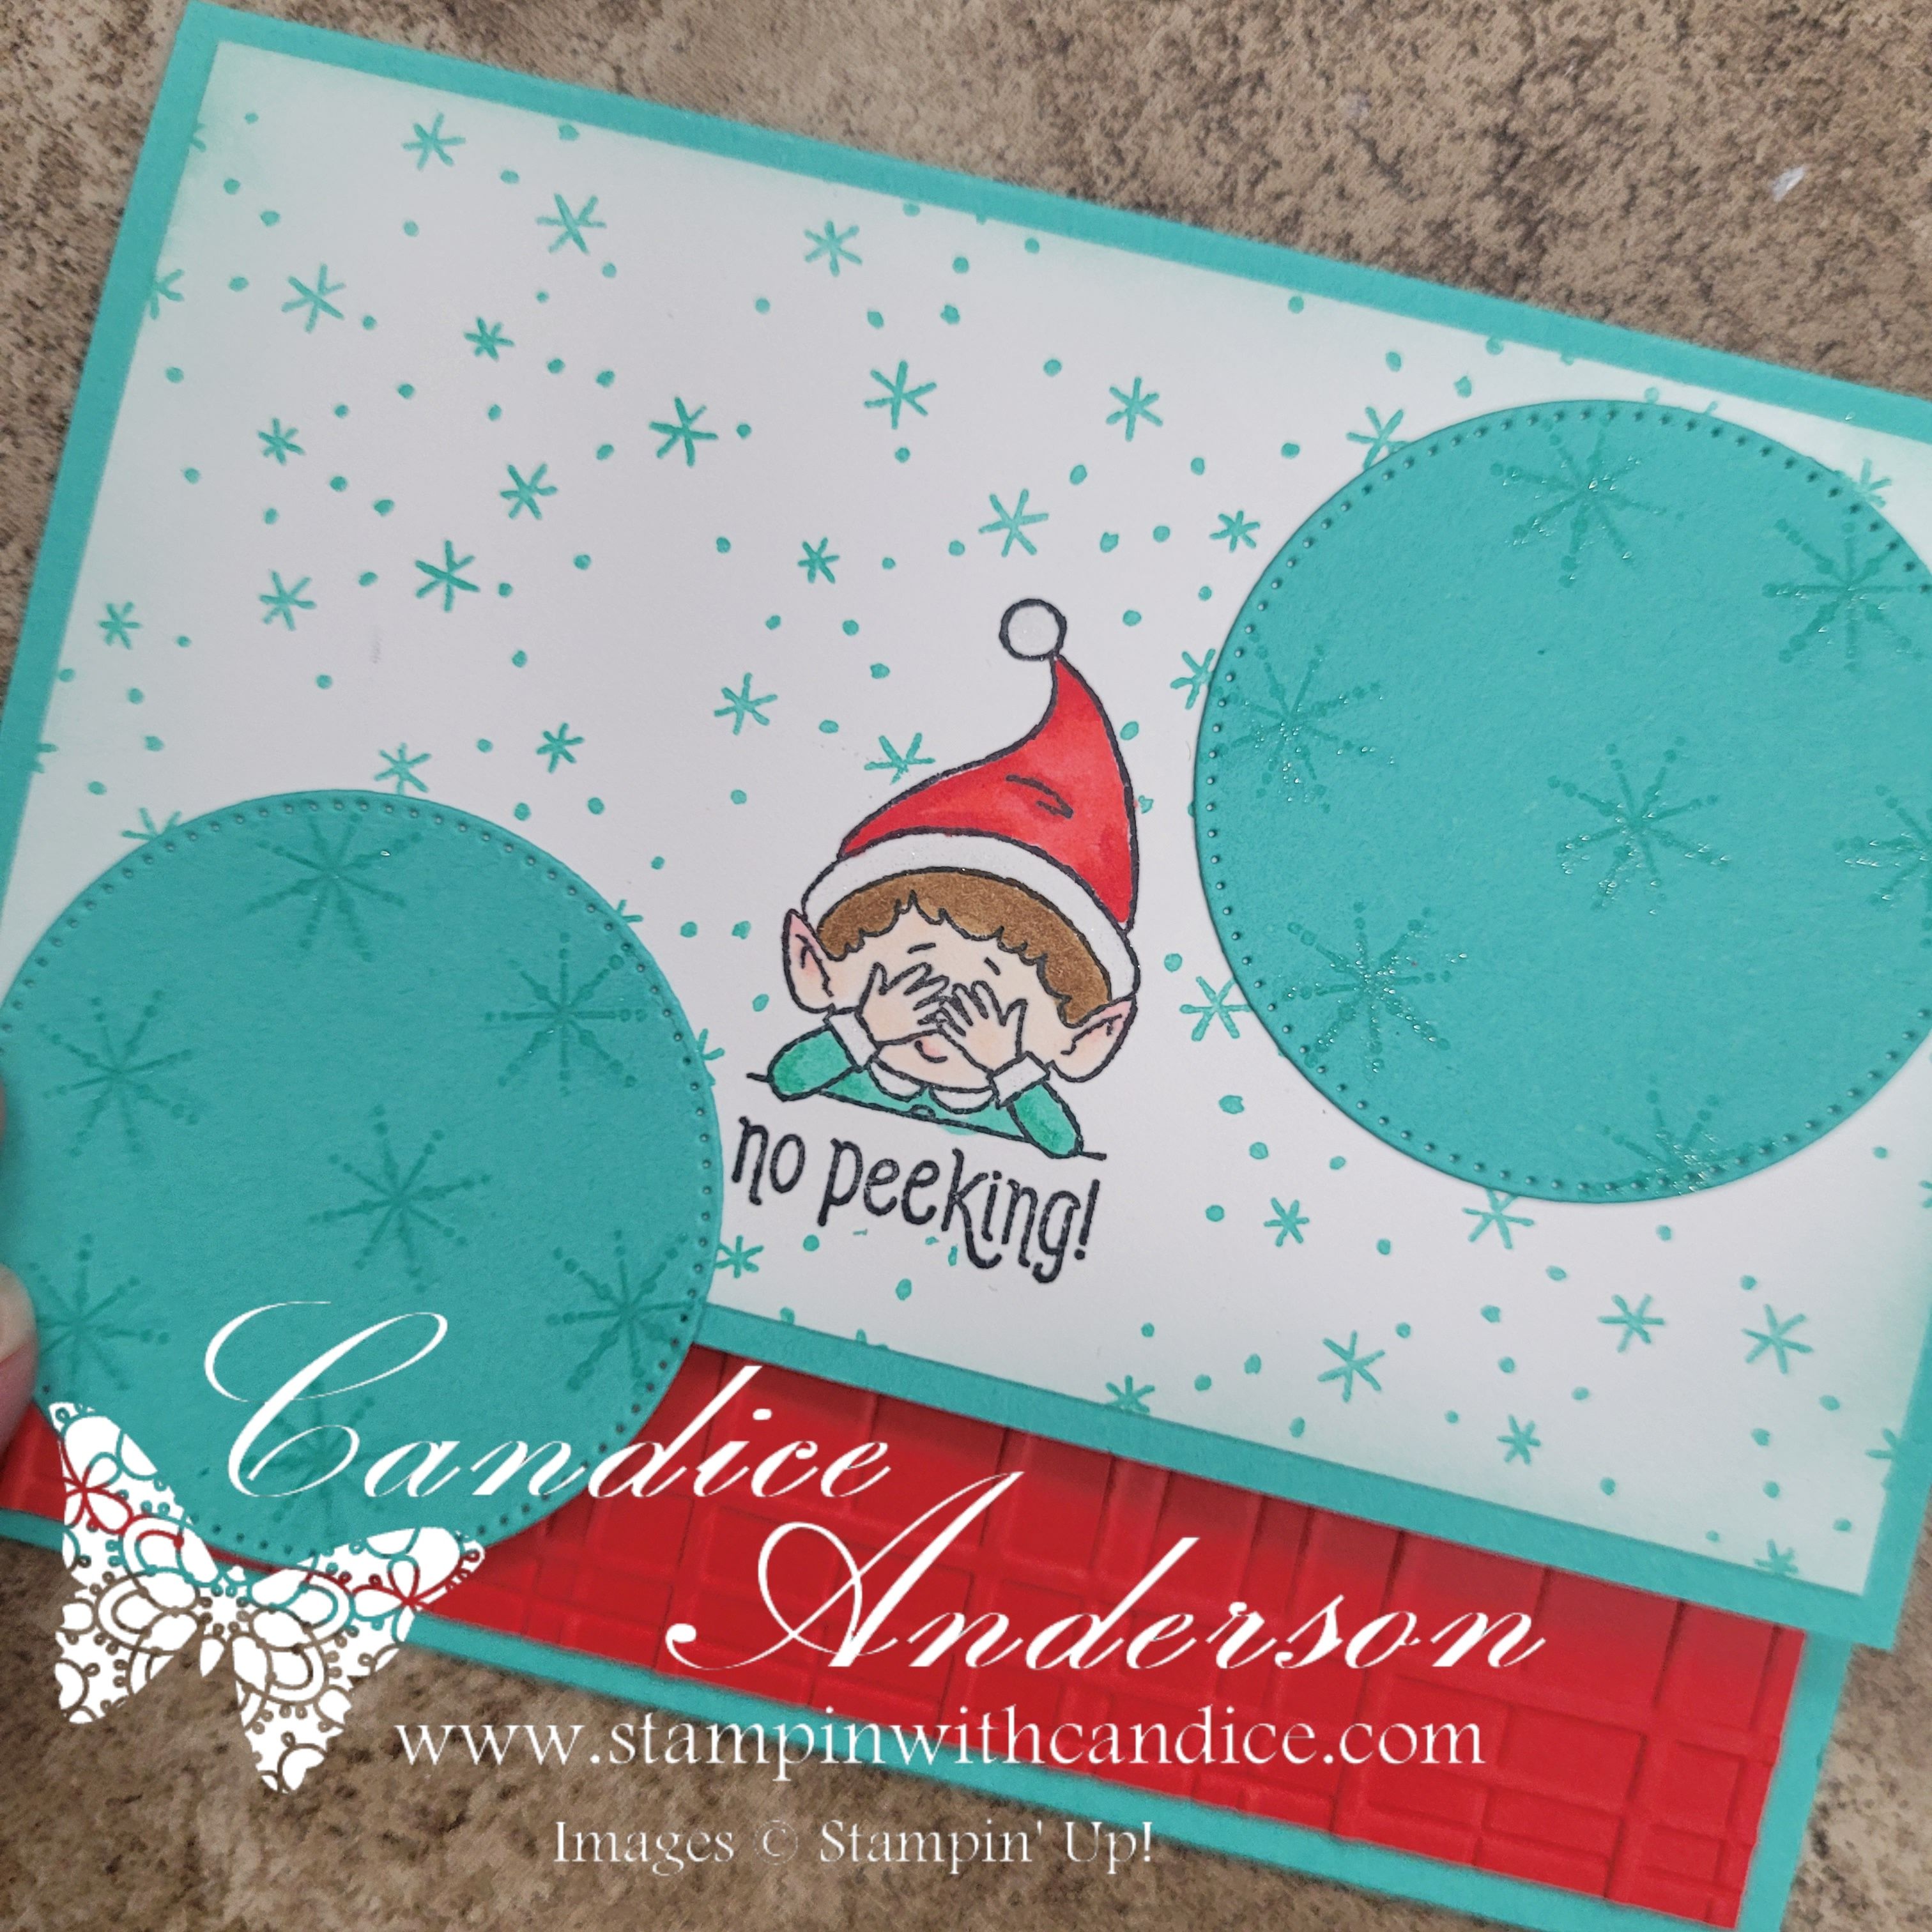


This design is so easy to create and perfect for the holidays—because who doesn’t love receiving (or giving!) a cute handmade gift card holder?
I shared the full tutorial during a live in the Card A Day in November 2025 group as well as on my YouTube and Facebook pages. If you missed it, no worries—you can still catch the replay. And huge thanks to Kevin for inviting me on to share this project!
🎁 How to Make the Fun Fold Gift Card Holder
This fold comes together quickly and can be decorated for any theme or season. Here’s the basic template:
Card Base
- Cut: 9-1/2″ x 5-1/2″
- Score at: 3-1/2″ and 7-1/2″
This creates: - A 3-1/4″ panel (the main front)
- A 4-1/4″ panel (the inside)
- A 2″ flap (perfect for the pocket)
Belly Band
- Cut: 1-1/2″ x 8-1/2″ (or longer depending on embellishments)
- Wrap loosely around the card so it slides easily.
Gift Card Cutout
You’ll need circle punches or dies:
- 1-3/4″ for the pocket opening (#119850)
- 2″ for the decorative circle layer (#133782)
Interior Layer
If you’re using a different color inside:
- Cut 2-1/2″ x 5-1/4″
- Make sure it extends past the punched opening for a clean look.
Tools That Help
- Bone folder (#102300)
- Tear & Tape (#154031)
- Mini Glue Dots (#103683)
- Mini Stampin’ Dimensionals (#144108)
- Circle punches/dies
And then… decorate to your heart’s content!
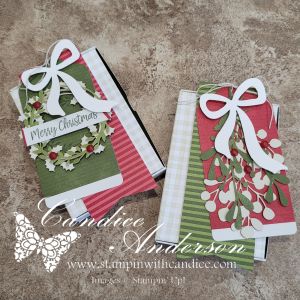
🧝 Elfie Samples
Of course I made more than one! Here’s what I used:
Elfie Cards
Color combos:
- Poppy Parade, Pool Party, Summer Splash
Others:- White Baker’s Twine (#155475)
- Real Red & White Peppermint Embellishments (#164050)
- Strawberry Slush and Pretty in Pink Gems (#165615)
- Forever Plaid Embossing Folder (#164049)
- A Little Cheer (#166121)
- Stylish Shapes Dies (#159183)
- Wink of Stella (#141897)
- Blending Brush (#160518)
- Masking Paper (#155480)
- Blends – Poppy Parade, Summer Splash, Pool Party, Pecan Pie, Petal Pink, Pretty in Pink
Both versions turned out adorable and festive!


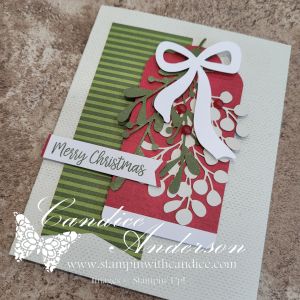
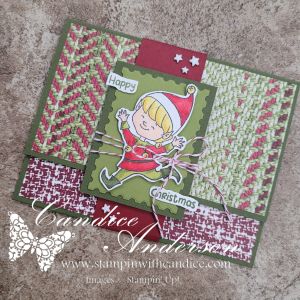
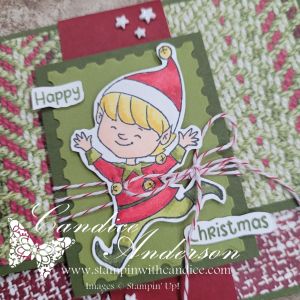
❄️ Additional Sample – Christmas Cuties
I also made a version using the retired Christmas Cuties (#139787) paired with the Need for Tweed Designer Series Paper (#166144) for a quick, textured background.
Color combo:
- Mossy Meadow, Old Olive, Cherry Cobbler
Others:- Real Red Baker’s Twine (#164051)
- Shimmer Star Foam Stickers (#166202)
- A Little Cheer (#166121)
- Perennial Postage Dies (#162607)
A different look but just as charming!

🎄 Do You Love This Fun Fold as Much as I Do?
I adore how quick and adaptable this Fun Fold Gift Card Holder is, and I can’t wait to see what you create with it!
If you try this fold, please share your photos—I love seeing everyone’s creative twist on the design.
👉 You can shop current Stampin’ Up! supplies and tools here:
Shop with Me Here

Please feel free to contact me if you have any questions.
Contact me today to place your order!
435-232-2655 Cell ( Call or Text)
andersoncandice@hotmail.com
💕 Let’s Stay Connected
📺 YouTube
📘 Facebook
📸 Instagram
📌 Pinterest
#StampinWithCandice #StamperCandi #ACardADayInNovember2025 #30DayChristmasCardMakingChallenge #ChristmasCards #HandmadeCards #CreativeTechniques #HolidayCrafting #cardmaker #cardmaking #christmascards #handmadecards #papercraft #sketchchallenge #christmaschallenge