February Club Sneek Peak

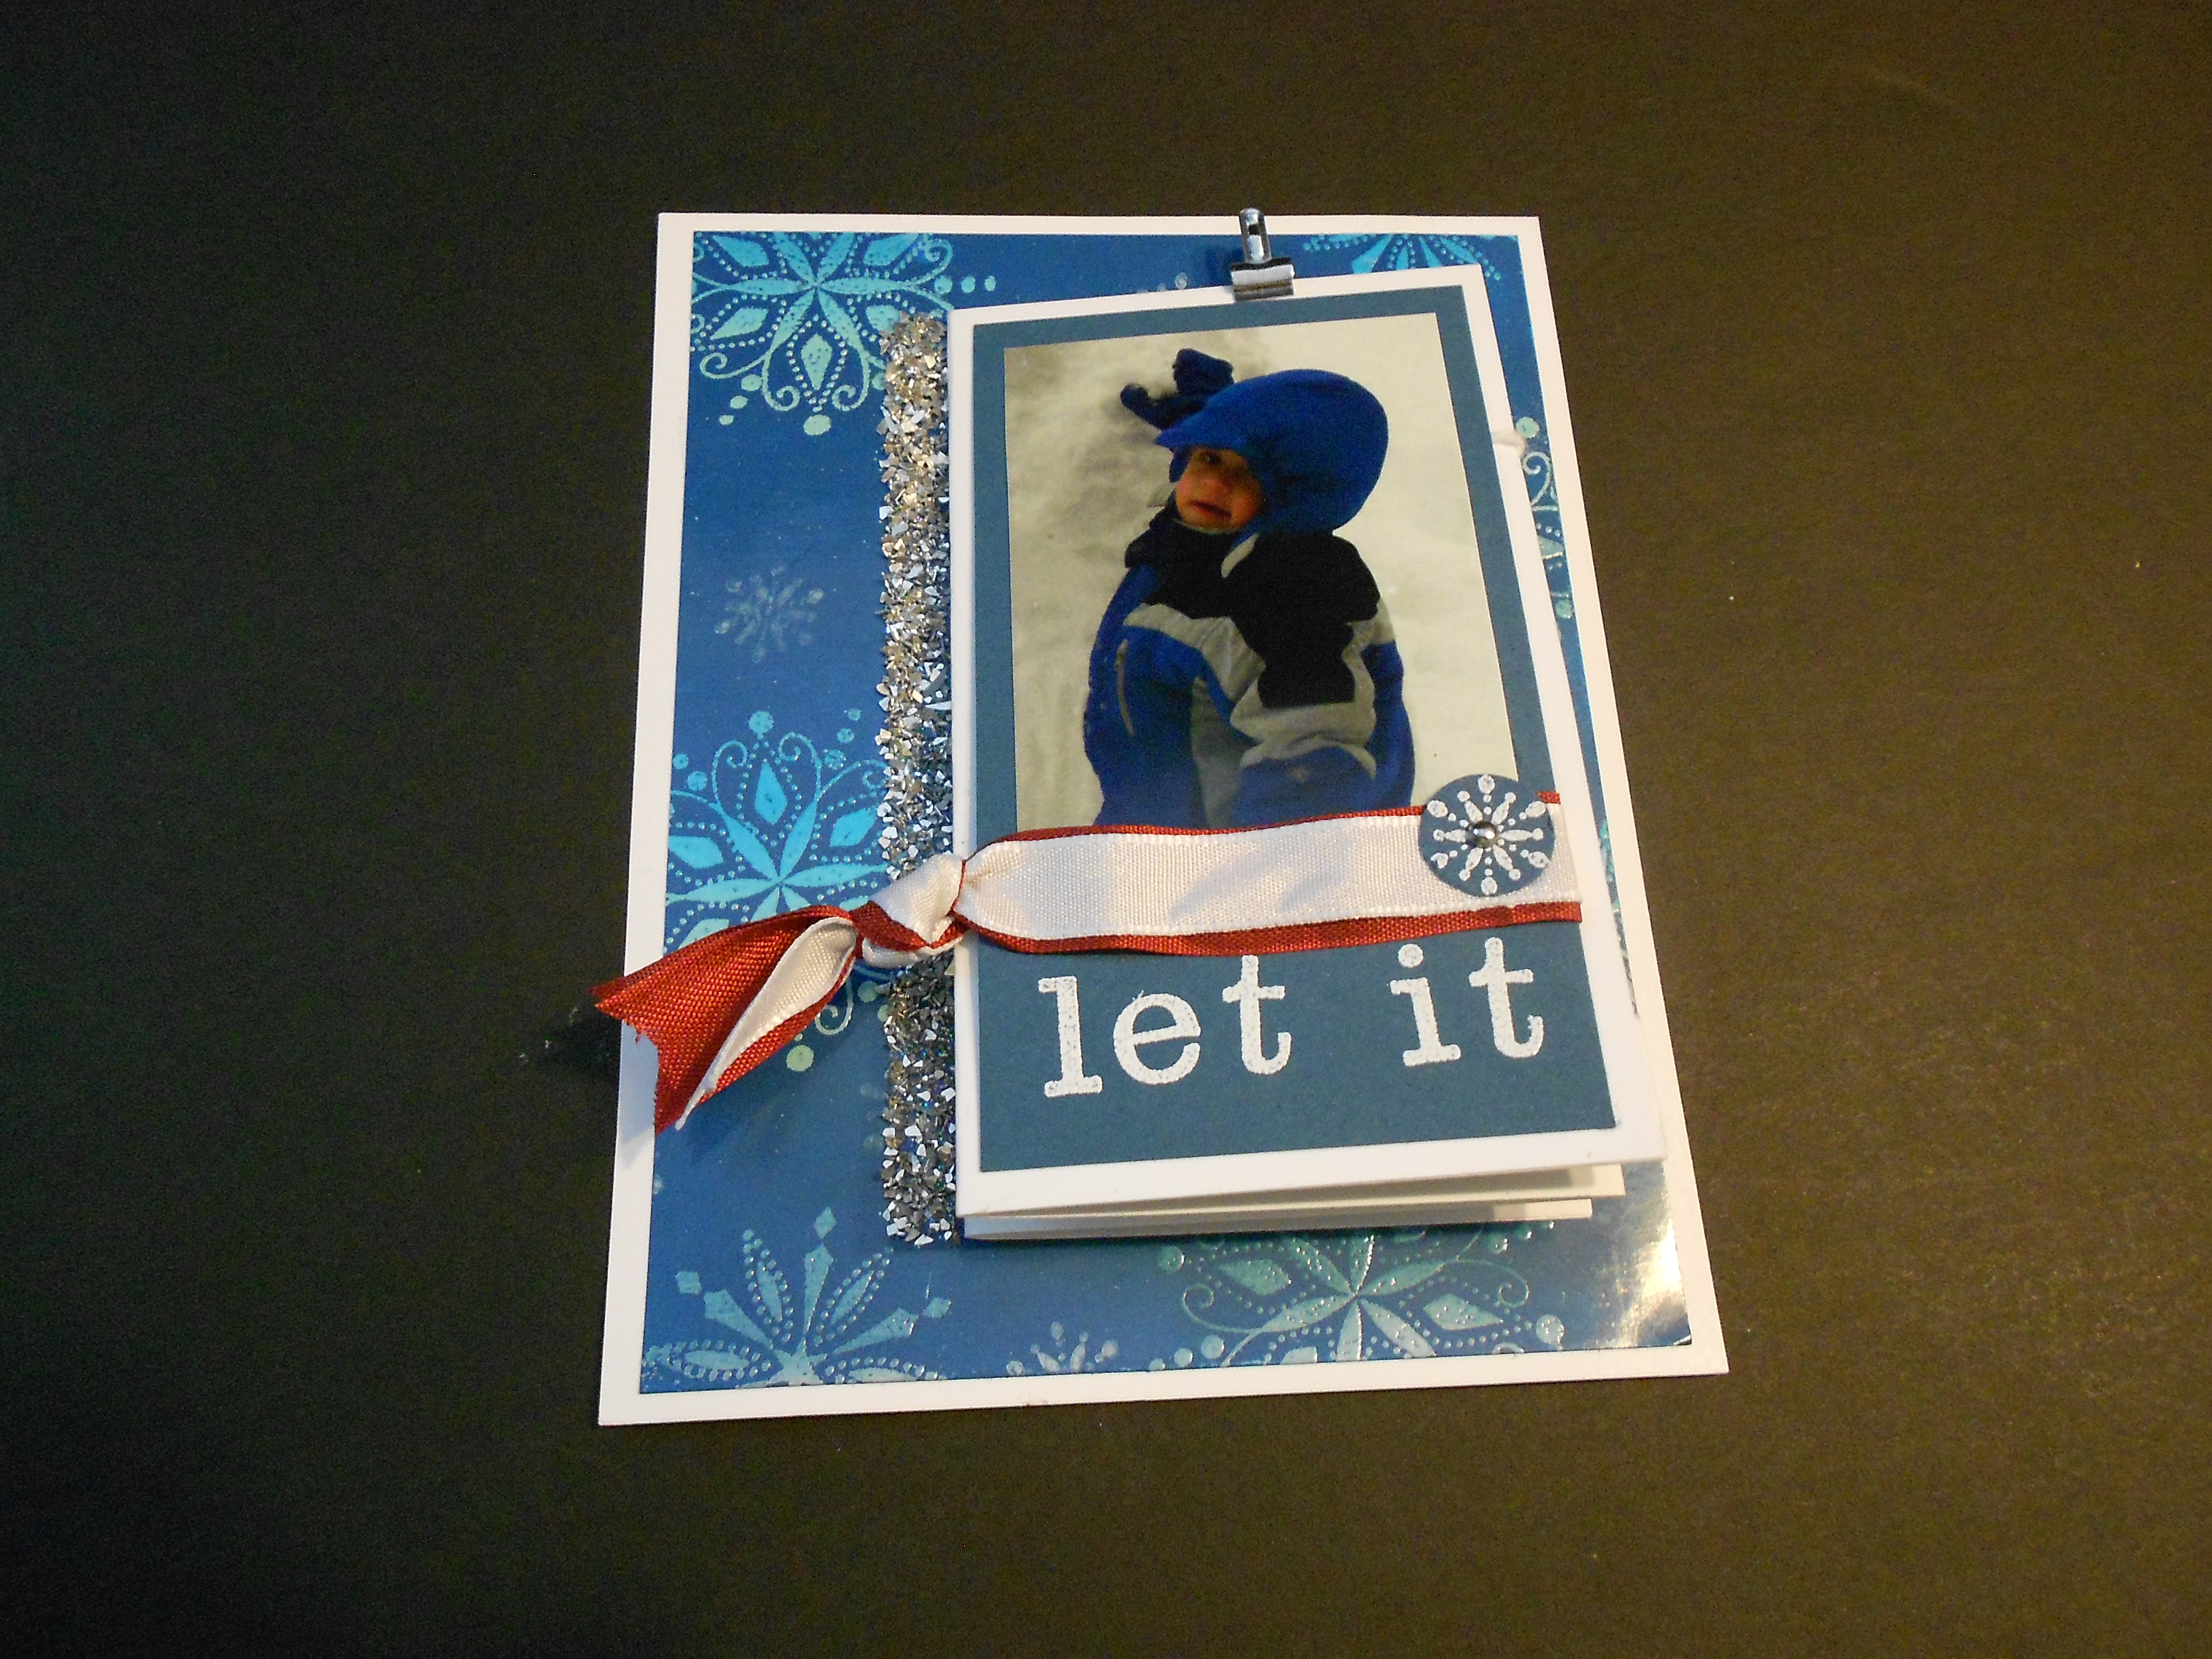
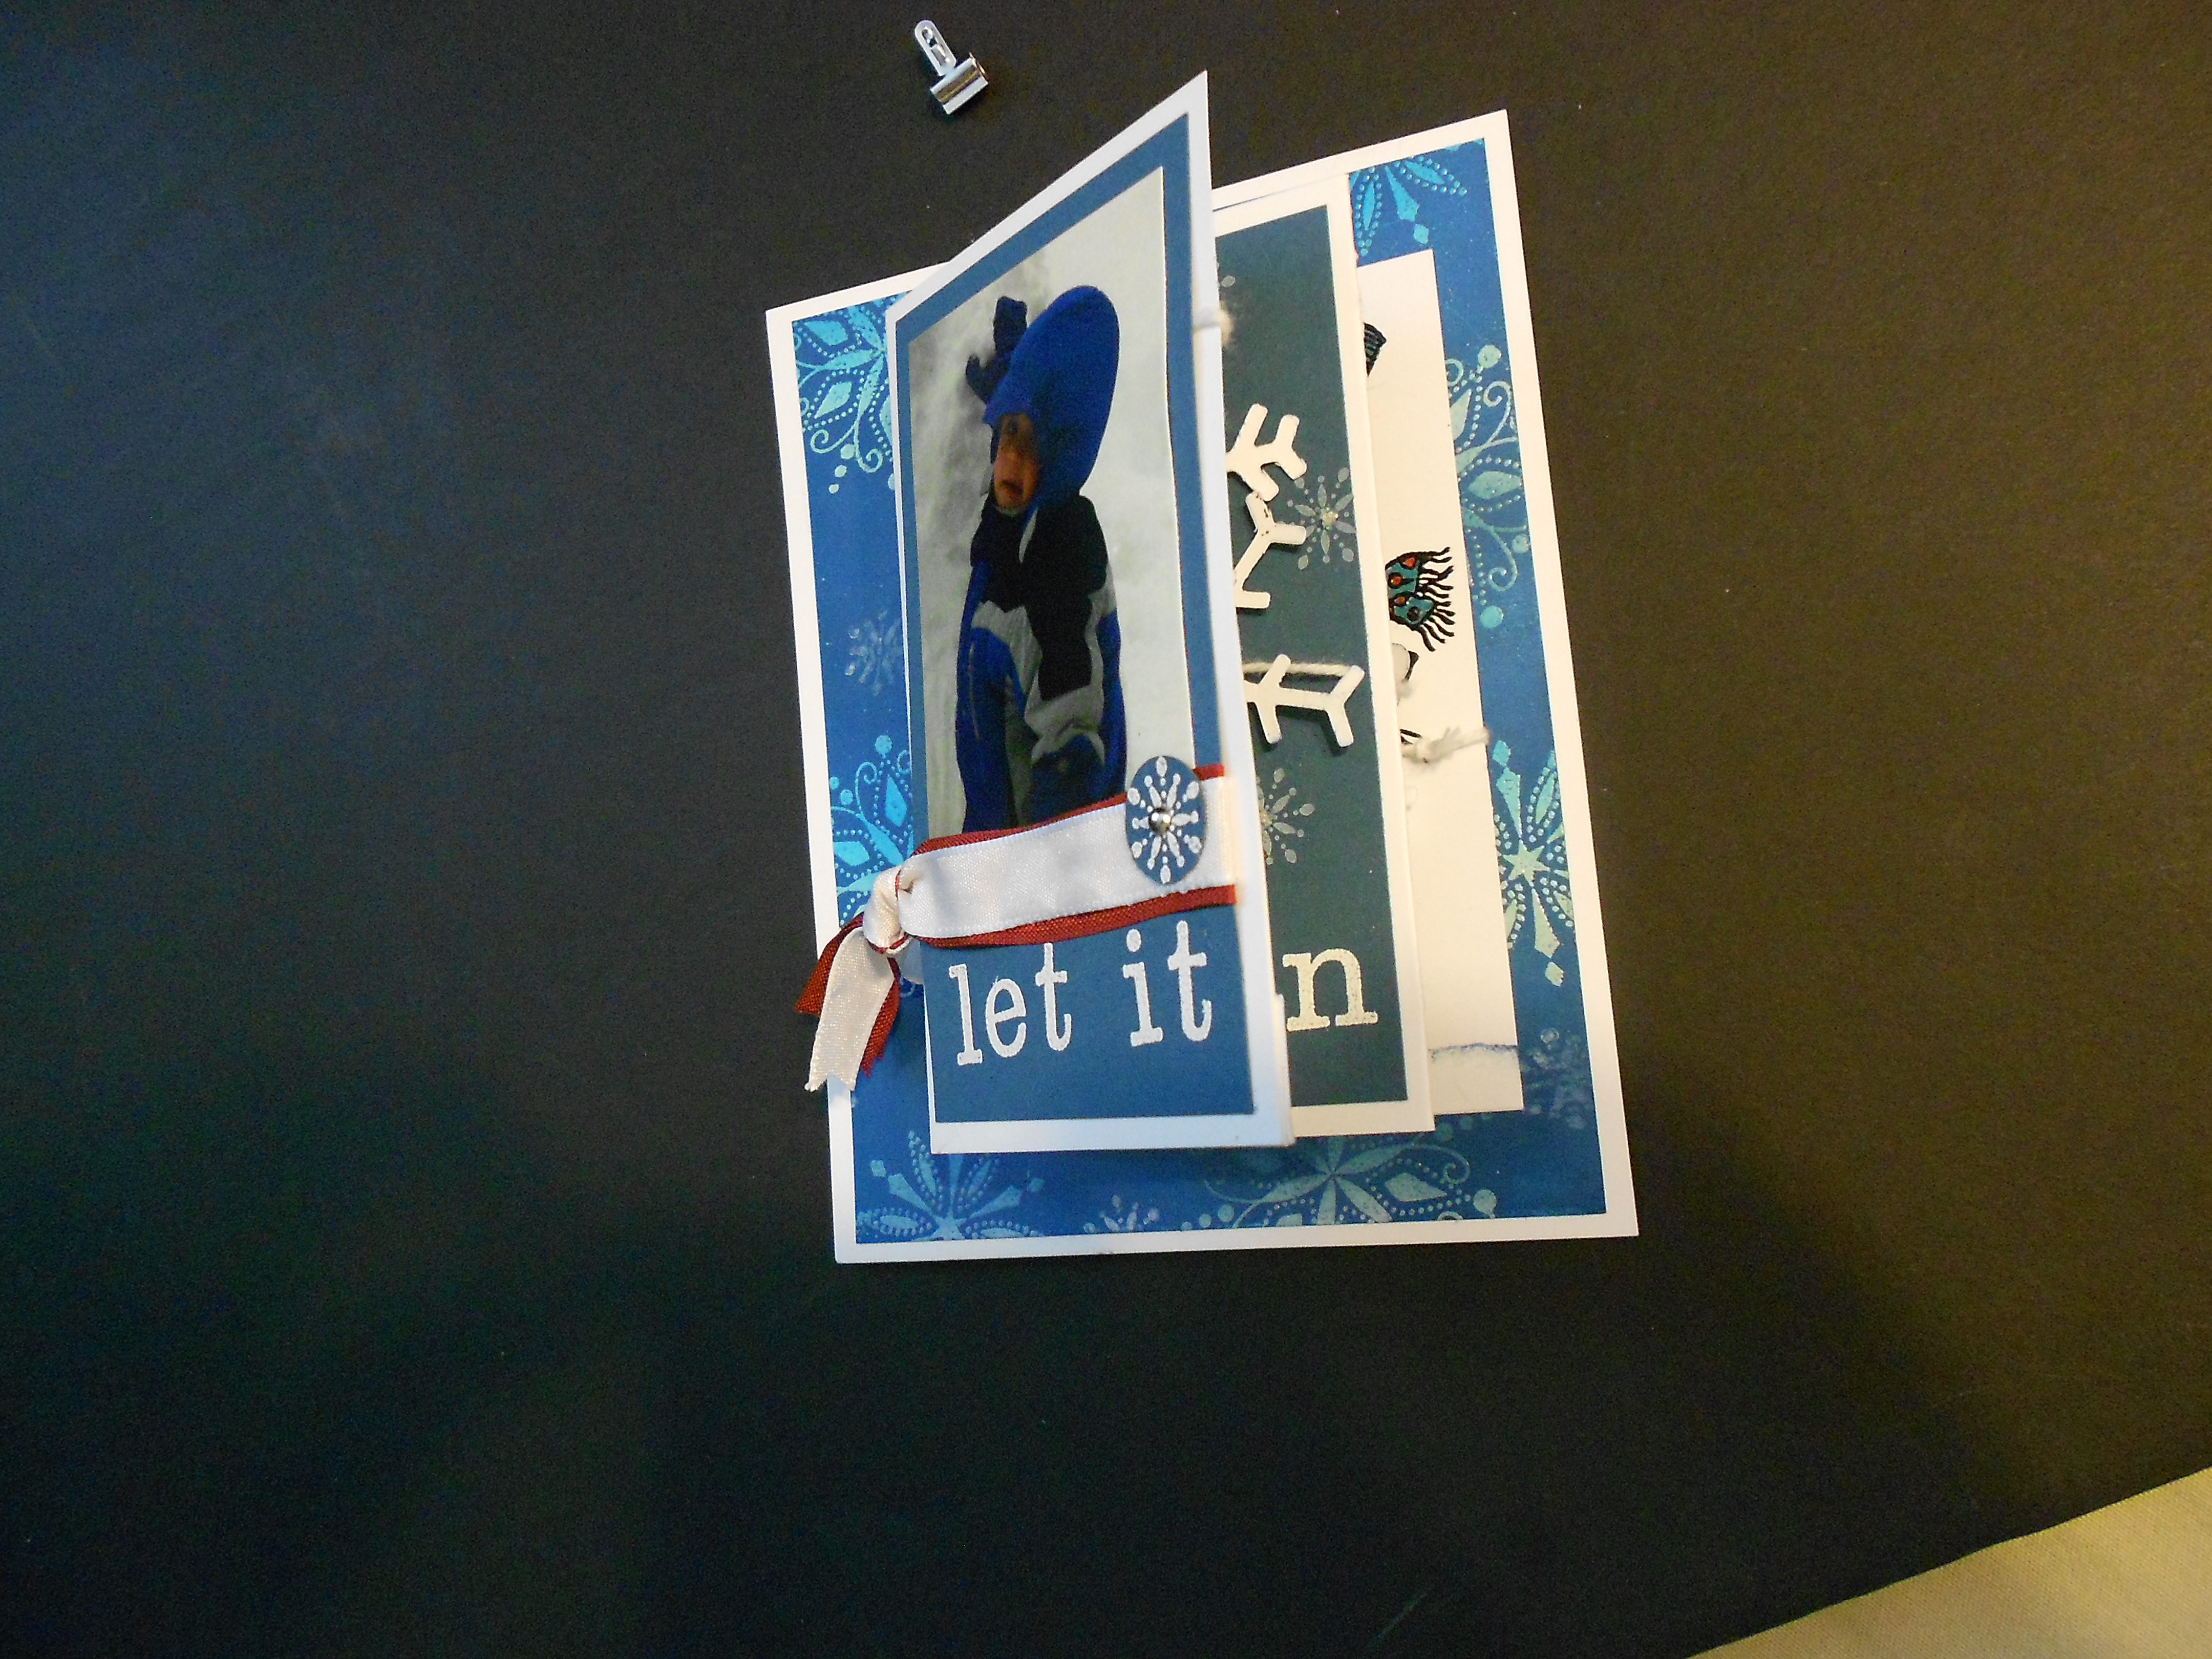
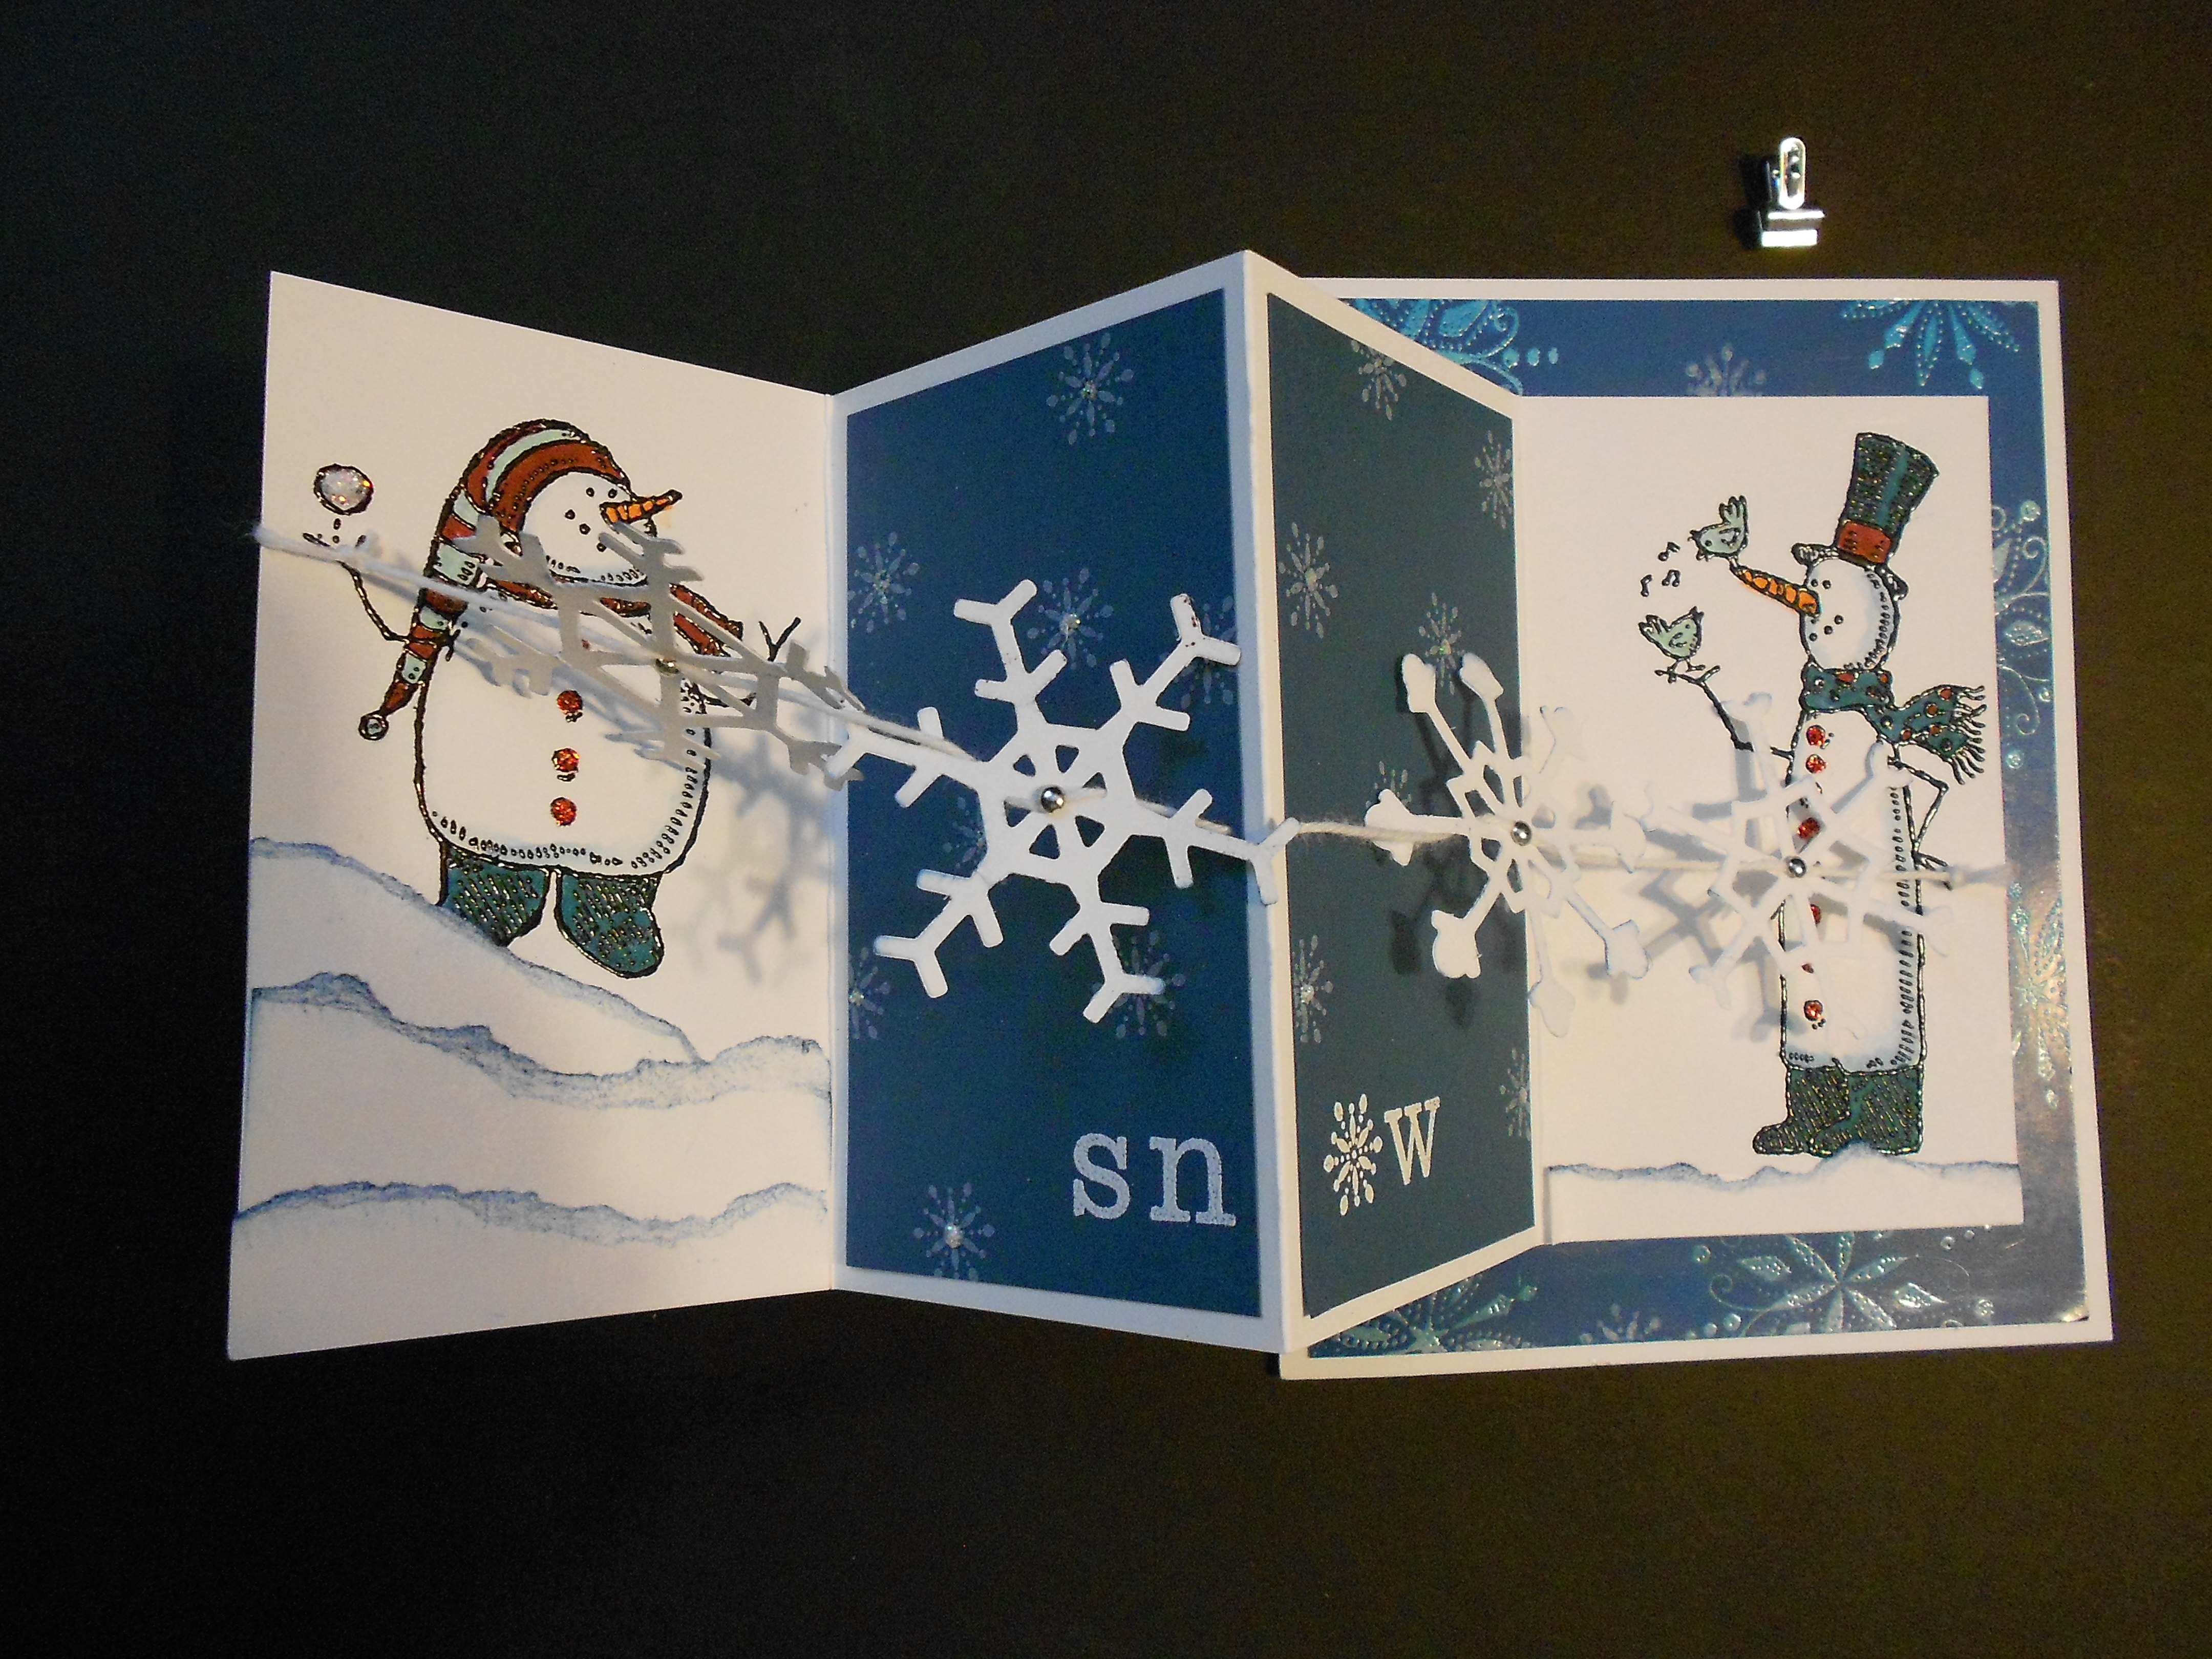
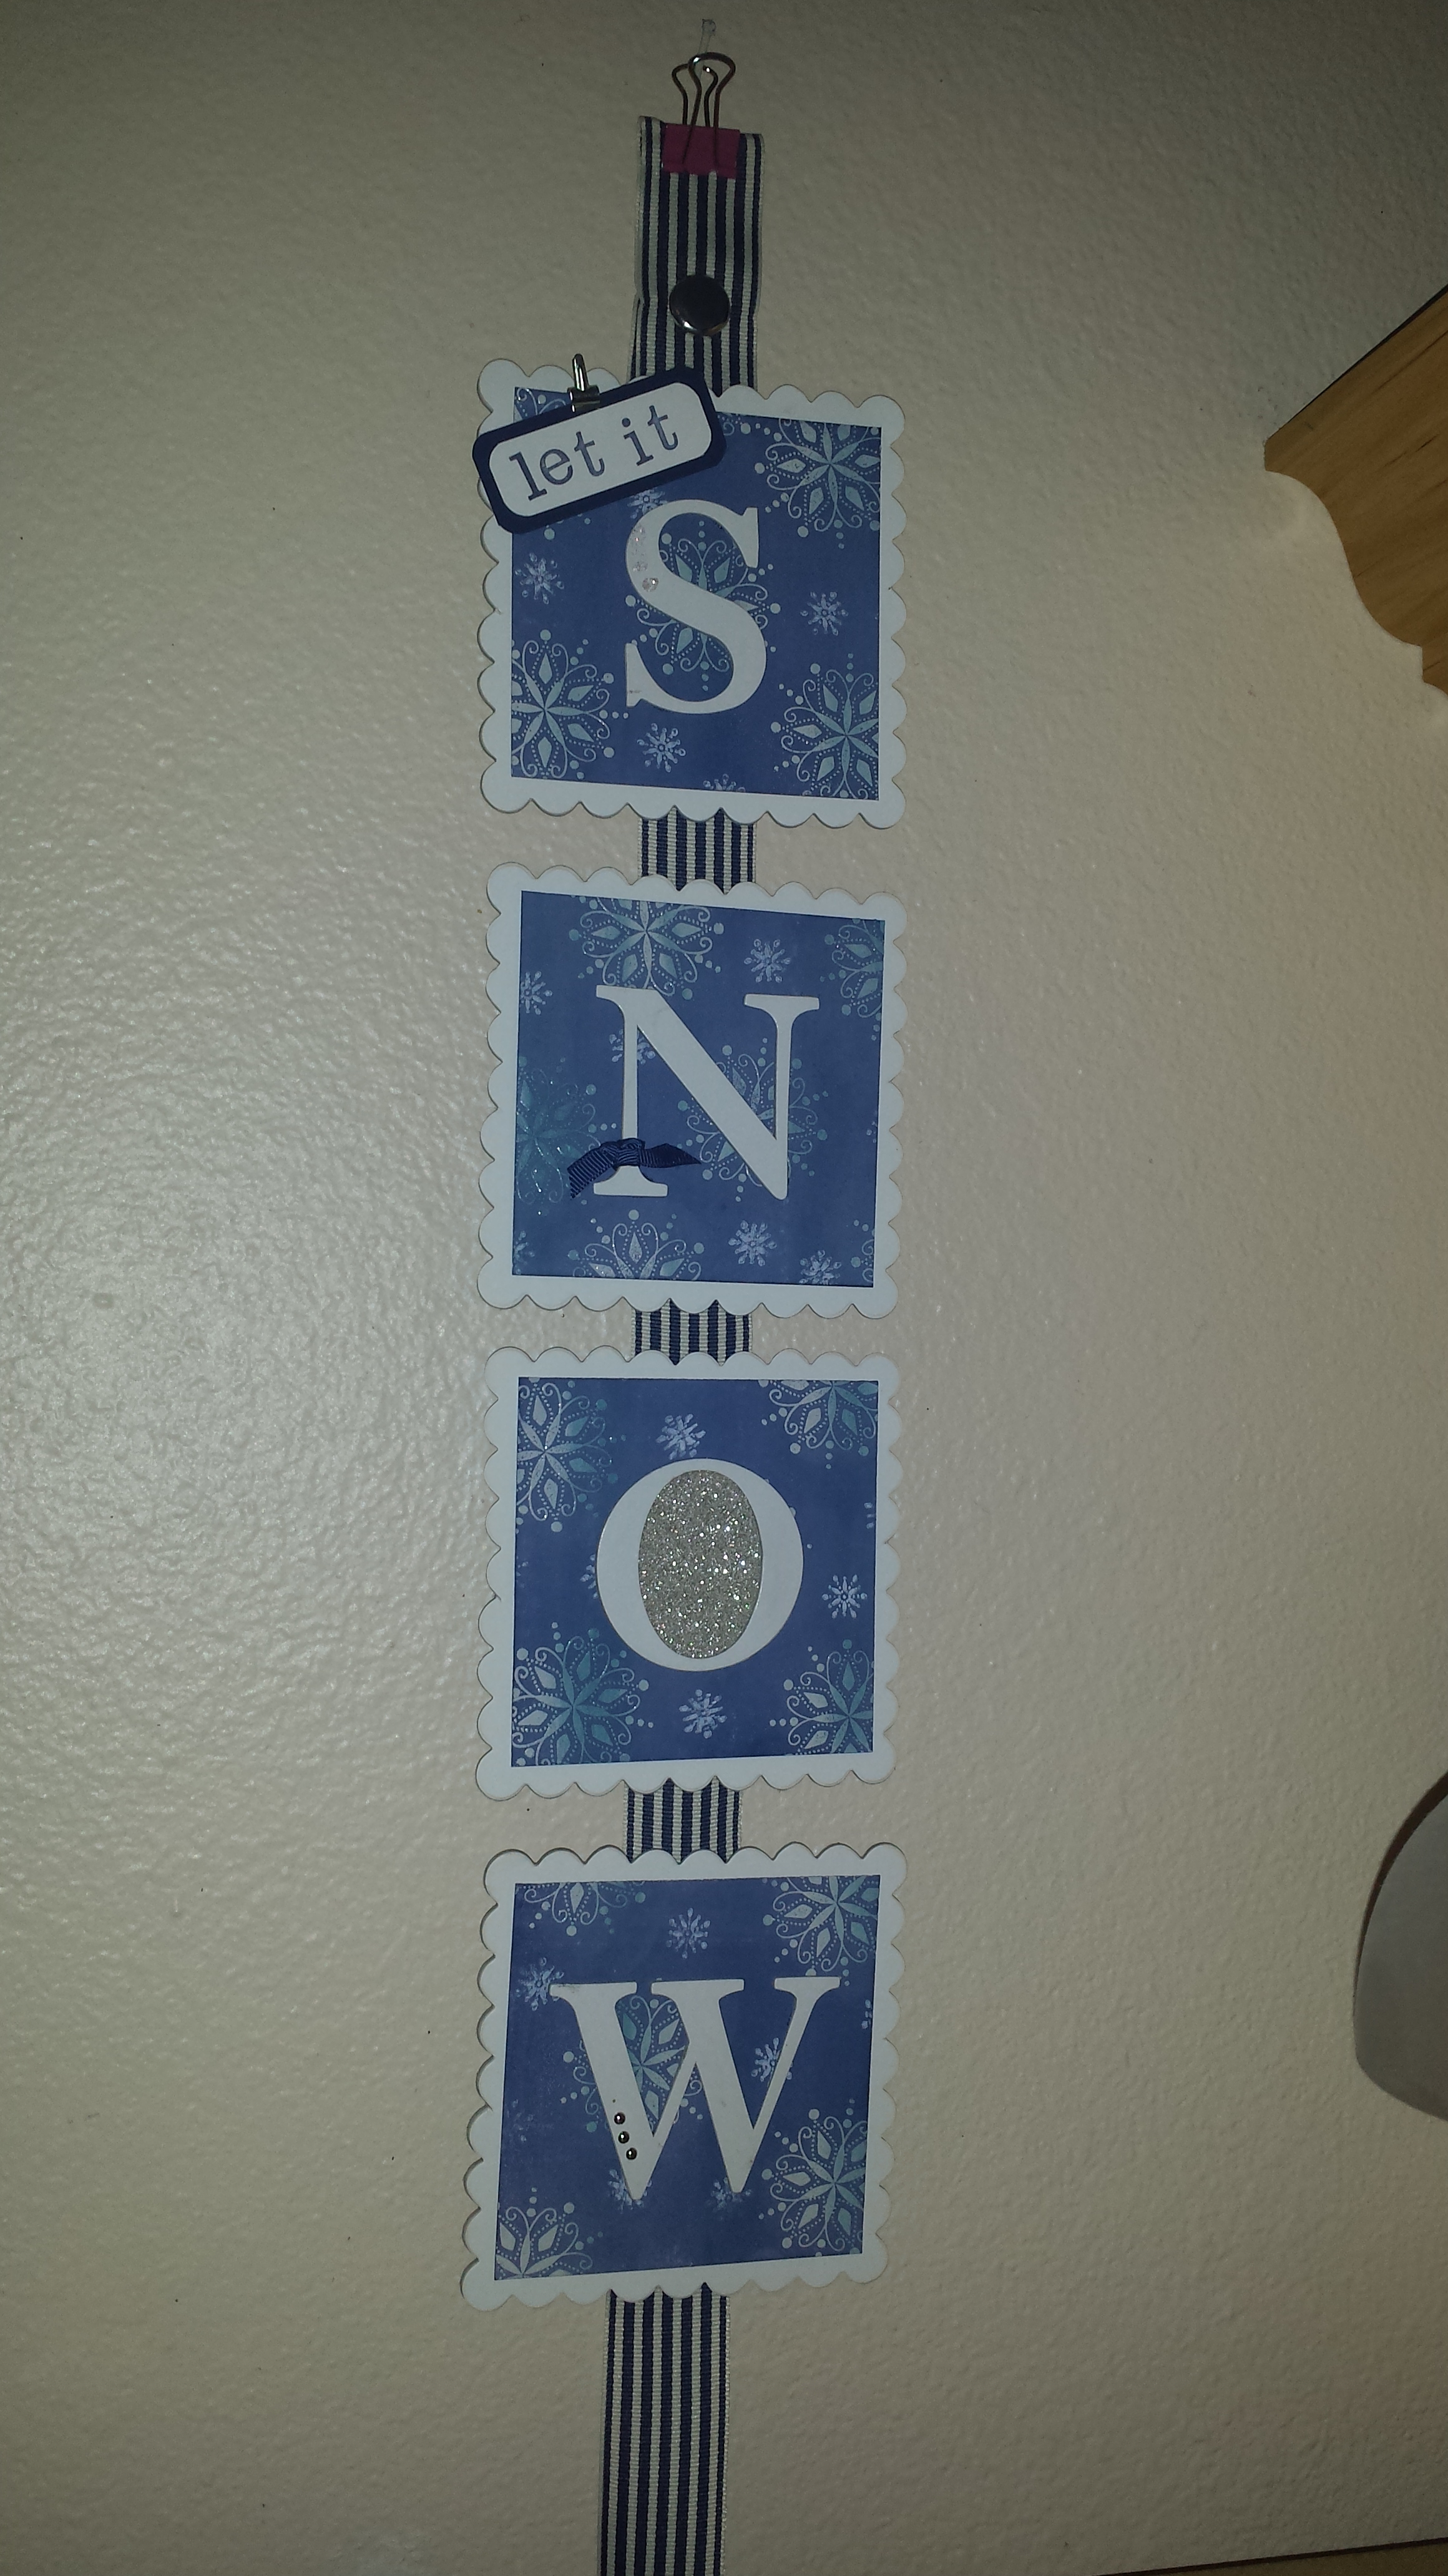
I just finished the projects for next weeks stamp club and they are so cute I just had to share a sneak peek.

Club Feb 2014 Sneek Peek 1

I saw these awesome bows on-line made with the envelope punch board and I just knew I had to try them myself.

Club Feb 2014 Sneek Peek 2

It took a bit to figure them out, but you can come to club and I’ll show you how to make them and display them on cute little projects.

Please Join Me

Wednesday February 19th

1:30 to 2:30

or

6:30 to 8:30

Remember to share the fun and bring a friend.ย  It’s always free to try it out.ย  See you there.

Click on the time above to RSVP.

Tag SignatureOrder online 24/7
Contact me to order or book your party today!
435-245-5321 Home
435-232-2655 Cell (Text)
andersoncandice@hotmail.com

Let is Snow Card

20140206_081143

This is what I woke up to this morning.ย  Almost a foot of snow and still snowing.ย  Just in case you are wondering here in Northern Utah the kids still went to school.ย  I’ve heard it takes 2 feet to get a snow day.

20140206_081136

Yes clearing off the card to get to work was lots of fun.ย  Thankfully I get to stay home in my nice warm house since it’s my day off.ย  Hopefully I don’t have to go rescue my husband.ย  He took the car over the mountain so we shall see.

20140206_081207

You can see a little better how much snow there is on the untouched swing set.

So in light of all the snow I thought that my Let is Snow card would be the perfect throw back Thursday.ย  This is another card that I created for Artisan a couple years ago, but apparently never shared.

Let it Snow Card - Front

So this is the front of the card.ย  This card is very unique and different.ย  Personally I love it.ย  So The card base is just a regular card.ย  I can’t remember if it opened or not, but I think it did so you could write a message inside.ย  The blue background is a fun technique.ย  I used the white glossy paper that I wish we still sold.ย  I took a baby wipe and put three dots of reinker in different colors going across the wipe then I wiped it on the glossy cardstock to give it kind of a rainbow look.ย  Once that was dry I inked my snowflake with versamark and stamped my snowflakes then embossed them with clear embossing powder.ย  I then used a dark blue reinker and a sponge to sponge over the top so the snowflakes were the only think to show the lighter colors.ย  The embossing powder resists the ink so you can see the colors underneath.

Let it Snow card- Layers

This card has some fun layers to it.ย  I folded a white paper.ย  I believe that it’s a 4 1/4 tall by 11 scored at 2 3/4 on each side and 5 1/2.ย  Then folded accordion style.ย  I attached a piece of sticky strip along the side where it was being attached and covered it with the Silver Glass Glitter.ย  This isn’t the best picture, but it gives you an idea of how the card folds up.

Let it Snow card- opening

So this the the card as it’s opening up. Of course the front is a darling picture of my son playing in the snow.ย  I used a mini clip to hold it shut when you aren’t opening it.

Let it Snow Card- Partial open

As it starts to unfold you can start to see the magic int he card.ย  I used the Snow Much Fun set that is now retired to create a fun winter seen.

Let is Snow card- Opened

Here’s the finished card all opened.ย  My favorite part is the snowflakes that are attached to some bakers twine.ย  The snow men are stamped and embossed with black embossing powder before they are colored.ย  It’s kind of hard to see but I also usedย  some of the Dazzling Details on the snow ball and sides of the snowmen to make them sparkle.ย  The snow is stamped in white and embossed with white embossing powder to make it pop.

Hopefully I’ve inspired you to think outside of the box a bit.ย  Here’s one more piece of inspiration.ย  This is a wall hang I made using the same technique that I used on the background of my card.

Let it Snow wall hang

I used the scallop square die and the alphabet die to cut out the background and the letters.ย  Both were cut with chipboard and covered in white cardstock.ย  I hang this one up every year.ย  I still love it.

Tag SignatureOrder online 24/7
Contact me to order or book your party today!
435-245-5321 Home
435-232-2655 Cell (Text)
andersoncandice@hotmail.com

Reverse Masking Technique

Masked Butterfly Card

I found this awesome technique on YouTube.ย  Of course it caught my eye since it was my up-line doing the demonstration, but I absolutely loved the technique.ย  It’s really pretty easy to do.ย  I created a bunch of these to send out.ย  Maybe you’ll be one of the lucky ones to get one.

En Francais
#109521 – Wood $17.95

Sweet Essentials
#126455- Wood $19.95
#126457- Clear $14.95

Beautiful Butterflies Bigz Die
#114507 $21.95

Owl Builder Punch
#118074 $16.95

Pearl Basic Jewels
#119247 $2.95

Colors- Naturals White, Pool Party, Island Indigo, Cherry Cobbler.

Here’s the Video if you’d like to check out how it was done.


Here are some other cards I made using the same technique.

This one is using the Happy Whale die in the Spring Catalog along with the Beyond Plaid set.

*Beyond Plaid#129201 – Wood $23.95
#129204- Clear $17.95

*Oh, Whale!
#129129- Wood $22.95
#129132- Clear $16.95

*Happy Whale Clearlits Die
#129403 $7.50

Stampin’ Spritzer
#126185 $2.95

Pearl Basic Jewels
#119247 $2.95

Colors- Whisper White, Pool Party, Island Indigo, Cherry Cobbler.

Masked Thanks a ton cards

This one was created using the Perfect Pennants Die.

*Beyond Plaid
#129201 – Wood $23.95
#129204- Clear $17.95

You’re Amazing
#126720- Wood $30.95
#126722- Clear $22.95

Perfect pennants Bigz L Die
#123126 $32.95

*Ovals Collection Framelits Dies
#129381 $26.95

*Natural 7/8″ Cotton Ribbon
#127844 $7.95

Stampin’ Spritzer
#126185 $2.95

Colors- Naturals Ivory, Pool Party, Old, Olive, Soft Suede

Masked Pendent Birthday Card

I hope you will take a minute and try this fun technique.ย  I’d love for you to share your creations with me. Just e-mail them to: andersoncandice@hotmail.com or share them on my Facebook page. ย 

If you post them on-line you can leave a link to them in the comment box.ย  Share them by the end of the month.ย  Next month I will draw a name from those who shared and send them a free gift.

5-May

Happy New Year

Happy New Year Card

Just wanted to ring in the New Year with a little Stampin’ Fun.ย  This cute set is one of the single stamps that are a single stamp exclusive.ย  Remember it’s only available until January 2nd.ย  My club member learned how to do the fun background technique last month.ย  It’s done with bleach and our great spritzers.ย  It you’d like to learn more great techniques like this then be sure to come and check out my club.ย  Have a great year!

1-January

January & February Club

So I realized I’ve been a bit behind in my blog posting lately.ย  Sorry life has been crazy.ย  I thought I would share with you the fun projects we’ve done at club the last two months.ย  I will be having a Club Discovery on Saturday March at 11:00 am.ย  This is a great time to come and check out what club is all about.ย  Bring a friend and I will have a free gift for you.

With my clubs you have two options for regular club members.ย  You can sign up for the Scrapbook pages where you will make a 12 x 12 double page layout.ย  Last month we made this fun home page using the sale-a-bration items.

In January we made this fun Love page.ย  The club members were able to try out the fun build-a-bear die cut products we have.ย  That’s one of the great things about club.ย  Not only to you get to try some of our great products before you buy them I will also teach you how to use them.

The other options for my regular club members is to make cards.ย  Card club members make two each of two different cards.ย  That way you will always have one you can keep and one you can give away.ย  I usually try to make one of the cardsย match the page.ย  This way you have ideas on howย versatile our products are and you get the chance to do the same technique.ย  In February we made these two fun cards.ย 

I got all of my Sale-a-bration setsย & hostess sets ย in the clear mount so club members were able to try these new stamps and see which style fit them best.

In January they made these two great cards.

Sometimes I will have a bonus project for all of the club members to make.ย  In Jaunuary they didn’t make these, but I made them and gave them to each new club member.ย  They cover a calendar so they can keep track of all the fun events I have going on.

As a regular club member you agree to spend $15.00 each month (before shipping and tax) on Stampin’ Up! products of your choice.ย  Each member gets one month that they receive the hostess benefits.ย  Plus they get a Stampin’ Up! catalog for free.ย  Click here to check out the contract.

Club is held on the 2nd Wednesday of each month at my home (no need to clean yours.)ย  You can also chose to beย  a Saturday member.ย  This club meets just 4 times during the year (once a quarter) and will make the projects for the three previous months.ย  You still place your order every month.

The last option is called an alternative club member.ย  There is no obligation with this membership.ย  You can come anytime you like you just have to let me know at least 2 days in advance.ย  You can choose to pay for your projects $5.00 or you can place a $25.00 order and it’s free.ย  This is great if you can’t come every time, but still want to join in when you can.ย  You also get a punch card that will help you to earn free products as well.

So what are you waiting for.ย  Come and enjoy a girls night out and check out club.ย  Contact me today to join 435-245-5321 or 435-232-2655.ย  E-mail me today at andersoncandice@hotmail.com

There will be a special project for anyone that comes to the Club Discovery on Saturday the 20th.ย  Current club members are invited to come and bring guests.ย  If you decide before then that you want to join club you can come and make up the previous month projects on this Saturday.ย  Just let me know in advance.ย  You can pay $5.00 for each month or place a $15.00 order for each month.ย  Remember that it’s still Sale-a-brations and I will add all three months together for new club members so $5.00 can earn you a sale-a-bration set.

I’m looking forward to seeing you there.

On the 8th day of Christmas . . .

Theย Stampin’ Santaย gave toย you a snowflake candle luminary.

I received this item as a Convention swap.ย  I just had to make more.ย  I used them for Teacher’s gifts.ย  We filled them with candy and gave them the candle so they could turn it into a luminary.

It’s made with the Fancy Favor Big Shot die.ย  The snowflakes are rolled on with versa mark then I embossed them with the iridescentย ice embossing powder.ย  I punched out a snowflake on each side and covered it with White Vellum.ย  They are finished off with the cute little “Ready Set Snow” stamp (from Best Wishes & More) on the front punched out with the word window punch and layered on the modern label punch.ย  They were quick and easy to make.ย  I love that they can be used for the whole winter season.

Remember that I have the Big Shot on sale in my 12 Days of Christmas.ย  Get it now and start having fun all year.

This fun project is also one of the ones you can get for FREE when you place a $50.00 order.

To order call me at 435-245-5321 (Home) or 435-232-2655 (Cell & Messages.)ย  E-mail me at andersoncandice@hotmail.com.ย  Order on-line at www.candiceanderson.stampinup.net. Click on the shop now in the upper right hand corner.

Remember to check out my 12 Days of Christmas sale for all the great deals.ย  Plus the 12 Days of Holiday Sale that Stampinโ€™ Up! is offering on fun dies for the Big Shot.

Have a Happy Holiday!