Day 18 – Silent Night & Sketch Challenge #4

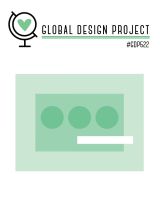
Today’s Christmas Challenge theme was Silent Night paired with Sketch Challenge #4, and the moment I saw the sketch I knew exactly what I wanted to reach for—the brand-new Swirled Designs Stamp Set (#167030) and Dies (#167032). The stars in this bundle are absolutely stunning, and they instantly sparked the perfect “silent night sky” idea.

Creating the Silent Night Background

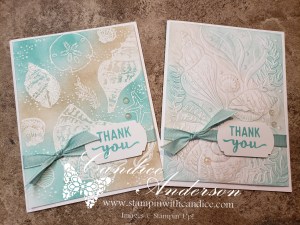
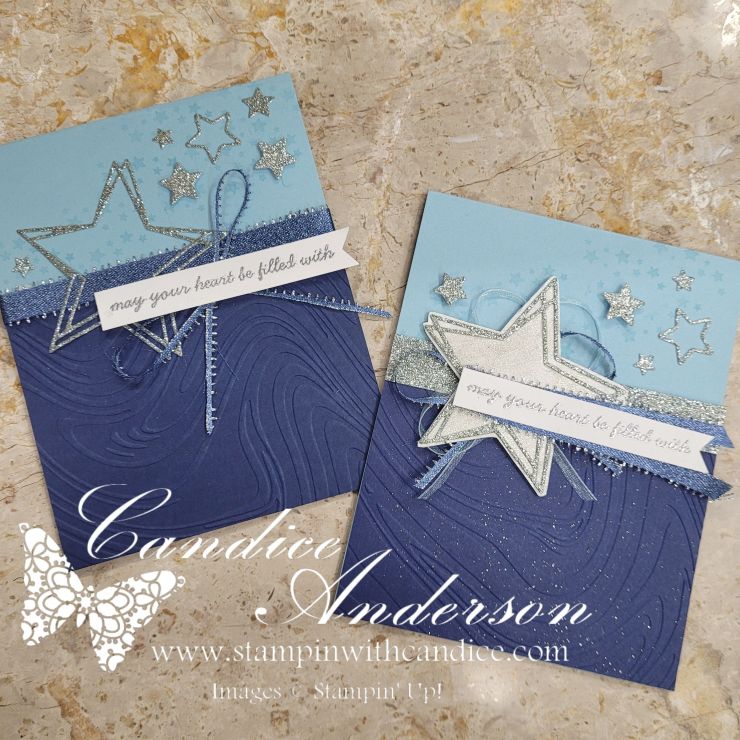
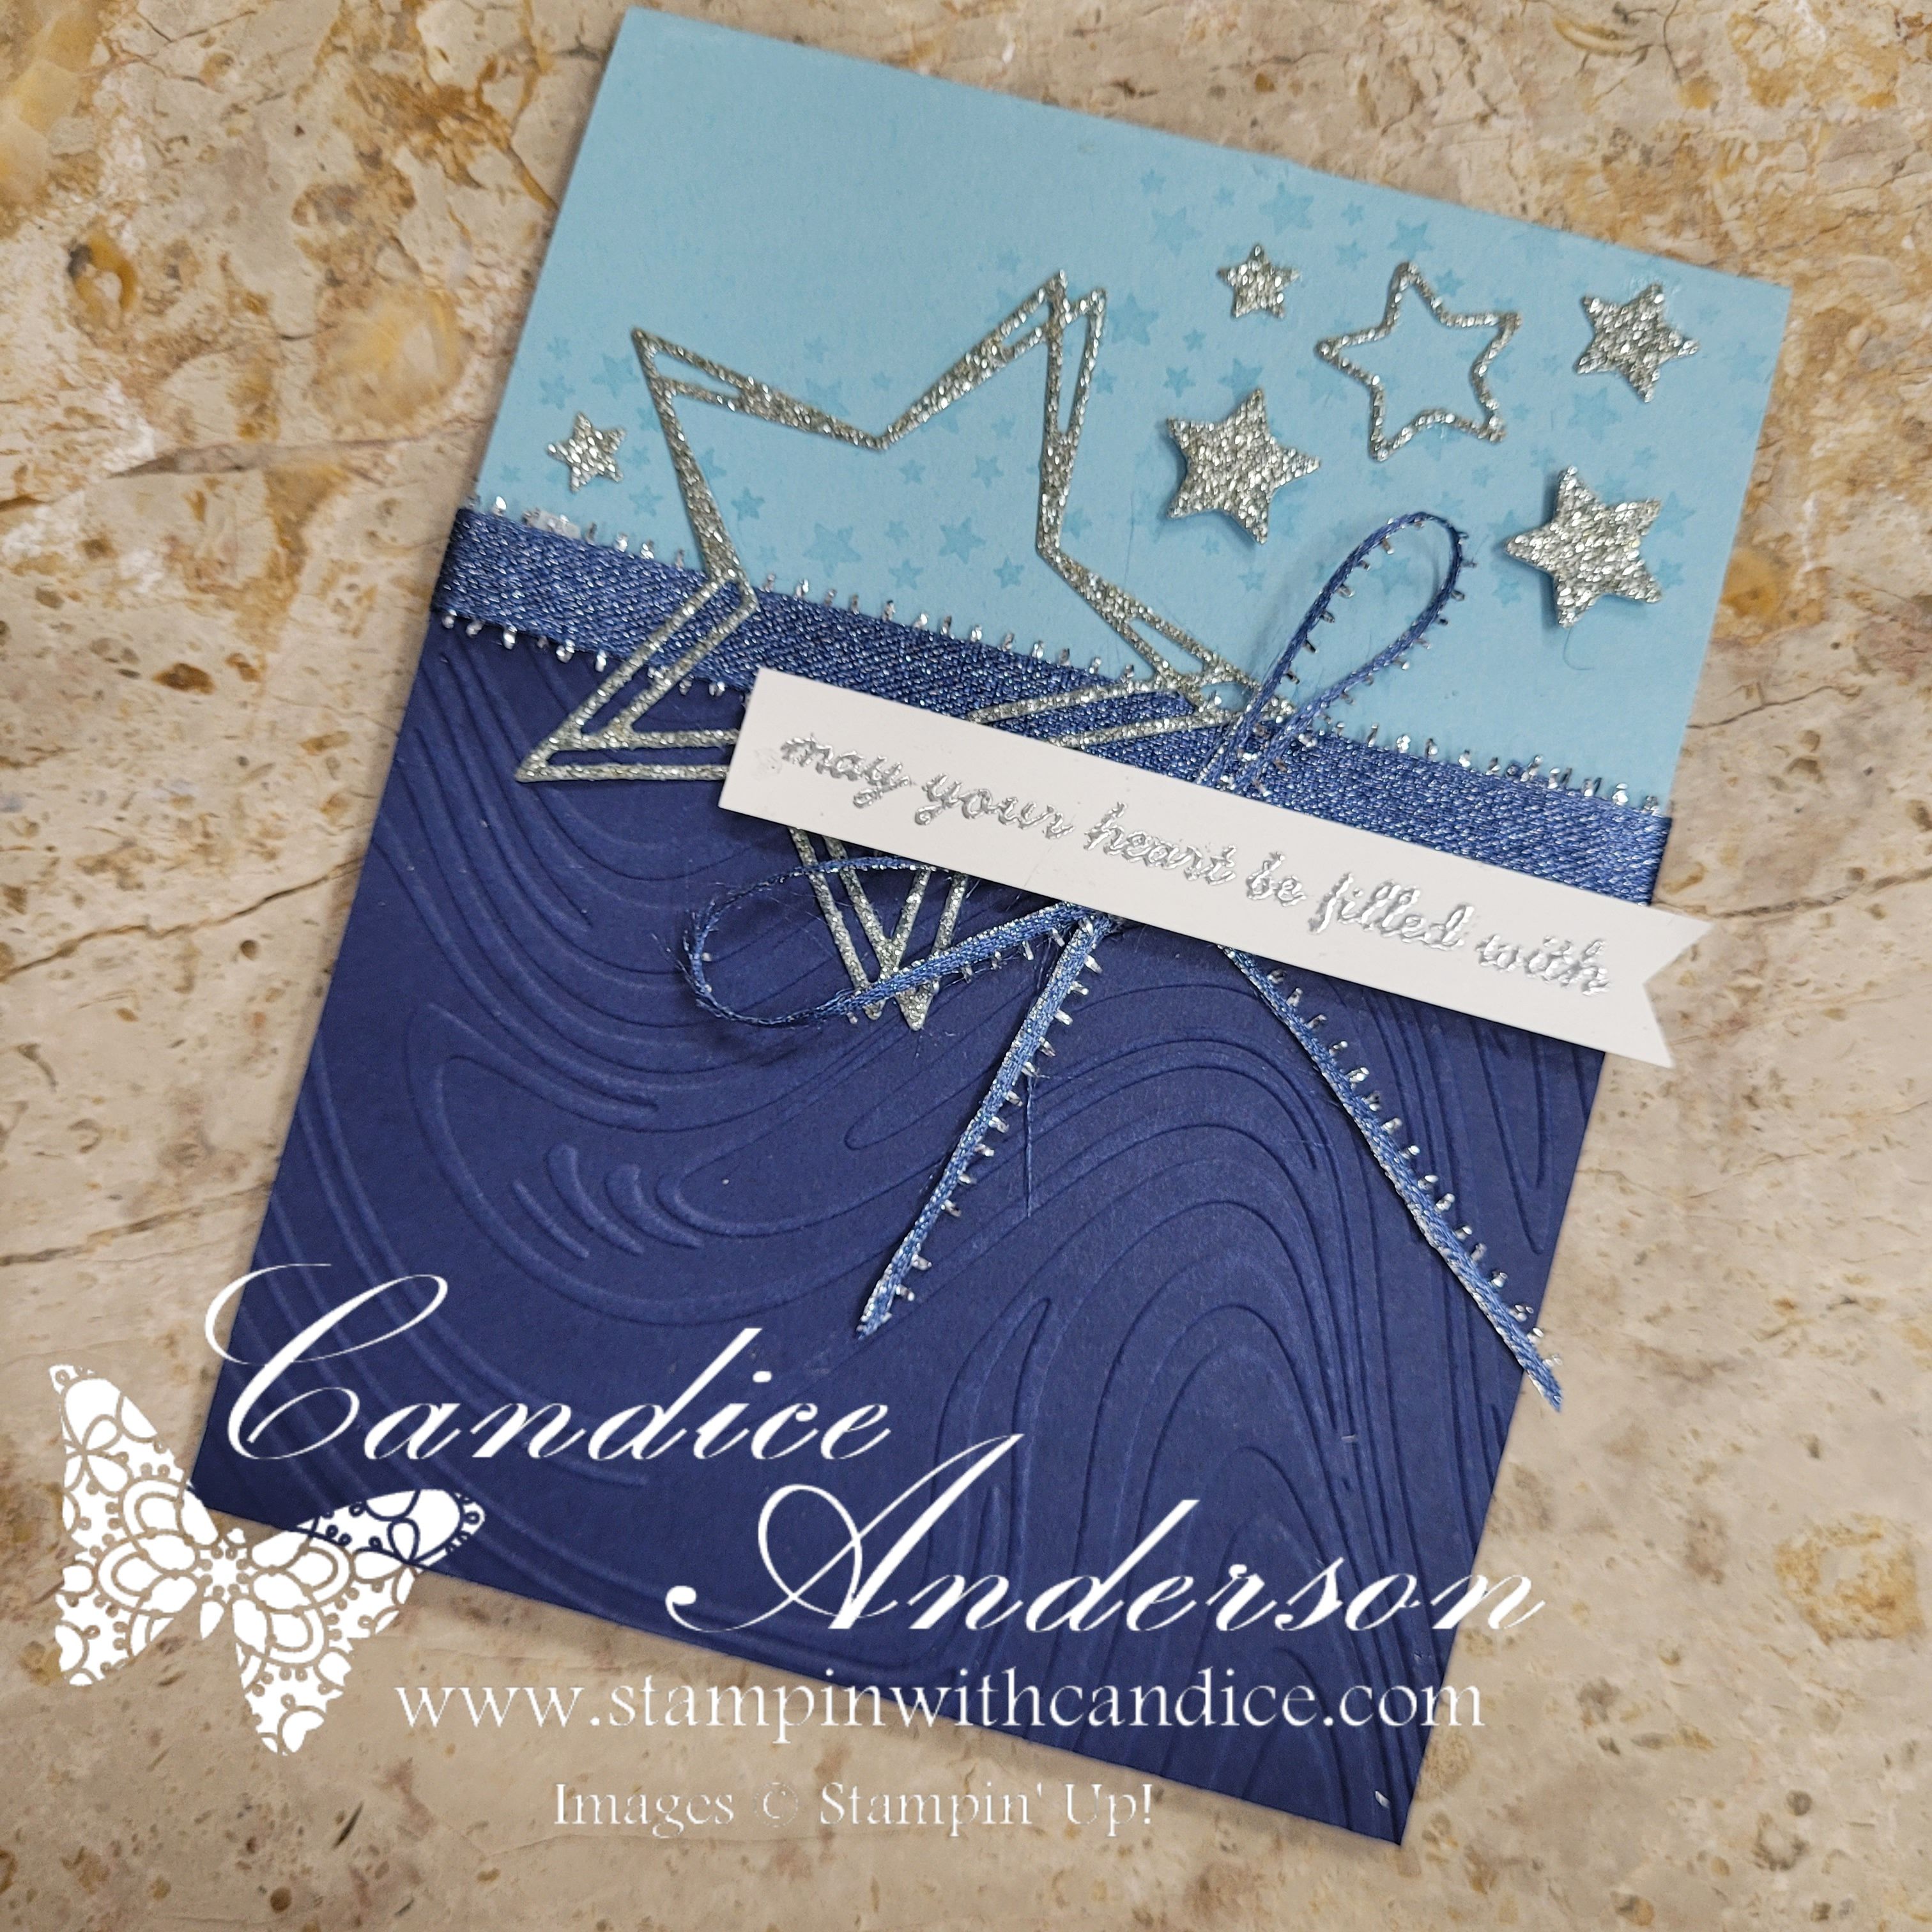
I started with a Balmy Blue card base to give everything that crisp winter feel. For the next layer, I added Night of Navy, embossed with the So Swirly Embossing Folder (#163791). This folder adds such beautiful depth and movement—perfect for creating the look of a quiet, swirling night sky.

To bring in that magical Christmas sparkle, I die-cut the large star from the Peaceful Garden Glimmer Paper (#165929). The shine is subtle but so elegant, and it really helps the star take center stage.

Sentiments with a Twist

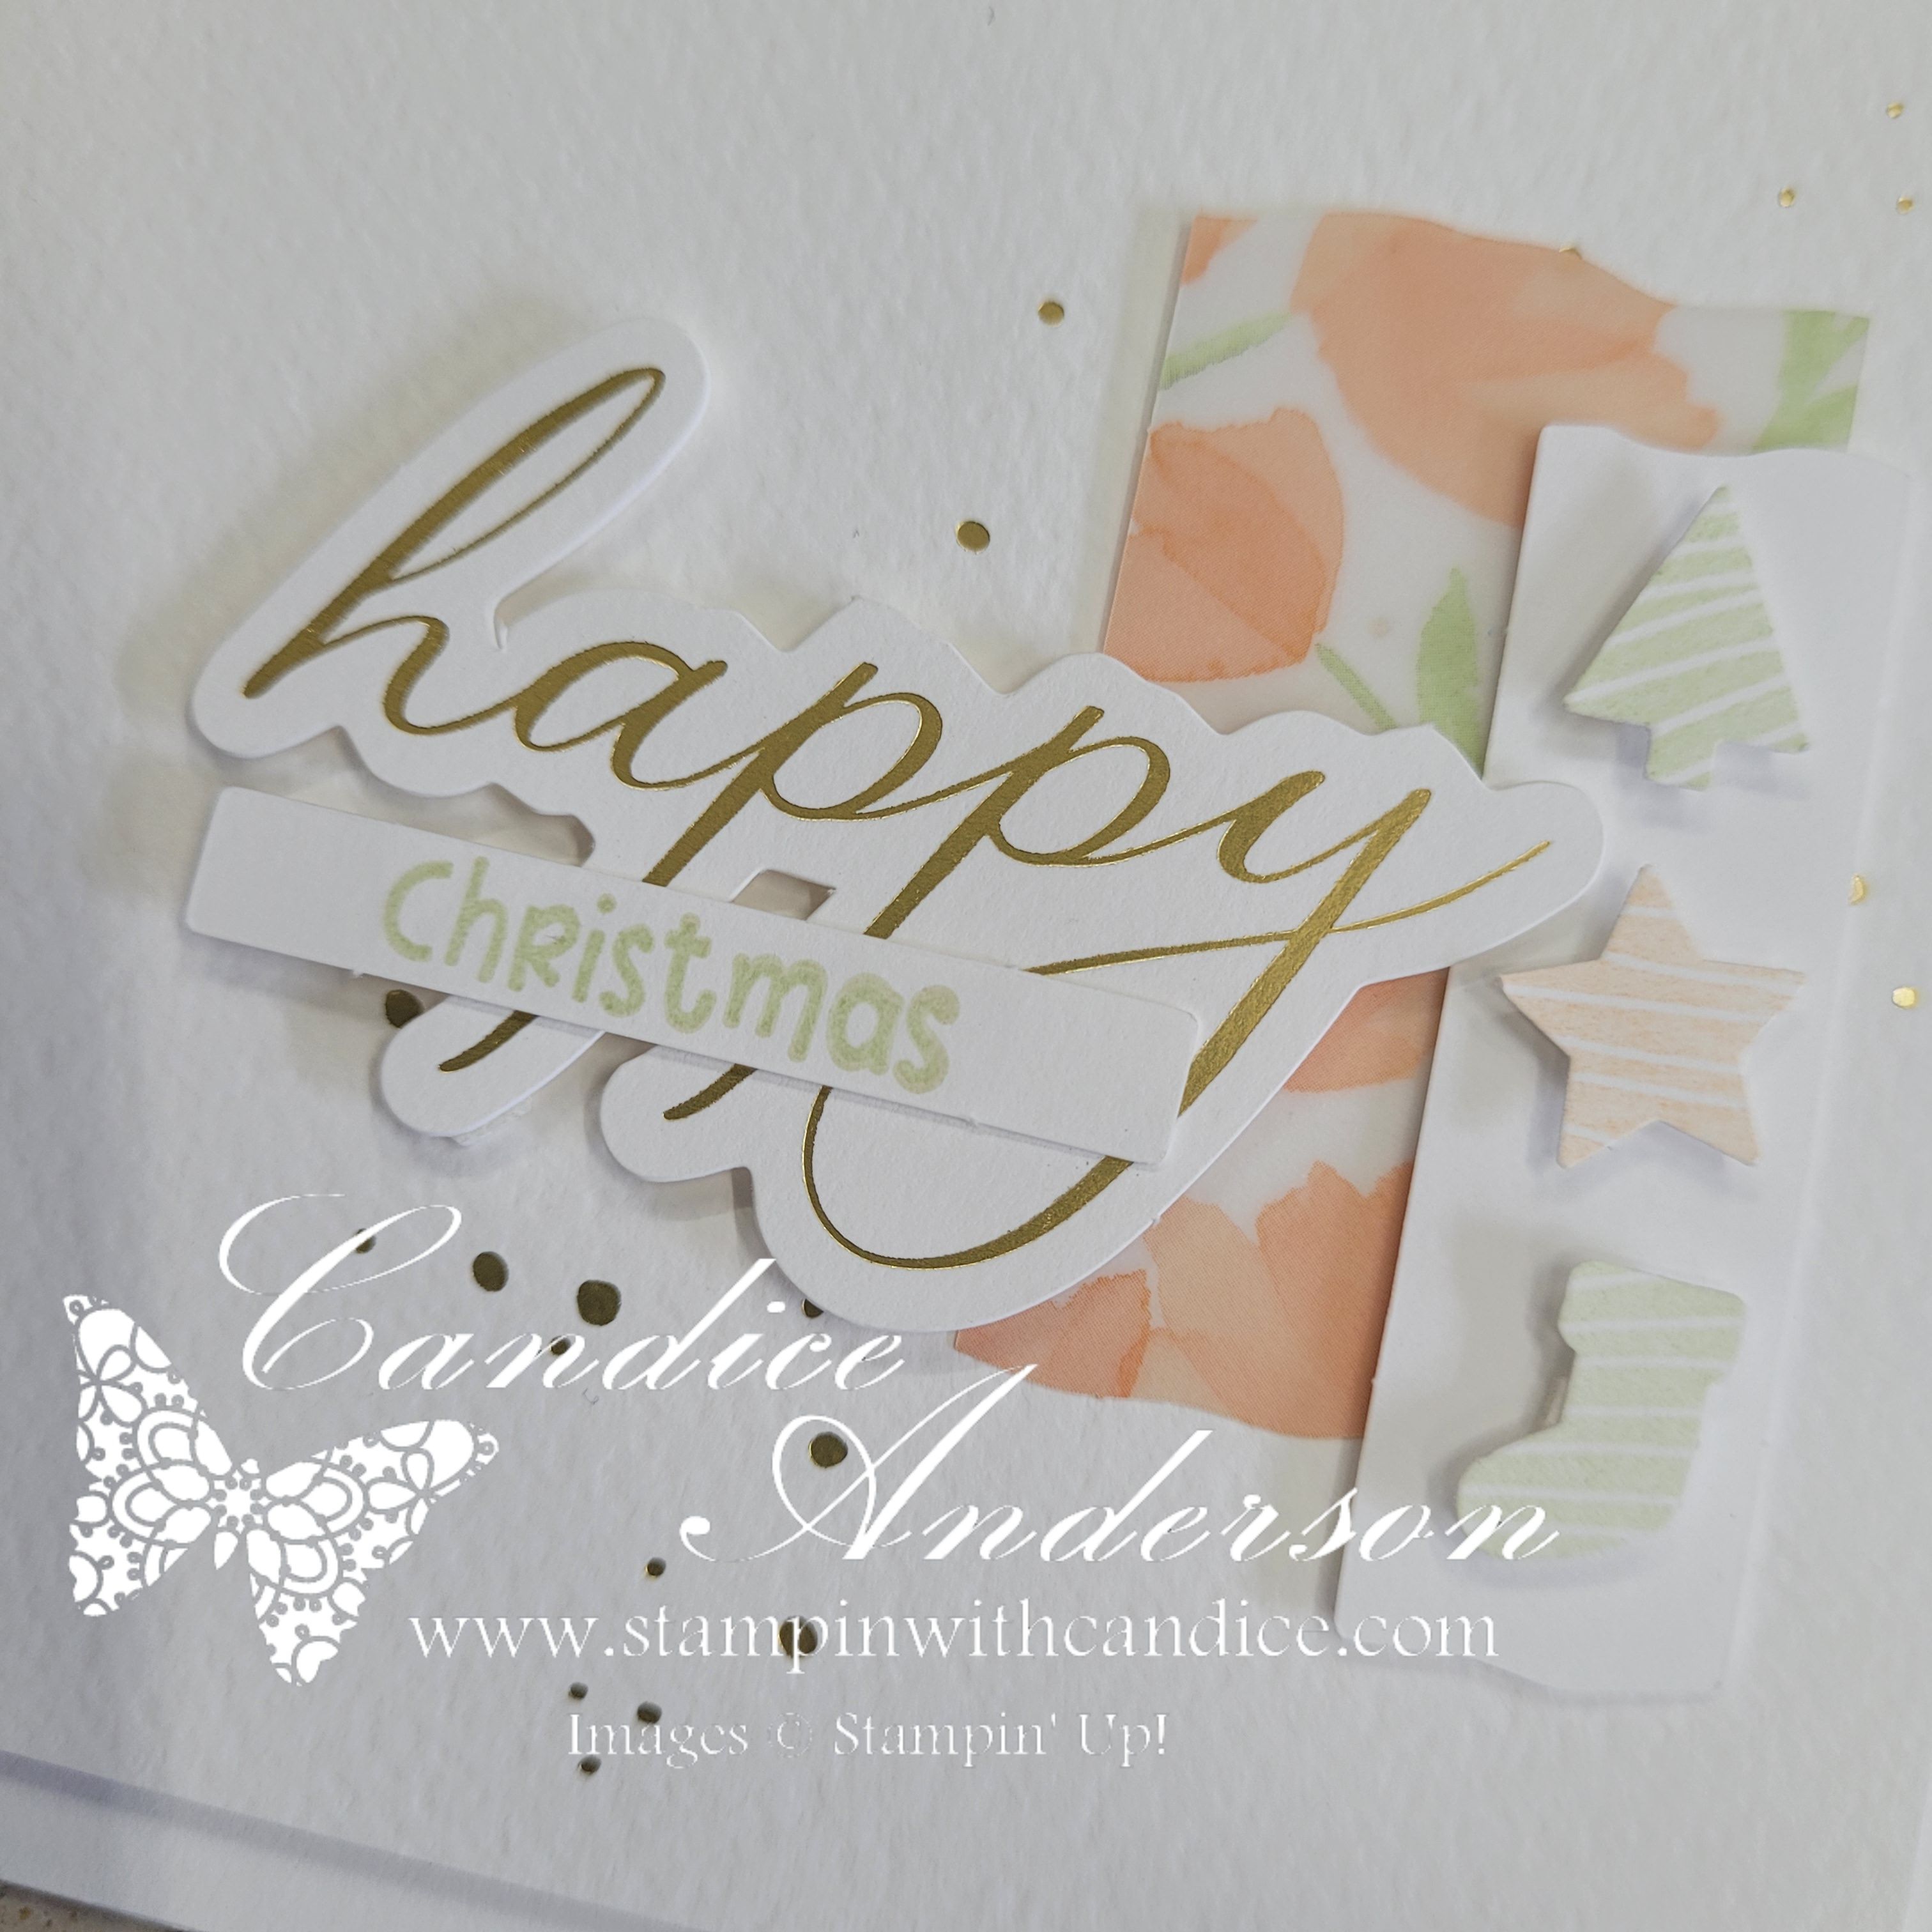
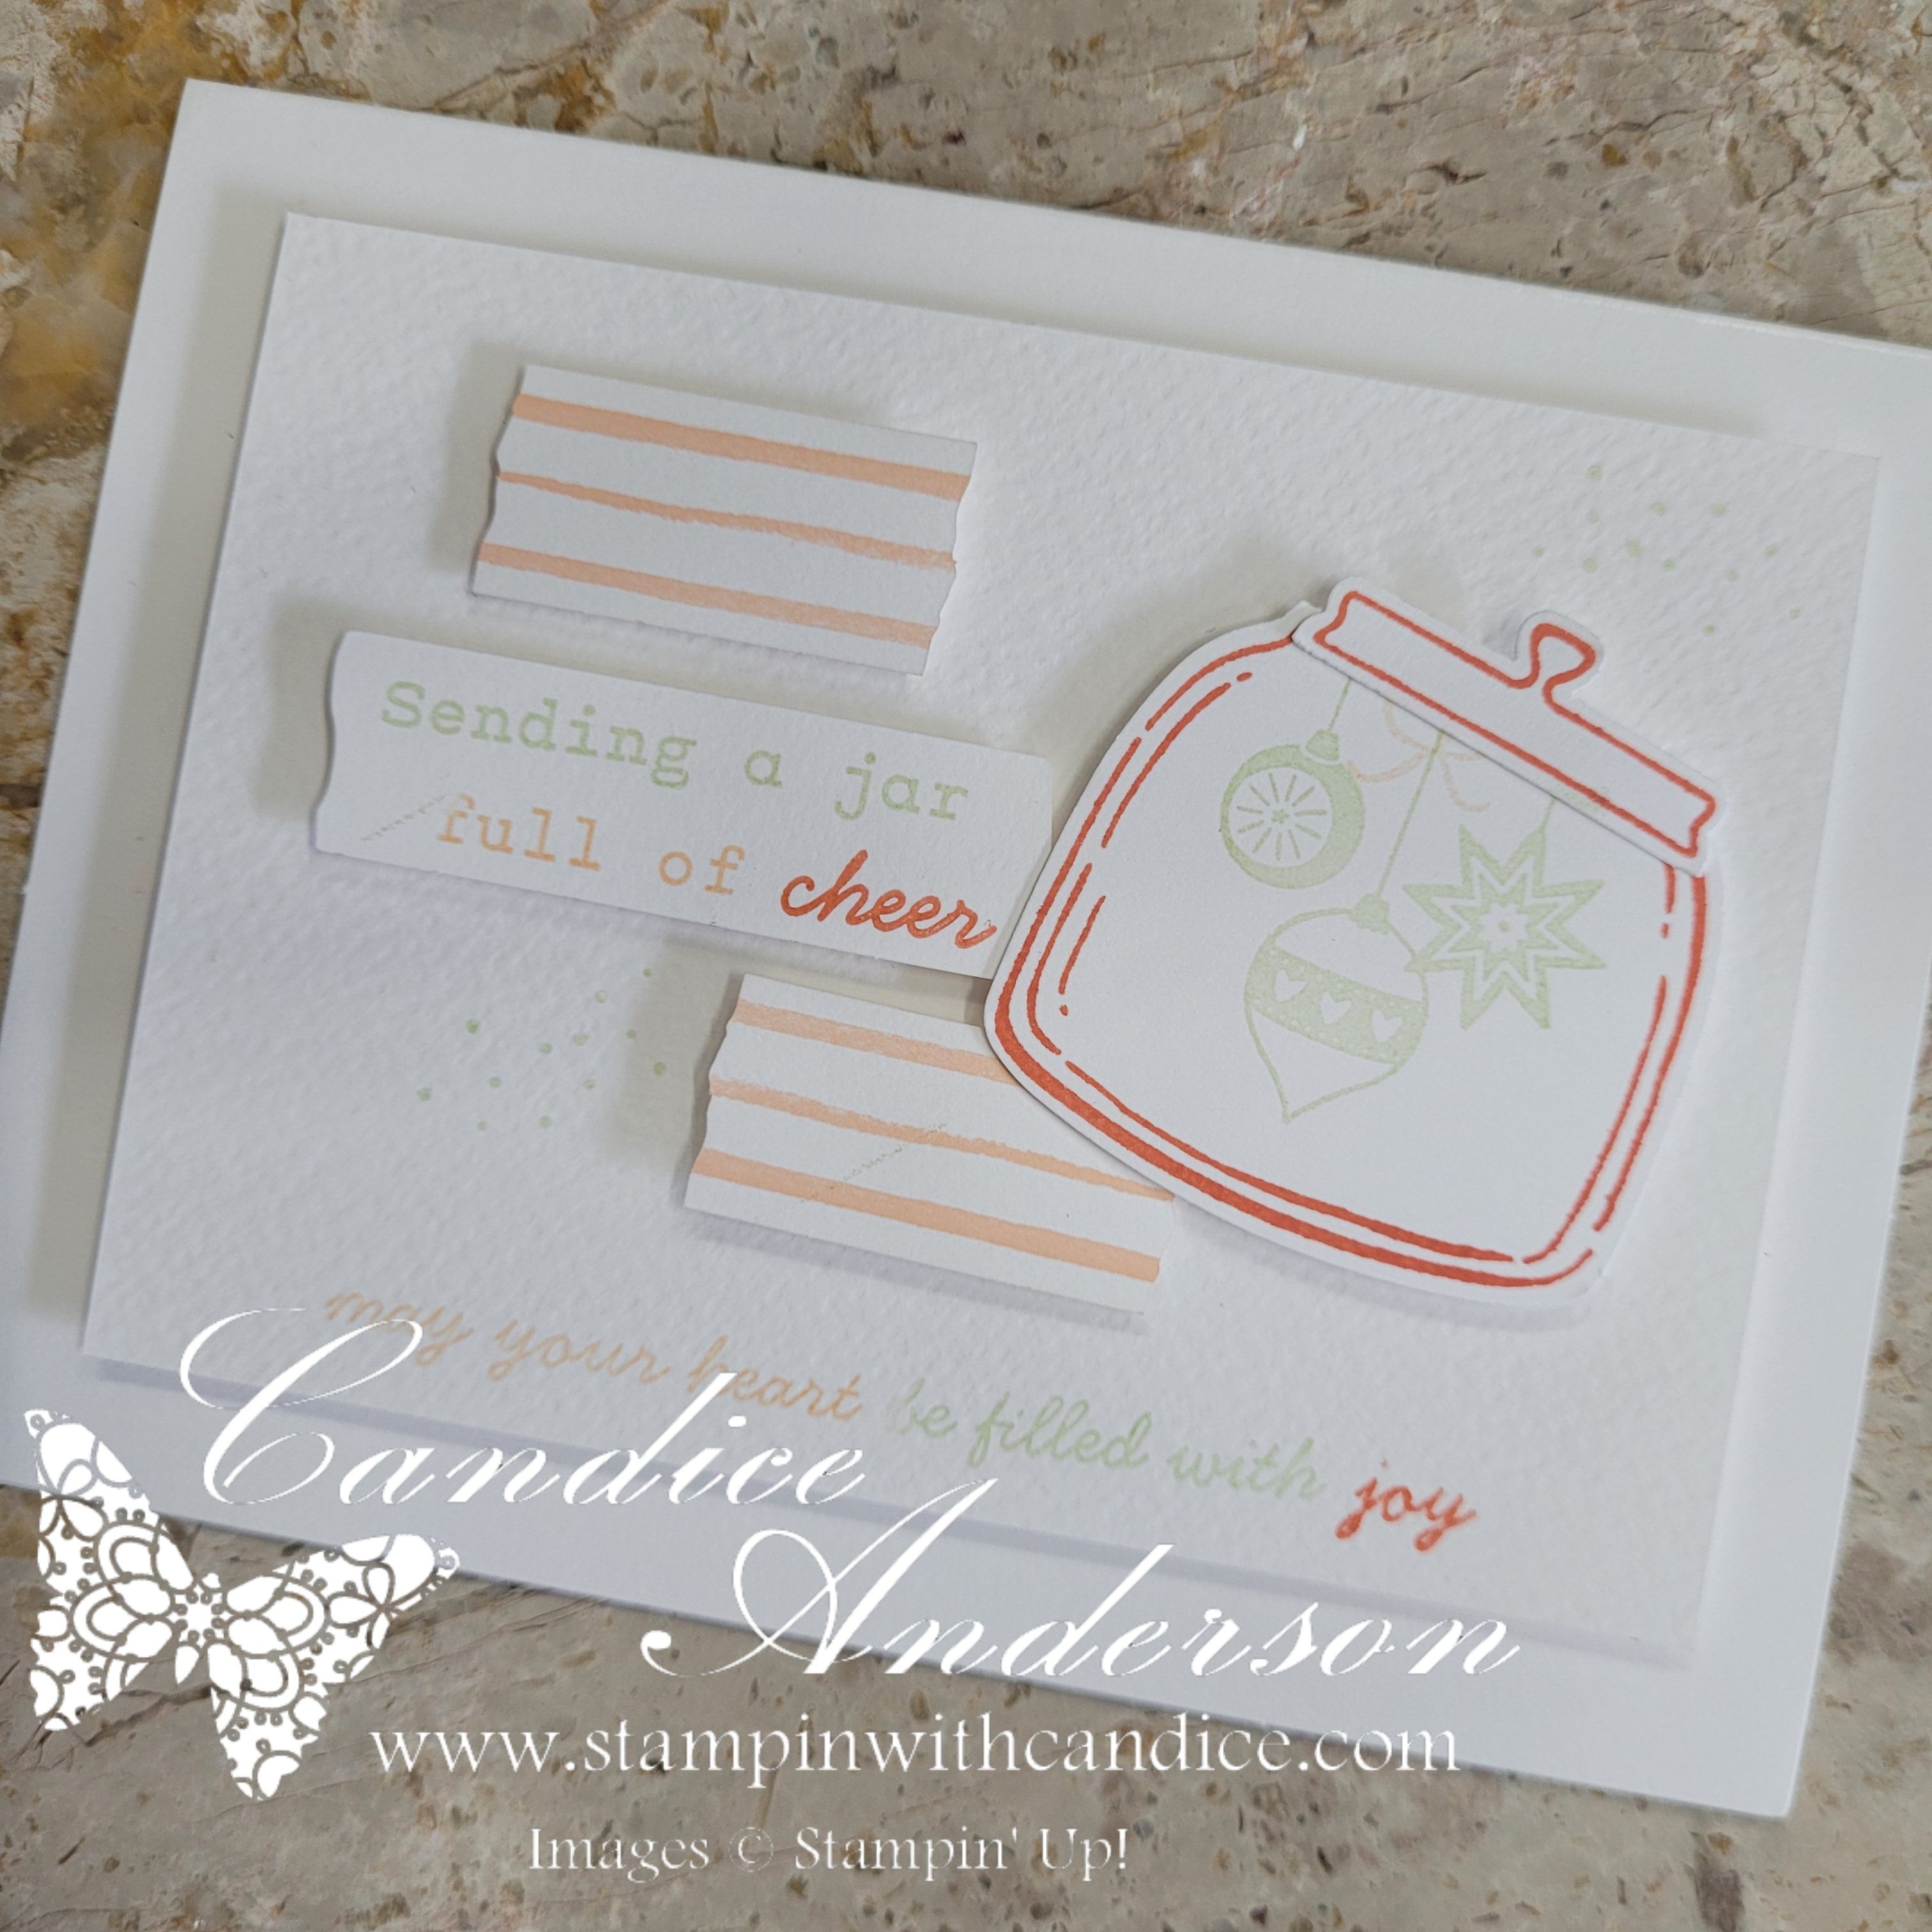
For the greeting, I reached for the Jar of Joy Stamp Set (#166176) and used the “may your heart be filled with joy” sentiment—except I masked off the word joy to better fit the sketch. I stamped and heat-embossed it in silver, then punched it out with the Triple Banner Punch for a clean finish.

To complete the sentiment on the inside, I added the word “Magic” from the Light & Wonder Stamp Set (#165756) along with a few coordinating stars. It ties everything together so nicely.

Ribbon Tip You’ll Want to Try

You might notice the ribbon on the card looks extra thin—here’s a fun trick! I used the Misty Moonlight Silver-Edged Ribbon (#165931) and simply cut off the silver edge so I could use it like baker’s twine. It adds just a touch of sparkle without overwhelming the design. Such an easy way to stretch your ribbon and get more looks from one spool!

Trying an Alternate Version

After finishing the first card, I wasn’t completely sure how I felt about the open center of the star, so I decided to try a second version. For this one, I traced the die onto a piece of Basic White cardstock and brushed it with Wink of Stella to create a soft sparkle behind the die-cut star. Once I layered the star over it, the whole look felt a bit more full and defined.

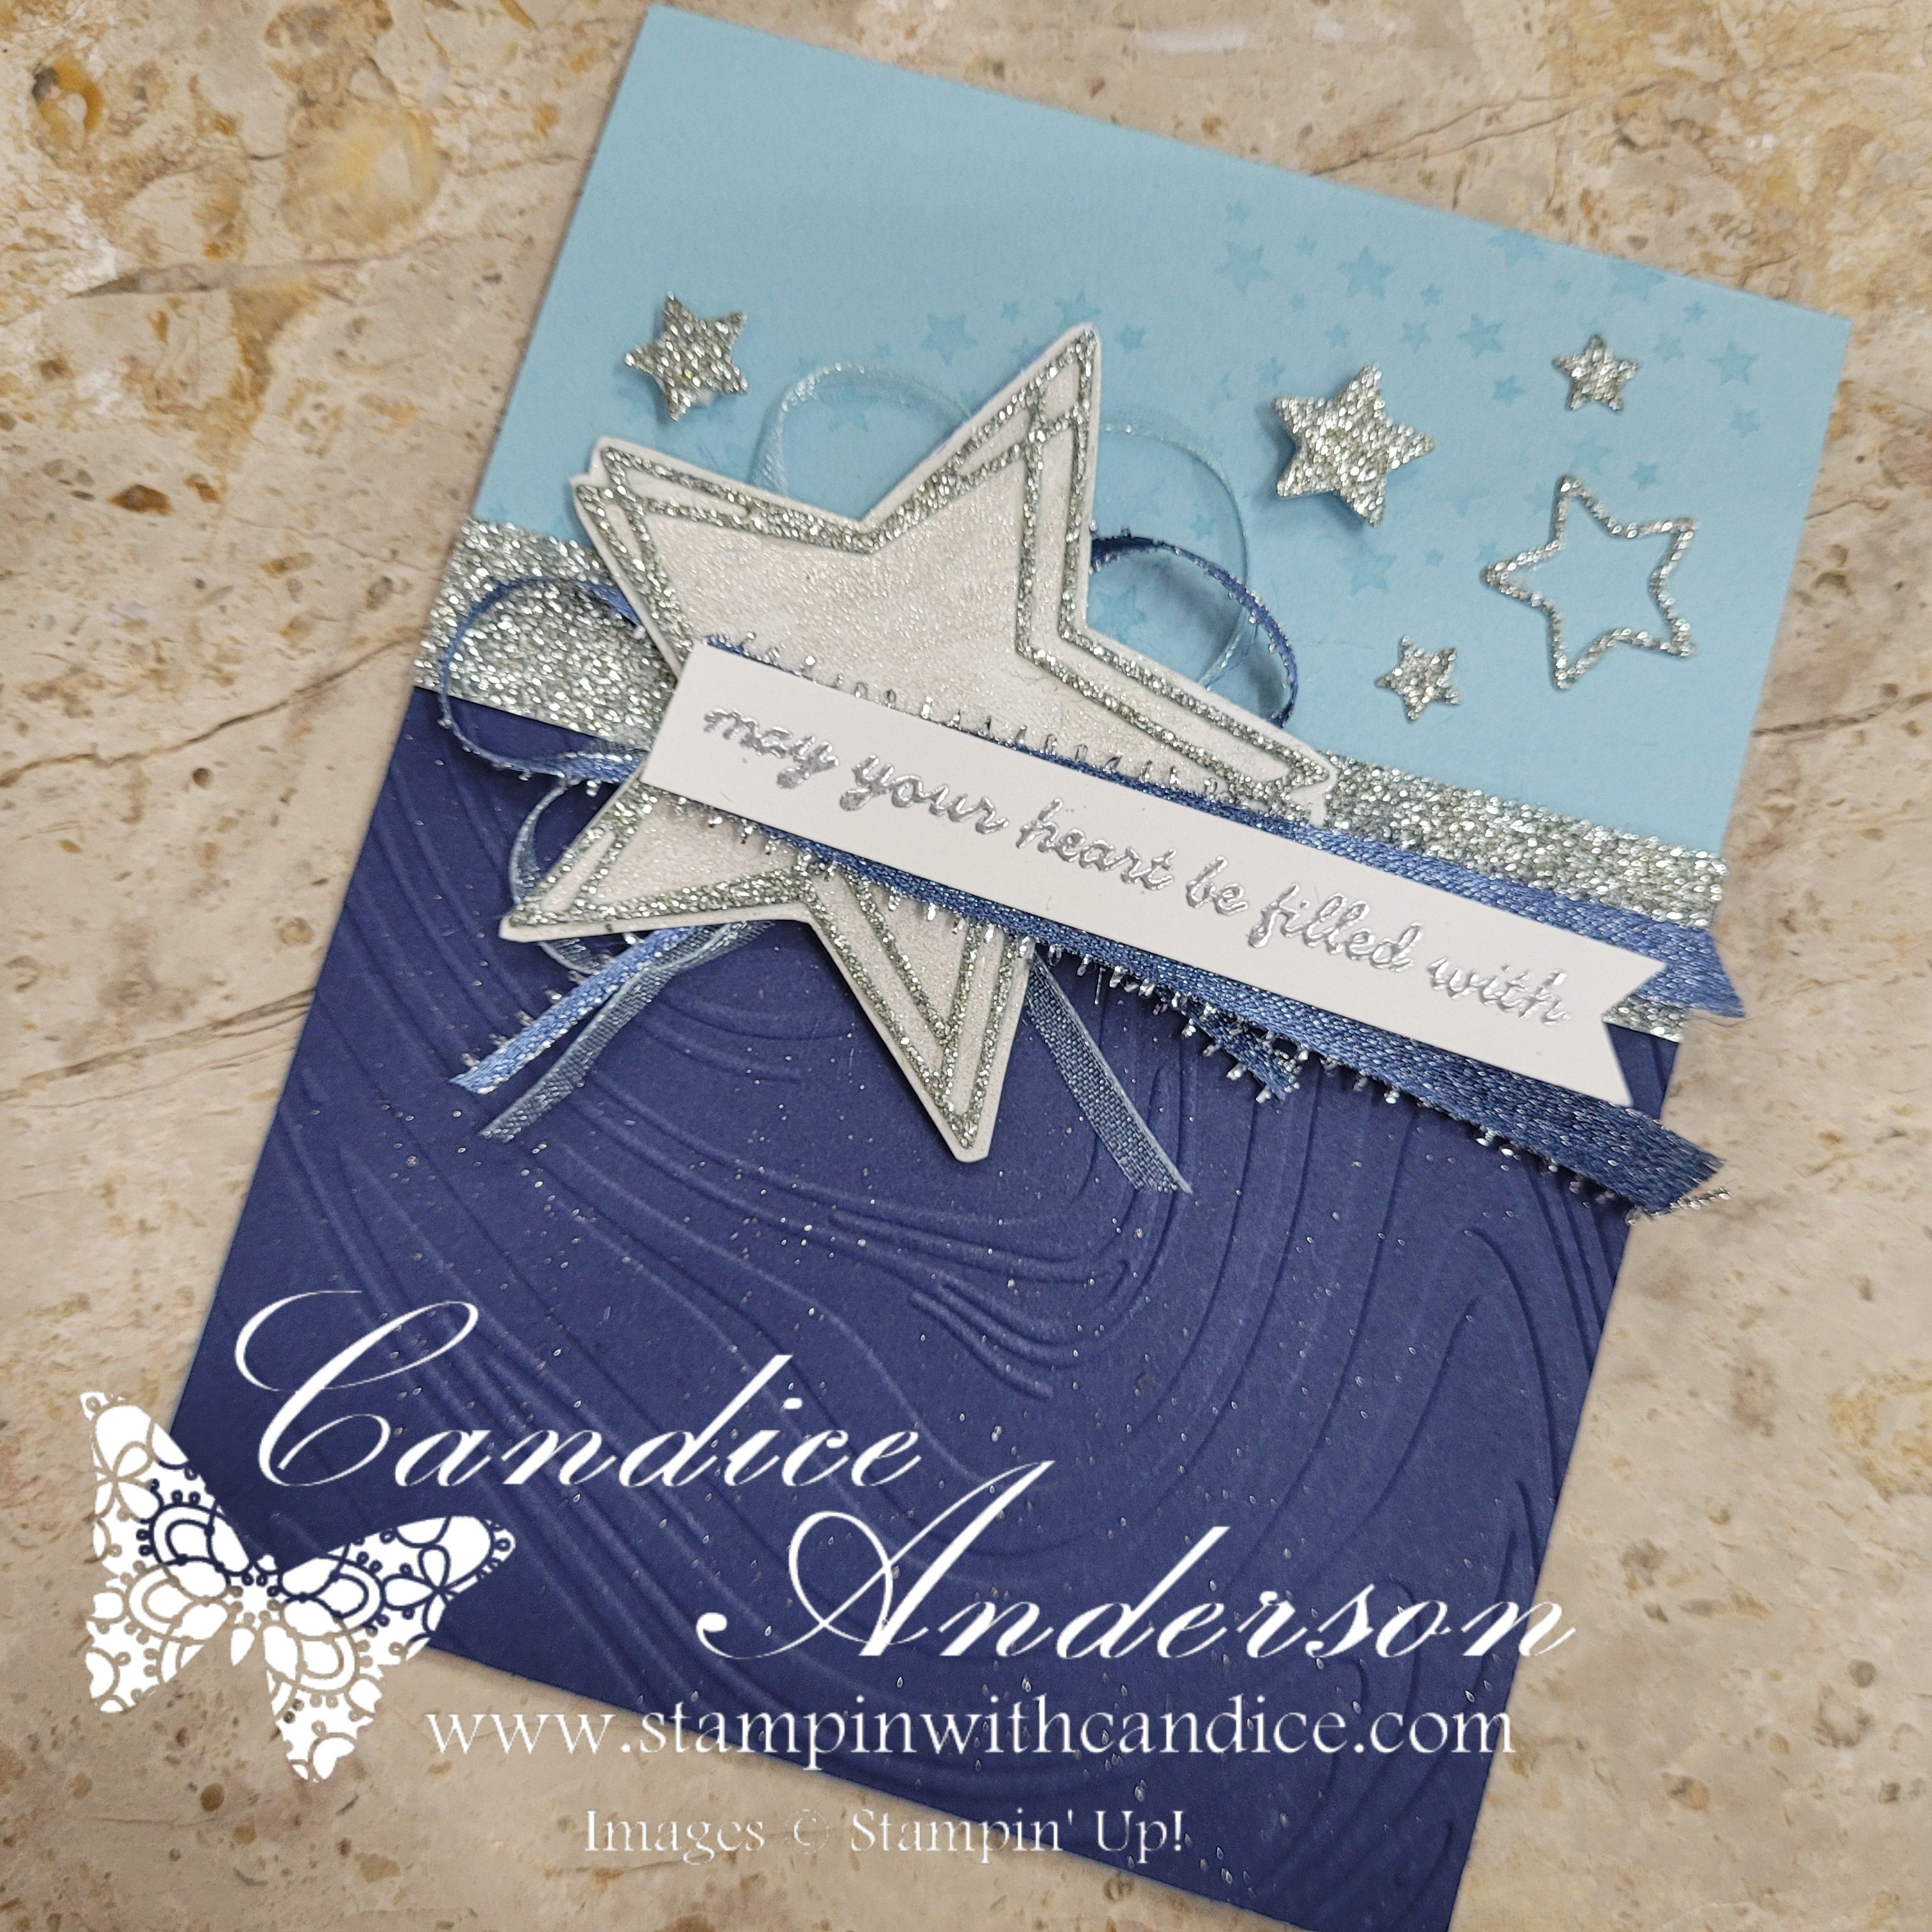
I used the same ribbon-cutting technique but added Balmy Blue Sheer Ribbon (#165767) behind the star as well. I even repurposed the extra little silver strips I trimmed away—perfect for accenting the sentiment!

For a final magical touch, I flicked my Wink of Stella across the Night of Navy embossed layer to create a splattered starlight effect. It’s such a simple technique, but it brings everything to life.

Which Version Do You Prefer?

Now the real question… Which one do I like better? Honestly, I’m still torn! The open star has a clean elegance, but the filled-in version has a soft glow that I really love.

I’d love to hear your thoughts—tell me in the comments which one speaks to you!

👉 You can shop current Stampin’ Up! supplies and tools here:
Shop with Me Here

A beautifully crafted Christmas card featuring a window scene that displays a peaceful nativity setting on one side, while the inside is adorned with cozy holiday elements like hanging stockings and warm colors.

Please feel free to contact me if you have any questions.

Contact me today to place your order!
435-232-2655 Cell ( Call or Text)
andersoncandice@hotmail.com


💕 Let’s Stay Connected

📺 YouTube
📘 Facebook
📸 Instagram
📌 Pinterest

#StampinWithCandice #StamperCandi #ACardADayInNovember2025 #30DayChristmasCardMakingChallenge #ChristmasCards #HandmadeCards #CreativeTechniques #HolidayCrafting #cardmaker #cardmaking #christmascards #handmadecards #papercraft #sketchchallenge #christmaschallenge

🍪✨ Day 16 – Peace on Earth Meets Cookie Exchange

Day 16 definitely stretched my creativity! Peace on Earth and Cookie Exchange aren’t themes you’d normally see together… but one of our amazing Stampin’ Up! kits made pulling them together surprisingly simple.

Day 16 definitely stretched my creativity! Peace on Earth and Cookie Exchange aren’t themes you’d normally see together… but one of our amazing Stampin’ Up! kits made pulling them together surprisingly simple.

I decided to take the Loveliest Wishes Kit (#166284)—a beautiful, soft-colored non-holiday kit—and challenge myself to transform it into Christmas cards. The kit includes enough supplies to make three each of three different designs, so I started by creating the cards exactly as intended. They’re simple, easy, and so much fun to put together!

I love the soft color palette in this kit, so next I grabbed the A Little Cheer Stamp Set (#166121) and the coordinating dies (#166123) and began the holiday transformation. My personal challenge was to use only the paper that came in the kit, so I:

  • Stamped on the extra paper pieces
  • Used greetings in other languages and stamped on the back
  • Punched images from the kit’s pre-printed elements

Because the coordinating kit colors are Soft Sea Foam and Petal Pink, converting these beautiful cards into sweet Christmas designs was simple and natural. The leaf designs were perfect for the Peace on Earth theme, and the “Happy Christmas” card with the punched images gave me instant cookie vibes for the Cookie Exchange challenge.


🍬 Round Two – Jar of Joy Remix

I still had one more set of card bases left, so I grabbed the Jar of Joy Stamp Set (#166176) and coordinating punch (#165506). This time, I added a pop of Calypso Coral to brighten things up.

Fun fact:
👉 I used every single stamp in the Jar of Joy set across the three cards!
Just a note – I did use and extra piece of white paper to stamp and punch the jars; however, you could use the extra white piece that is used to pop on the images on the ornament Jar card and instead place the images directly on the card base.

I had so much fun stamping the greetings in multiple colors—just clean the stamp in between and keep going! This round, I was able to blend the Peace on Earth leaves with the cookie-inspired images to create a card that feels both peaceful and sweet.


💡 Final Thoughts

Our kits are already fun, simple, and beautifully designed just the way they are—but with a little creative magic and imagination, they can become so much more.

I would LOVE to see what you create with your kits!
Come share your creativity and inspire us in my group:
👉 Join my Facebook group:
https://www.facebook.com/groups/753759767970609


👉 You can shop current Stampin’ Up! supplies and tools here:
Shop with Me Here

A beautifully crafted Christmas card featuring a window scene that displays a peaceful nativity setting on one side, while the inside is adorned with cozy holiday elements like hanging stockings and warm colors.

Please feel free to contact me if you have any questions.

Contact me today to place your order!
435-232-2655 Cell ( Call or Text)
andersoncandice@hotmail.com


💕 Let’s Stay Connected

📺 YouTube
📘 Facebook
📸 Instagram
📌 Pinterest

#StampinWithCandice #StamperCandi #CreativeSkills #StampinUp #ACardADayInNovember2025 #30DayChristmasCardMakingChallenge #ChristmasCards #LoveliestWishes #ALittleCheer #JarOfJoy #HandmadeCards #CraftKits #KitAlternatives #PeaceOnEarth #CookieExchange #CreativeStamping #StampinKits #HolidayCrafting

✨ Day 11 – Minimalist Christmas & Frosted Windowpanes

Day 11 brought the beautiful challenge of Minimalist Christmas, featuring white space, gold foil, and clean lines — paired perfectly with the theme Frosted Windowpanes. My goal was to create something simple yet elegant, and I absolutely love how this serene design turned out.

For my layout, I incorporated the Global Design Project Layout Challenge #GDP522, which inspired the clean structure of the card. I used the Everyday Arches Dies (#164629) to create three arched window elements, layering them with Textured Metallic Specialty Paper (#163772) and Window Sheets (#142314) for a frosty, dimensional look.

To achieve the frosted glass effect, I gently applied white ink to the back of the window sheets — this way, the ink isn’t exposed and still gives that soft, misty glow.

Behind the windows, I created a peaceful winter scene using the Light & Wonder Dies (#165762), accented with a touch of Wink of Stella (#141897) for shimmer, and layered it over the Lights of Aurora Designer Series Paper (#165755). I mounted the entire design on Azure Afternoon cardstock, embossed with the Birchwood 3D Embossing Folder (#164069) and brushed with a little more white ink to add a snowy texture. ❄️

To complete the look, I heat-embossed the sentiment “Wishing You Peace and Joy” from the Ornamental Christmas Stamp Set (#165991) in gold embossing powder, and tied everything together with a delicate gold bow made from the Black & Gold Baker’s Twine (#166005).

Tip: The new Three Banner Punch (#167050) is a quick and easy way to make a perfect banner of any length — just feed one end of your strip into the punch for a clean finish!

This minimalist design truly embodies quiet beauty — simple, elegant, and full of frosted Christmas charm. 💛

👉 You can shop current Stampin’ Up! supplies and tools here:
Shop with Me Here

A beautifully crafted Christmas card featuring a window scene that displays a peaceful nativity setting on one side, while the inside is adorned with cozy holiday elements like hanging stockings and warm colors.

Please feel free to contact me if you have any questions.

Contact me today to place your order!
435-232-2655 Cell ( Call or Text)
andersoncandice@hotmail.com


💕 Let’s Stay Connected

📺 YouTube
📘 Facebook
📸 Instagram
📌 Pinterest

#StampinWithCandice #StamperCandi #CreativeSkills #StampinUp #ACardADayInNovember2025 #30DayChristmasCardMakingChallenge #ChristmasCards #HandmadeCards #GDP522 #MinimalistChristmas #FrostedWindowpanes #EverydayArches #LightAndWonder #OrnamentalChristmas #BirchwoodEmbossingFolder #WinkOfStella #CardMakingCommunity #ElegantDesign

Dual Embossing Techniques

Today I wanted to share a video where I show you how to create a similar card using two different types of embossing techniques. I’ve created the cards using a wet embossing technique called emboss resist and a dry embossing technique where the ink is applied to the embossing folder. What is cool about this technique is that I used the same process on both cards to get a different yet similar look. Which look is your favorite.

Click here for a list of supplies and measurements.


Order online
Click on the shop now button.
Contact me today to place your order
or book your party!
435-232-2655 Cell ( Call or Text)
andersoncandice@hotmail.com Please feel free to contact me if you have any questions.

TGIF Challenge

I recently found a fun new group on Facebook that has a great blog.  You can check out their blog here http://tgifchallenges.blogspot.com/.  They are featuring fun challenges that their designers participate in and we can participate in the fun as well.  So I thought this would be a great way to challenge me a little as well.  Here was the first challenge.

I had so much fun with the challenge the I actually created 3 projects.  So I thought I would share all three.  I really do love how well these colors work together.

Heart Card TGIF challenge

I really love how this one turned out.  I liked the card with just the hearts but I really loved it when I added the little extra touches like the buttons with ribbon and the heart bubble.

Here’s a quick list of supplies:
#137364 Happy Heart Texture Impressions Embossing Folder $7.95
#113439 Big Shot Die-Cutting Machine $99.95
#134586 Crushed Curry Bakers Twine $2.95
#127555 Vintage Faceted Designer Buttons $5.95
#133786 Sweetheart Punch $15.95
#137415 Confetti Heart Border Punch $21.95
#137856 Itty Bitty Accents Epoxy Stickers $3.95

Stamps:
Groovy Love
#134243 Wood $24.95
#134246 Clear $17.95

Thanks Card TGIF Challenge

This was the second card I made and probably my favorite.  I just love how it turned out.  So just a note the feathers on this card are included in the carry over items from the Holiday Catalog.  They are not listed in the new catalog so I’m not sure they will continue to carry over.  That means if you didn’t get them already and love them like I do be sure to get them now.

Thanks Card TGI Challenge Close Up

Here’s a little closer look at the feathers and the words.  I really love how it looks.  One quick note on the background.  I stamped off first before stamping my white card-stock so that it would be a bit lighter.

Here’s a quick list of supplies:
#113439 Big Shot Die-Cutting Machine $99.95
#135852 Feathers Framelits Dies $12.95
Available as a bundle with the stamp set
#137363 Hello You Thinlits Dies $24.95
#134586 Crushed Curry Bakers Twine $2.95

Stamps:
Four Feathers
#135050 Wood $13.95 Bundle #137629 $22.75
#135053 Clear $10.95 Bundle #137630 $20.25

Positively Chevron (Background Stamp)
#130496 Wood $17.95
#130499 Clear $13.95

So my last project I thought it would be fun to use these colors to create my own Project Life card for my page.

Project Life Page TGIF Challenge  The one thing about project life is that it’s hard to get a good picture when the pages are in the page protector.  I actually attached the extra elements to the page protector instead of the actual pictures so I couldn’t take the pictures out for the picture.

Project Life card TGIF Challenge

I took out the center card and took a close up picture so you could see how easy it was to make this simple card for this page.  I used one of the grid cards to make it easy for journaling.  I love this stamp set and punch for Project life it just works so well with everything.  Remember this awesome stamp set and punch is on the retired list so be sure to get them before they are gone for good.

Here’s a quick list of supplies:
#129964 Essentials Hardware Clips $5.95
#133781 What’s Up Punch $16.95
#135294 Variety Pack 12 x 12 Project Life Photo Pocket Pages $135294 $6.95
#136528 Project Life 4 x 3 Grid Cards $3.95
#134586 Crushed Curry Bakers Twine $2.95

Stamps:
What’s Up?
#134267 Wood $20.95
#134270 Clear $15.95

I hope you have enjoyed the cards I made with this challenge.  I enjoyed making them and sharing them with you.  I’d love to see your creations please feel free to share them on my Facebook page. #TGIFC01

Tag SignatureOrder online 24/7
Contact me to order or book your party today!
435-245-5321 Home
435-232-2655 Cell ( Call or Text)
andersoncandice@hotmail.com

Fun Snowman Card

I’m participating in a Stampin’ Up! Boot-Camp right now and each week we have a Stampin’ Challenge.  This week our challenge was to use a layout in the catalog and then change the colors and stamp set.  I thought I would share the fun card with you.  I love how it turned out and I think I will be adding it to my Christmas Card Crunch Class (be watching for details.)

Items used:

Colors-

Island Indigo
Pool Party
Cherry Cobbler
Tangerine Tango
StazOn Jet Black
Whisper White
Early Espresso
Wild Wasabi

Stamps
H-Frosty Friends #128117 W $11.95
H-Affection Collection
#127946 W $29.95
#127949 C $21.95
M-Snow Much Fun
#122560 W $27.95
#125562 C $19.95

H-Core’dinations Card Stock
Early Espresso #127848 $6.95
H-Stampin’ Sanding Block #129367 $3.95
H-Brushed Bronze Designer Buttons
#127833 $6.95
M-Scallop Edge Border Punch
#119882 $15.95

M-1″Square Punch
#124094 $15.95
M-Color Spritzer Tool
#107066 $12.95
M-Blender Pens
#102845 $9.95
M-Stampin’ Spritzer
#126185 $2.95
Shimmer Paint Frost White
#116854 $5.95
Baker’s Twine $2.95
Cherry Cobbler #123125
Island Indigo #125575

M- Main Catalog
H- Holiday Catalog
C- Clear Mount
W- Wood Mount

Order On-line anytime or contact me to place your order.  Have a Stamptasic Day!