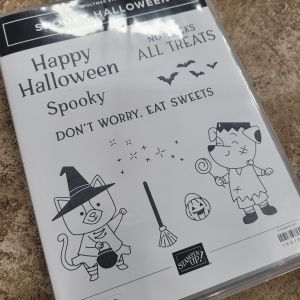
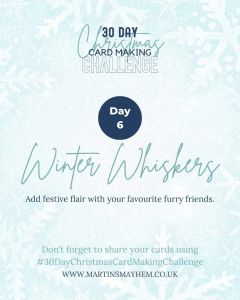
Day 11 brought the beautiful challenge of Minimalist Christmas, featuring white space, gold foil, and clean lines — paired perfectly with the theme Frosted Windowpanes. My goal was to create something simple yet elegant, and I absolutely love how this serene design turned out.


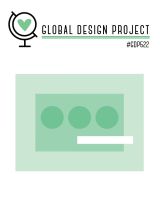
For my layout, I incorporated the Global Design Project Layout Challenge #GDP522, which inspired the clean structure of the card. I used the Everyday Arches Dies (#164629) to create three arched window elements, layering them with Textured Metallic Specialty Paper (#163772) and Window Sheets (#142314) for a frosty, dimensional look.
To achieve the frosted glass effect, I gently applied white ink to the back of the window sheets — this way, the ink isn’t exposed and still gives that soft, misty glow.
Behind the windows, I created a peaceful winter scene using the Light & Wonder Dies (#165762), accented with a touch of Wink of Stella (#141897) for shimmer, and layered it over the Lights of Aurora Designer Series Paper (#165755). I mounted the entire design on Azure Afternoon cardstock, embossed with the Birchwood 3D Embossing Folder (#164069) and brushed with a little more white ink to add a snowy texture. ❄️
To complete the look, I heat-embossed the sentiment “Wishing You Peace and Joy” from the Ornamental Christmas Stamp Set (#165991) in gold embossing powder, and tied everything together with a delicate gold bow made from the Black & Gold Baker’s Twine (#166005).
✨ Tip: The new Three Banner Punch (#167050) is a quick and easy way to make a perfect banner of any length — just feed one end of your strip into the punch for a clean finish!


This minimalist design truly embodies quiet beauty — simple, elegant, and full of frosted Christmas charm. 💛
👉 You can shop current Stampin’ Up! supplies and tools here:
Shop with Me Here

Please feel free to contact me if you have any questions.
Contact me today to place your order!
435-232-2655 Cell ( Call or Text)
andersoncandice@hotmail.com
💕 Let’s Stay Connected
📺 YouTube
📘 Facebook
📸 Instagram
📌 Pinterest
#StampinWithCandice #StamperCandi #CreativeSkills #StampinUp #ACardADayInNovember2025 #30DayChristmasCardMakingChallenge #ChristmasCards #HandmadeCards #GDP522 #MinimalistChristmas #FrostedWindowpanes #EverydayArches #LightAndWonder #OrnamentalChristmas #BirchwoodEmbossingFolder #WinkOfStella #CardMakingCommunity #ElegantDesign