See you later Alligator

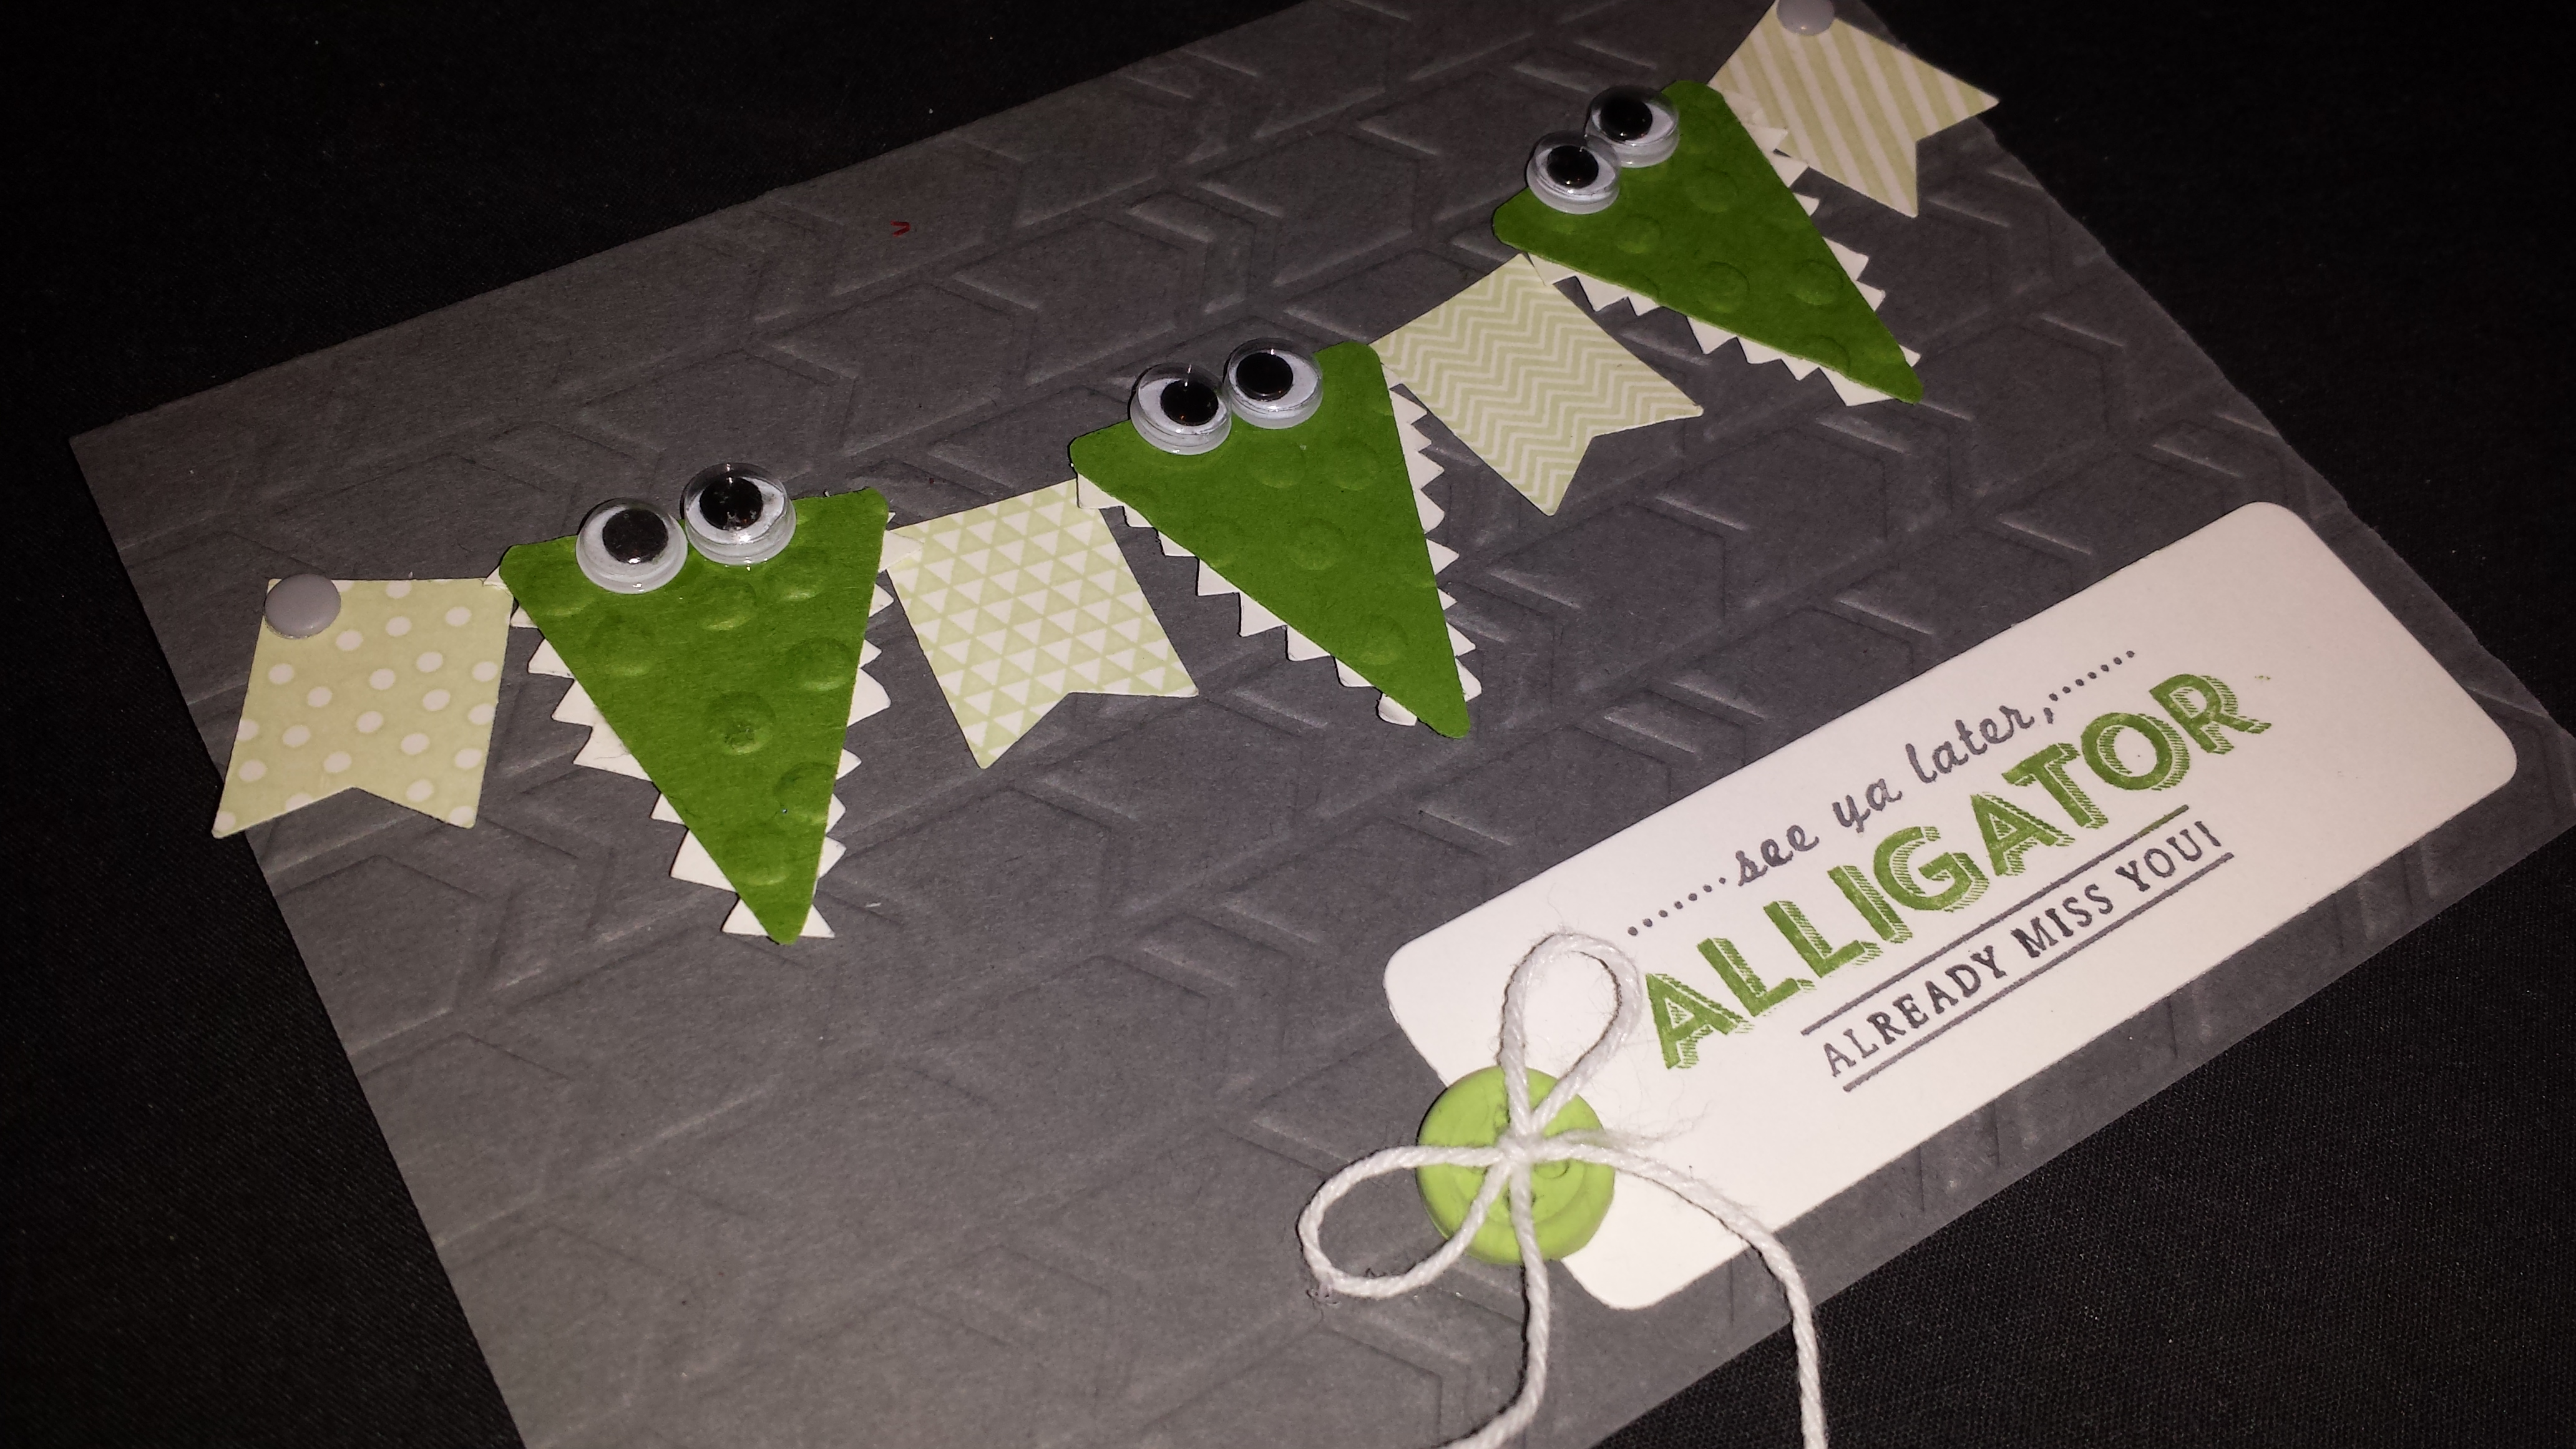
How cute are these alligators.  They go so perfect with the Sale-a-bration stamp set and embossing folder.

Alligator Trio Cards

I saw a card similar to this one on Pinterest made by one of the artisans and I just new I had to give it a try.  When I first started I though that she had used the punch to create it but quickly realized it was a die because it was larger than the punch.  However I was inspired to try making one with the punch as well.

Large Alligator Card

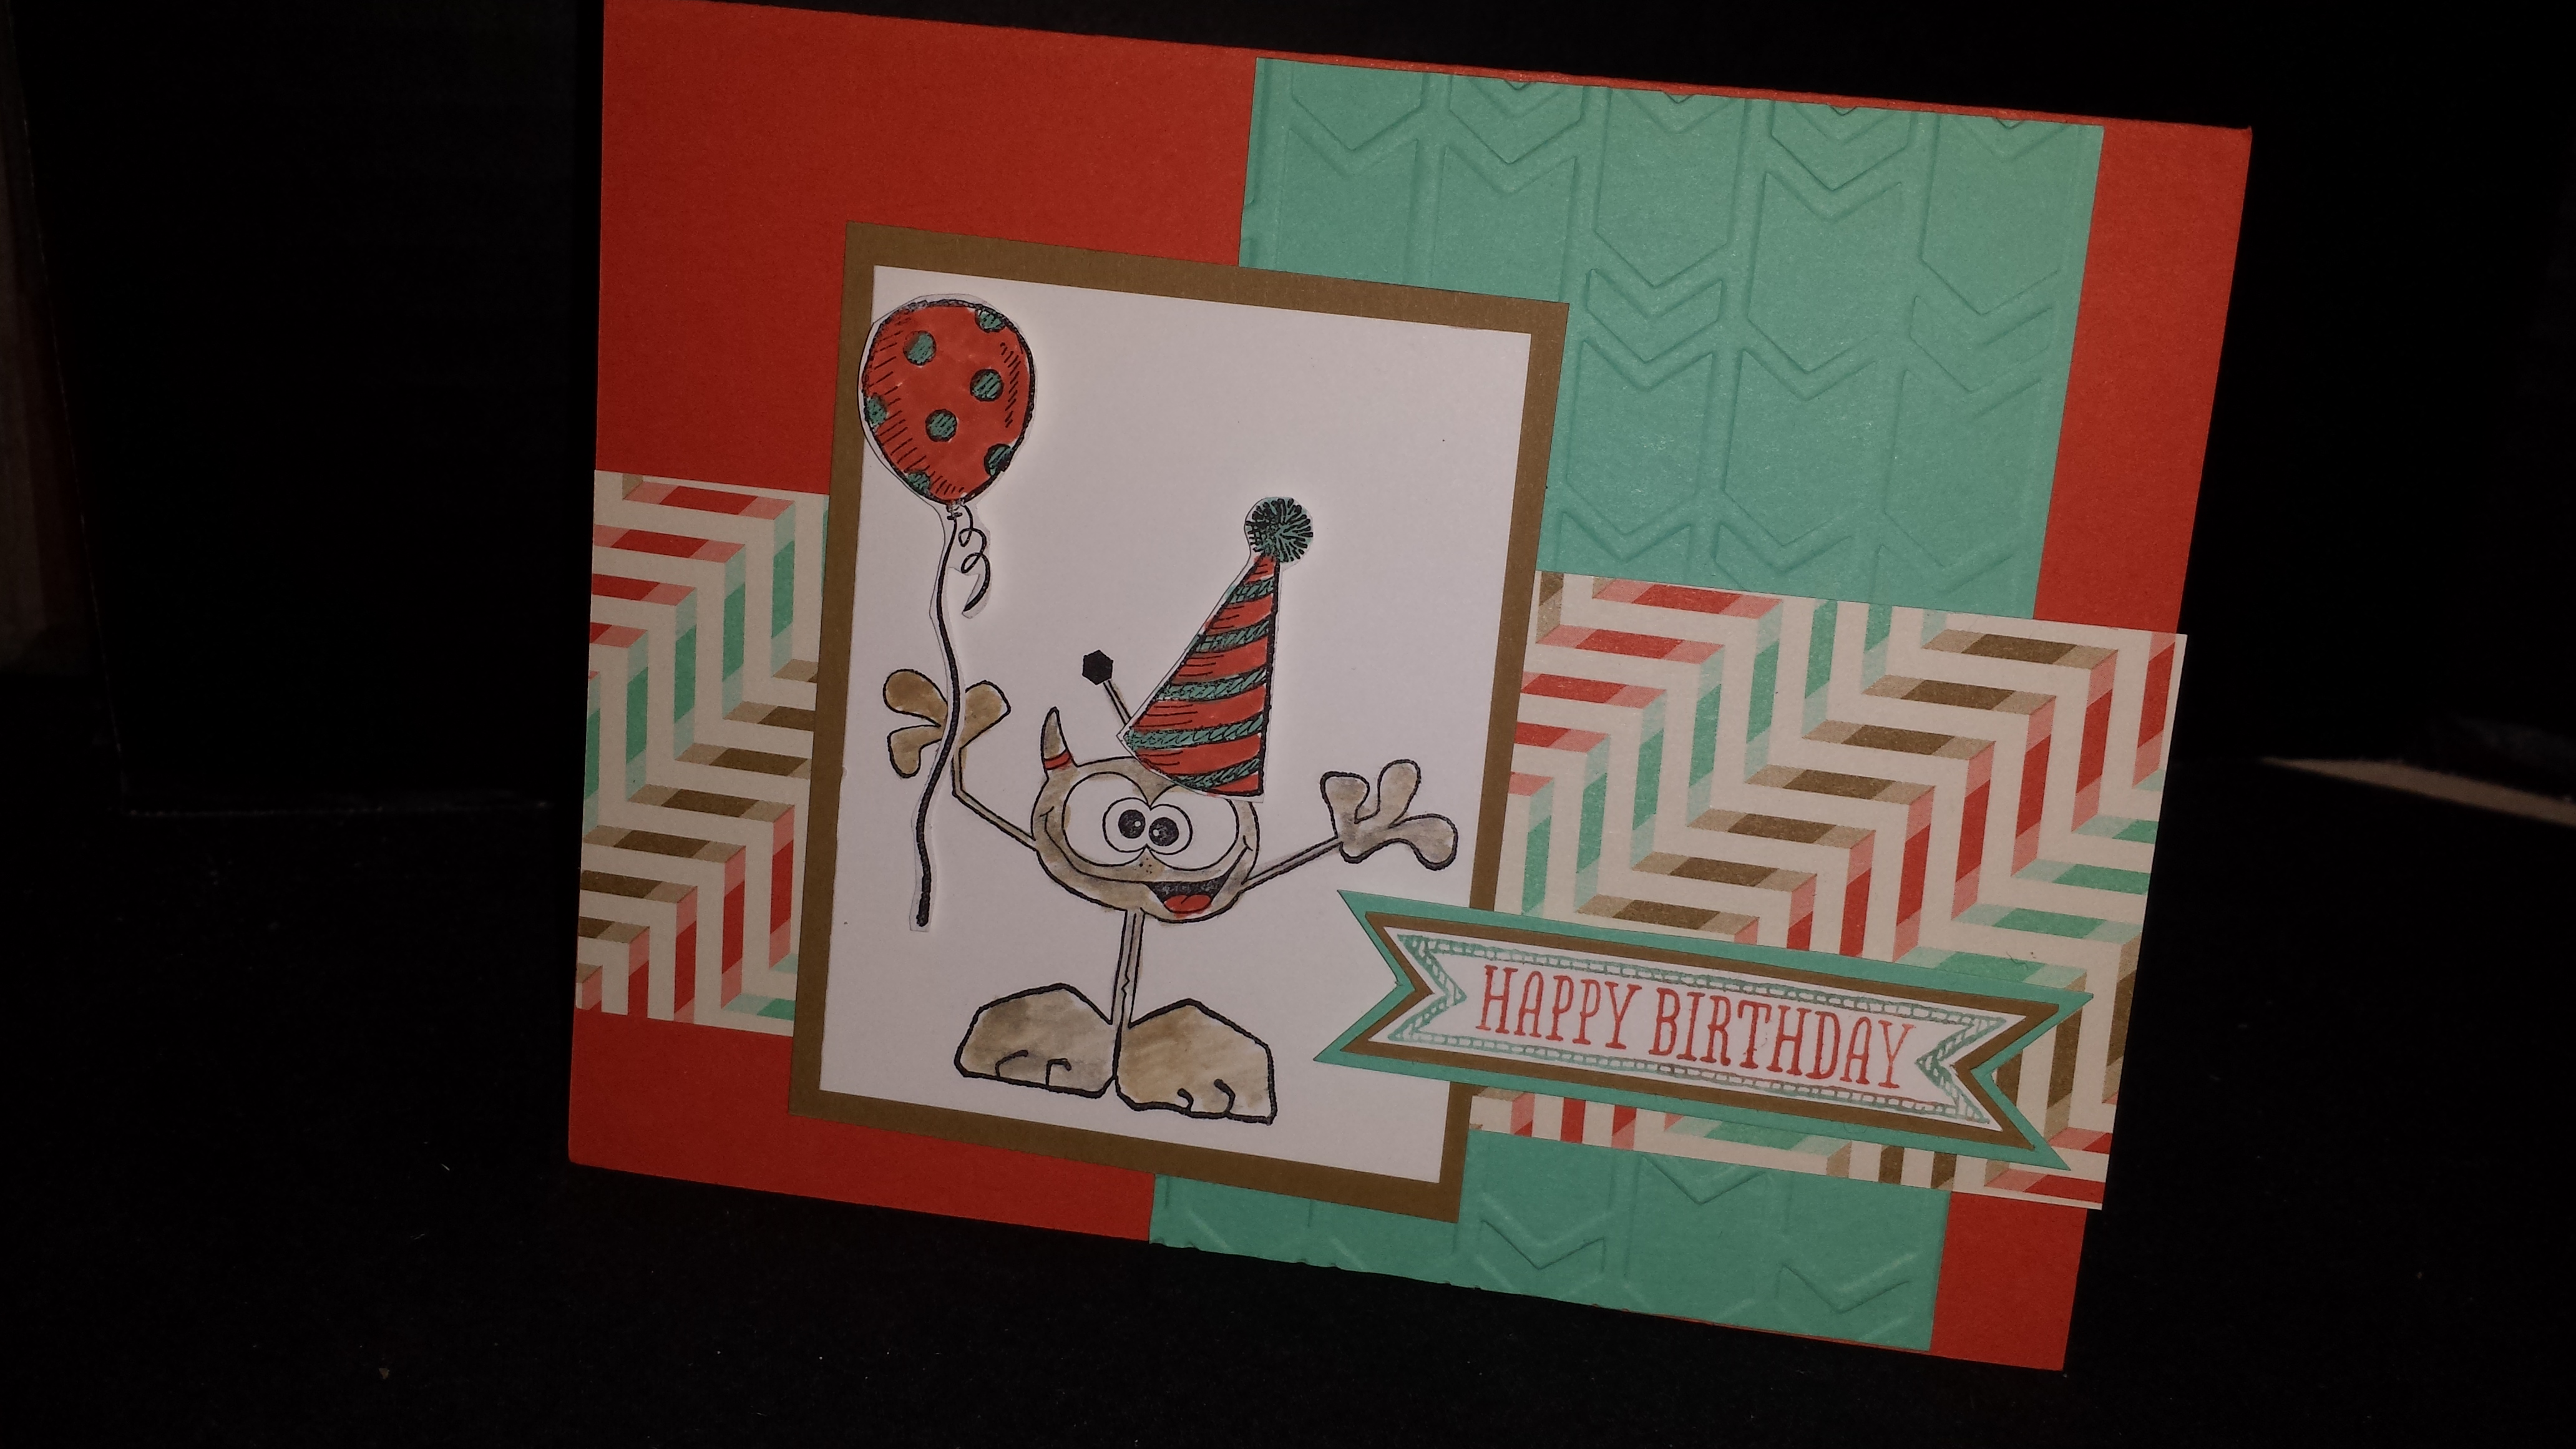
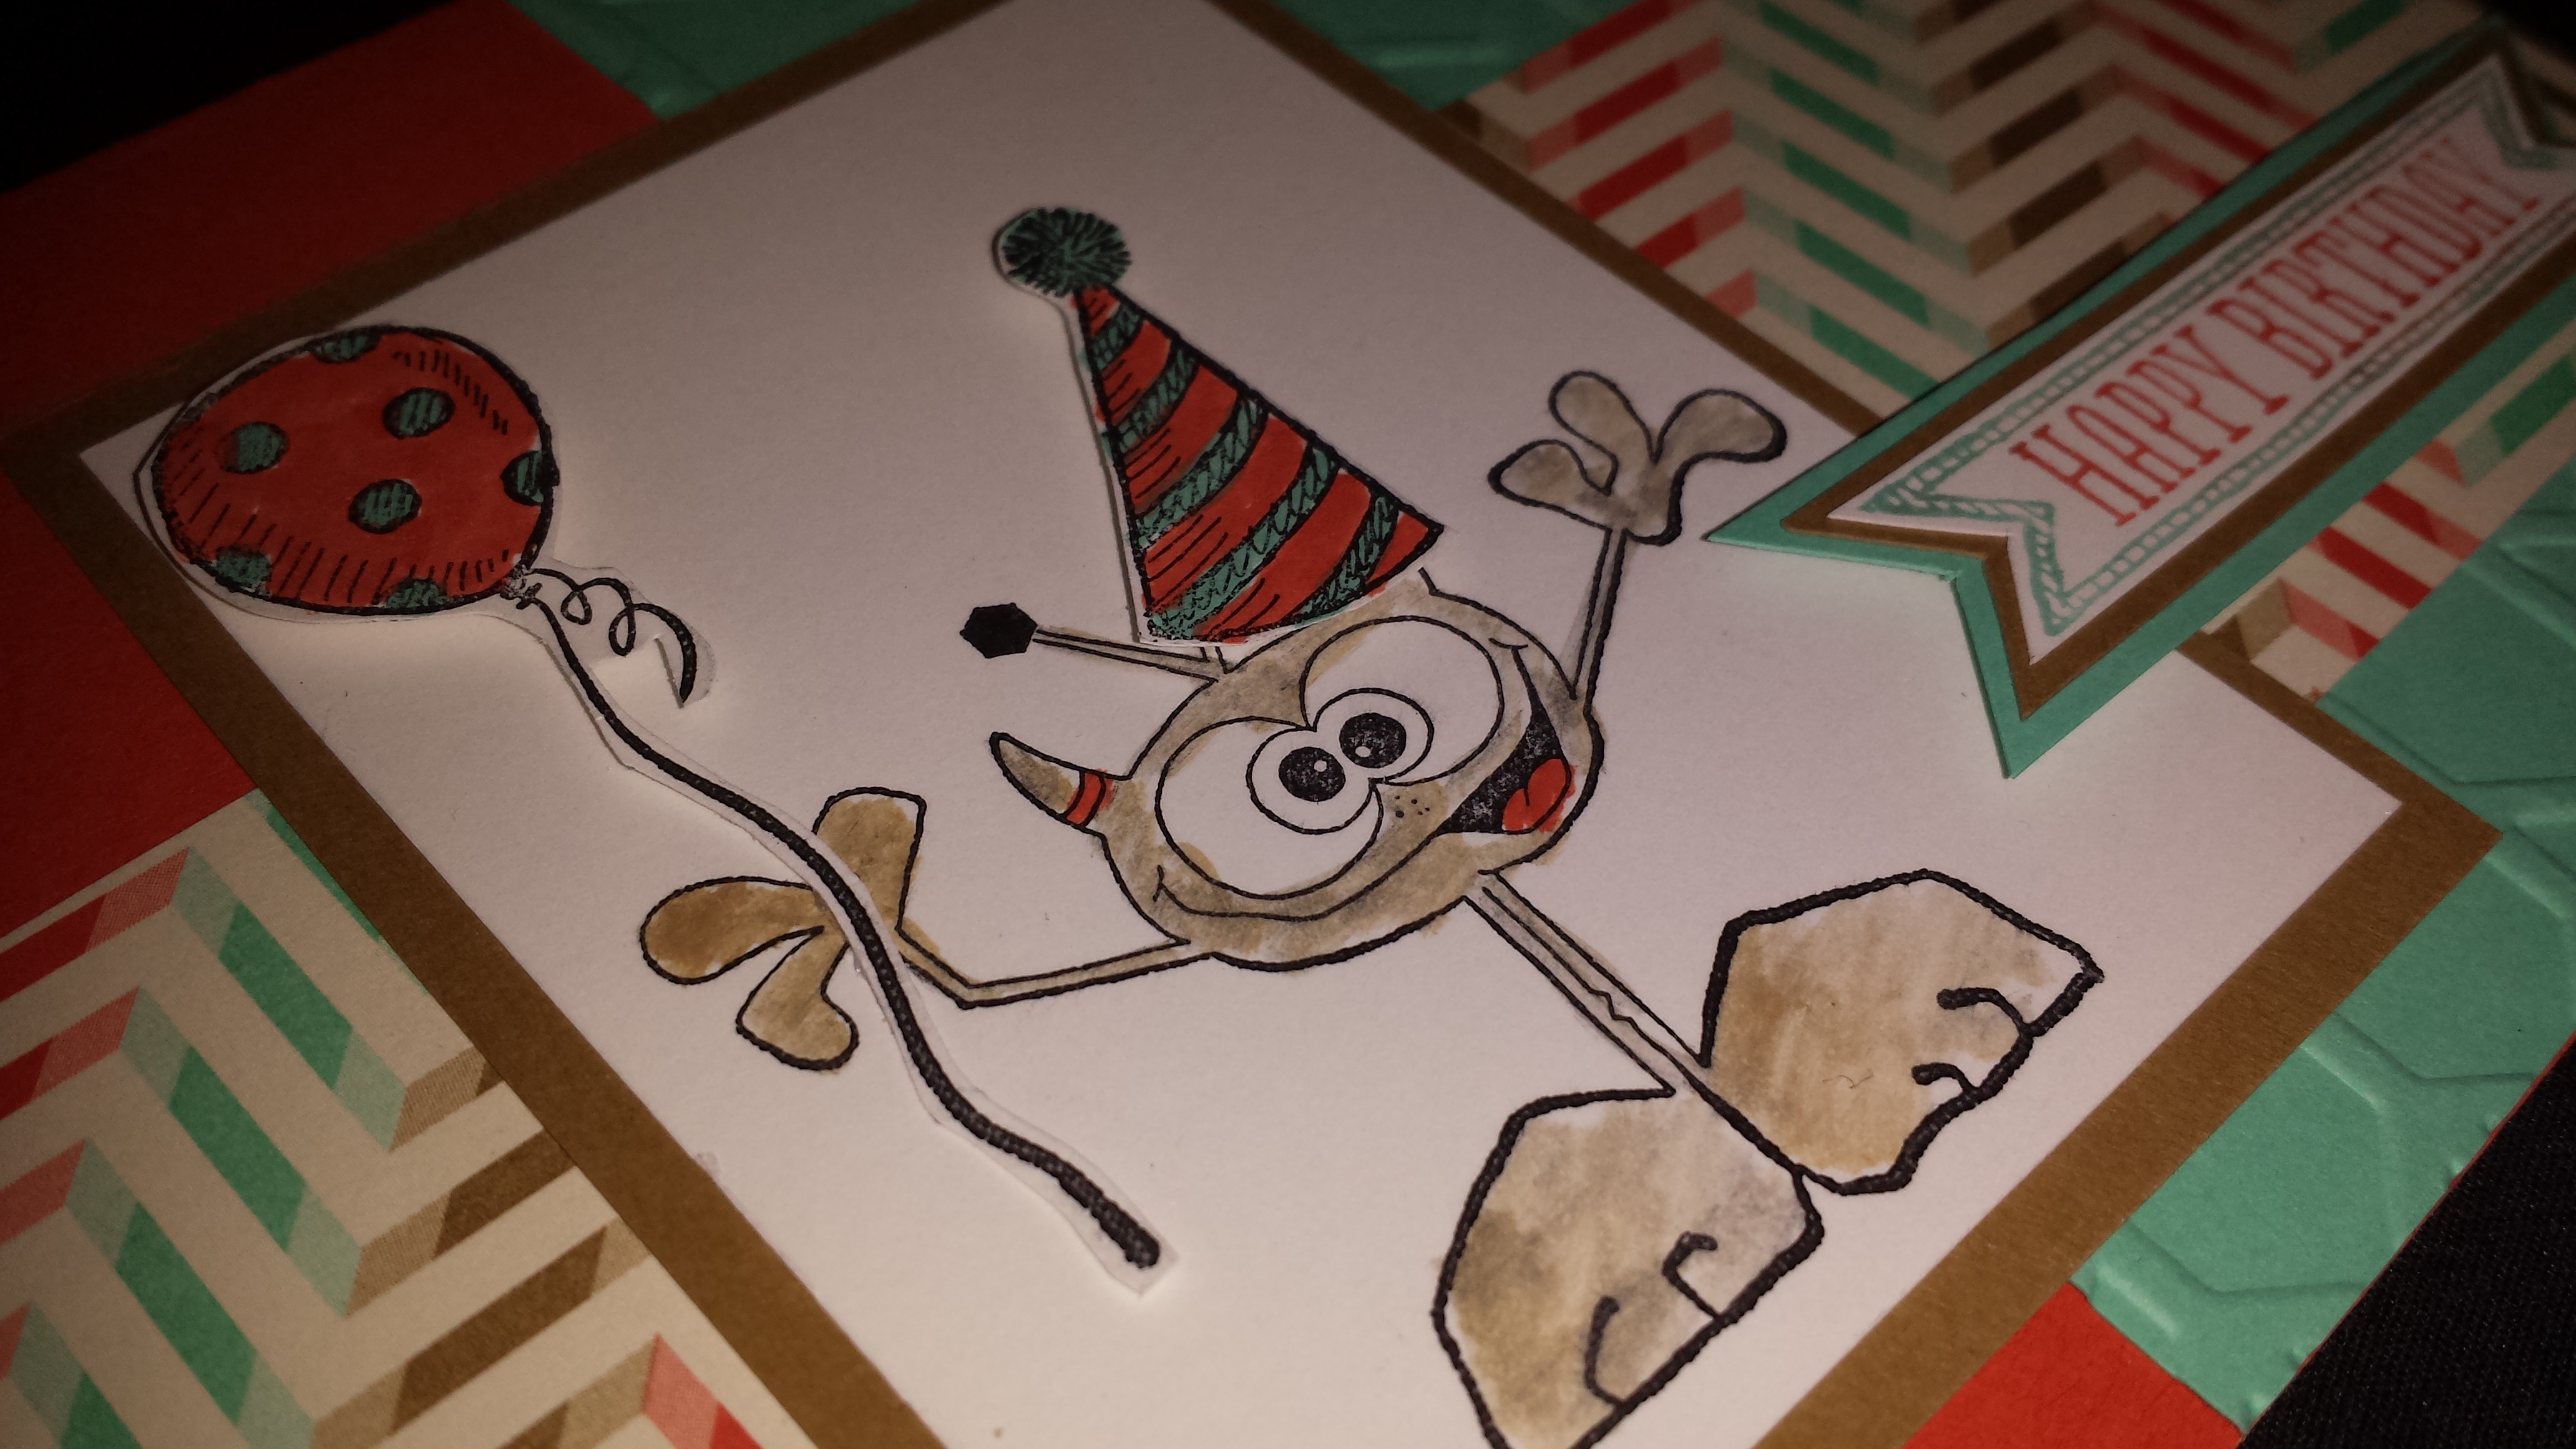
I started with 5 alligators made with my punch then it was time to play a bit and see what I could come up with.  This was my first card.  I originally thought I was going to use all 5, but after playing with it a bit I ended up using the banners from the Sale-a-bration.  I love how it turned out.

Alligator Banner Card

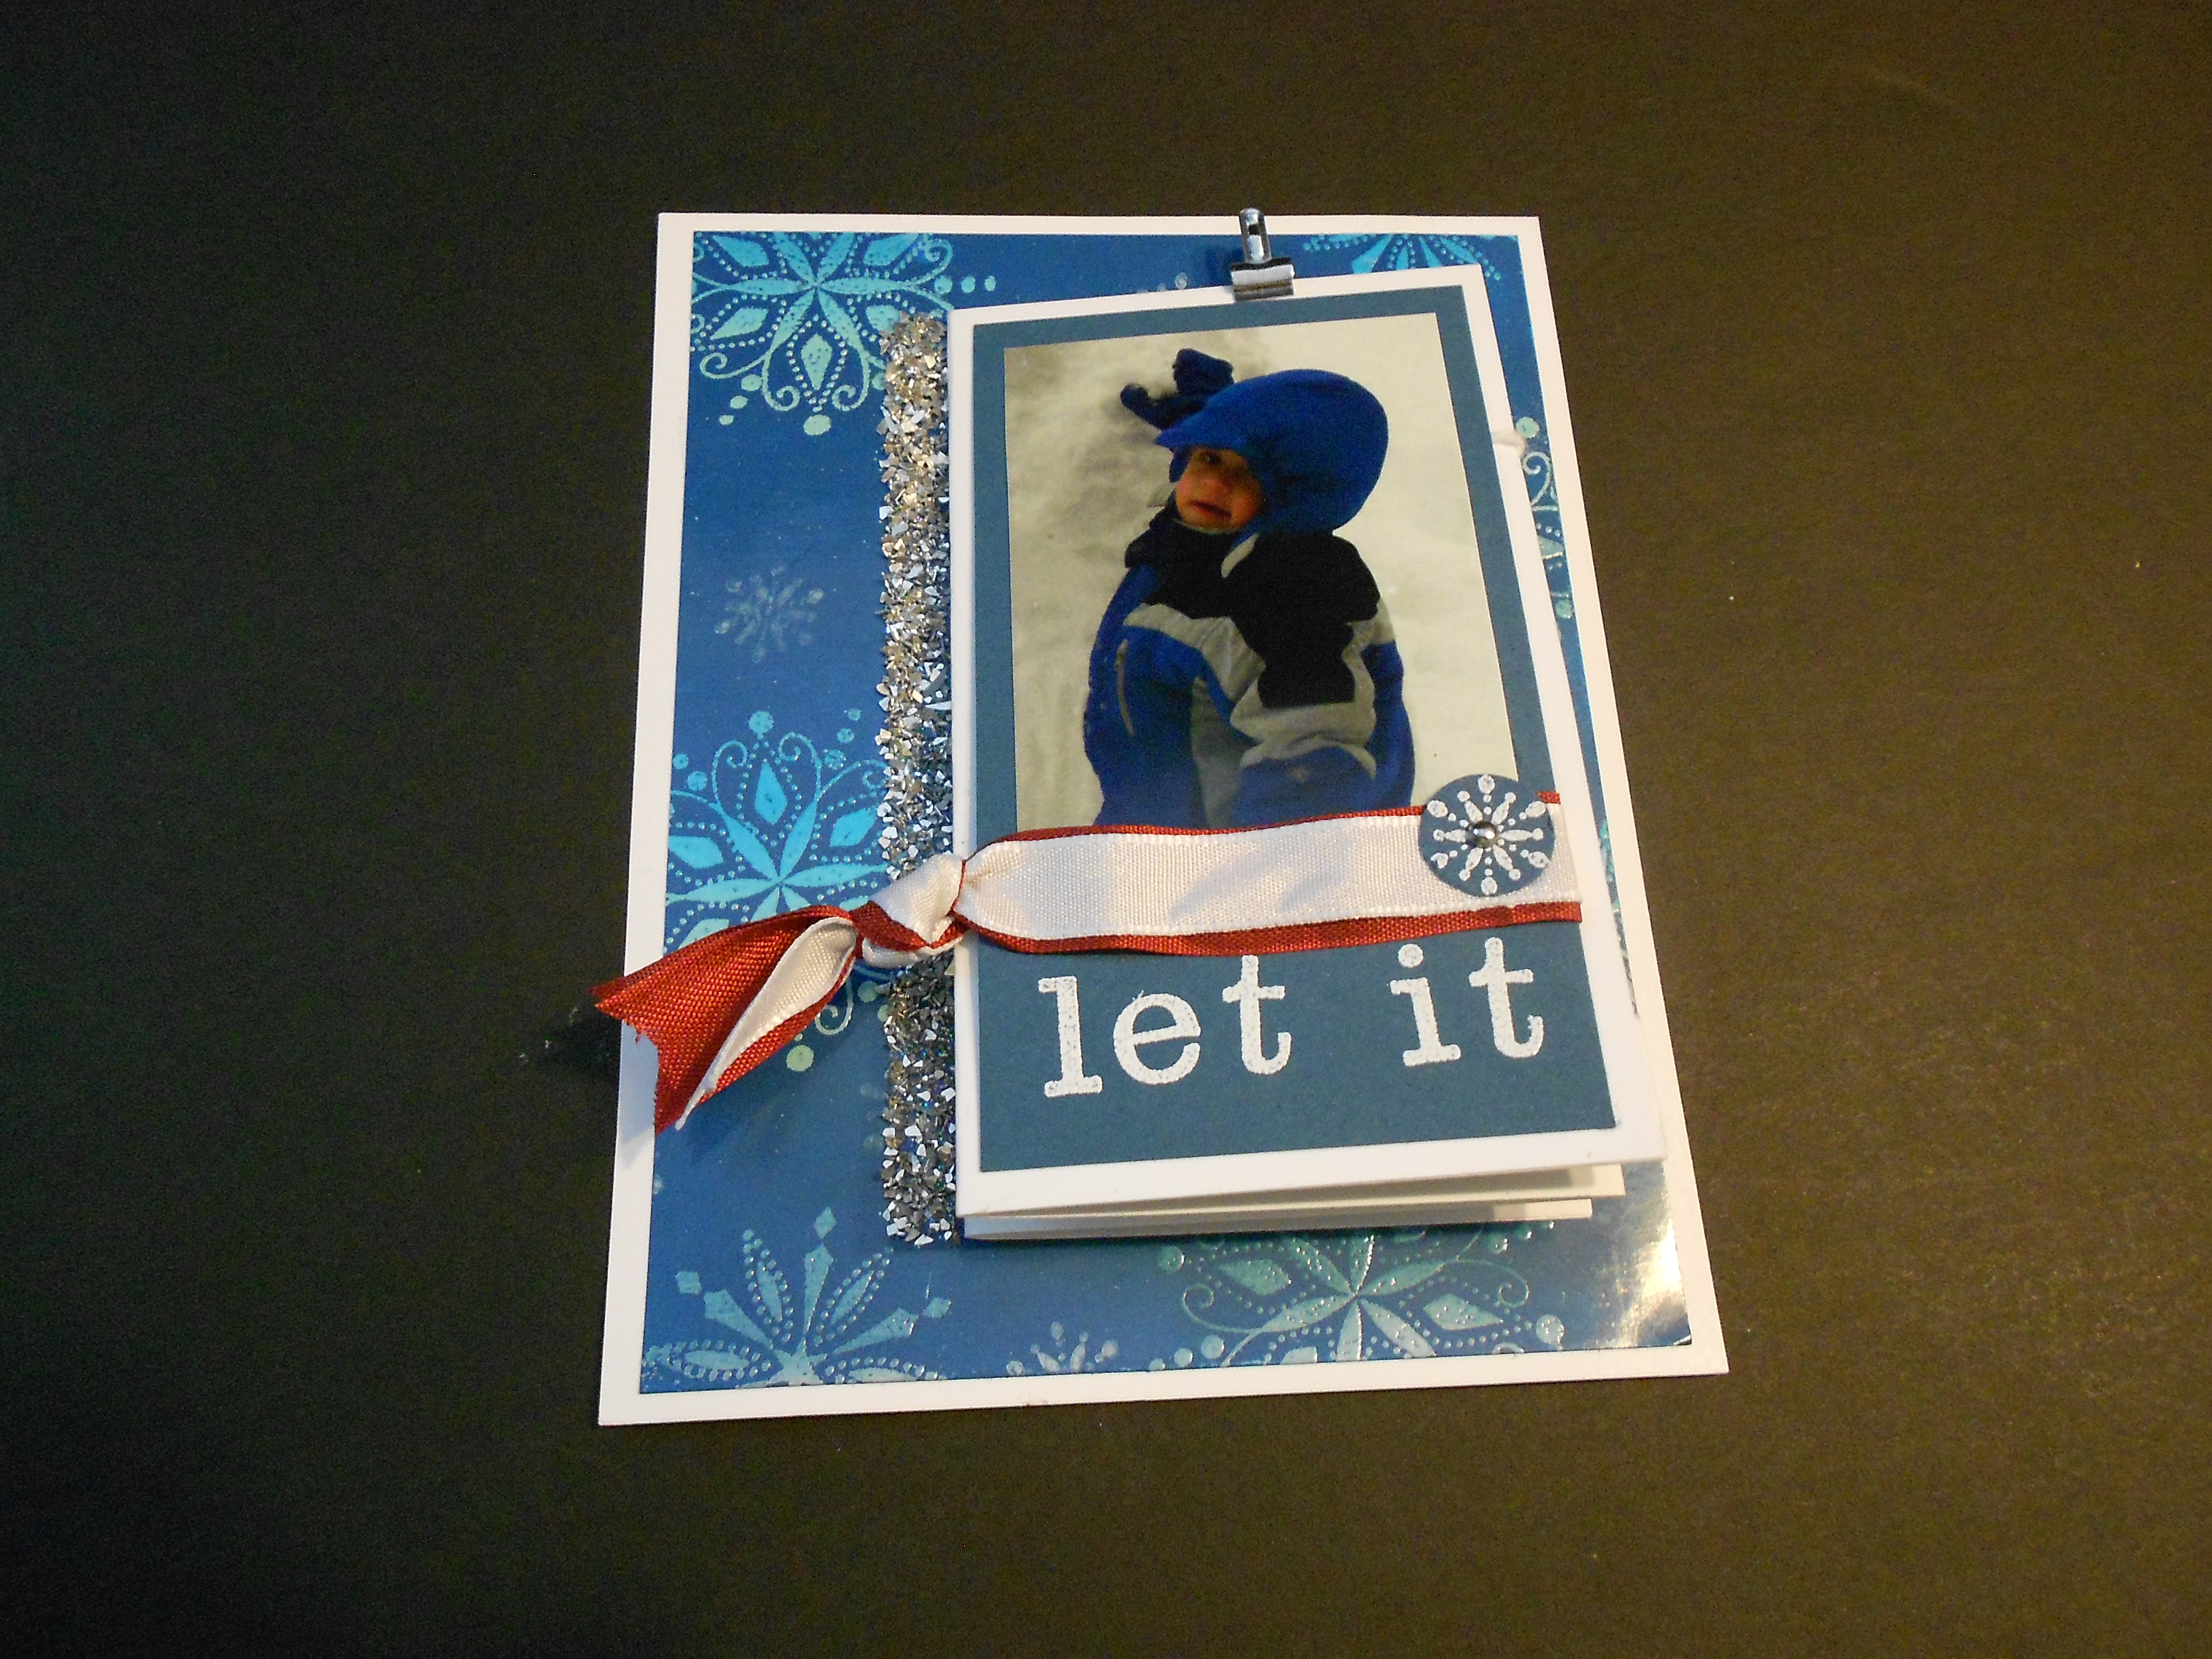
Since I had some alligators left over I decided to try another card.  I thought he would look cute in a circle so I came up with this fun card.  I love using the different background stamps to create a unique background.  The washi tape set is fun because it gives you the washi tape look in your choice of colors.  Small Alligator Card

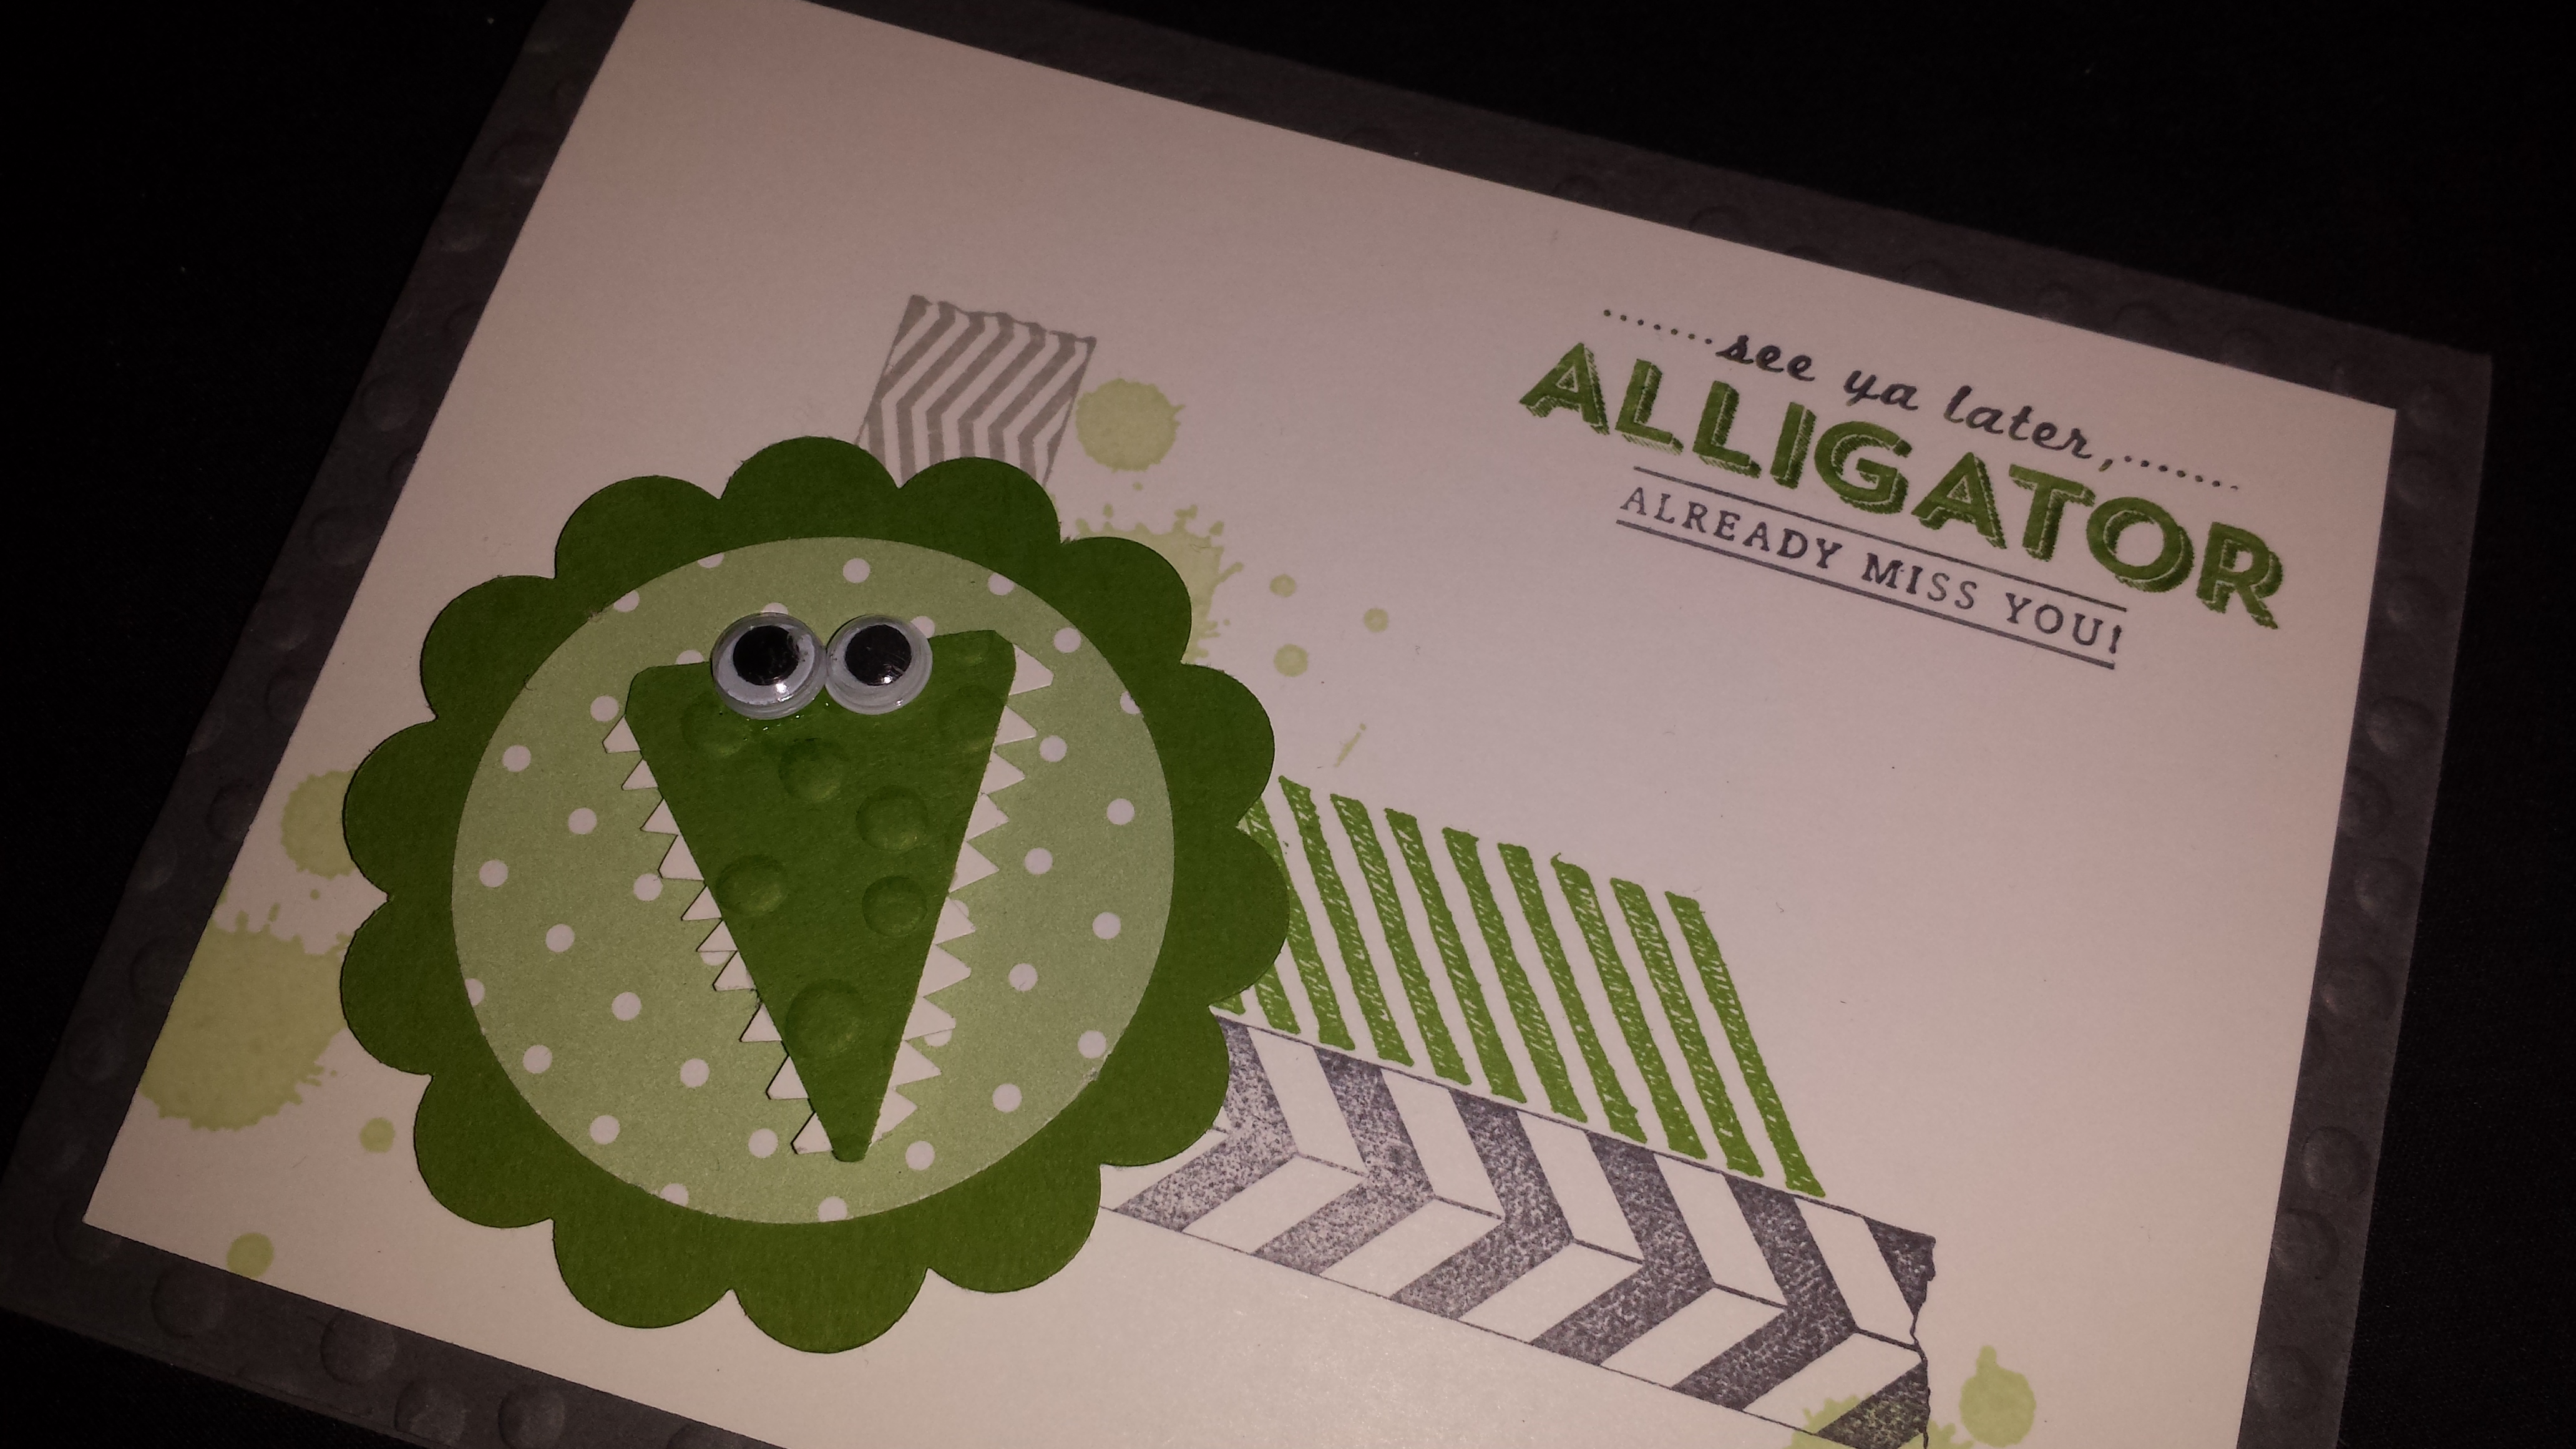
I really love the different texture in these cards created by the embossing folders, designer series papers and punches.  I also love using the clay molds to create an accent in the prefect color for my project.

Tag SignatureOrder online 24/7
Contact me to order or book your party today!
435-245-5321 Home
435-232-2655 Cell (Text)
andersoncandice@hotmail.com

Products used:

Colors:
Gumball Green, Pistachio Pudding, Whisper White, Basic Gray

Stamps:
Banner Blast
Wood- #133551 FREE- SAB
Clear- #133554 FREE- SAB

See ya Later
Wood- #133533 FREE-SAB
Clear- #133536 FREE-SAB

Tape It
Wood- #130712 $26.95
Clear- #1130715 $18.95

Gorgeous Grunge
Wood- #130514 $24.95
Clear- #130517 $17.95

Off the Grid
Wood- #130736 $11.95

Big Shot:
Decorative Dots Textured Impressions Embossing Folder #133520 FREE-SAB
Arrows Textured Impressions Embossing Folder #132187 $7.95
Perfect pennants Bigz L Die #123126 $32.95
Tasteful Trim Bigz XL Die #120893 $42.95
Chalk Talk Framelits #129983 $24.95
Magnetic Platform #130658 $39.95

Others:
Petite Pennants Builder #122361 $16.95
Banner Punch #133519 FREE-SAB
2-3/8″ Scallop Circle Punch #118874 $16.95
1-3/4″ Circle Punch #119850 $16.95
White Baker’s Twine #124262 $2.95
Simply Pressed Clay #130685 $6.95
Buttons Simply Pressed Clay Molds #131272 $7.95
In Color Designers Series Paper Stacks 2013-2015 Collection #130136 $21.95

Monster Birthday Card

Monster Birthday Card

This was one of the cute cards from my Stampin’ Buffet last month.  I really love this monster set, I’m so glad I finally got it.  I’m also in love with this designer series paper.  I’ve had way to much fun with it.  I just really like the color combination.  It’s great for fun vibrant cards.  It’s also really good for boy cards which I tend to find a bit harder to create.

Monster Birthday Card- Close


Here’s a little bit more close up of the monster.  I colored him with a blender pen.   I used dimensionals  to make the balloon and the hat really pop.  I also used them behind the Happy Birthday.  Do you love how the fun retro paper works so well with this embossing folder?  I do.

Tag SignatureOrder online 24/7
Contact me to order or book your party today!
435-245-5321 Home
435-232-2655 Cell (Text)
andersoncandice@hotmail.com

Products used:

Colors:
Tangerine Tango, Coastal, Cabana, Baked Brown Sugar, Basic Black, Whisper White

Stamps:
Sketched Birthday
Wood- #130423 $24.95
Clear- #130426 $17.95

Many Monsters
Clear- #134972 $14.95

Big Shot:
Arrows Textured Impressions Embossing Folder #132187 $7.95

Others:
Retro Fresh Designer Series Paper #132993 $10.95
Blender Pens #102845 $9.95


Let is Snow Card

20140206_081143

This is what I woke up to this morning.  Almost a foot of snow and still snowing.  Just in case you are wondering here in Northern Utah the kids still went to school.  I’ve heard it takes 2 feet to get a snow day.

20140206_081136

Yes clearing off the card to get to work was lots of fun.  Thankfully I get to stay home in my nice warm house since it’s my day off.  Hopefully I don’t have to go rescue my husband.  He took the car over the mountain so we shall see.

20140206_081207

You can see a little better how much snow there is on the untouched swing set.

So in light of all the snow I thought that my Let is Snow card would be the perfect throw back Thursday.  This is another card that I created for Artisan a couple years ago, but apparently never shared.

Let it Snow Card - Front

So this is the front of the card.  This card is very unique and different.  Personally I love it.  So The card base is just a regular card.  I can’t remember if it opened or not, but I think it did so you could write a message inside.  The blue background is a fun technique.  I used the white glossy paper that I wish we still sold.  I took a baby wipe and put three dots of reinker in different colors going across the wipe then I wiped it on the glossy cardstock to give it kind of a rainbow look.  Once that was dry I inked my snowflake with versamark and stamped my snowflakes then embossed them with clear embossing powder.  I then used a dark blue reinker and a sponge to sponge over the top so the snowflakes were the only think to show the lighter colors.  The embossing powder resists the ink so you can see the colors underneath.

Let it Snow card- Layers

This card has some fun layers to it.  I folded a white paper.  I believe that it’s a 4 1/4 tall by 11 scored at 2 3/4 on each side and 5 1/2.  Then folded accordion style.  I attached a piece of sticky strip along the side where it was being attached and covered it with the Silver Glass Glitter.  This isn’t the best picture, but it gives you an idea of how the card folds up.

Let it Snow card- opening

So this the the card as it’s opening up. Of course the front is a darling picture of my son playing in the snow.  I used a mini clip to hold it shut when you aren’t opening it.

Let it Snow Card- Partial open

As it starts to unfold you can start to see the magic int he card.  I used the Snow Much Fun set that is now retired to create a fun winter seen.

Let is Snow card- Opened

Here’s the finished card all opened.  My favorite part is the snowflakes that are attached to some bakers twine.  The snow men are stamped and embossed with black embossing powder before they are colored.  It’s kind of hard to see but I also used  some of the Dazzling Details on the snow ball and sides of the snowmen to make them sparkle.  The snow is stamped in white and embossed with white embossing powder to make it pop.

Hopefully I’ve inspired you to think outside of the box a bit.  Here’s one more piece of inspiration.  This is a wall hang I made using the same technique that I used on the background of my card.

Let it Snow wall hang

I used the scallop square die and the alphabet die to cut out the background and the letters.  Both were cut with chipboard and covered in white cardstock.  I hang this one up every year.  I still love it.

Tag SignatureOrder online 24/7
Contact me to order or book your party today!
435-245-5321 Home
435-232-2655 Cell (Text)
andersoncandice@hotmail.com

Stampin’ Up! Cyber Monday 24 Hour Sale

Great news Stampin’ Up! has added more items to their Holiday Sale.  Check them out.  The sale ends today so make sure you get your order in.  Everyone who uses hostess code:  B9Z3AARZ  will get a free gift from me.  Or you can contact me to place an order.

24-Hours Only

Envelope Liners Framelits Dies

Envelope Liners Framelits Dies

Price: $26.95 SALE PRICE $18.87

Expressions Thinlits Dies

Price: $24.95 SALE PRICE $17.47

Extra-Large Gift Box

Price: $3.95 SALE PRICE $2.77

Holly Jolly Greetings Simply Sent

Price: $14.95 SALE PRICE $10.47

Large Rhinestone Basic Jewels

Price: $4.95 SALE PRICE $3.47

Snowflake Season Simply Sent

Price: $14.95 SALE PRICE $10.47

You can visit the Online Store to see all discounted products or view this flyer.

Reverse Masking Technique

Masked Butterfly Card

I found this awesome technique on YouTube.  Of course it caught my eye since it was my up-line doing the demonstration, but I absolutely loved the technique.  It’s really pretty easy to do.  I created a bunch of these to send out.  Maybe you’ll be one of the lucky ones to get one.

En Francais
#109521 – Wood $17.95

Sweet Essentials
#126455- Wood $19.95
#126457- Clear $14.95

Beautiful Butterflies Bigz Die
#114507 $21.95

Owl Builder Punch
#118074 $16.95

Pearl Basic Jewels
#119247 $2.95

Colors- Naturals White, Pool Party, Island Indigo, Cherry Cobbler.

Here’s the Video if you’d like to check out how it was done.


Here are some other cards I made using the same technique.

This one is using the Happy Whale die in the Spring Catalog along with the Beyond Plaid set.

*Beyond Plaid#129201 – Wood $23.95
#129204- Clear $17.95

*Oh, Whale!
#129129- Wood $22.95
#129132- Clear $16.95

*Happy Whale Clearlits Die
#129403 $7.50

Stampin’ Spritzer
#126185 $2.95

Pearl Basic Jewels
#119247 $2.95

Colors- Whisper White, Pool Party, Island Indigo, Cherry Cobbler.

Masked Thanks a ton cards

This one was created using the Perfect Pennants Die.

*Beyond Plaid
#129201 – Wood $23.95
#129204- Clear $17.95

You’re Amazing
#126720- Wood $30.95
#126722- Clear $22.95

Perfect pennants Bigz L Die
#123126 $32.95

*Ovals Collection Framelits Dies
#129381 $26.95

*Natural 7/8″ Cotton Ribbon
#127844 $7.95

Stampin’ Spritzer
#126185 $2.95

Colors- Naturals Ivory, Pool Party, Old, Olive, Soft Suede

Masked Pendent Birthday Card

I hope you will take a minute and try this fun technique.  I’d love for you to share your creations with me. Just e-mail them to: andersoncandice@hotmail.com or share them on my Facebook page.  

If you post them on-line you can leave a link to them in the comment box.  Share them by the end of the month.  Next month I will draw a name from those who shared and send them a free gift.

5-May

Hybrid MDS Project

I’ve enjoyed sharing MDS with so many of you during my free classes.  While I was talking to them about this wonderful program I mentioned how easy it to create Hybrid projects.  A Hybrid Project is where part of your project is created Digitaly and the other is created traditionally.  I was telling them about one of the projects the I created last year for the Stampin’ Up! Artisan design contest.  This was one of my favorite projects.  It’s a 12 x 12 scrapbook page.  One of the pictures that I used was the Birth announcement that I created in “My Digital Studio.”  I just printed it out larger to put it on the page.

Love Page


I love all the detail I was able to add to the page and how the MDS is the only color that I added to the page.  It’s hard to tell in the picture, but the whole thing sparkles and shimmers.  It’s was actually created as more of a show piece then one that would go in a scrapbook since it has so many layers.  I just re-created it (finally) so that I could hang it up in my daughters room that we just finished painting.  I put it in one of those 12 x 12 frames and it looks so cute.  Just so you know a few of the items are retired now as it was created last year.

MDS is such a great tool you can use to enhance your traditional scrapbook as well as creating all Digital projects.  I hope that you will join me from one of my future classes.  You can down-load the free MDS trial from my website or better yet just buy the program for the new low cost of just $19.95.

If you have any questions let me know.

4-April