A Beautiful Way to Celebrate What Matters Most
November always inspires me to slow down and reflect on the things I’m most grateful for. For Scrapped! Episode 30, I wanted to create something that captured those heartfelt moments in a way I could revisit year after year. Instead of a traditional scrapbook page, I designed a Gratitude Mini Album—a keepsake filled with texture, layers, and interactive elements that make memory keeping both meaningful and fun.
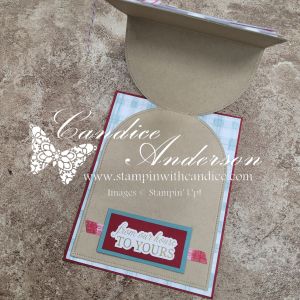
This mini album is built using our Flip Flaps and features gorgeous pull-outs, flaps, pockets, and hidden journaling spots. It’s the perfect way to document gratitude, seasonal reflections, or family traditions during the holidays. And because the album structure is so versatile, you can recreate it for any theme—thankfulness, celebrations, travel, or even a yearly highlight book.
🎥 Be sure to watch the episode for a closer look at how the project comes together and ideas for customizing your own album.
About the Album
For this project, I started with chipboard (the kind that comes in Paper Pumpkin kits or many of our other crafting kits—recycling win!) to create sturdy front and back covers. The inside includes multiple sizes of Flip Flaps, thoughtful fold-outs, a waterfall element, reinforced center pages, and plenty of spaces for photos, journaling, and decorative touches.
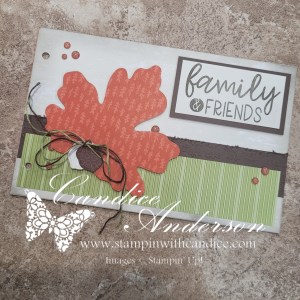


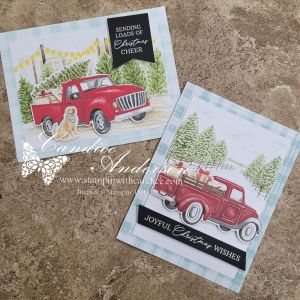
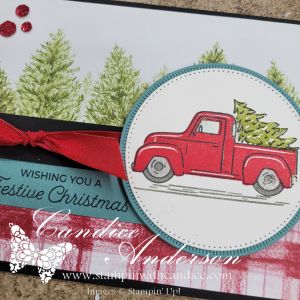
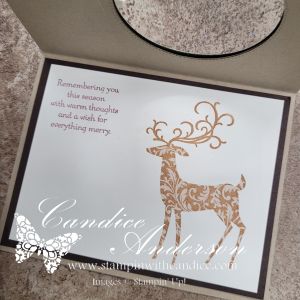
Once the structure was built, I decorated the album using the warm, earthy tones of the Gathering Together Suite (165987), which felt absolutely perfect for a gratitude theme. The stamps, dies, textures, and embellishments all came together beautifully to create a heartfelt, cozy design.
Featured Products
Gathering Together Suite (#165987)
- Gathering Moments Stamp Set (#165970)
- Gathering Moments Dies (#165979)
- Gathering Together Designer Series Paper (#165969)
- Gathering Leaves Embossing Folder (#165983)
- Early Espresso & Old Olive Baker’s Twine Combo (#165986)
- Cajun Craze and Gold Dots Embellishments (#165984)
I also pulled sentiments and decorative elements from:
- Just a Note Stamp Set (#166098) + Dies (#166101)
- Our Story Stamp Set (#167109)
- Celebrate Together Stamp Set (#166655)
👉 You can shop current Stampin’ Up! supplies and tools here:
Shop with Me Here
The color palette—Basic Beige, Cajun Craze, Crushed Curry, Early Espresso, Old Olive, and Champagne Foil—set the warm and inviting tone that makes this mini album feel extra special.
I loved this project so much that I’m already working on a Christmas version with a fun twist on the layout—so stay tuned!
Want to Make This Album Yourself?
You can absolutely create your own version of this Gratitude Mini Album—and I’ve made it easy!
Gratitude Mini Album Tutorial
$10.00 USD
✨ FULL step-by-step tutorial, including:
- complete measurements
- detailed instructions
- cutting guides
- photos
- tips for customizing
- and a full supply list

Whether you’re documenting memories for yourself or creating a heartfelt handmade gift, this album is something you’ll treasure year after year.

Please feel free to contact me if you have any questions.
Contact me today to place your order!
435-232-2655 Cell ( Call or Text)
andersoncandice@hotmail.com