Merry Little Moments & a Snow-Kissed Finale ❄️
Wow… I can’t believe this is the end of the 30-day challenge. I’m honestly so proud of myself for participating in both challenges every single day. This month stretched me, inspired me, and filled my craft room (and heart!) with joy. Thank you for being here with me through it all!
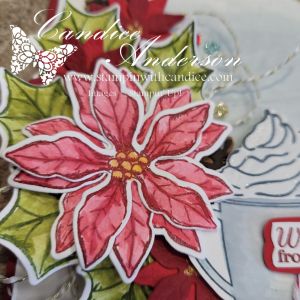
Today’s theme was Let It Snow – Merry Little Moments, and the goal was to create an all-white card using white layers, vellum, and sparkle for a snow-kissed look. And let me tell you… this one really challenged me.
❄️ Attempt #1… and Why I Started Over
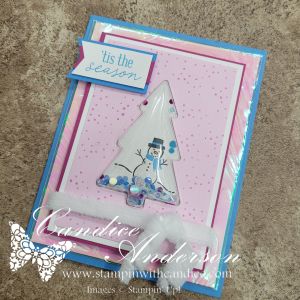
My first try used gold and some retired products, and while it wasn’t bad, it wasn’t the pure snowy look the challenge called for. So I scrapped it and decided to try again.
This time, I went looking for inspiration and came across a gorgeous design I had cased before by the wonderfully talented Melody Hyde. Her vision jump-started my creativity, and I began brainstorming ways to tweak her idea to make it my own.

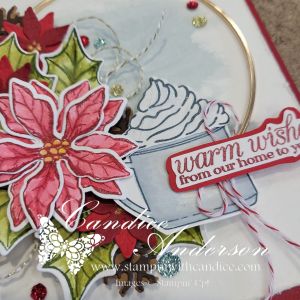
🎄 A Frosty, Sparkling Design
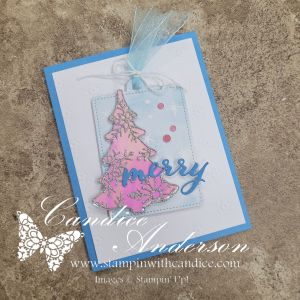
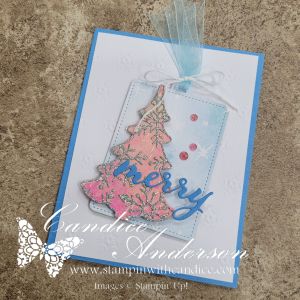
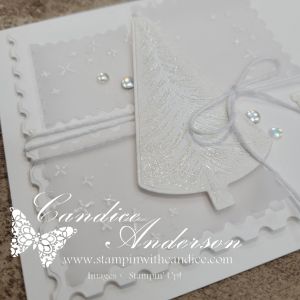
I stamped the tree from the Ornamental Christmas Stamp Set (#165991) with white ink and embossed in white then cut with the matching Dies (#166000) I used the Perennial Postage Dies (#162607) to create a layered, textured winter scene.
Vellum Panels
I die-cut three small postage shapes from vellum, then stamped the star image from Spooky Halloween (#166192) in White Craft Ink and heat-embossed them in white.
The soft vellum + snowy embossing instantly gave the perfect frosty feel.
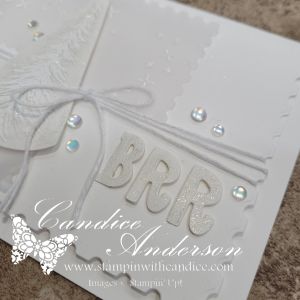
The BRR Message
Using the Mini Alphabet Dies (#162934), I cut out the letters BRR.
Tip: To add dimension without wrestling tiny pieces of Dimensional foam, I rolled up Mini Glue Dots to pop the letters up slightly. Perfect lift—zero frustration!
I also brushed each letter with Wink of Stella for a sparkly, icy shimmer.
✨ Wink of Stella Magic
Did you know you can use Wink of Stella with the emboss resist technique?
I used it on my die-cut tree, and the sparkle settled right into the embossed design. It created the most beautiful, snowy glow—subtle but magical.
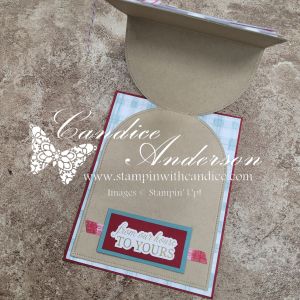
🎀 Finishing Details
To complete the card:
- I tied it together with White Baker’s Twine
- Added Frosted Iridescent Dots (#165766) for the perfect snow-kissed sparkle
- Kept everything in soft whites and vellum layers for that peaceful winter moment
This final project feels serene, frosty, and completely fitting for the last day of the challenge.
❤️ Reflecting on the Challenge

One of today’s prompts was to share my favorite card from the entire month… and honestly? I’m not sure I can. There were so many I loved creating for different reasons.
But my favorite part of this challenge wasn’t any single card—
it was sharing each project with you, reading your comments, and having you join me along the way. Thank you again to everyone who crafted, encouraged, watched, liked, or simply followed along.
I hope you’ll continue to join me as I keep sharing what I love.
Here’s to many more Merry Little Moments together. ❄️❤️
👉 You can shop current Stampin’ Up! supplies and tools here:
Shop with Me Here

Please feel free to contact me if you have any questions.
Contact me today to place your order!
435-232-2655 Cell ( Call or Text)
andersoncandice@hotmail.com
💕 Let’s Stay Connected
📺 YouTube
📘 Facebook
📸 Instagram
📌 Pinterest
#StampinWithCandice #StamperCandi #ACardADayInNovember2025 #30DayChristmasCardMakingChallenge #ChristmasCards #HandmadeCards #CreativeTechniques #HolidayCrafting #cardmaker #cardmaking #christmascards #handmadecards #papercraft #StampinUpKits #christmaschallenge